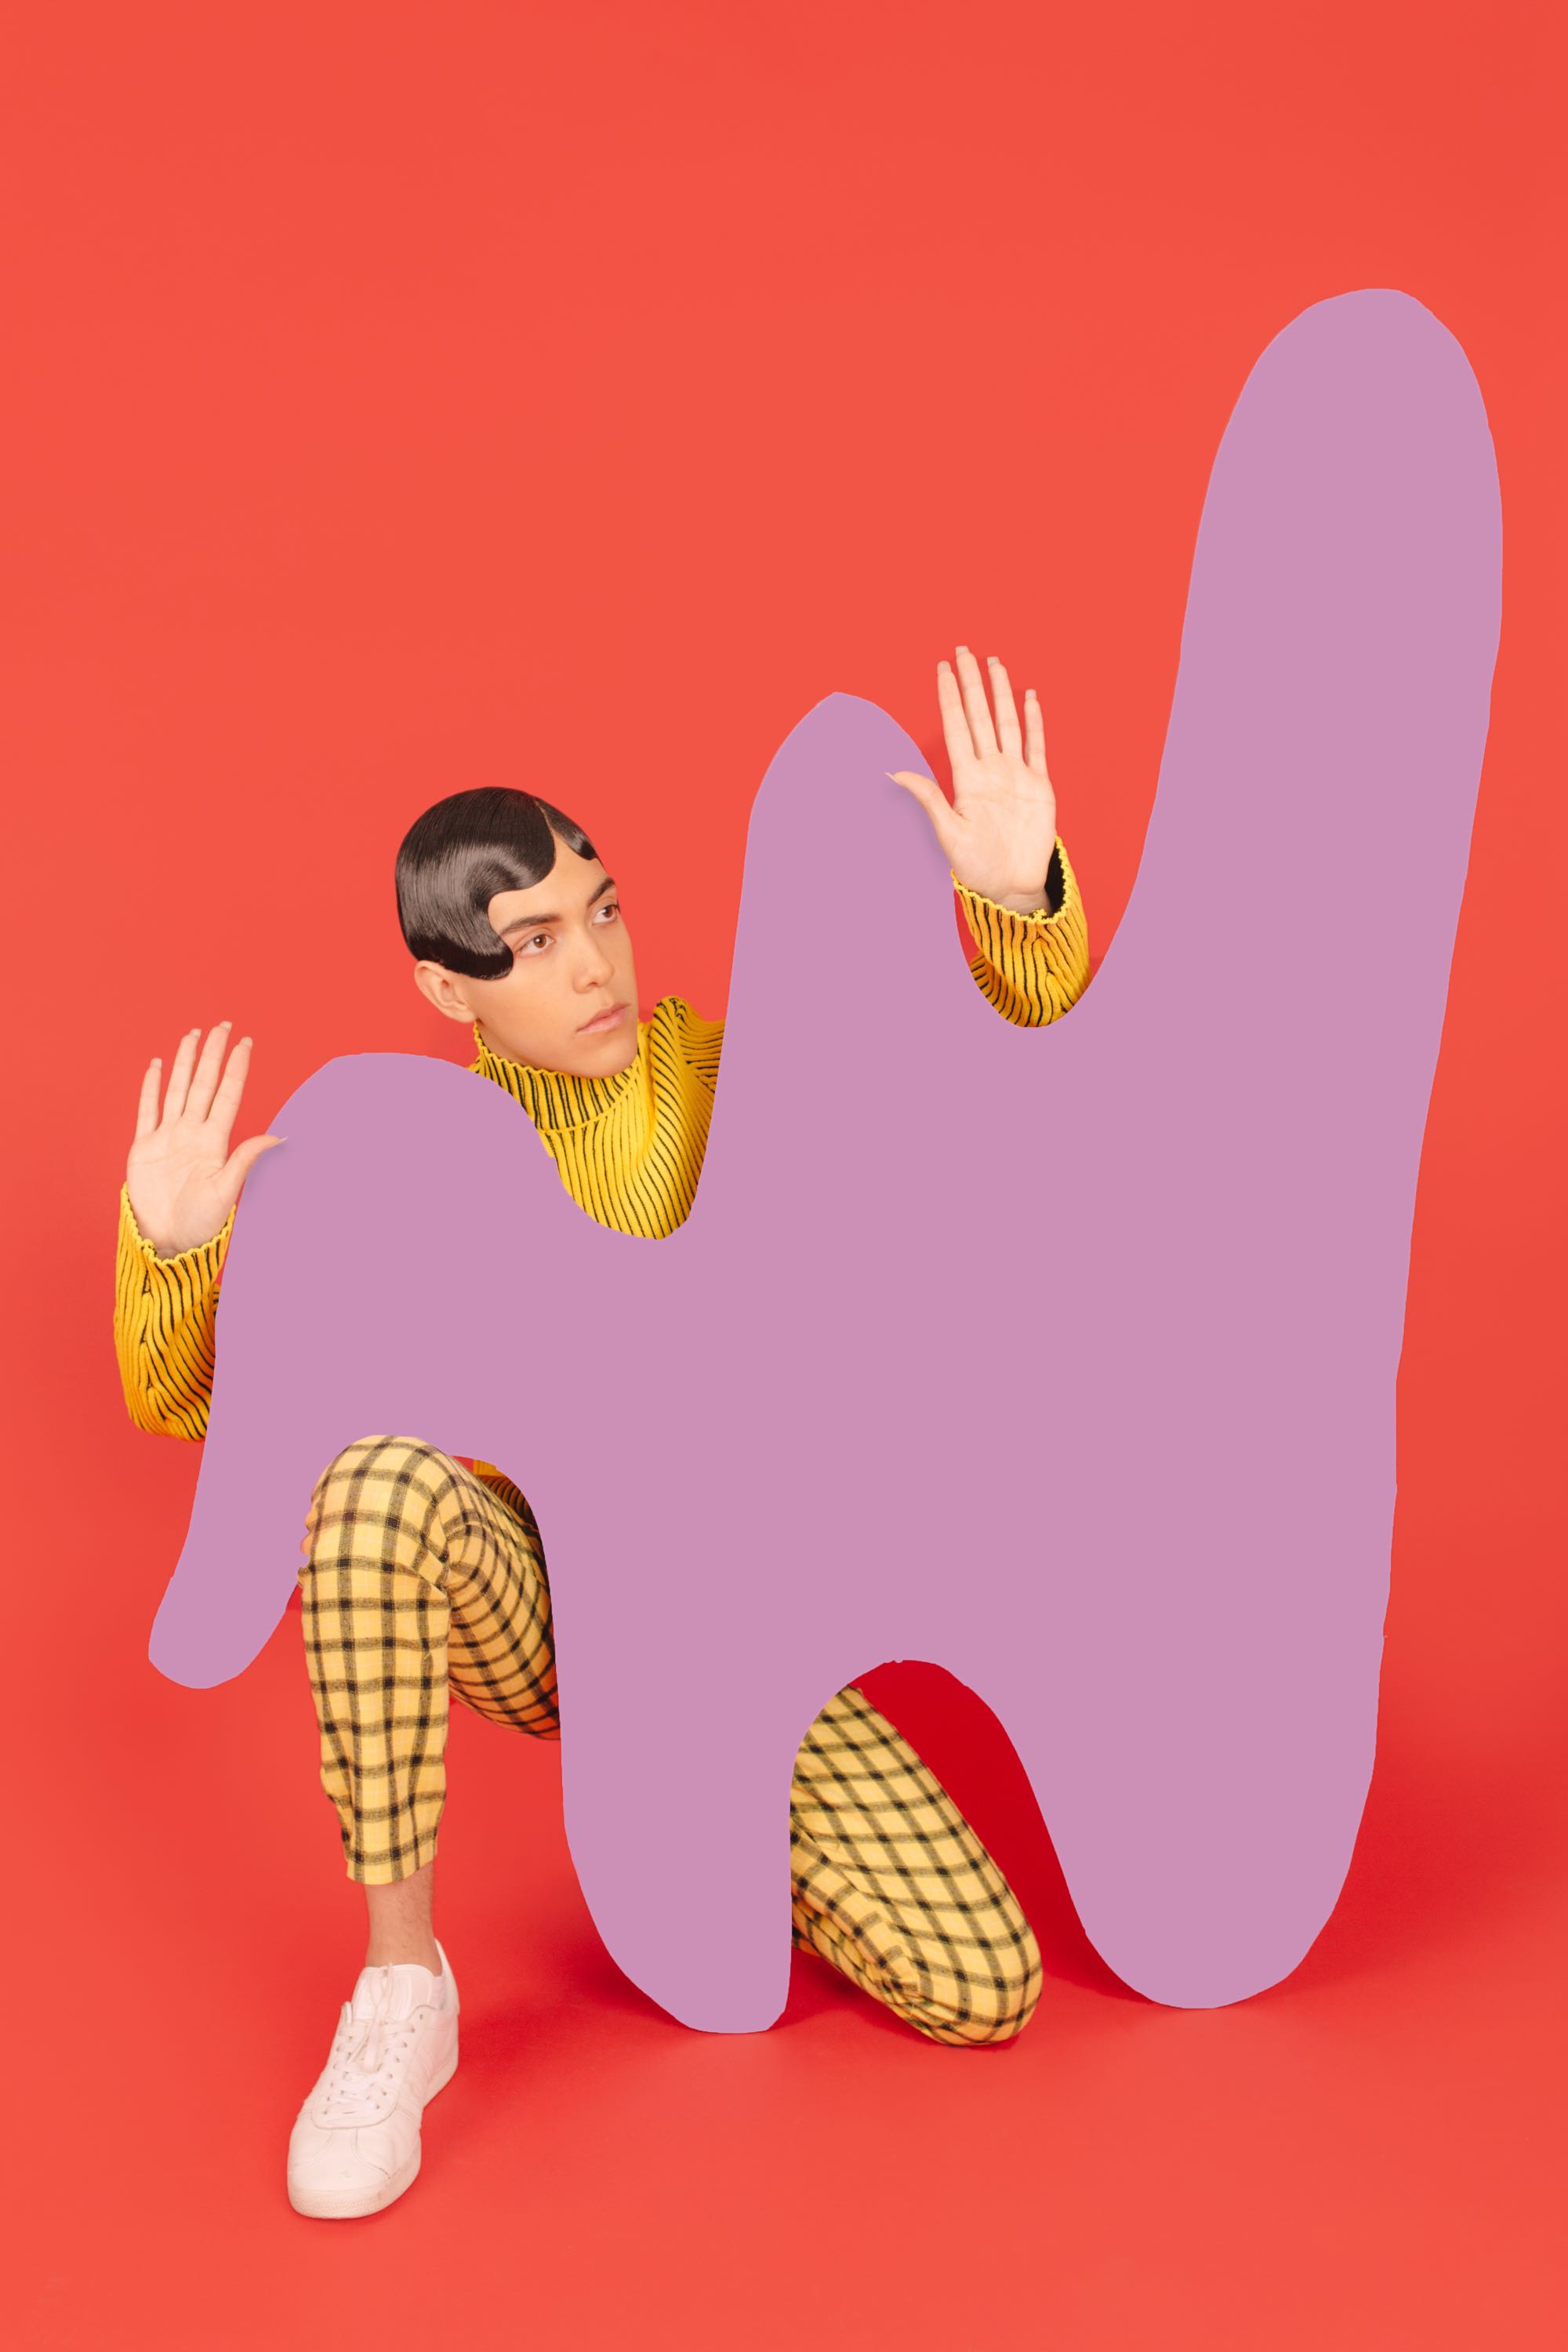
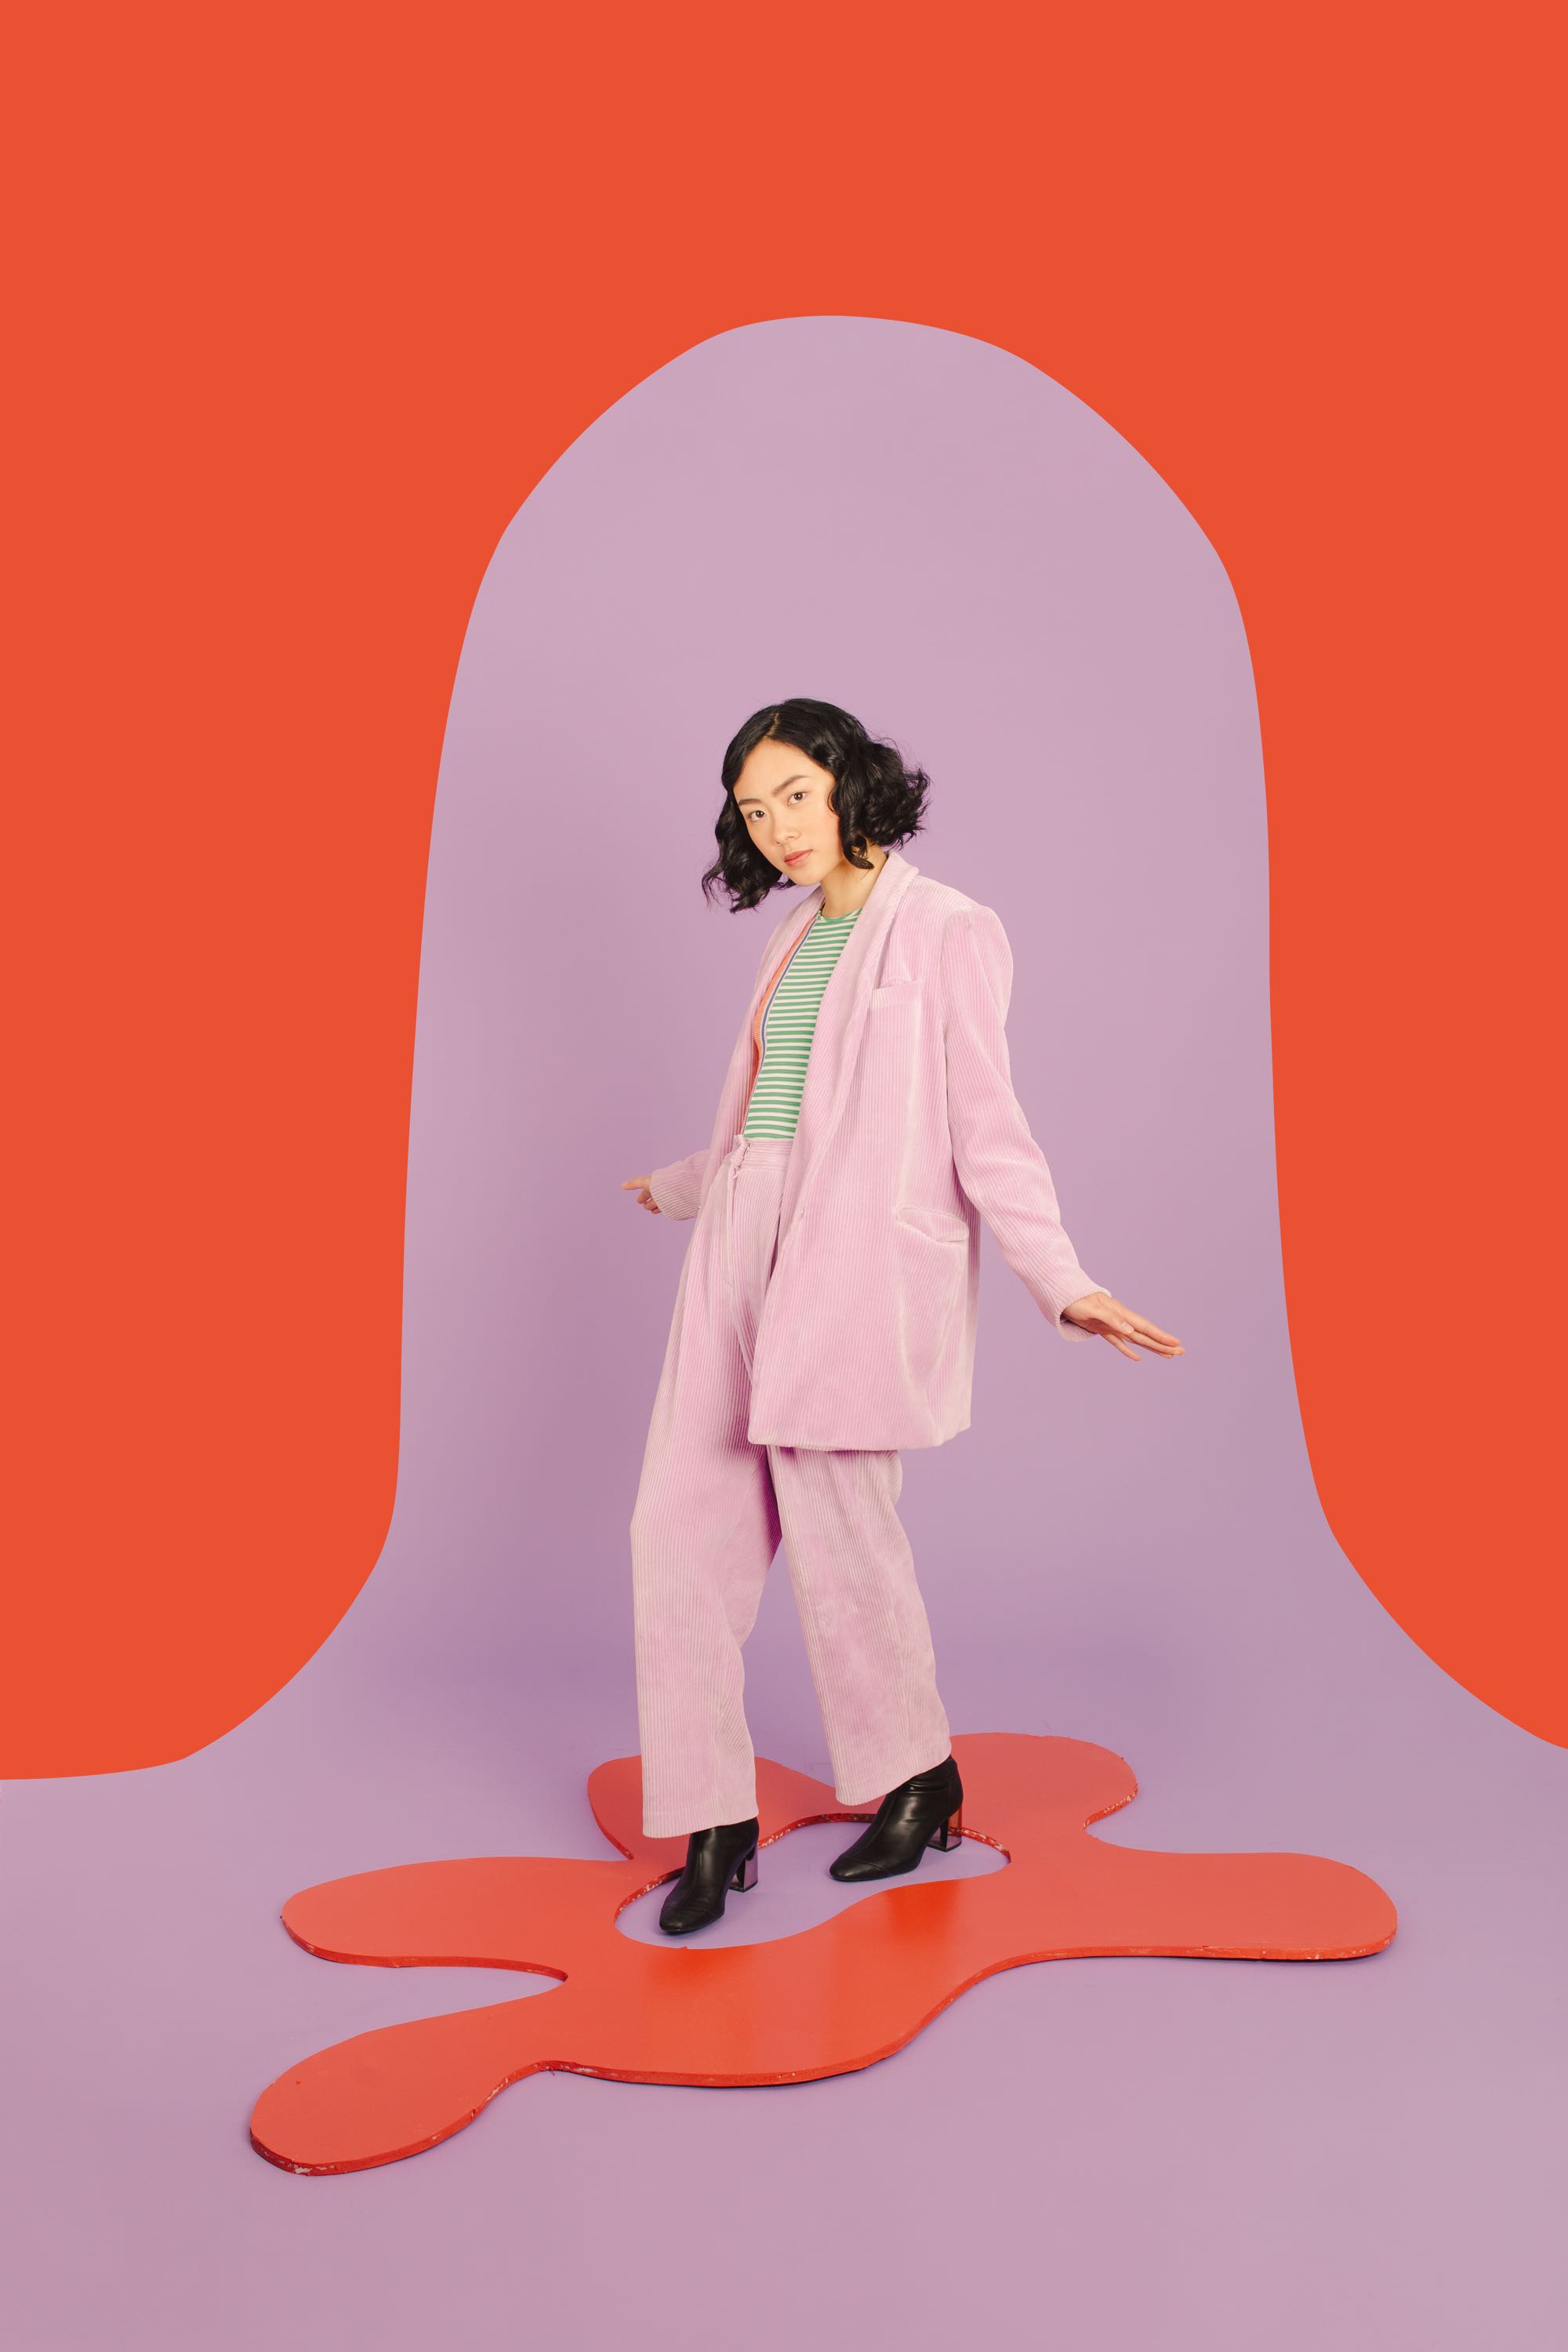
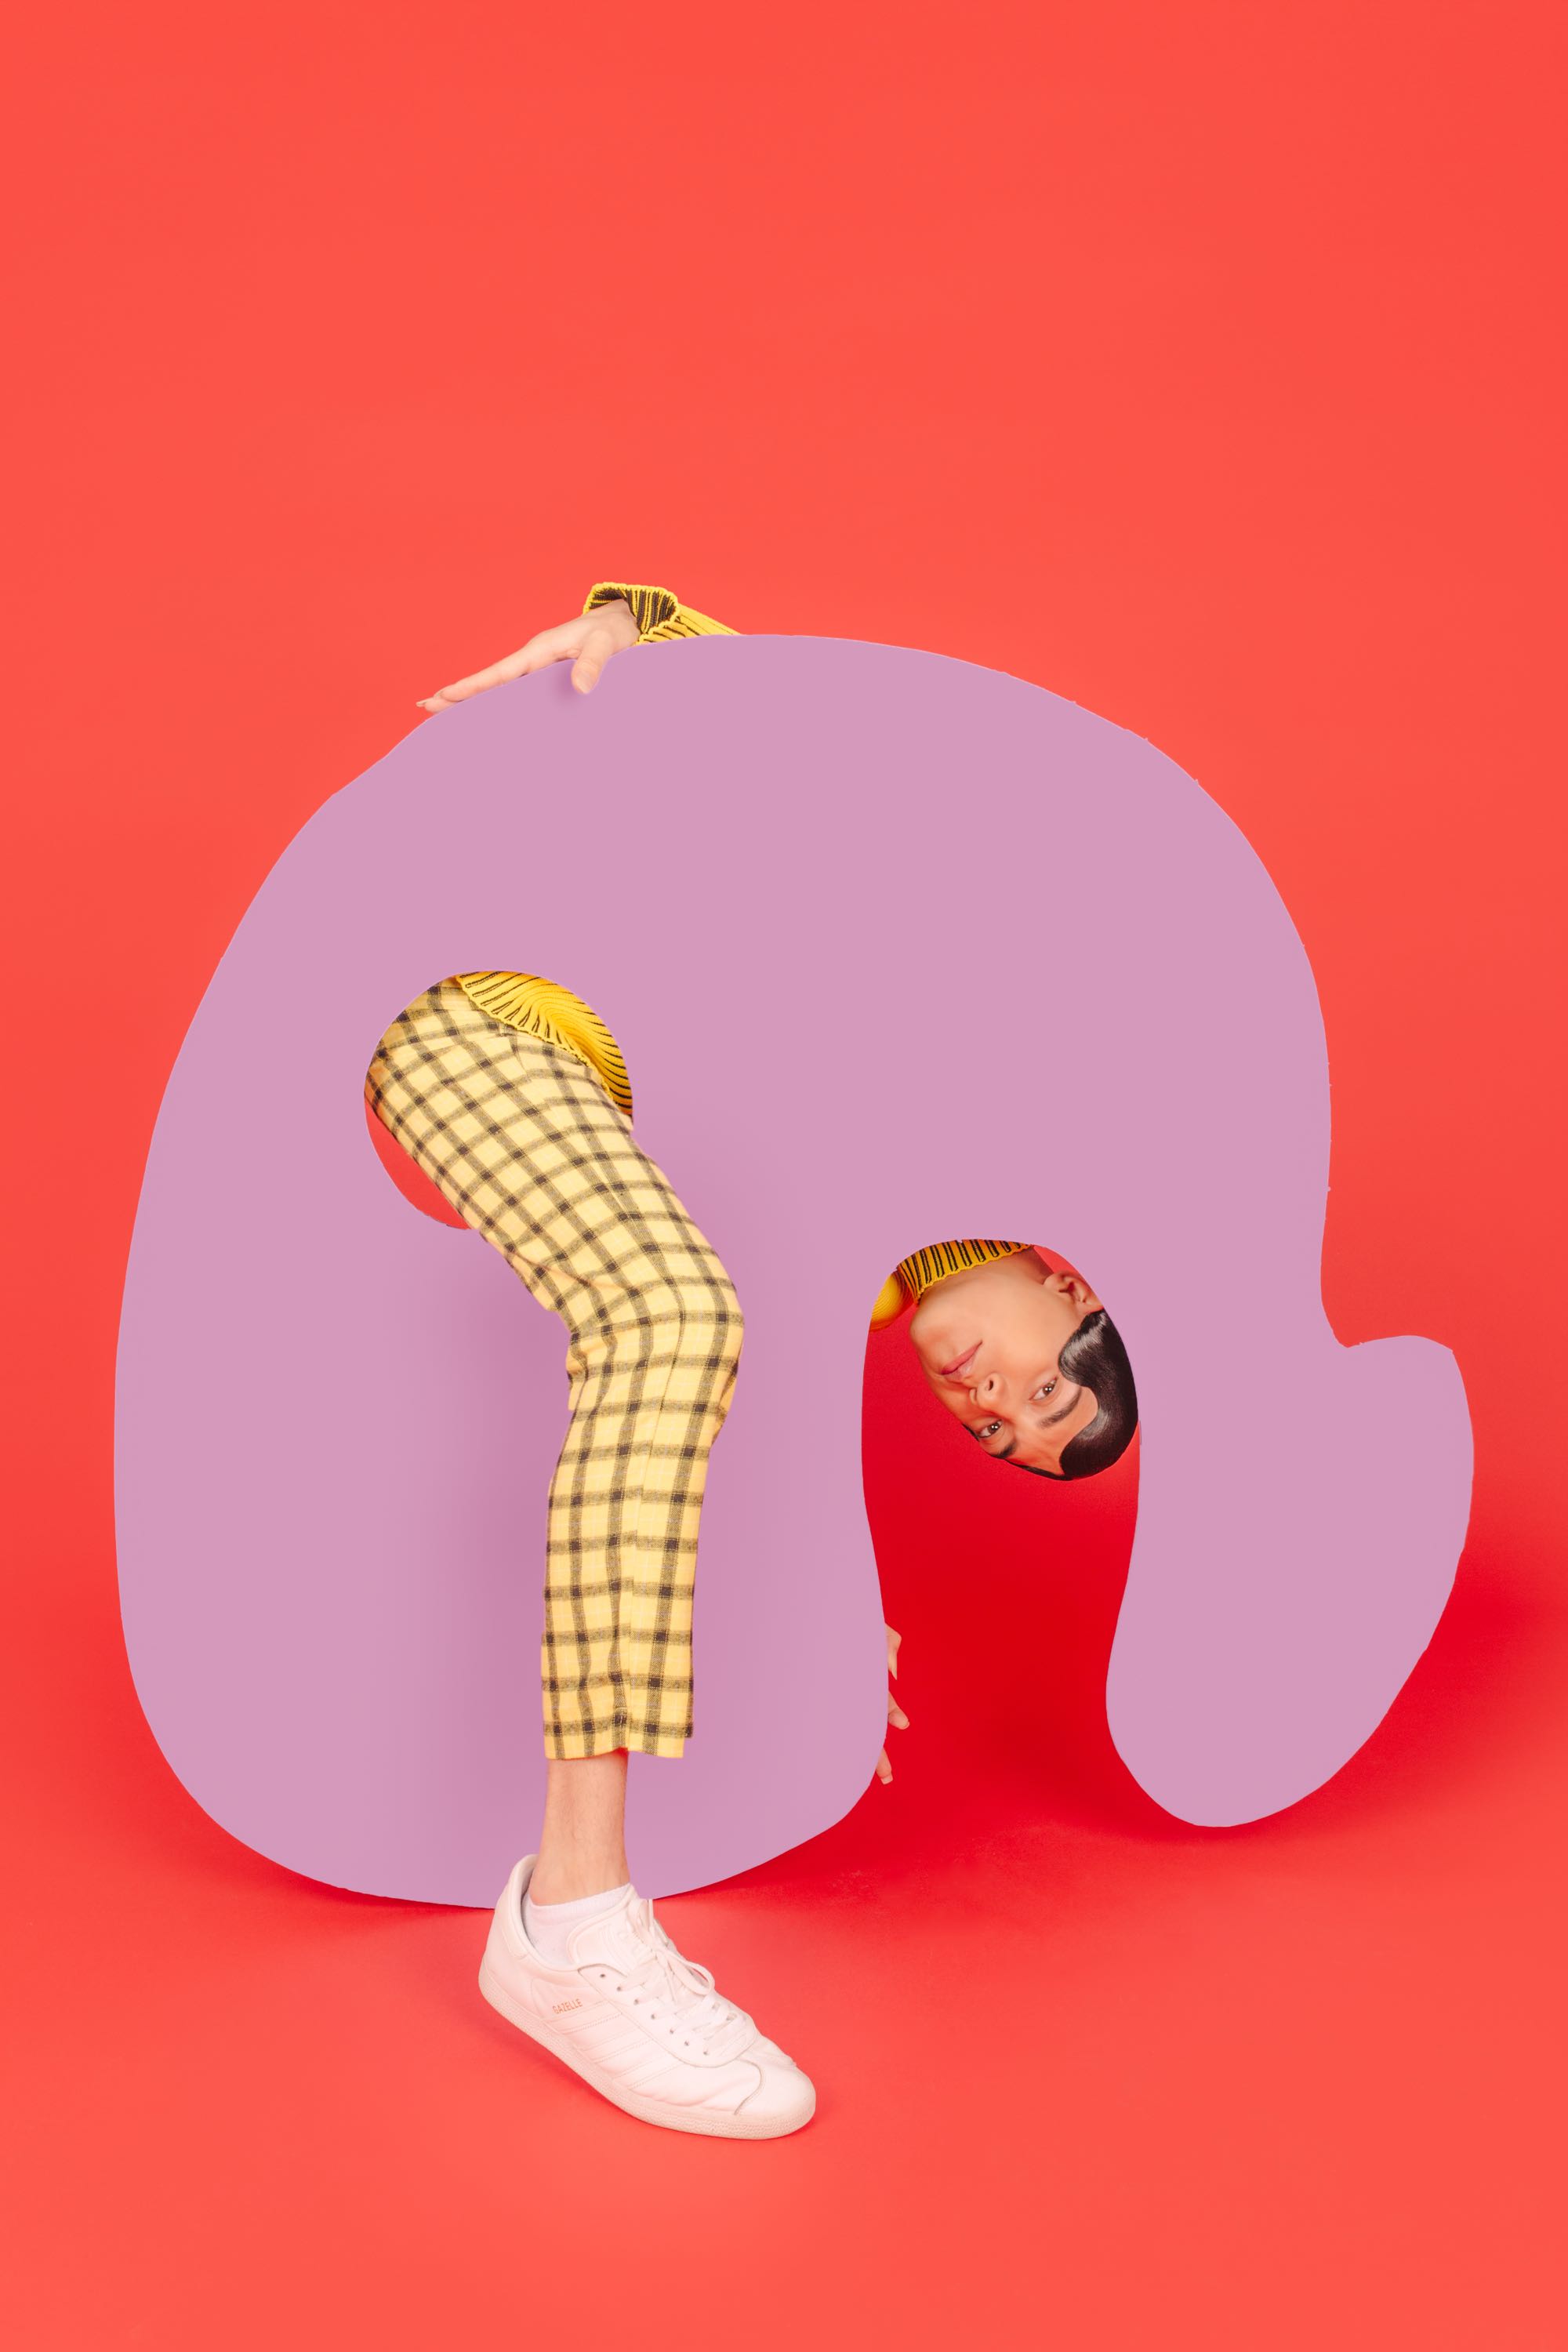
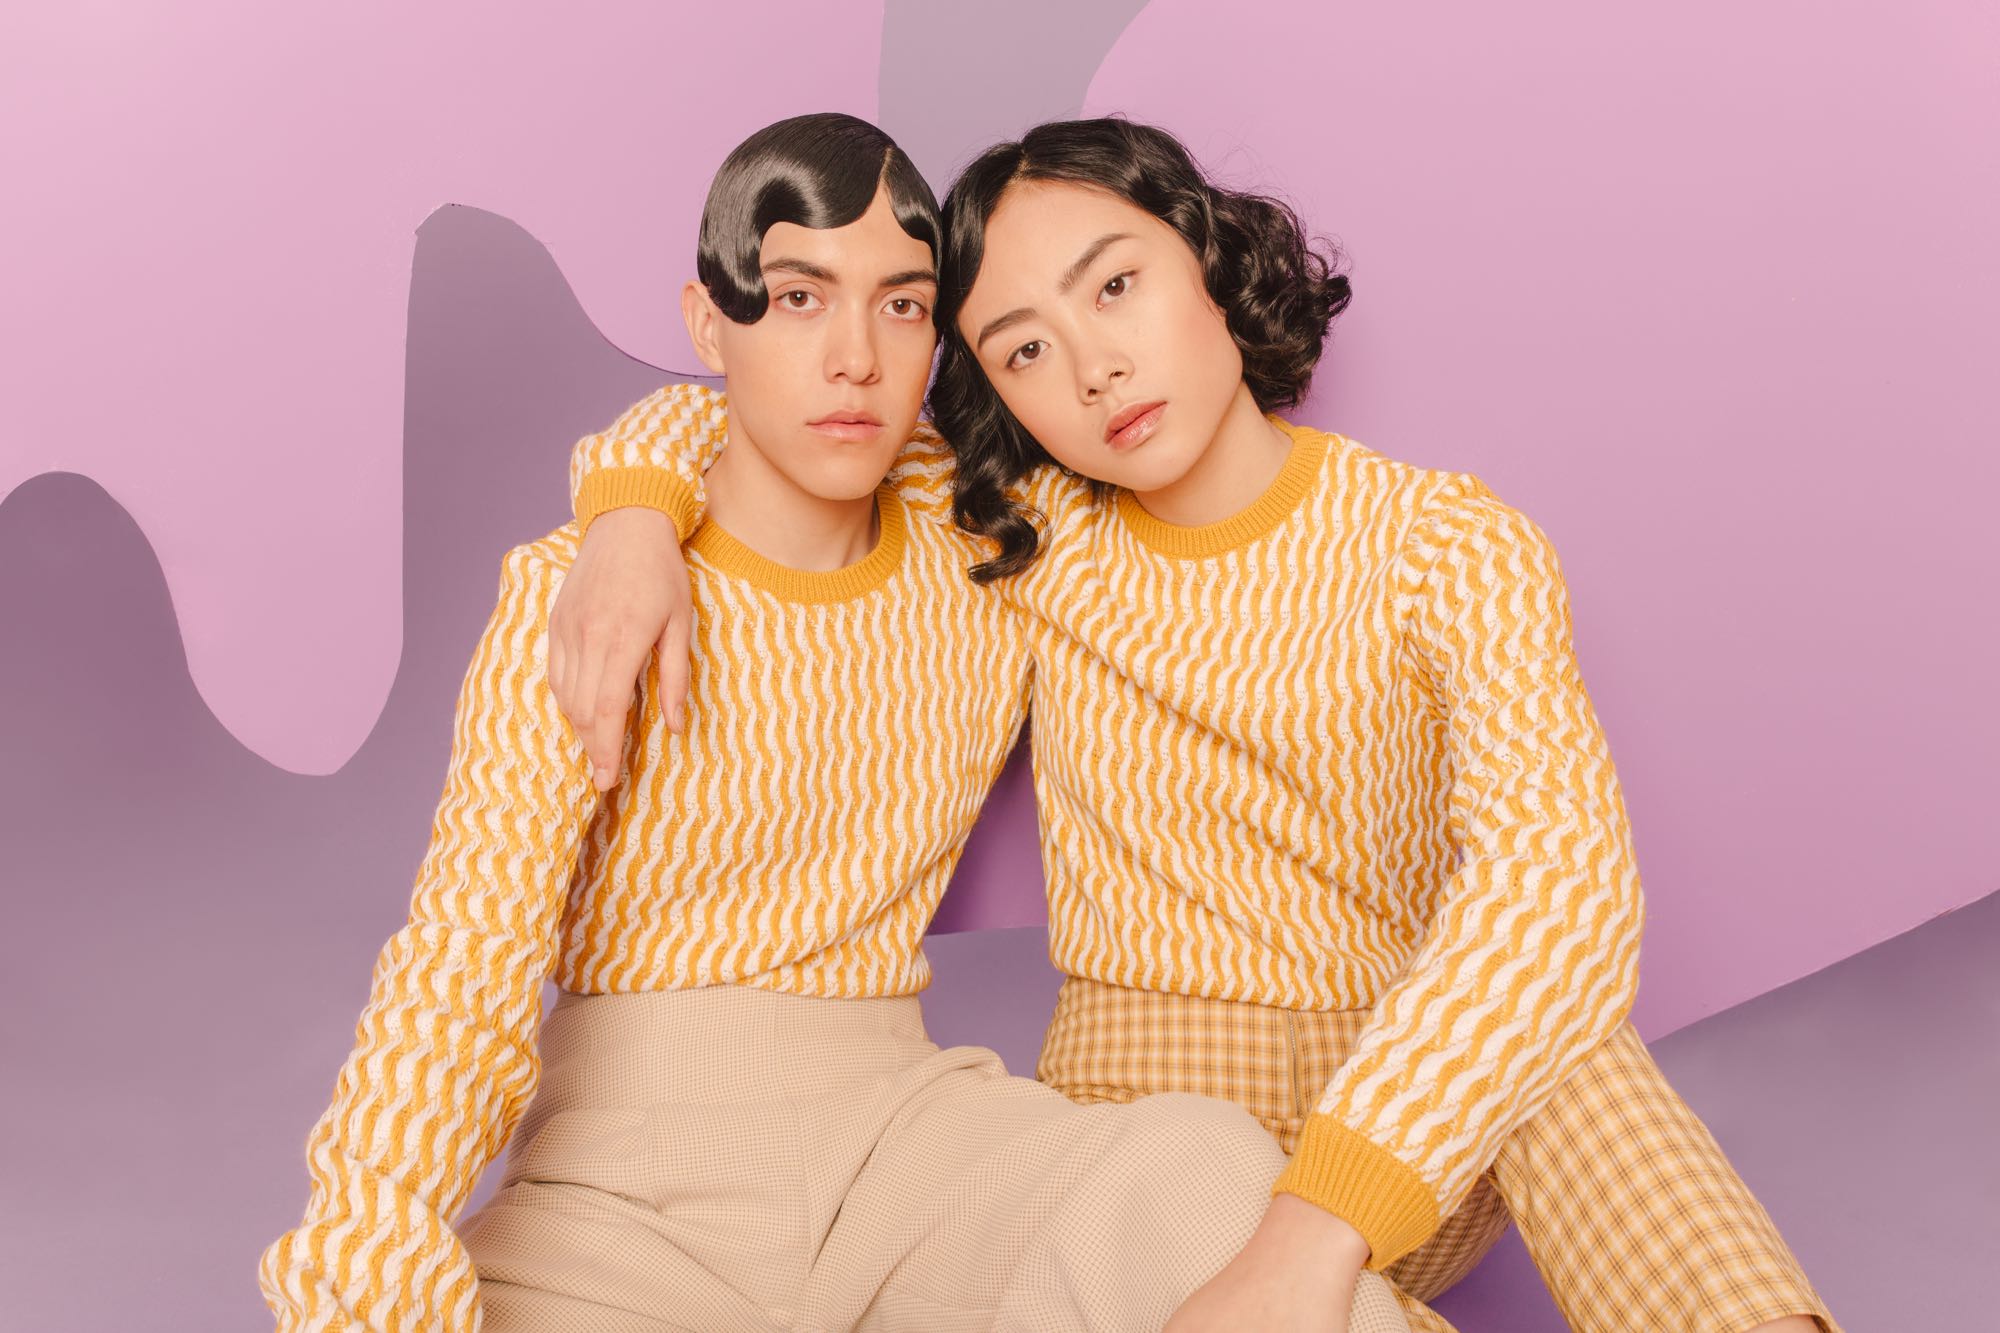
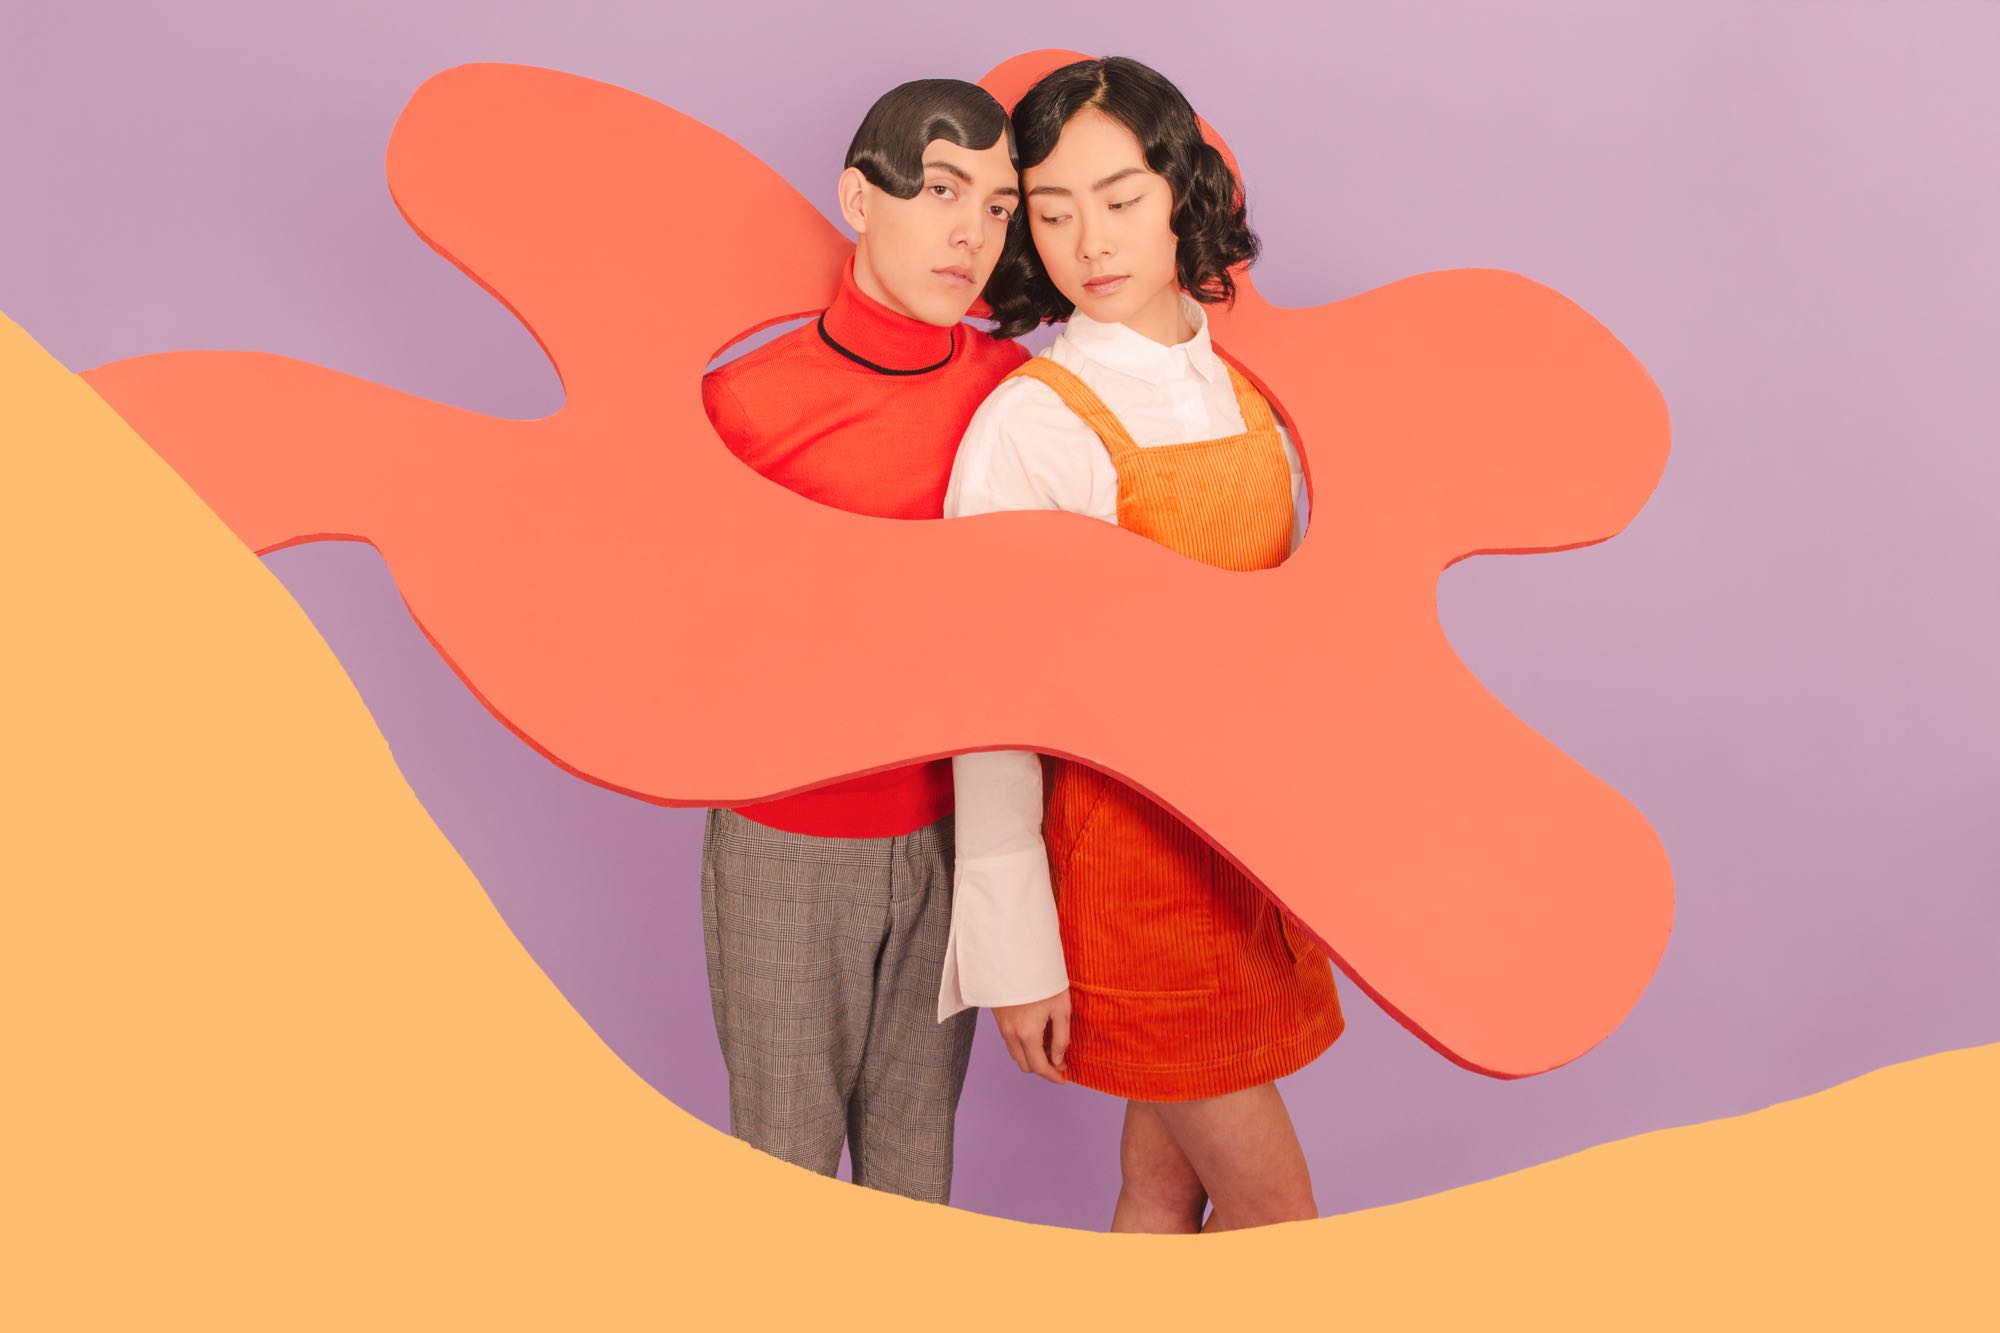
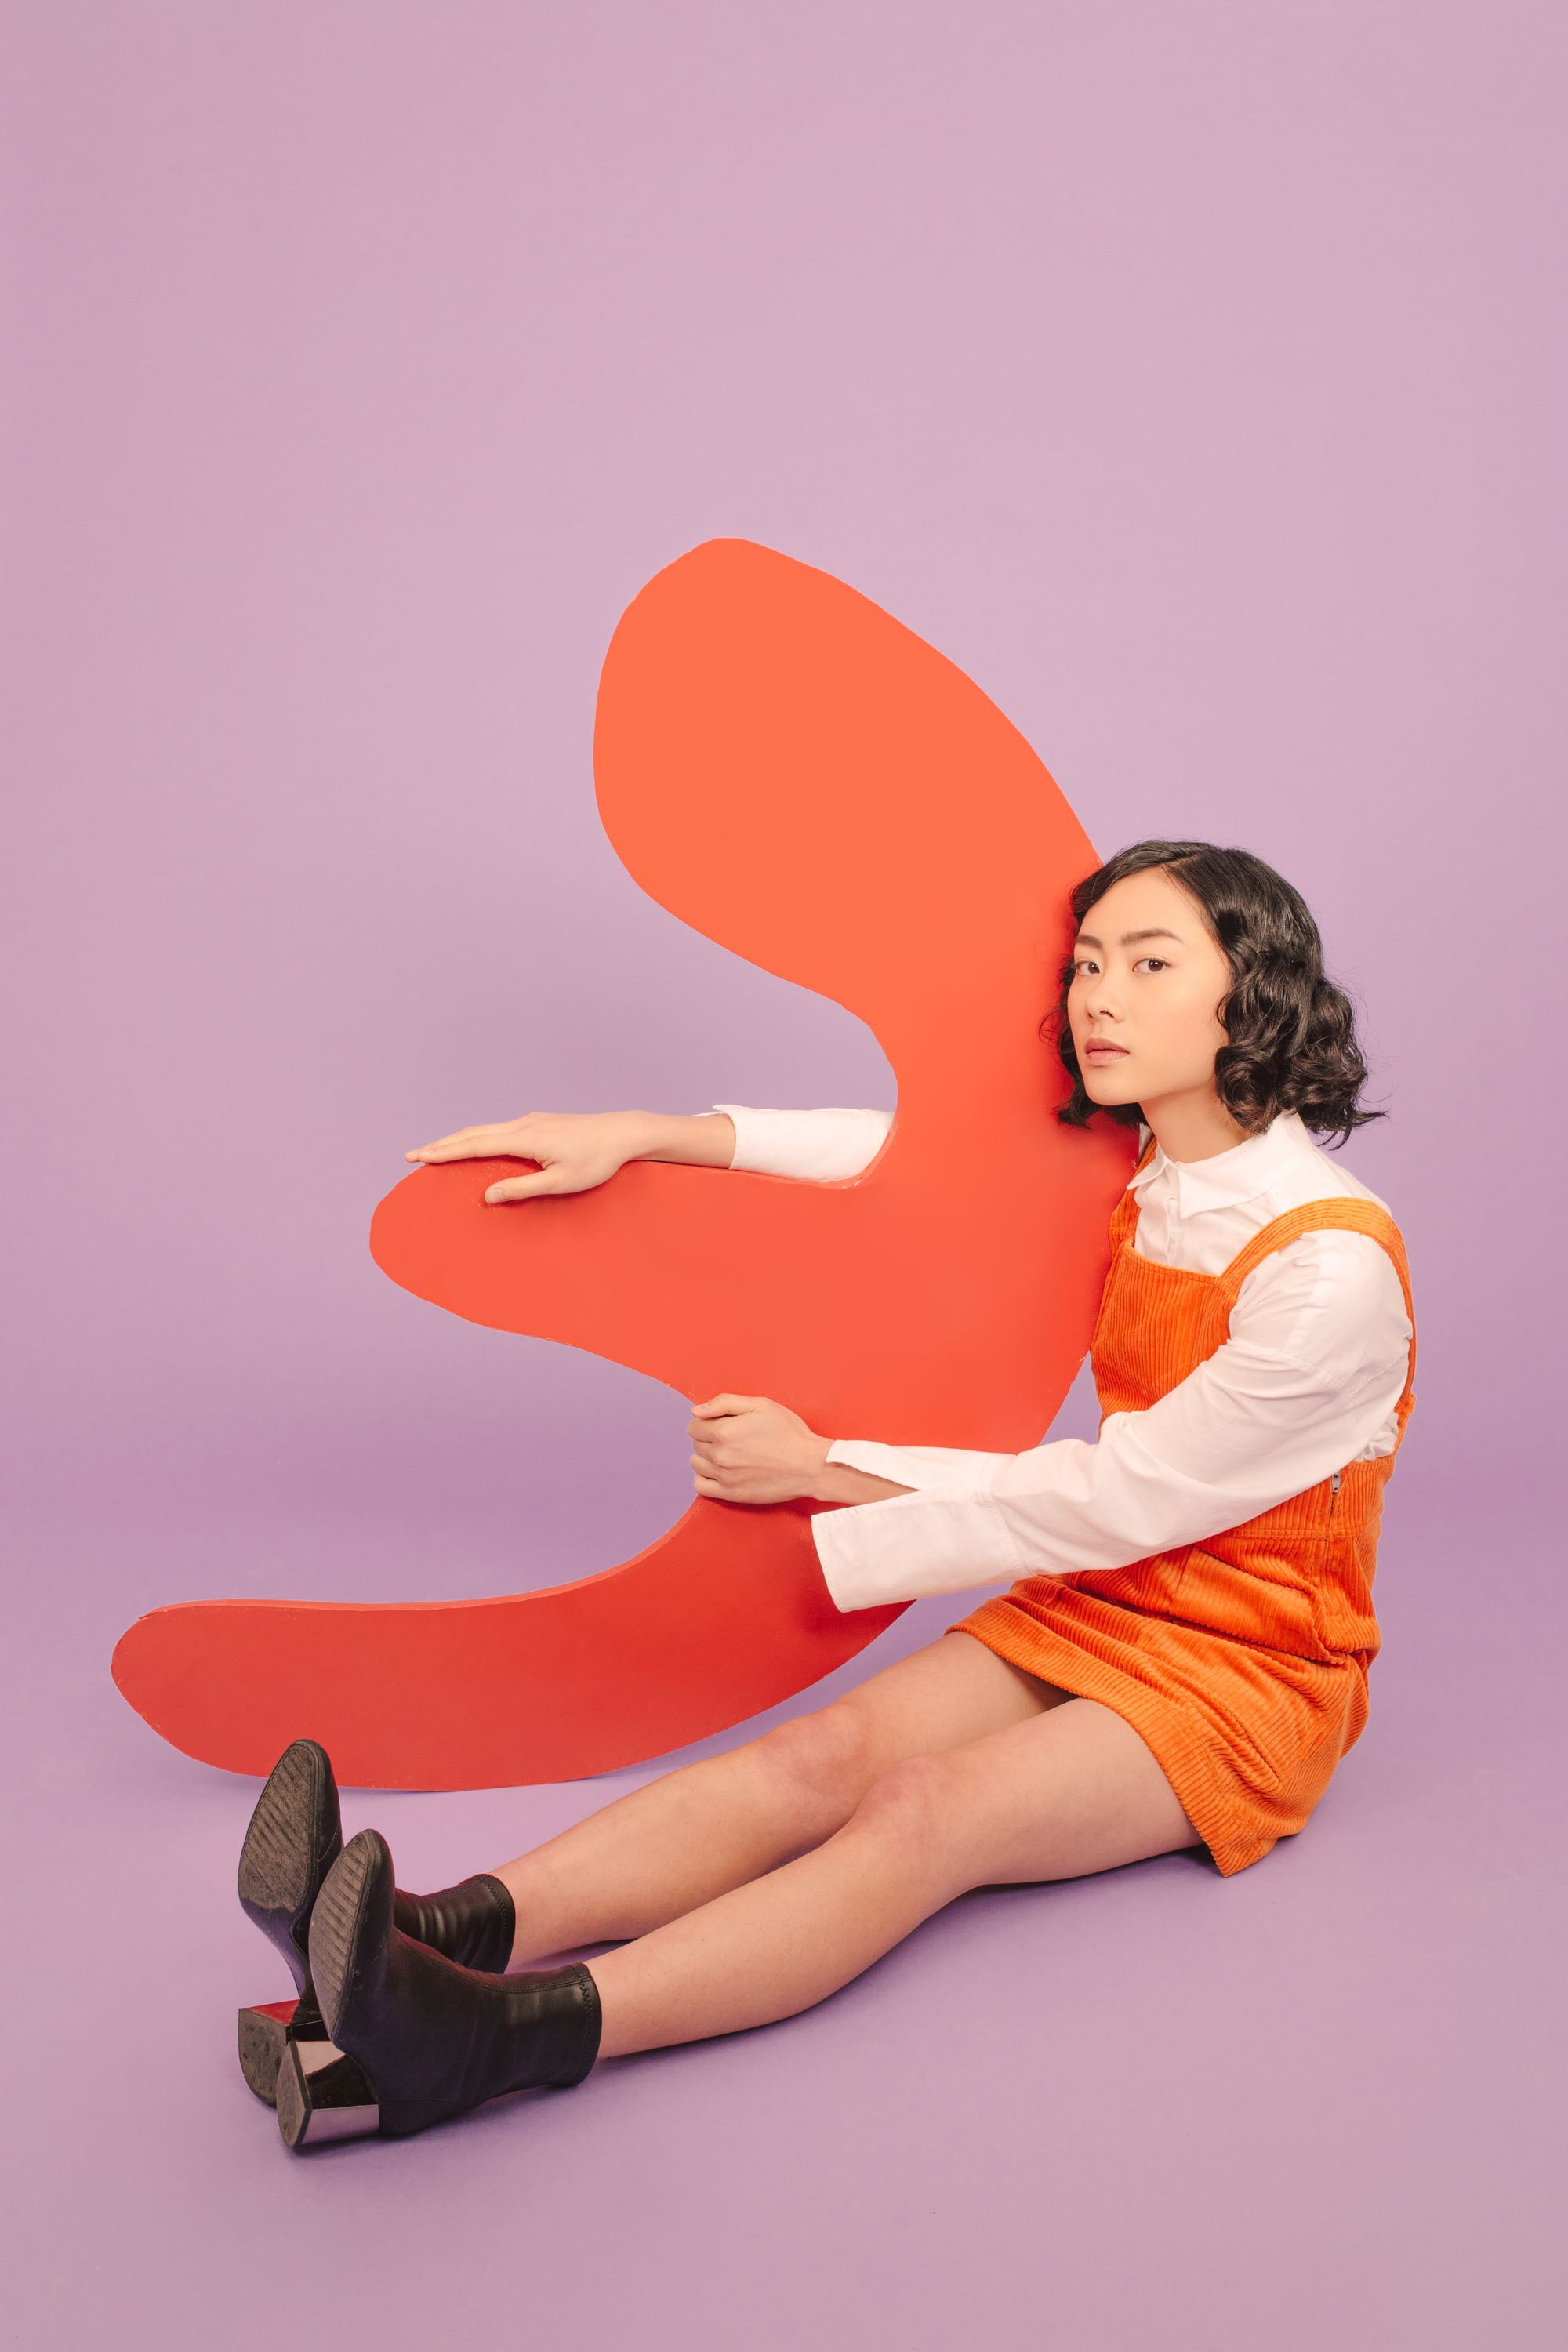
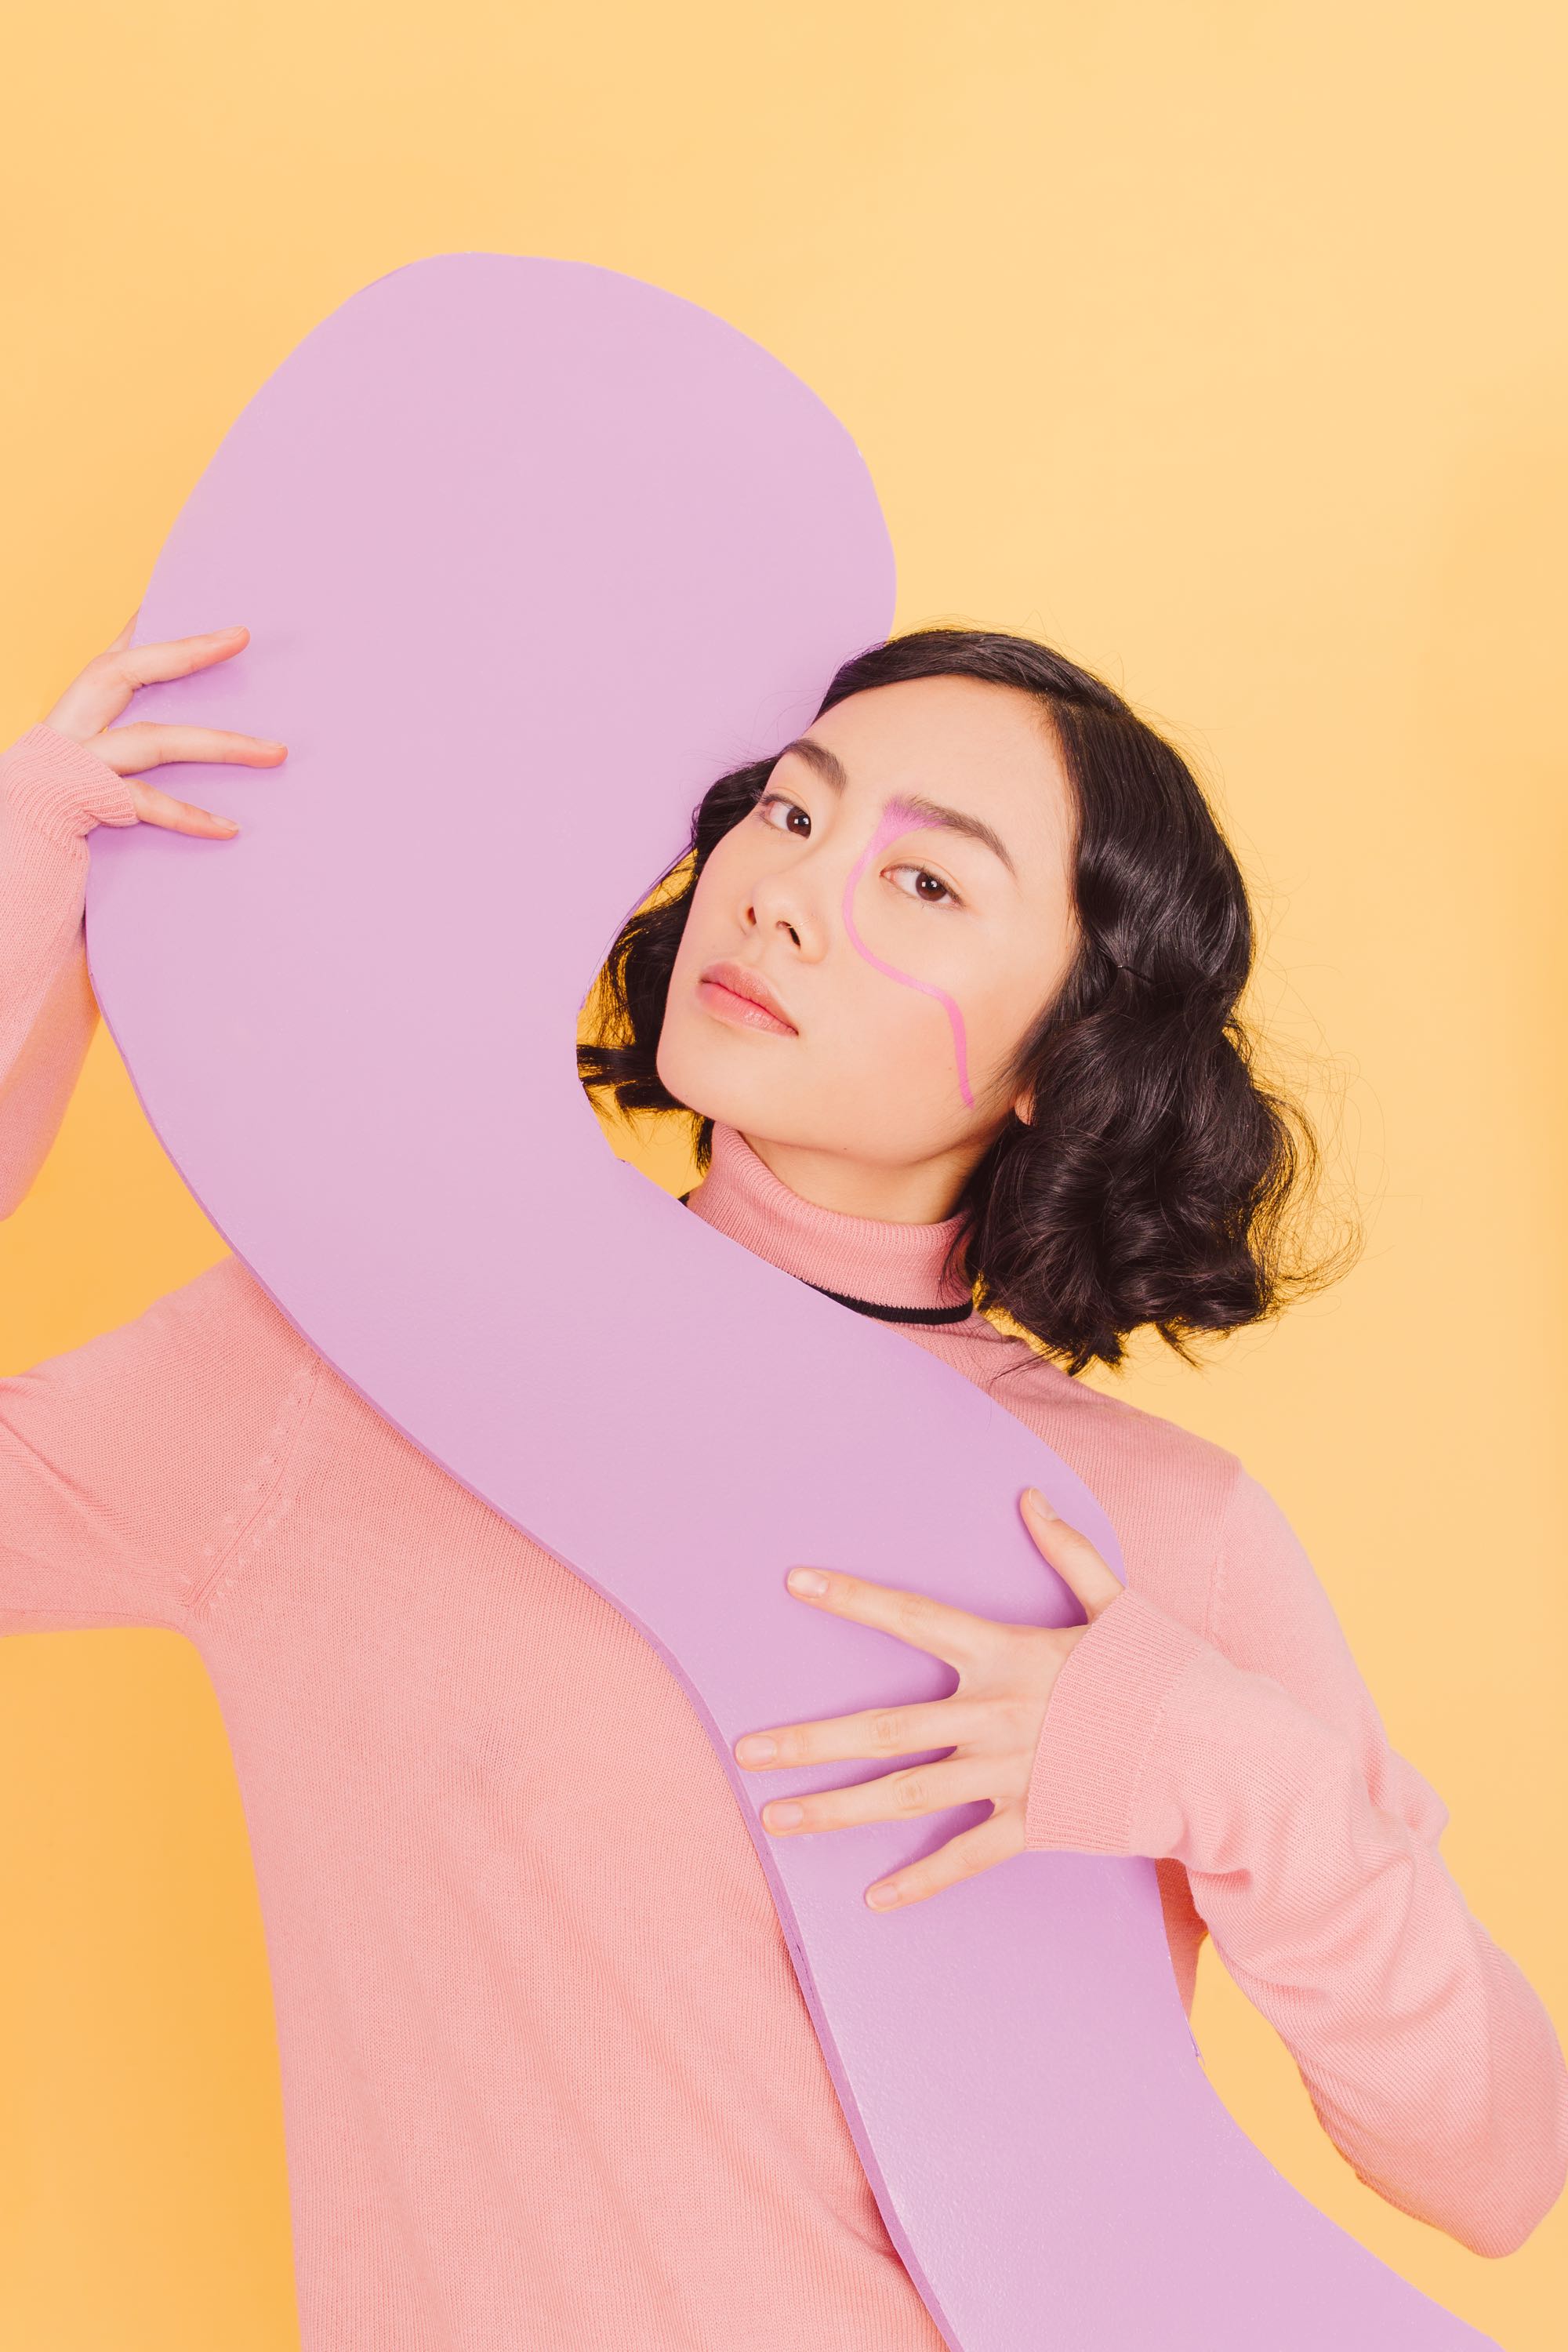
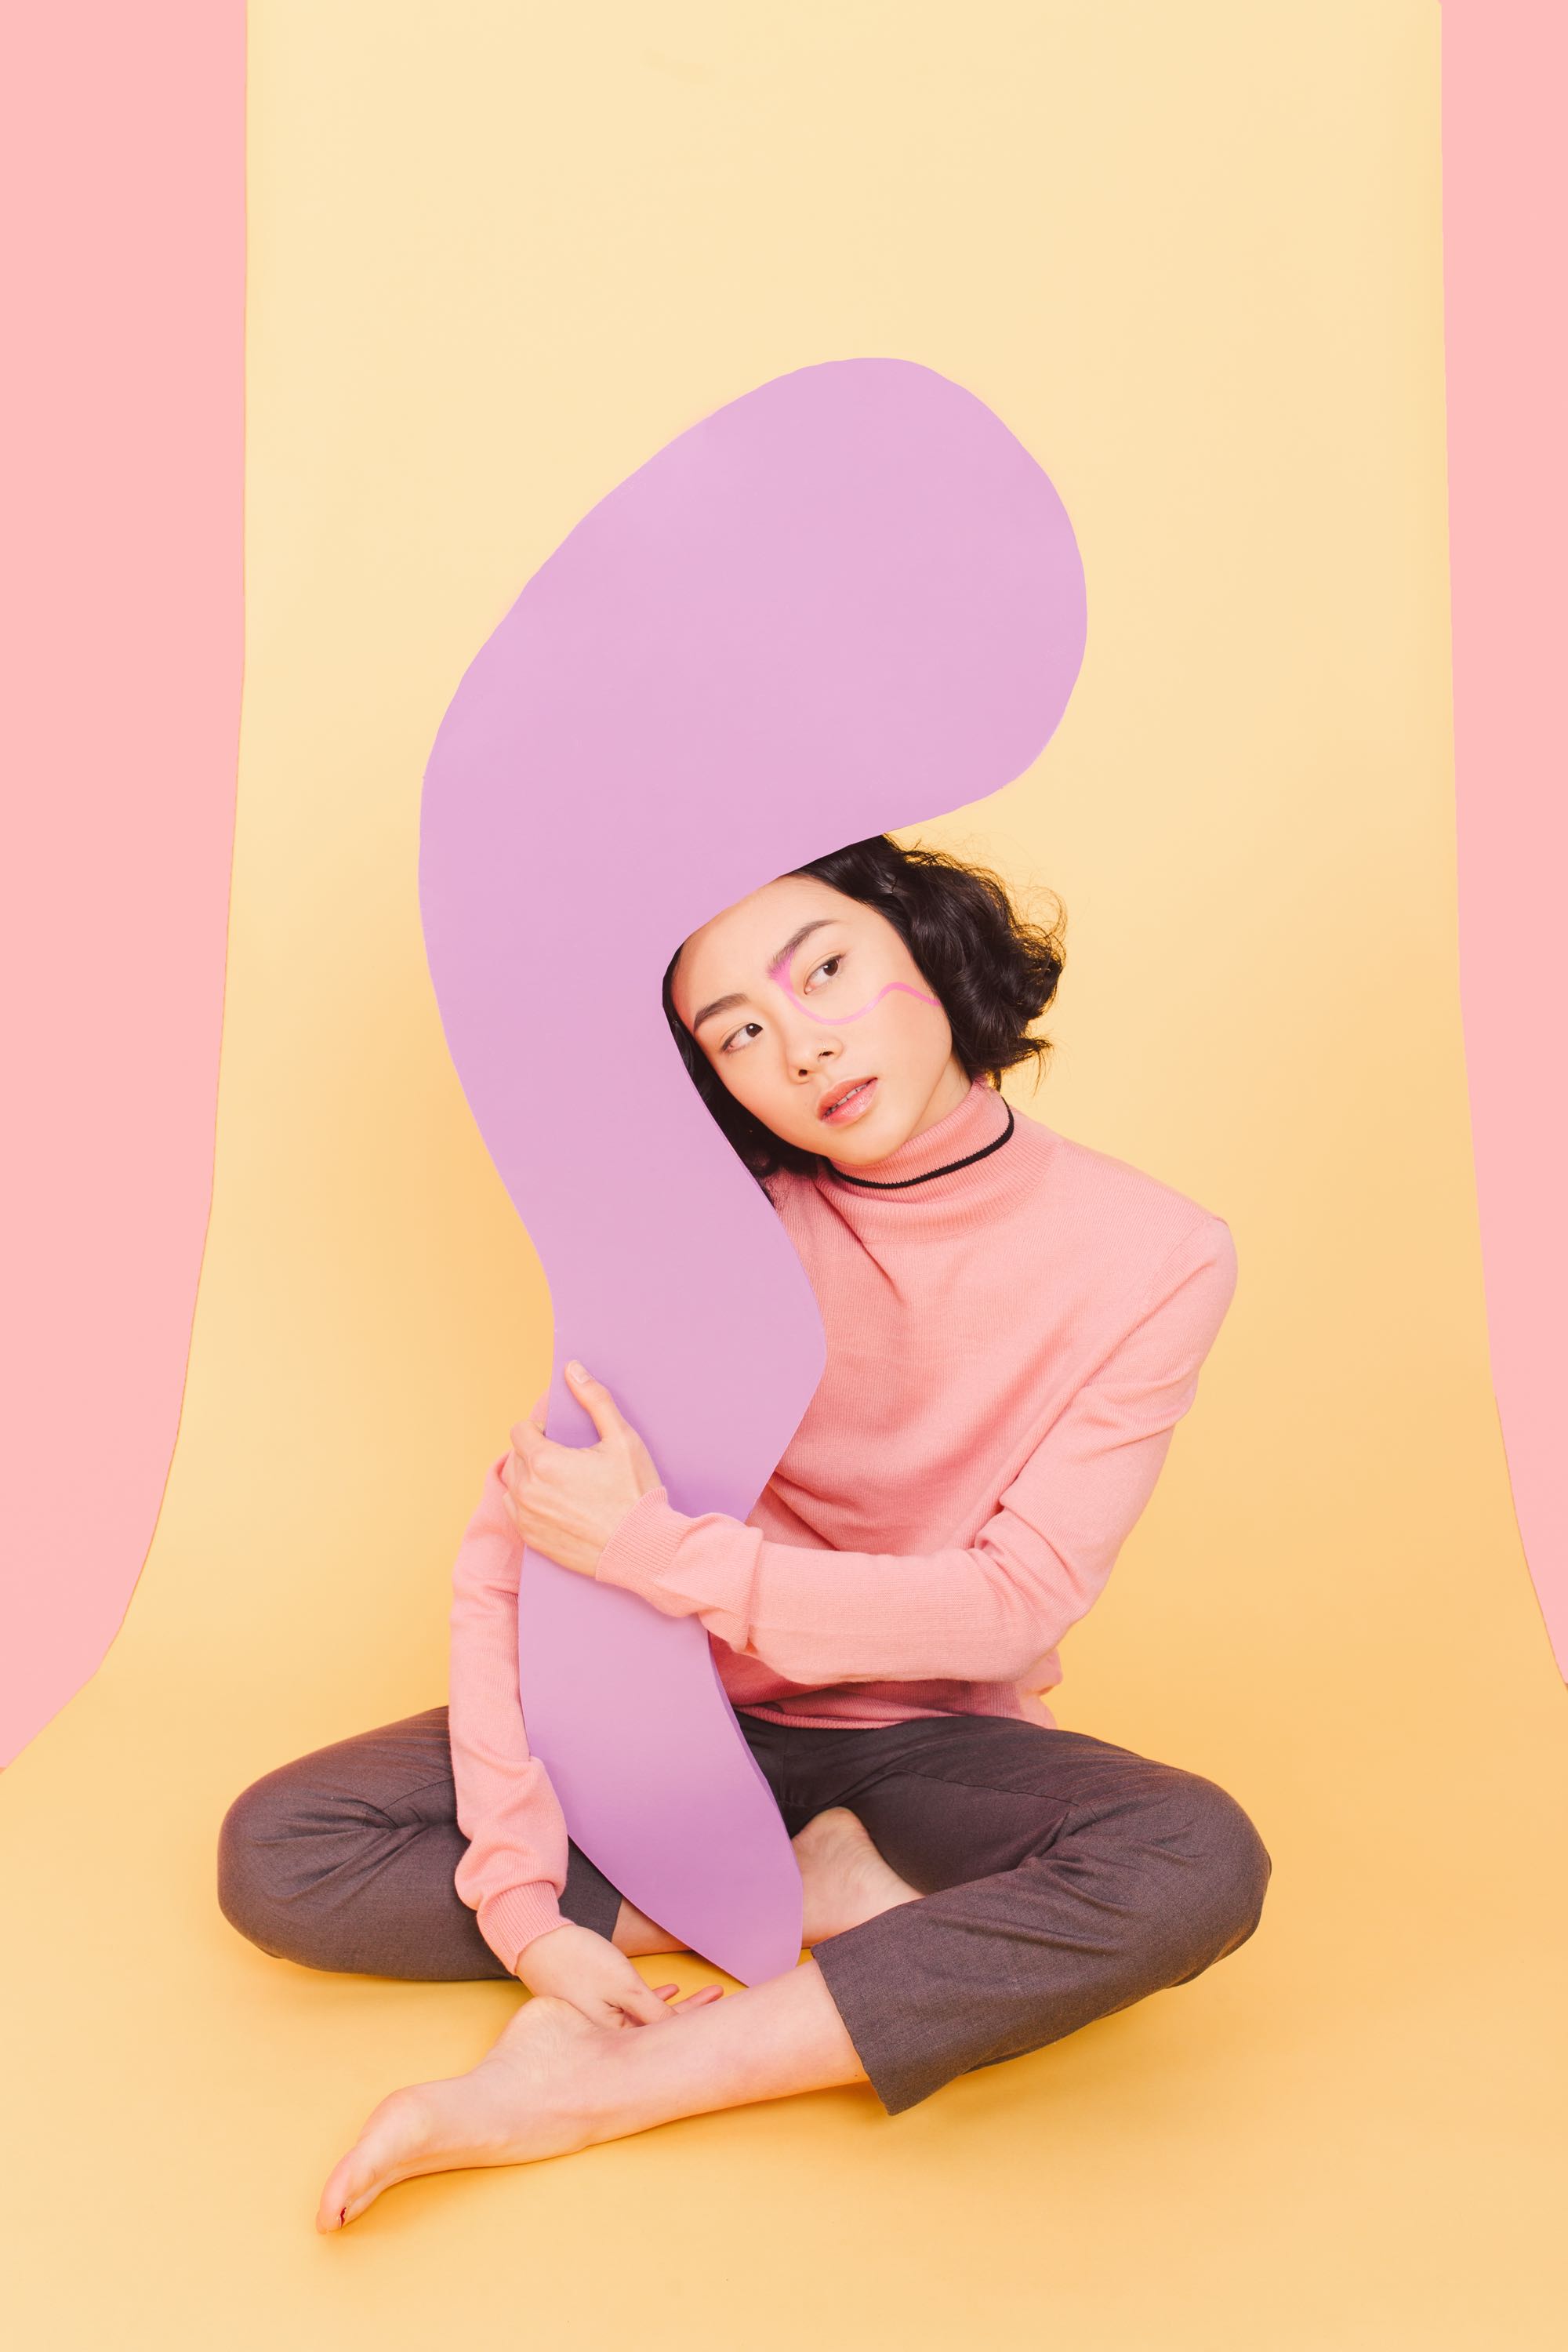
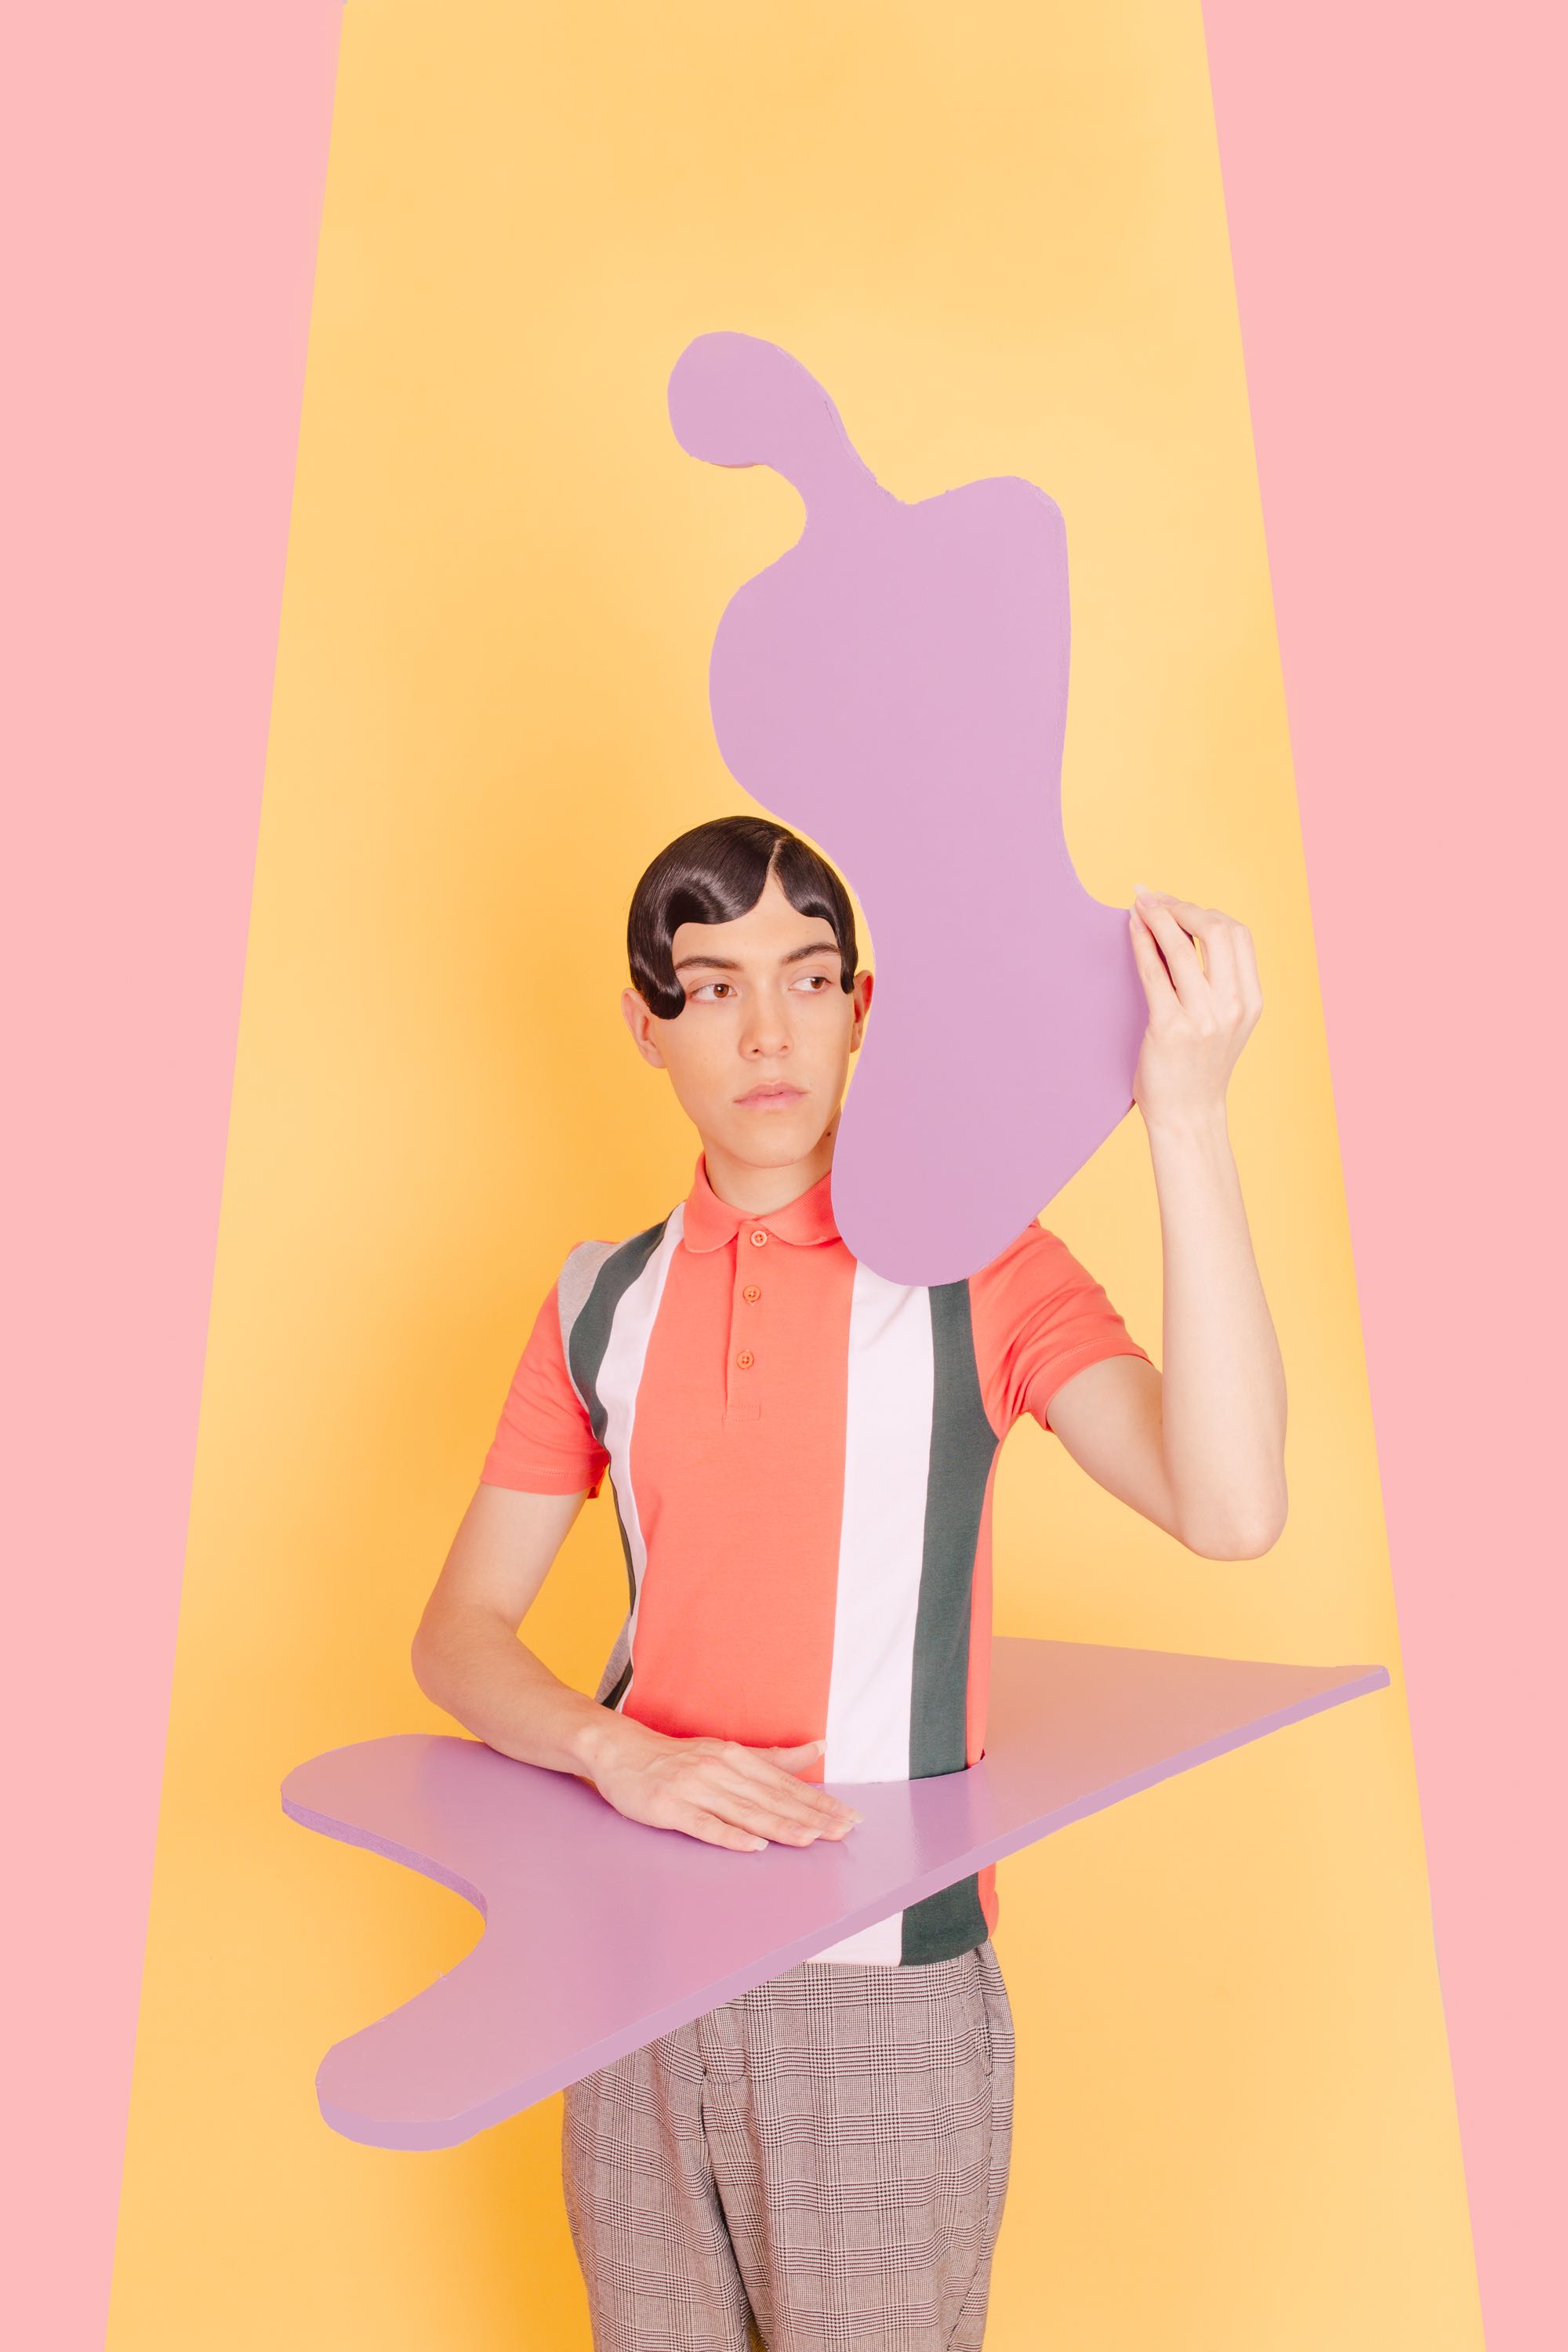
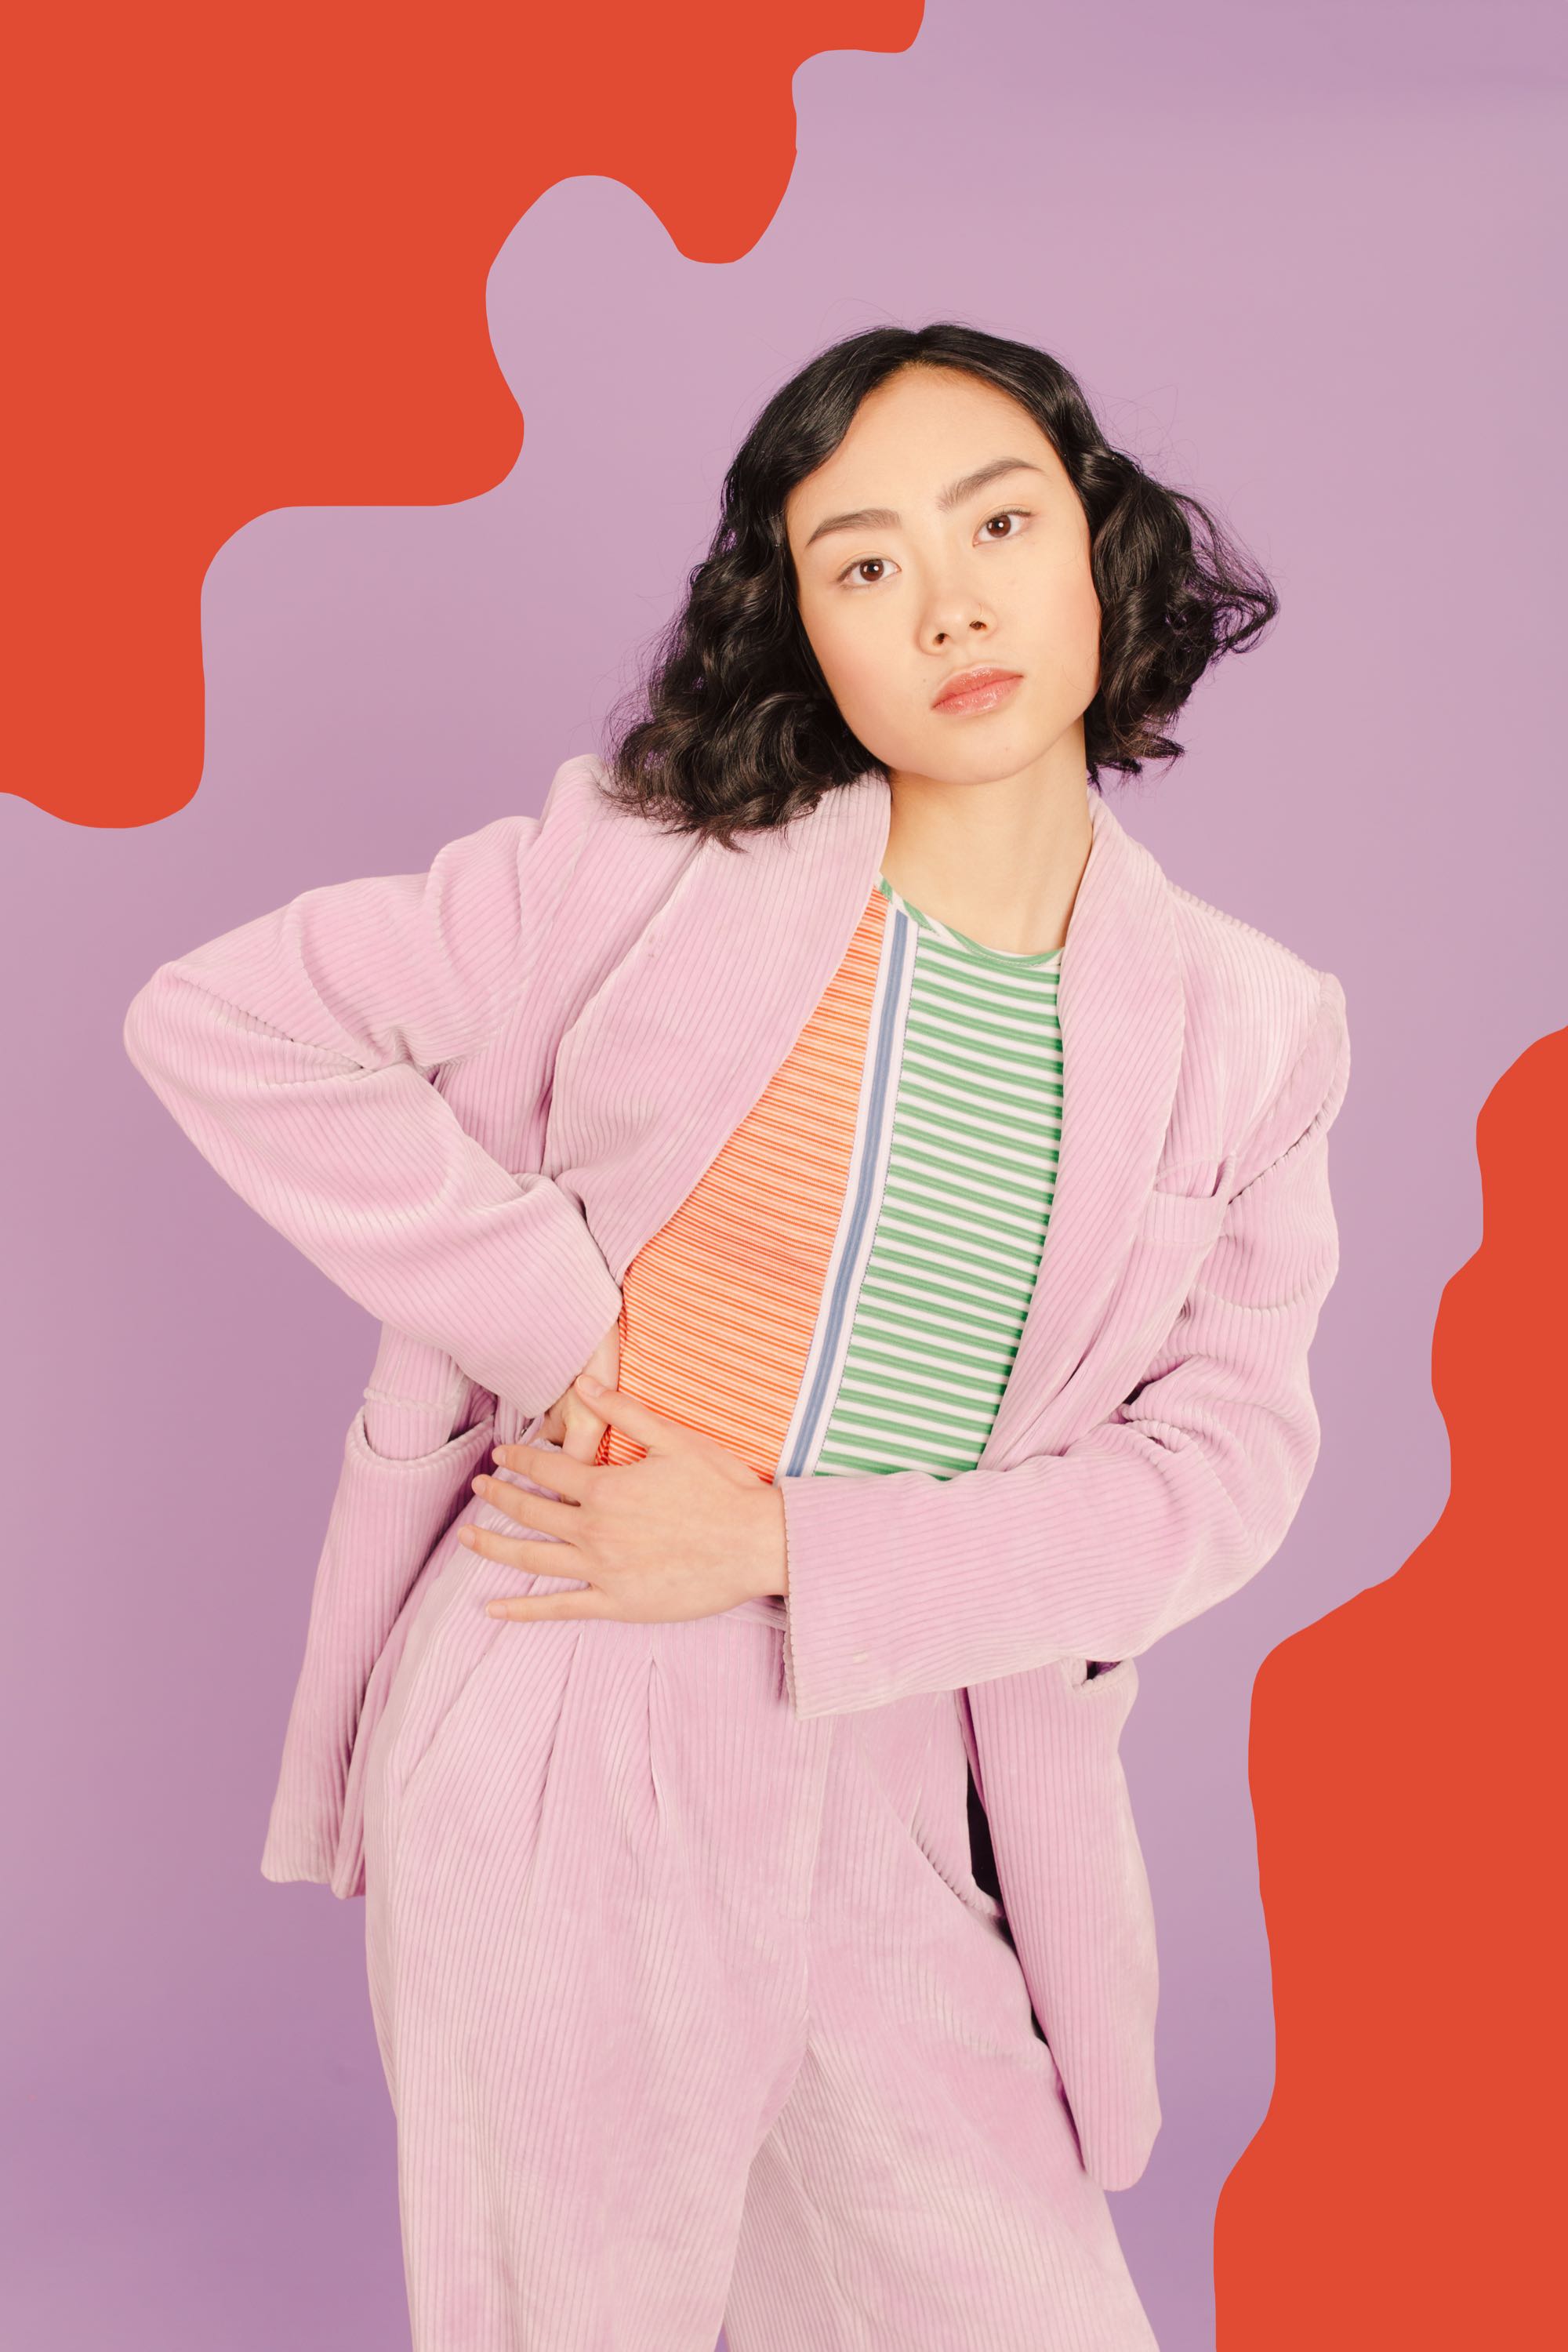
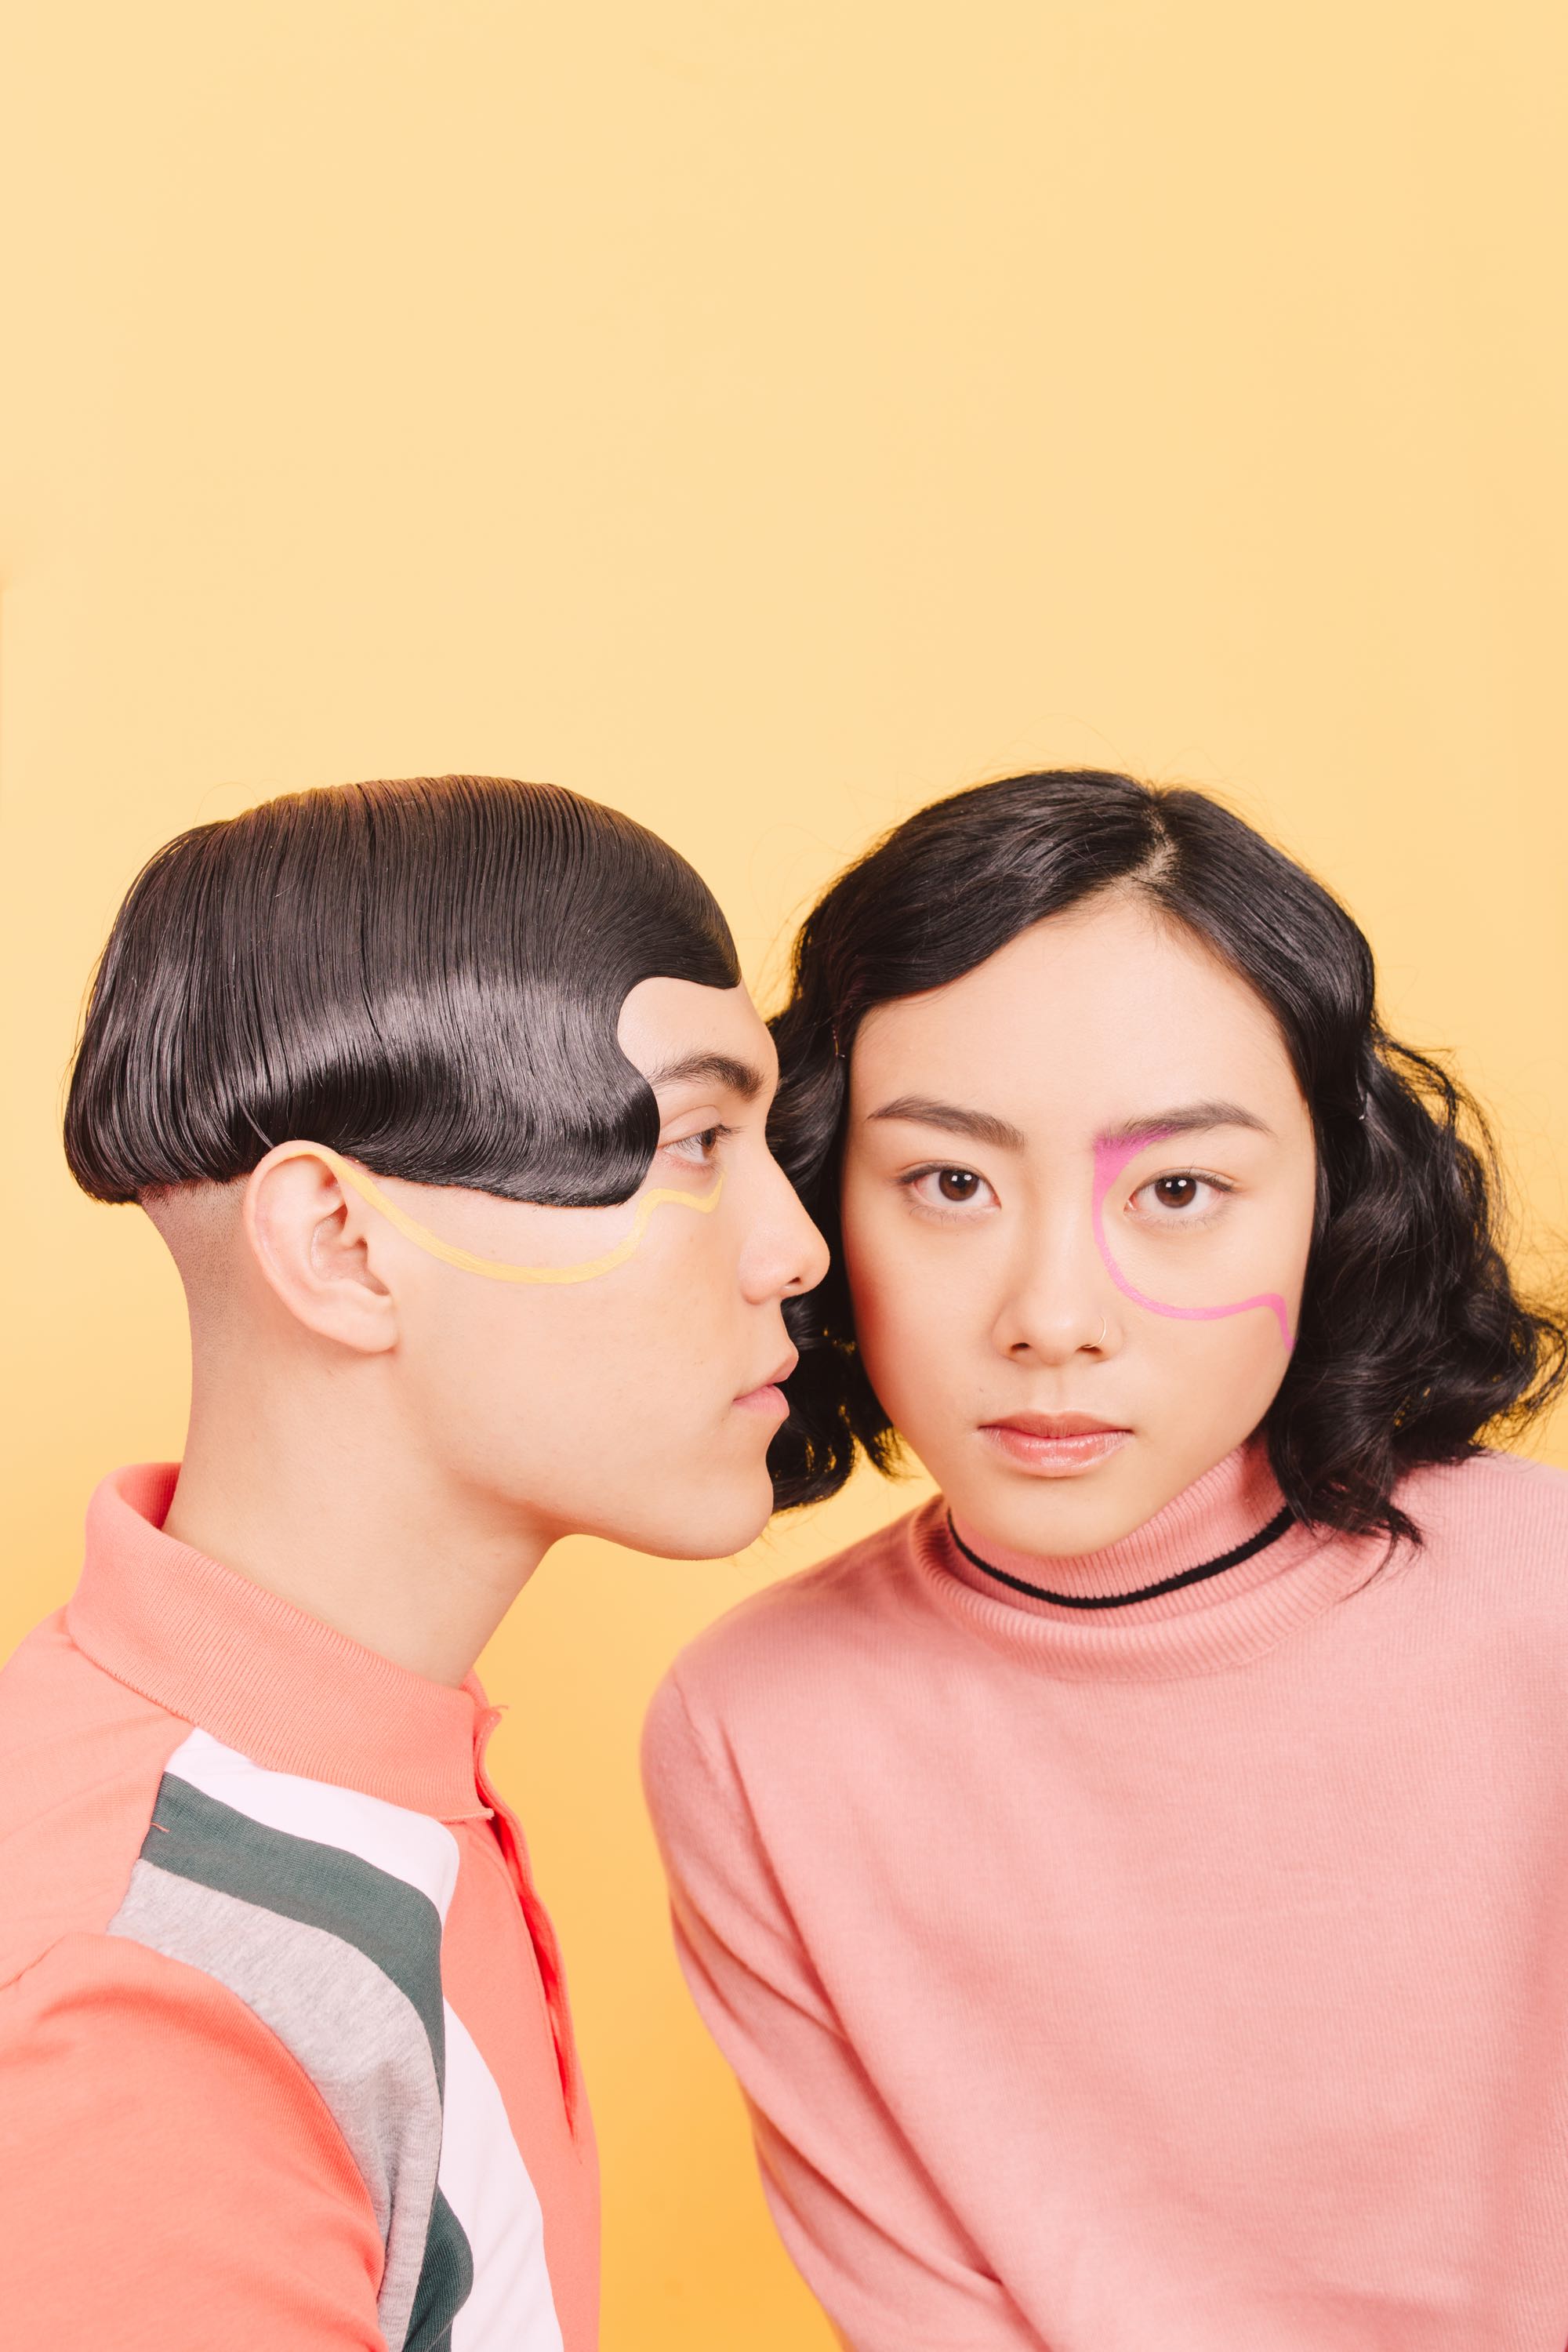
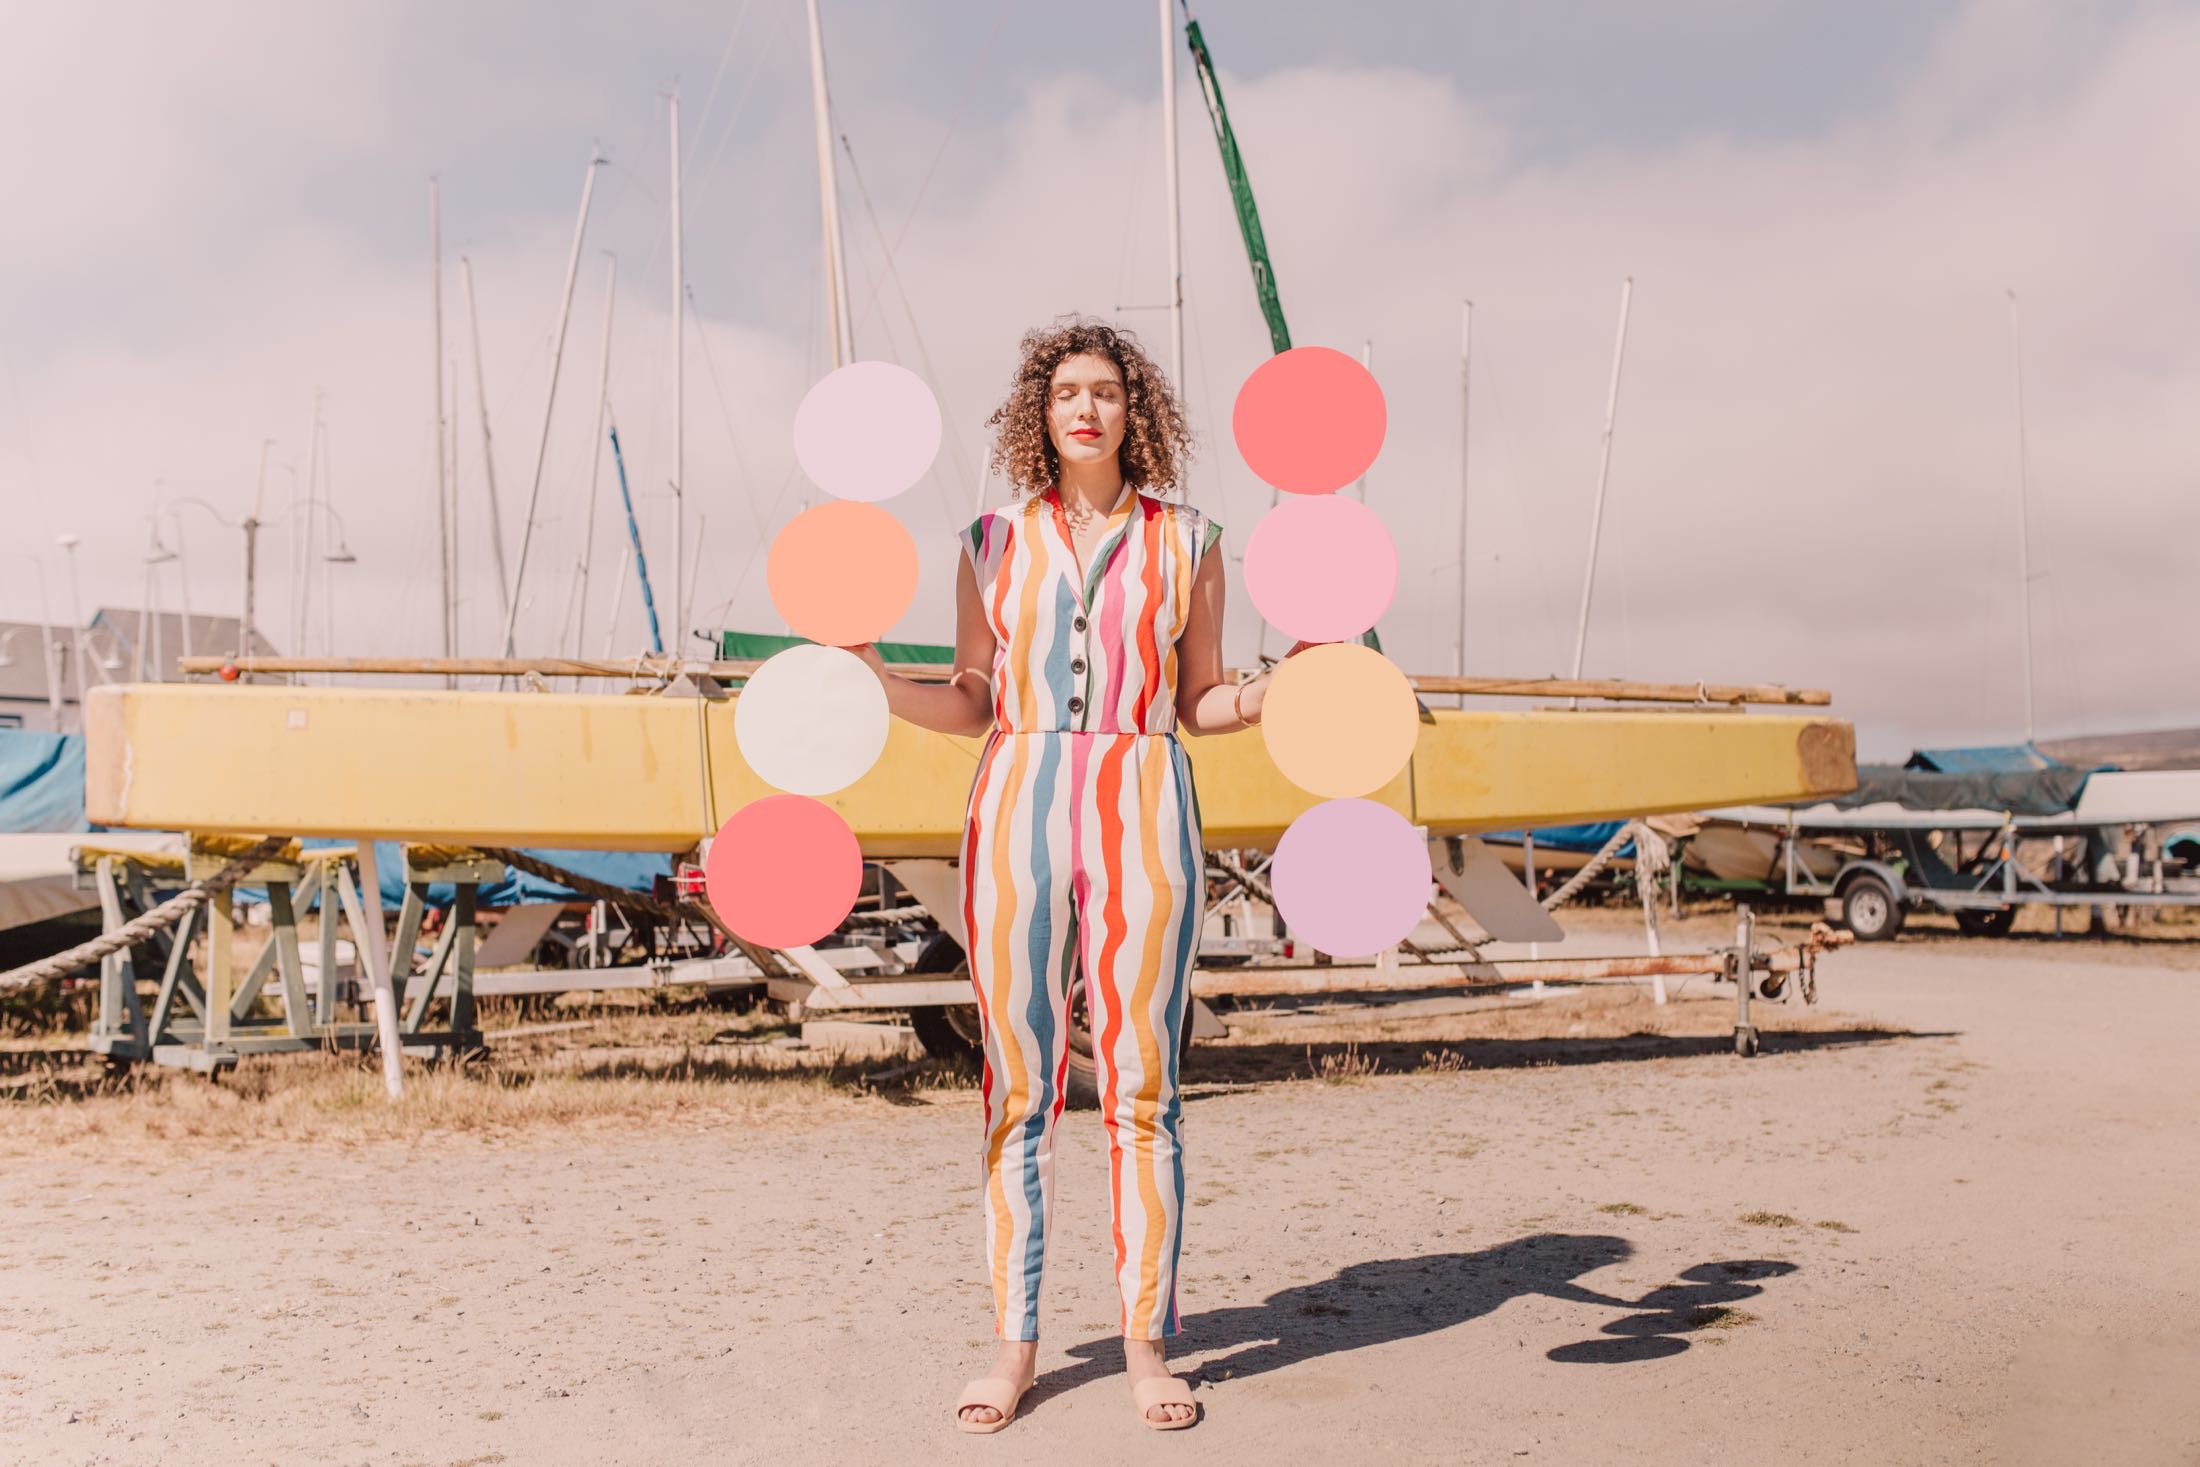
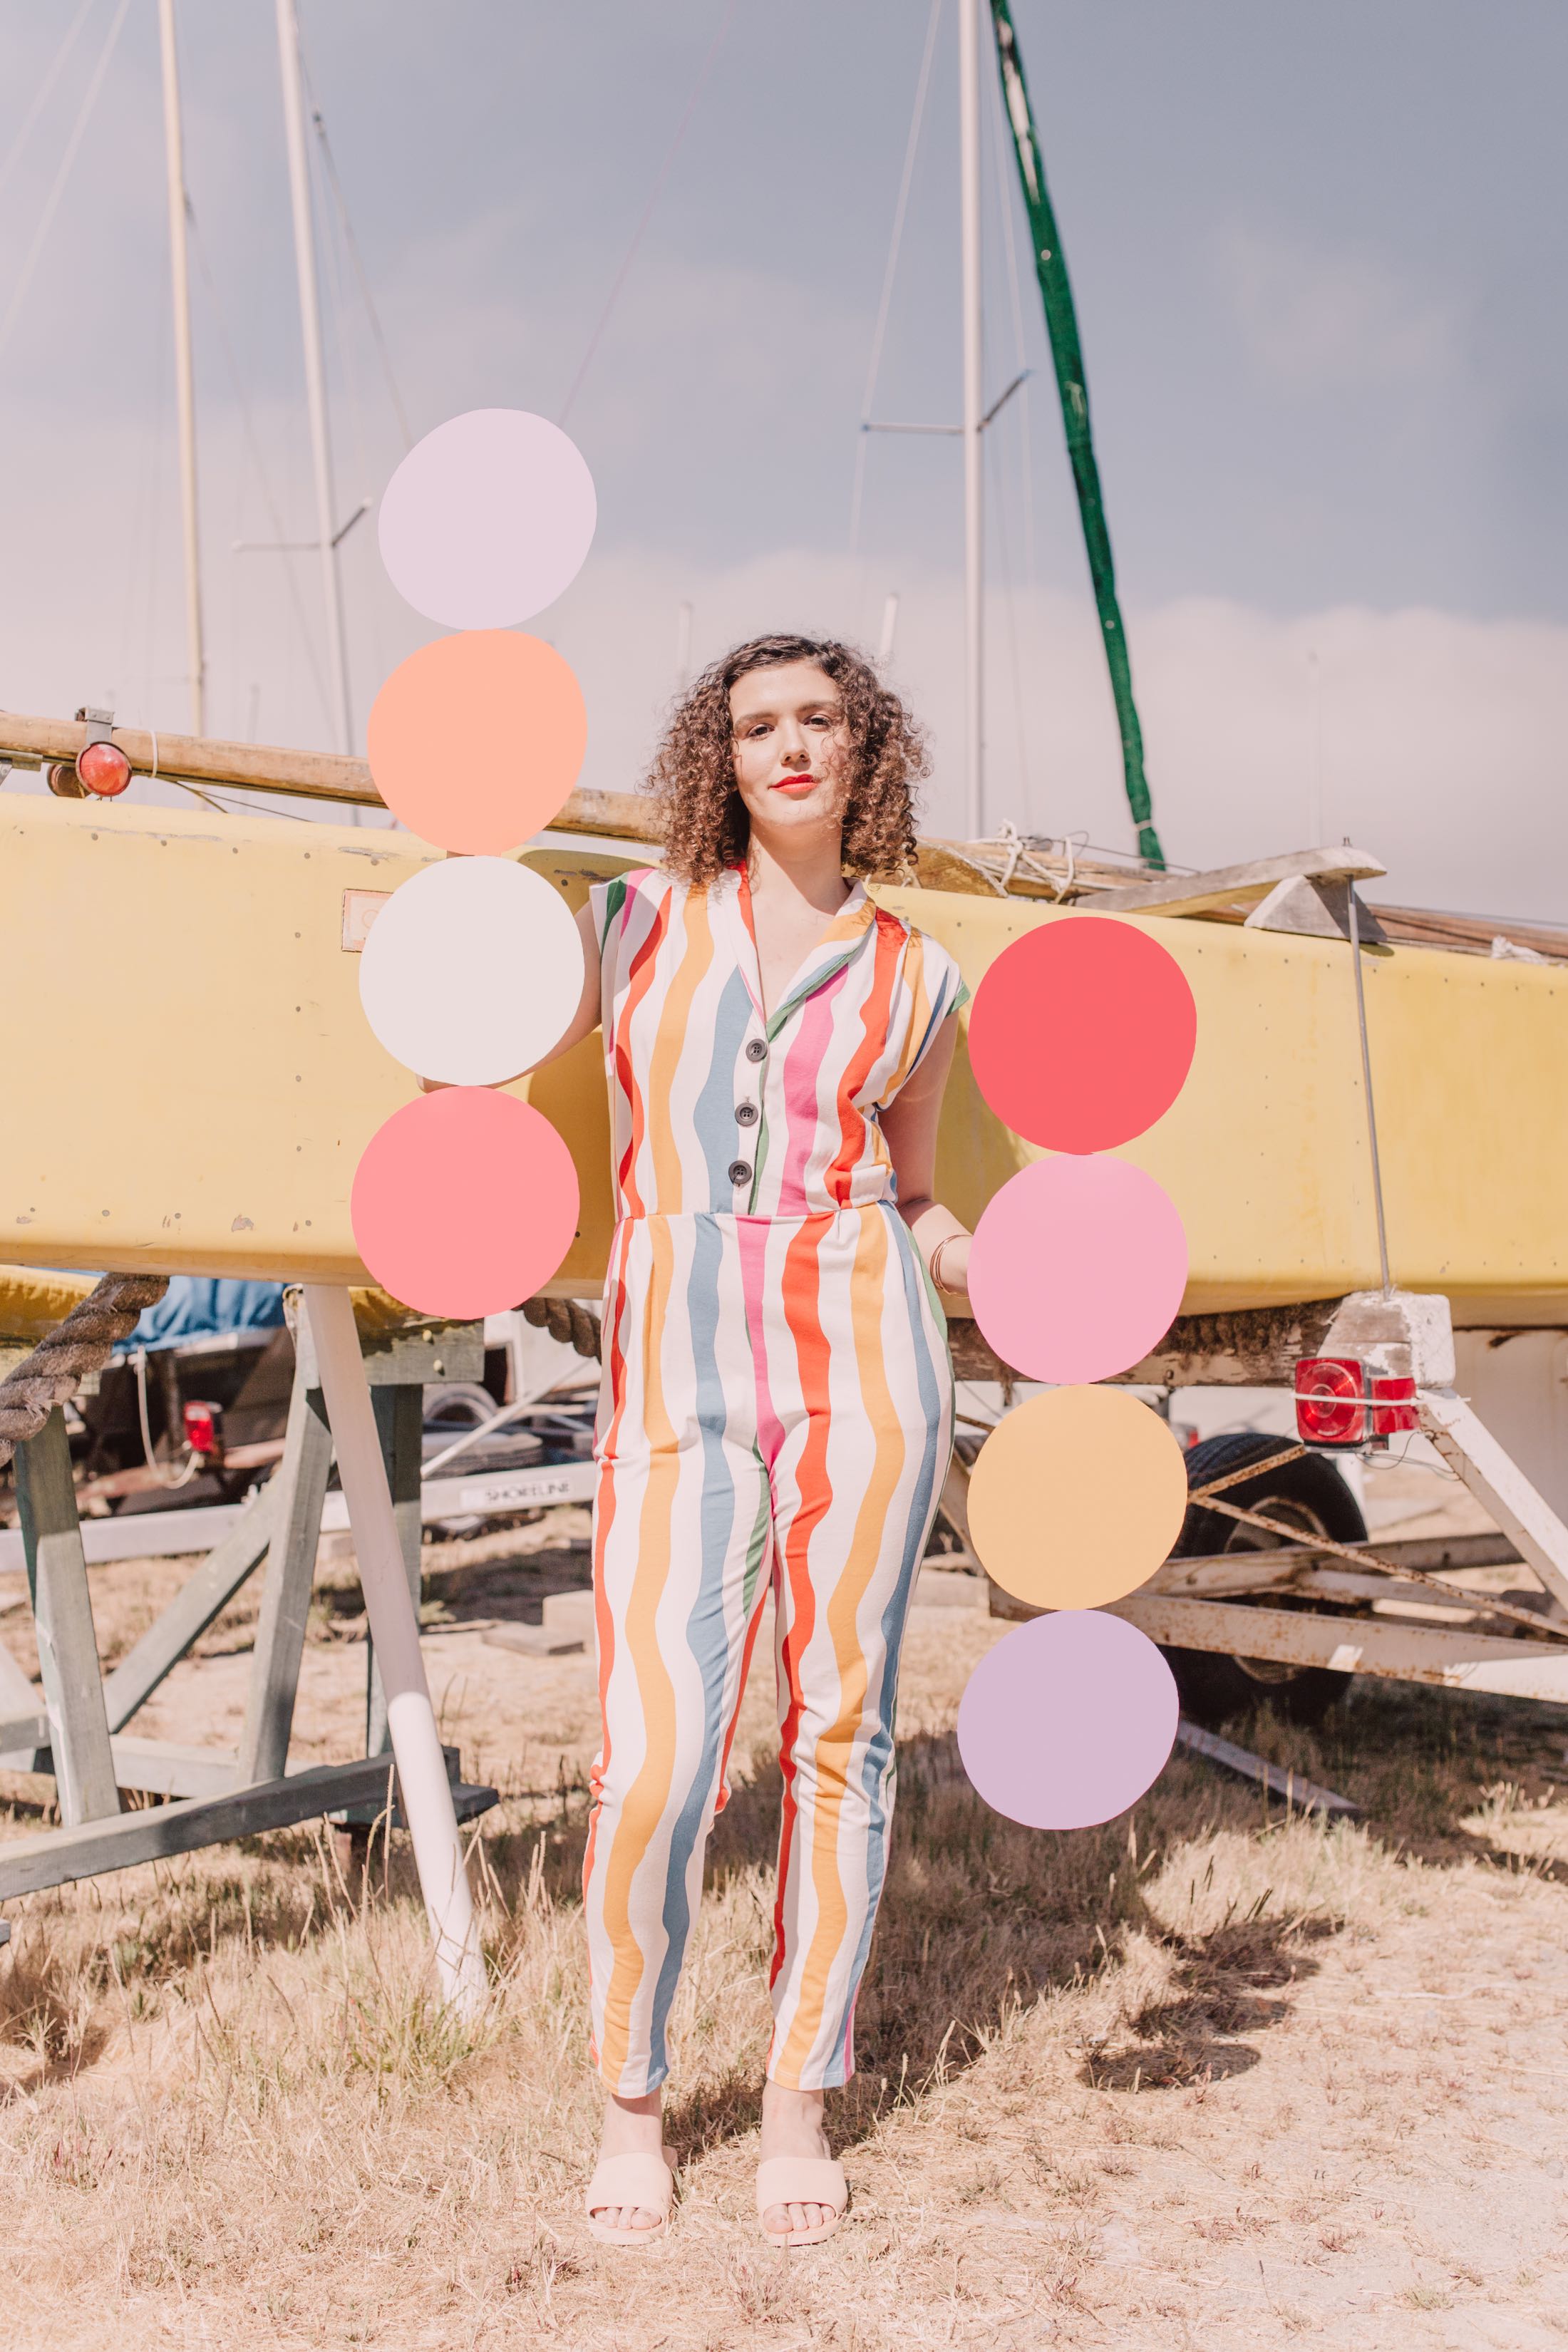
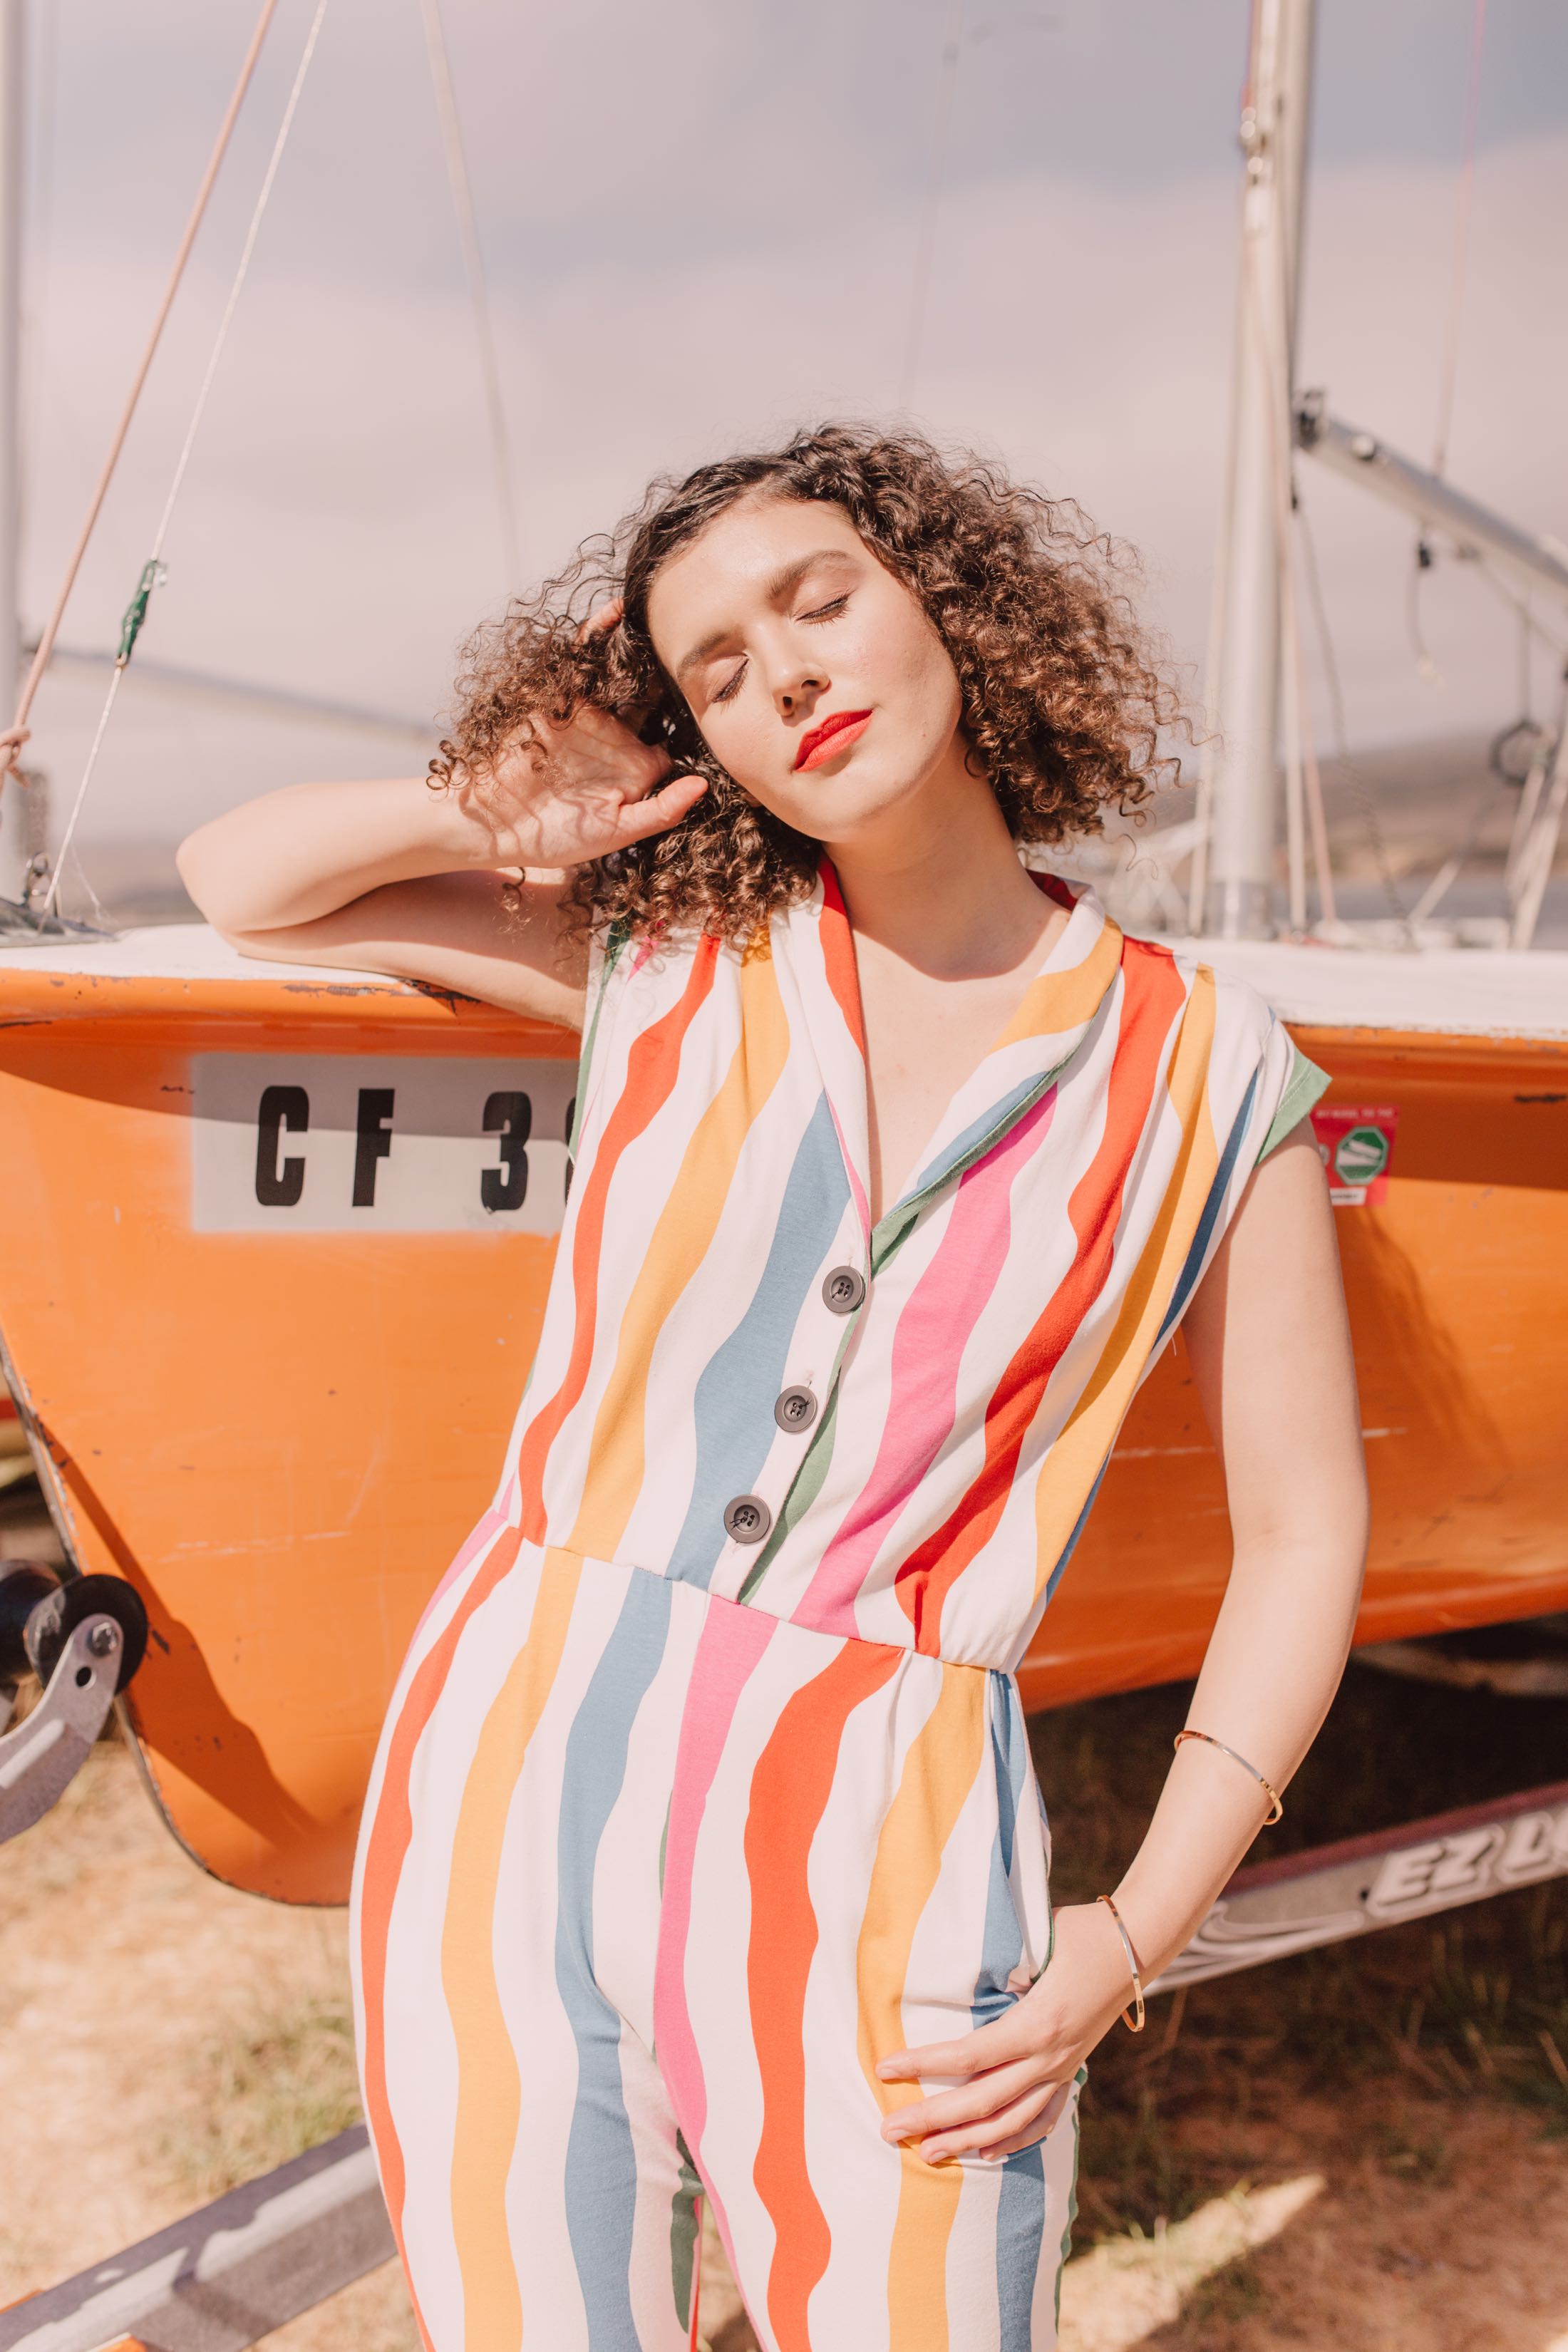
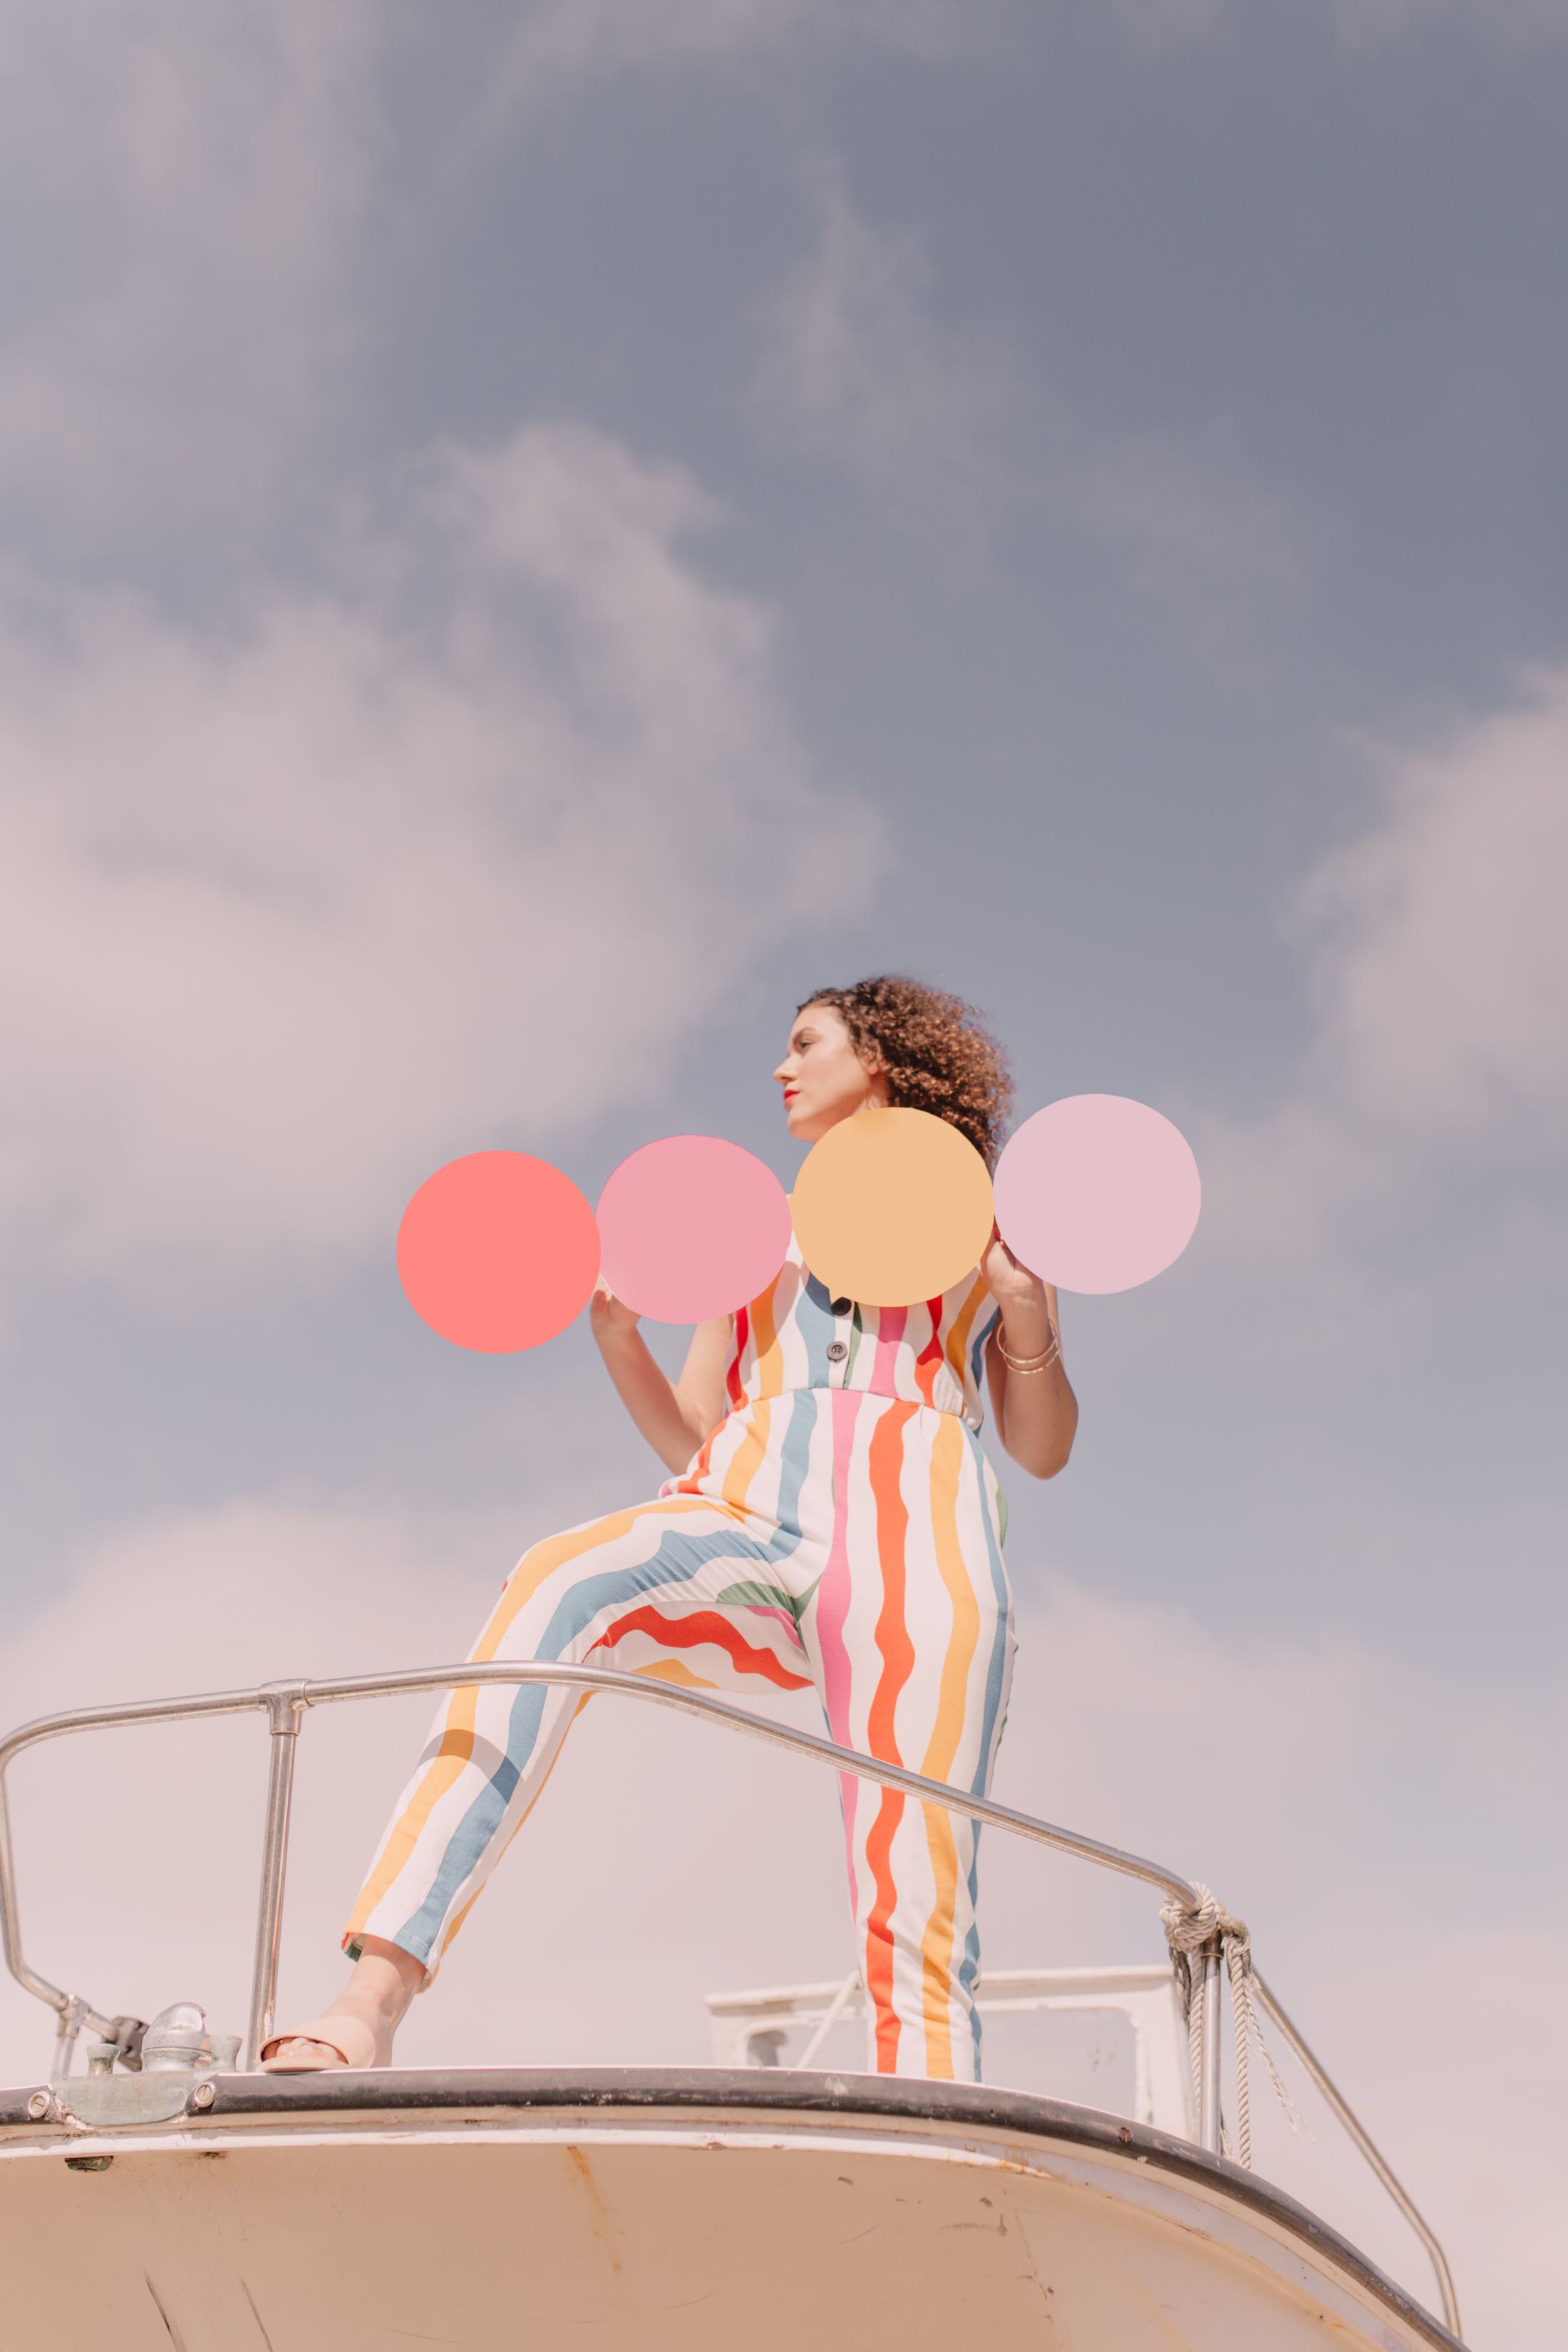
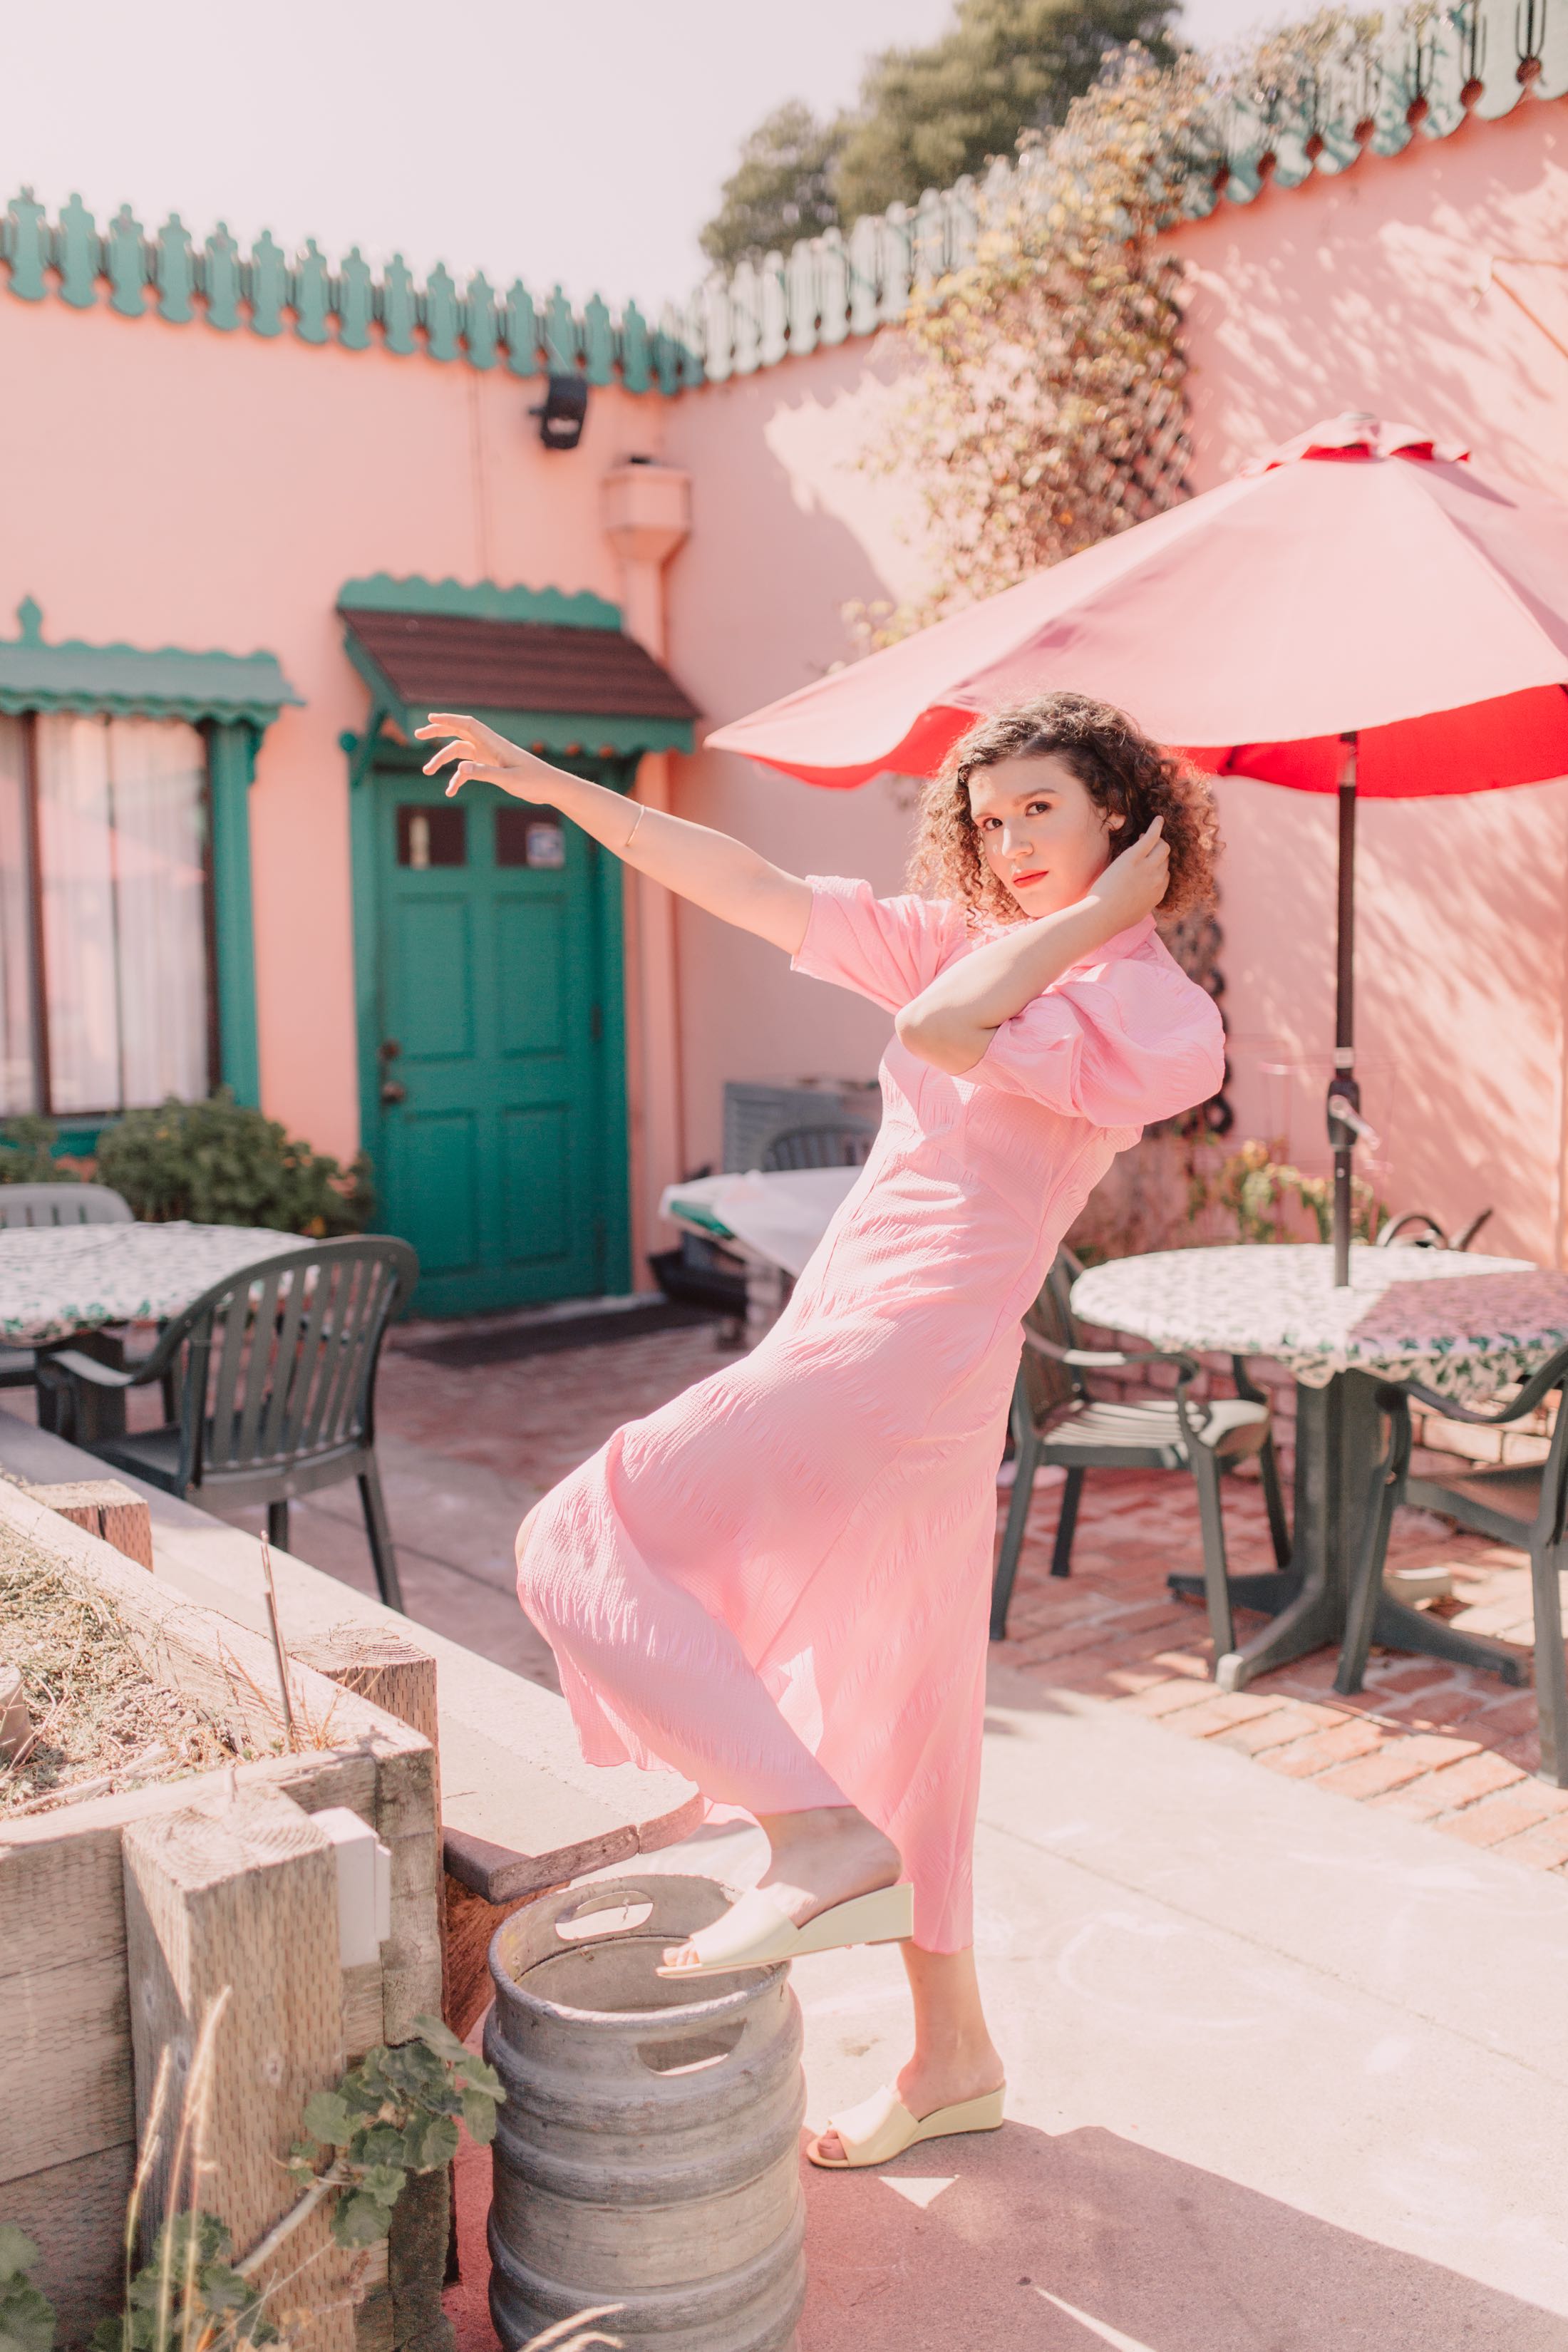
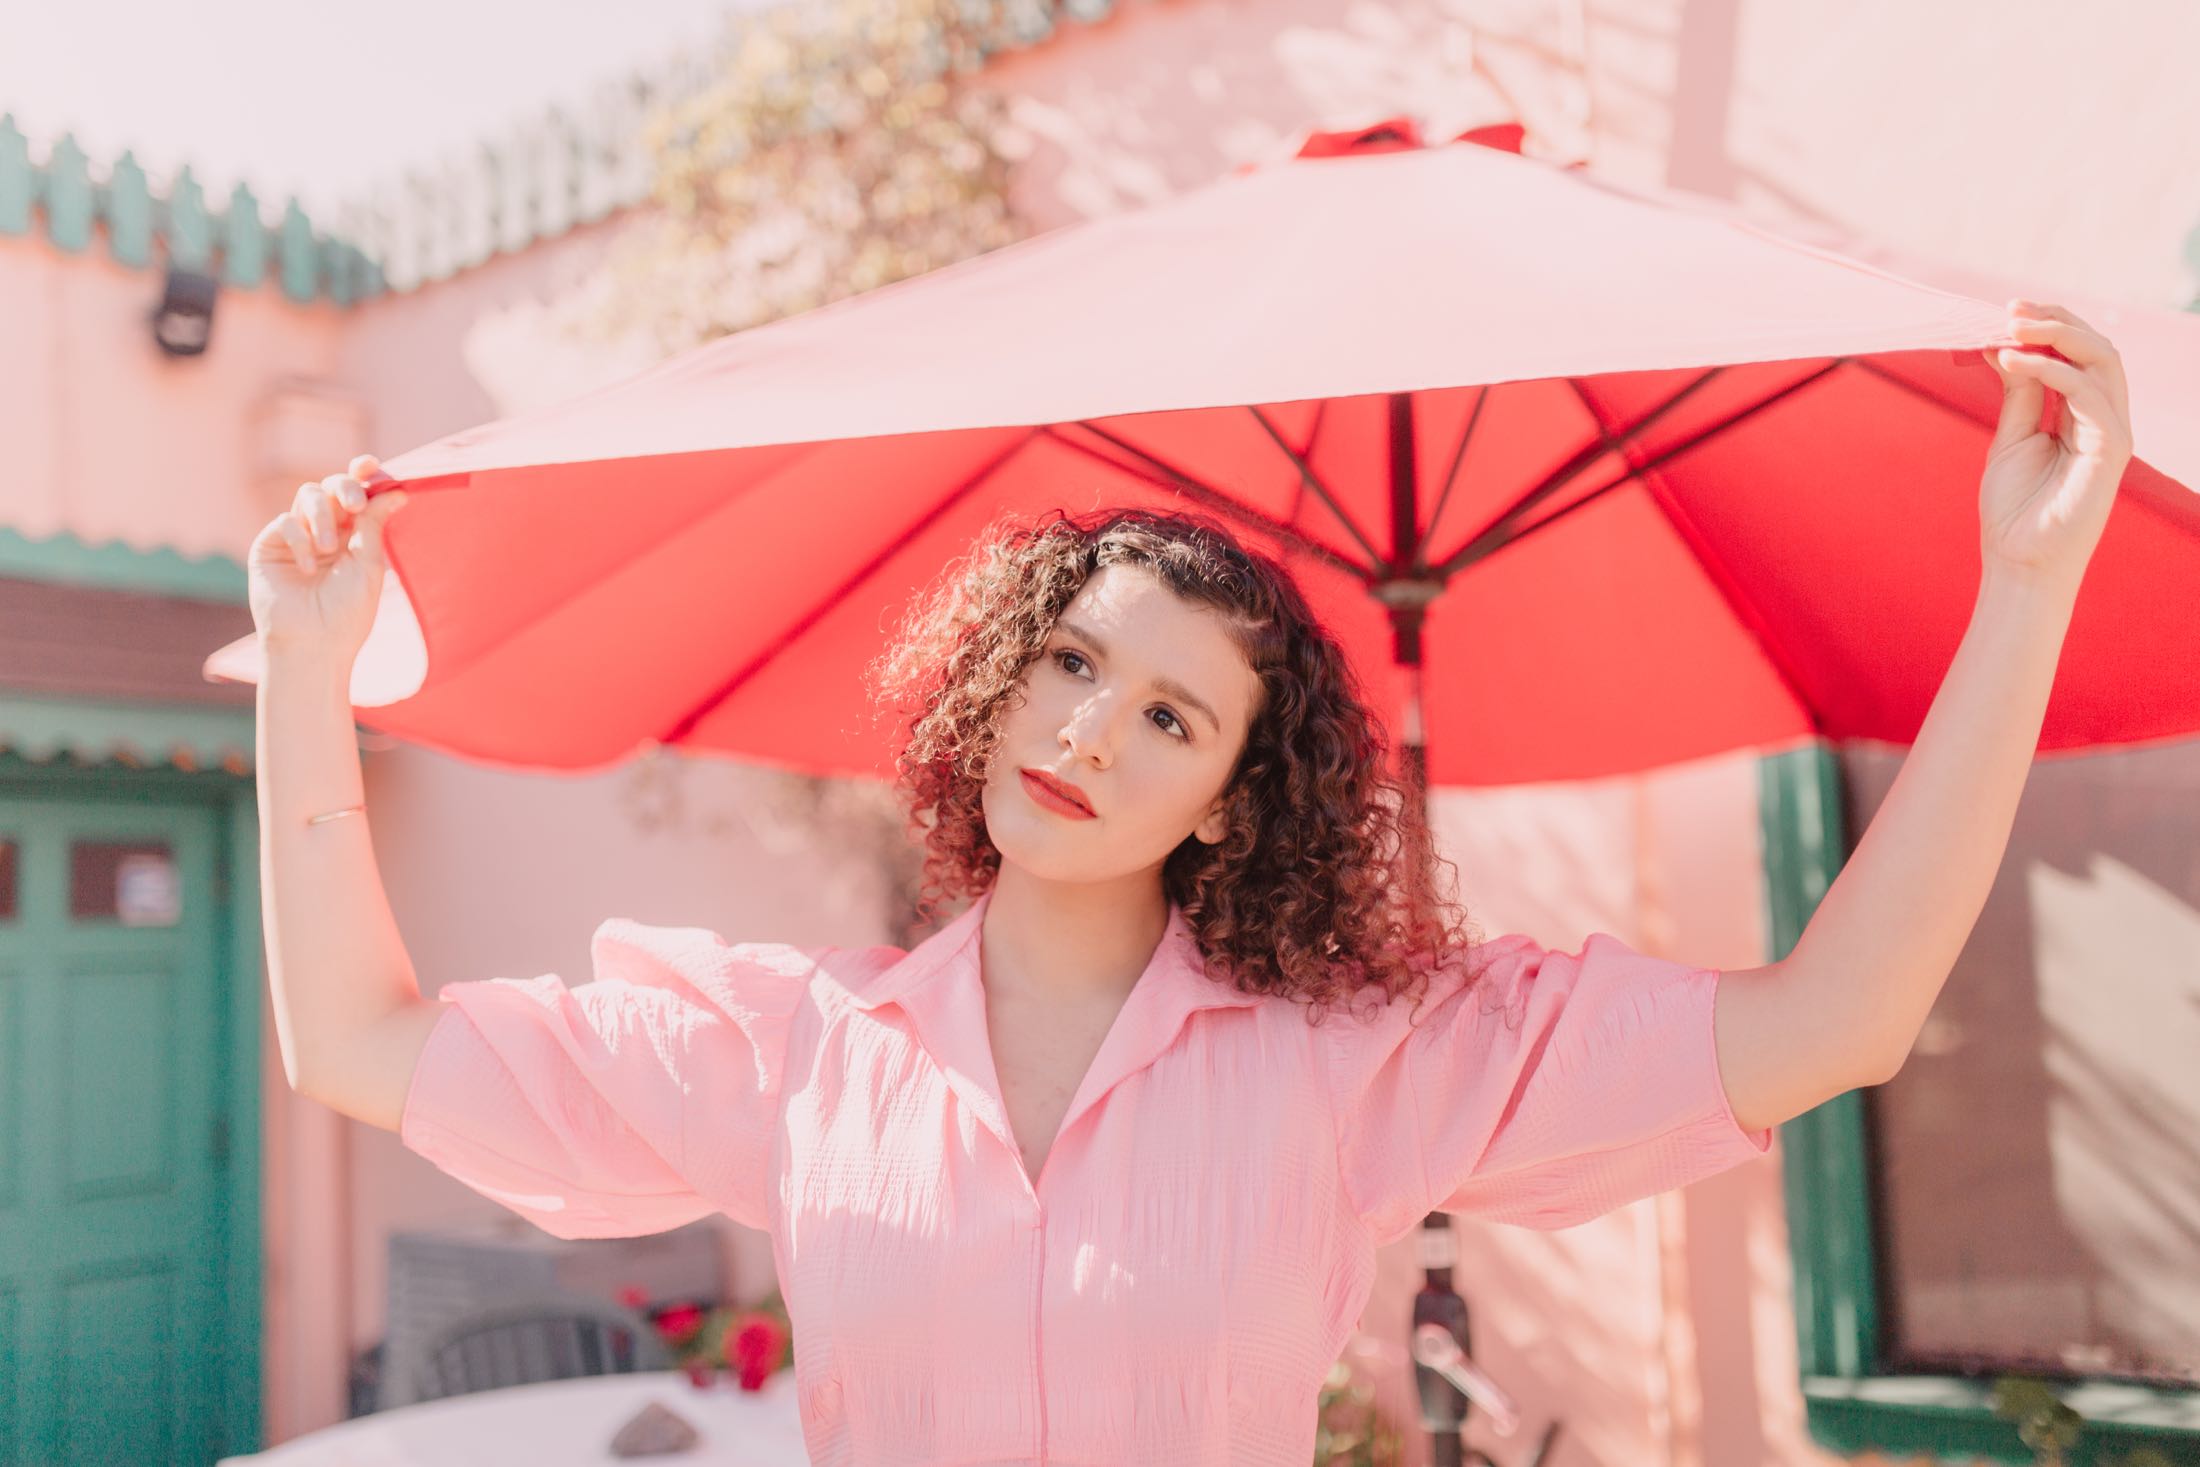
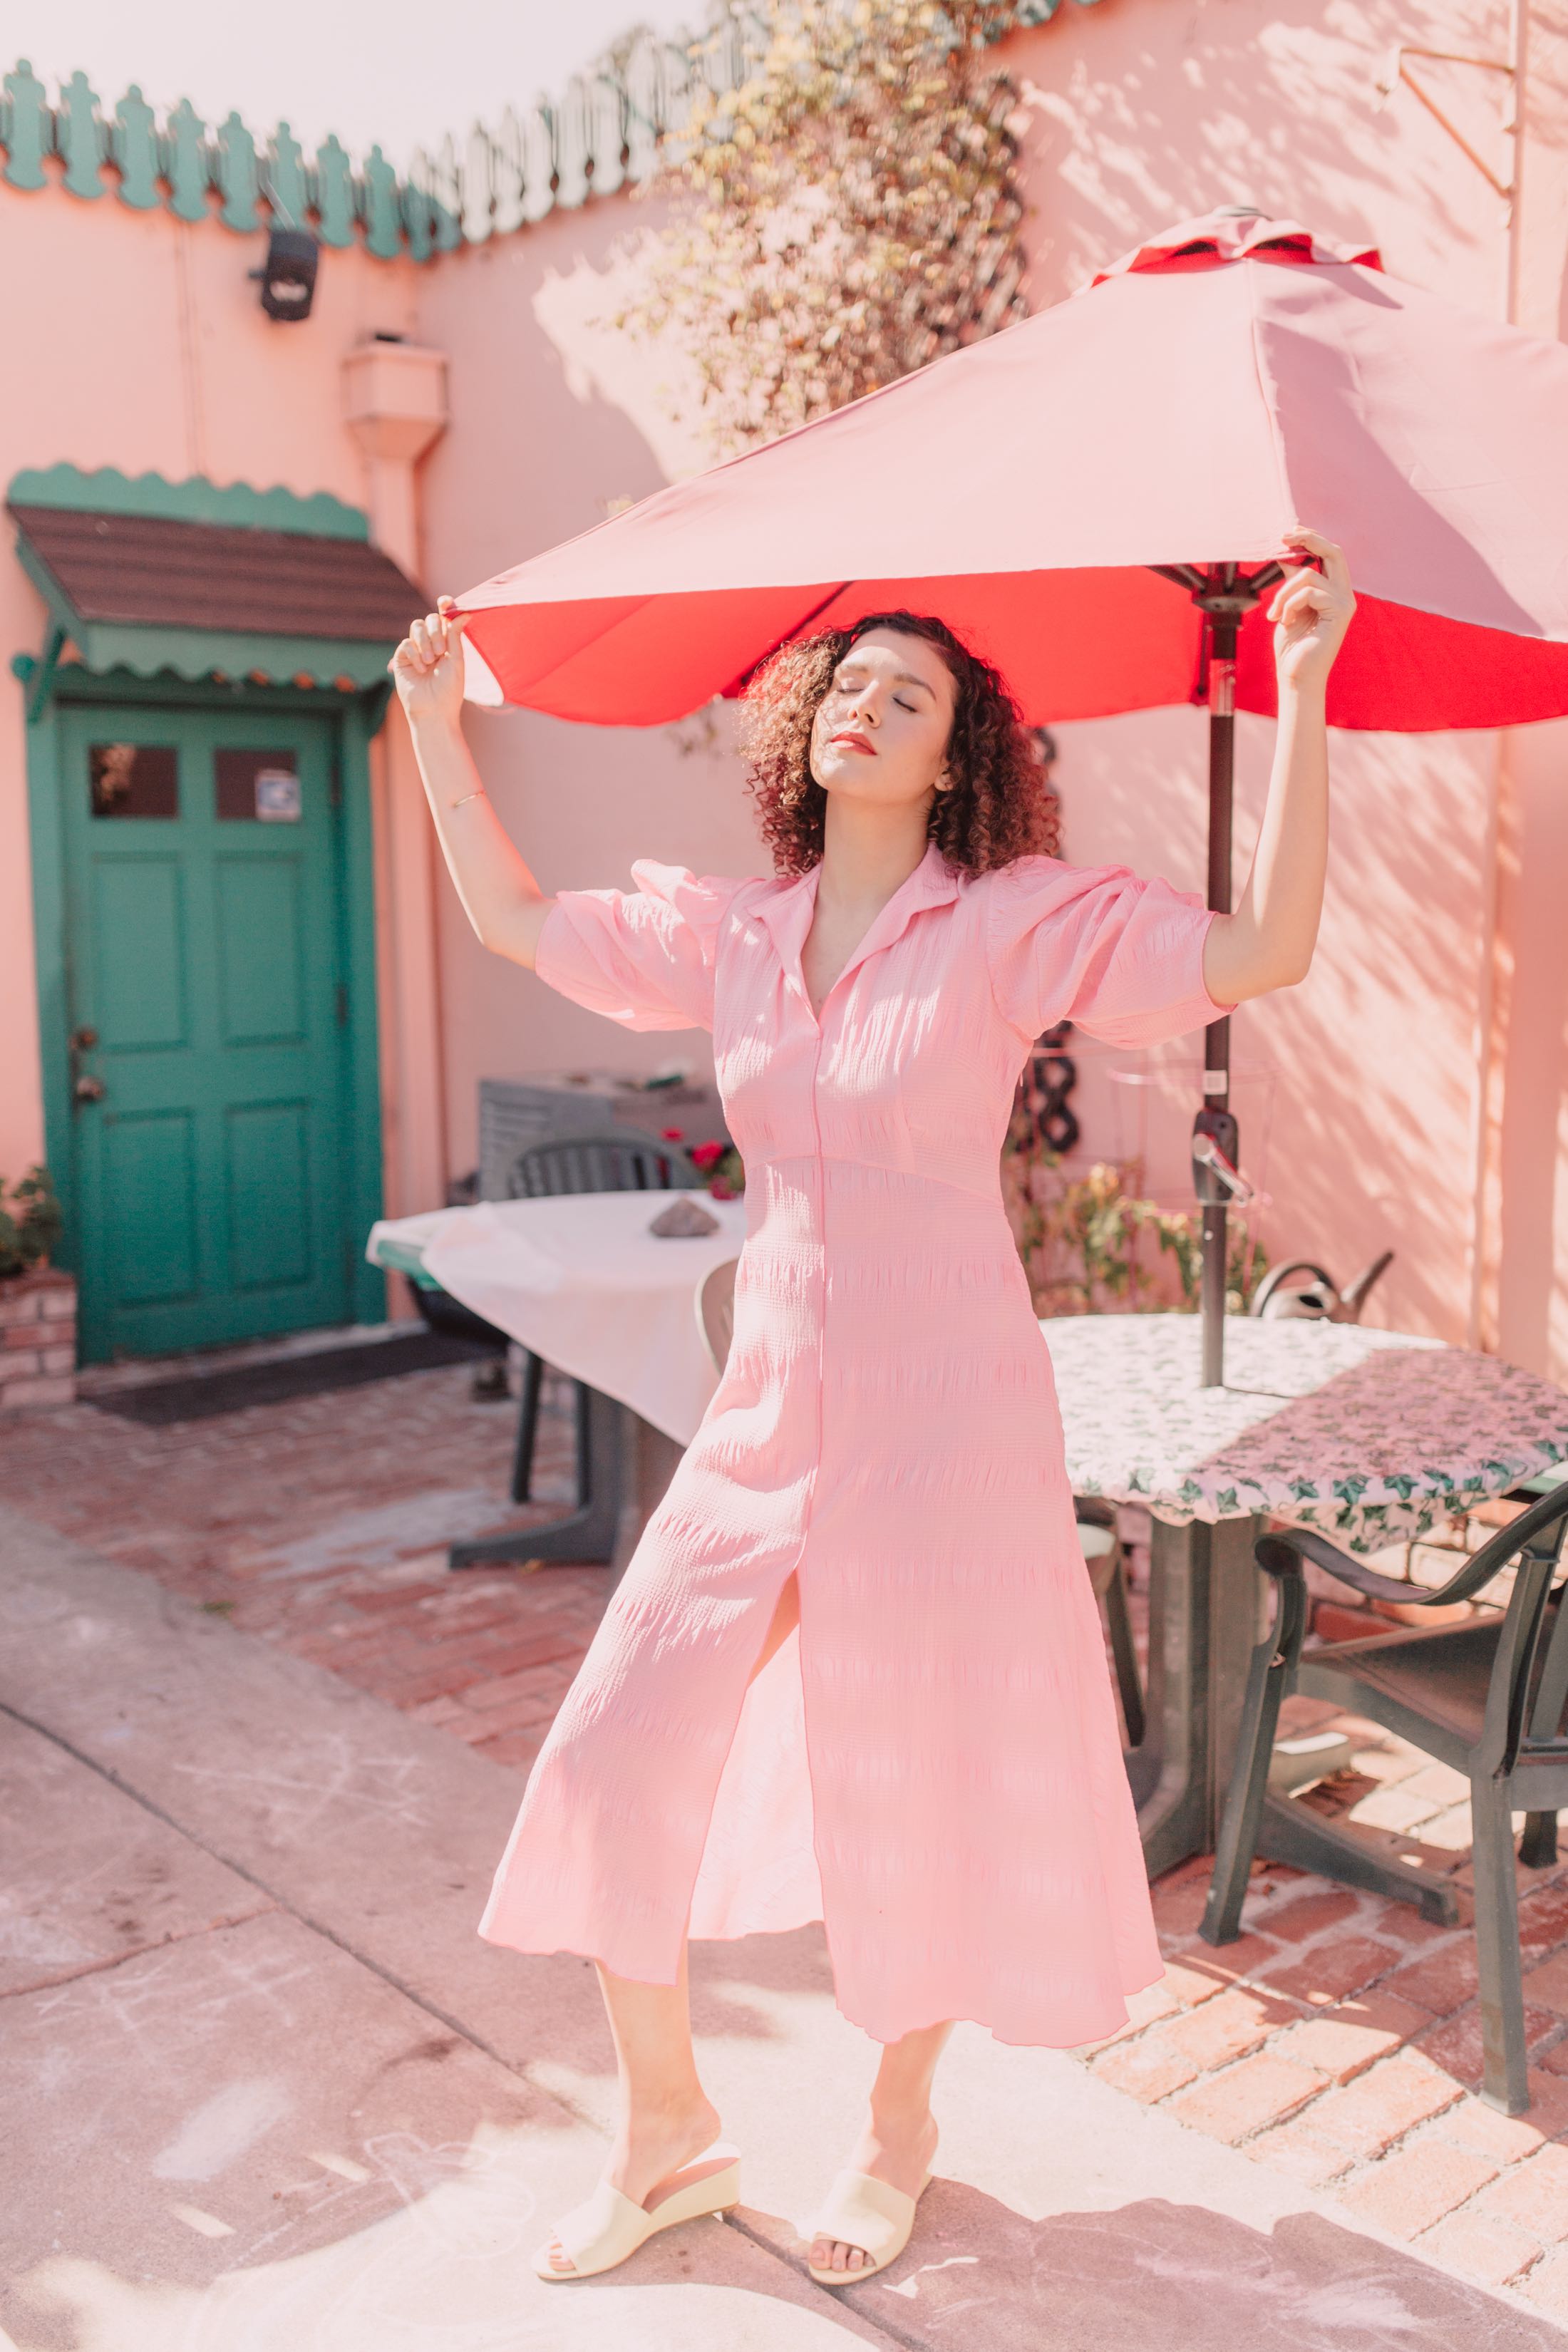
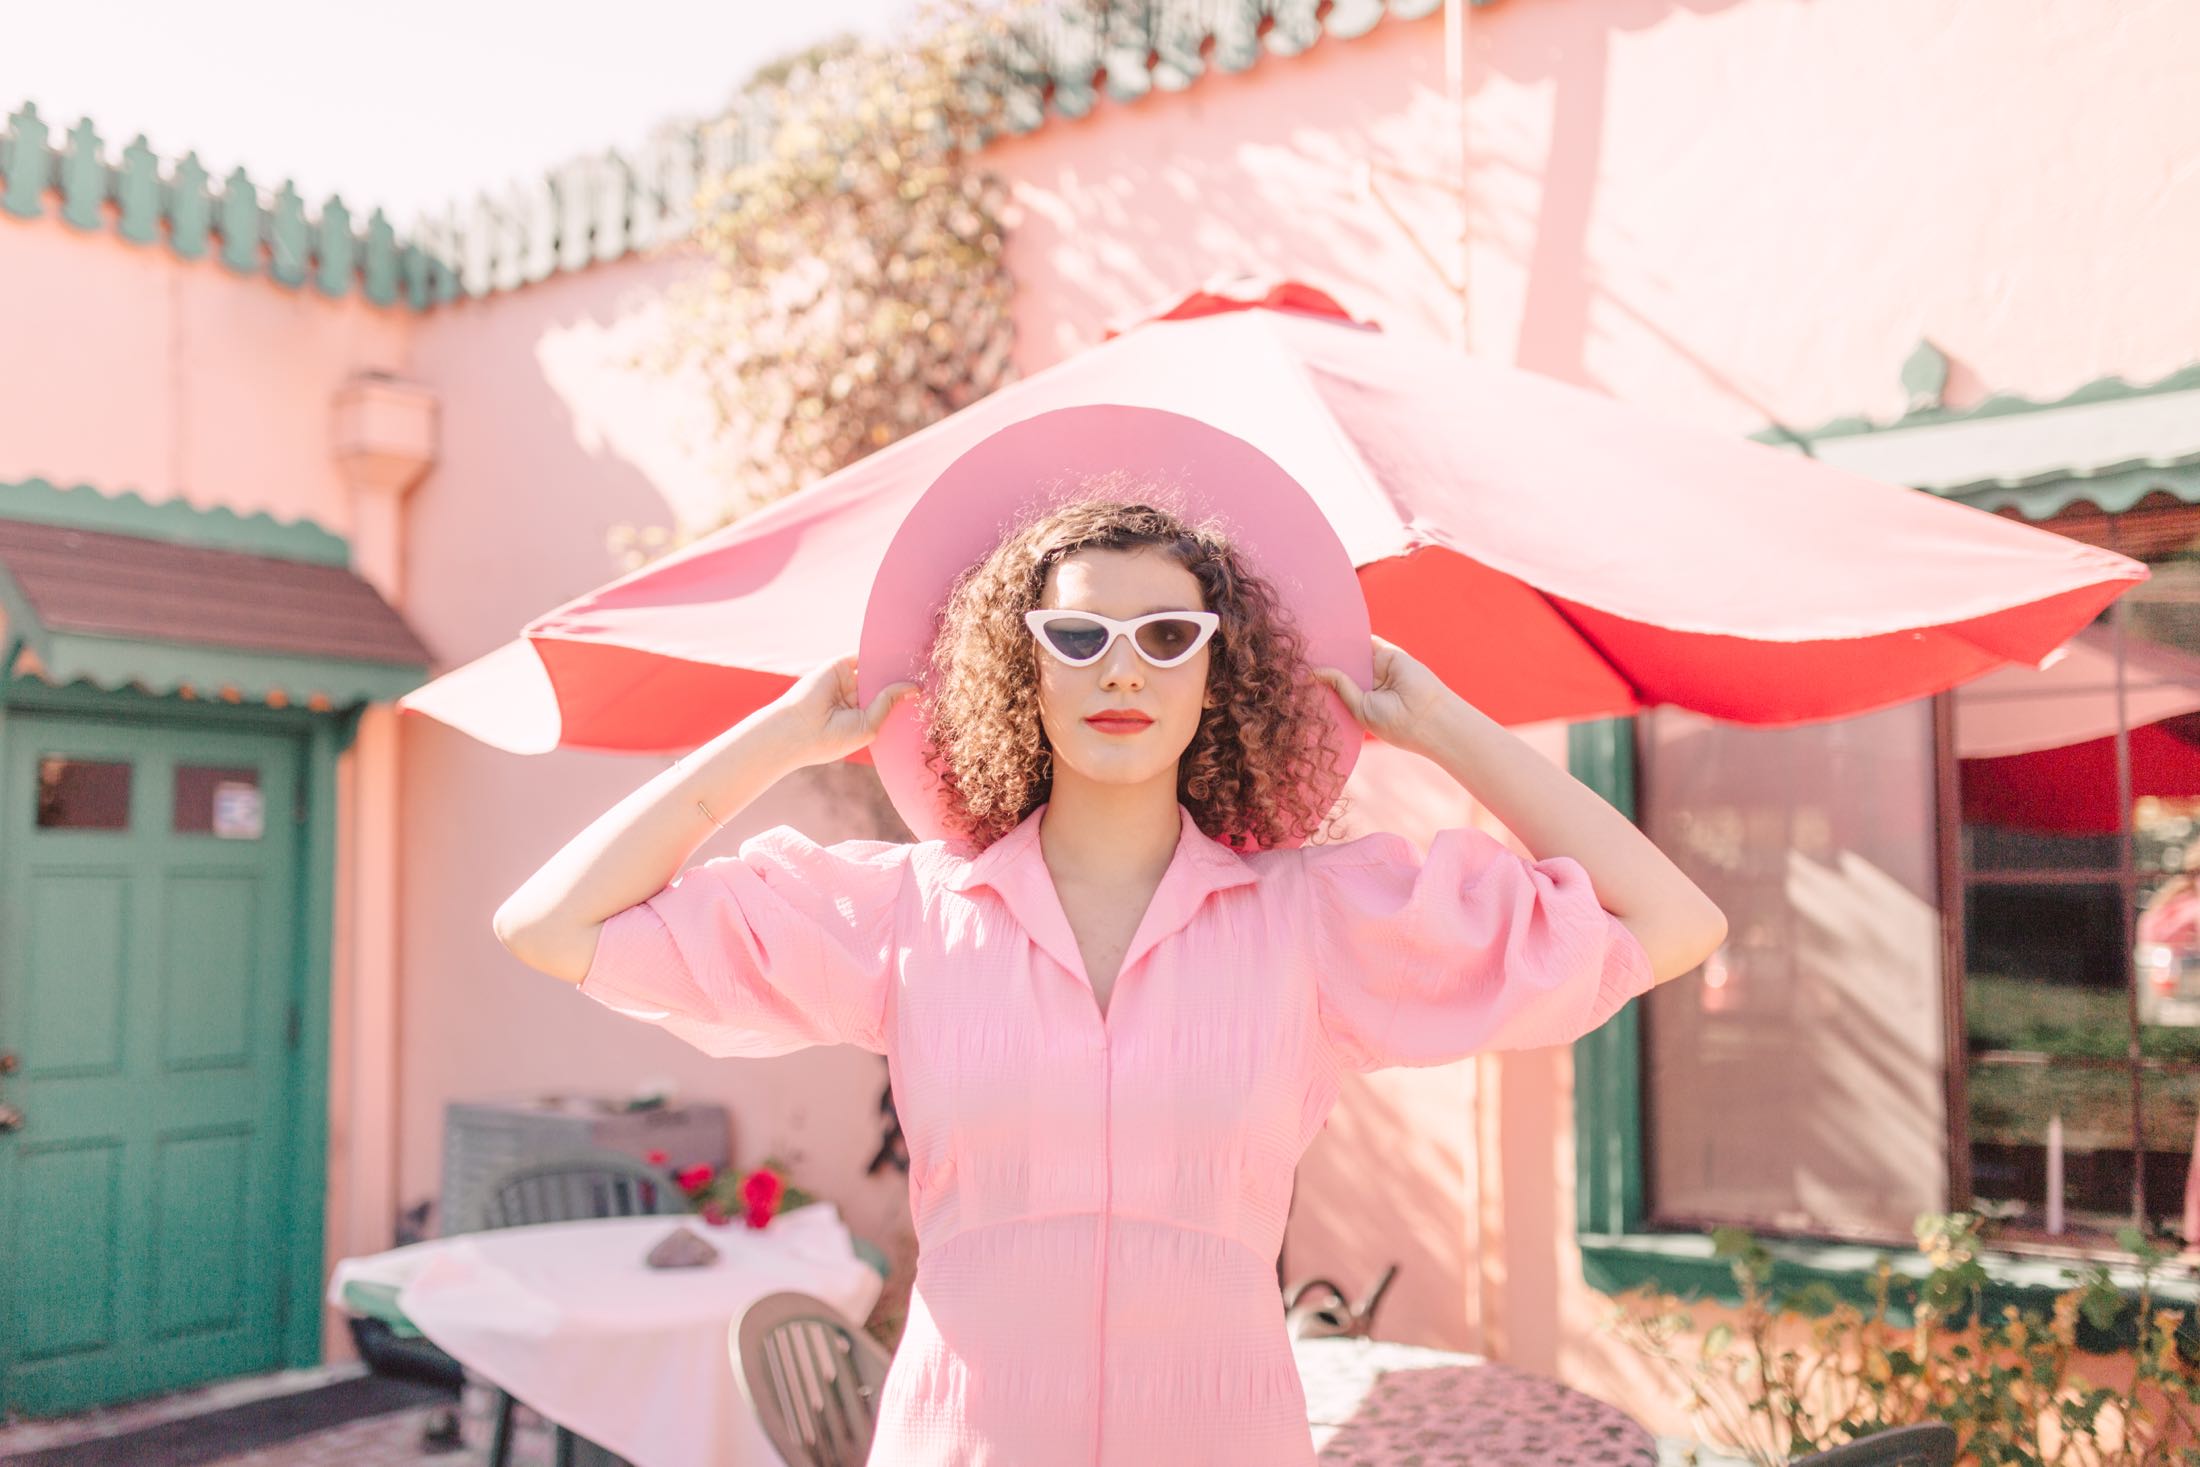
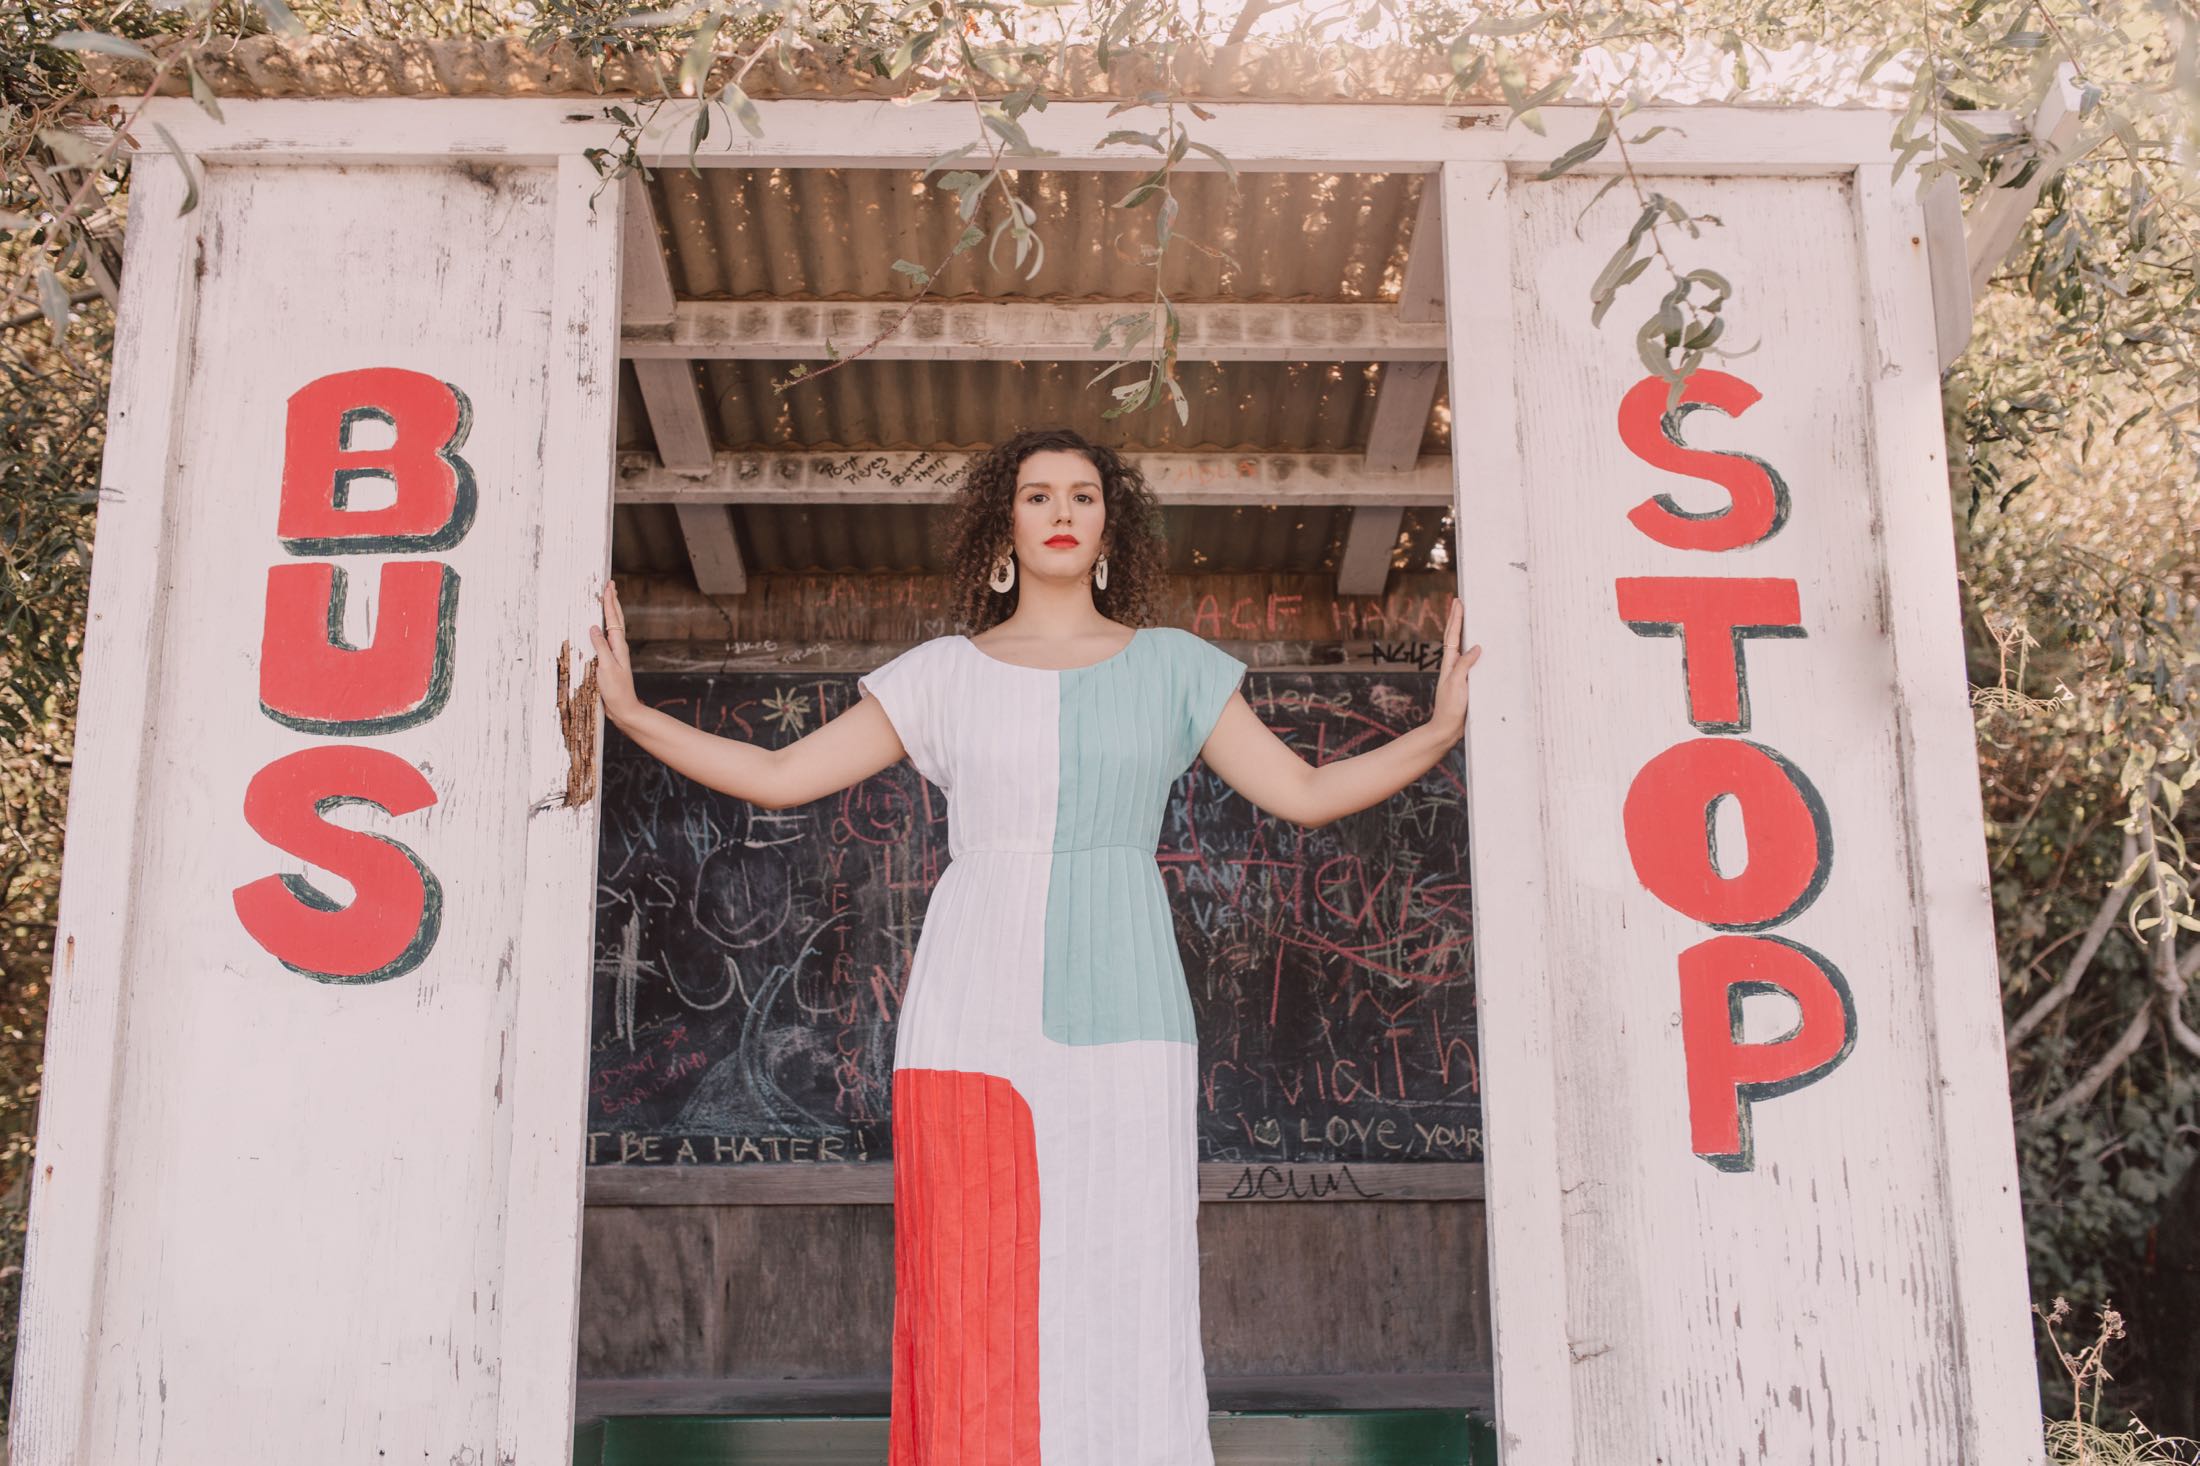
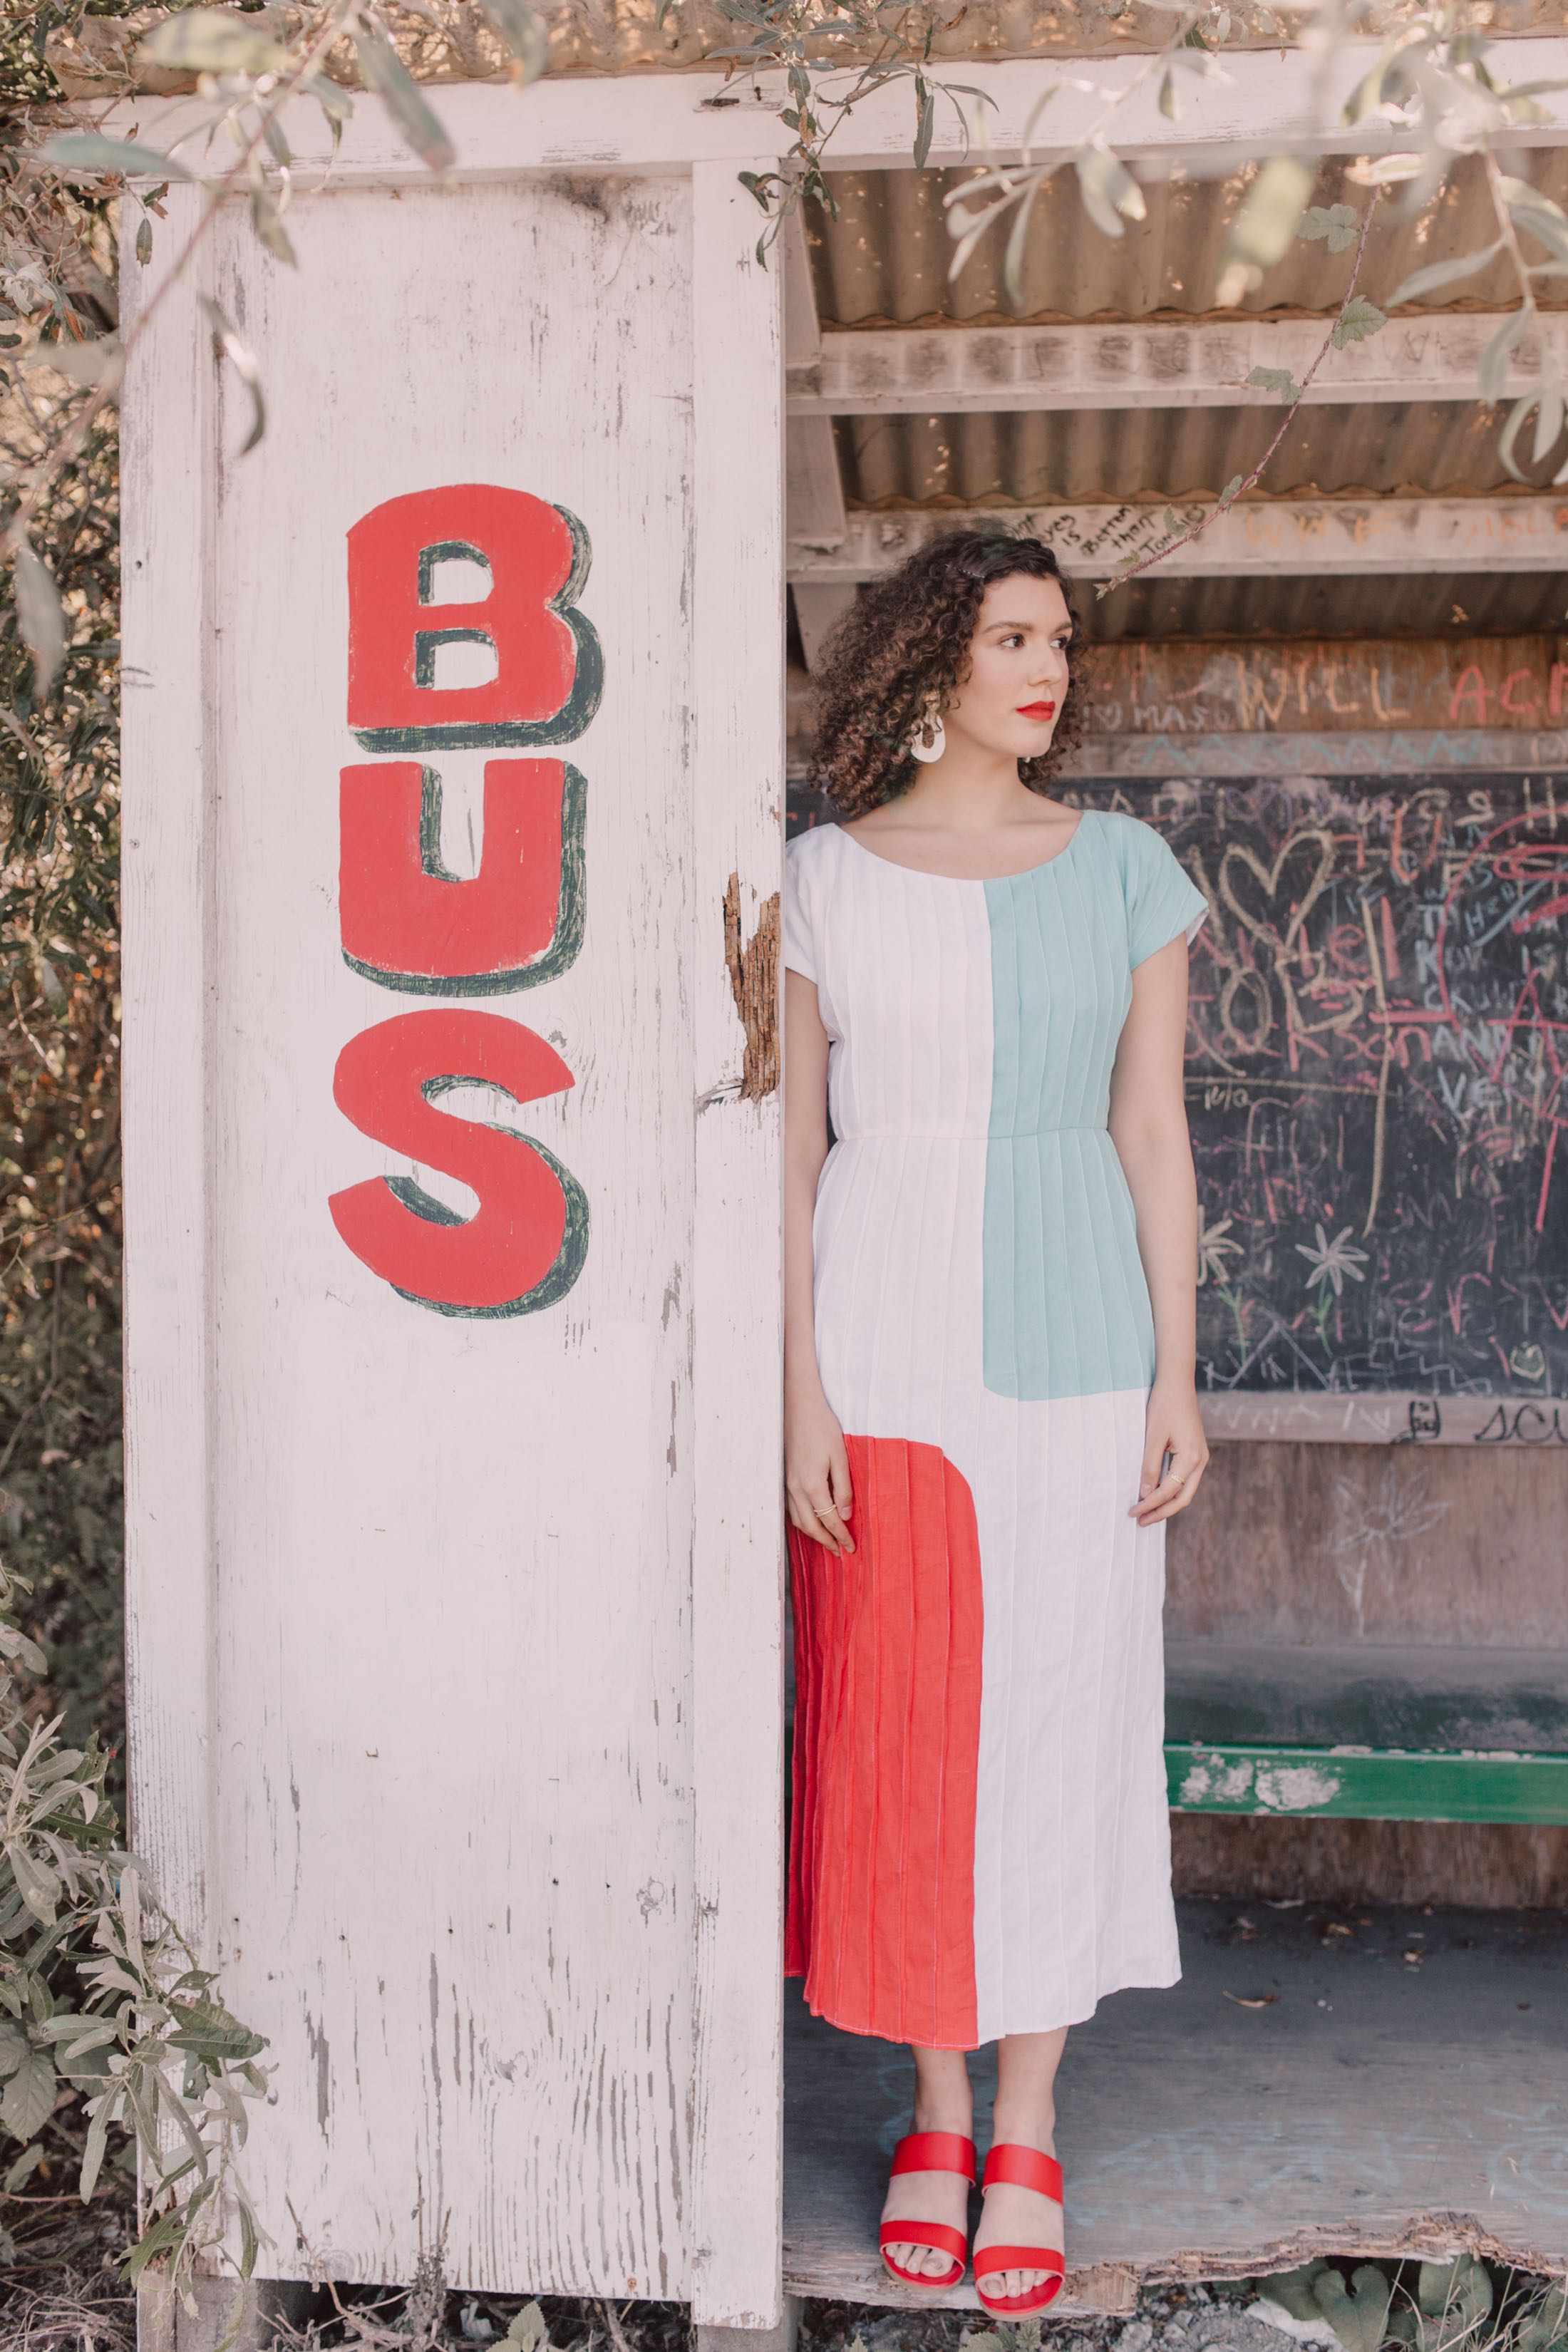
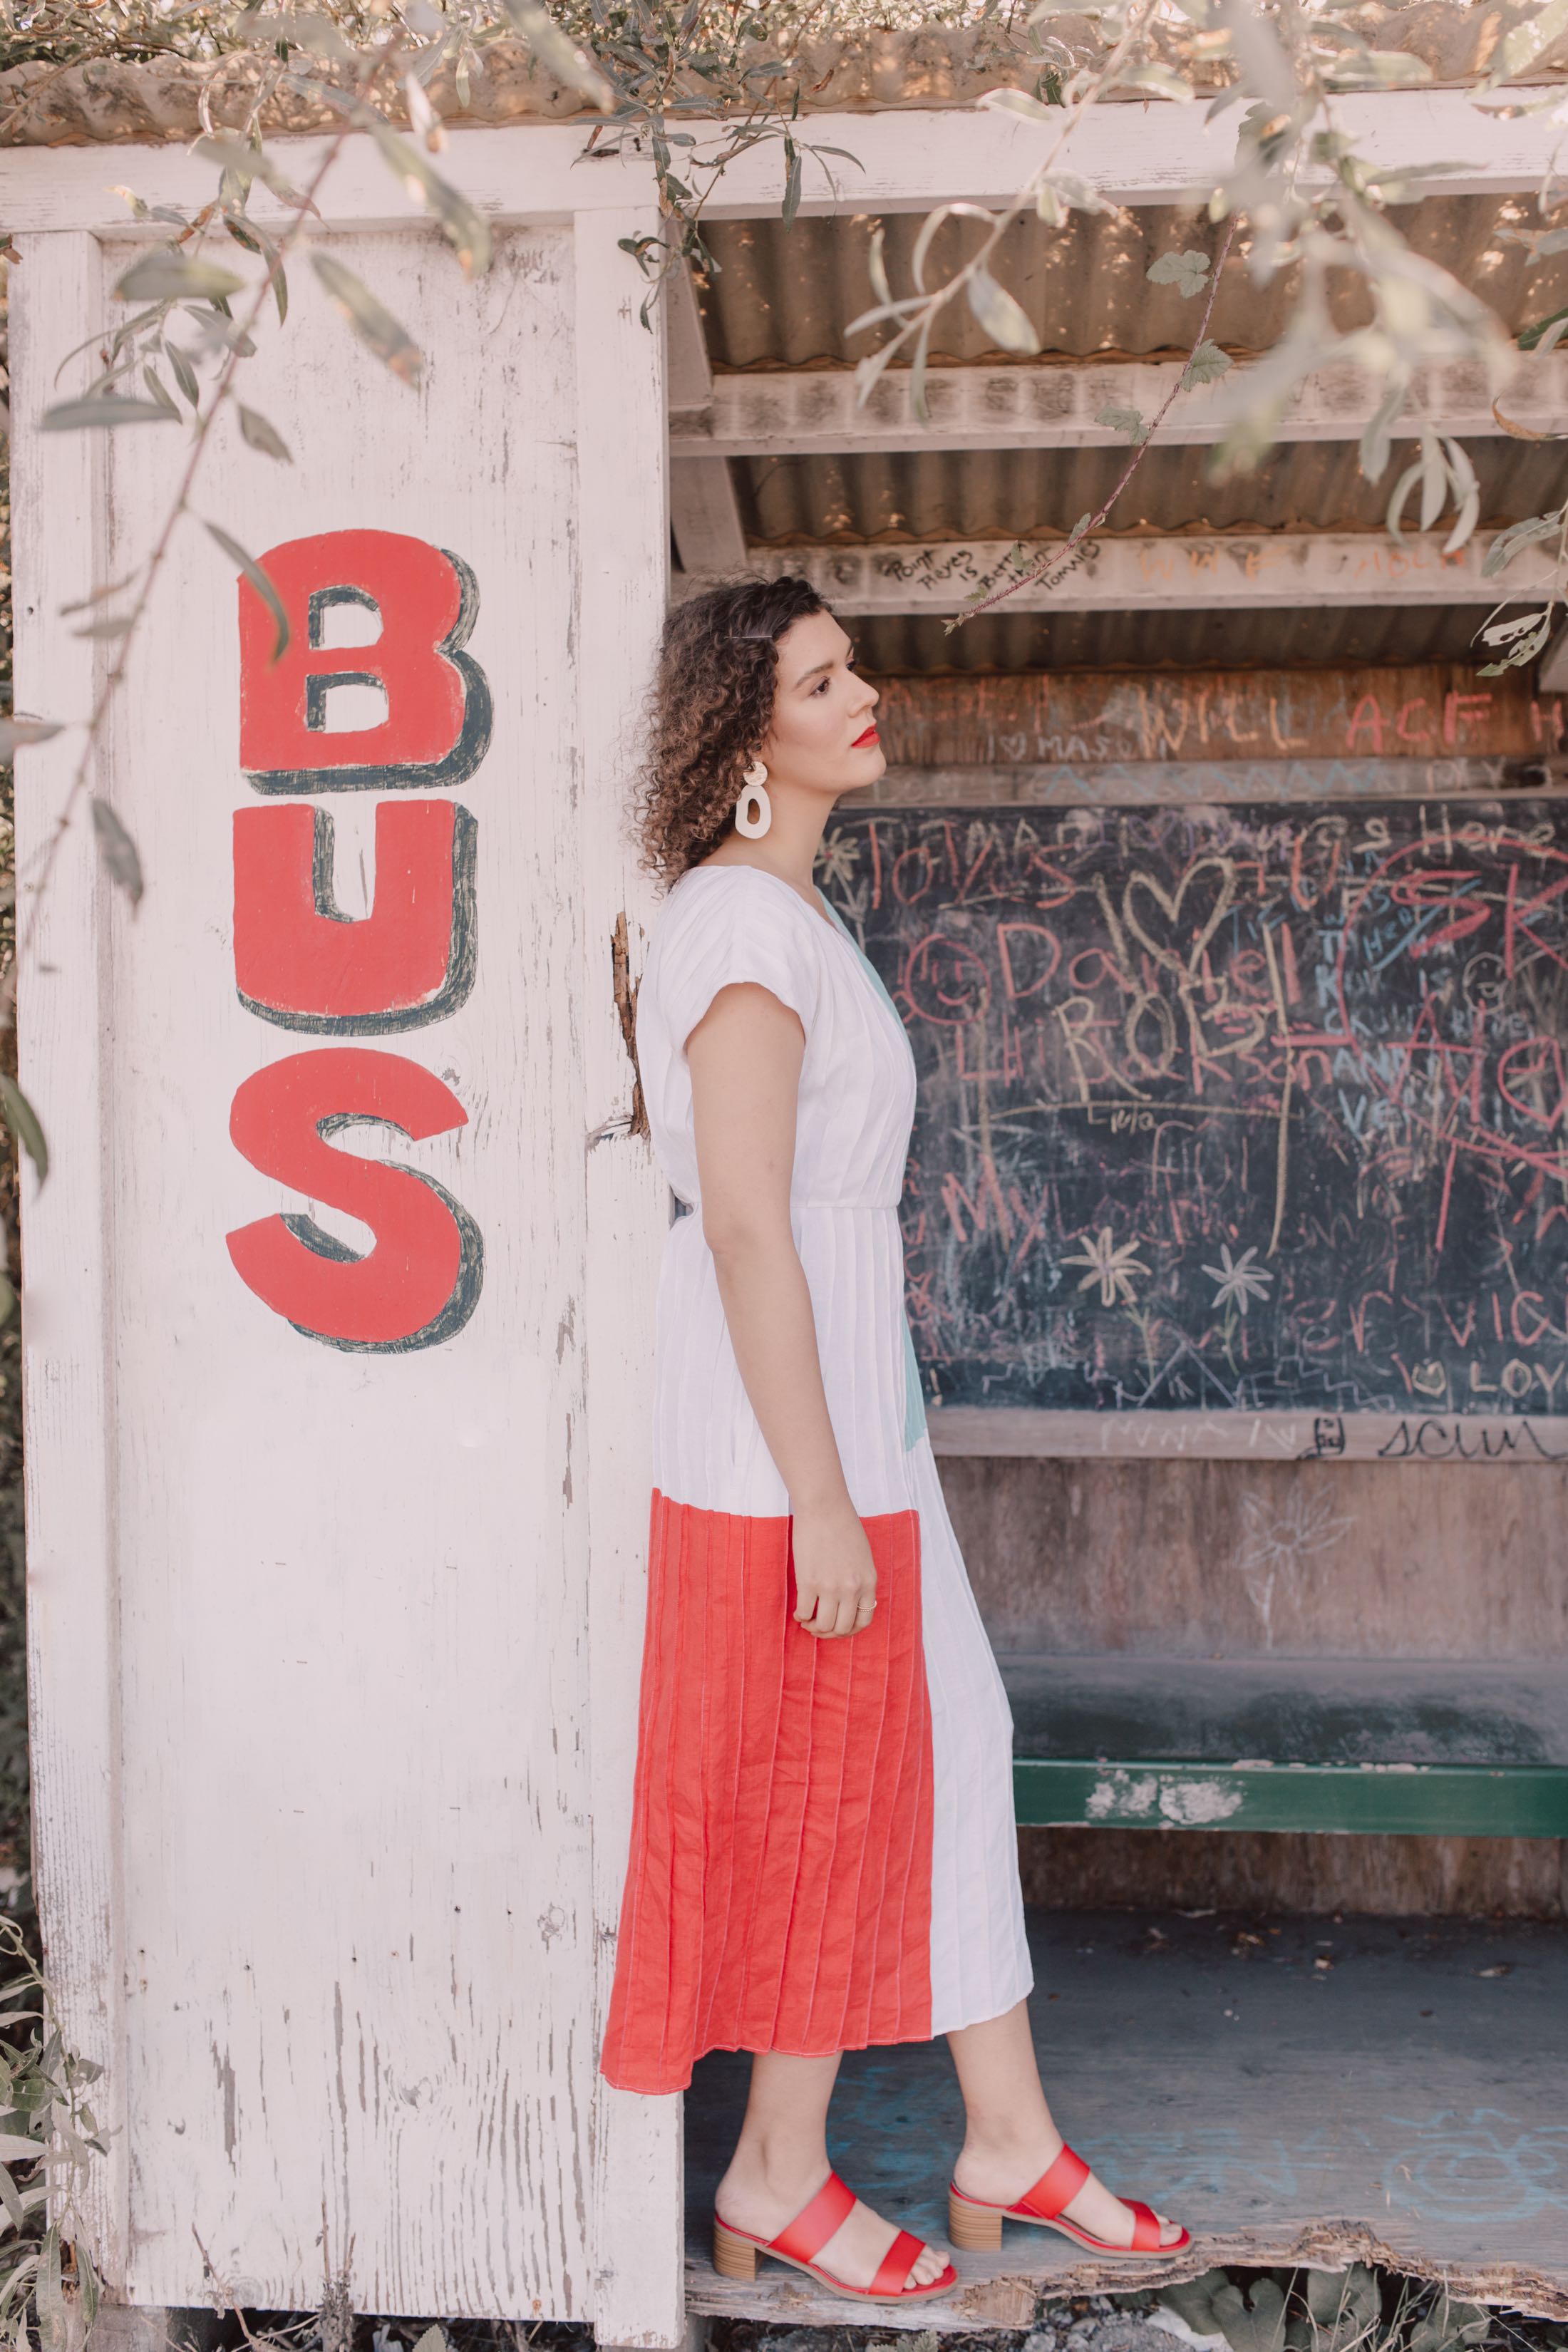
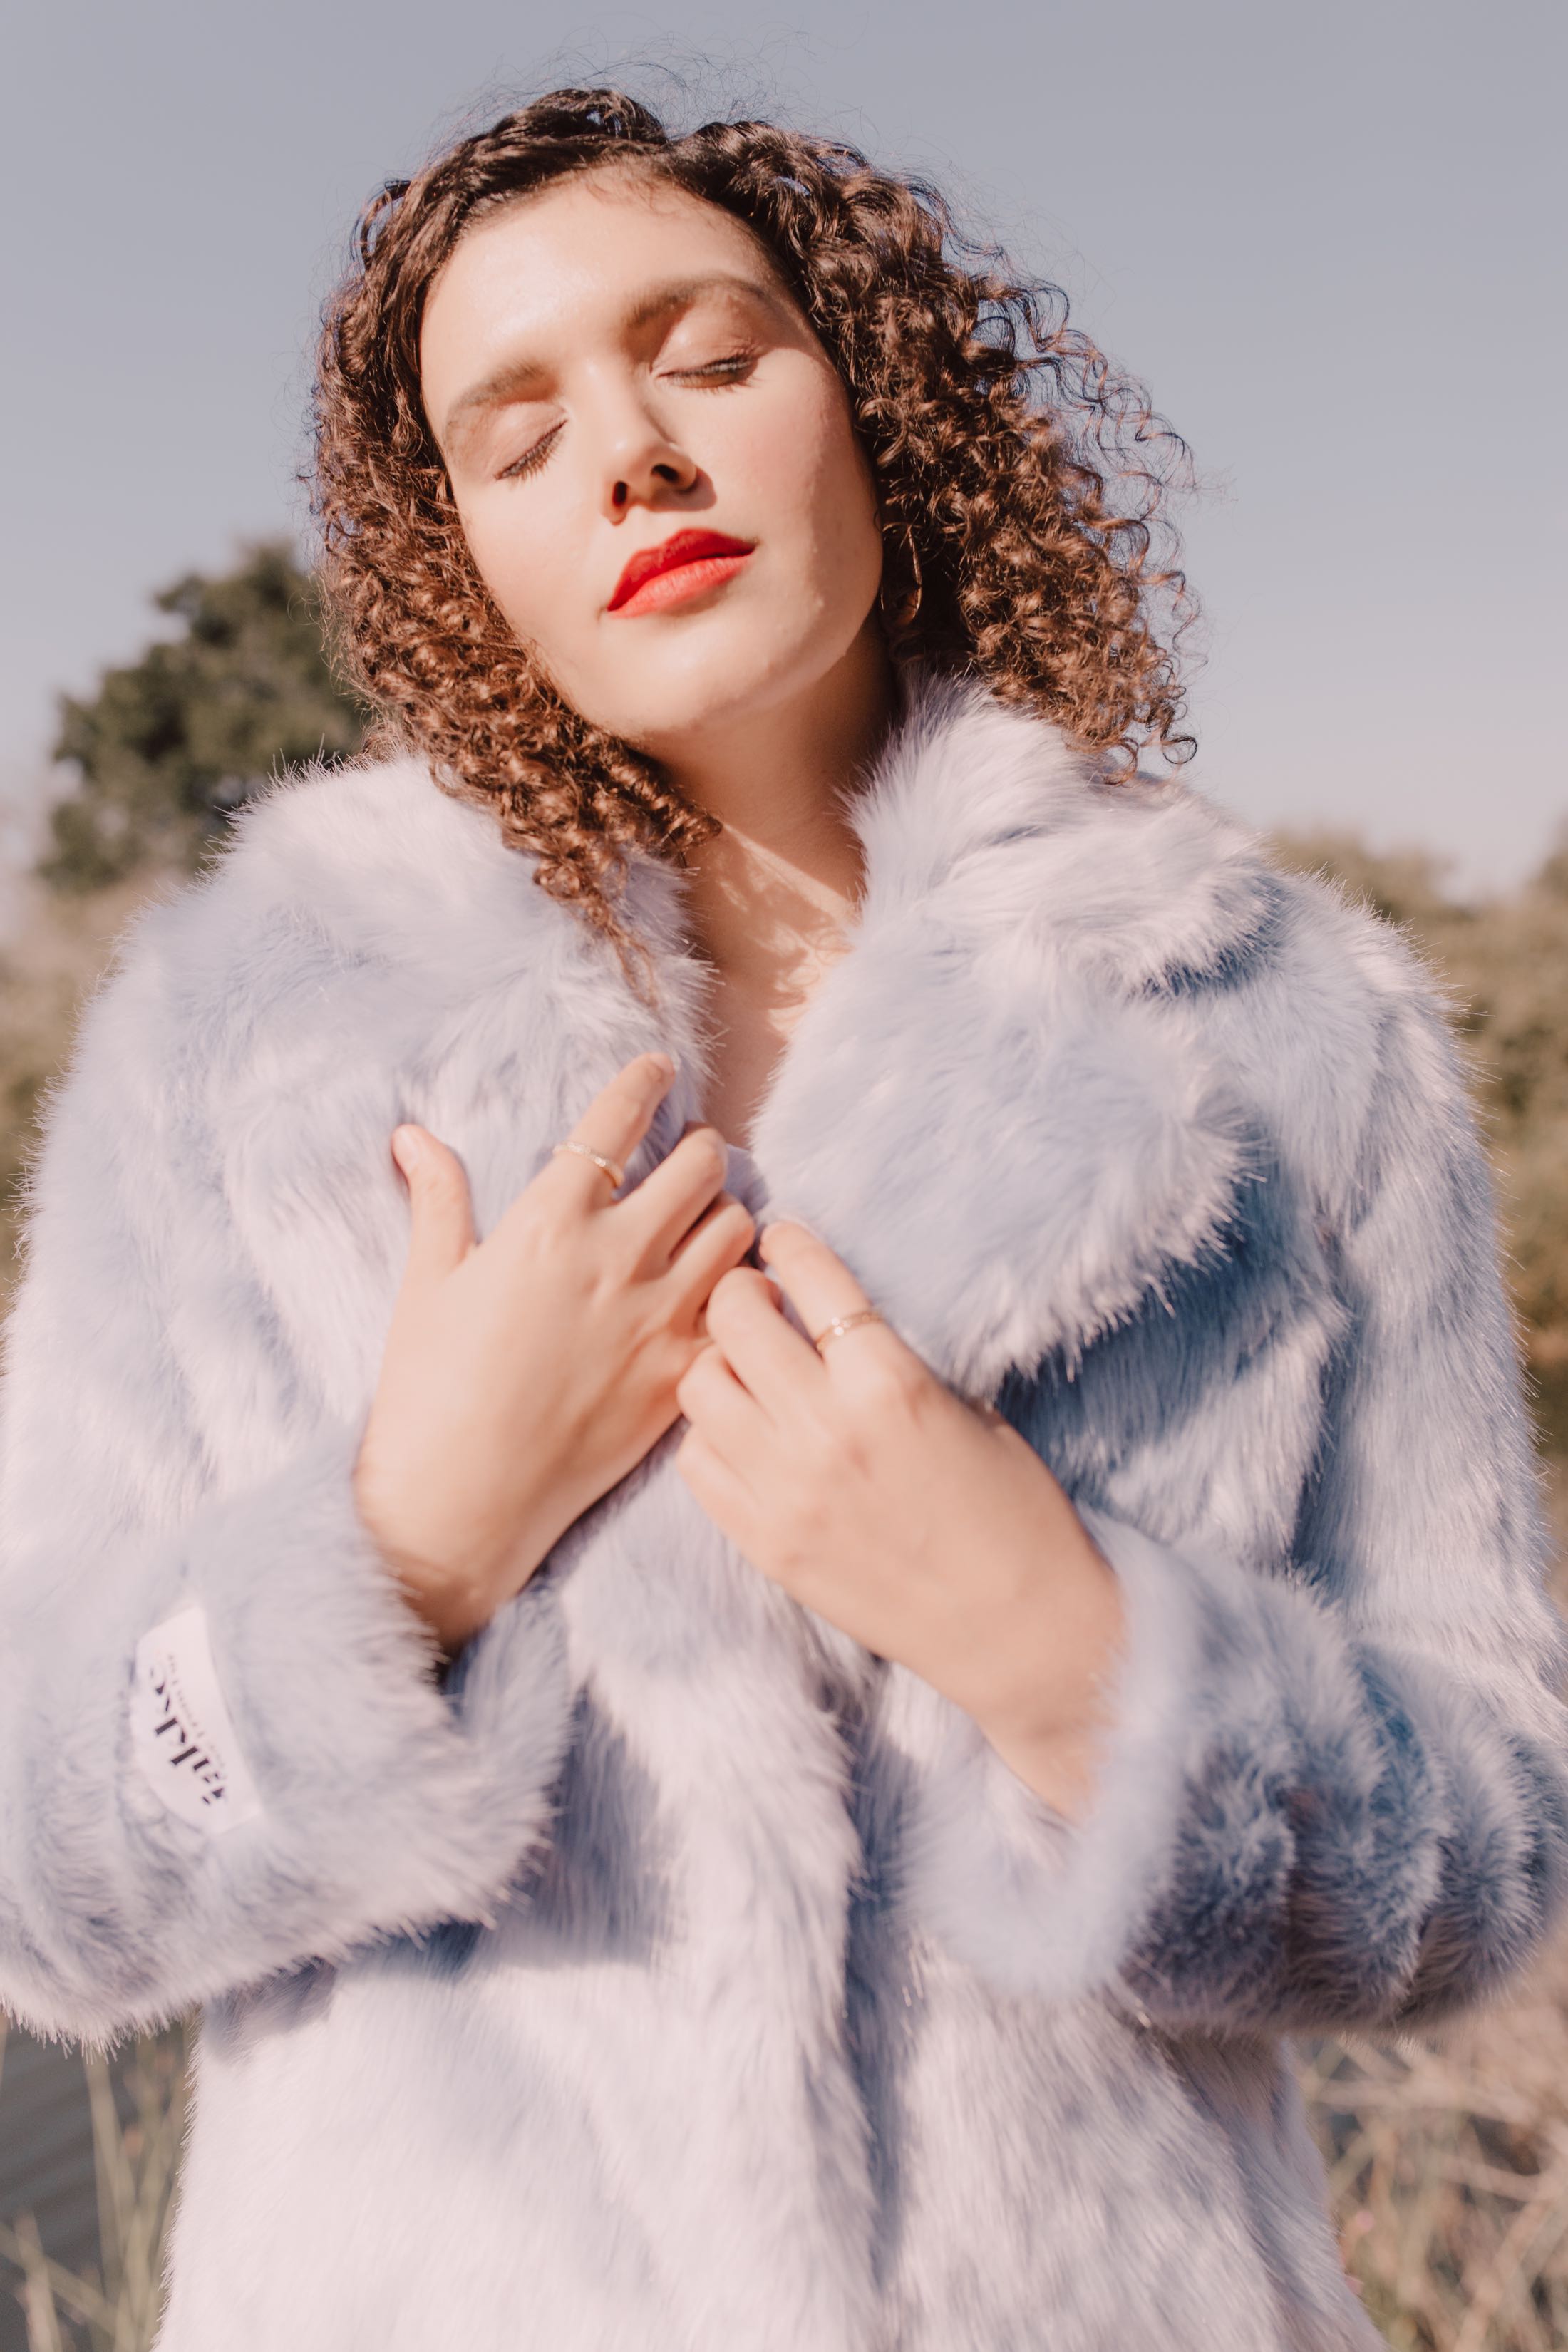
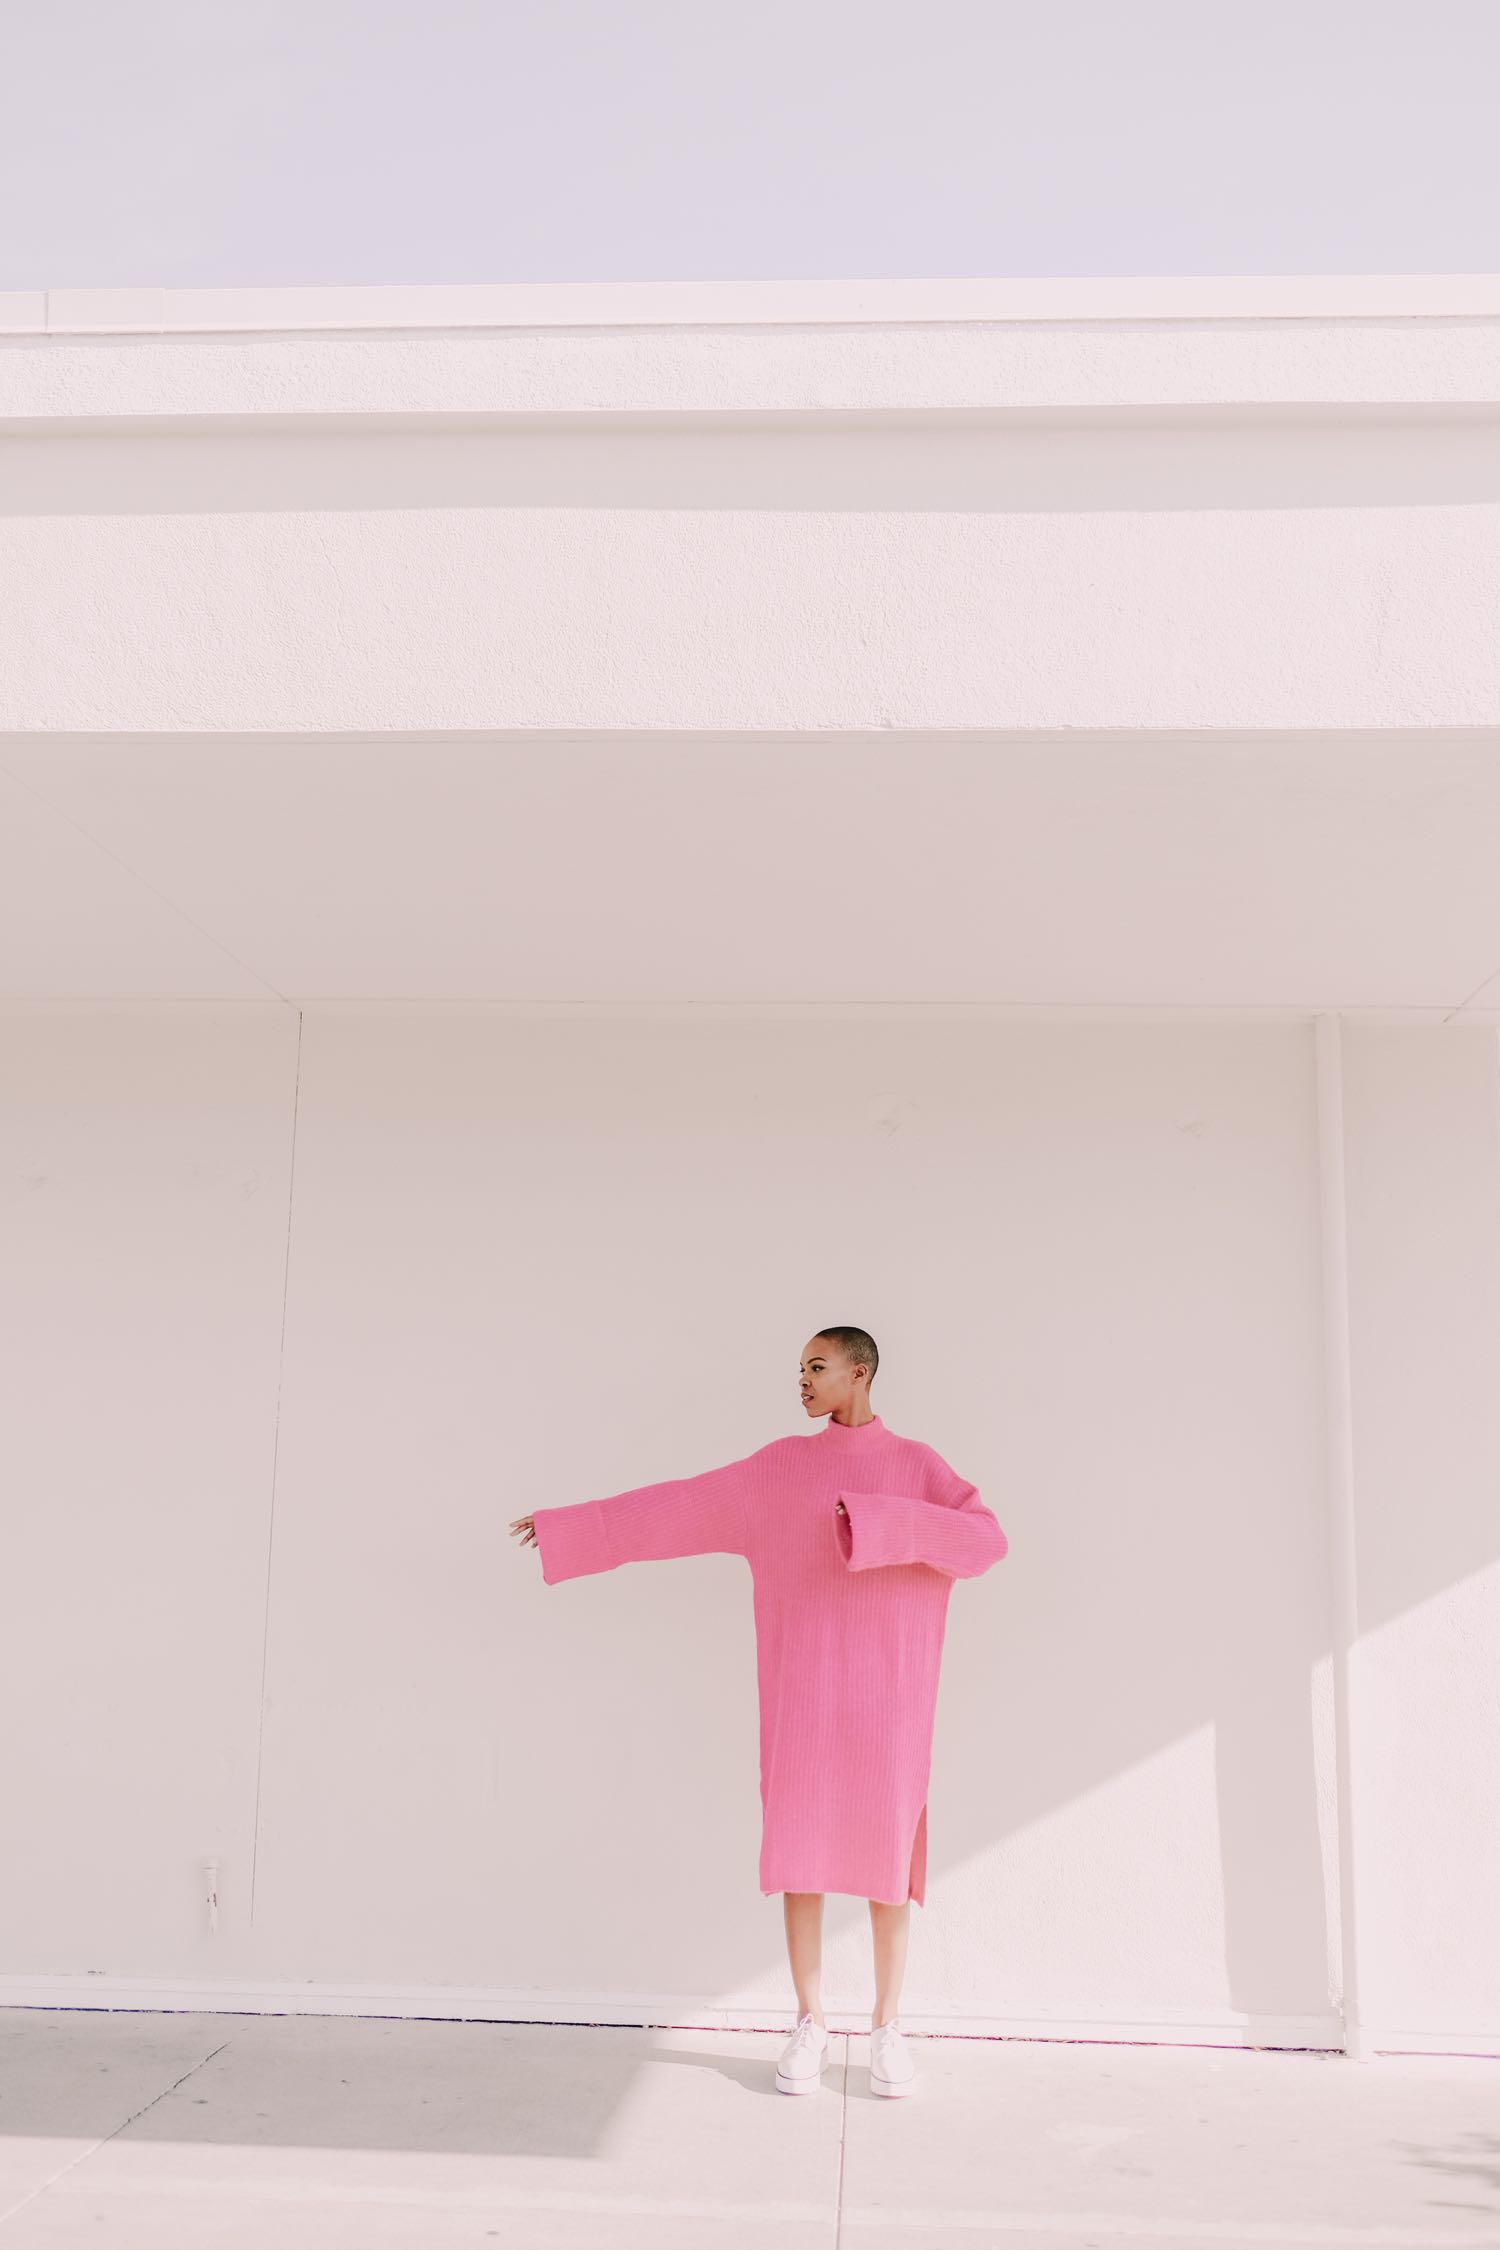
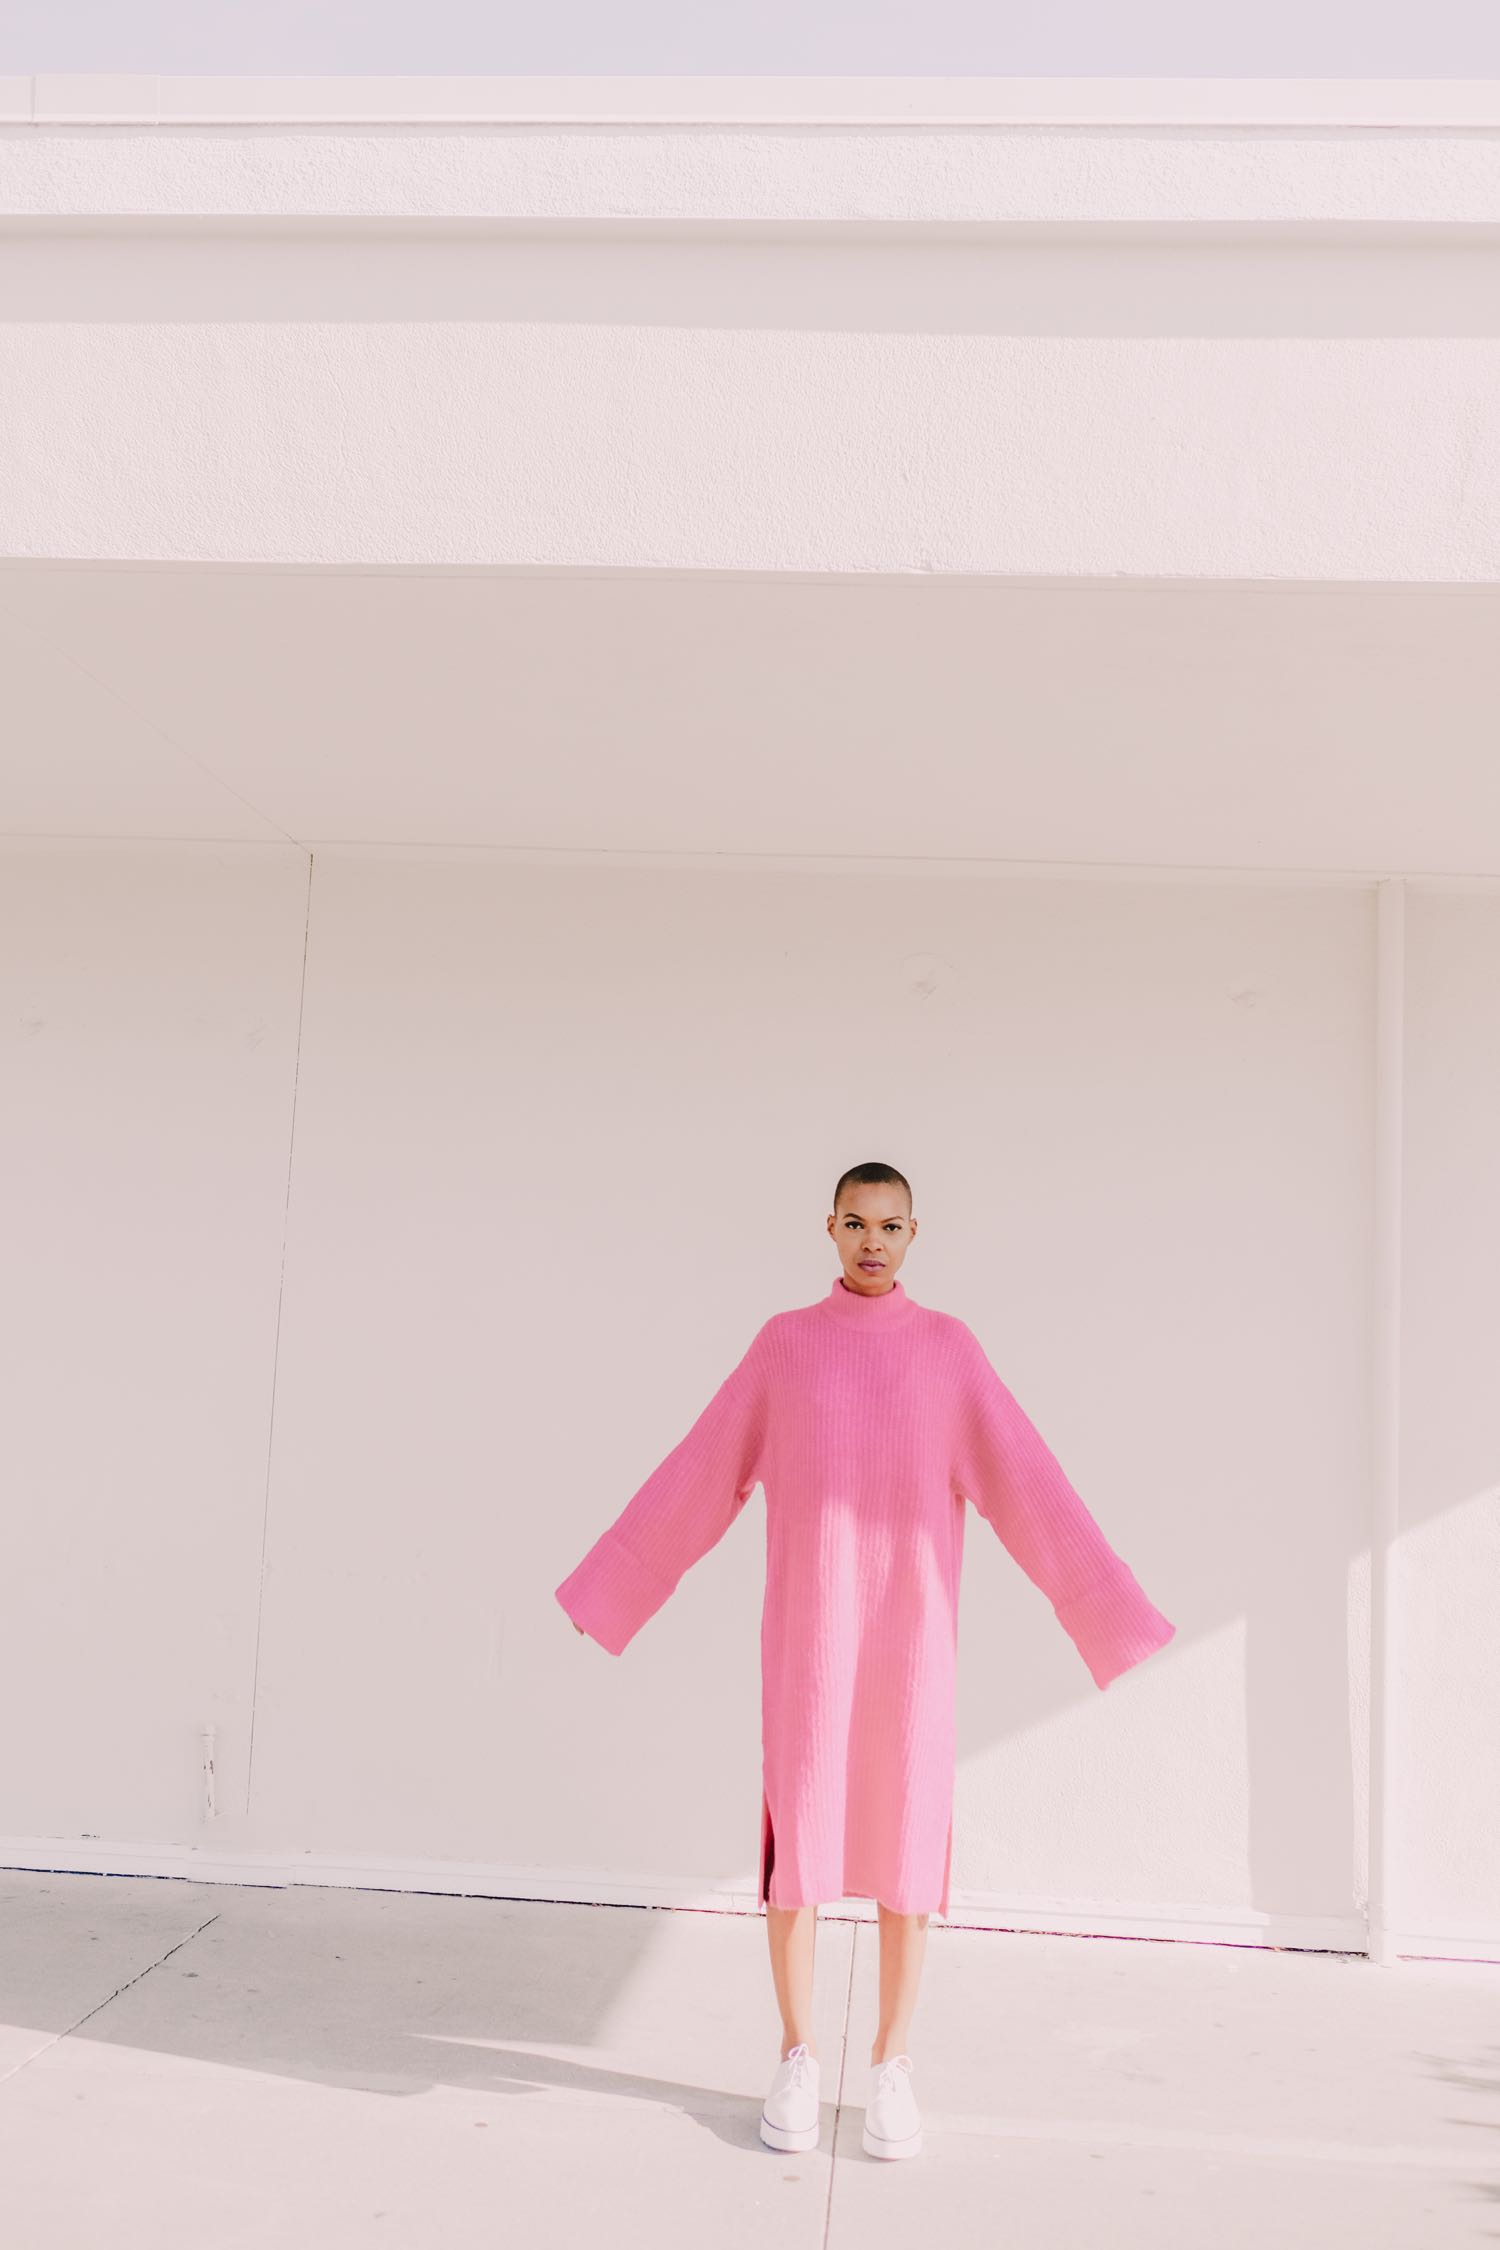
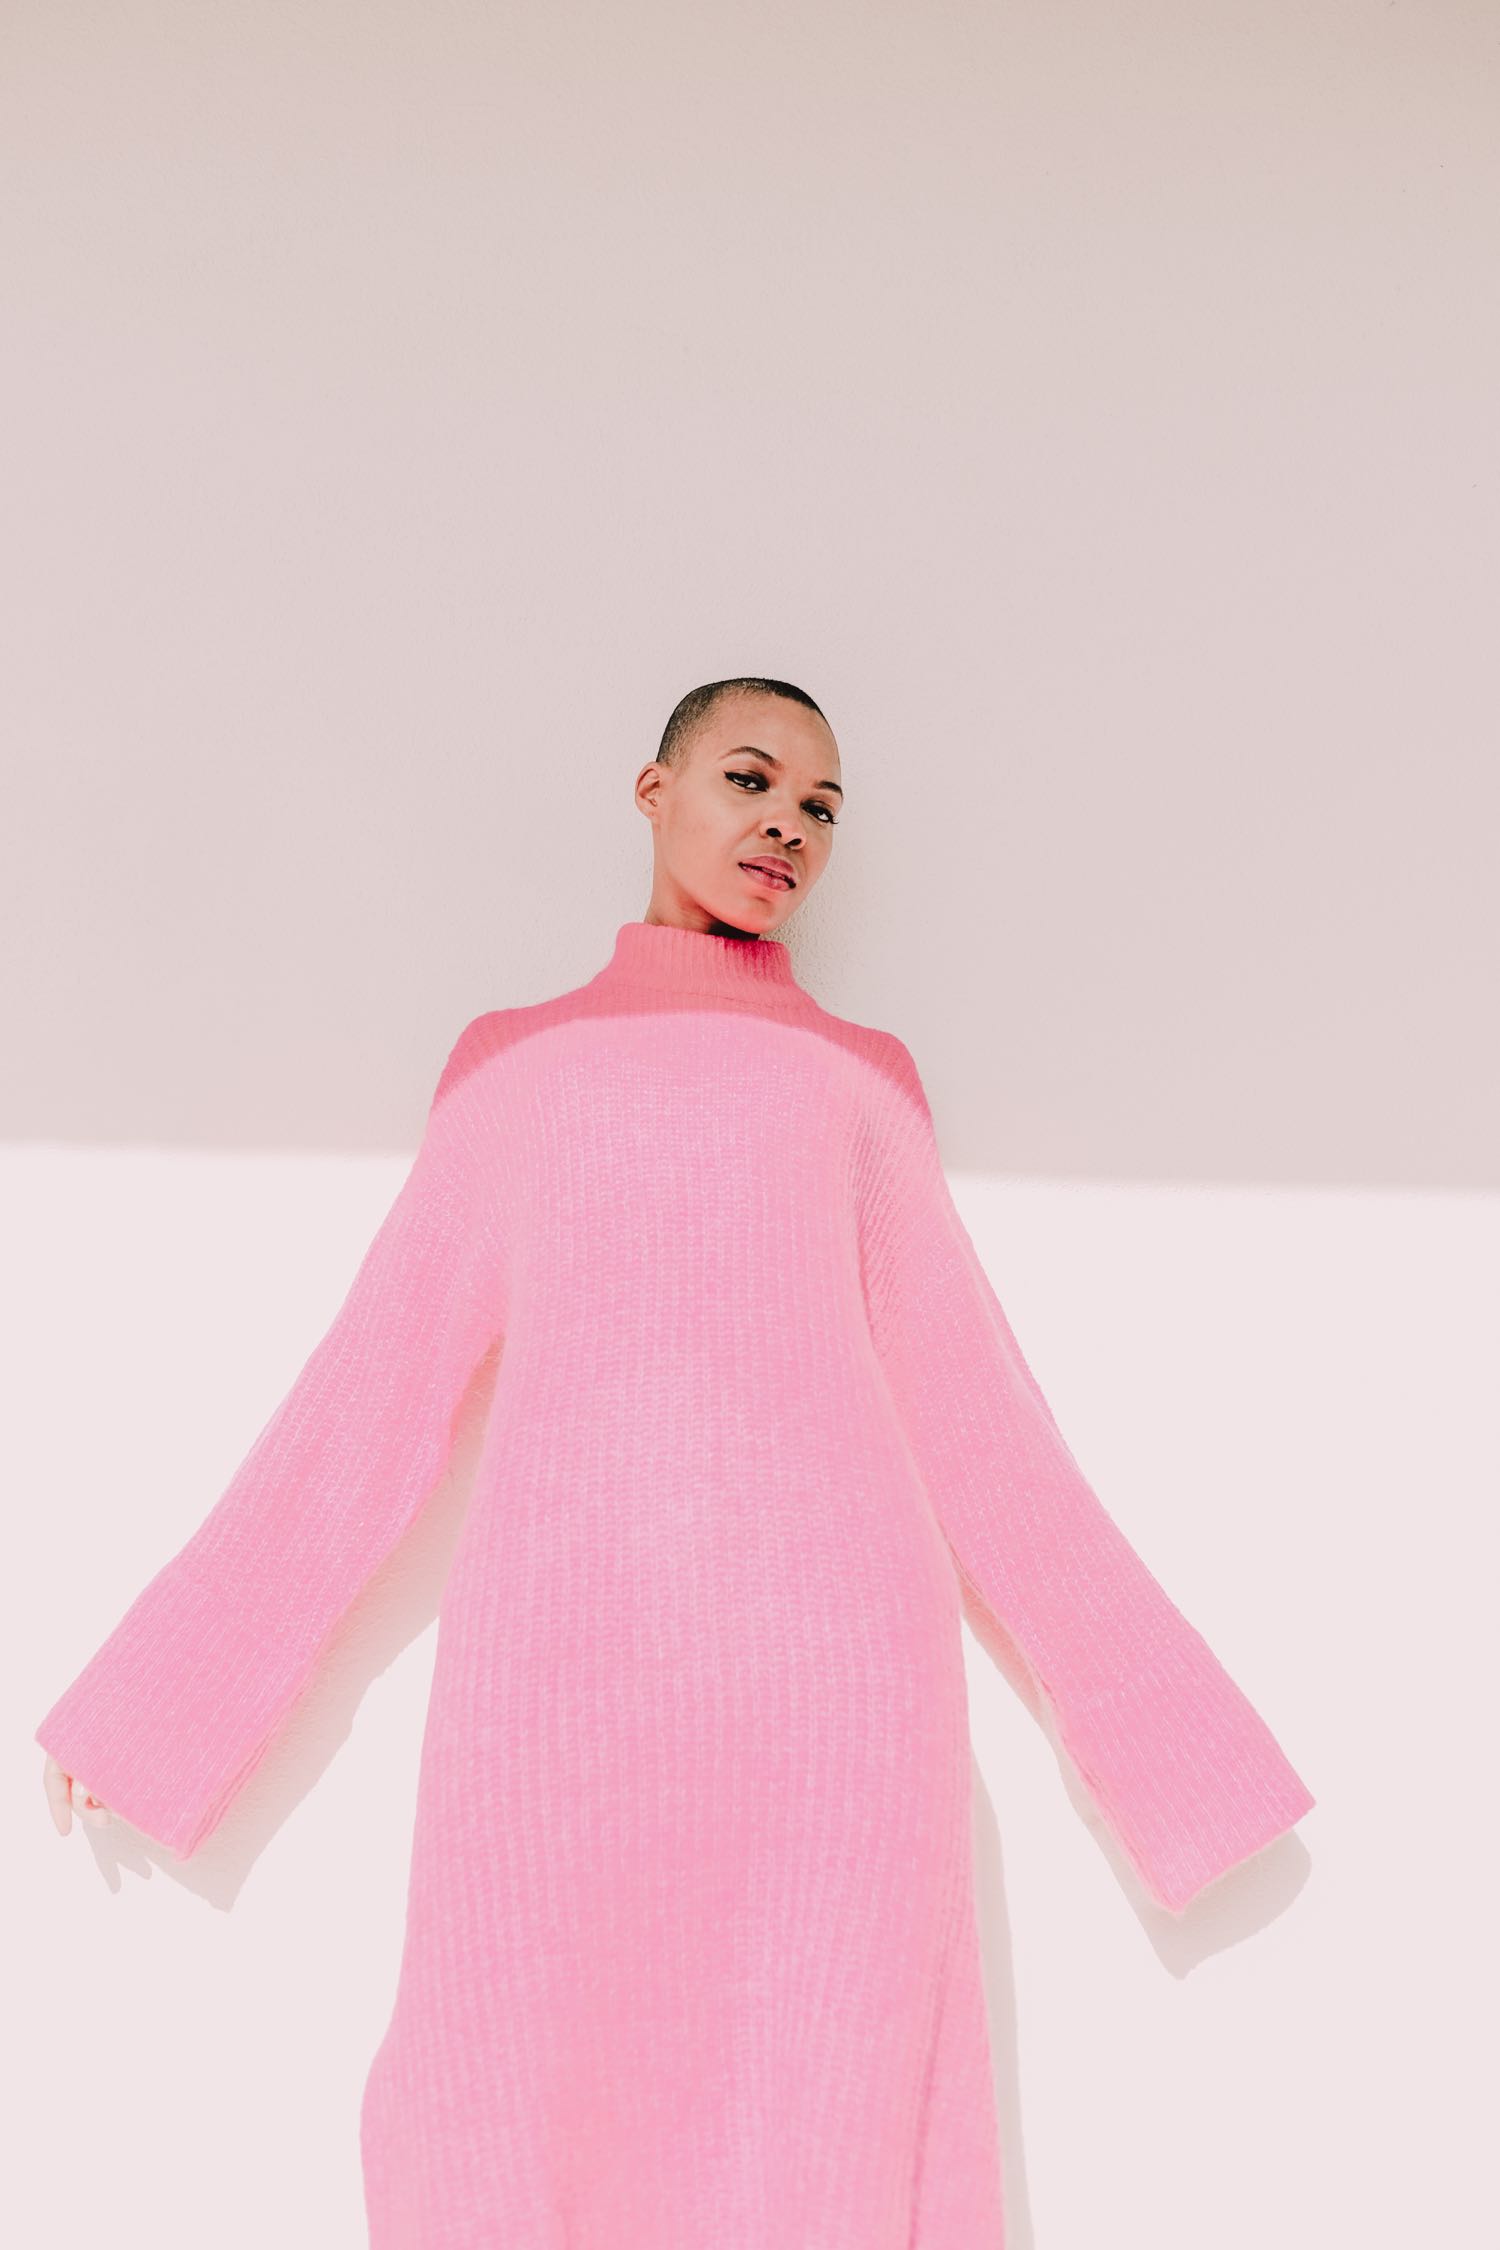
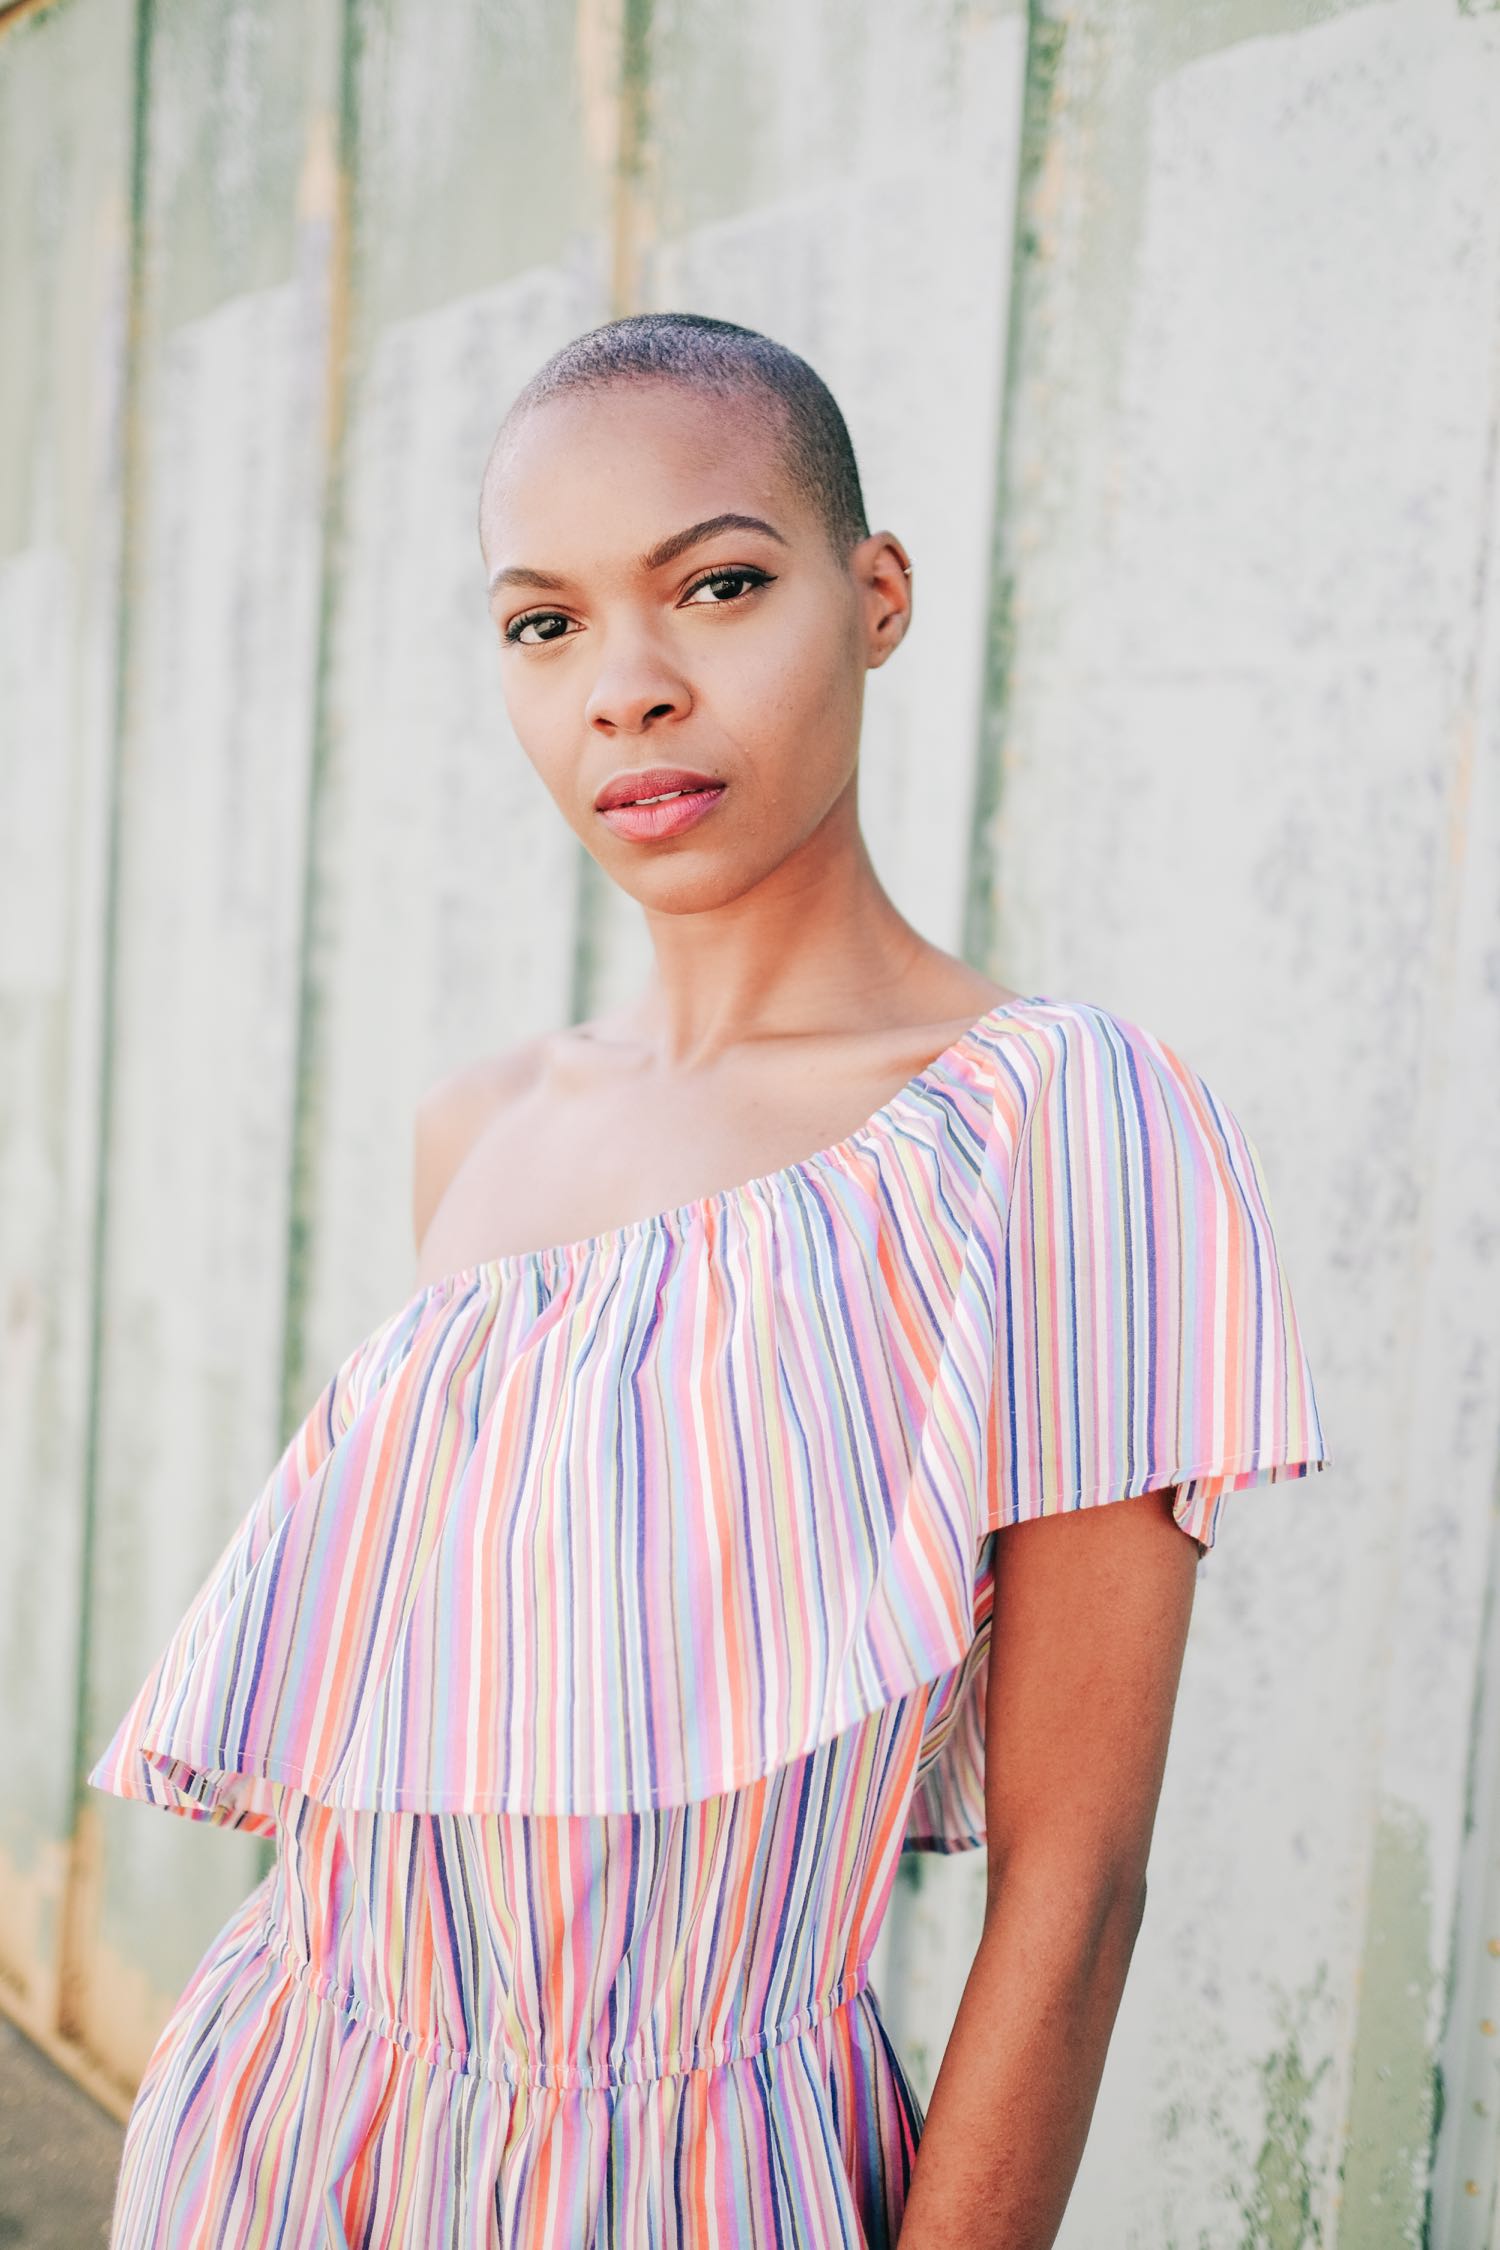
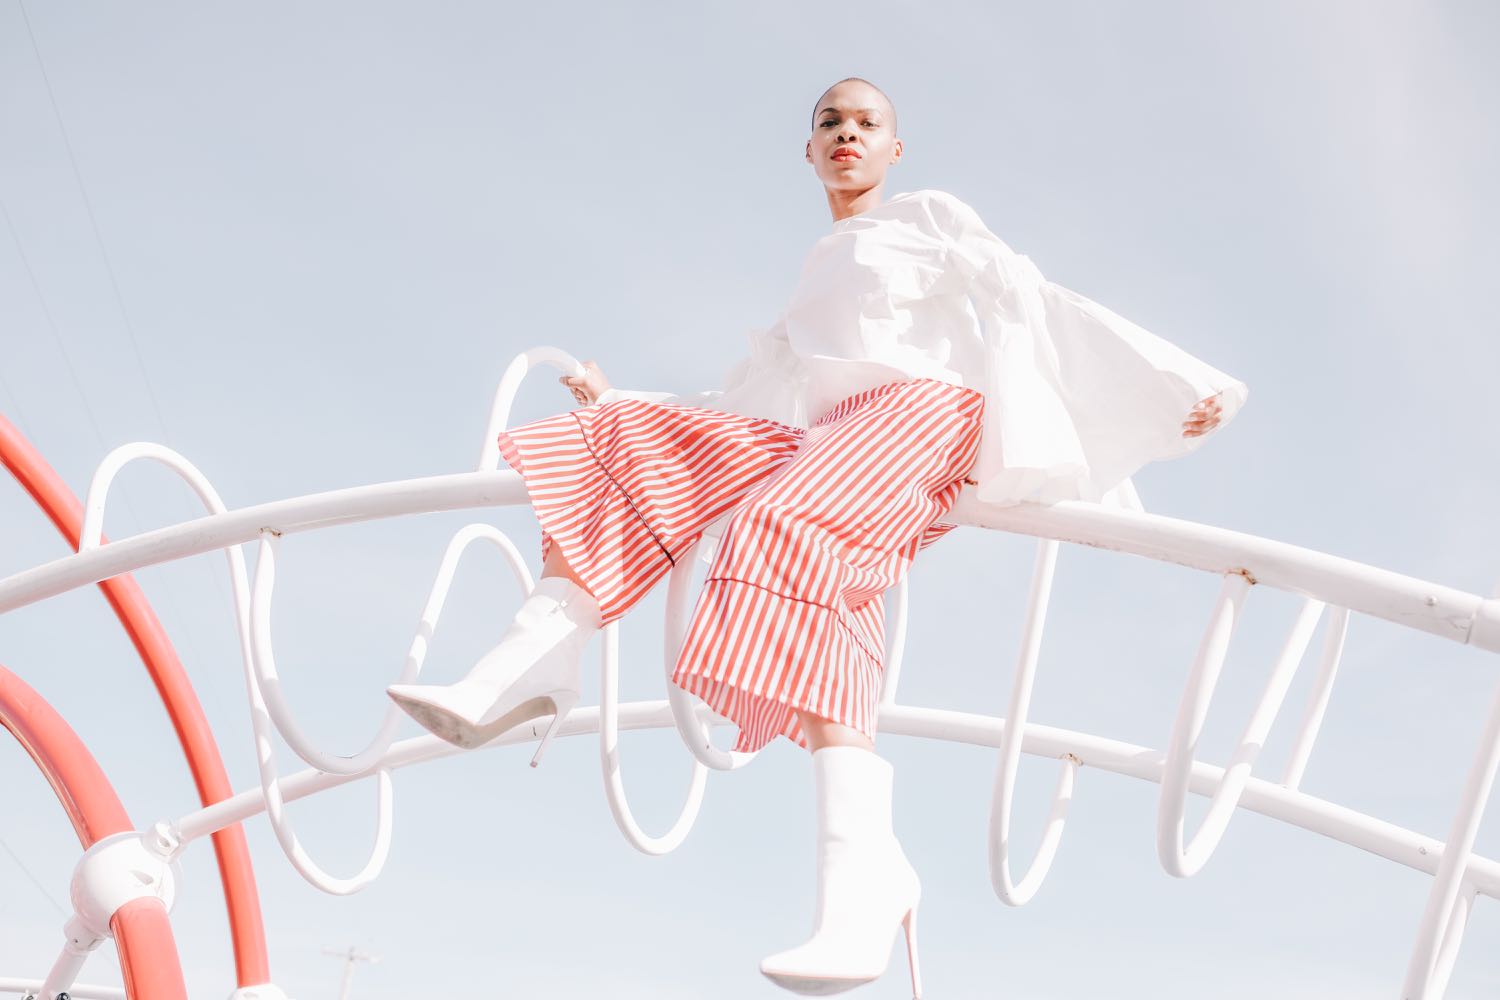
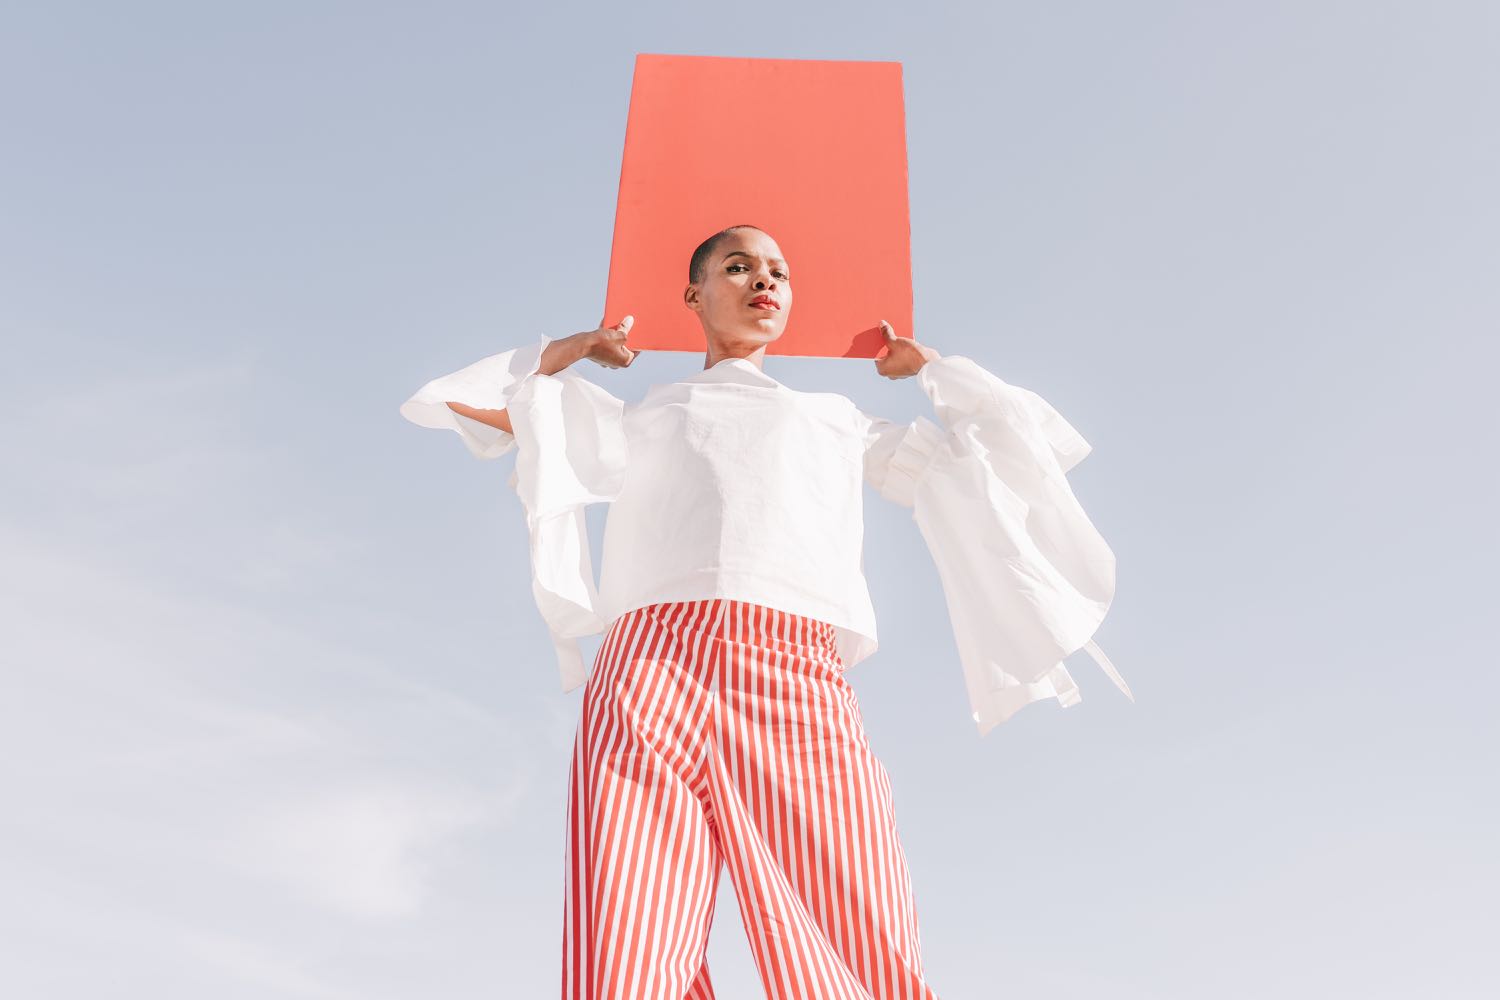
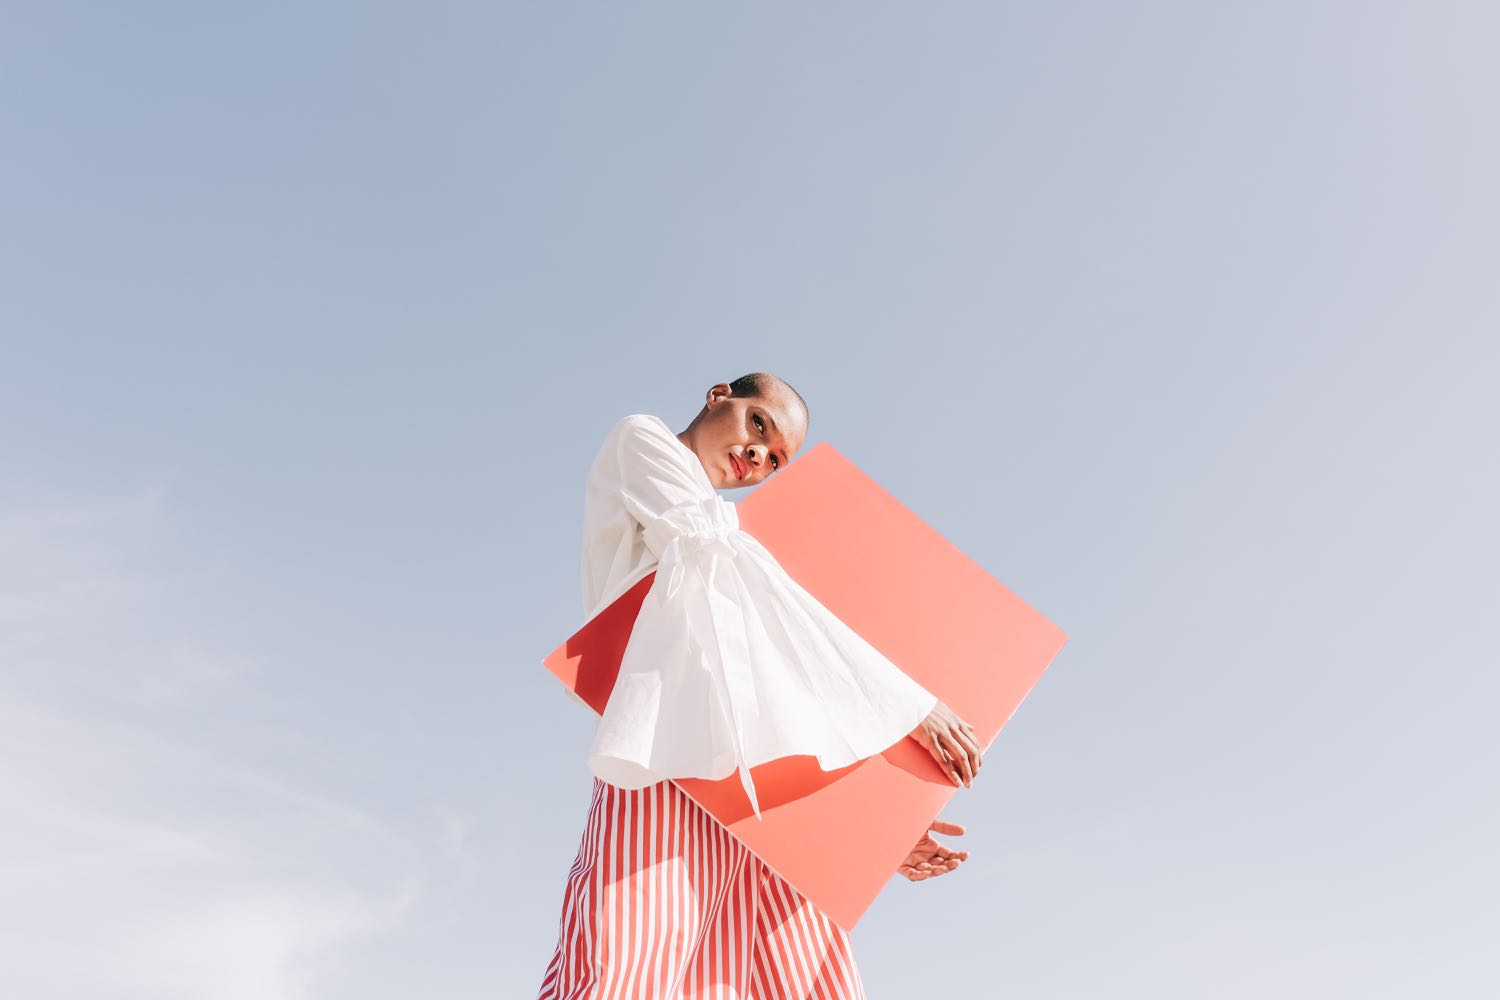
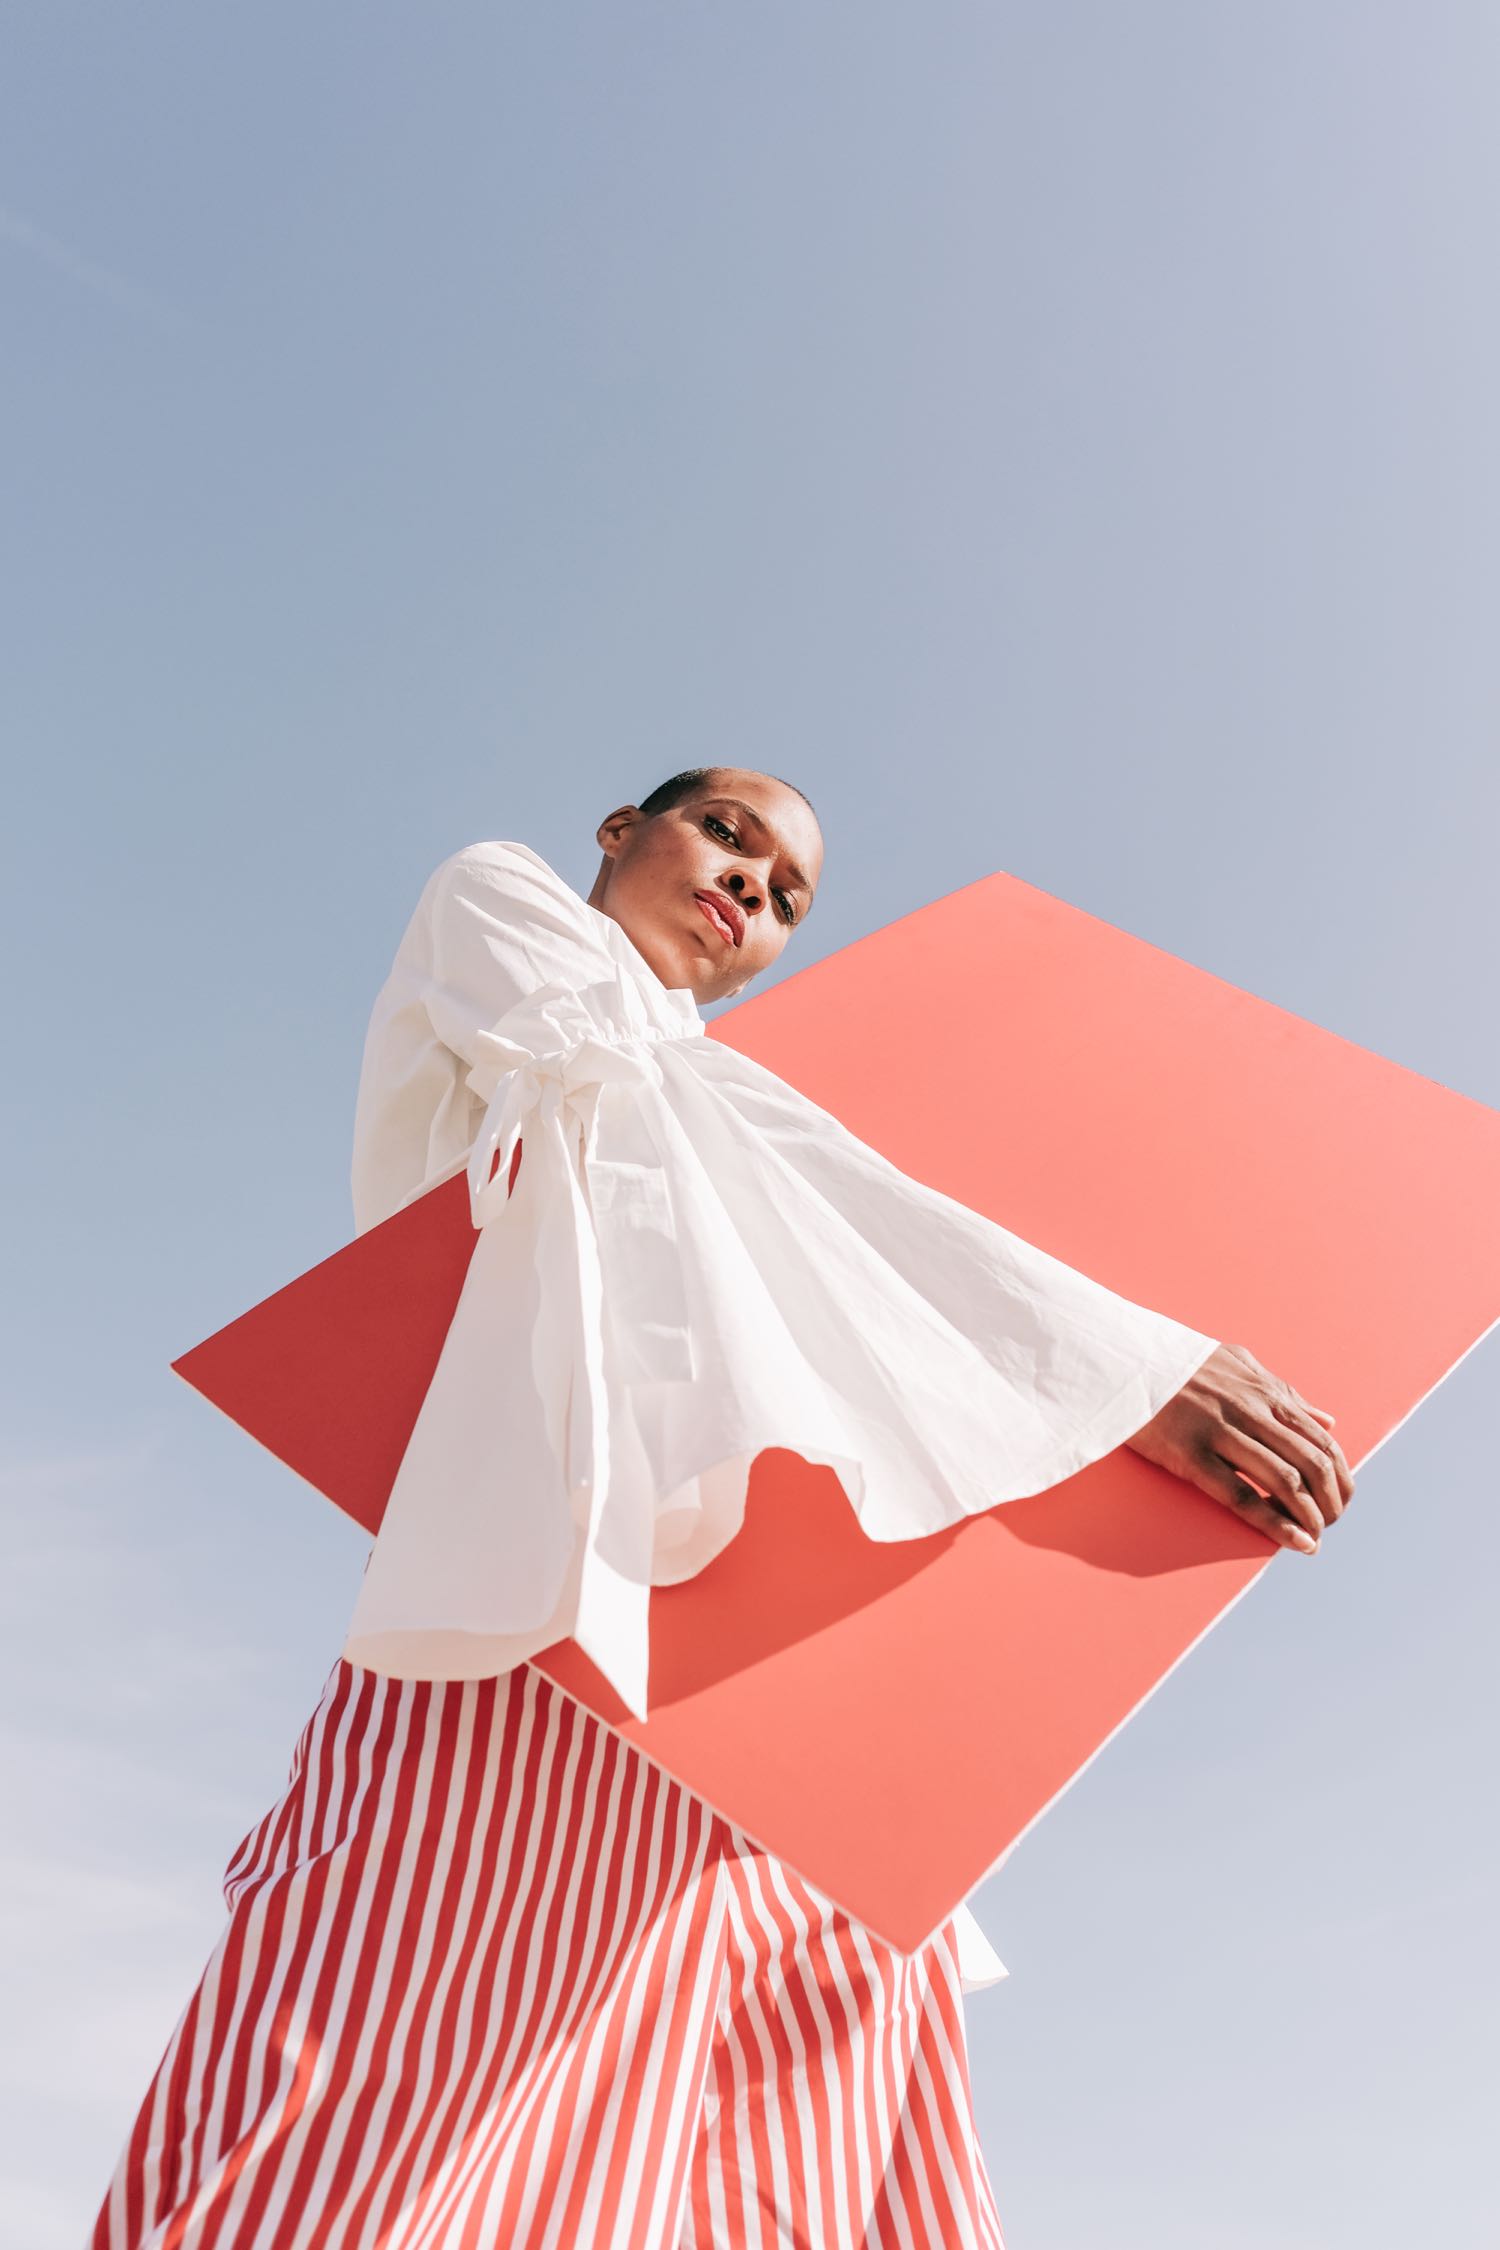
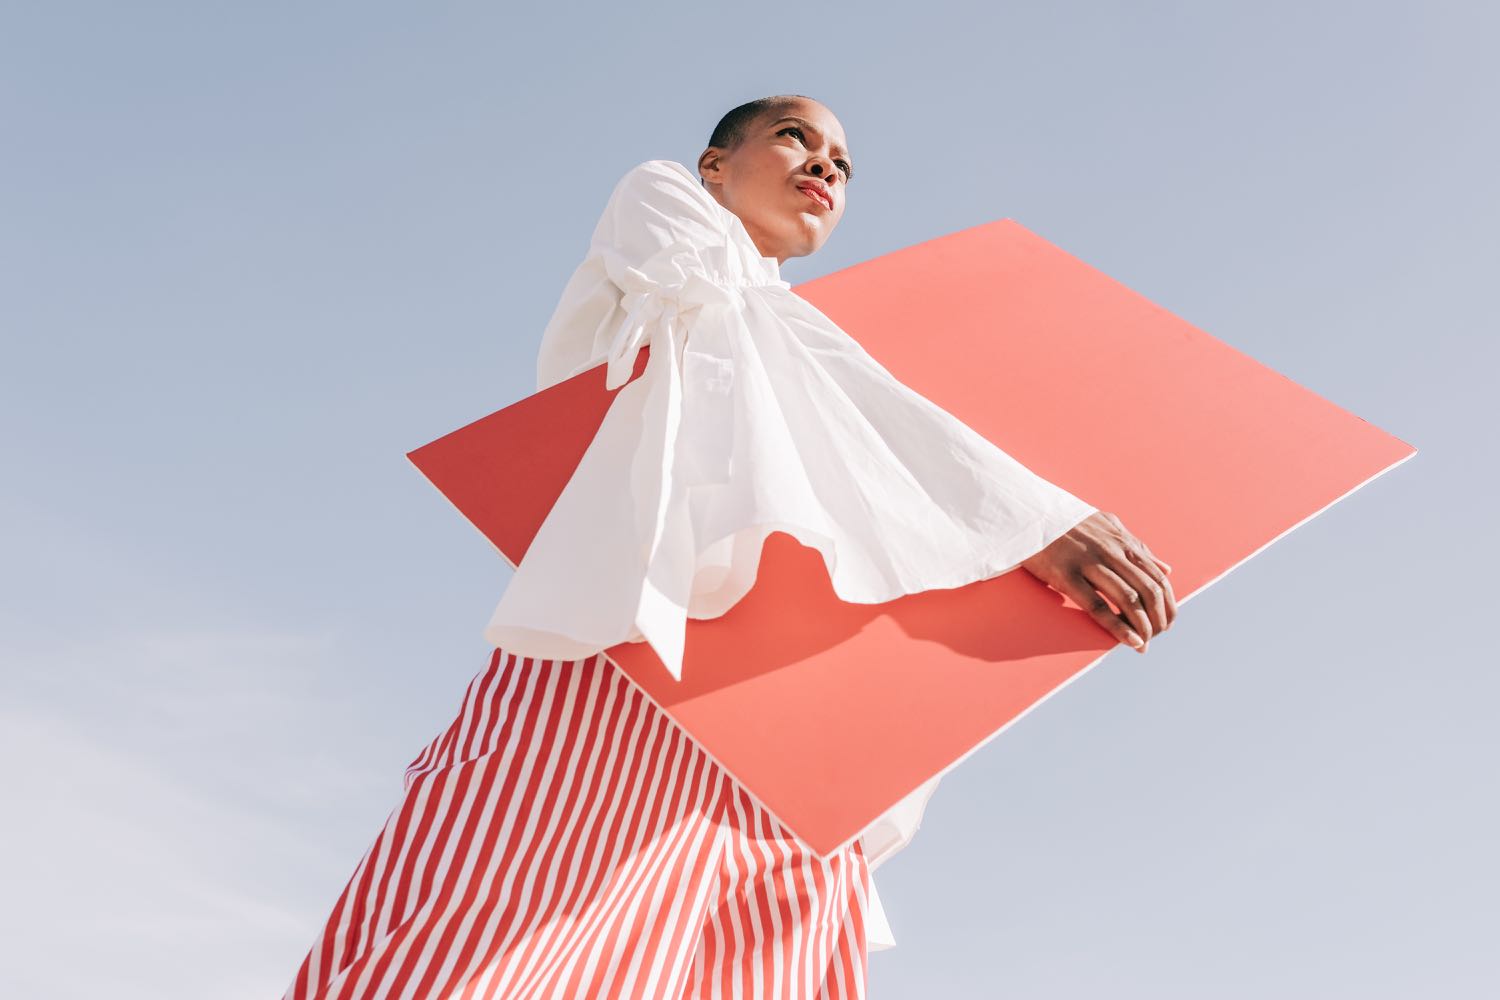
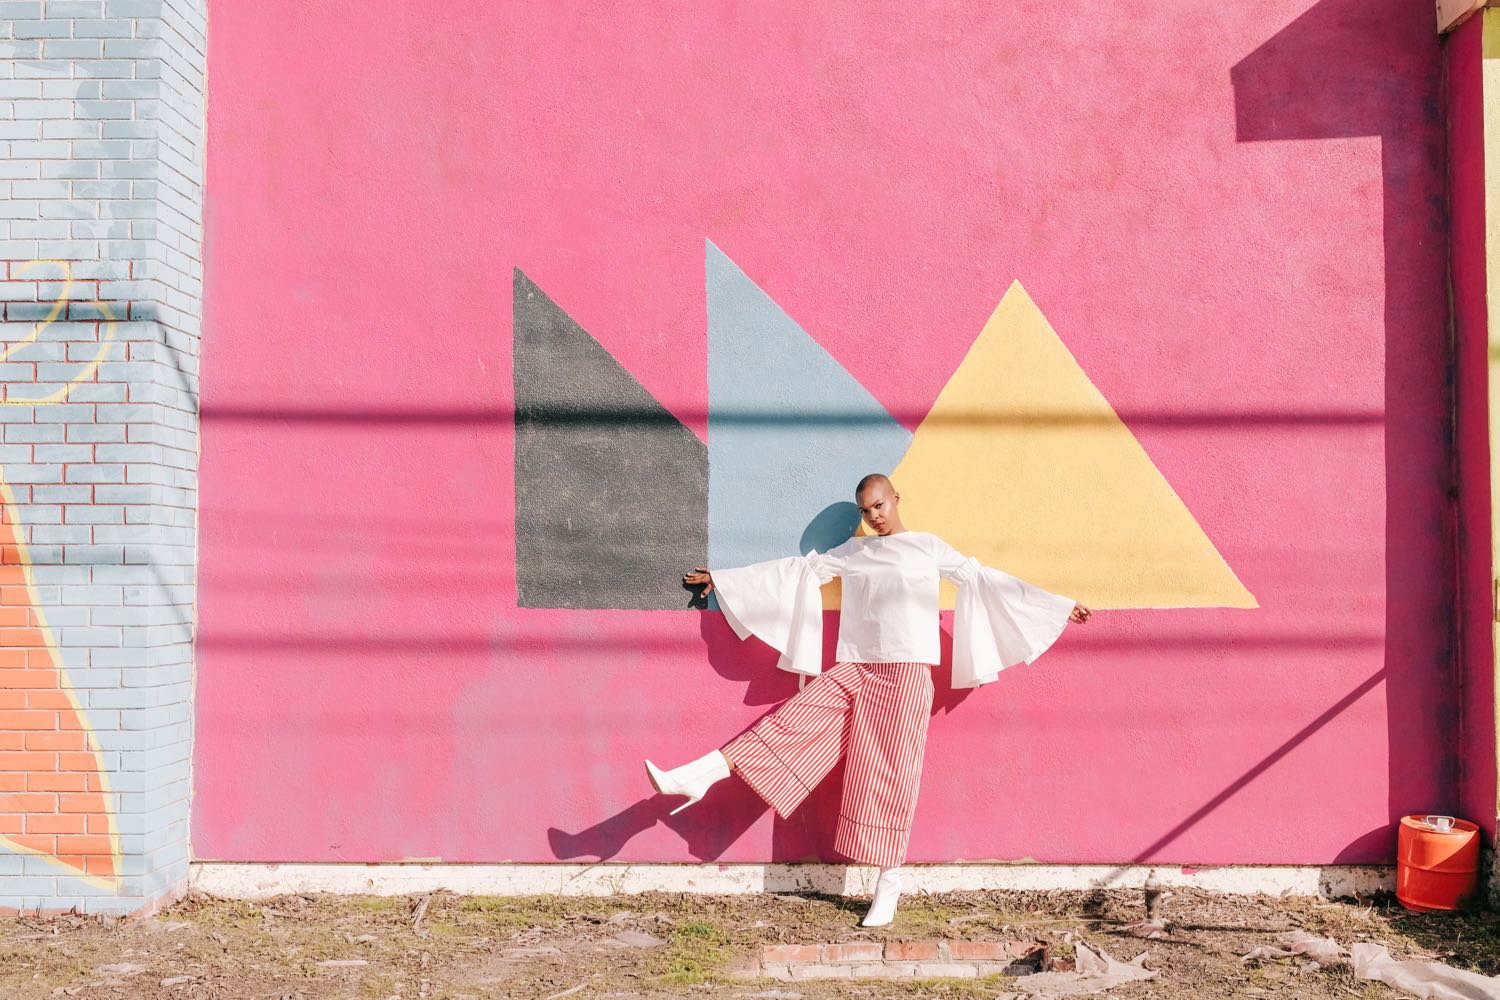
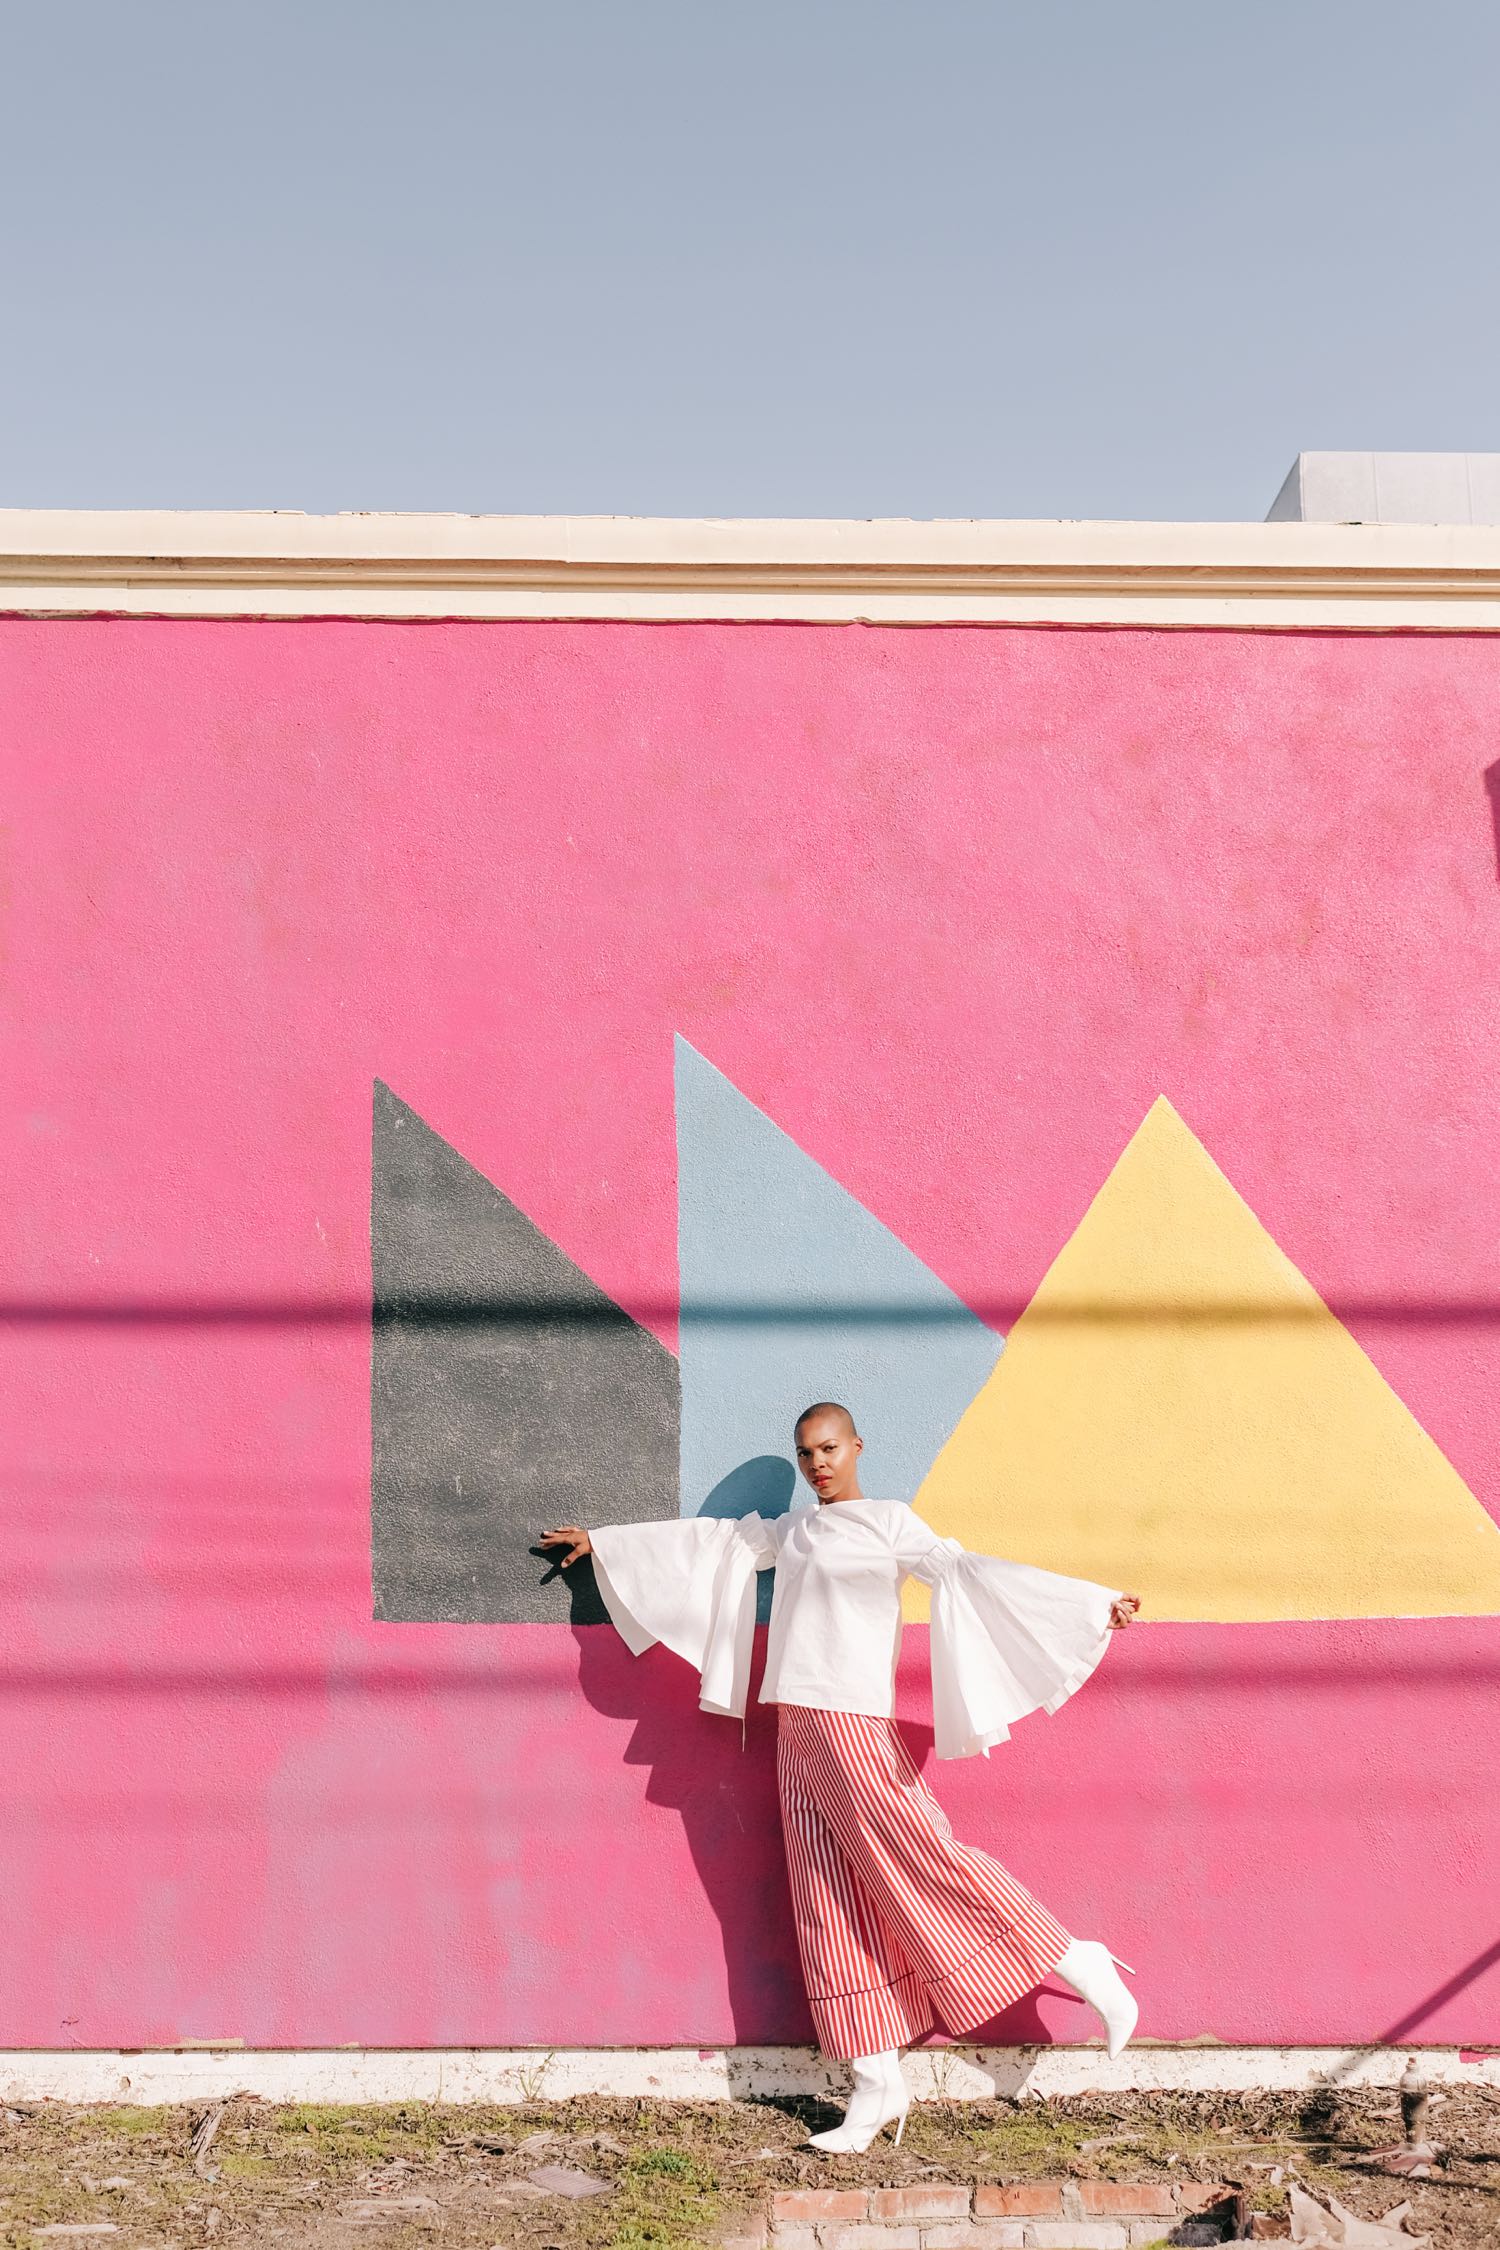
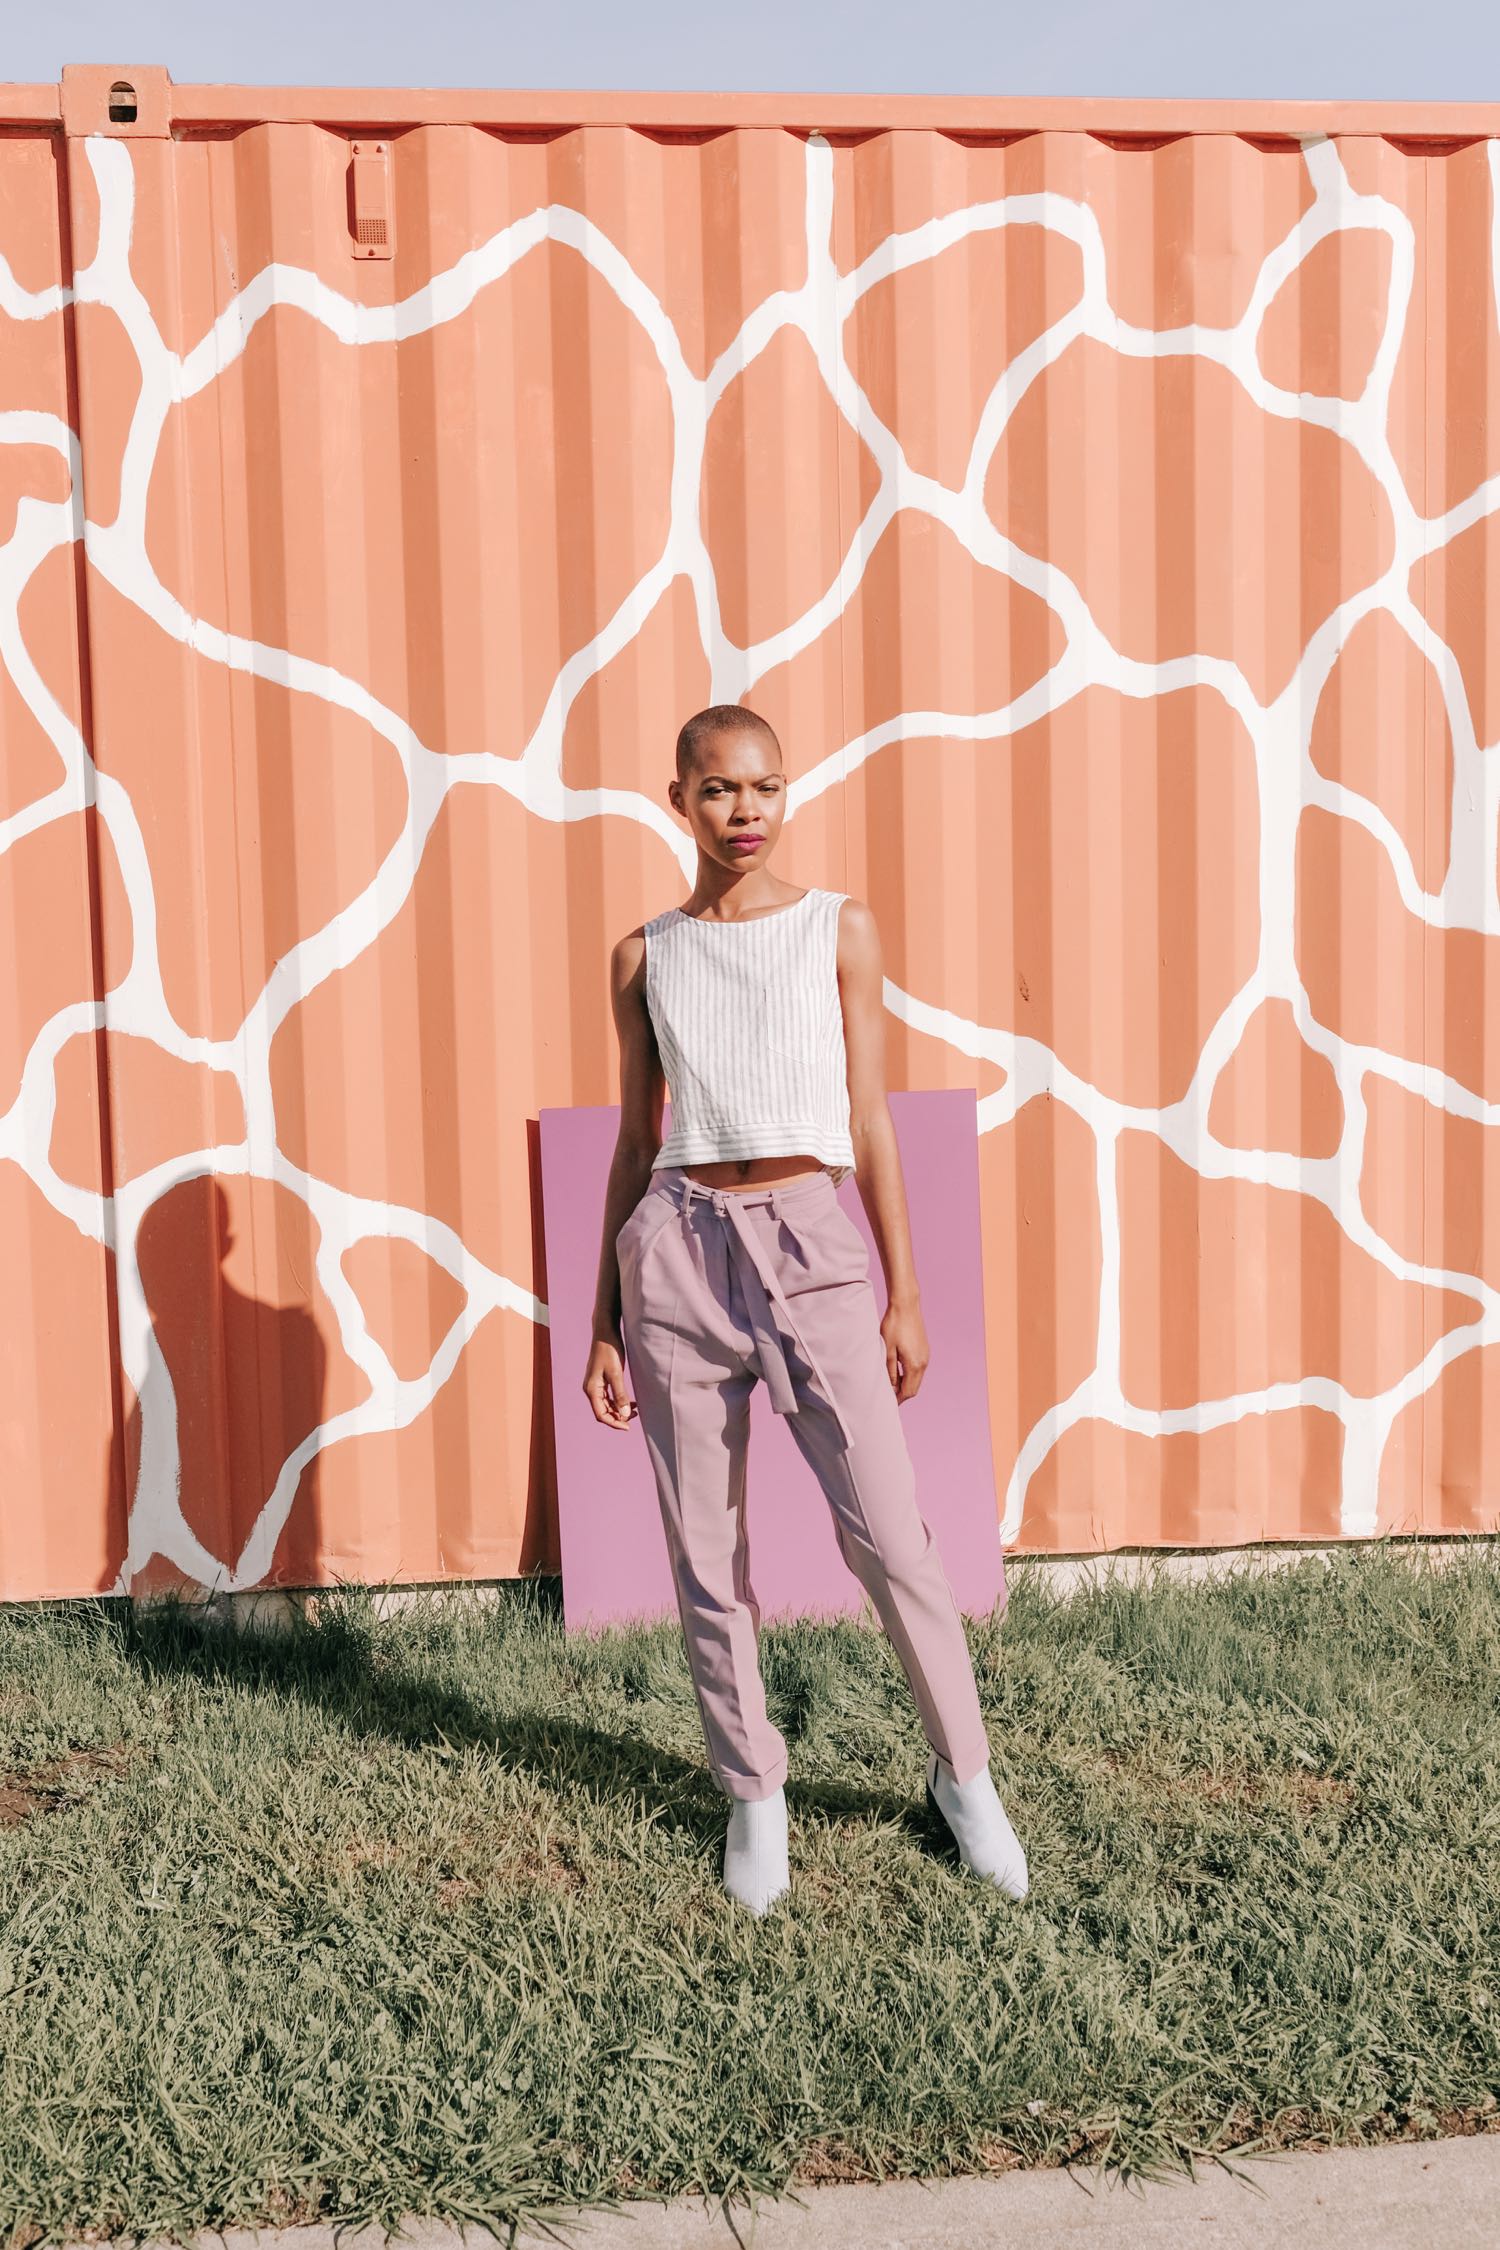
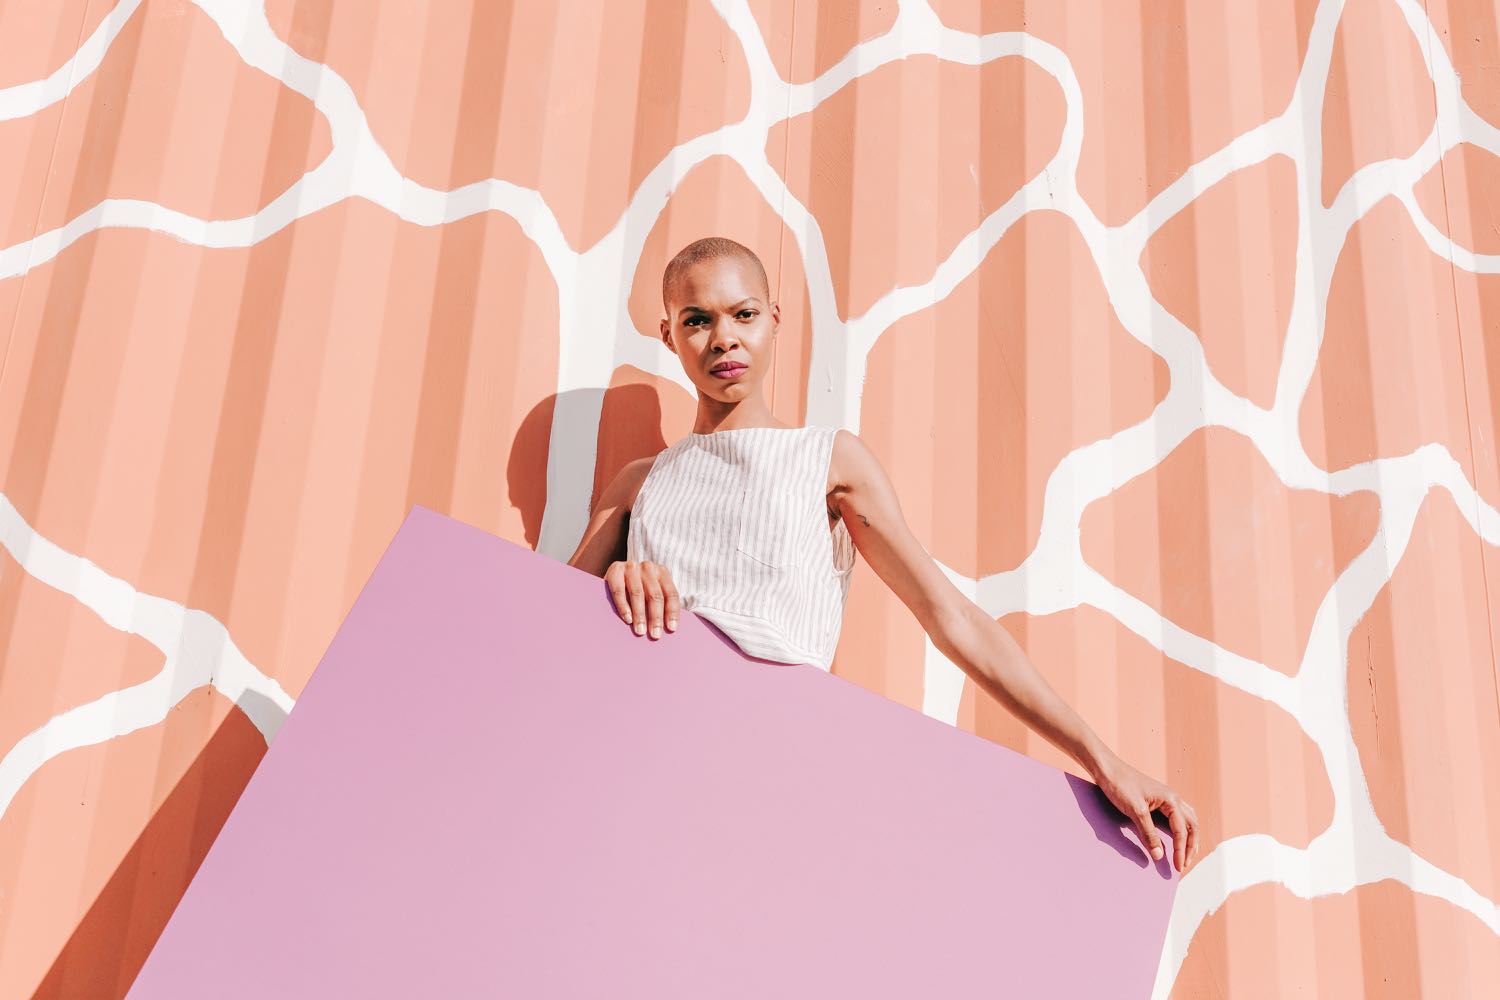
Had a blast creating these fun, colorful images for Zappos!
Models: Claire Xue, Camille Forde, and Sonia Chopra
Hair & Makeup: Amy Lawson
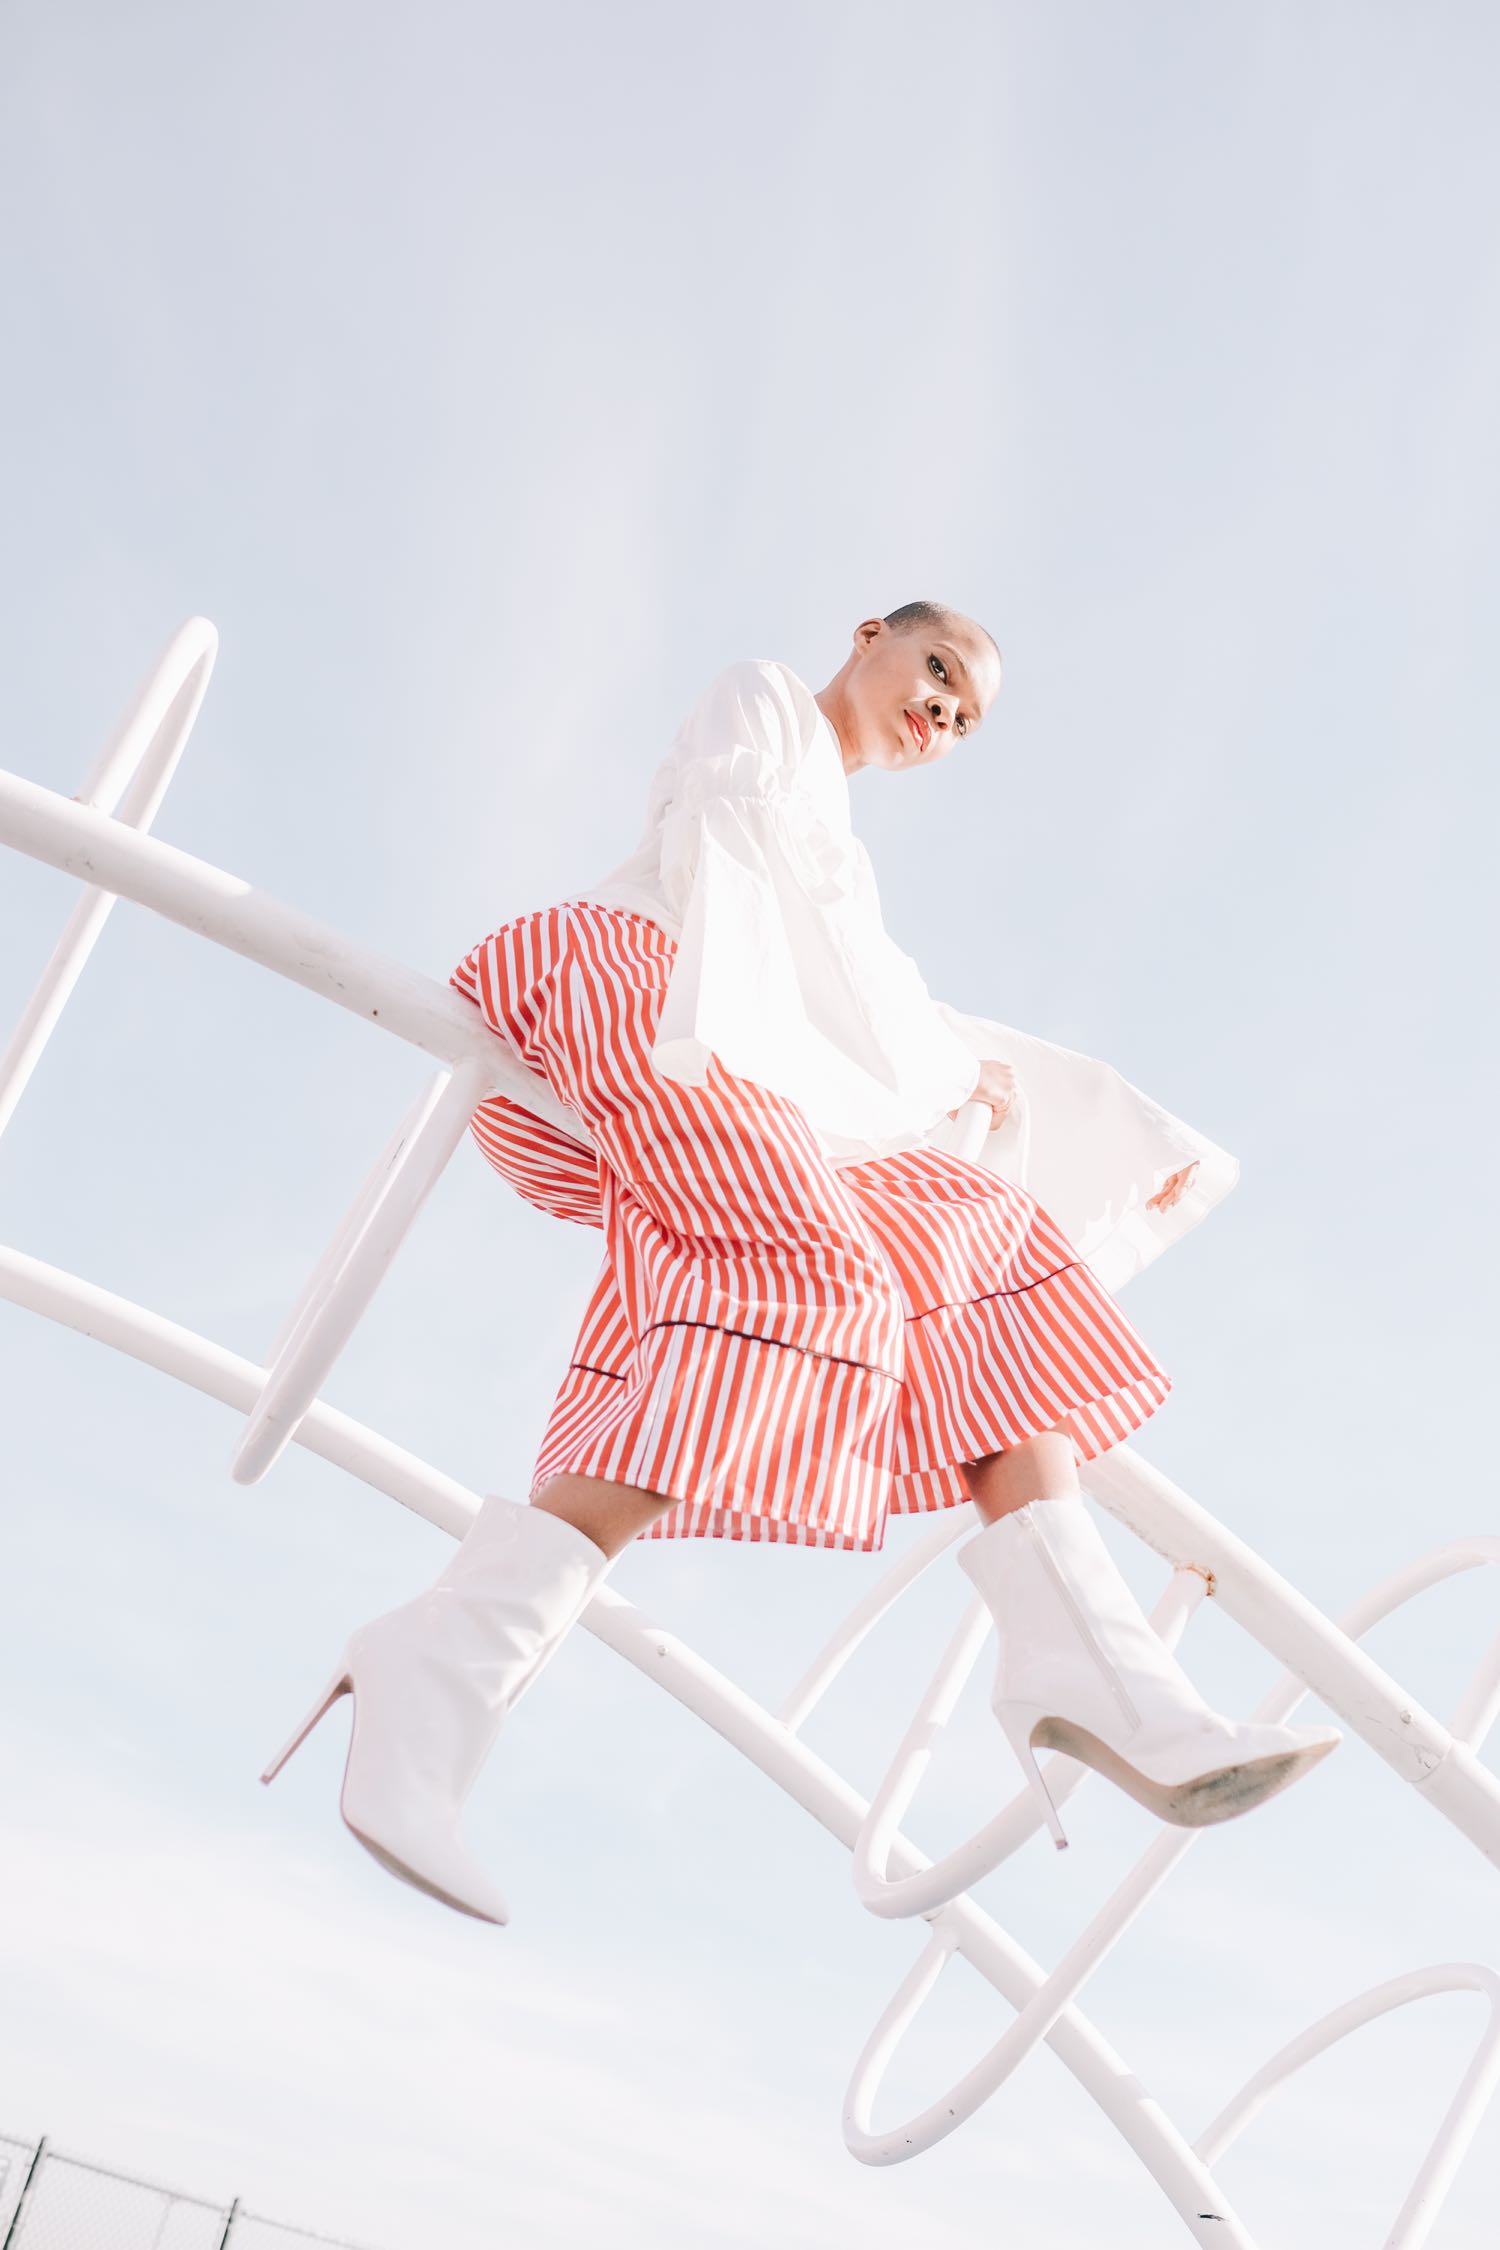
Had a blast creating these fun, colorful images for Zappos!
Models: Claire Xue, Camille Forde, and Sonia Chopra
Hair & Makeup: Amy Lawson
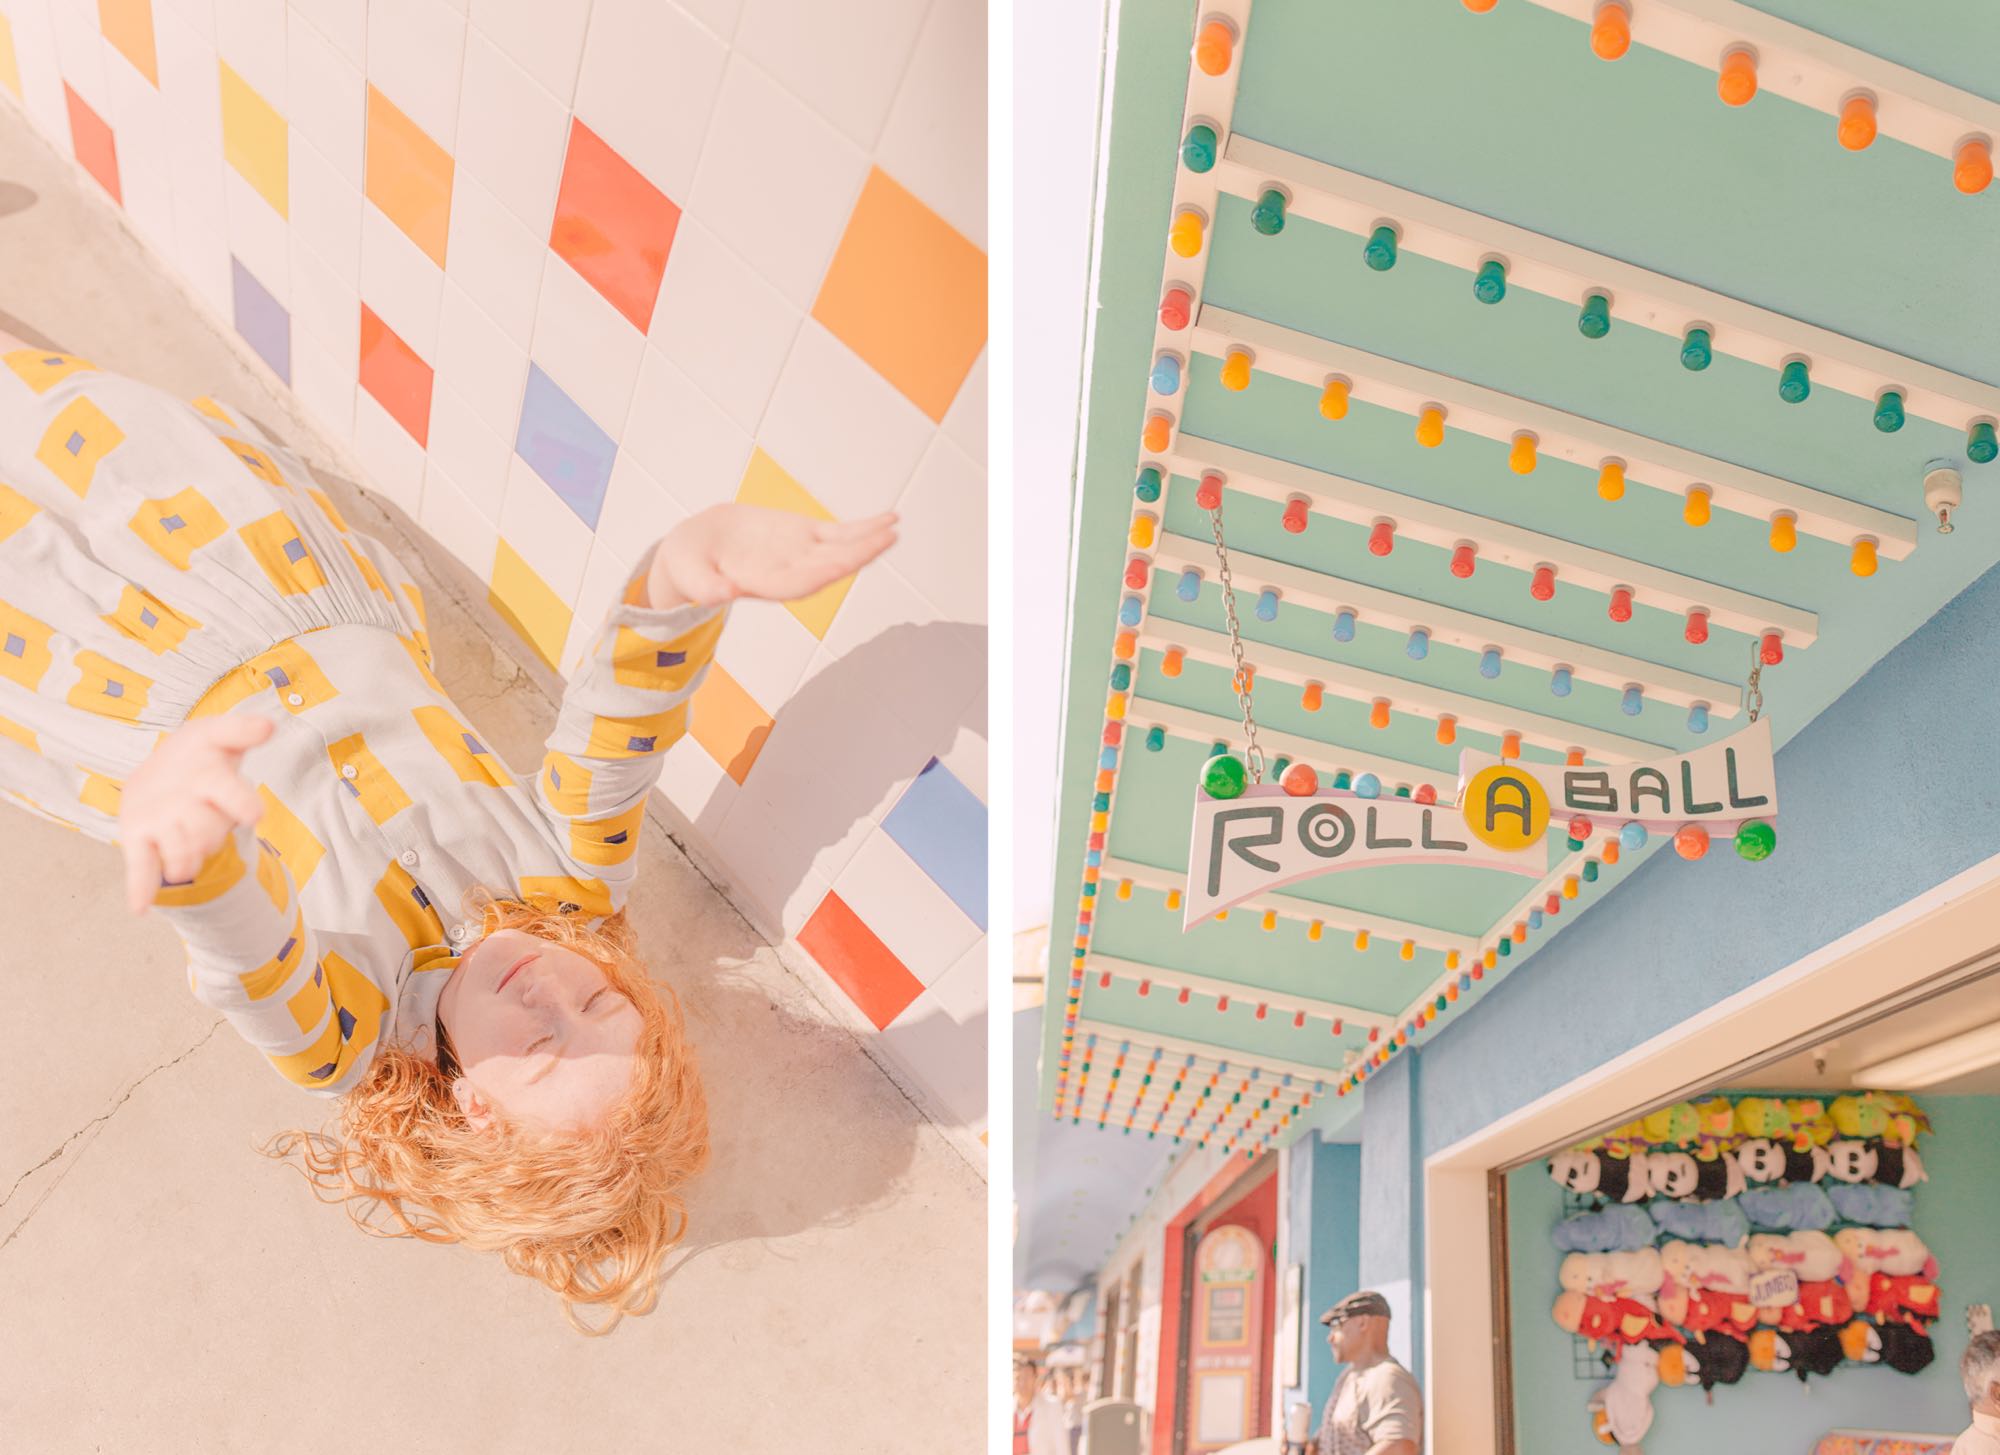
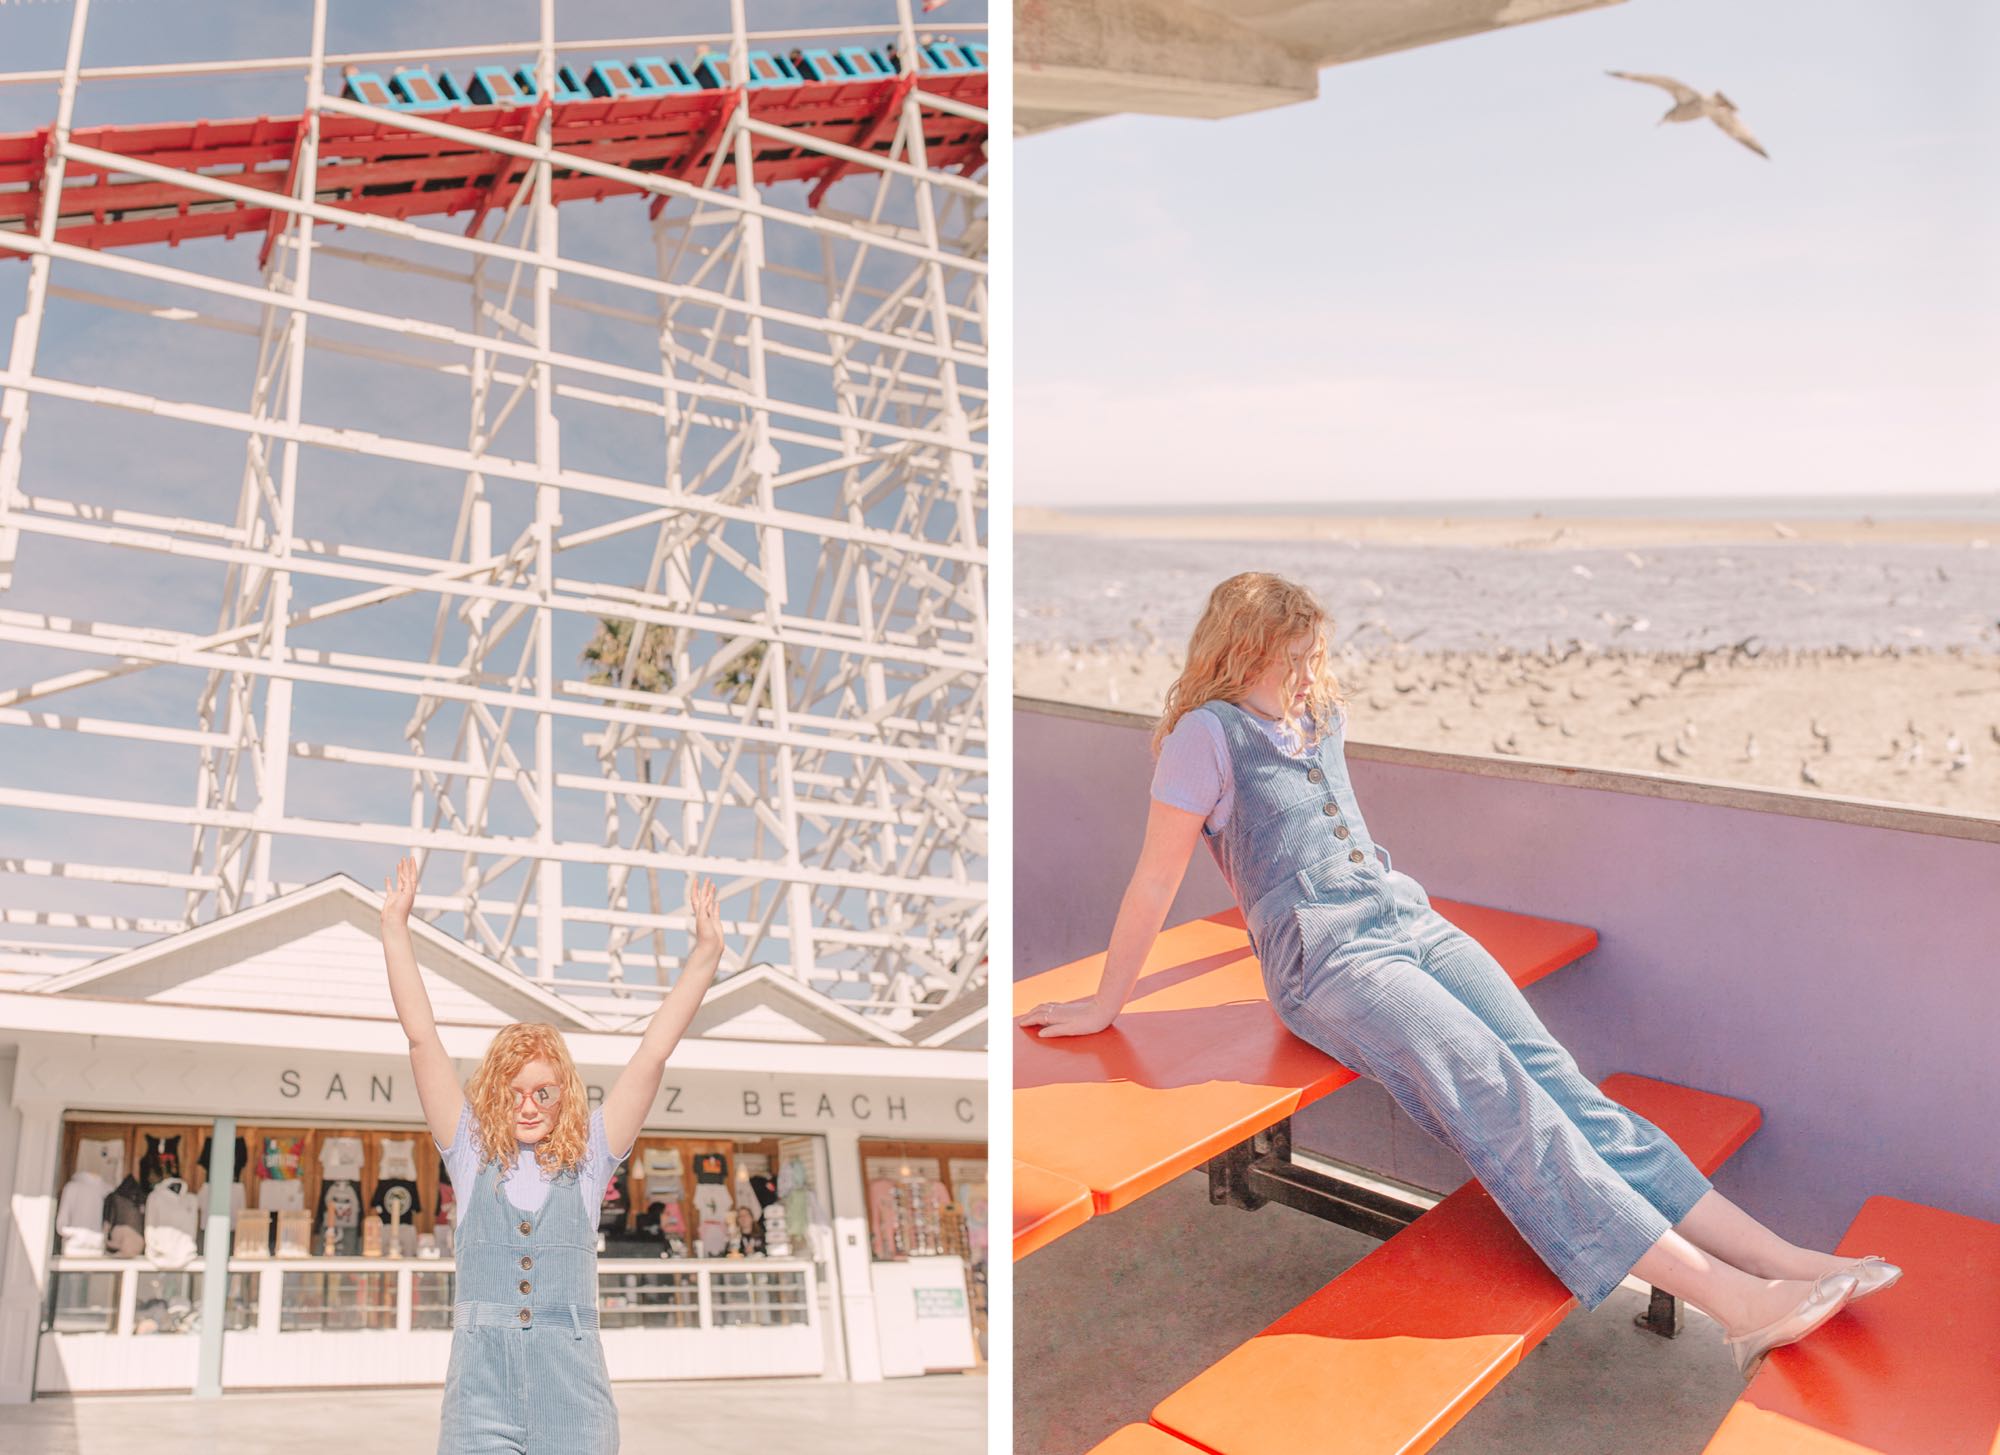
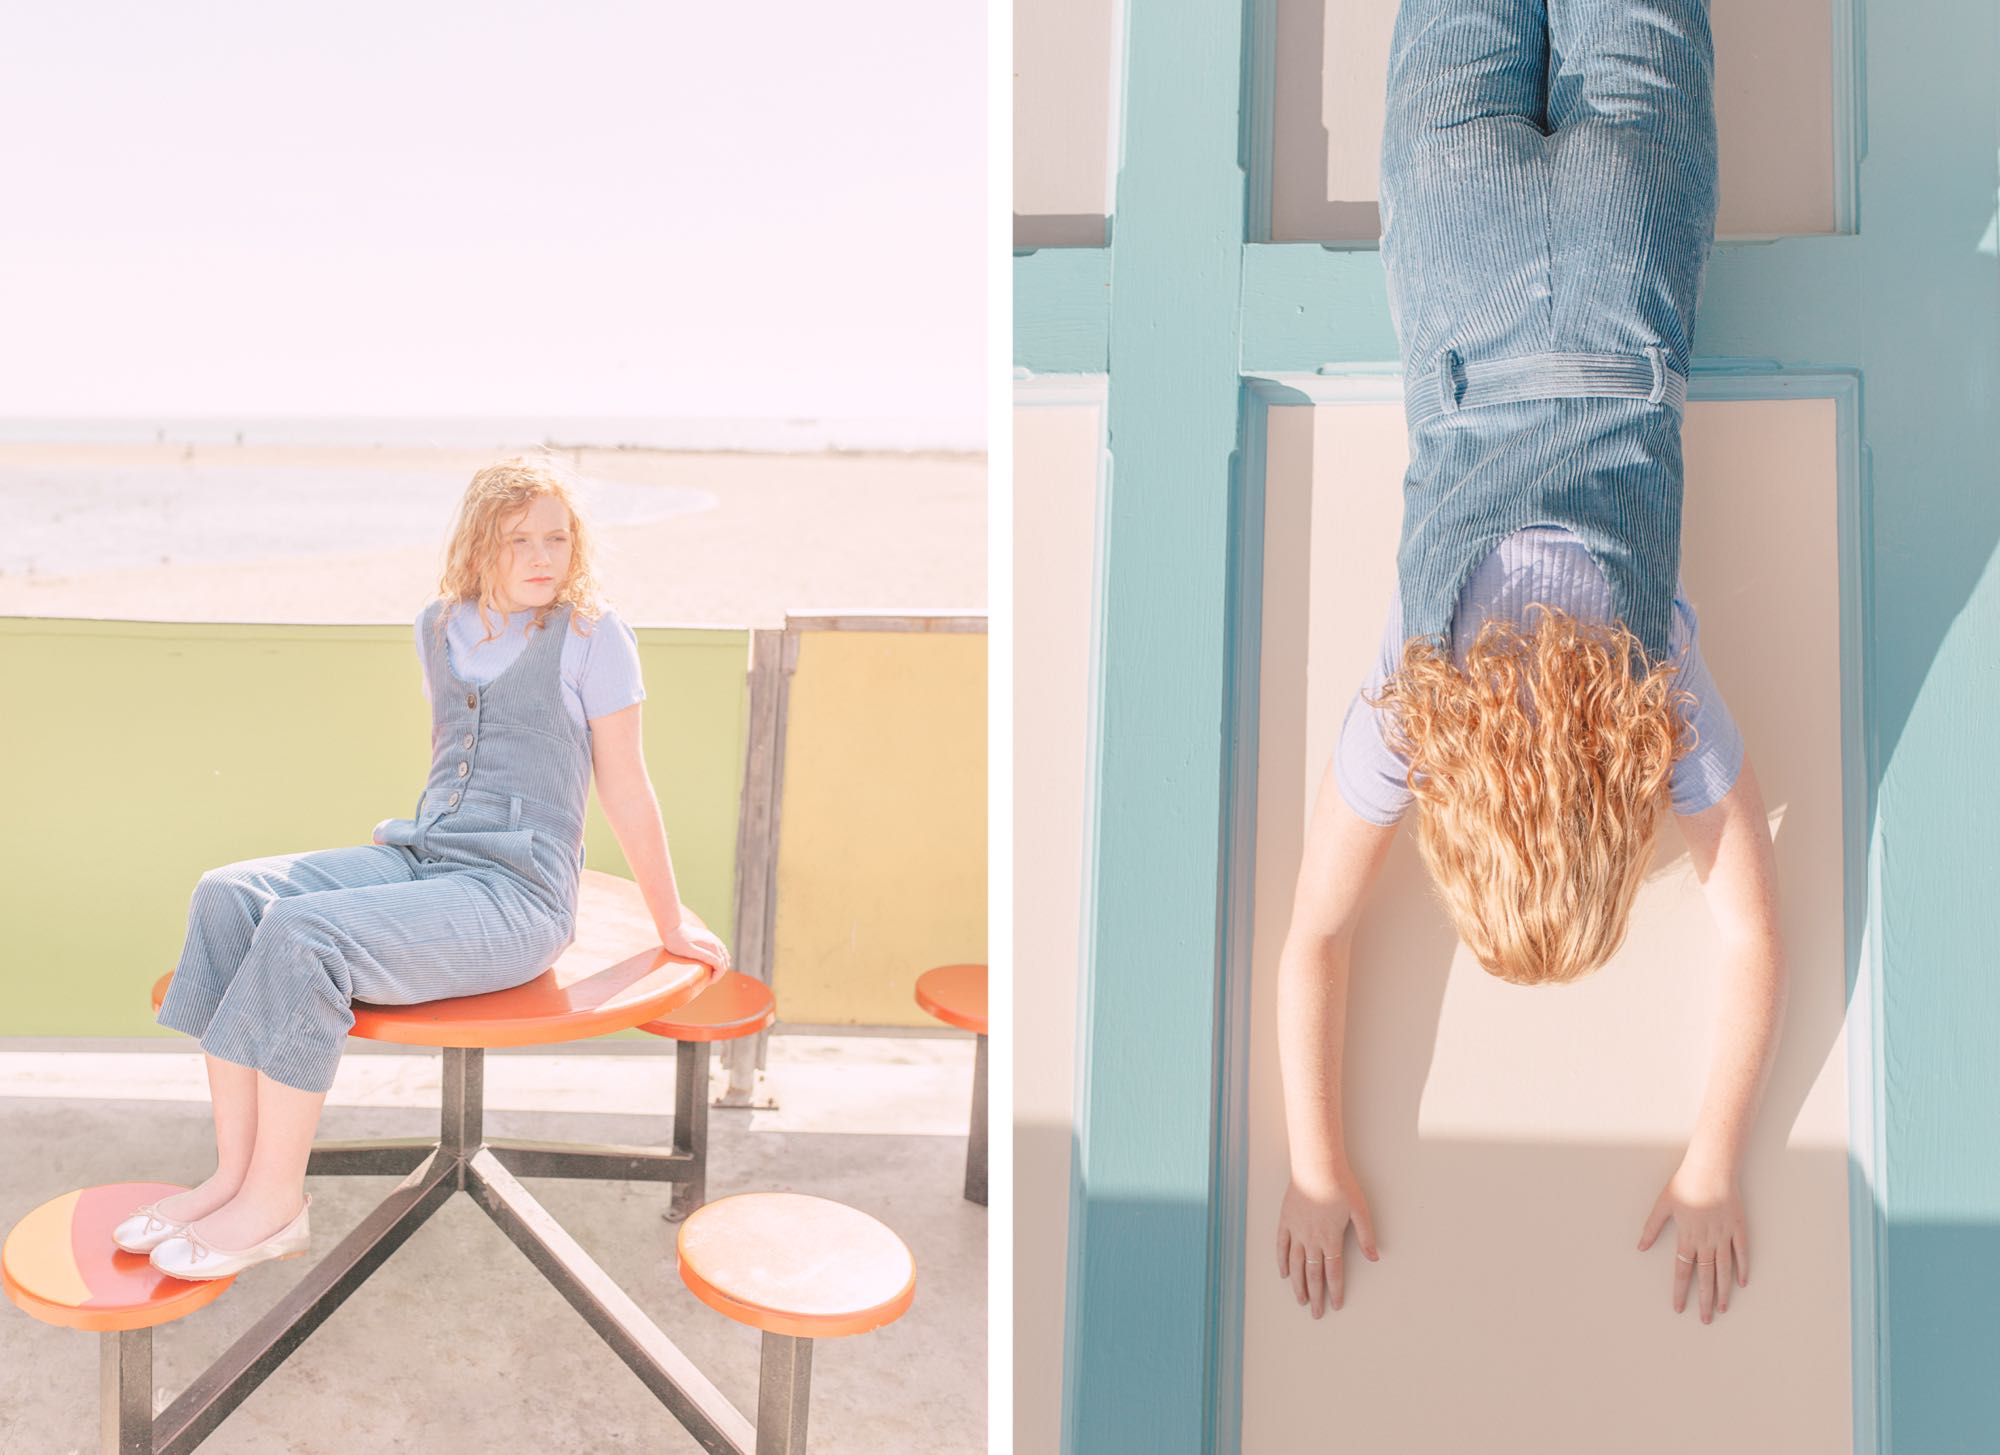
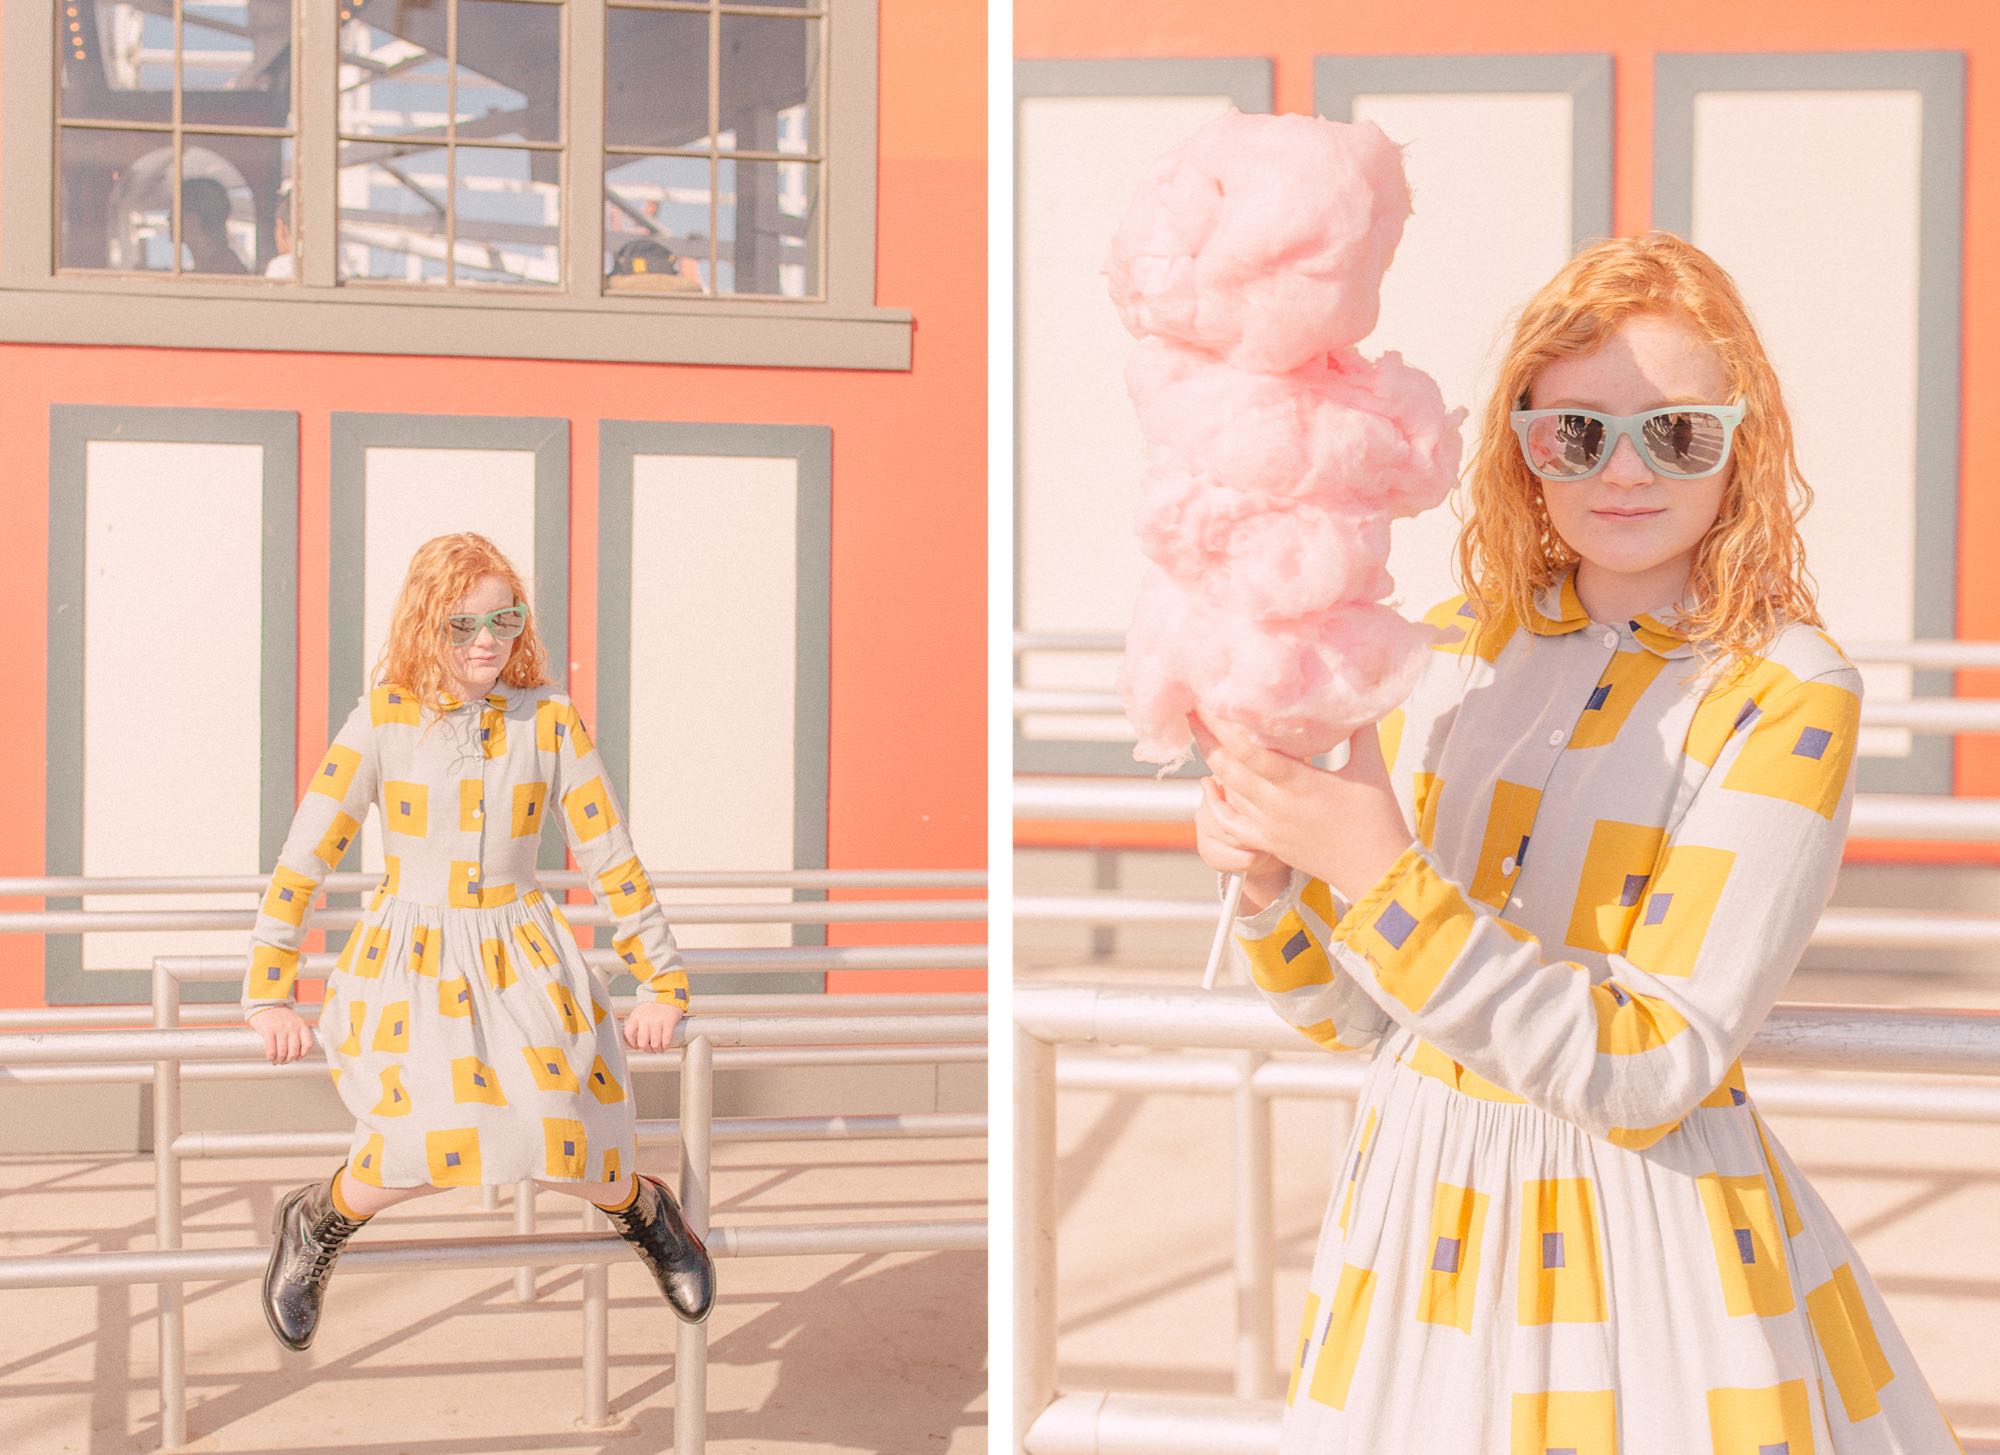
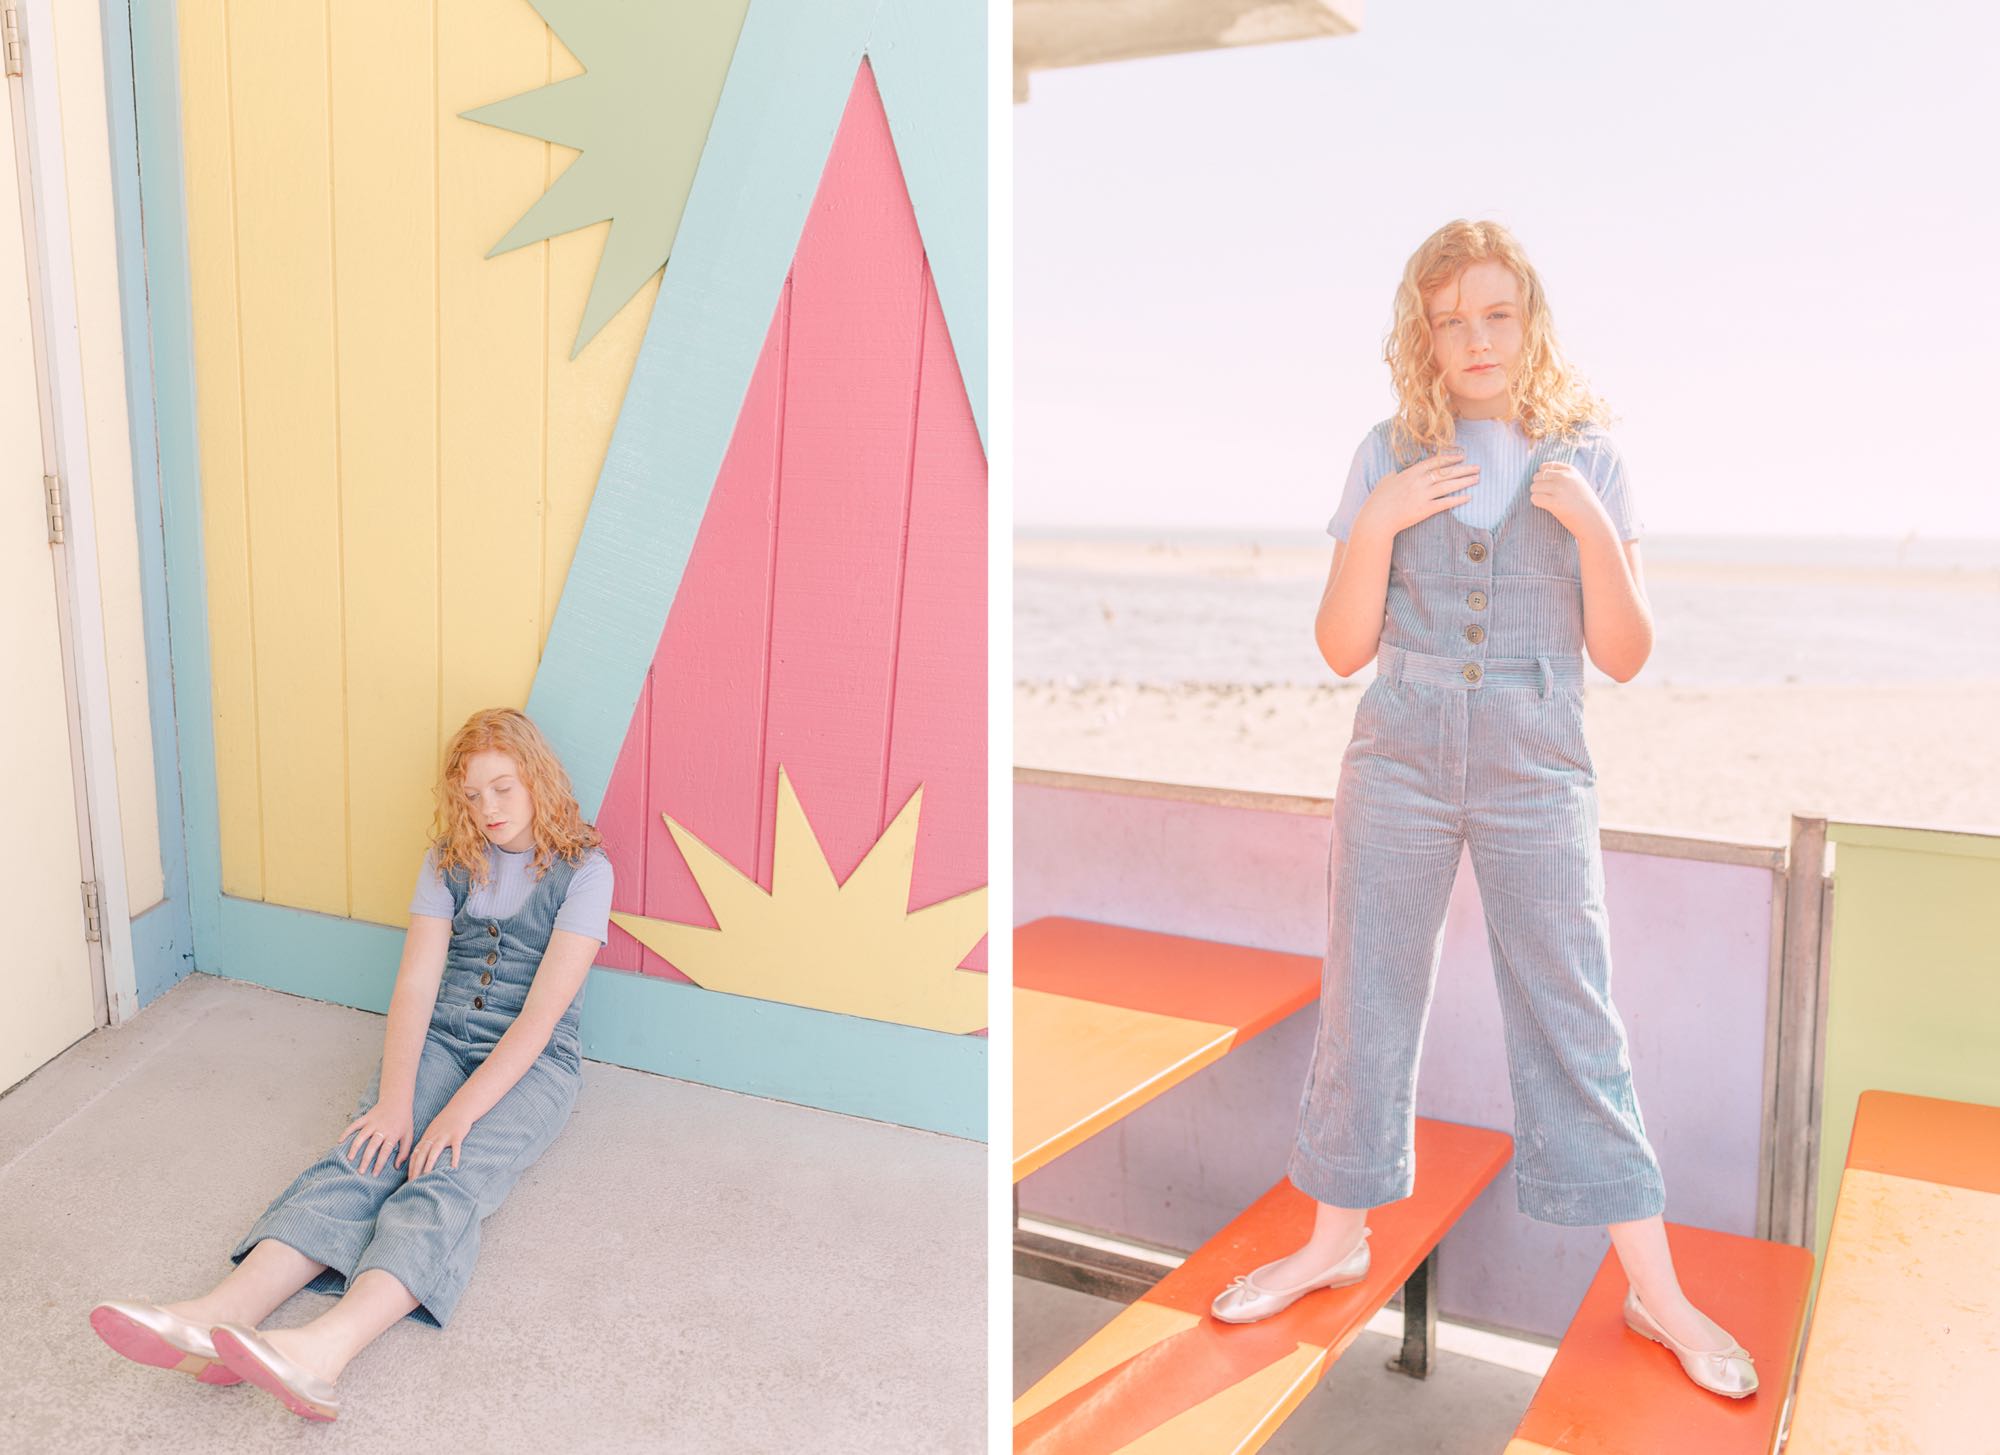
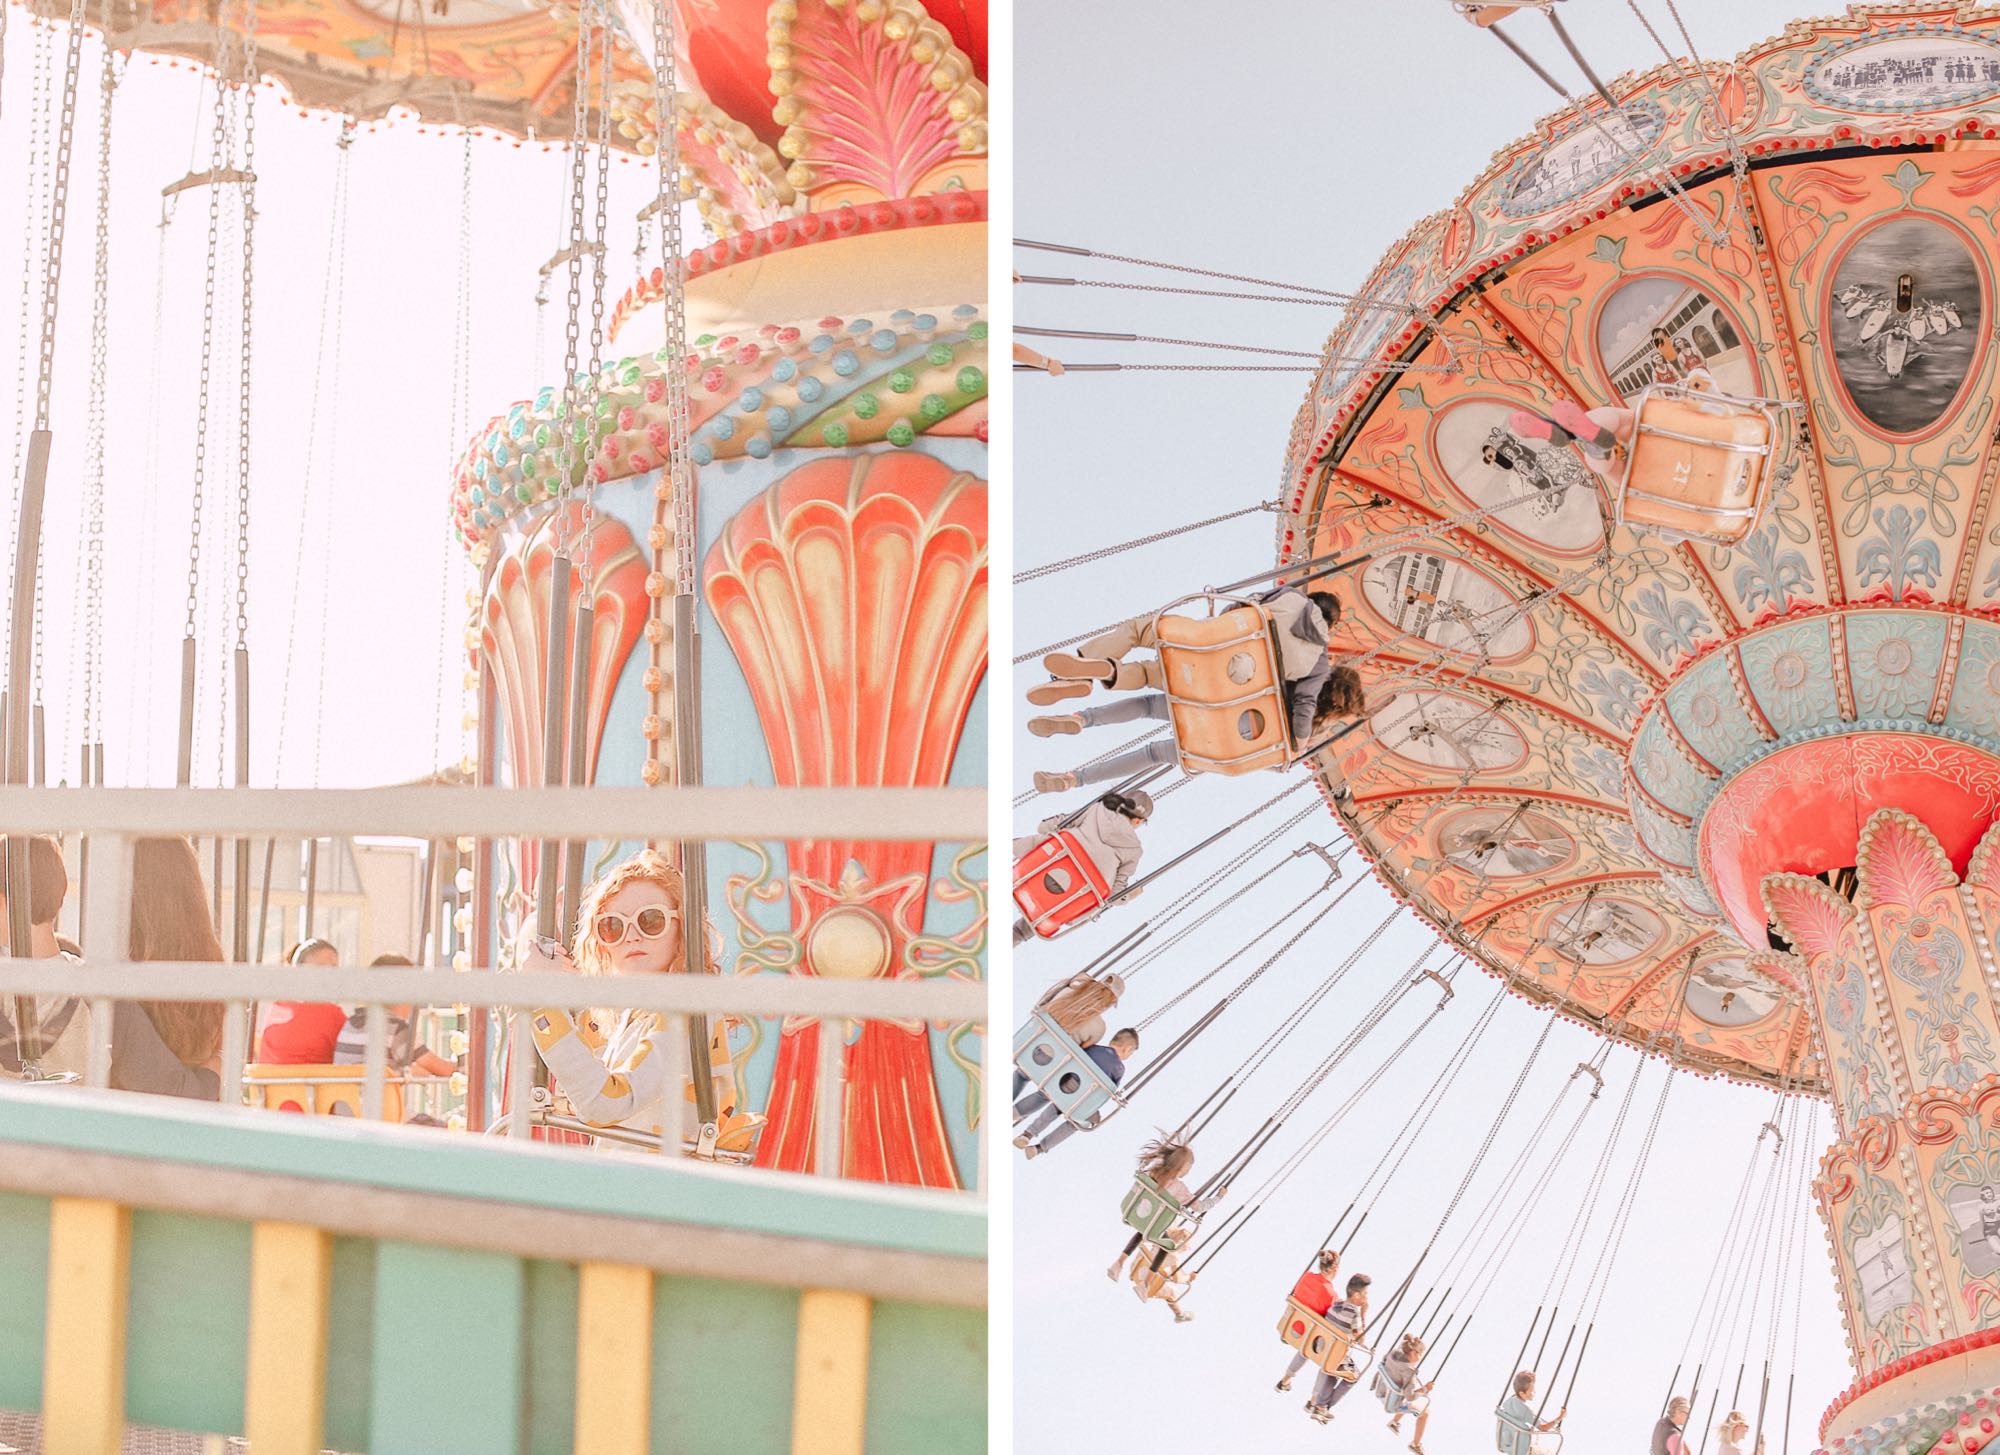
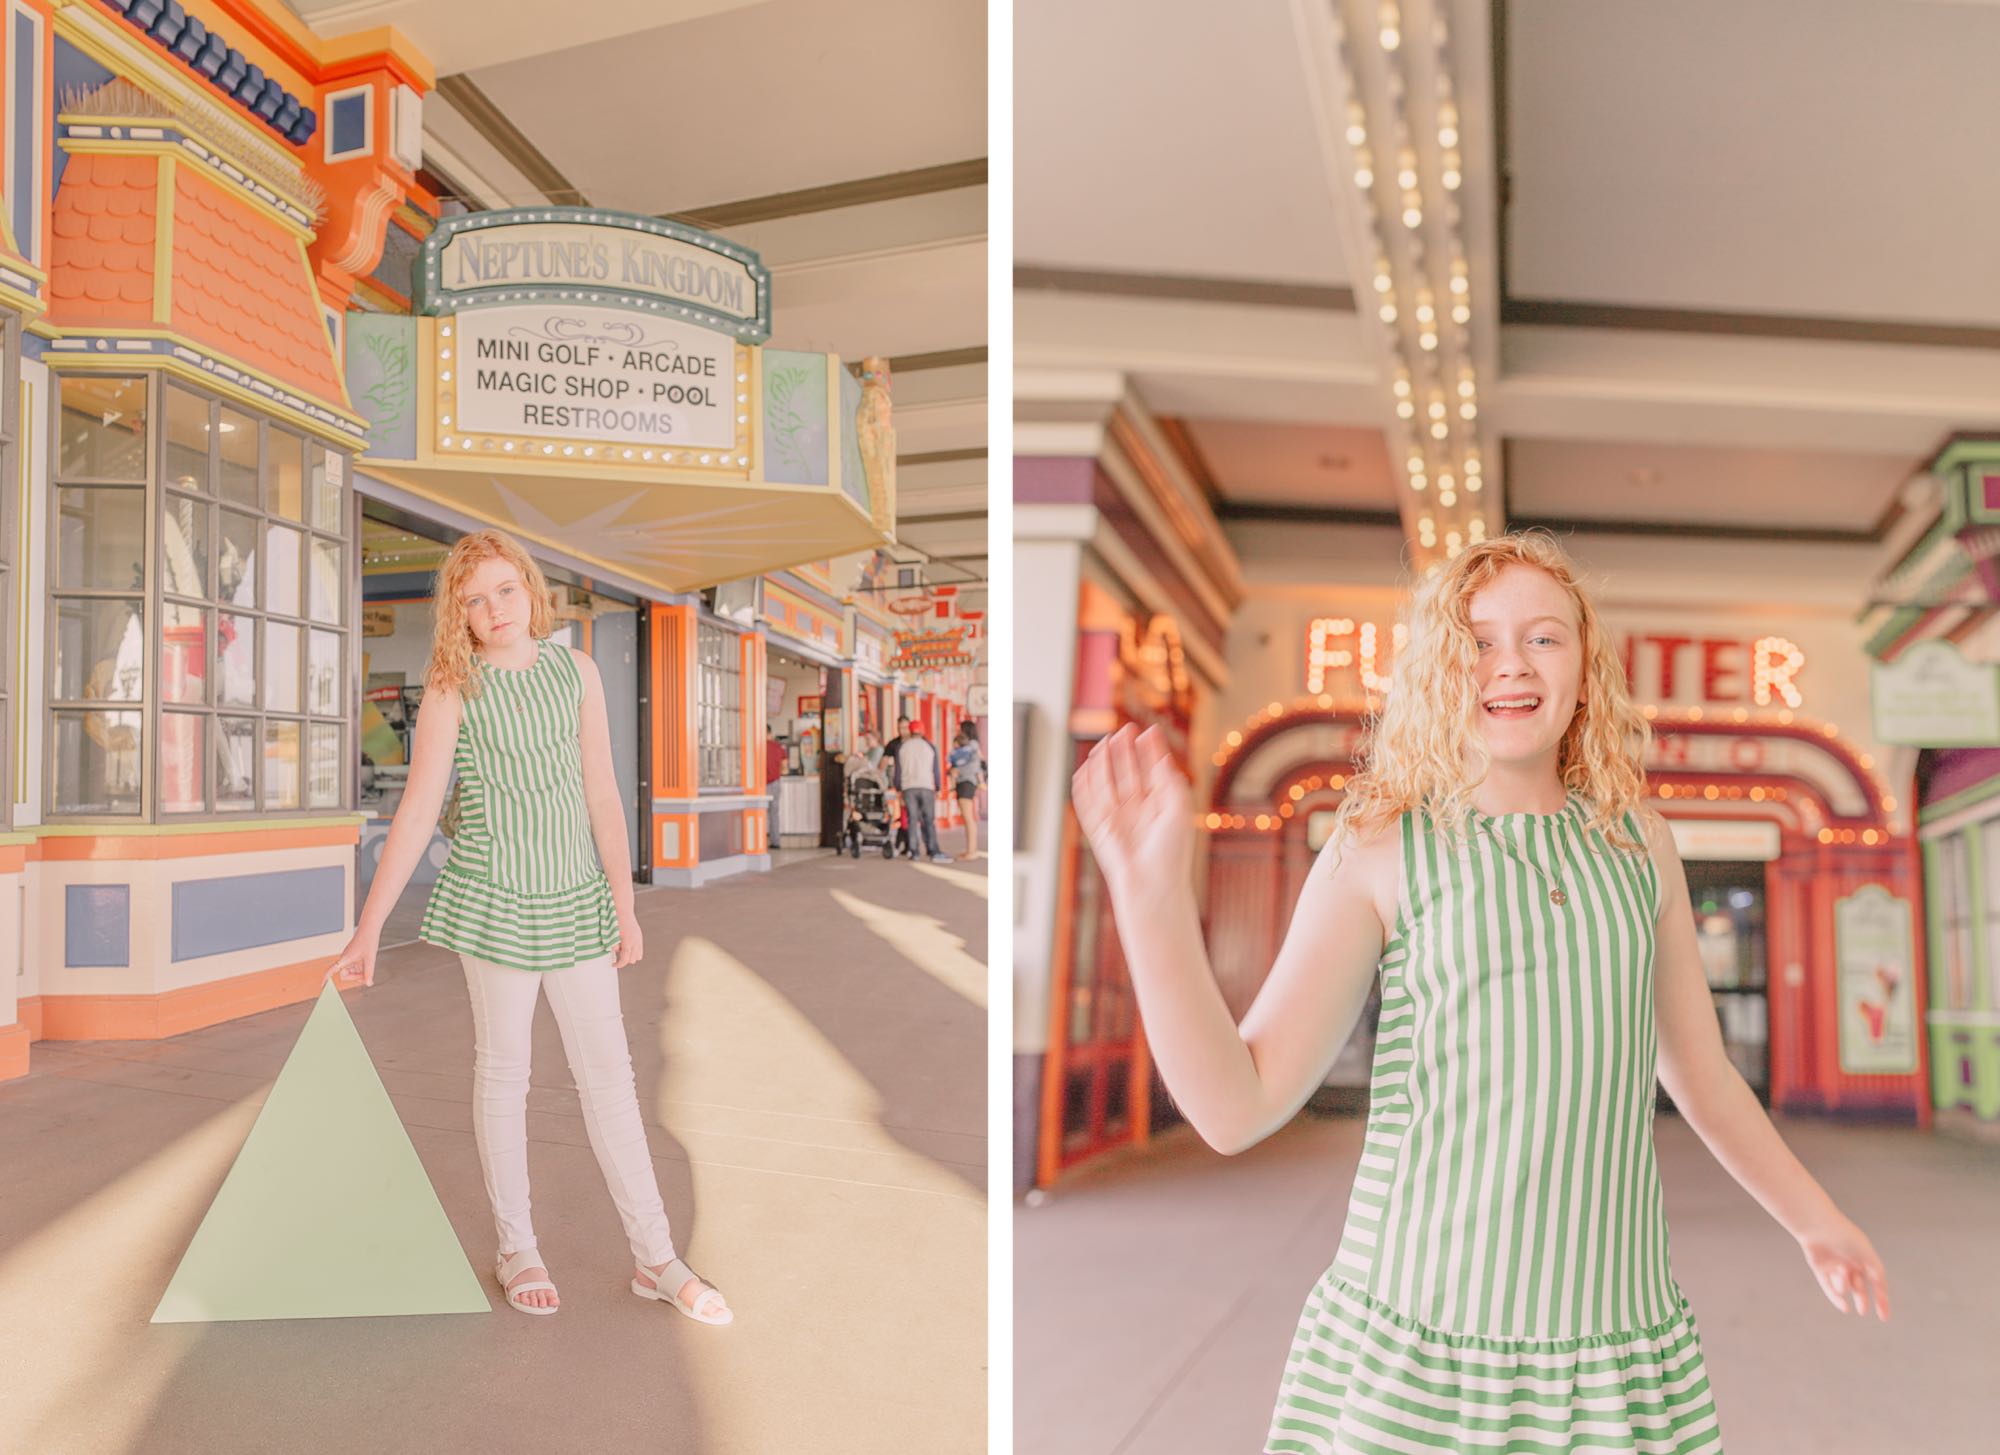
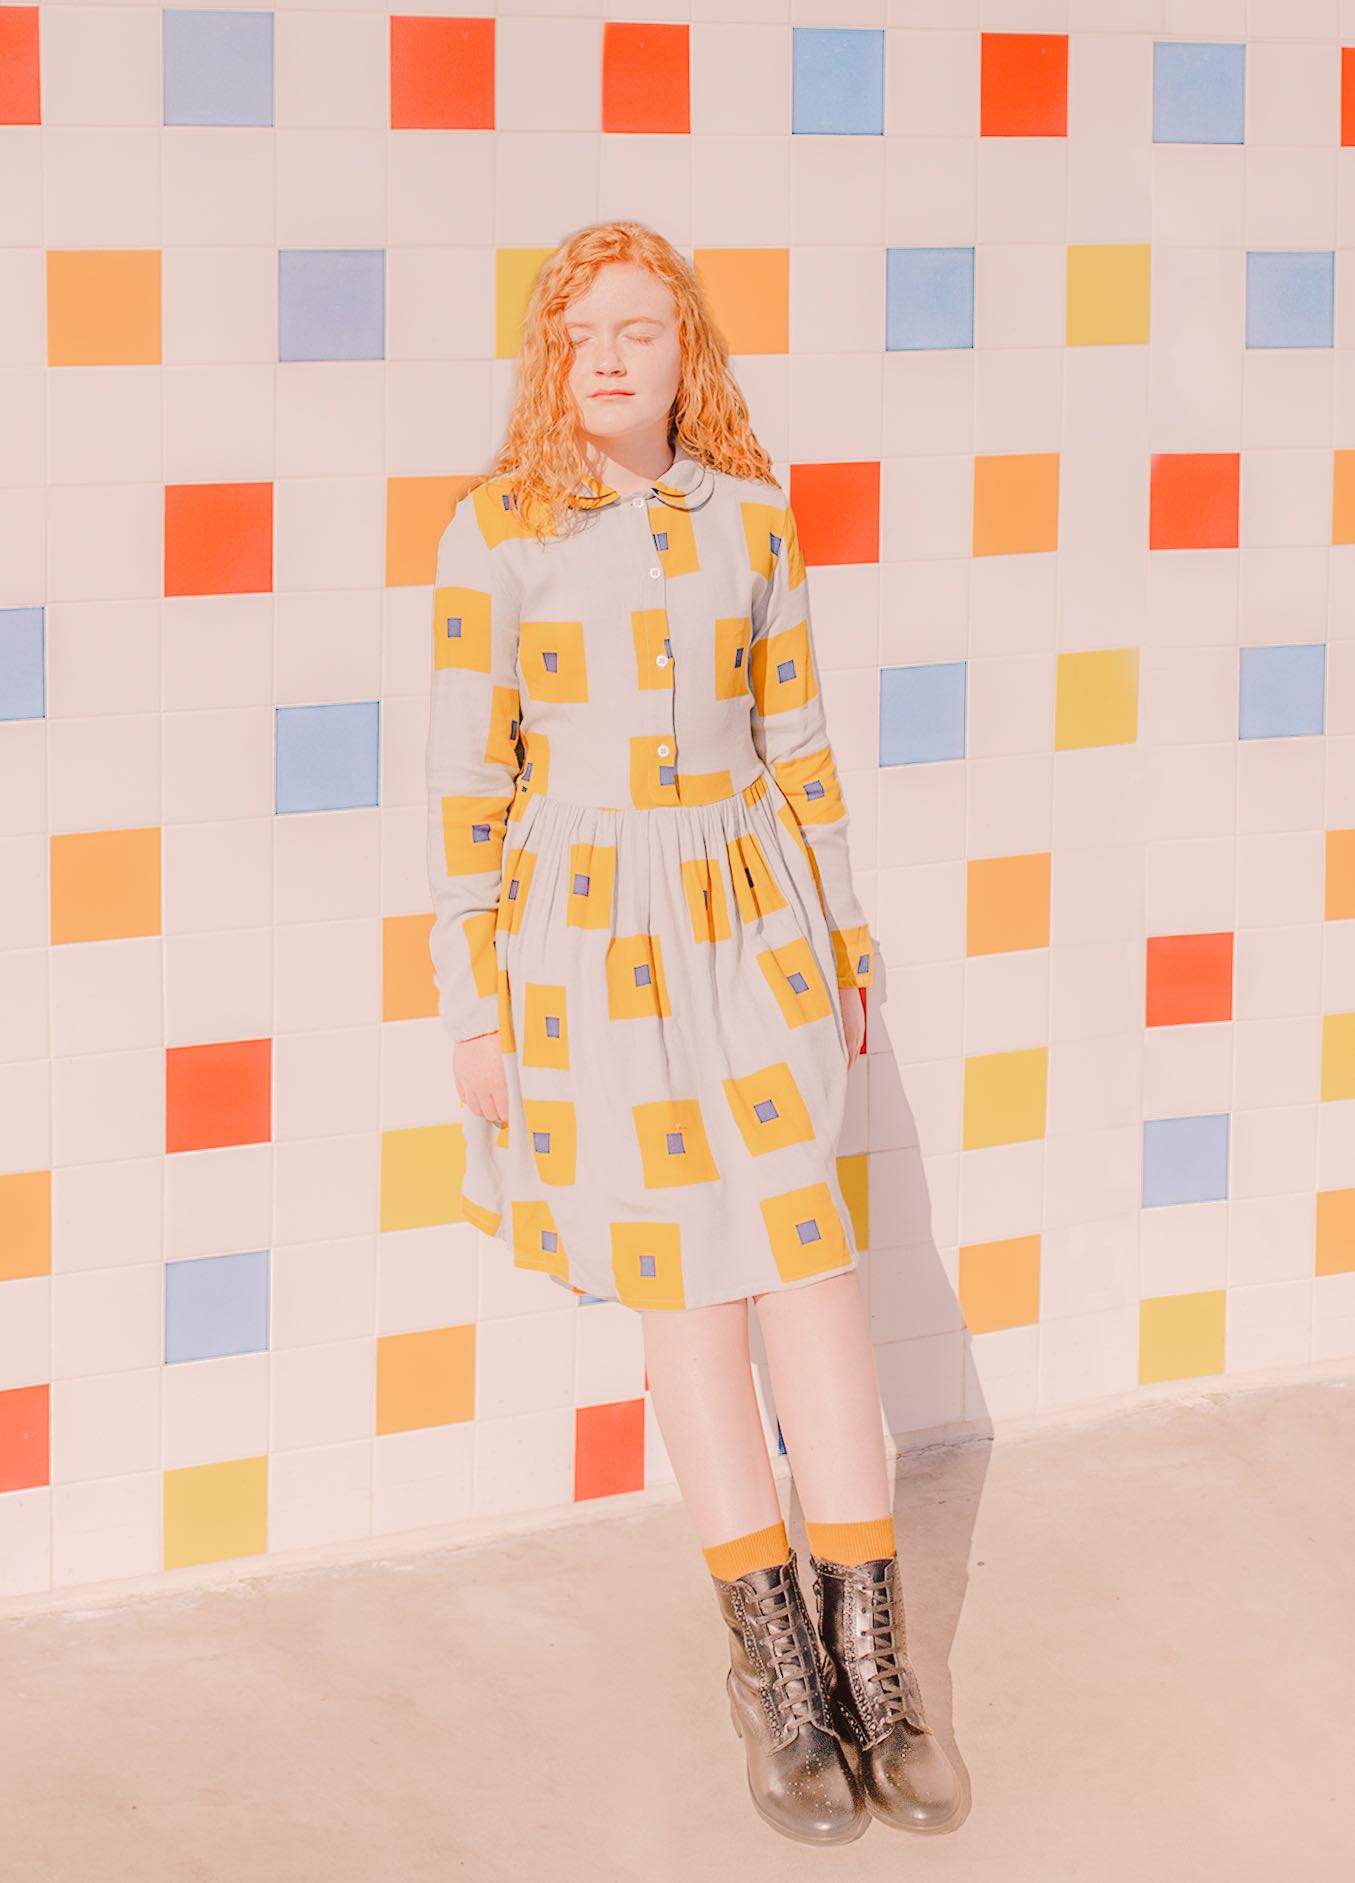
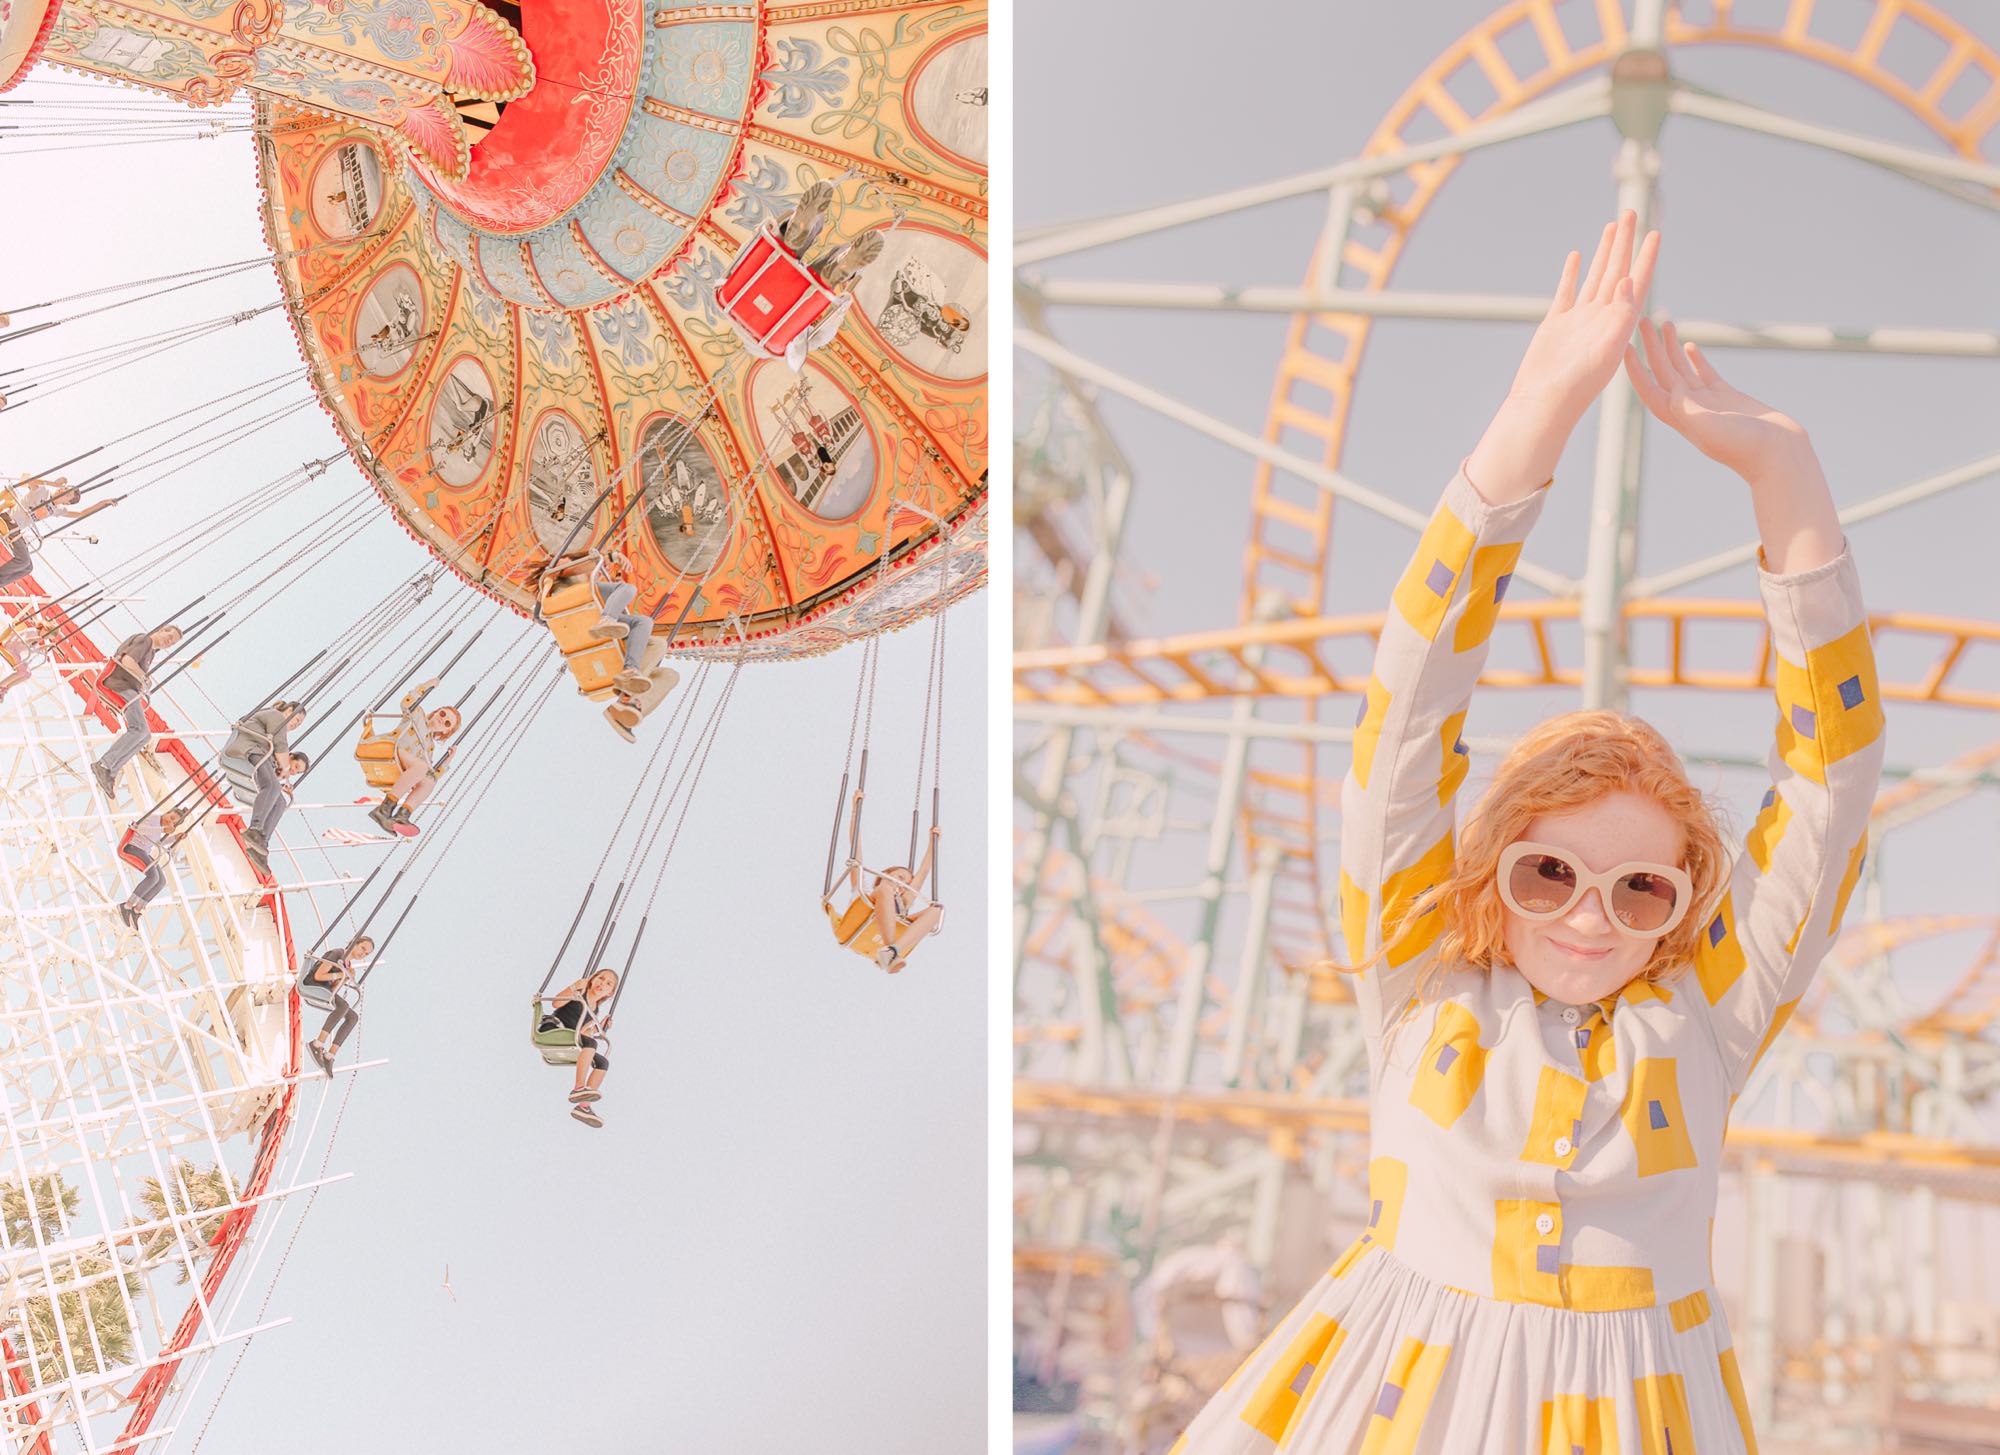
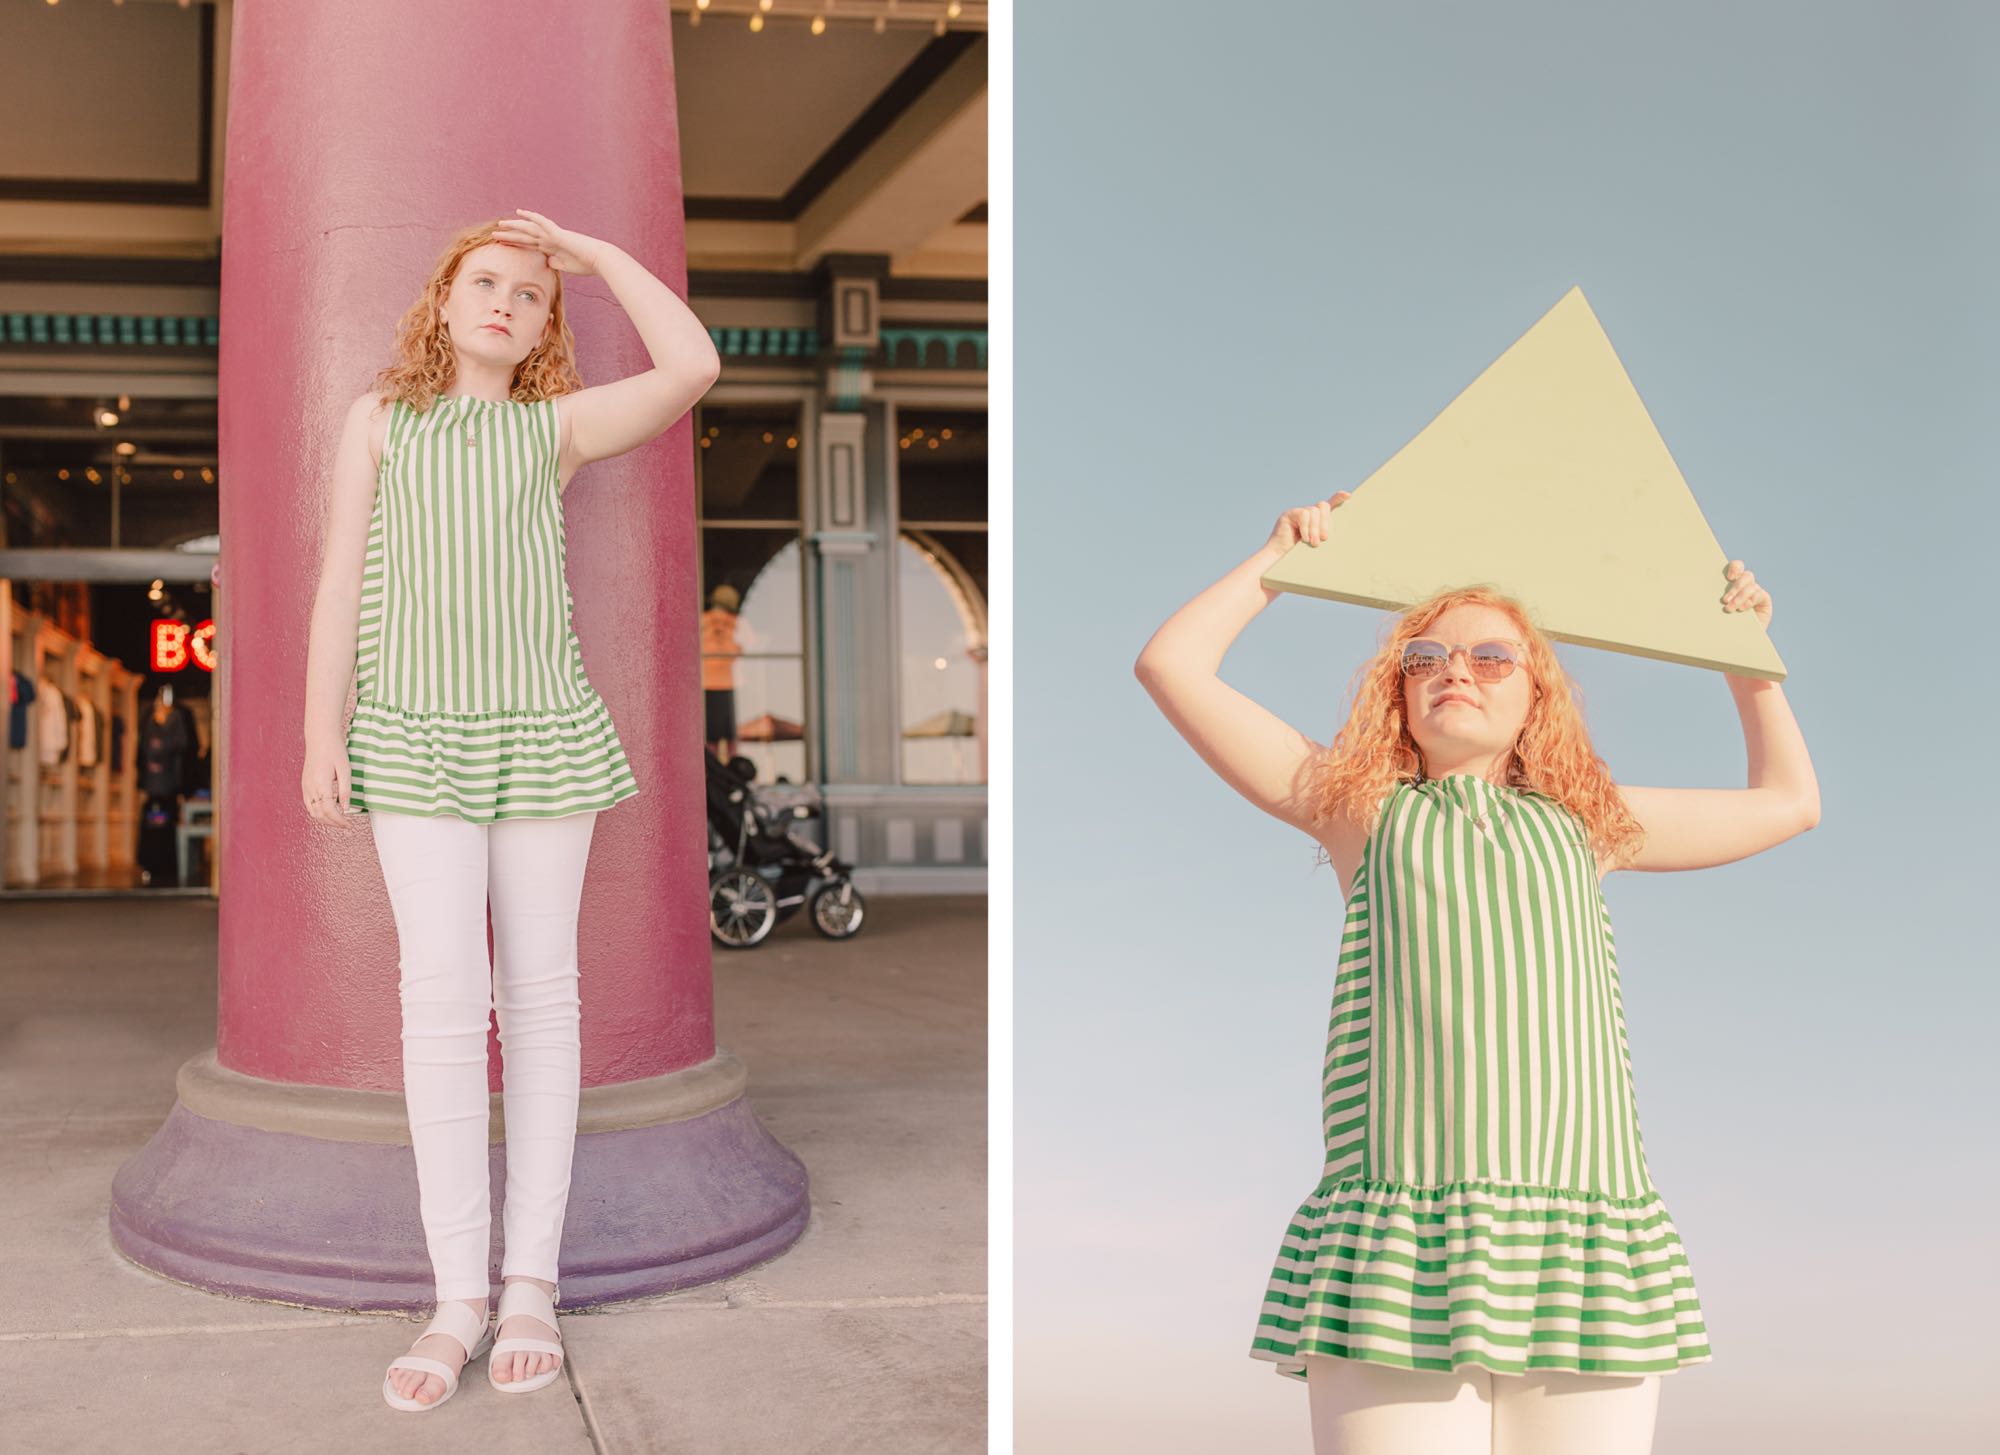

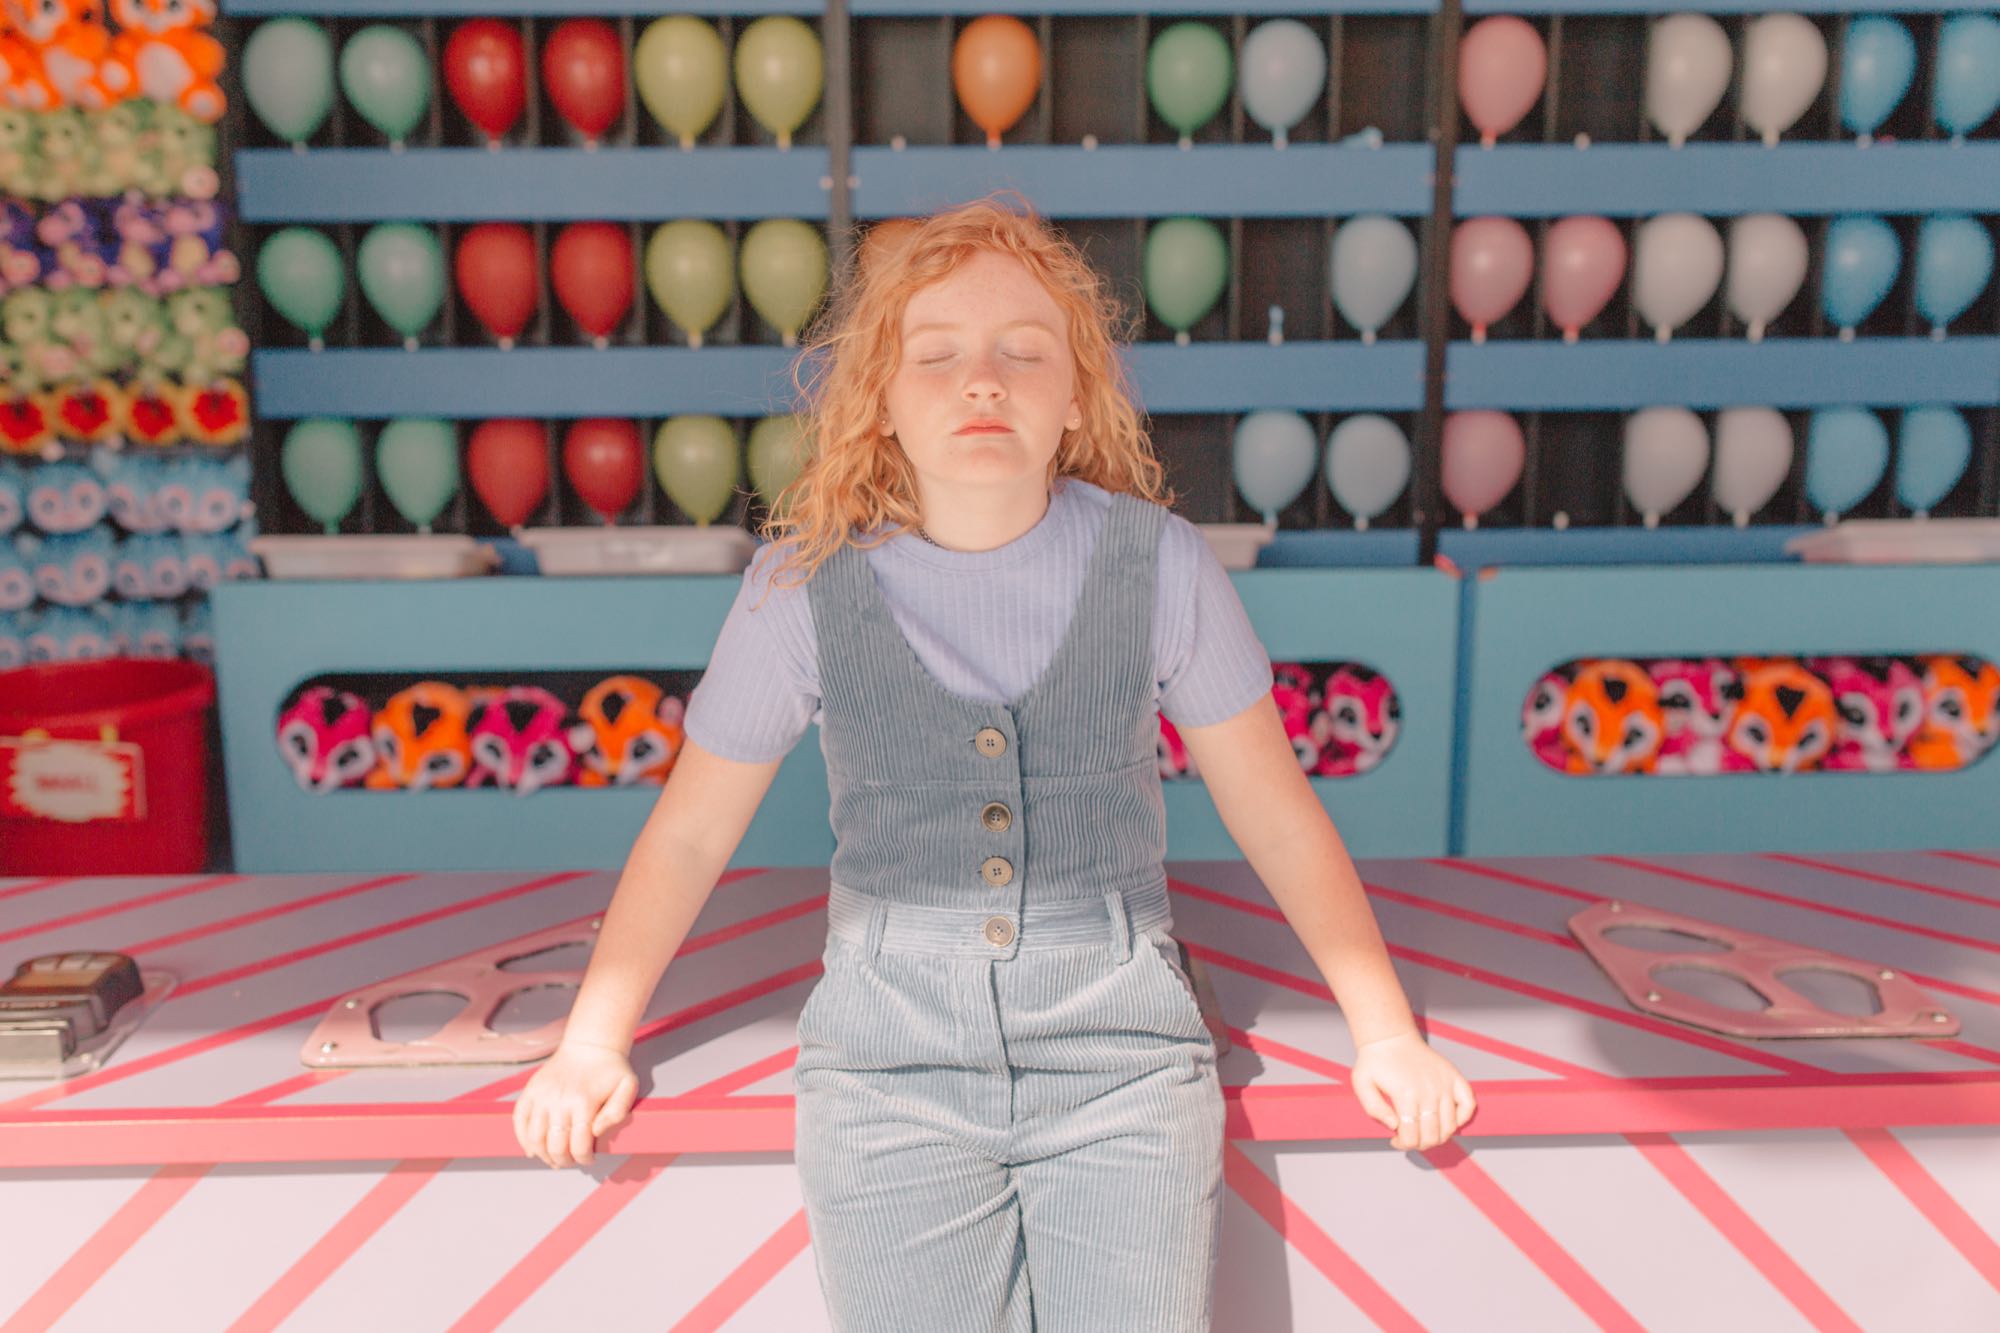
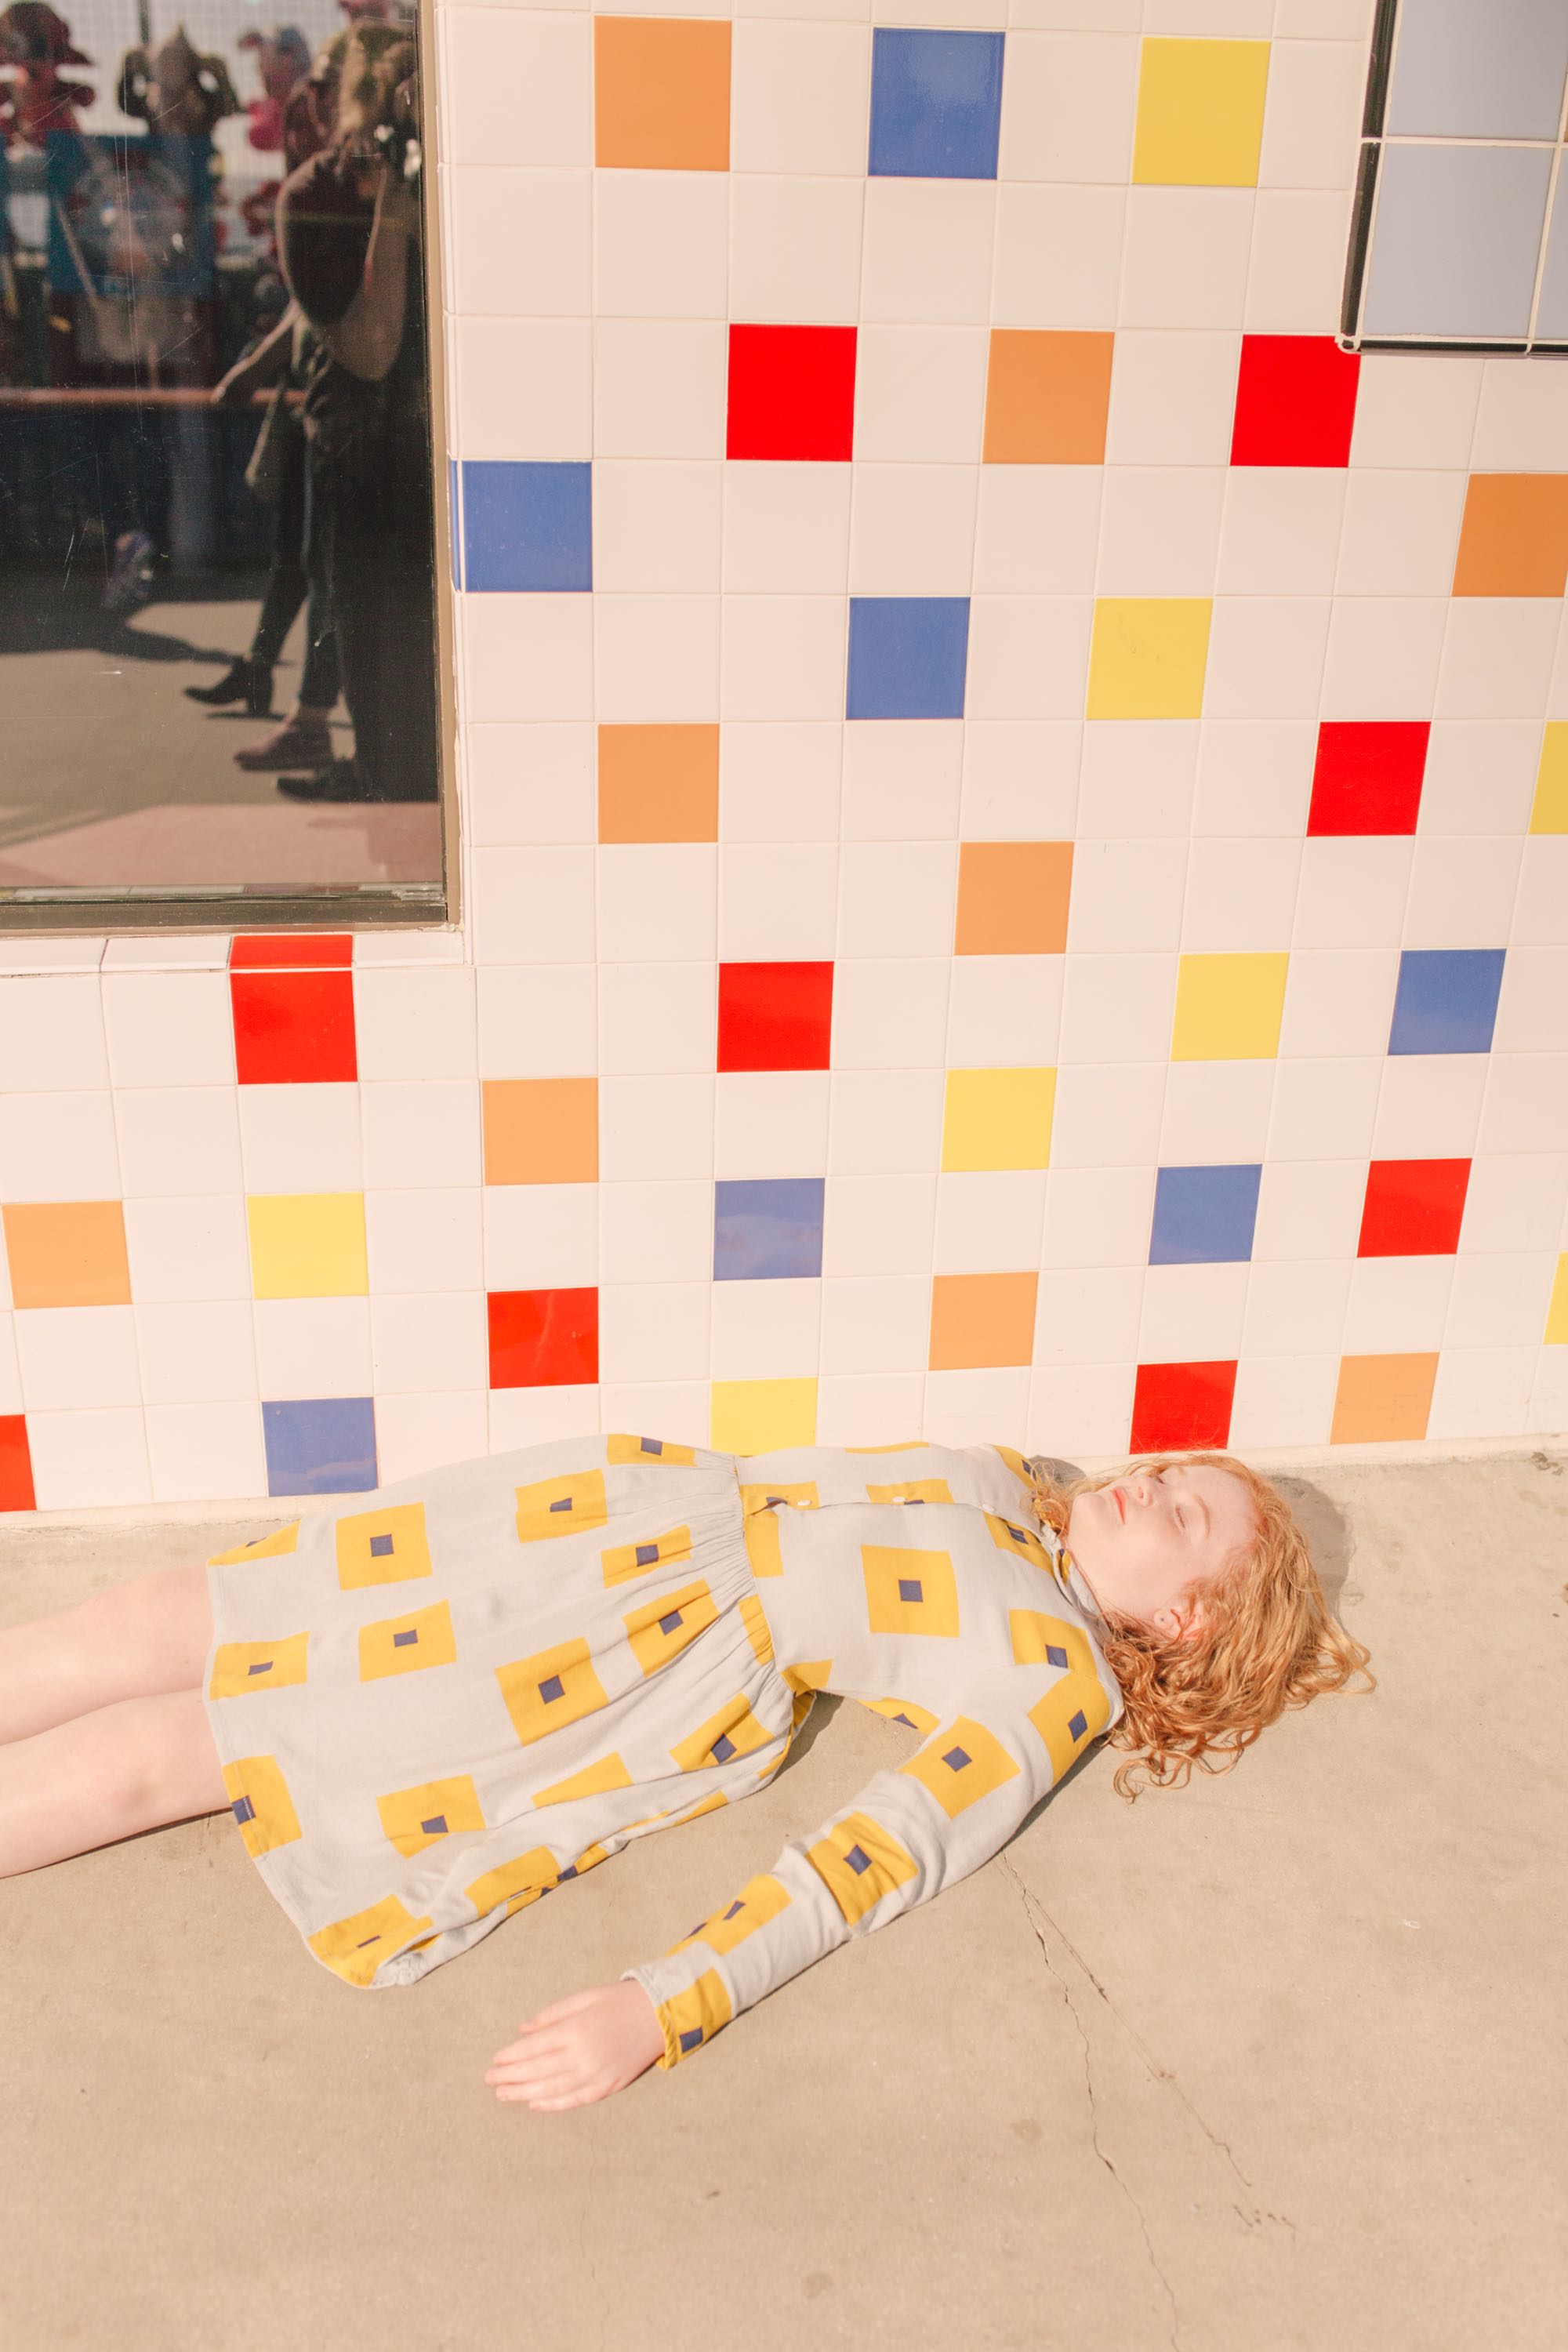

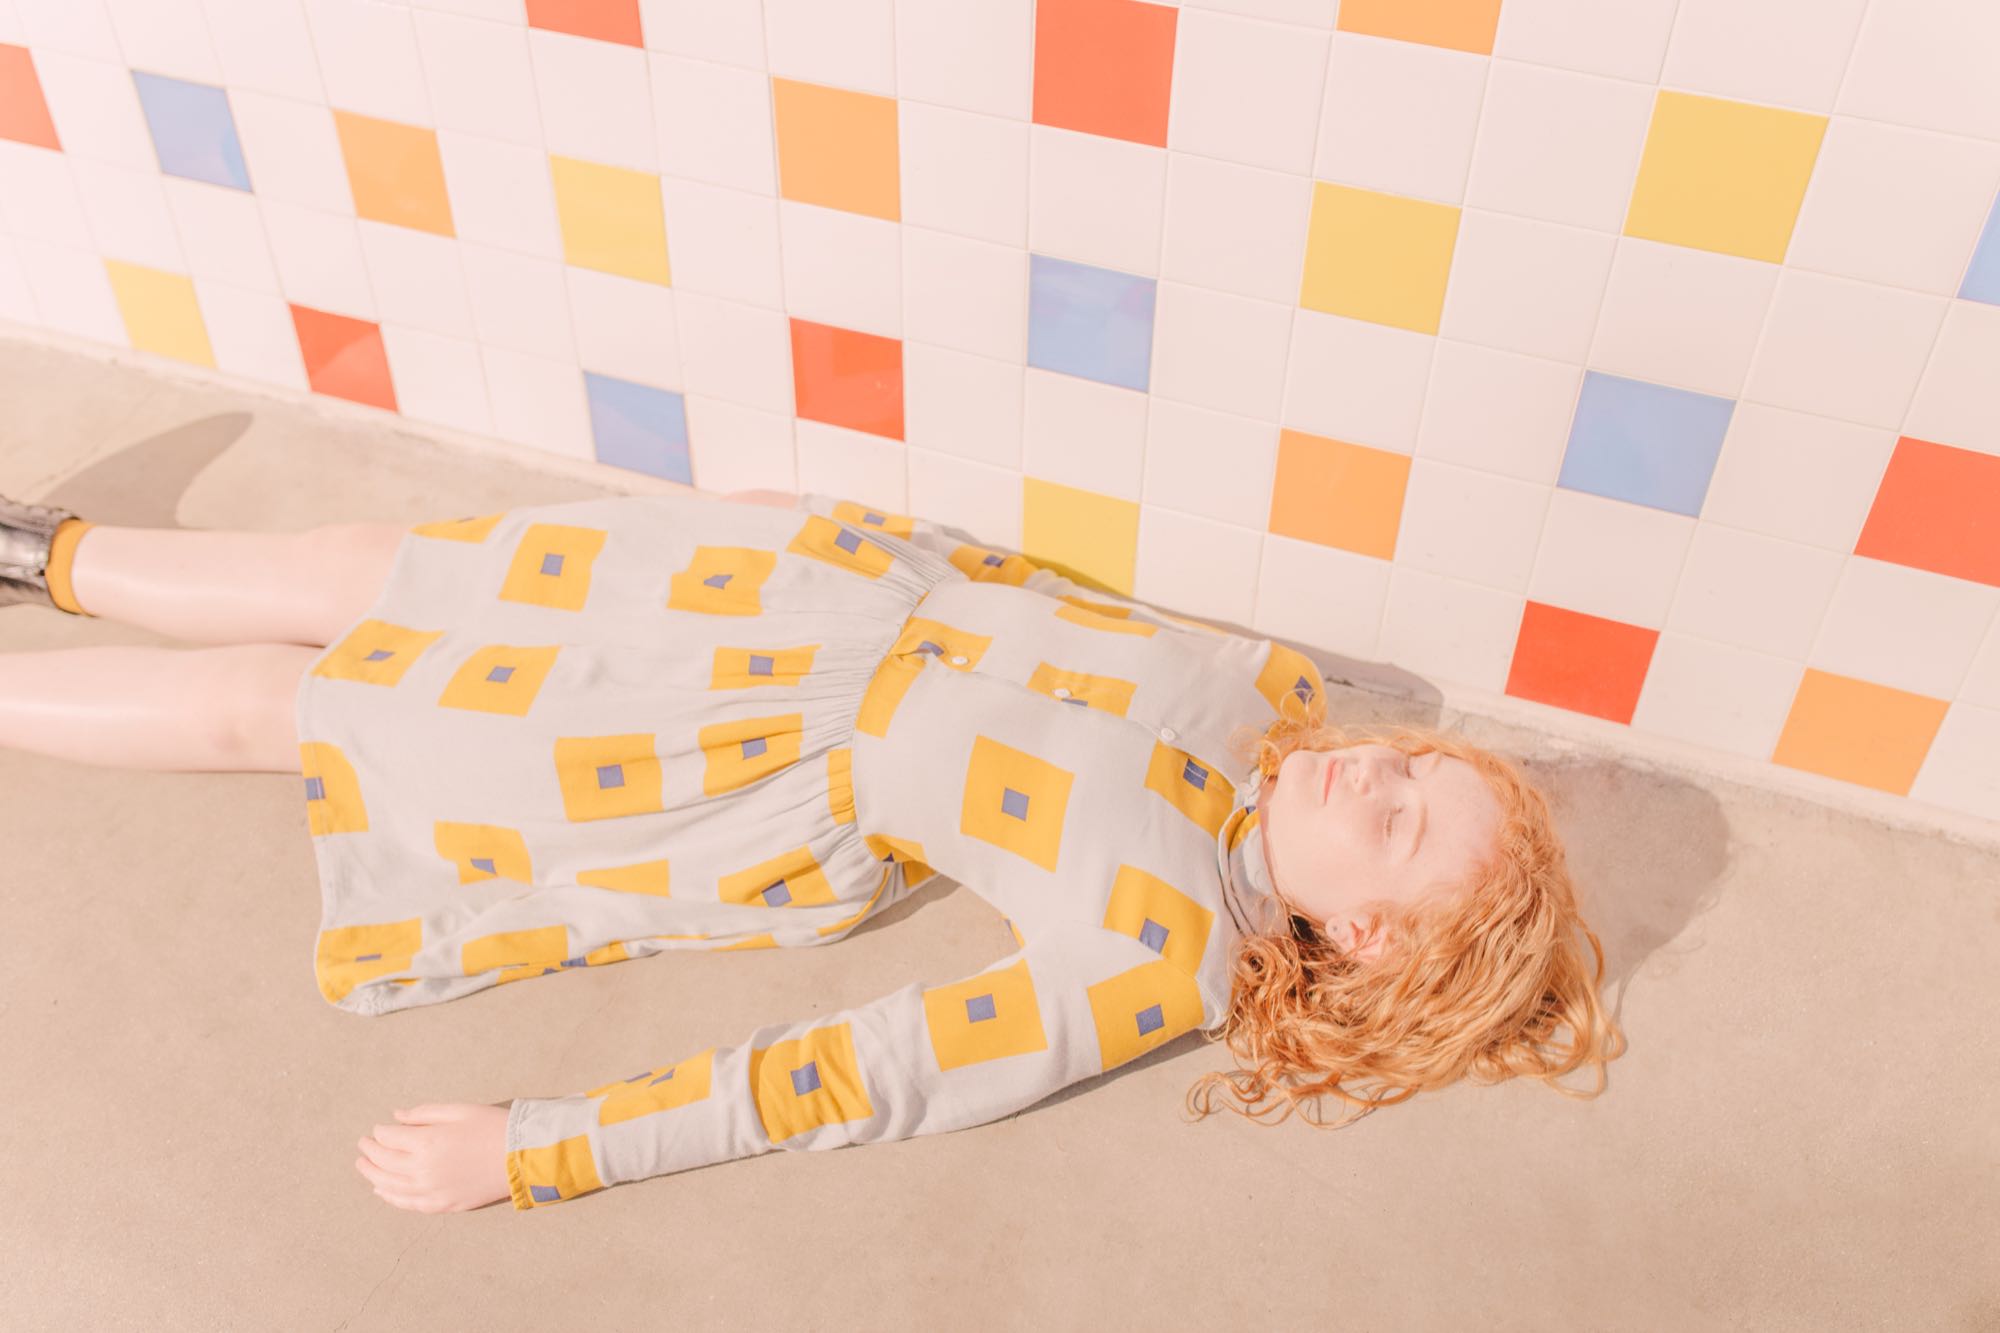

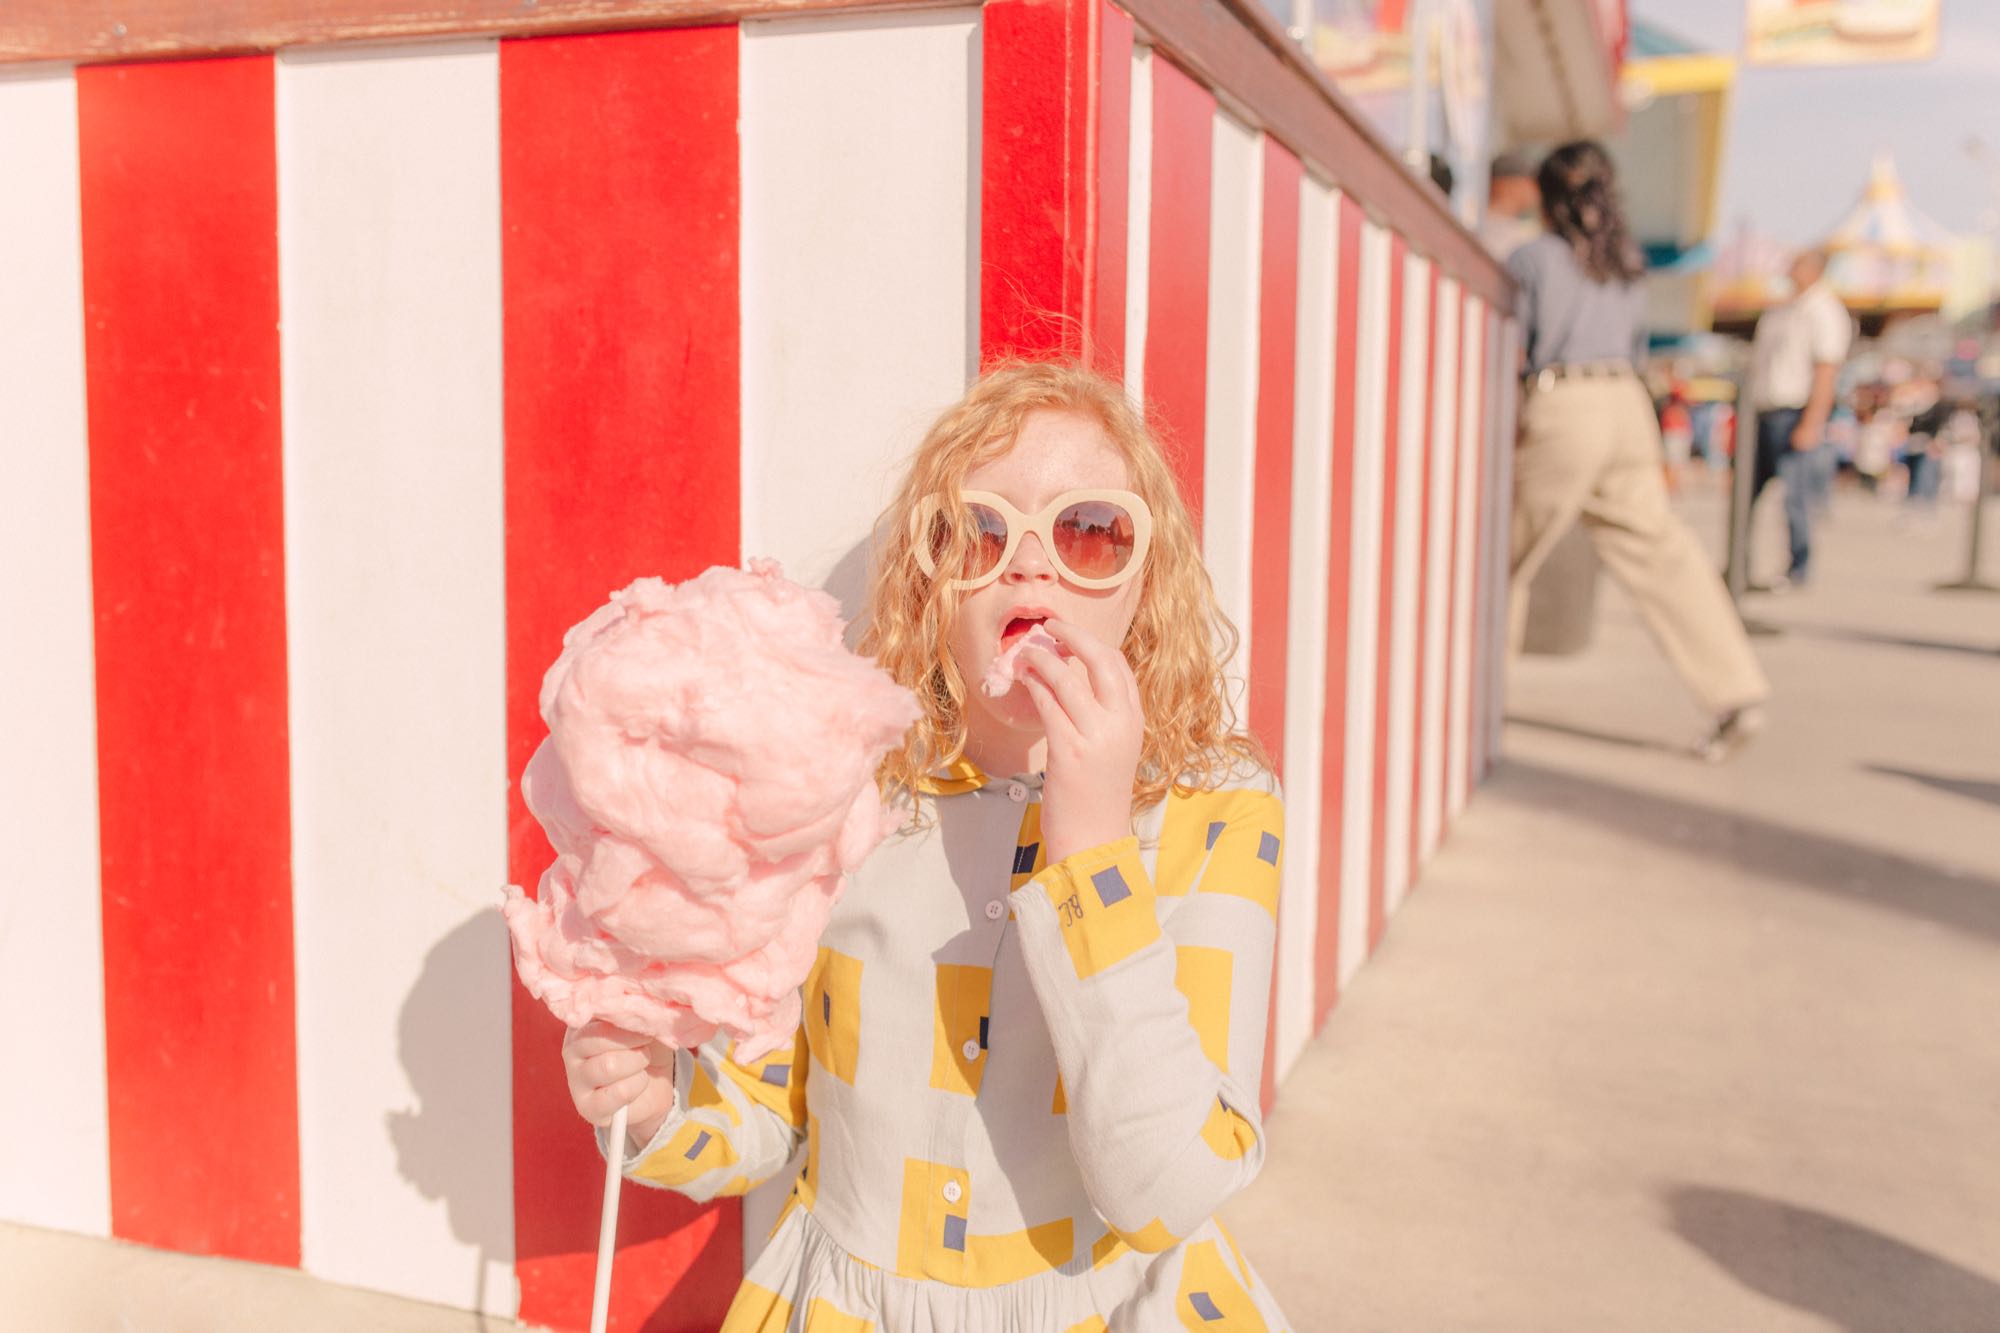


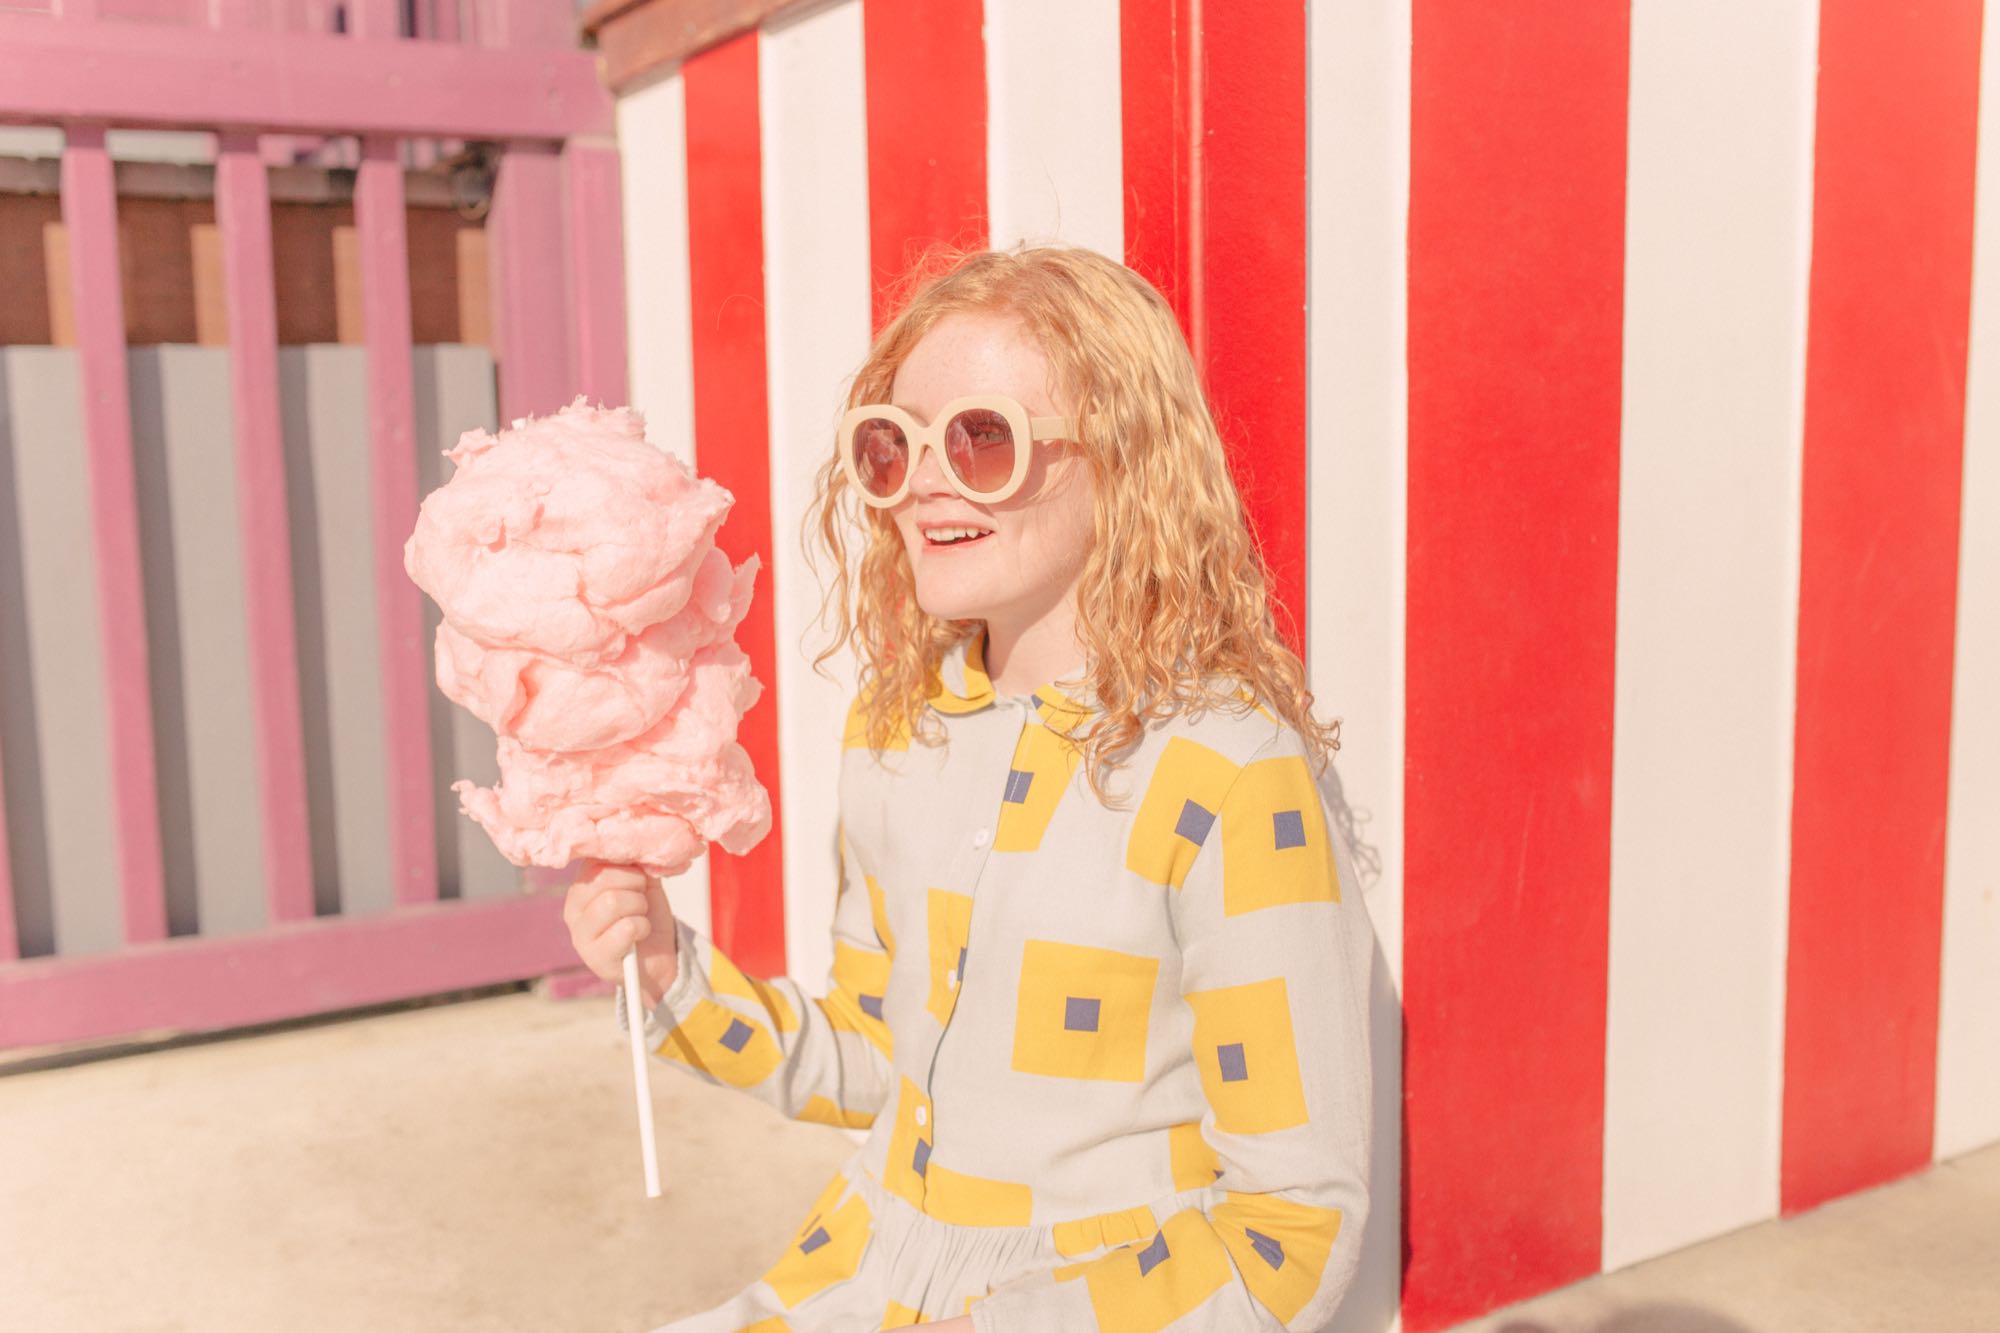

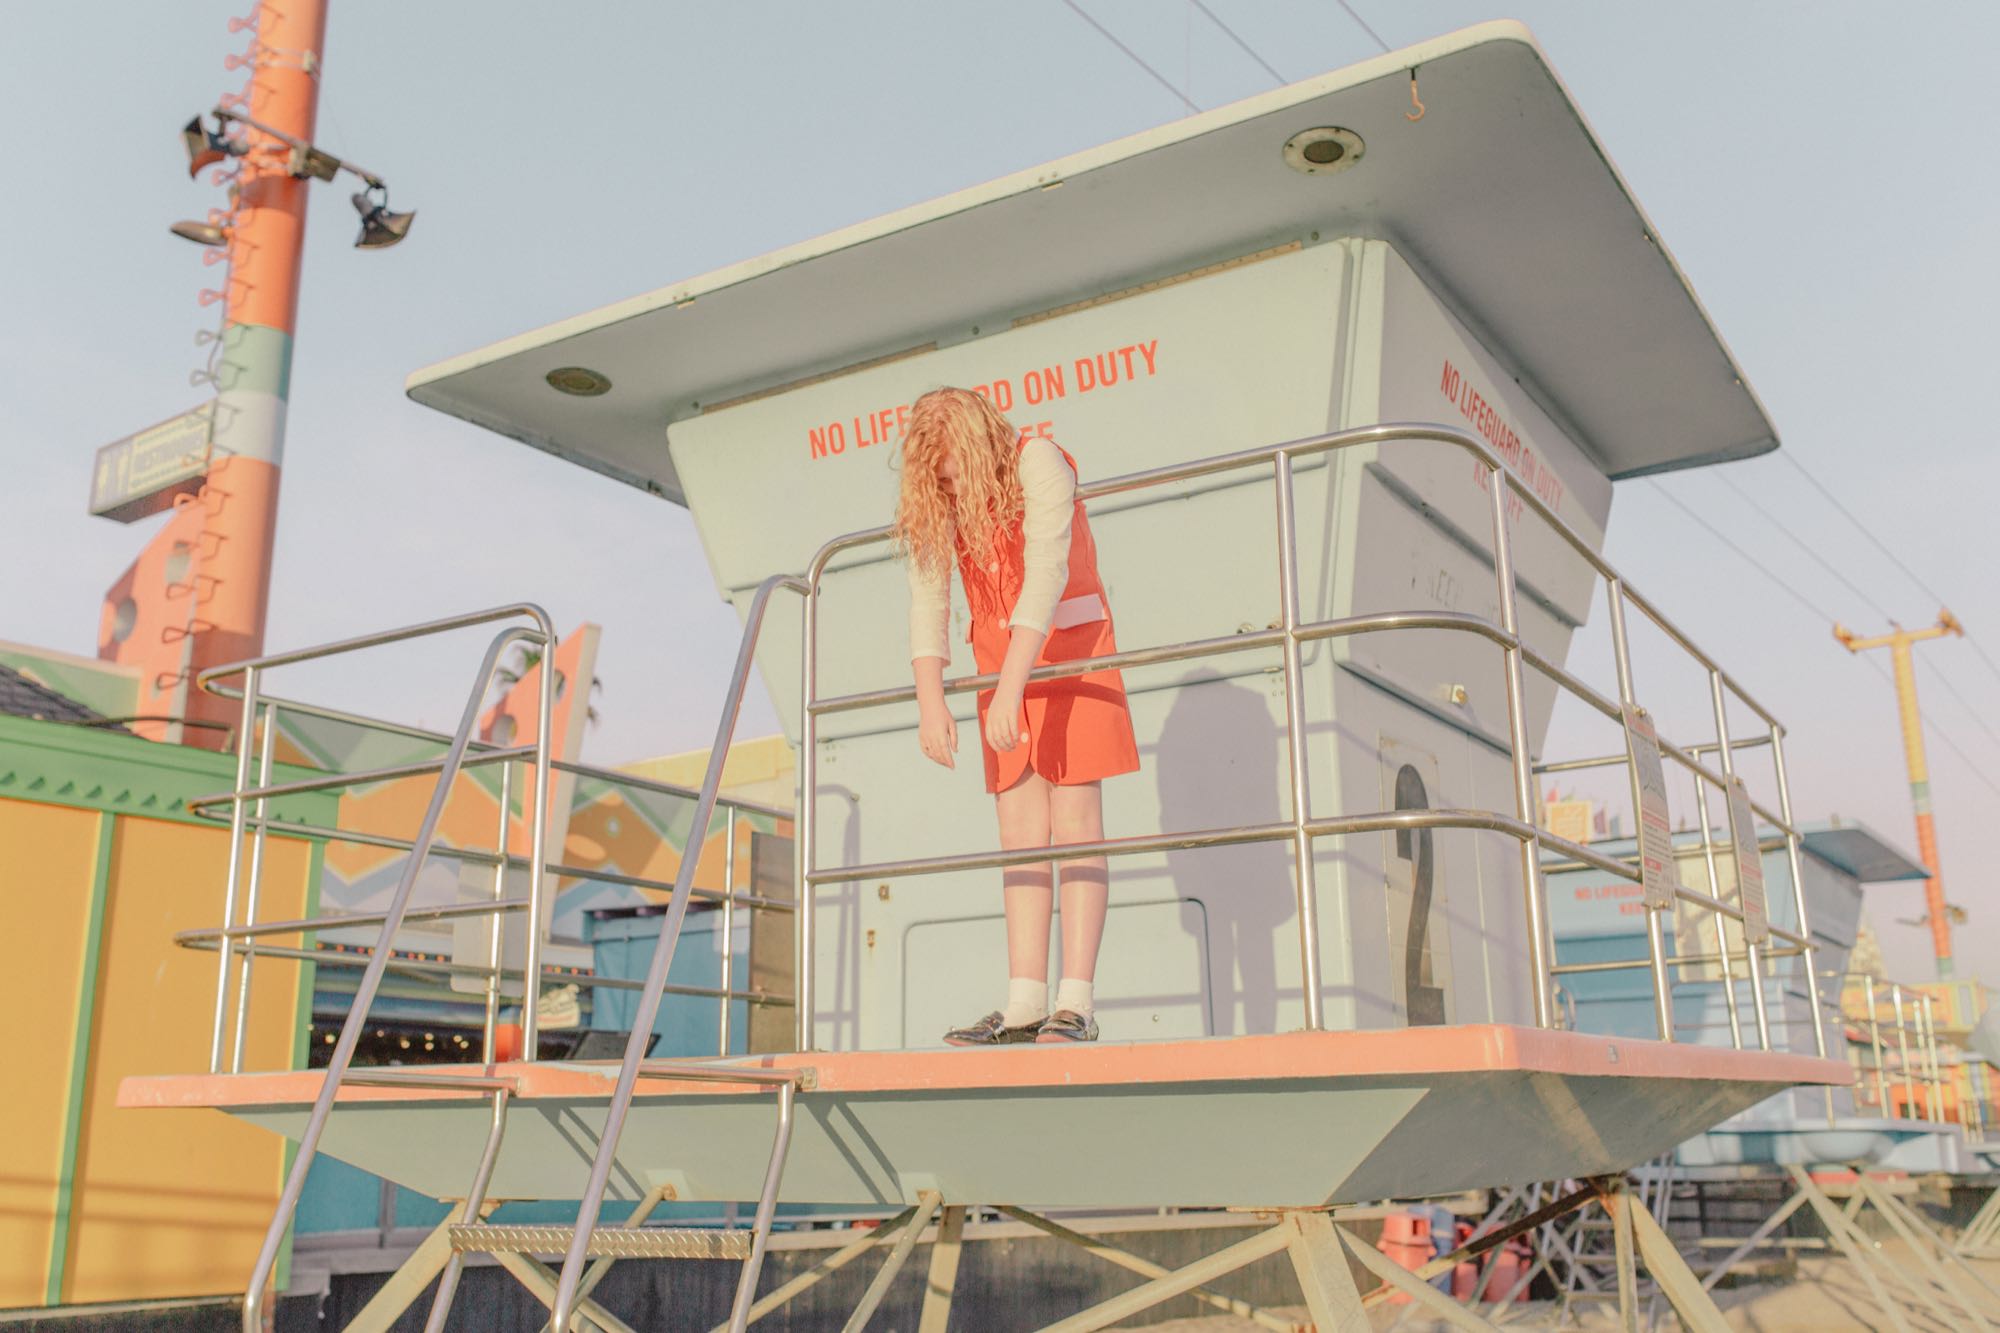

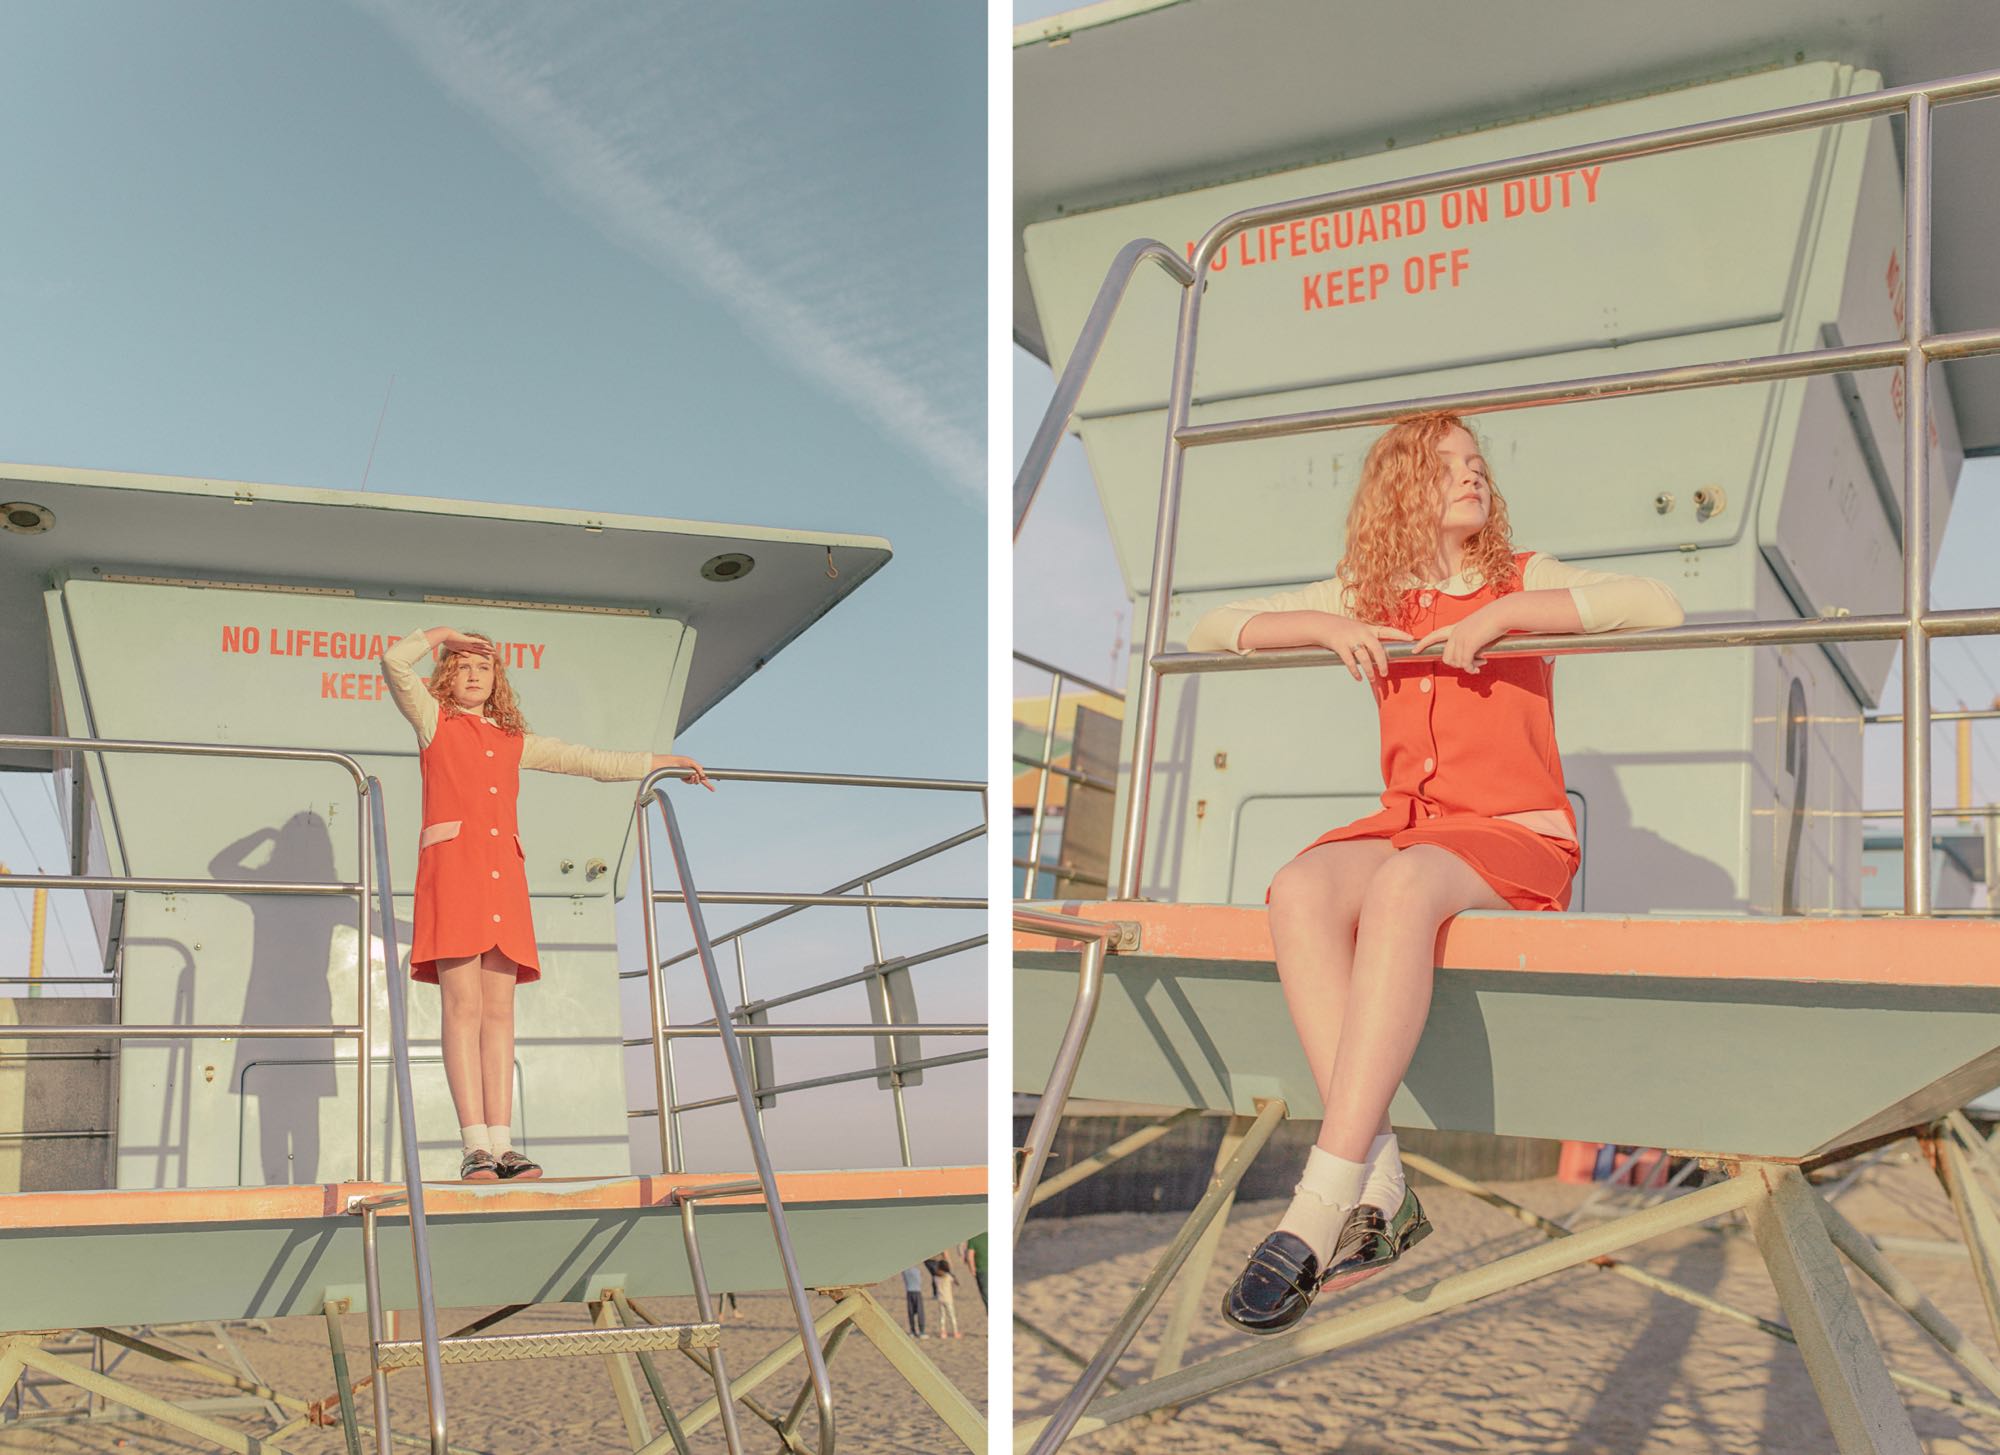

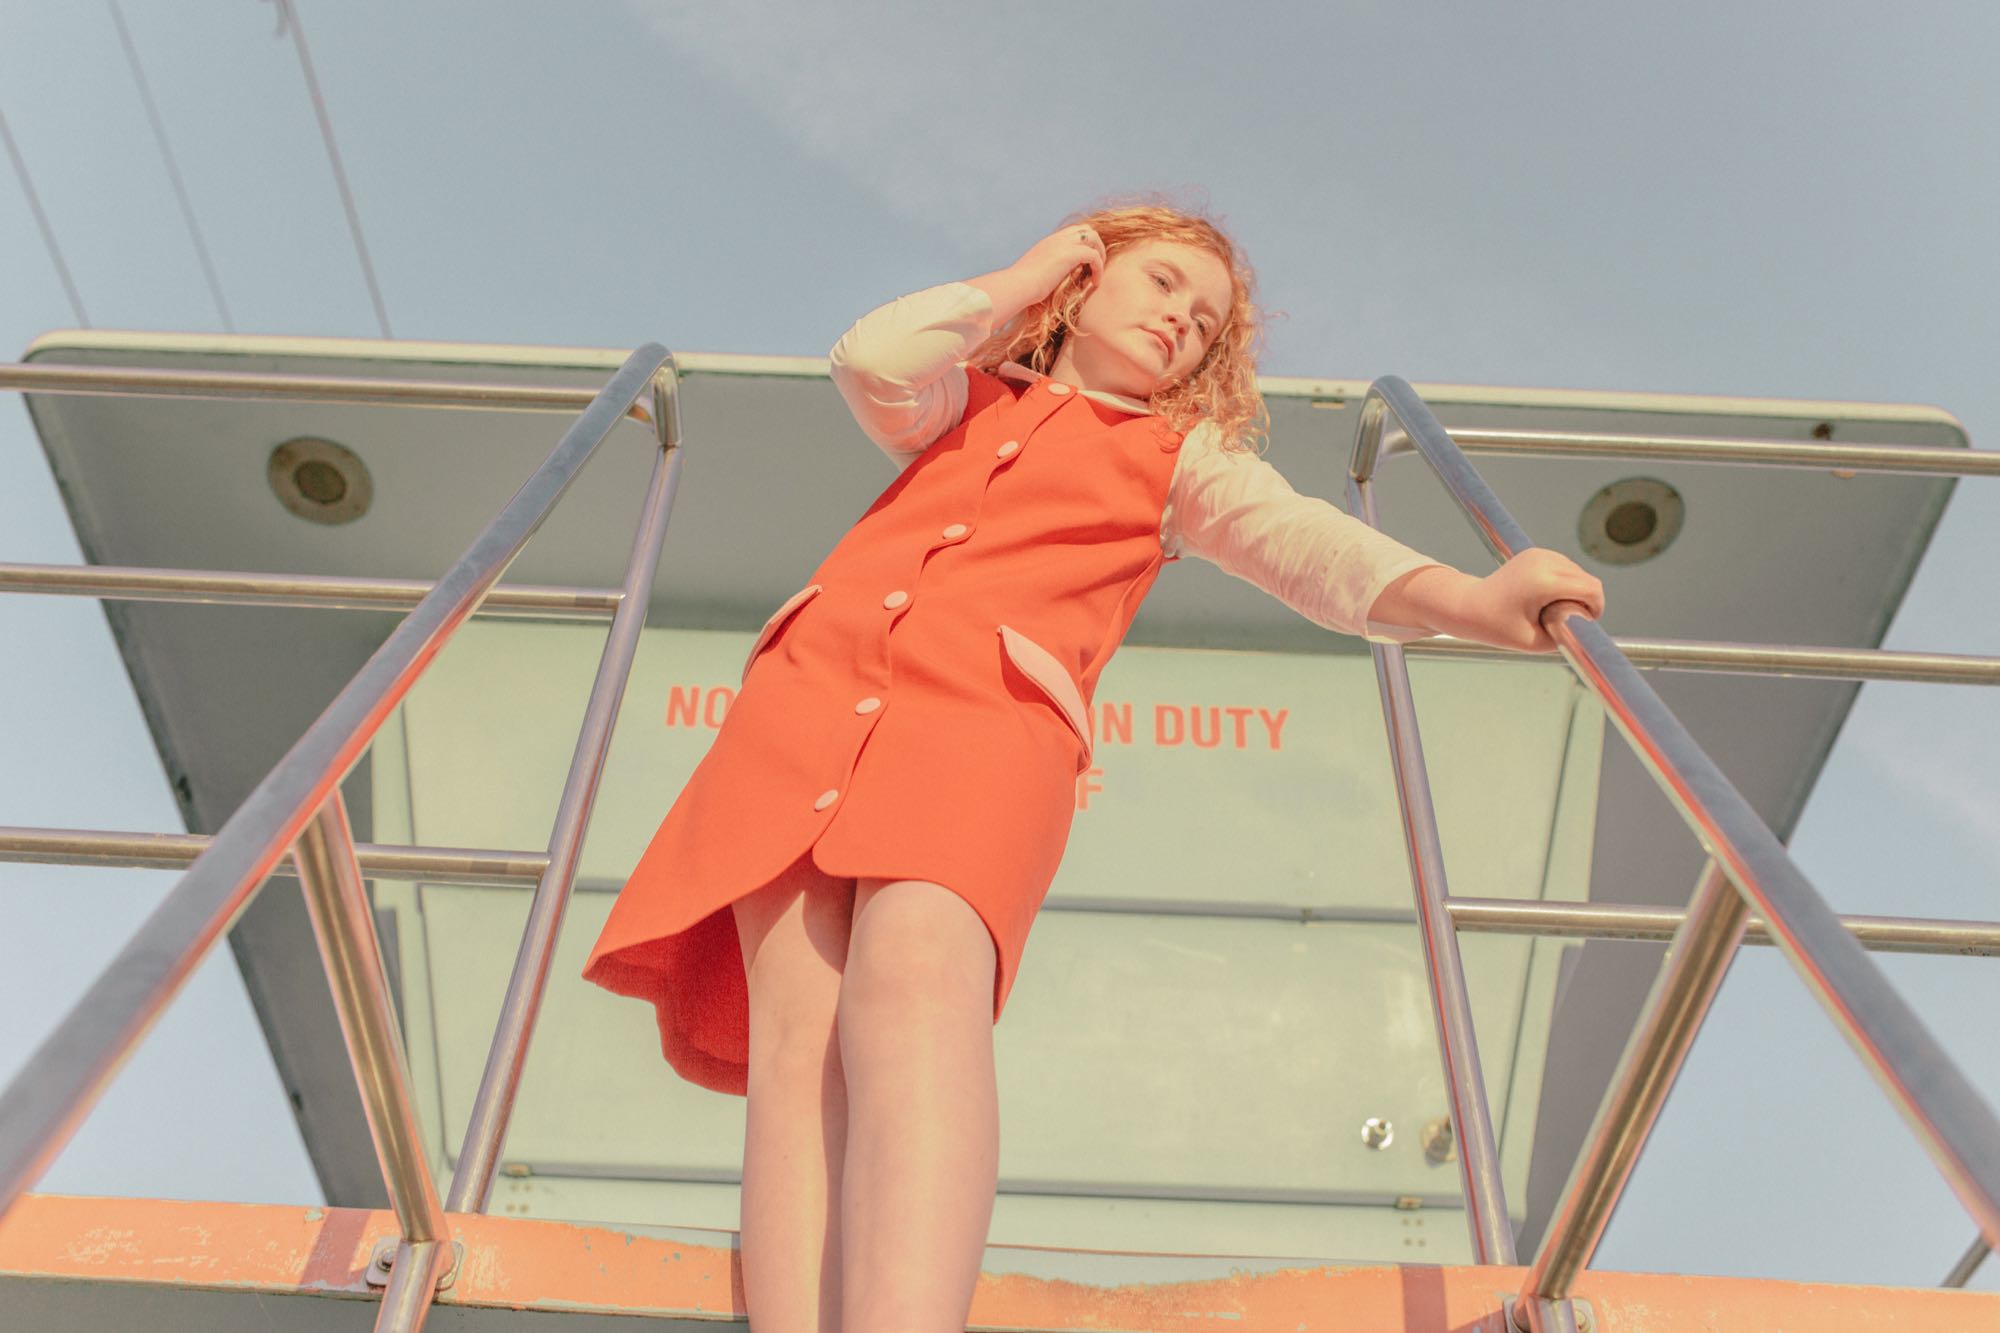

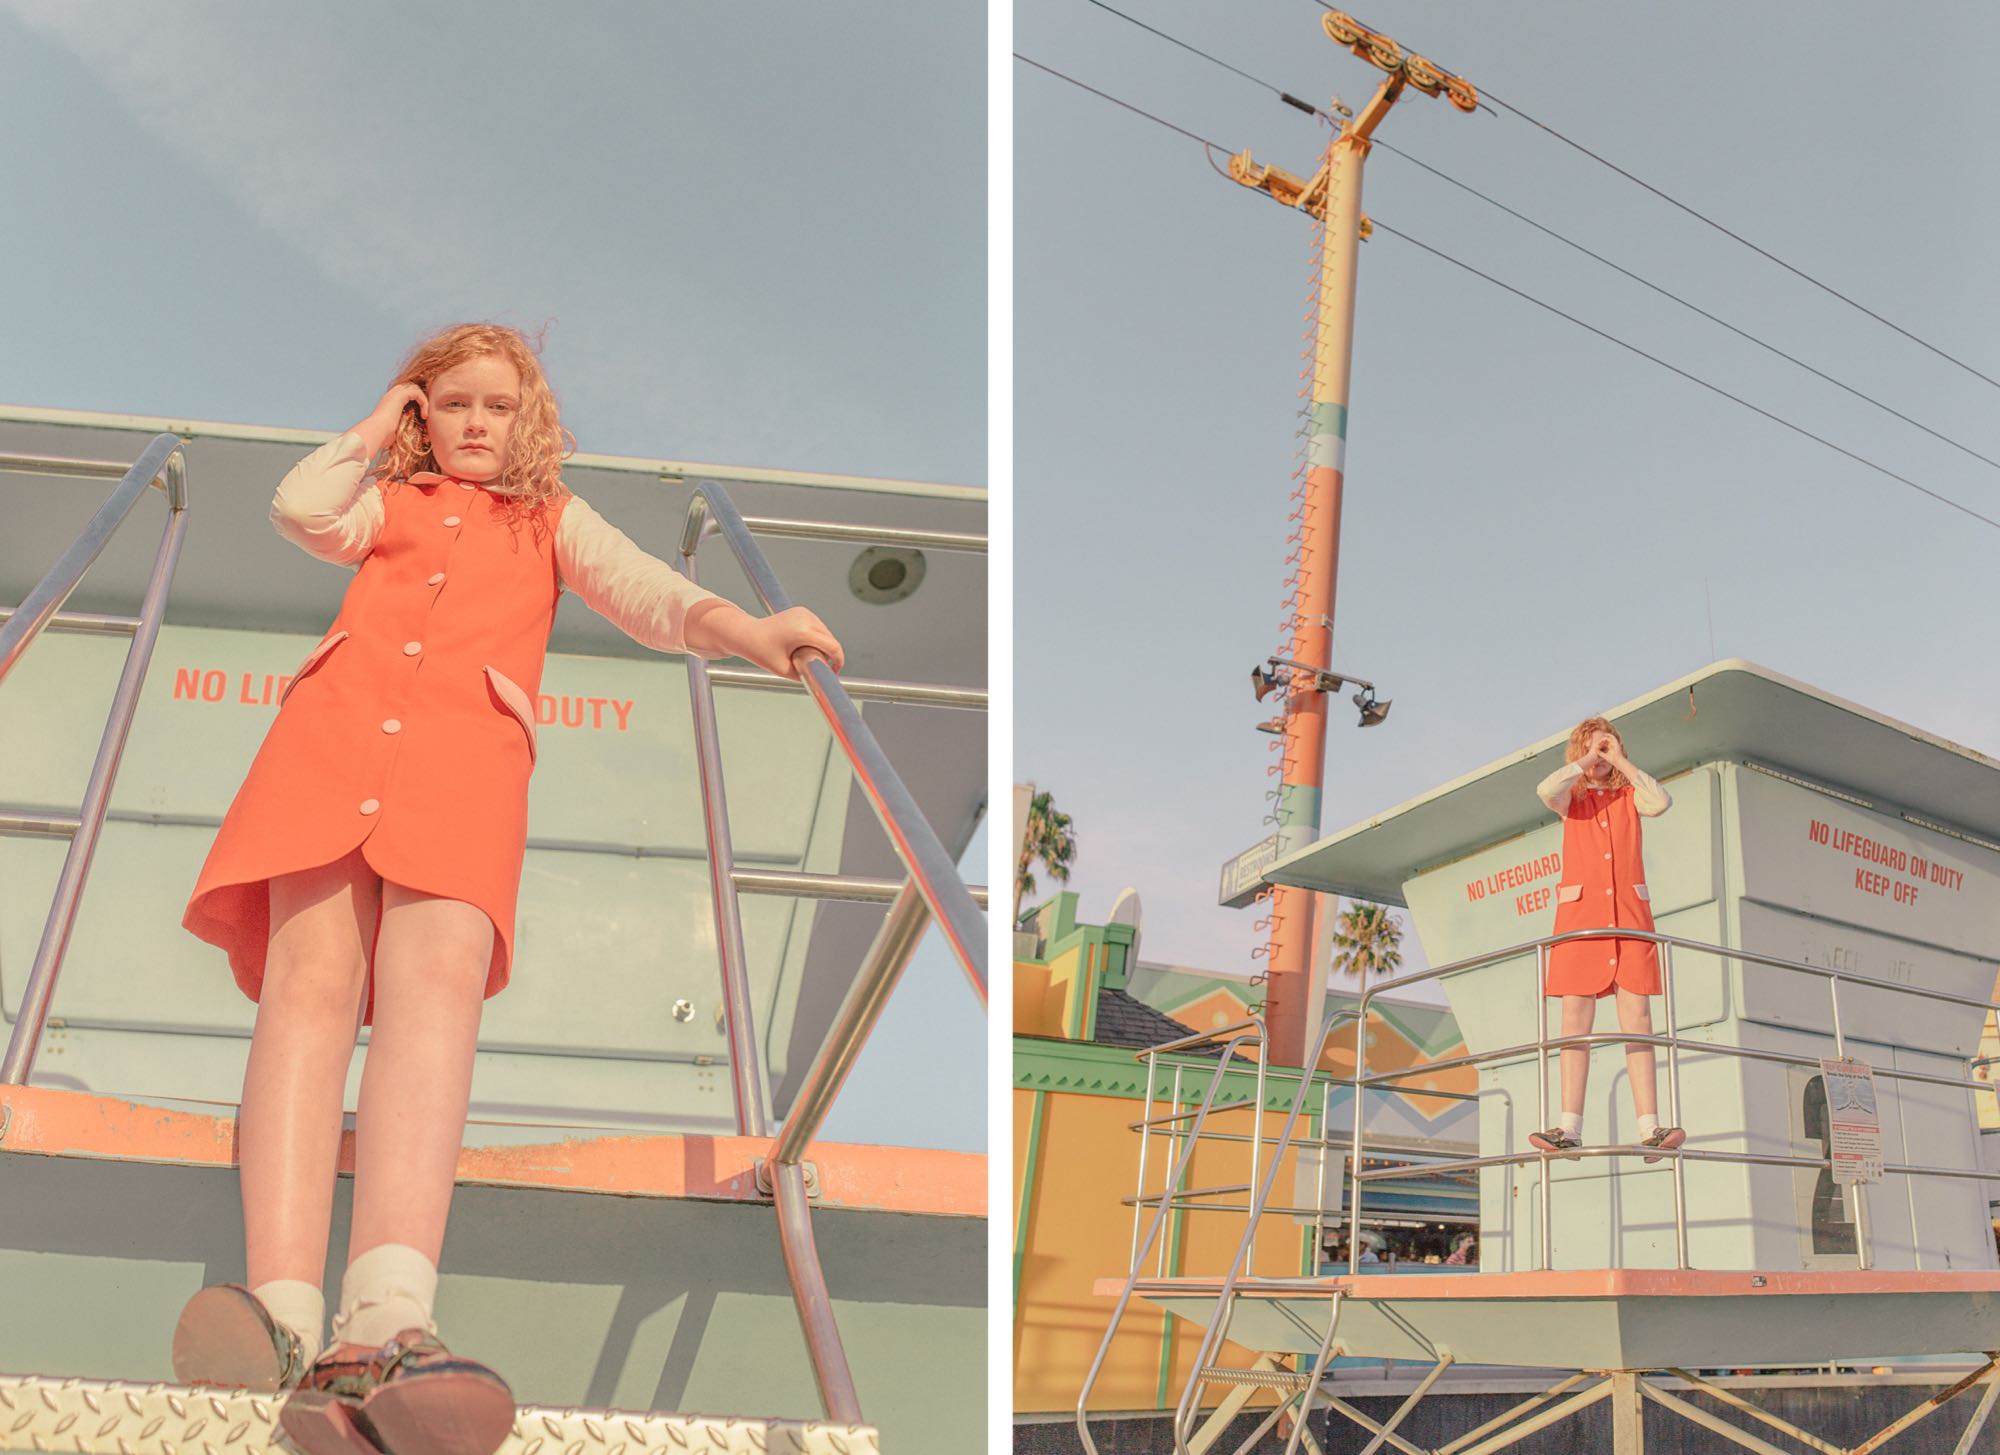
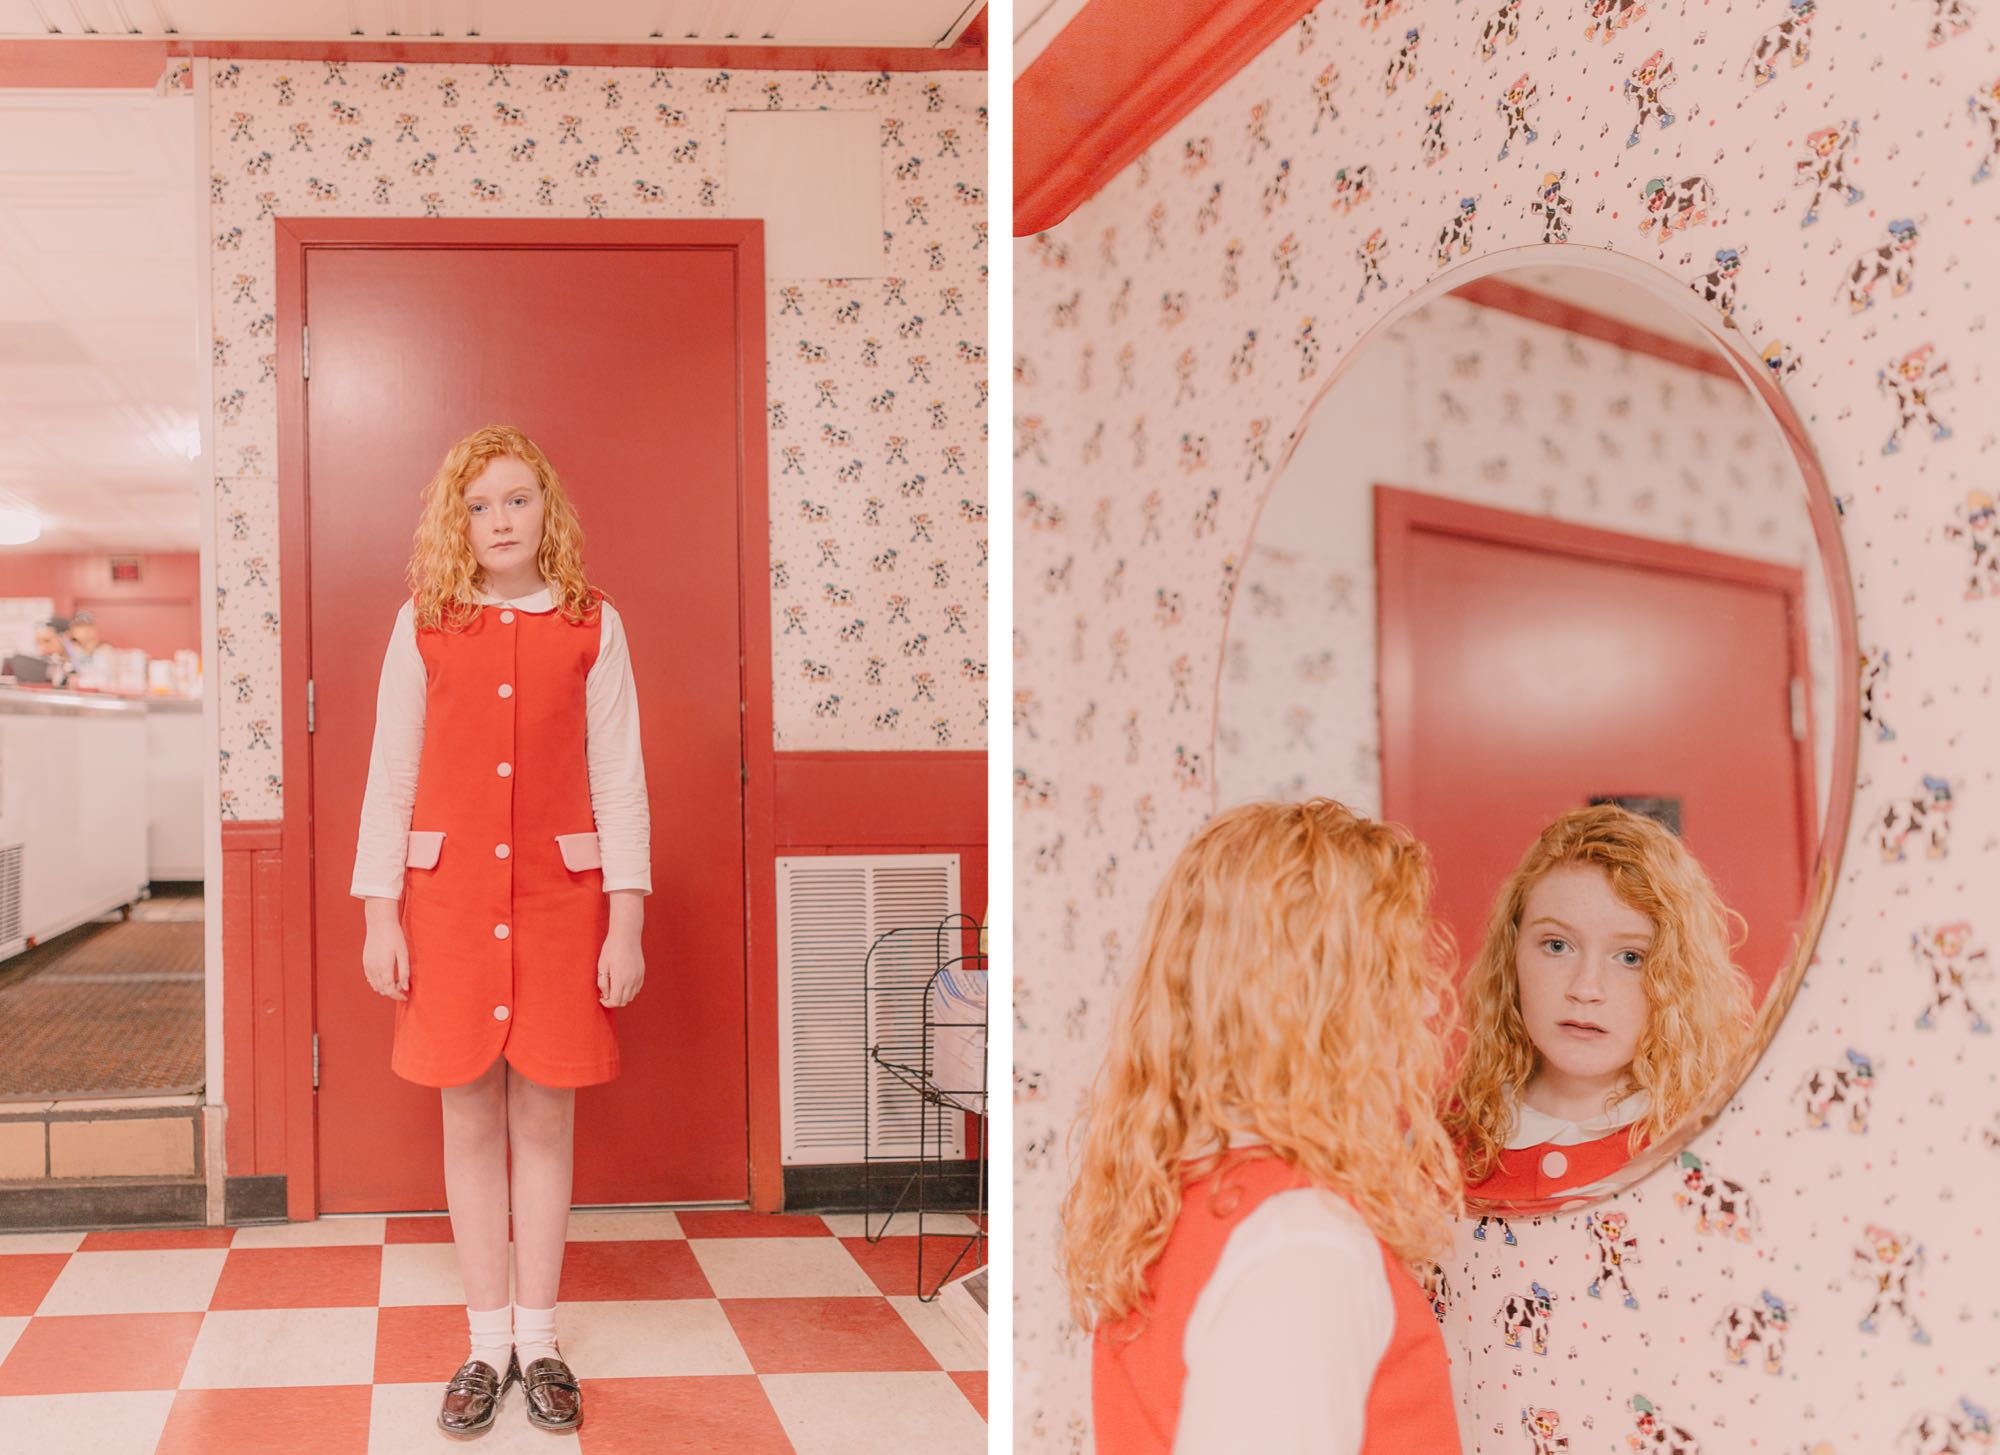
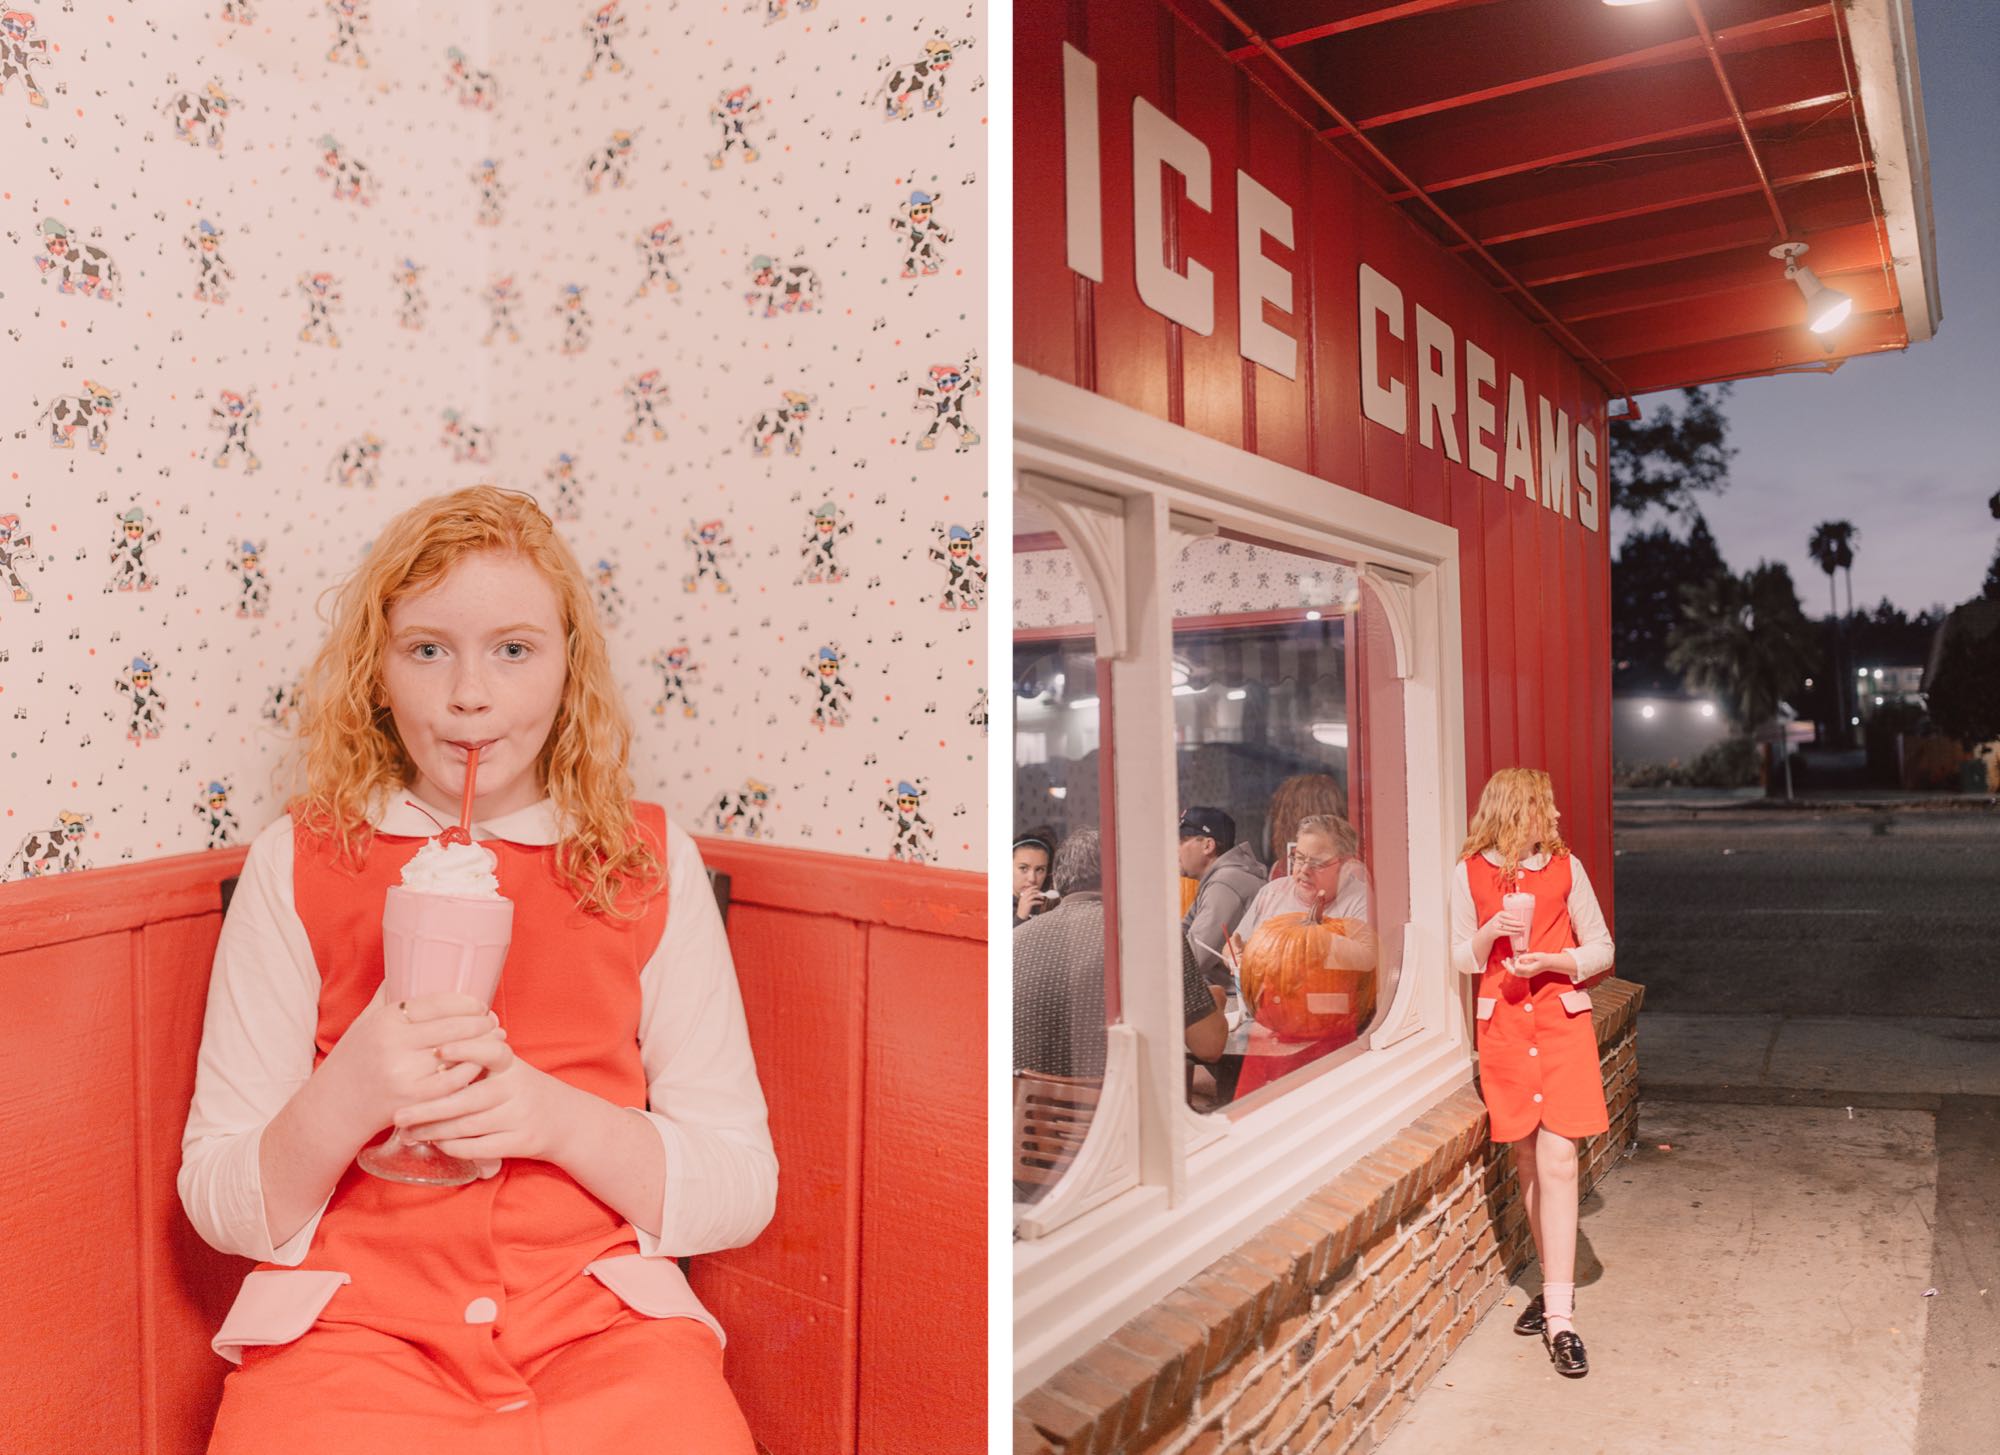
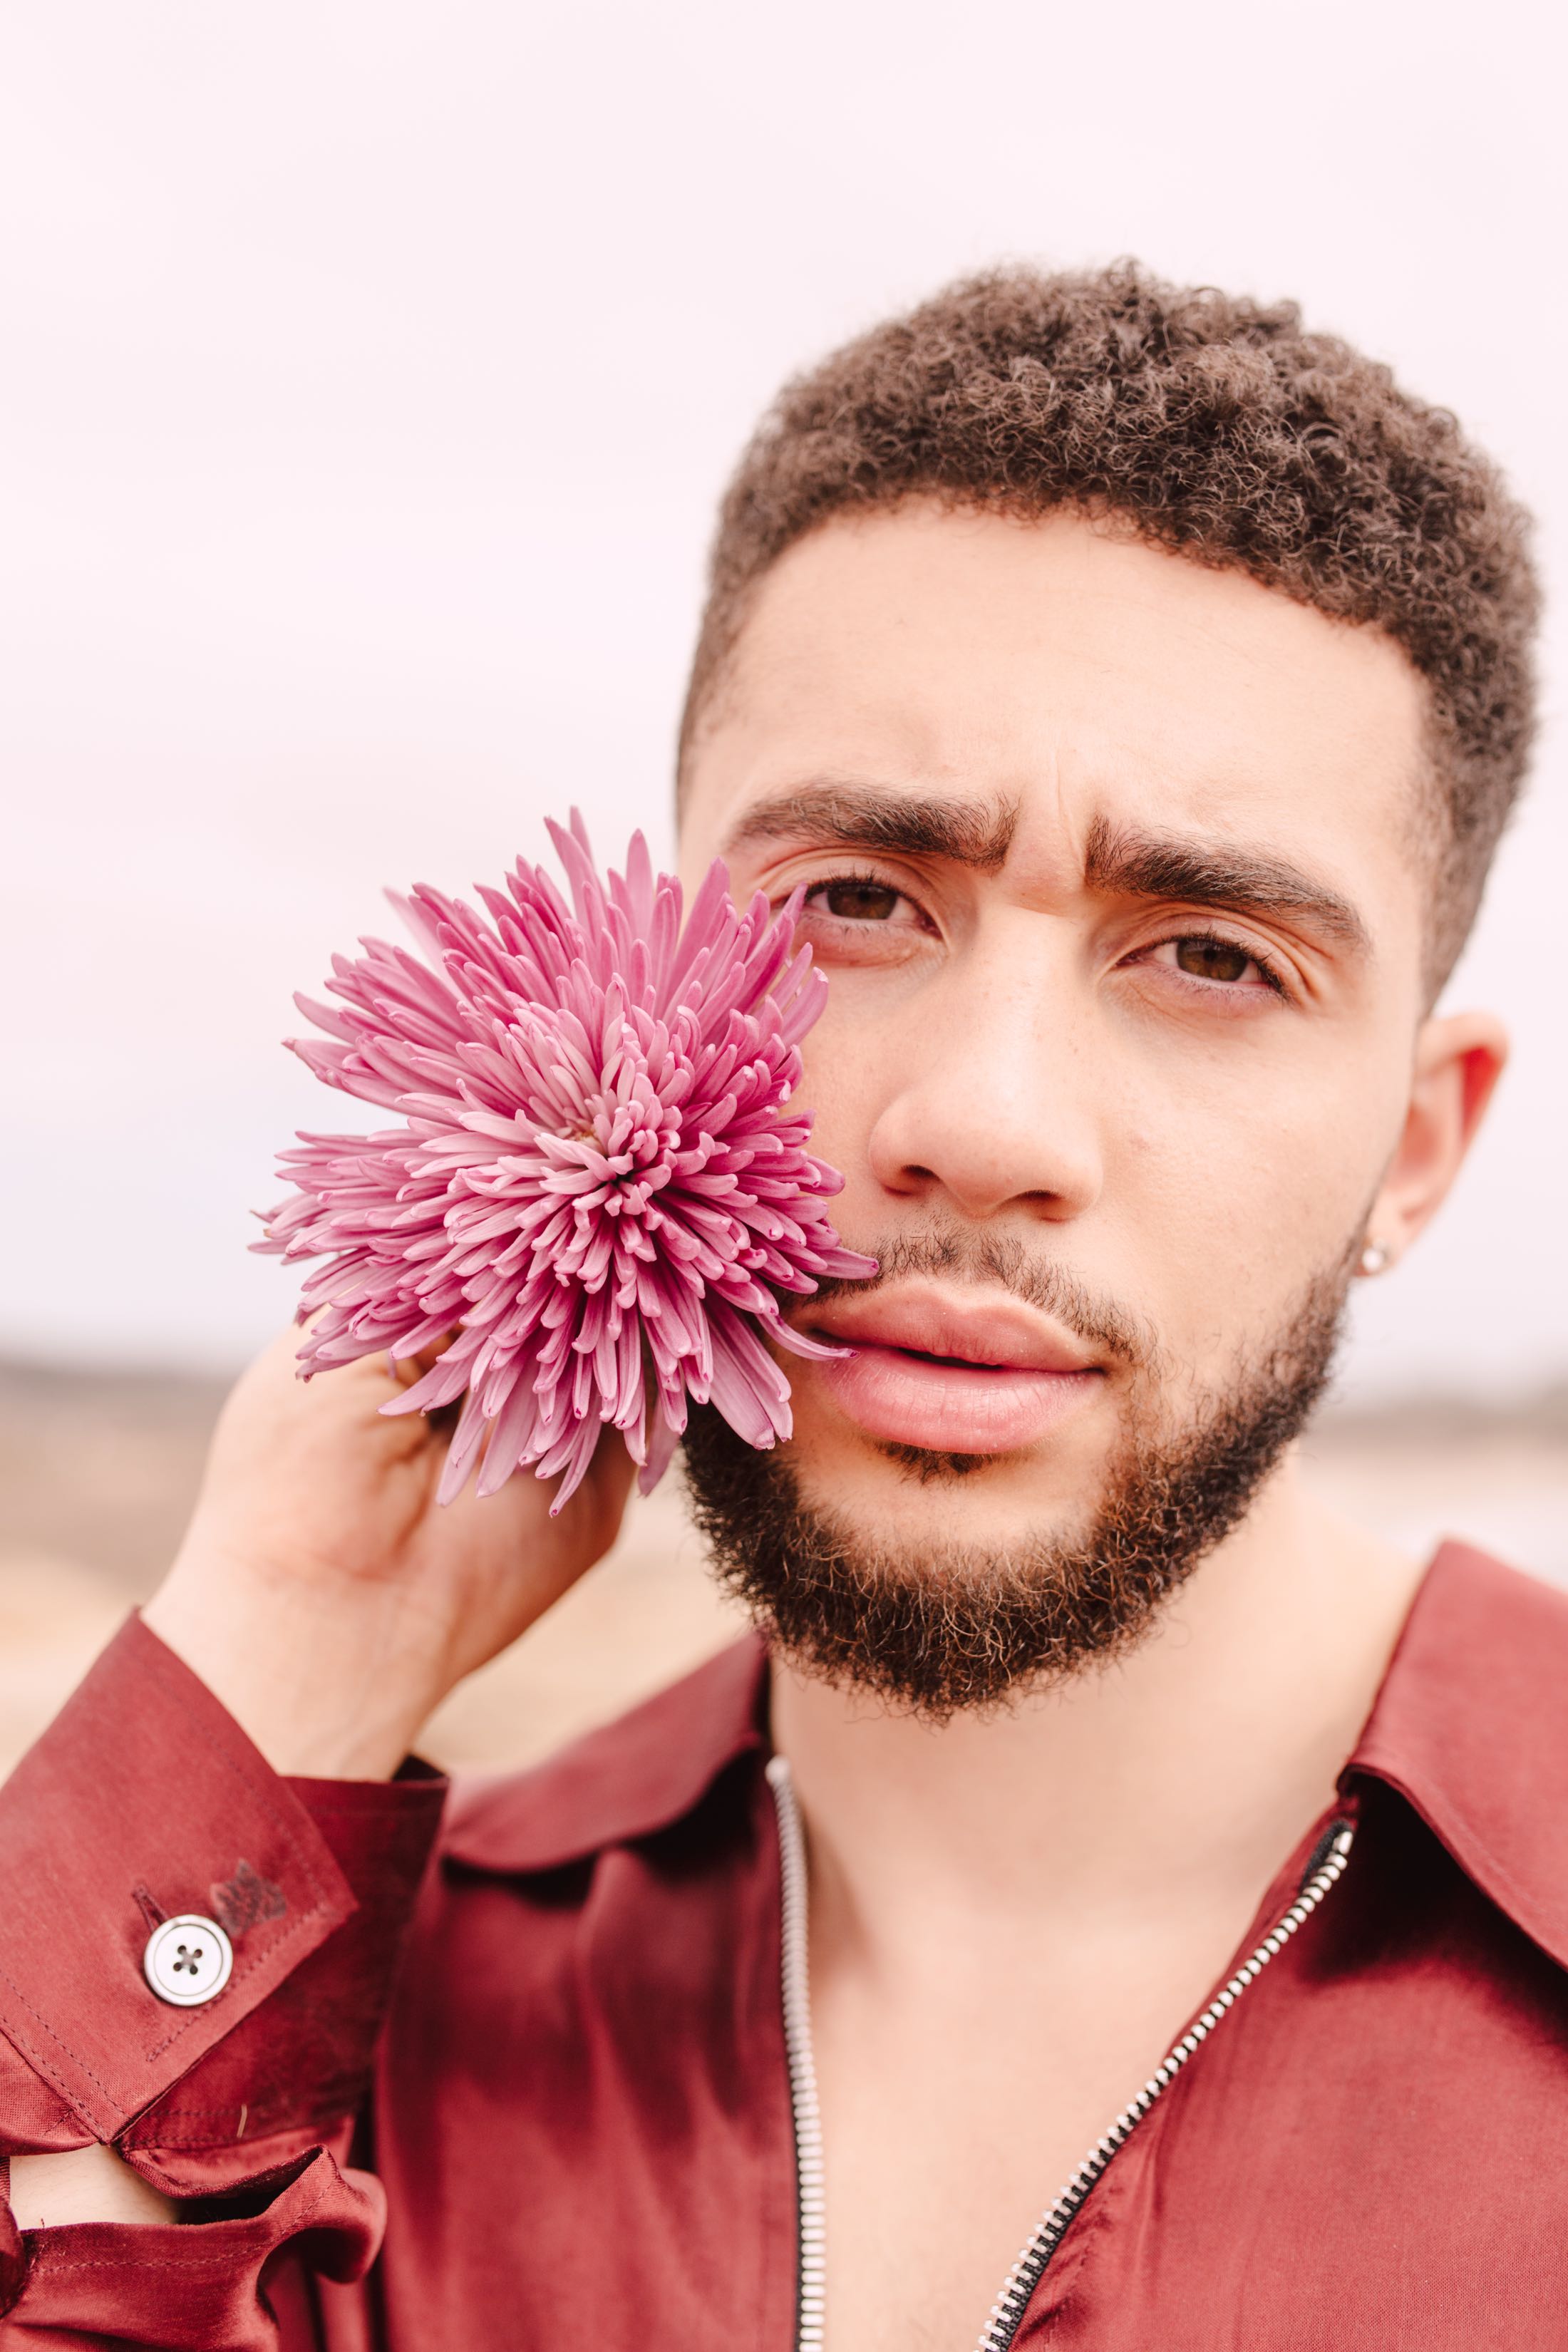
Model: Rory Chronister | Styling: Katie Nemec | Published on Hooligans Magazine
So happy to finally be sharing these images! We originally started talking about this shoot in August and it didn’t come to life until November. And here we are in December finally sharing them!
Check them out on CuratedByGirls.
Thank you to my amazing team:
Set Design: Claire Xue
Models: Xin Yu & Joel Riches
Styling: Peggi Jeung
Hair and Makeup: Amy Lawson
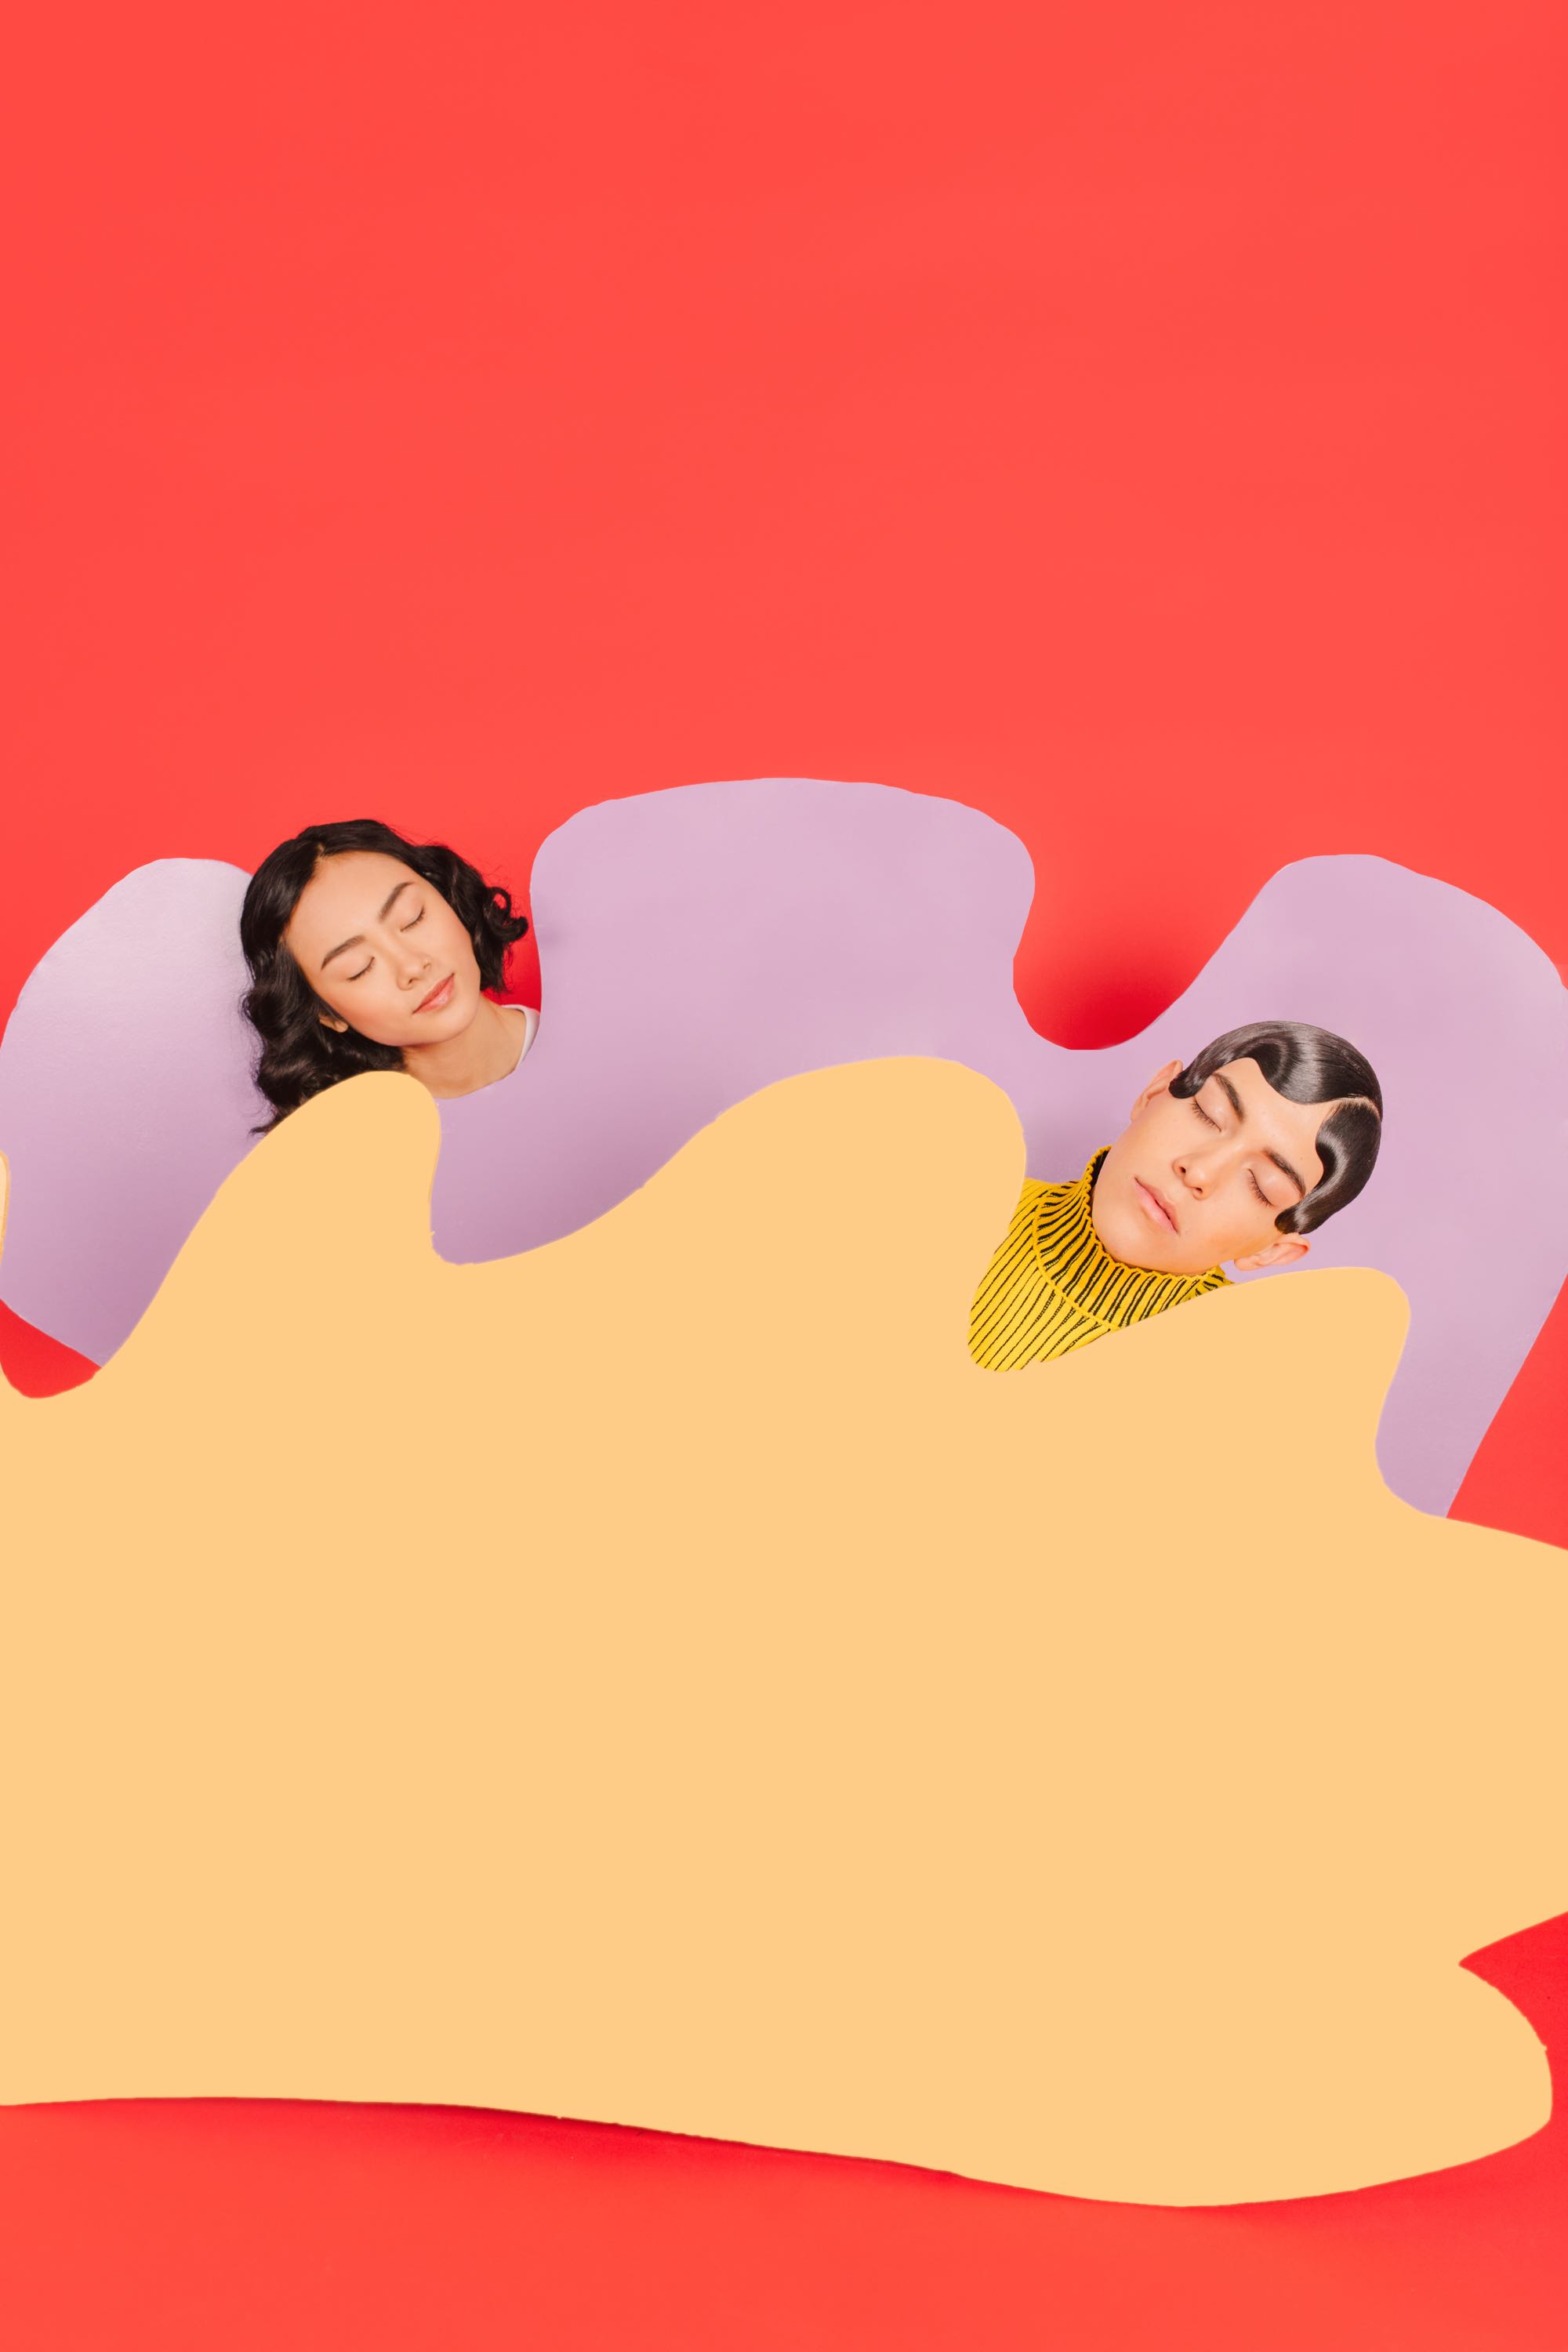
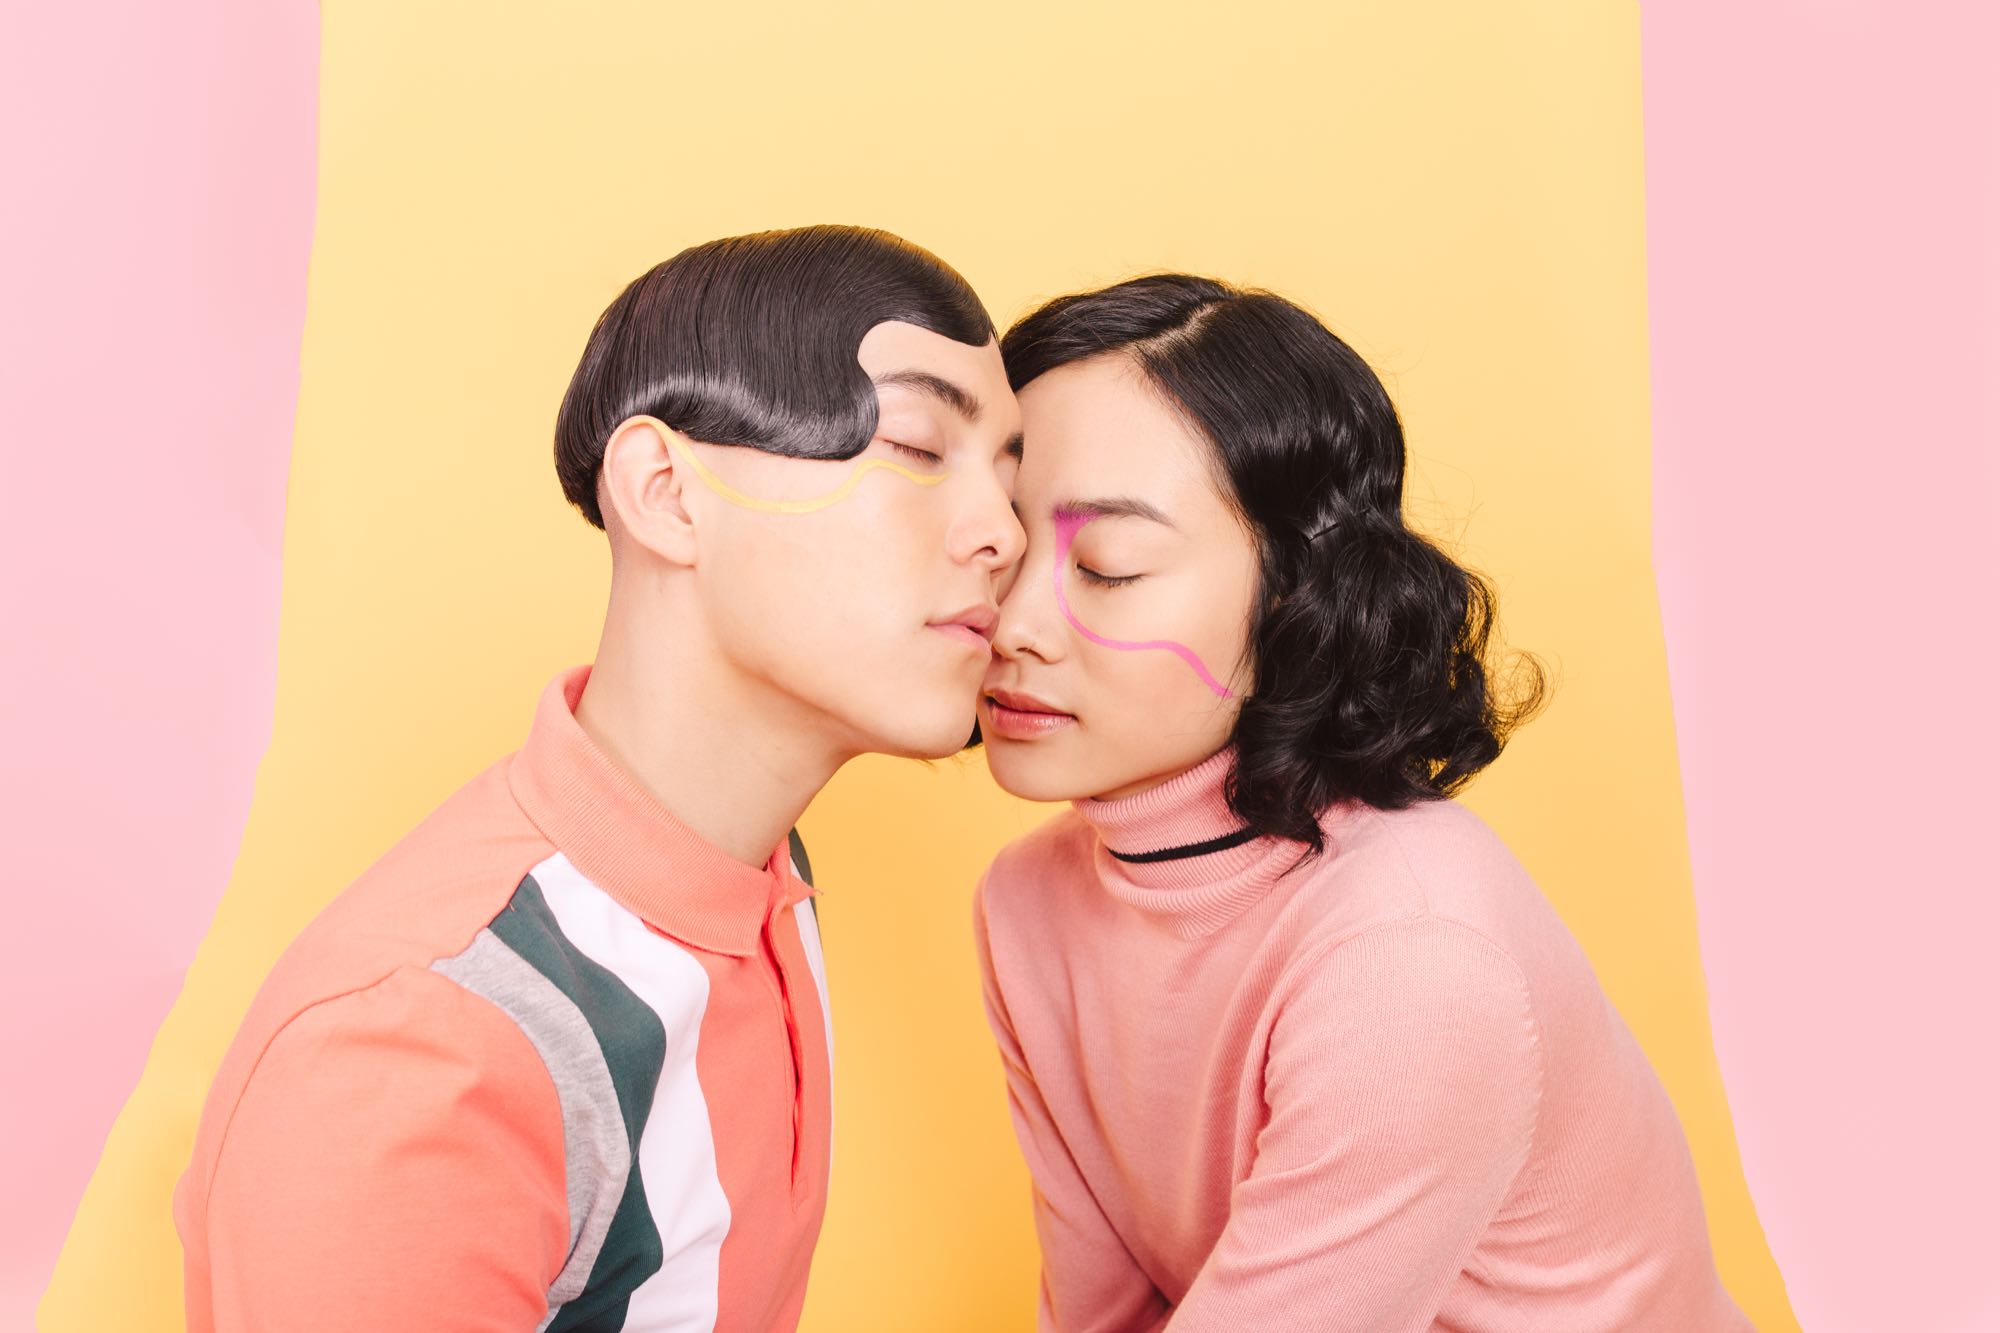
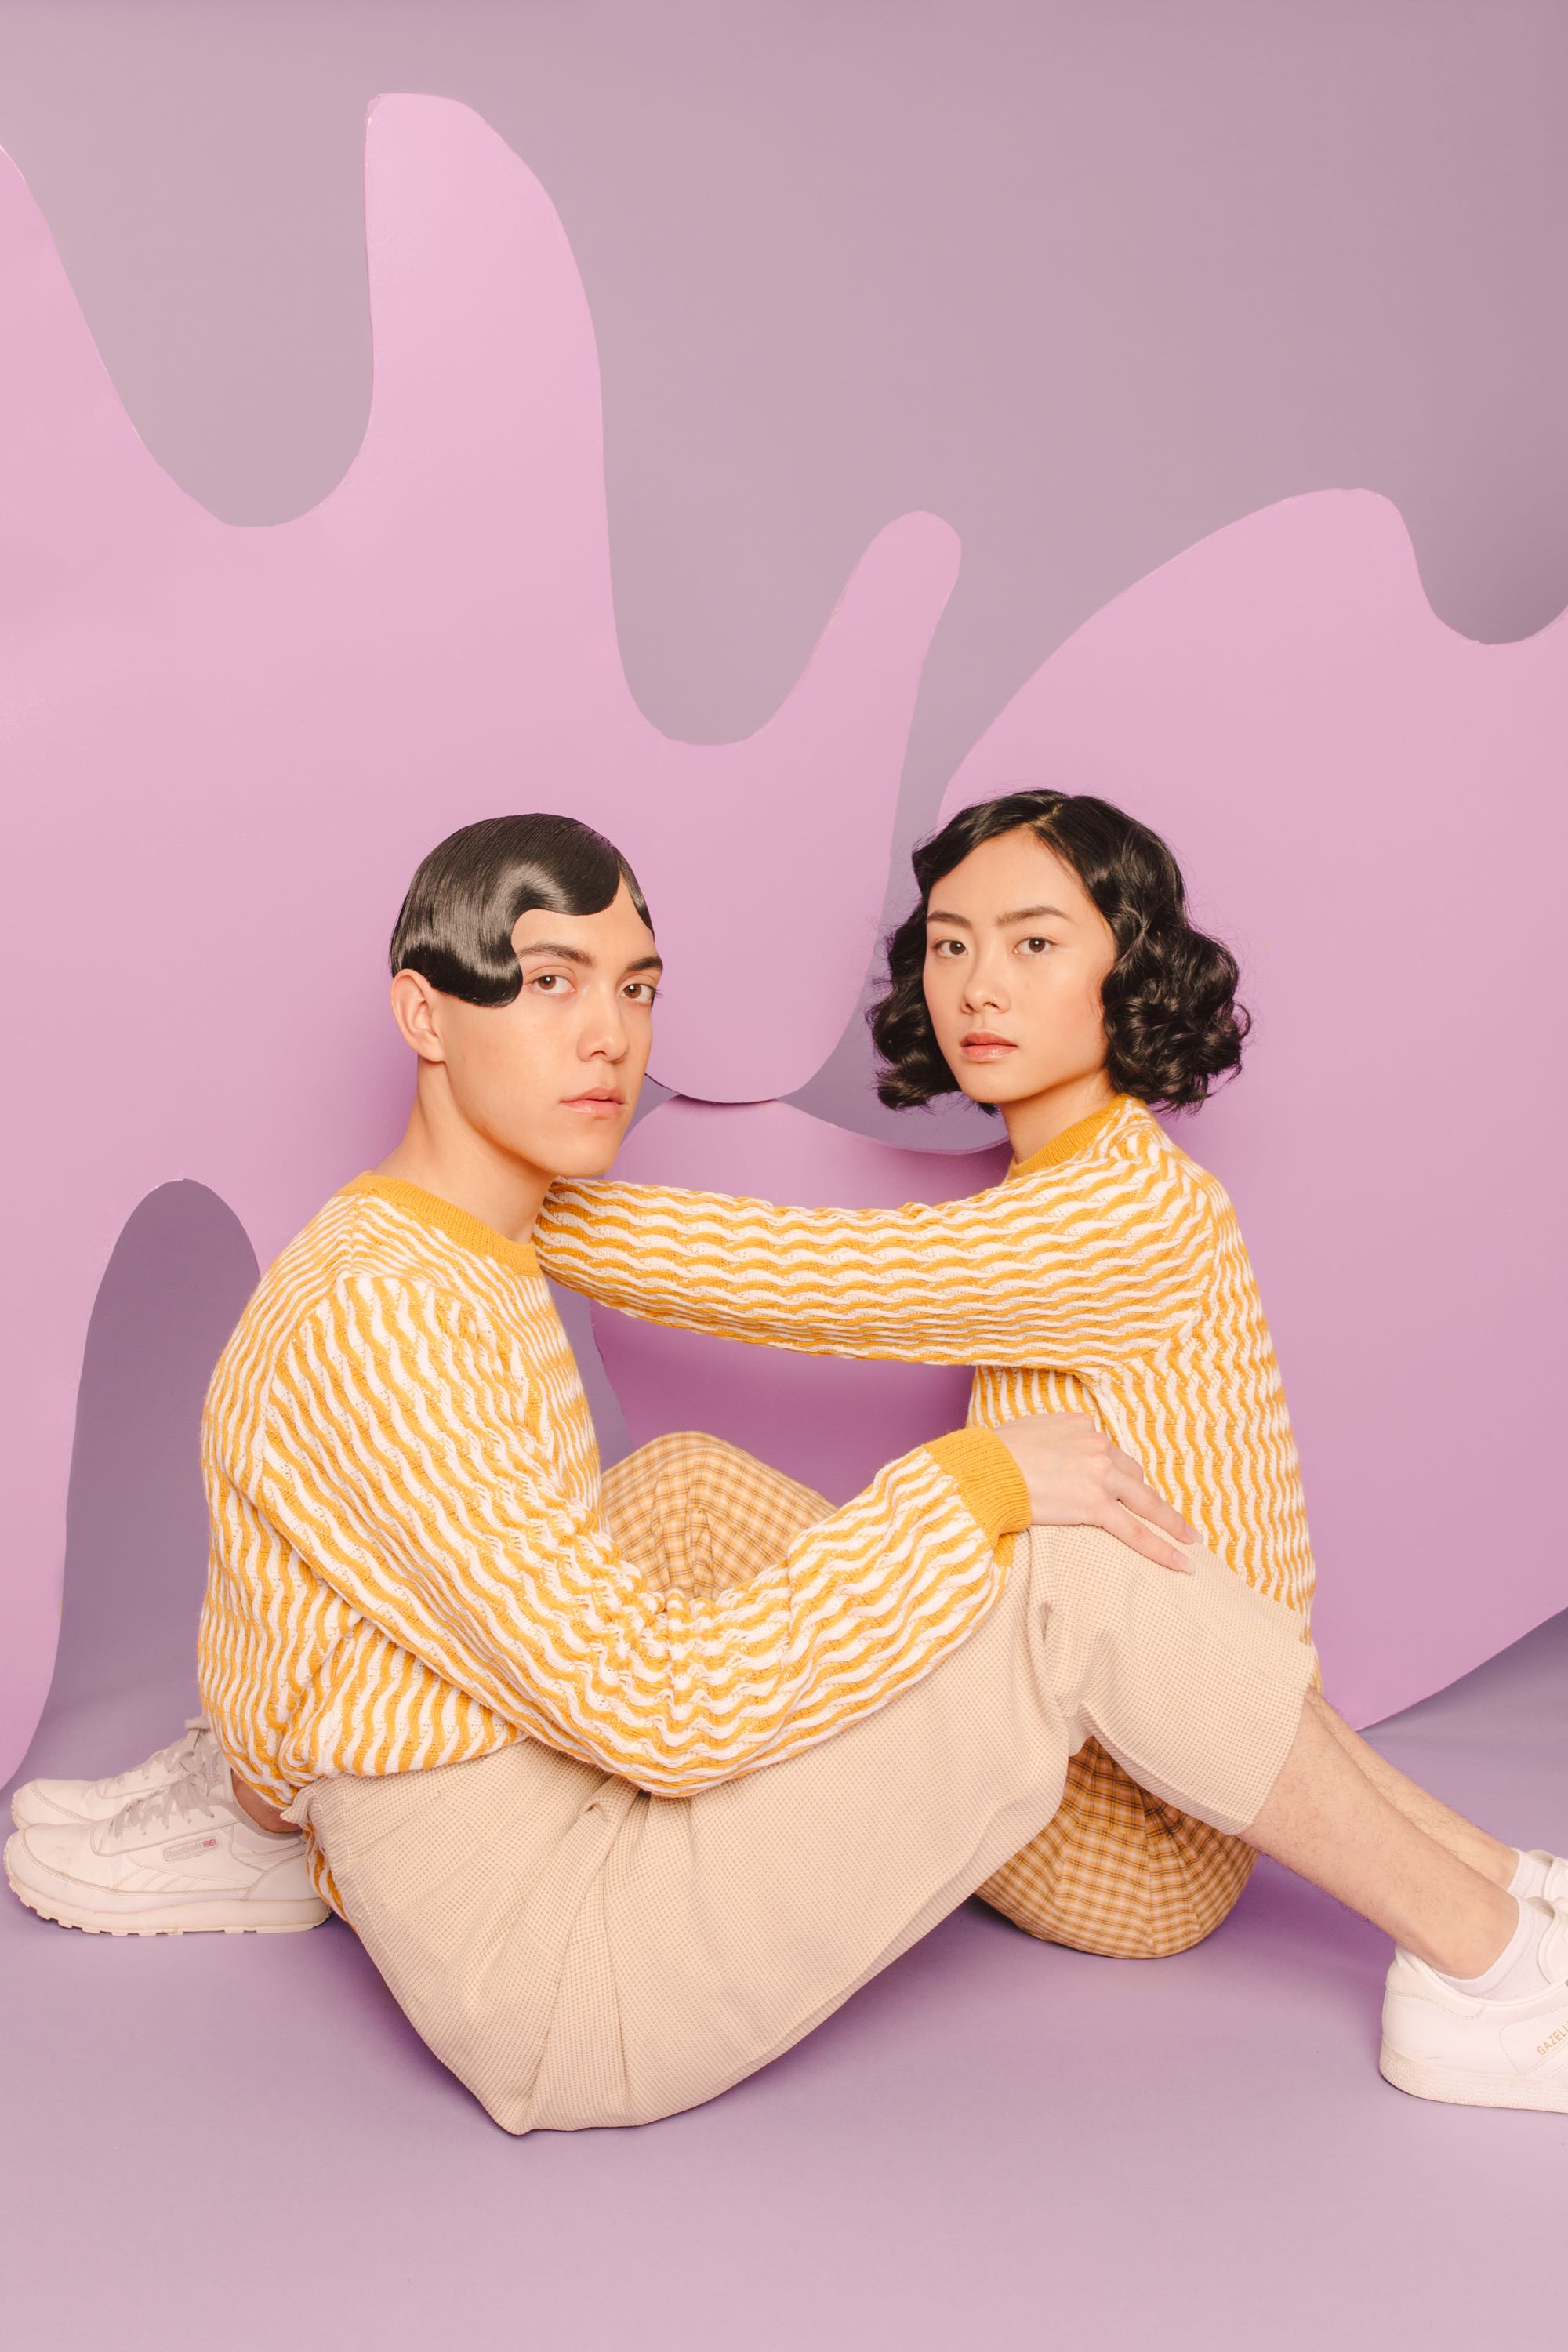
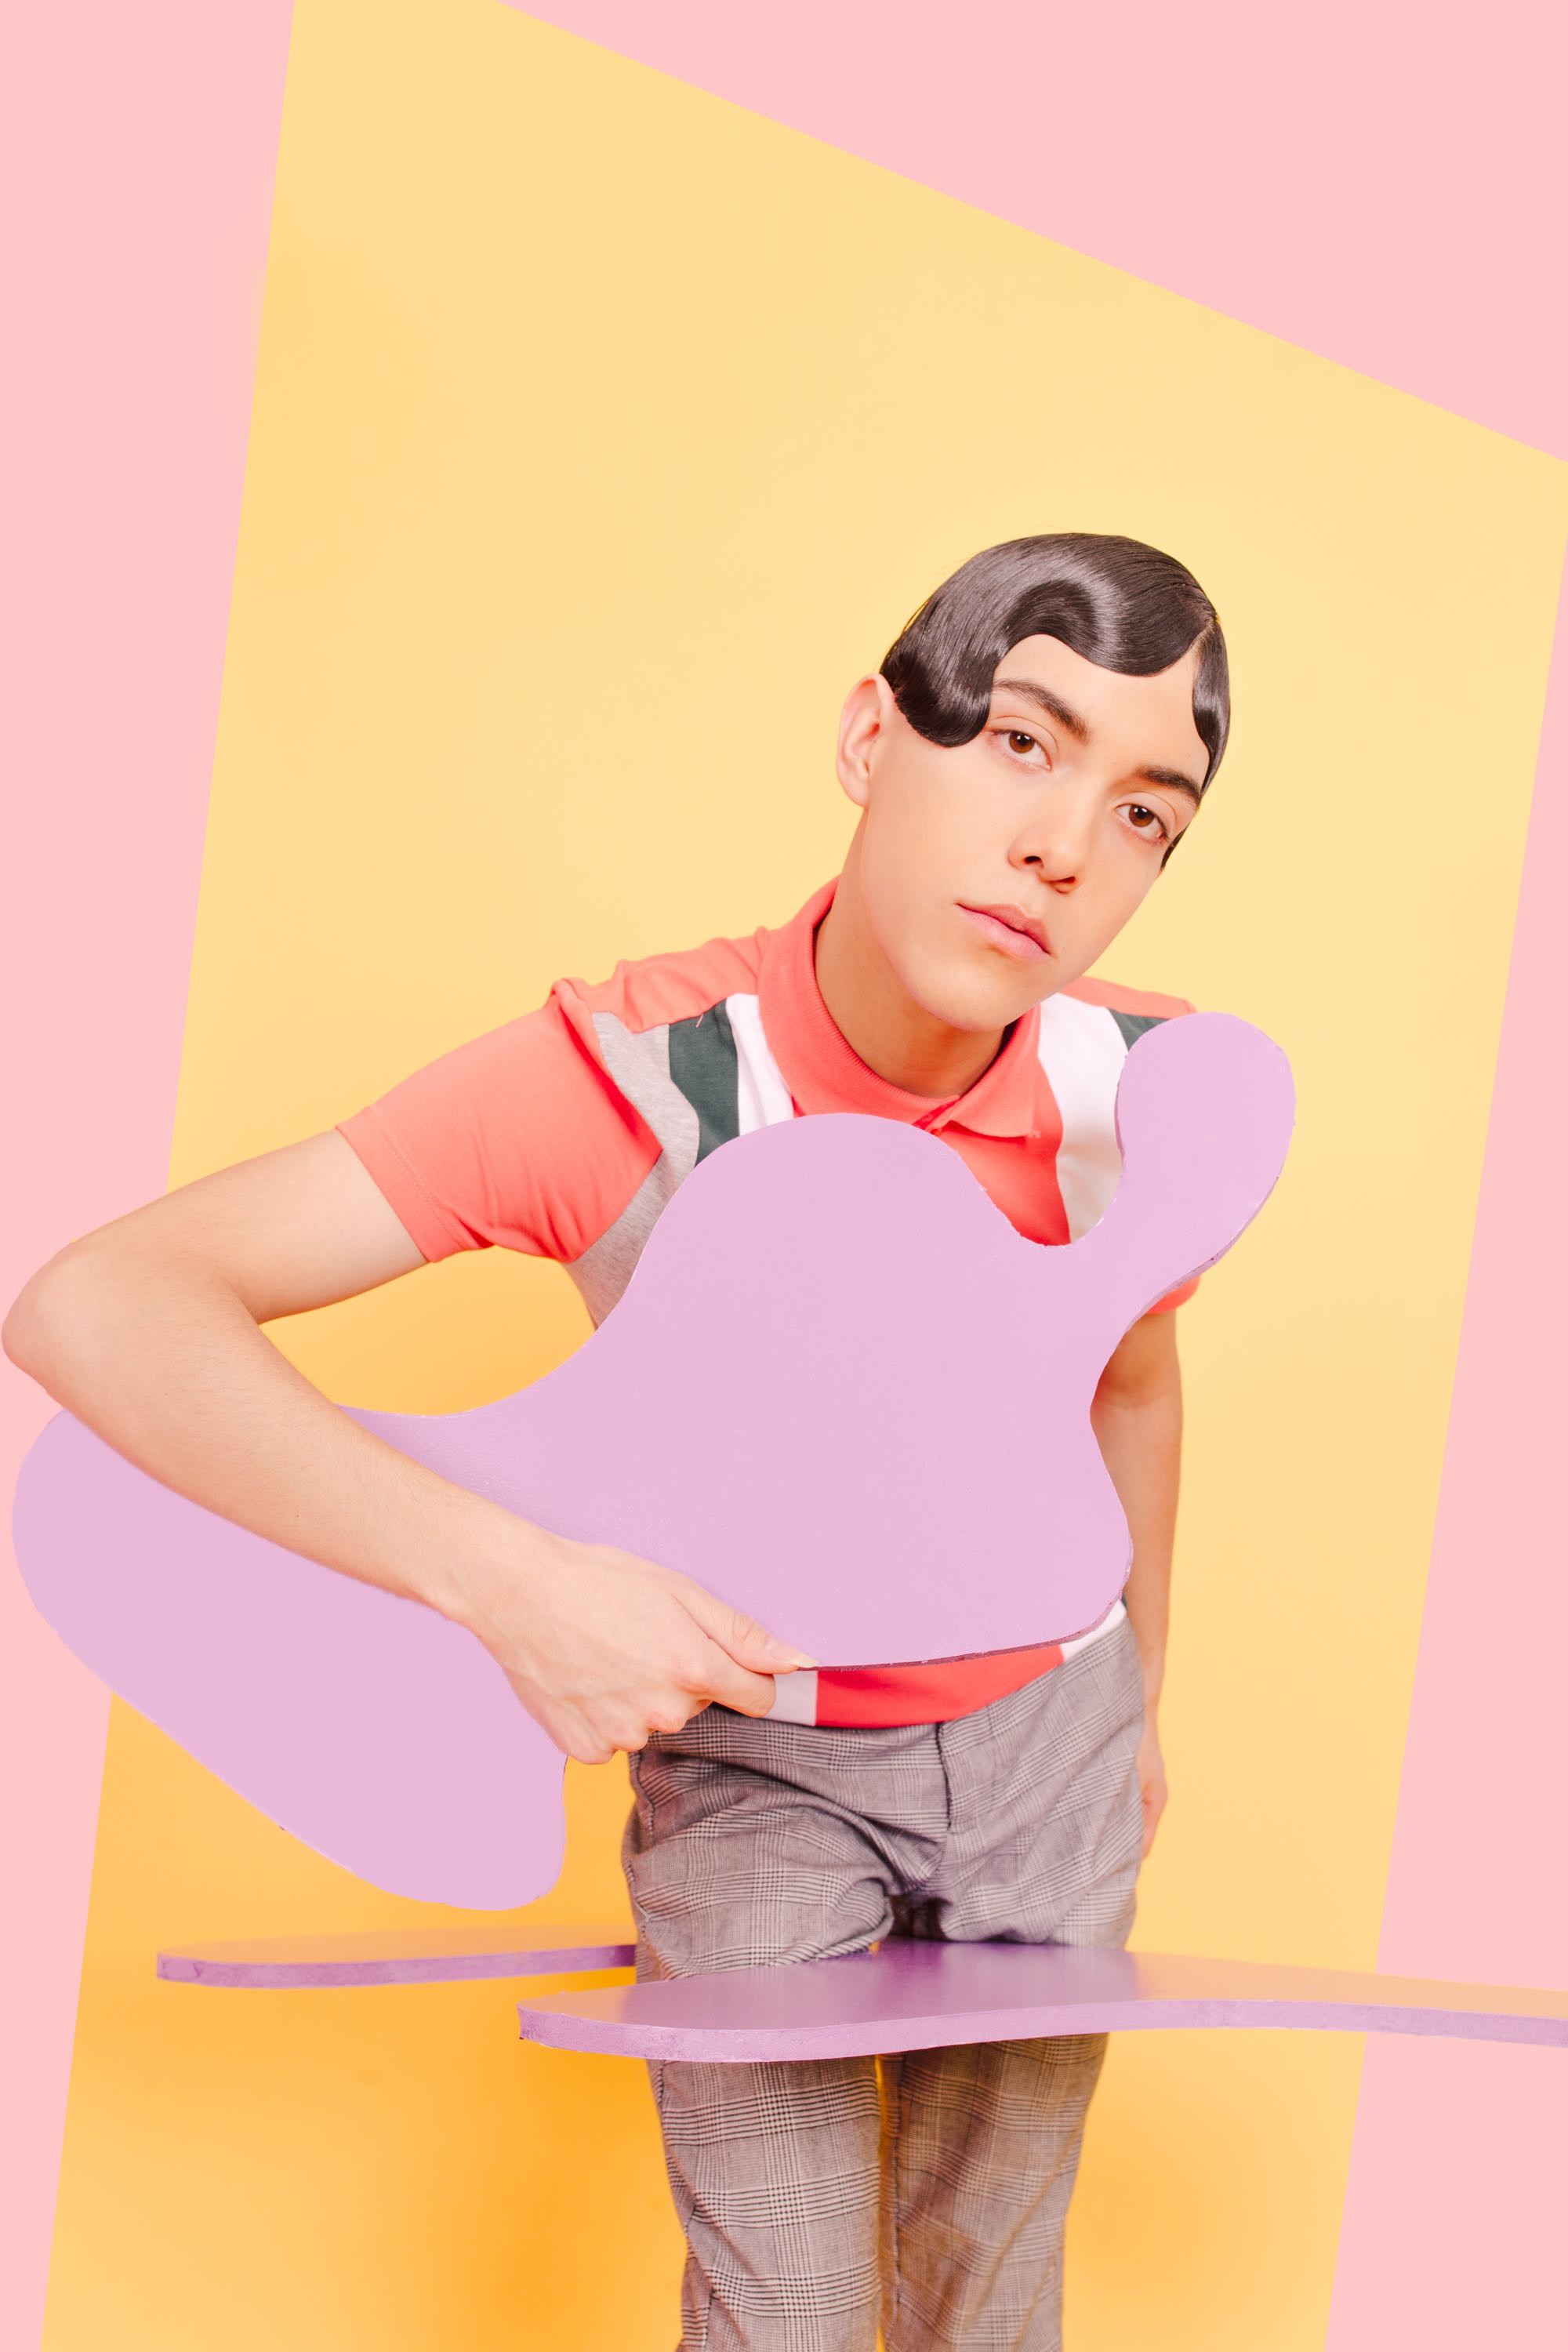
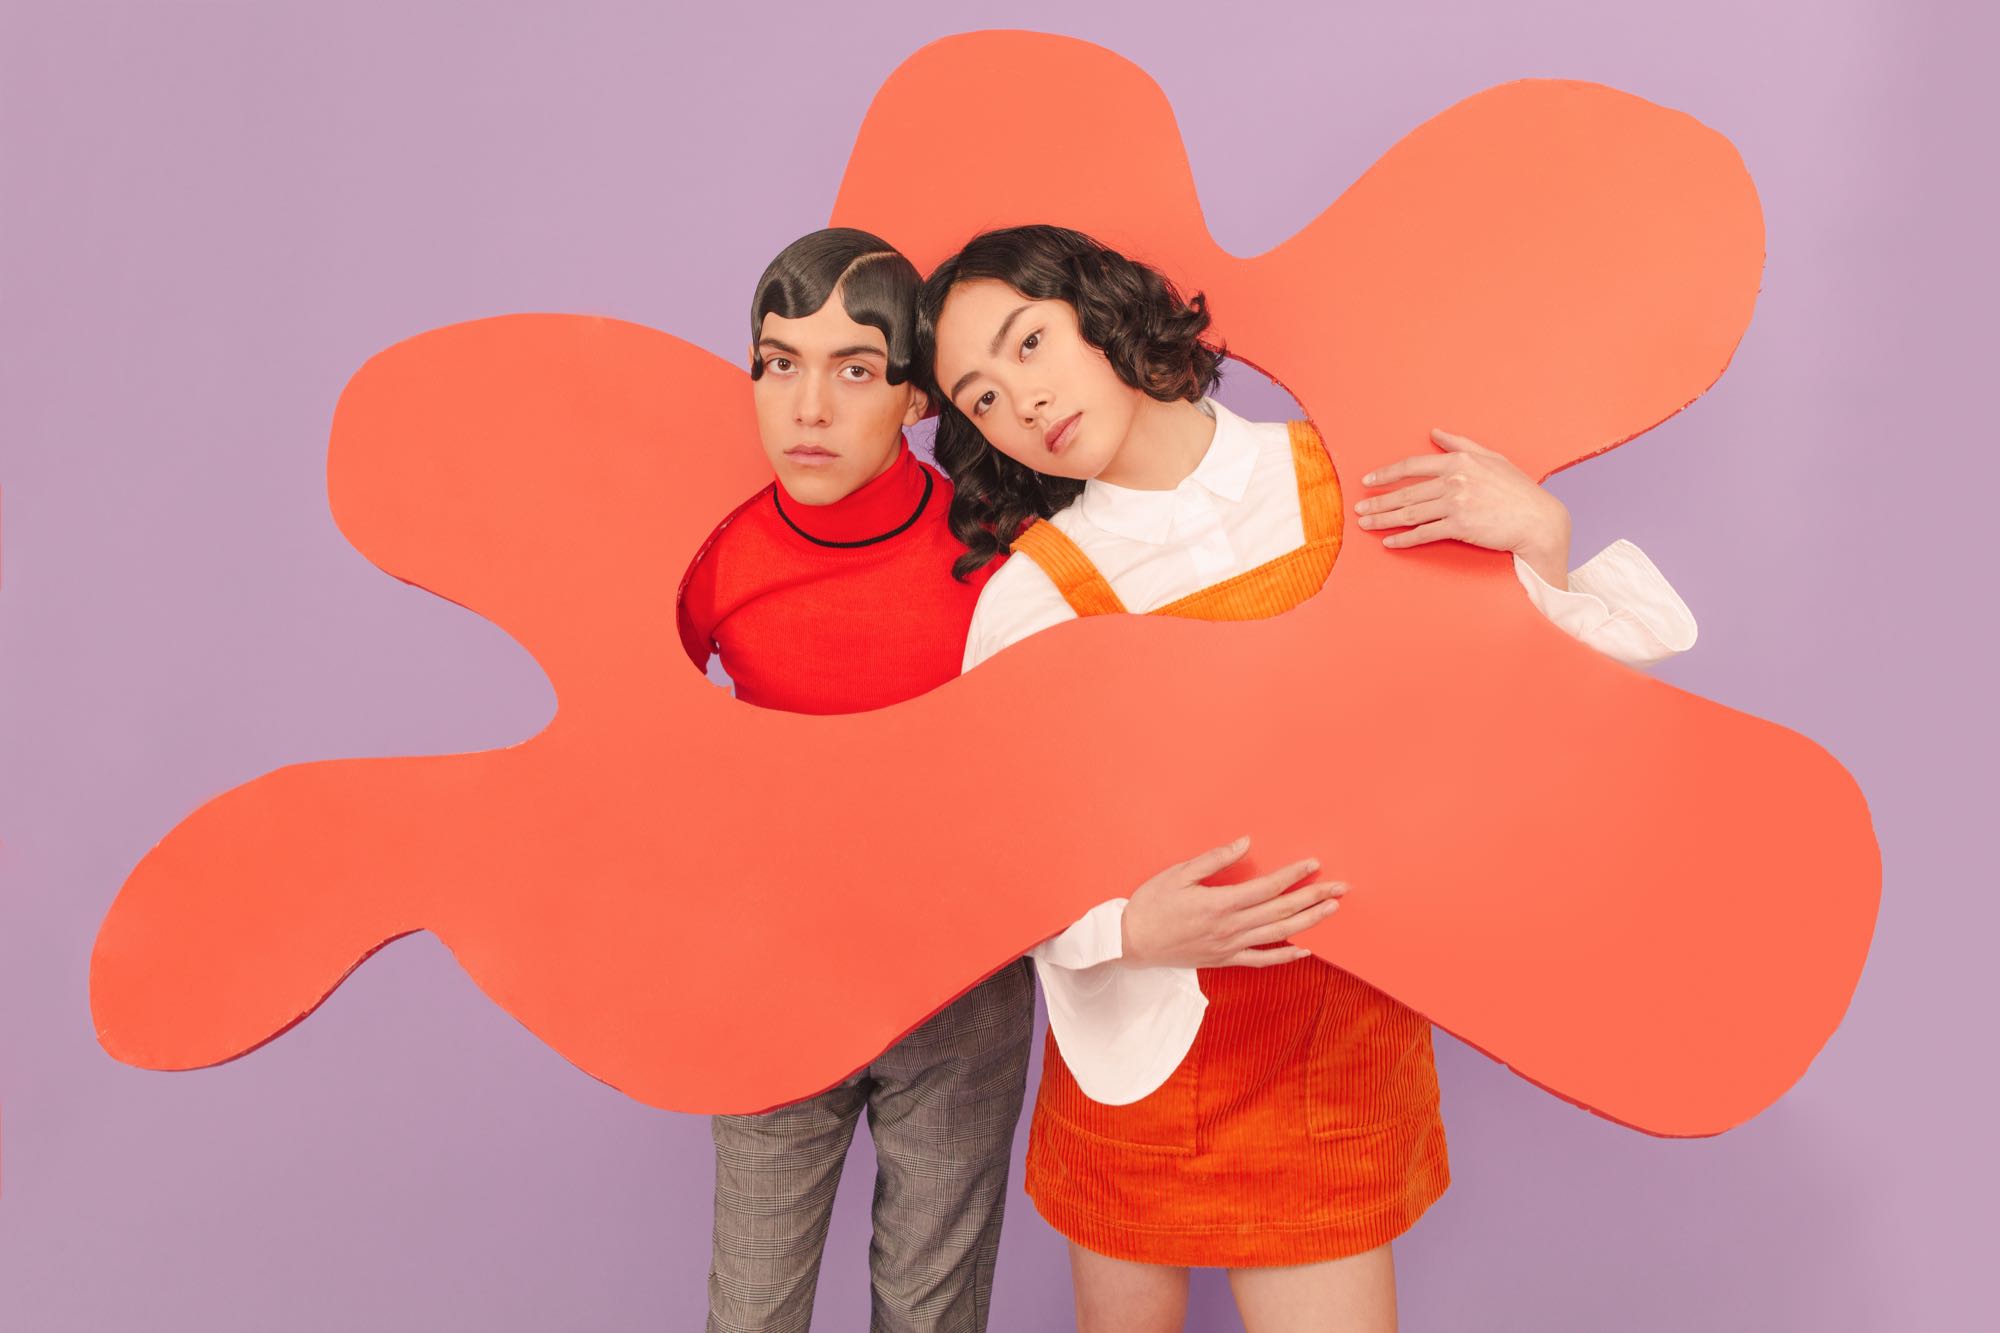
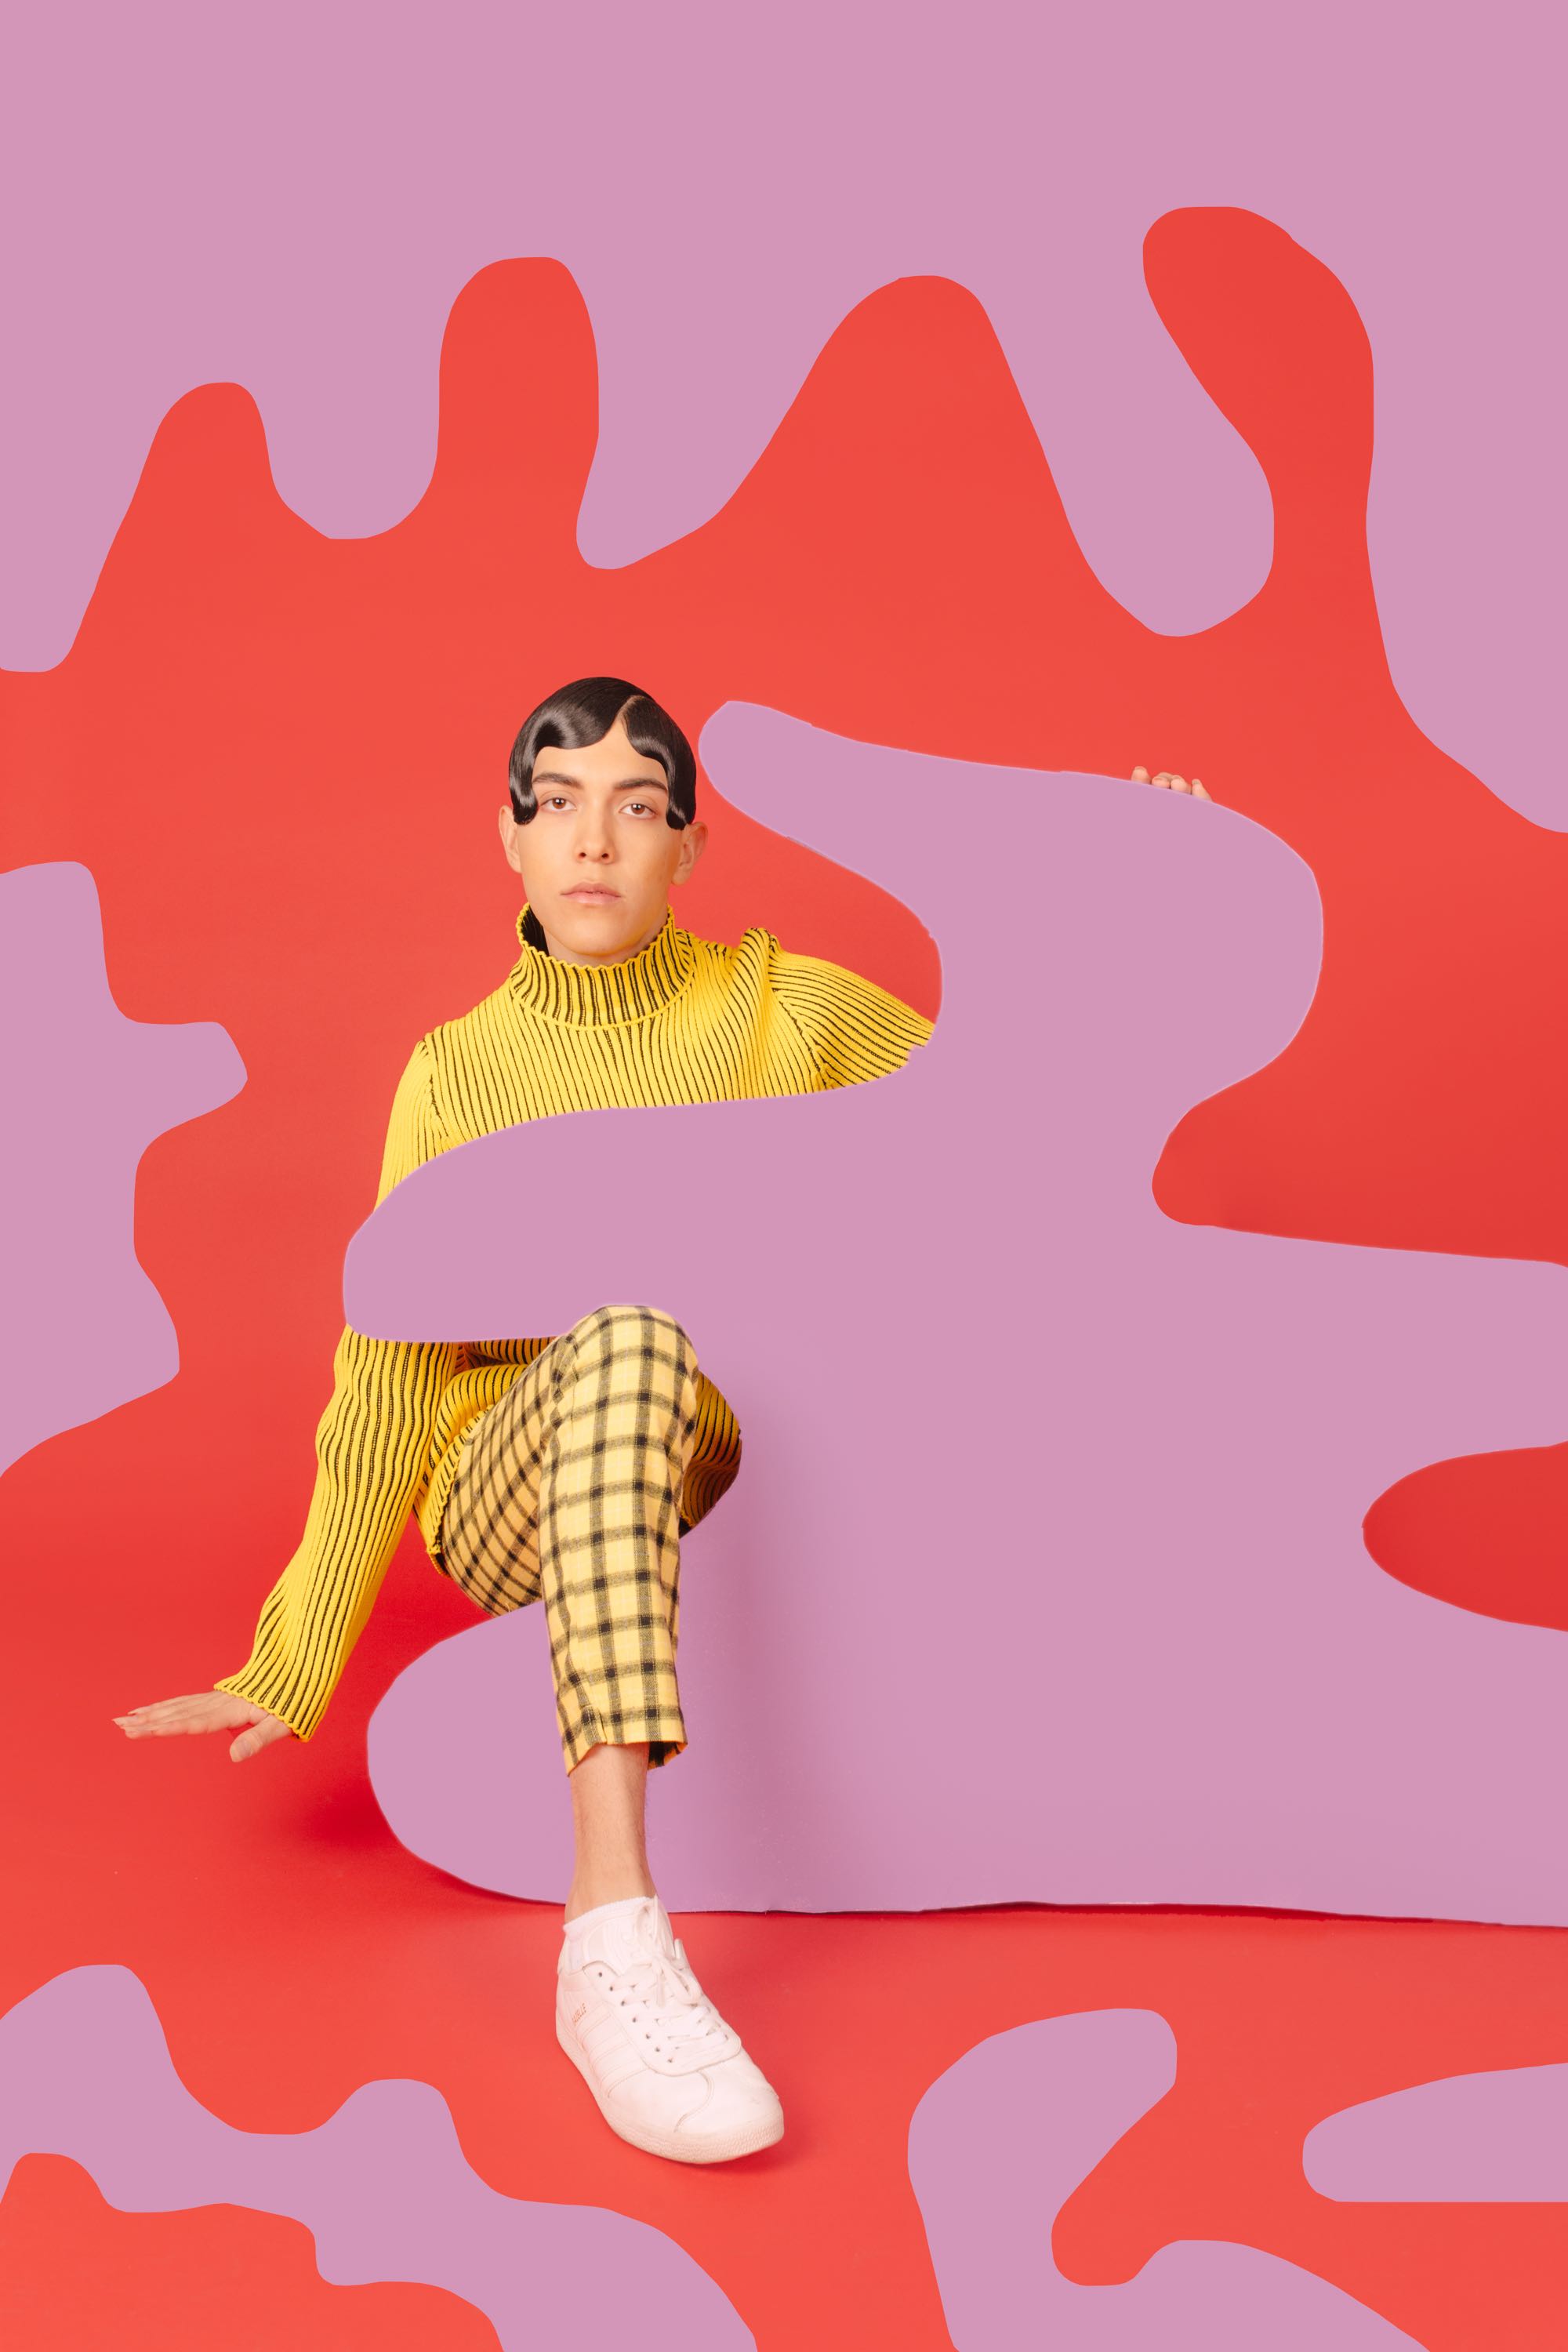
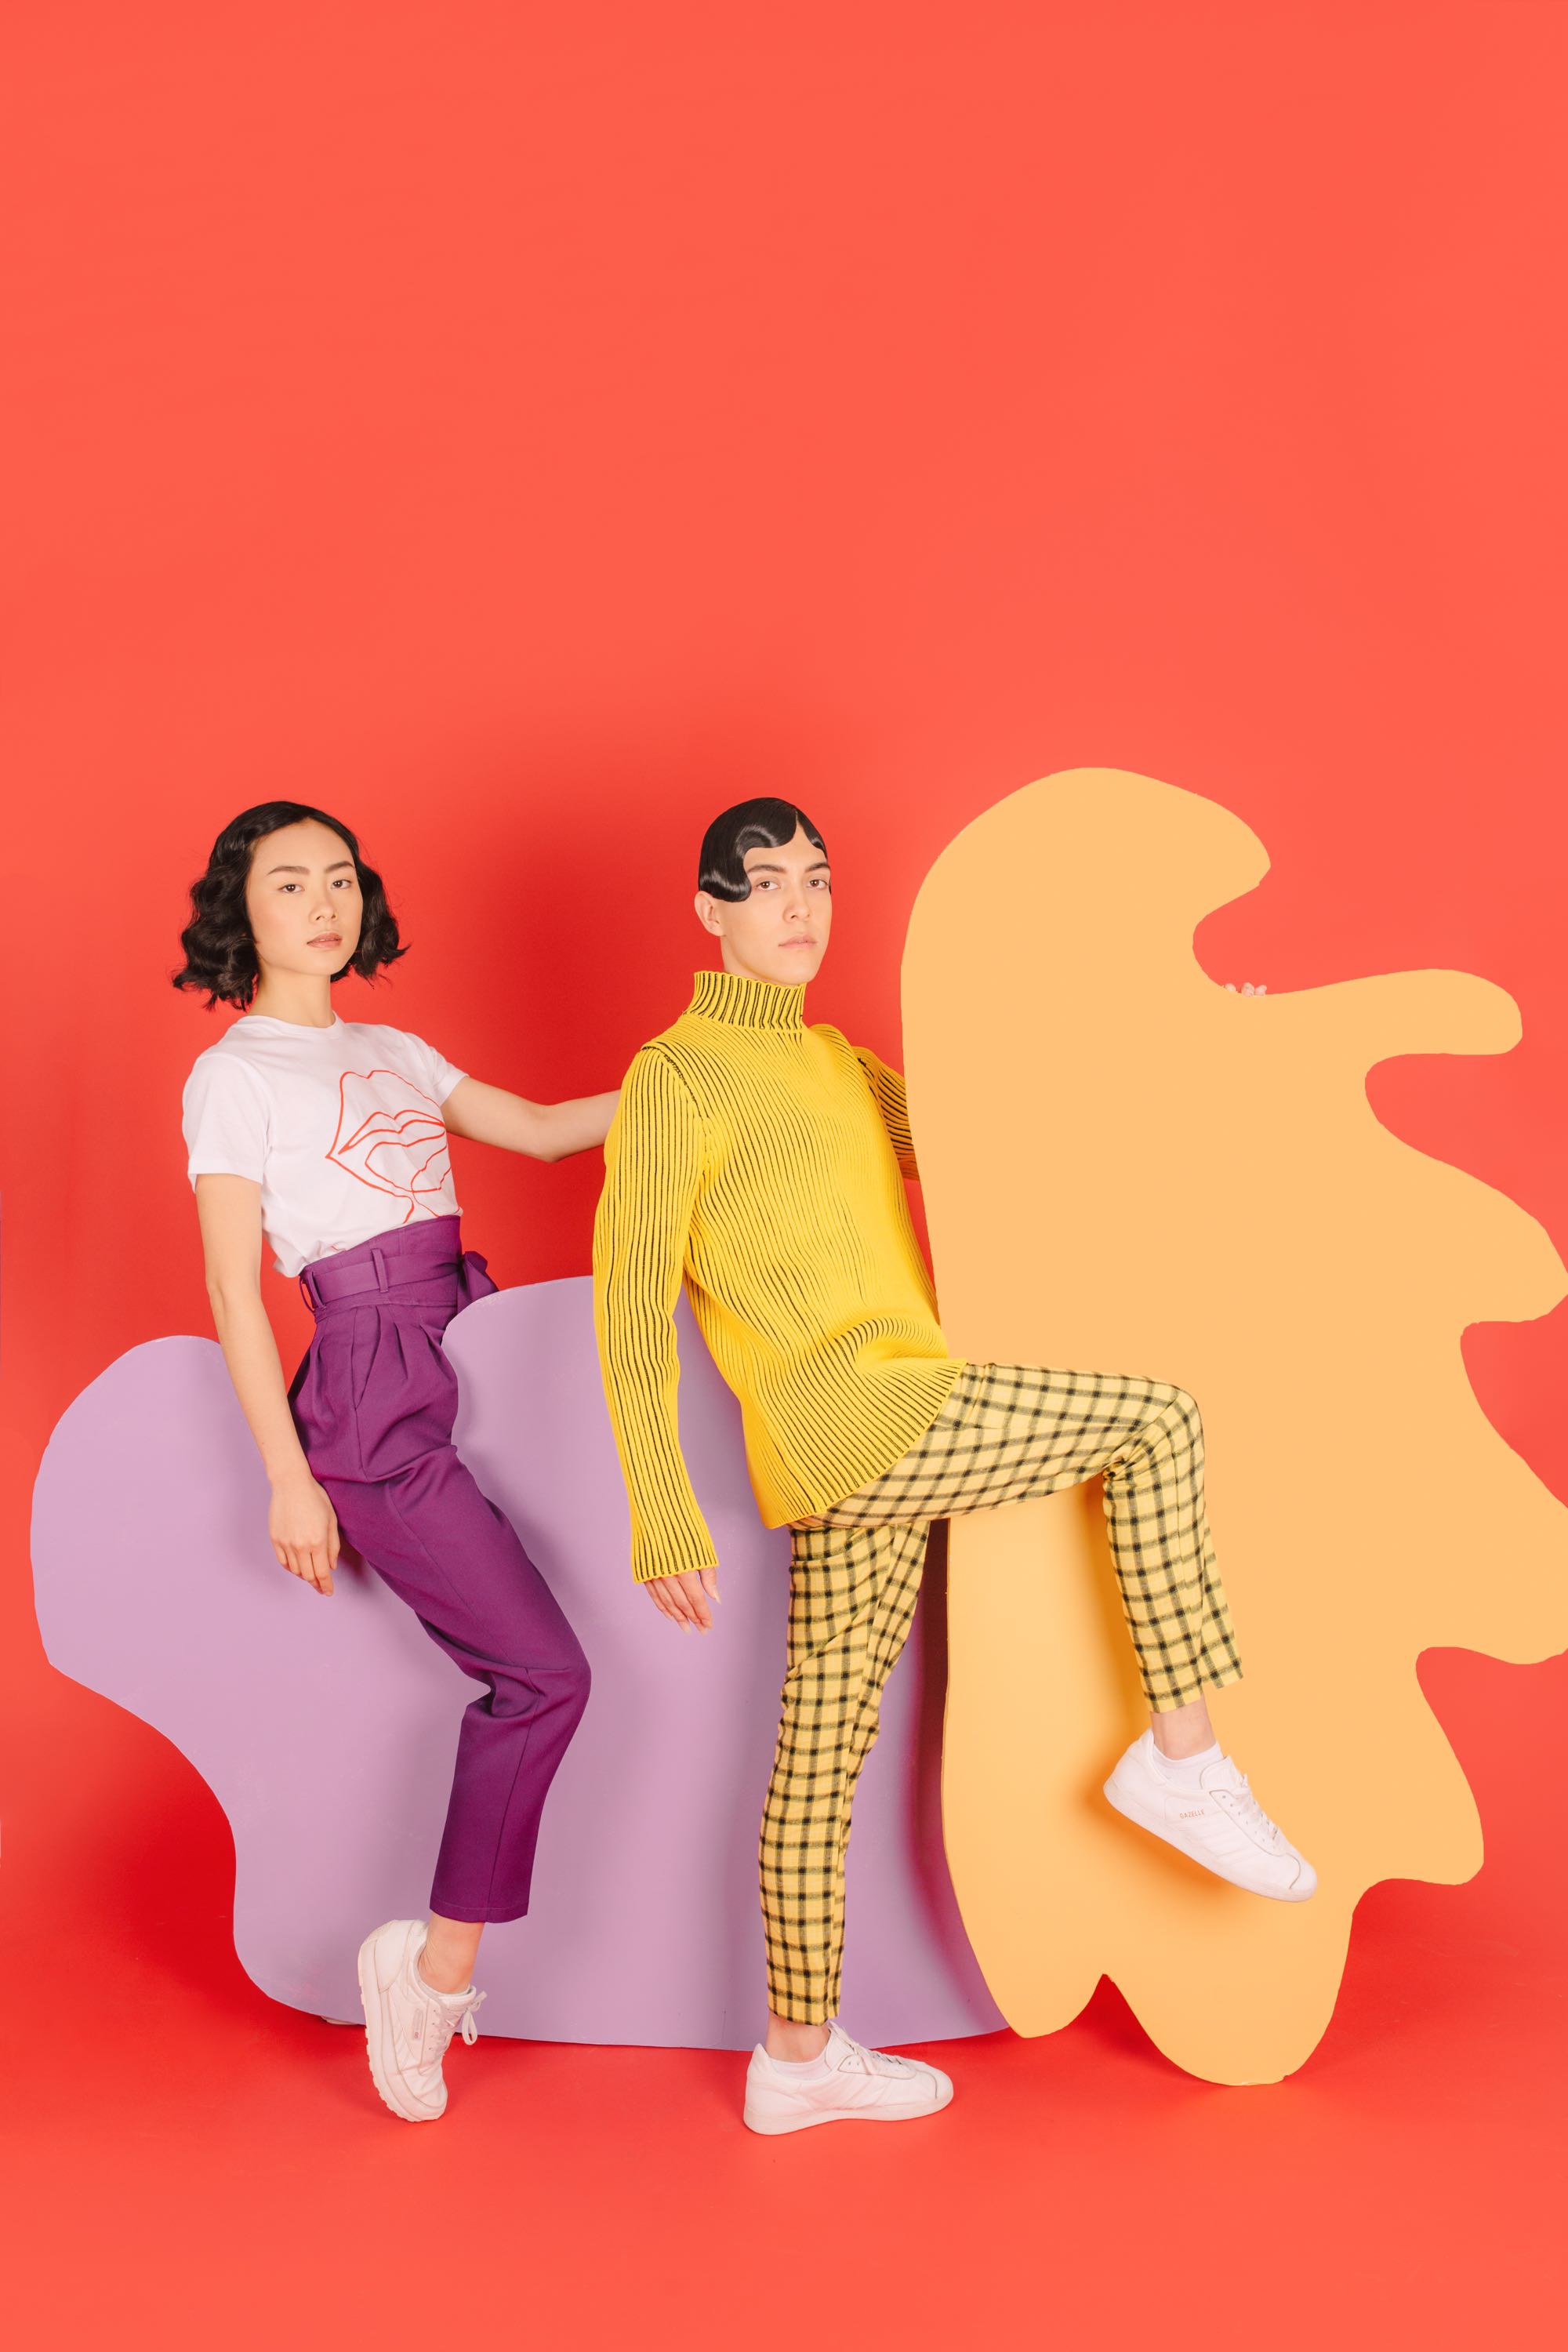
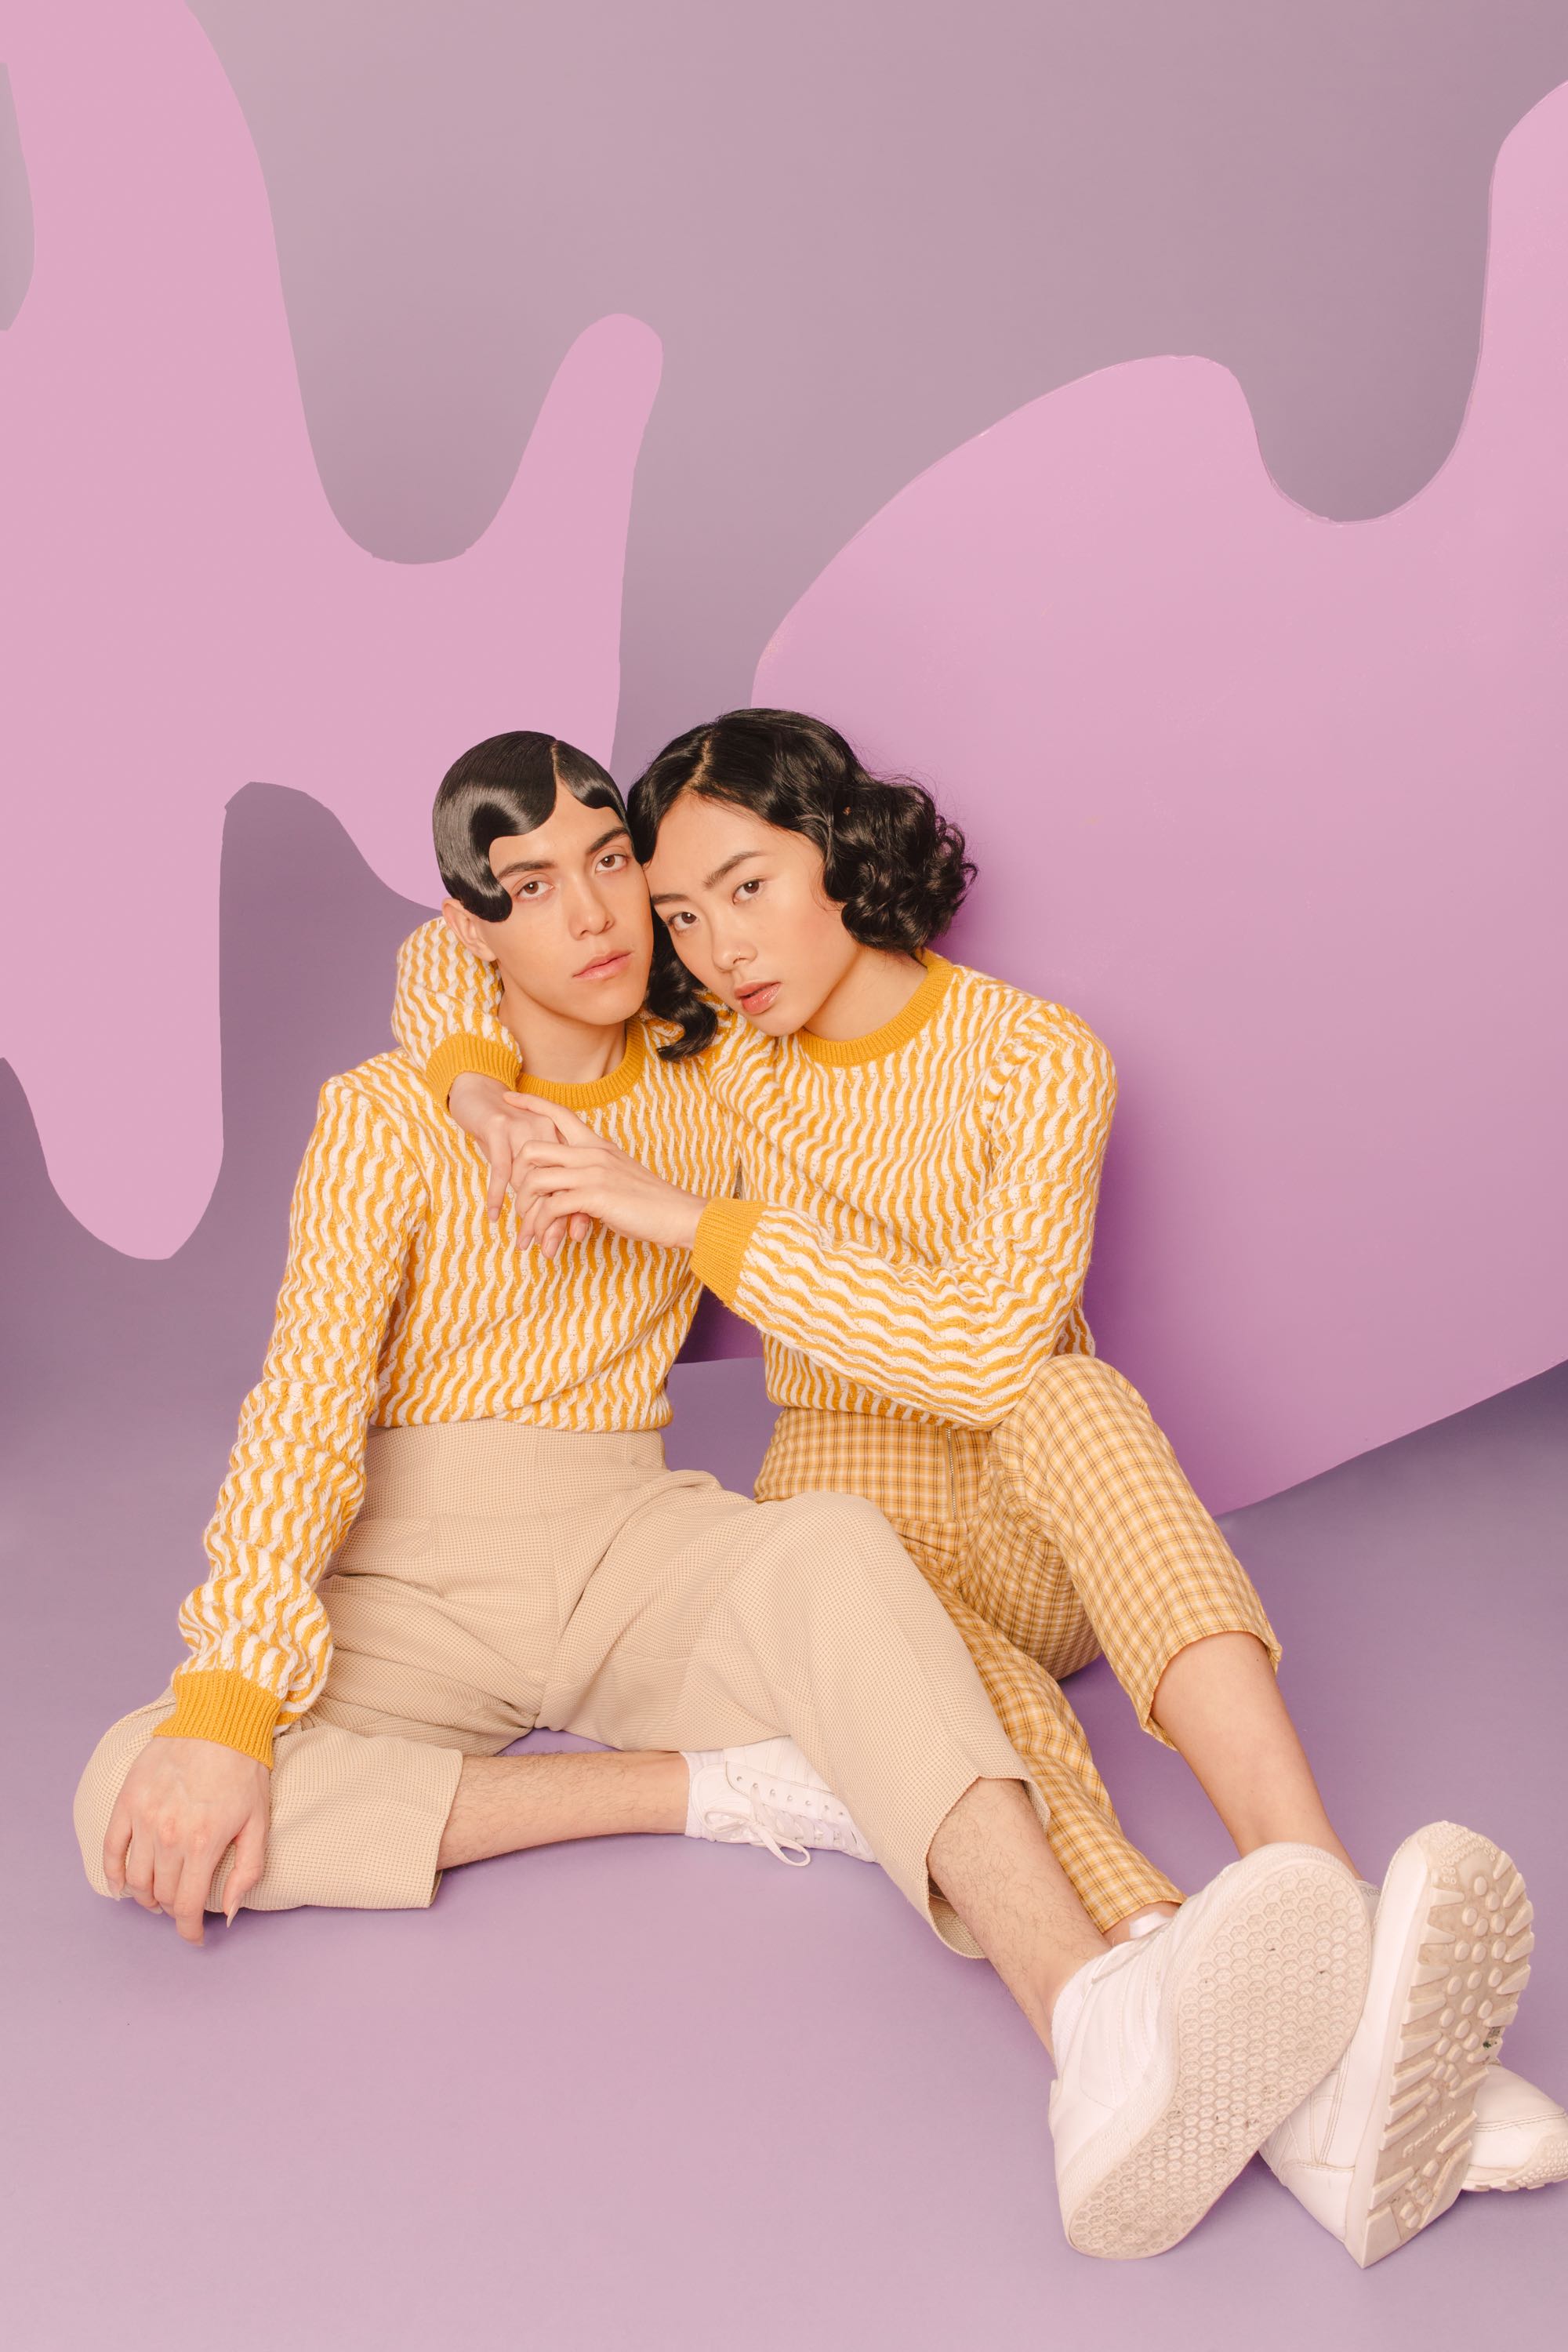
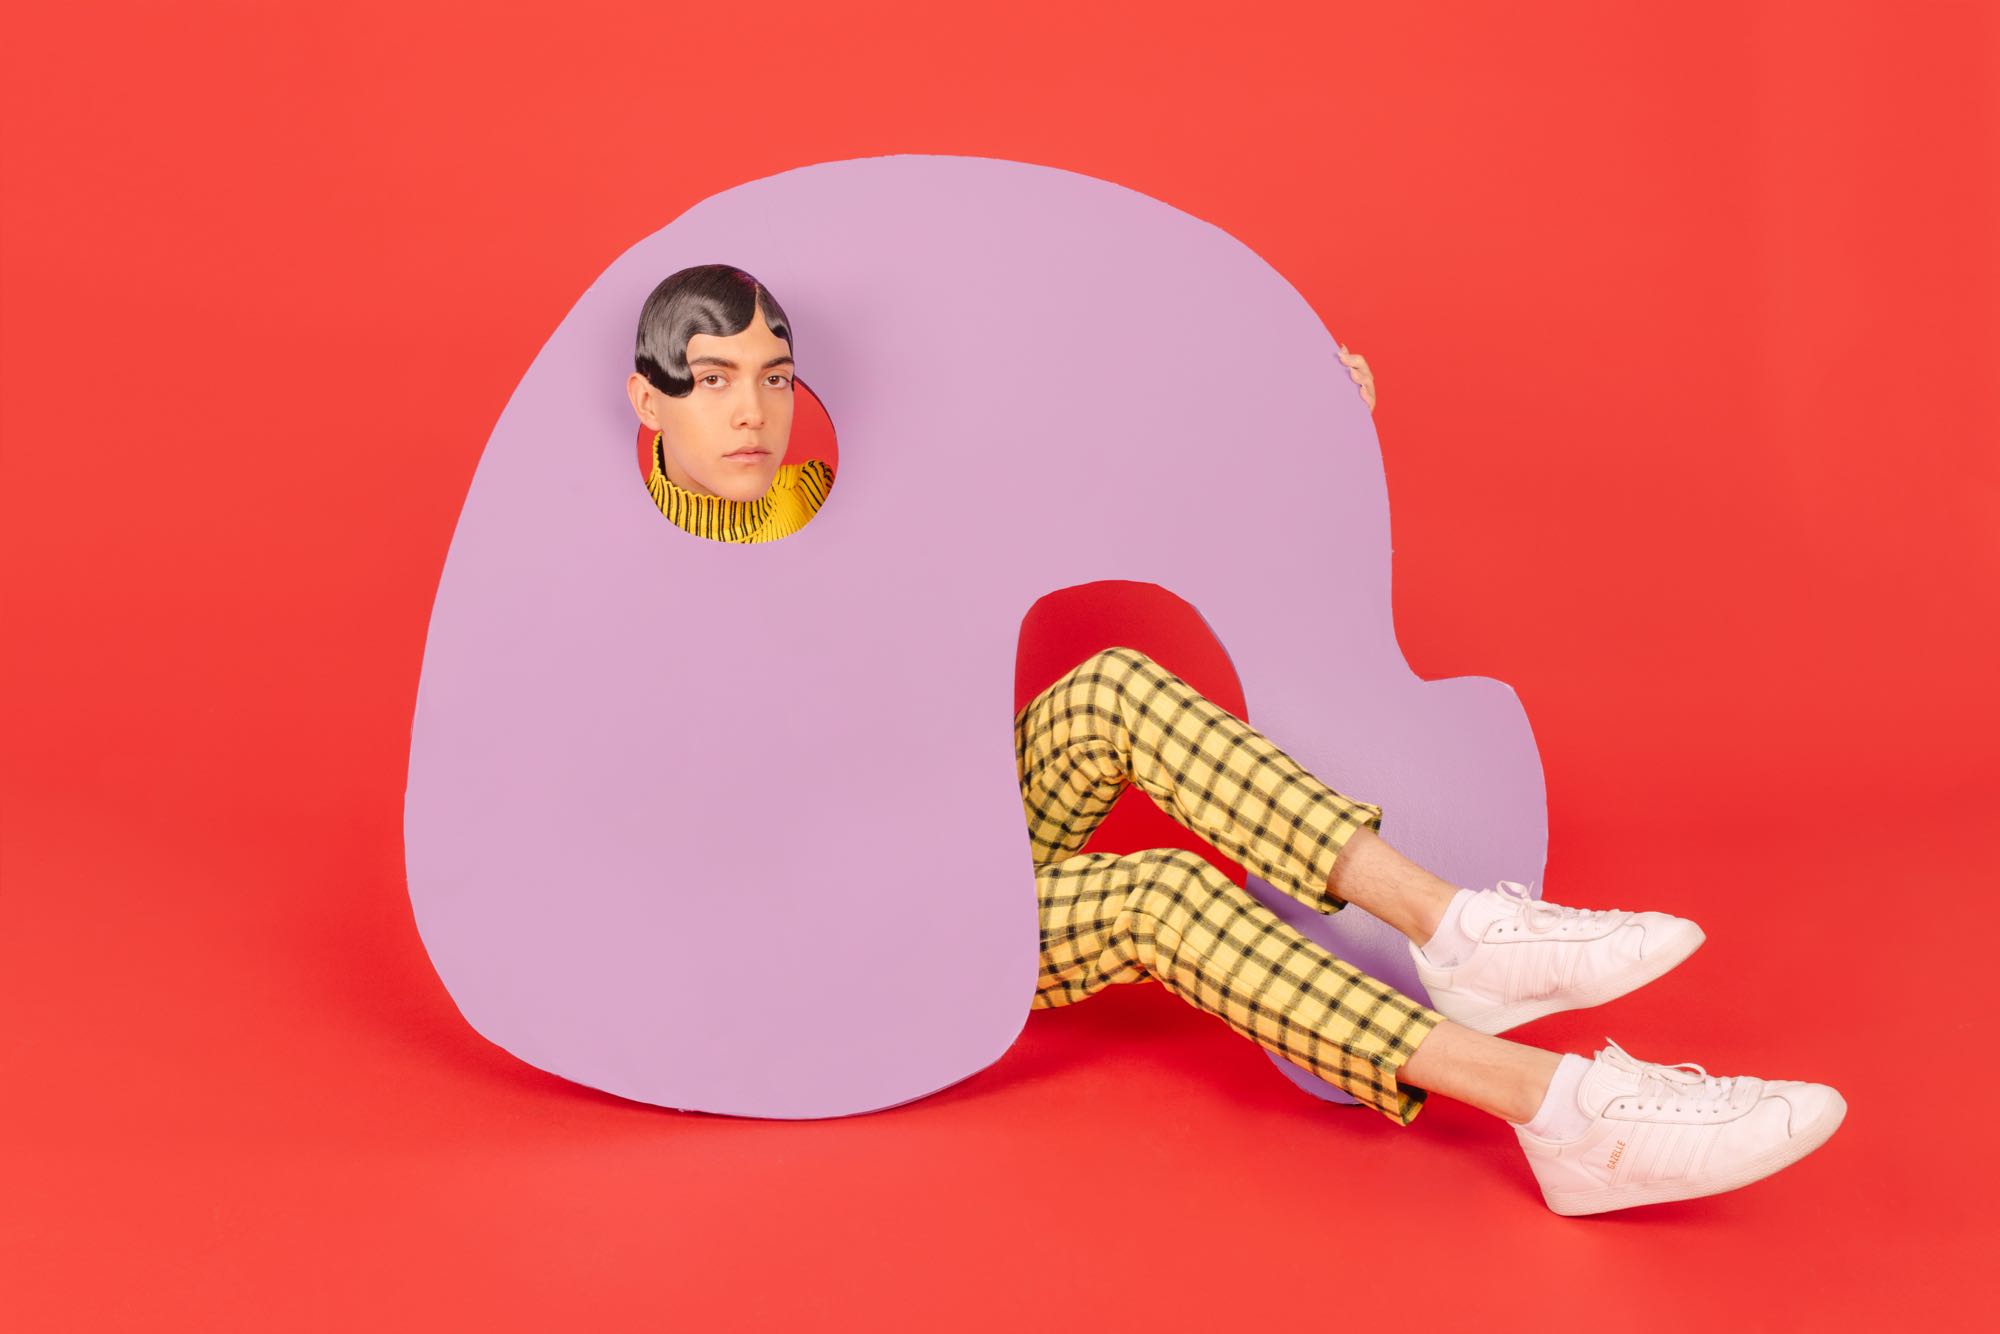
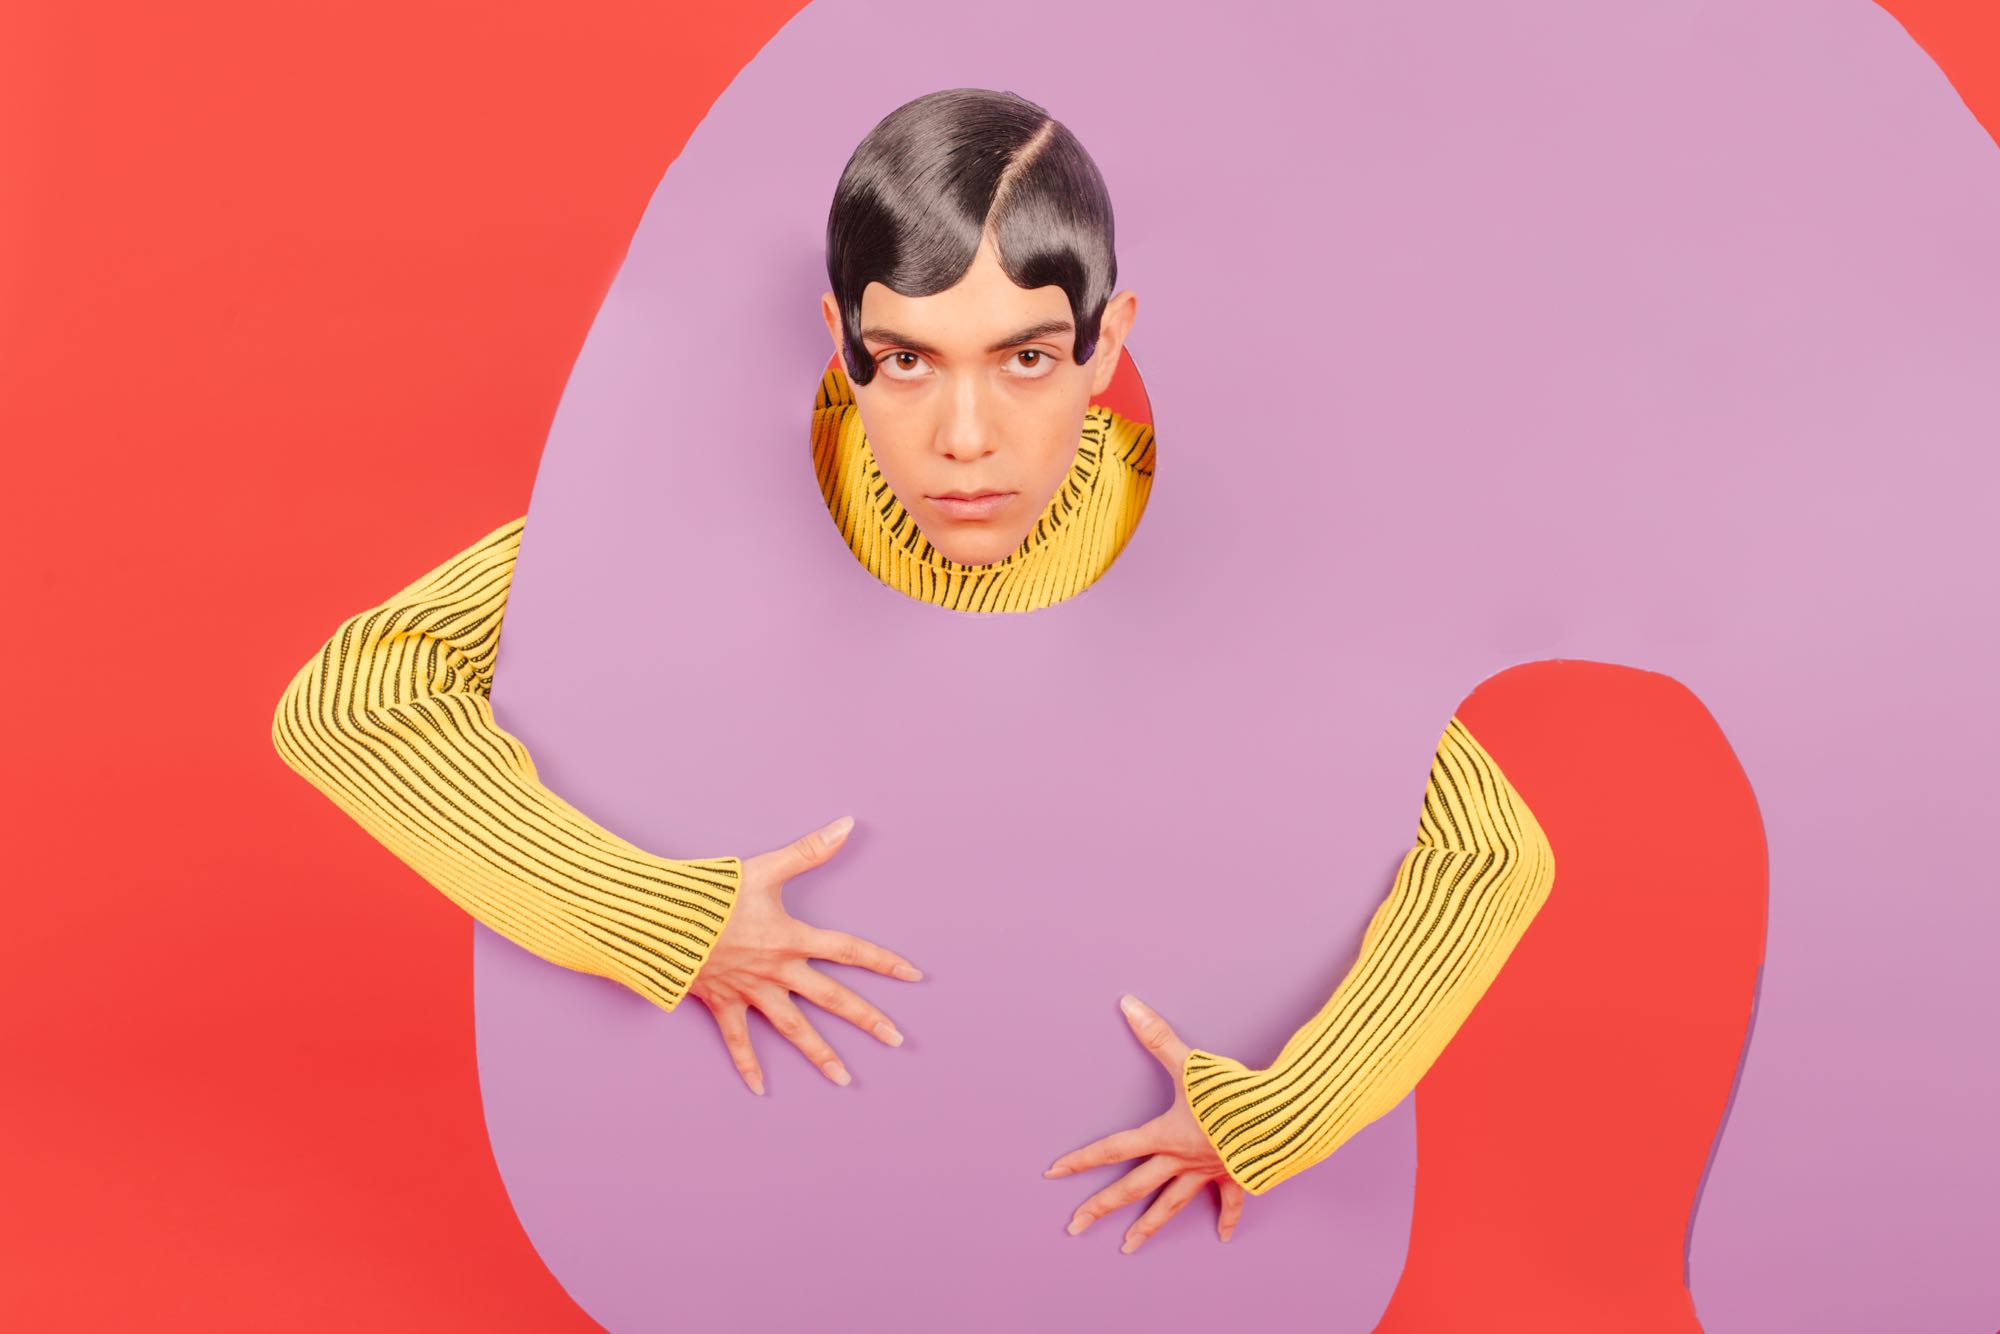
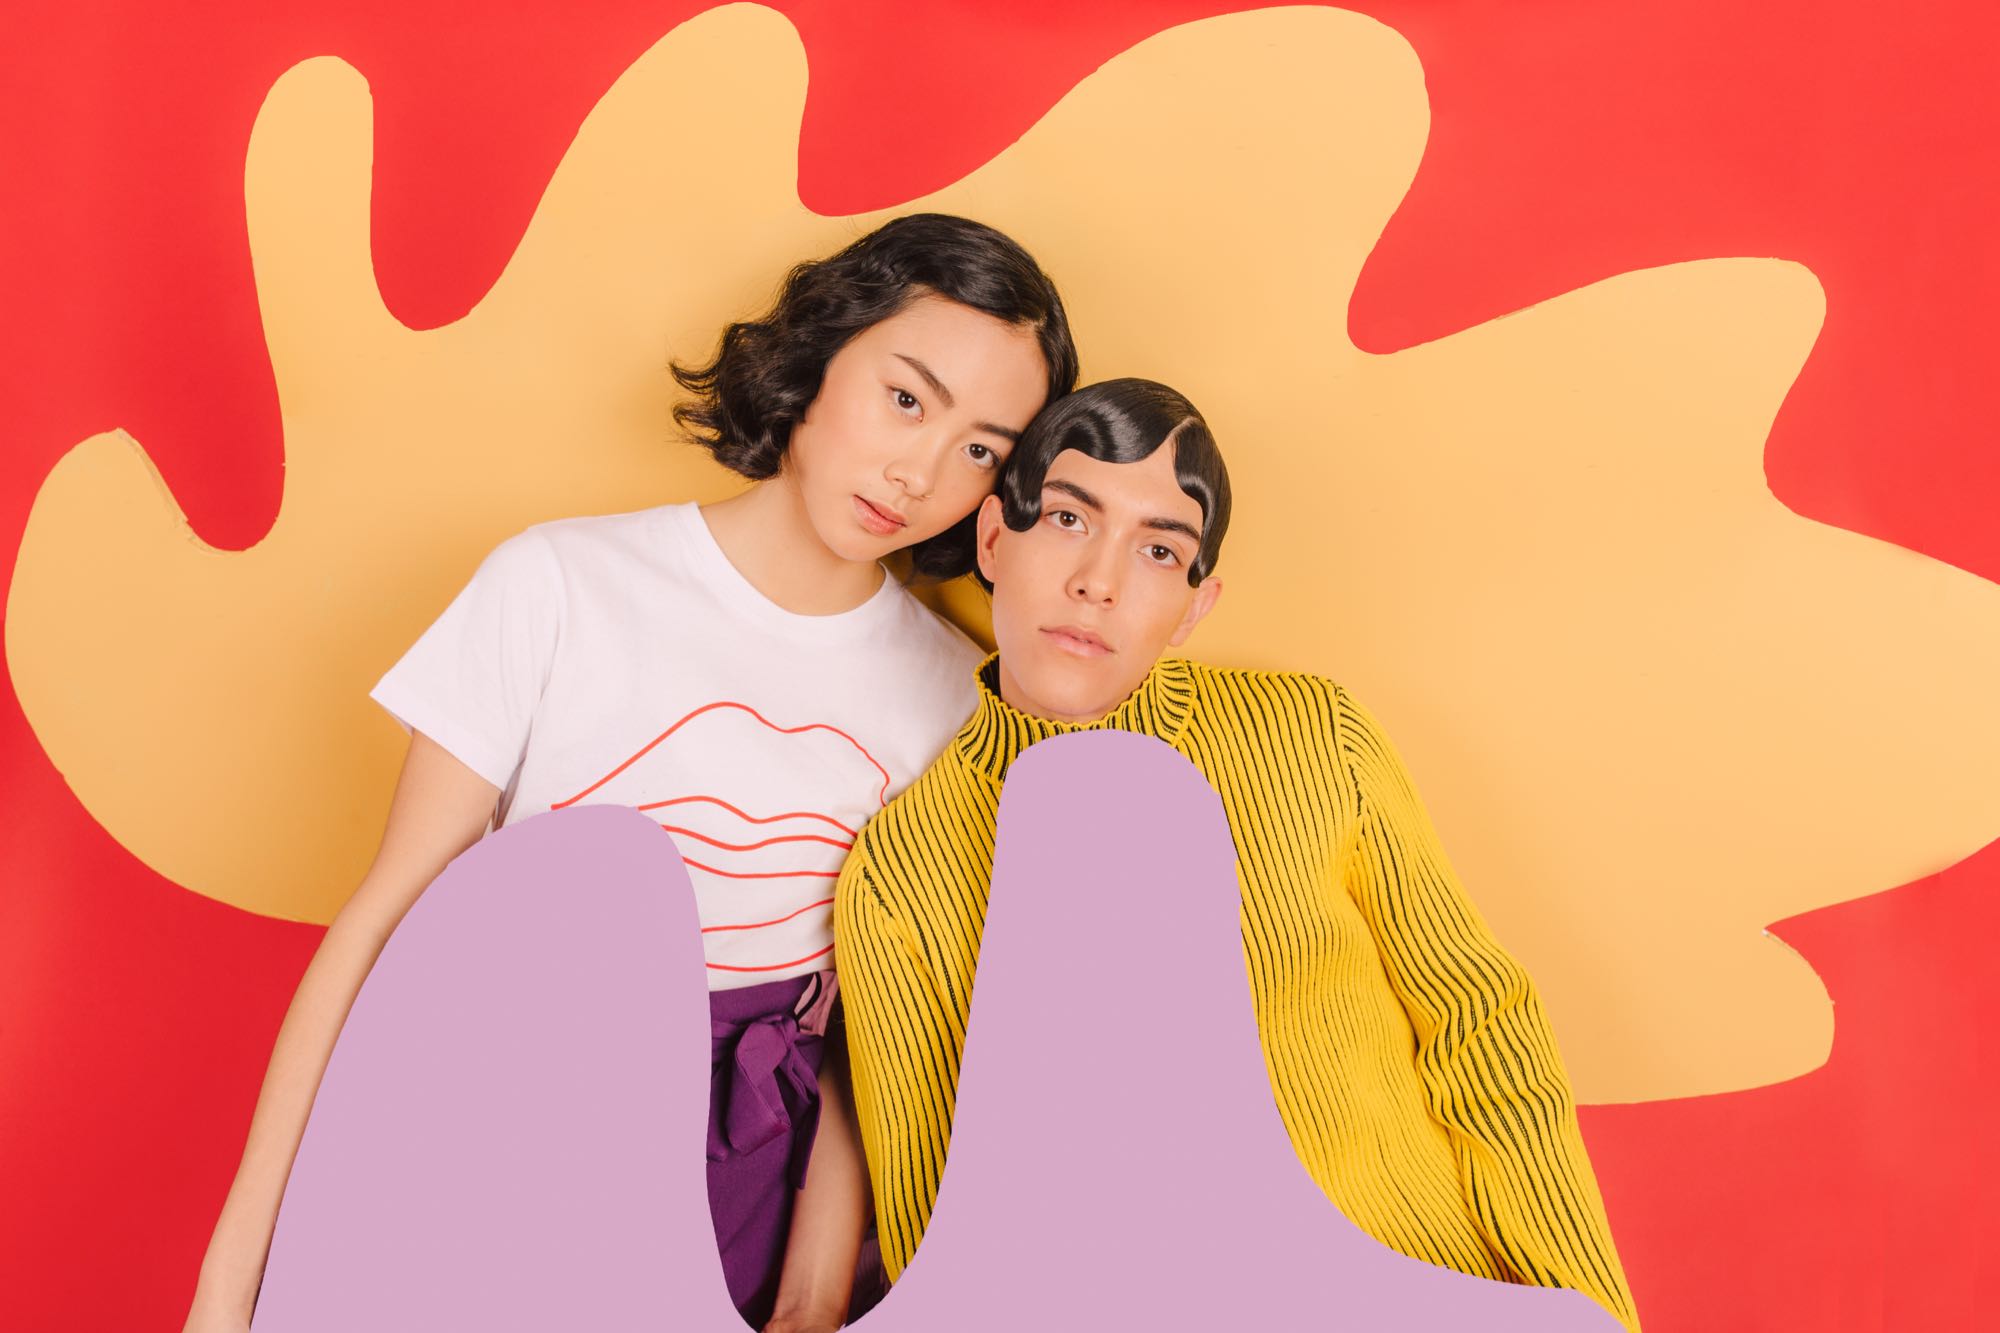
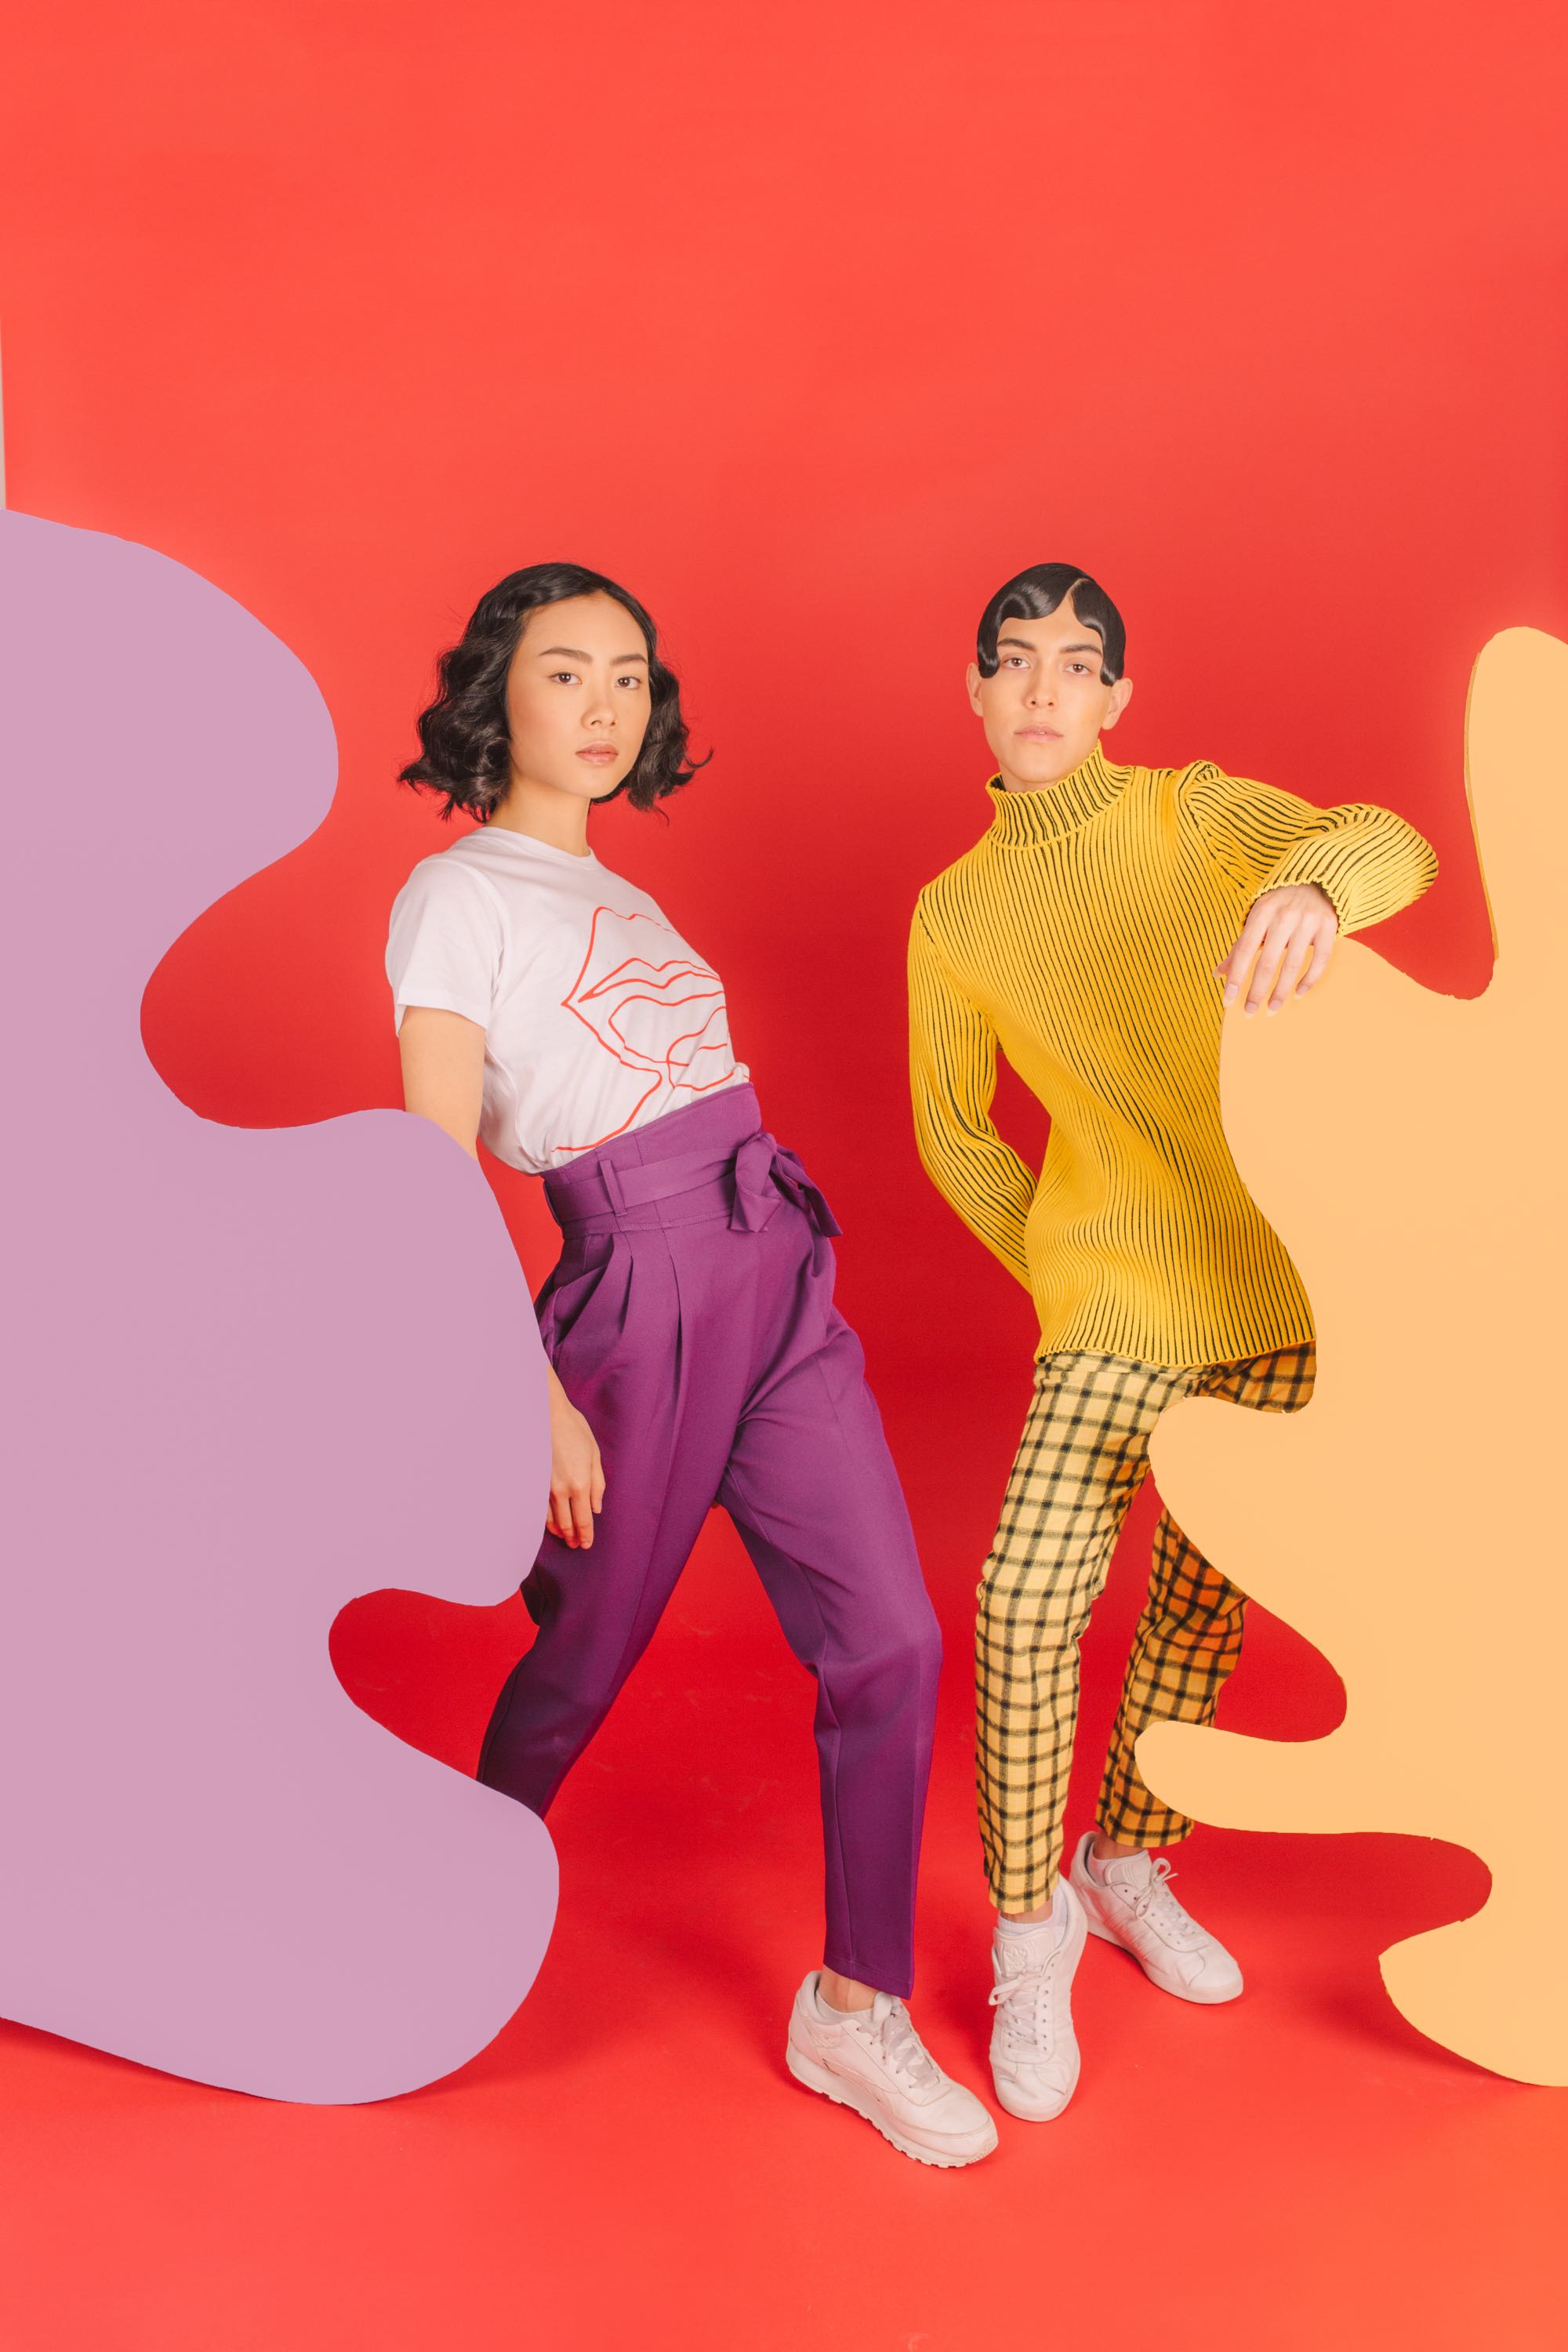
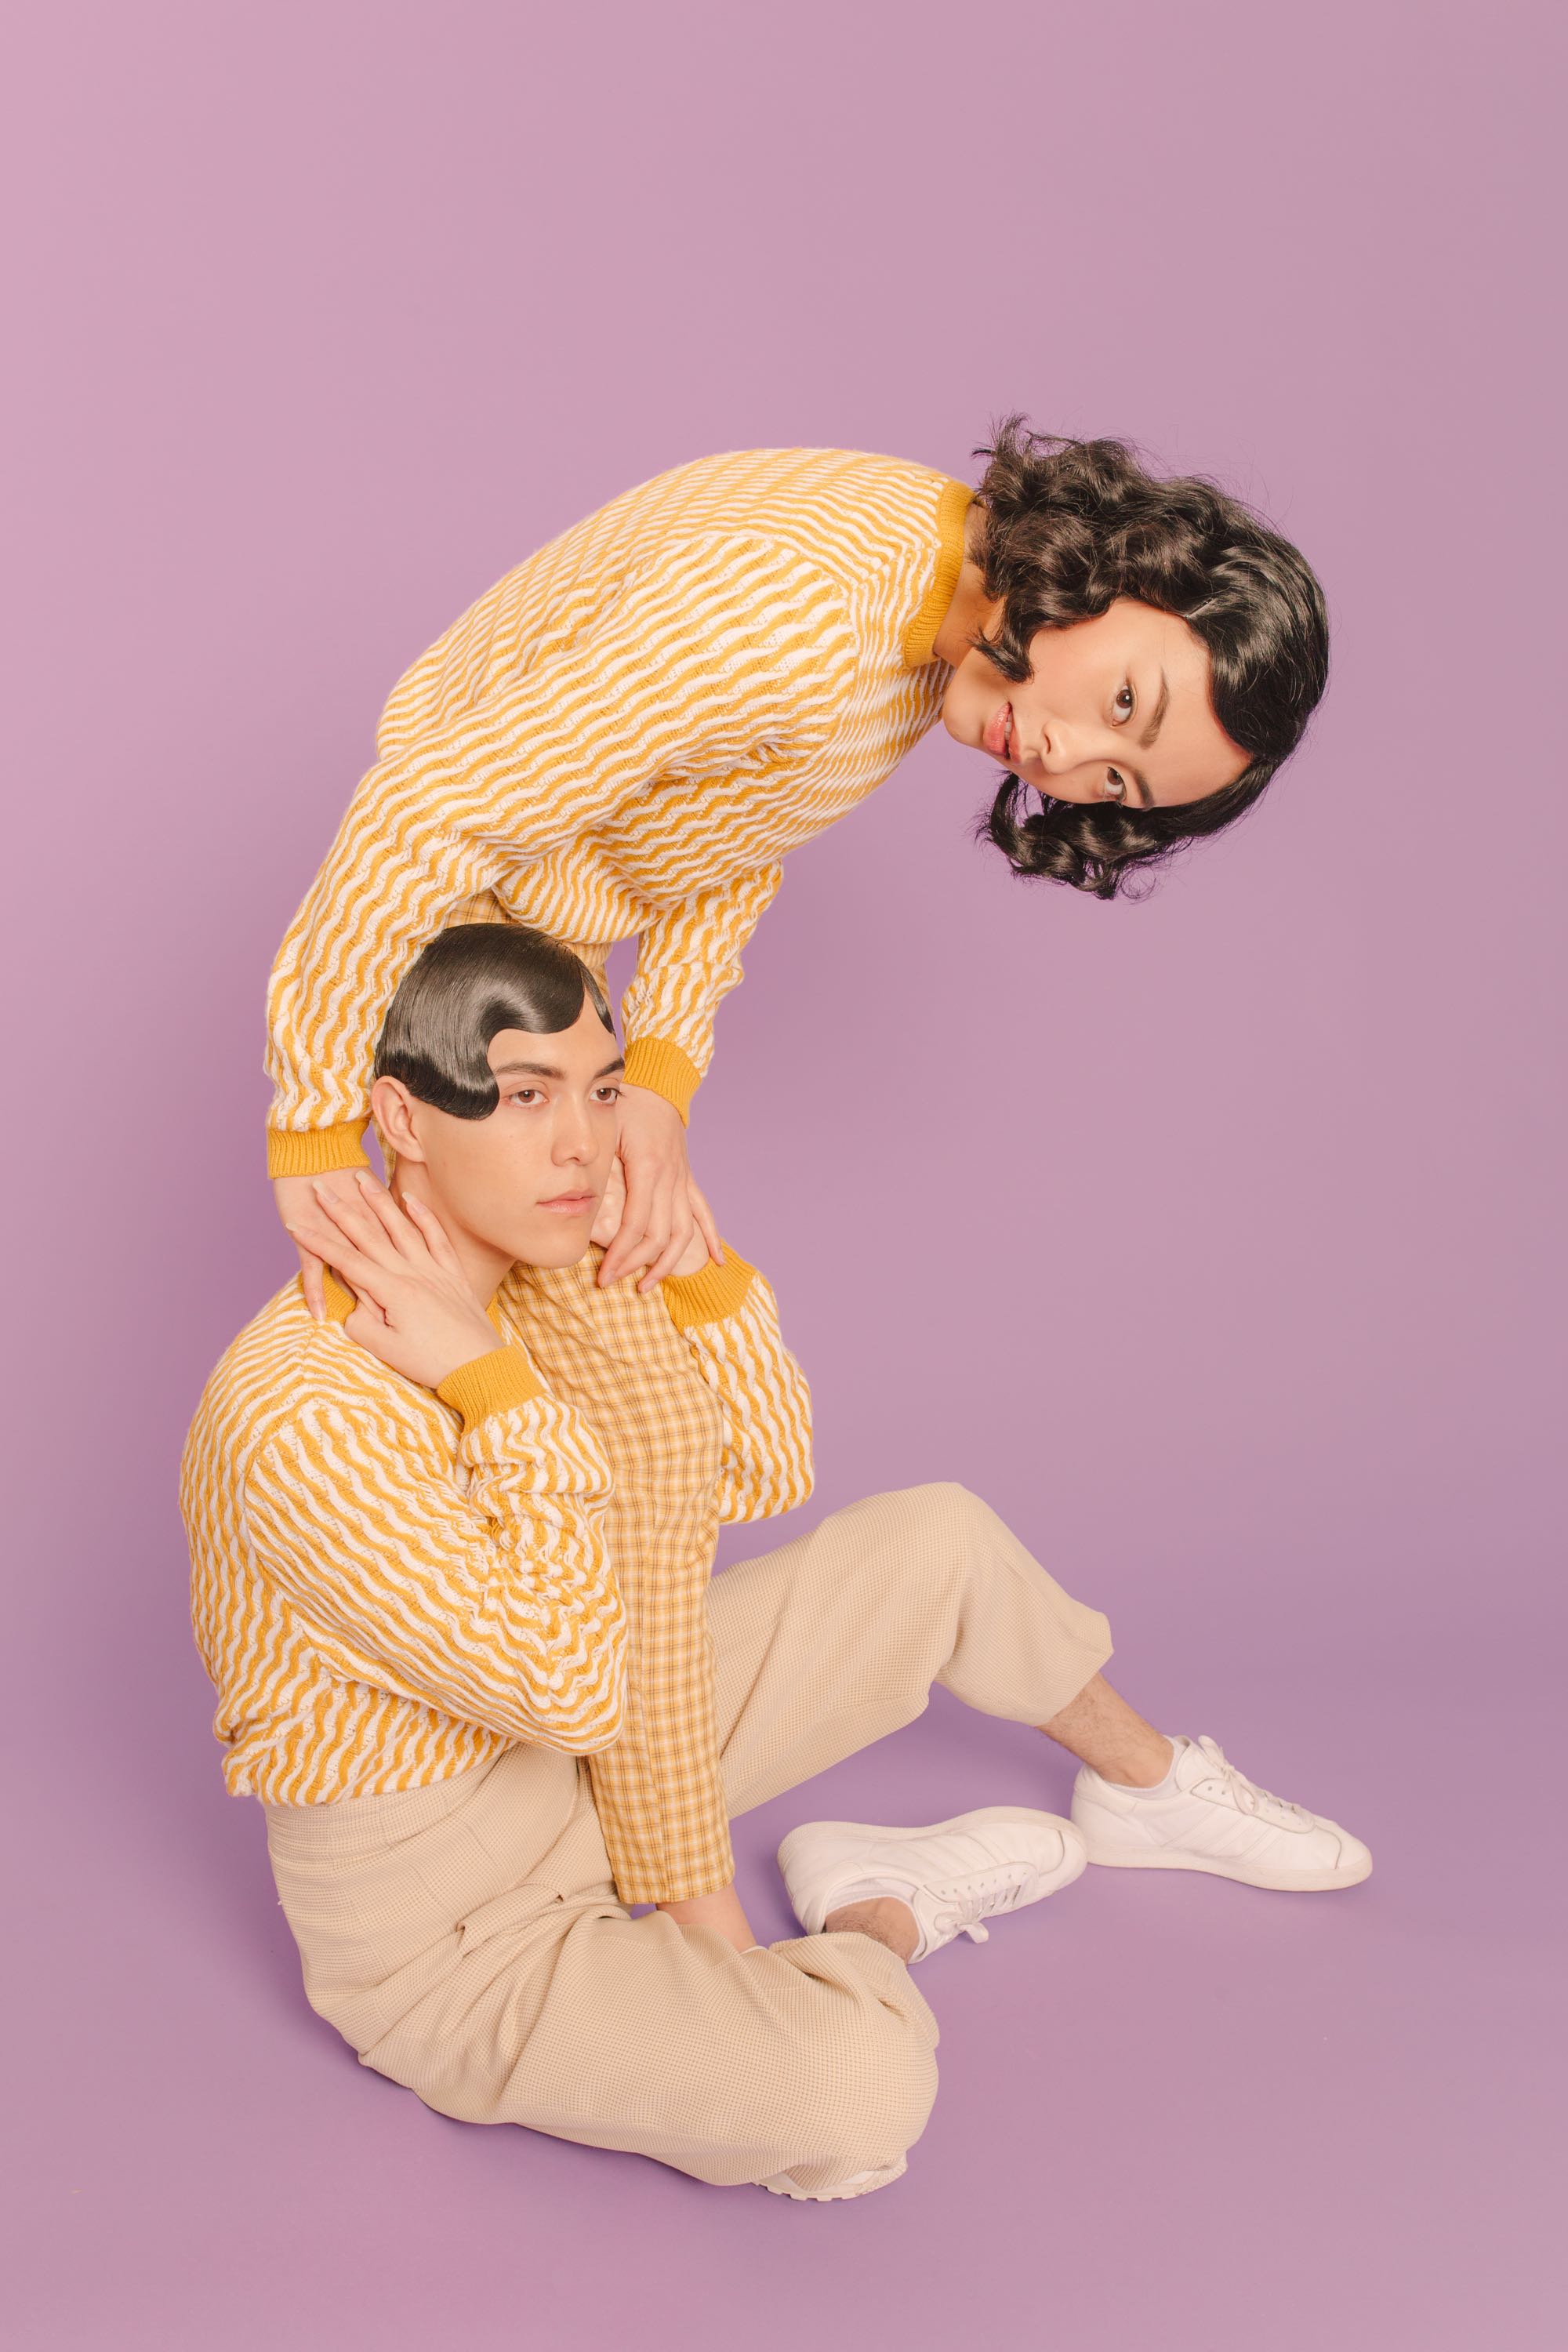
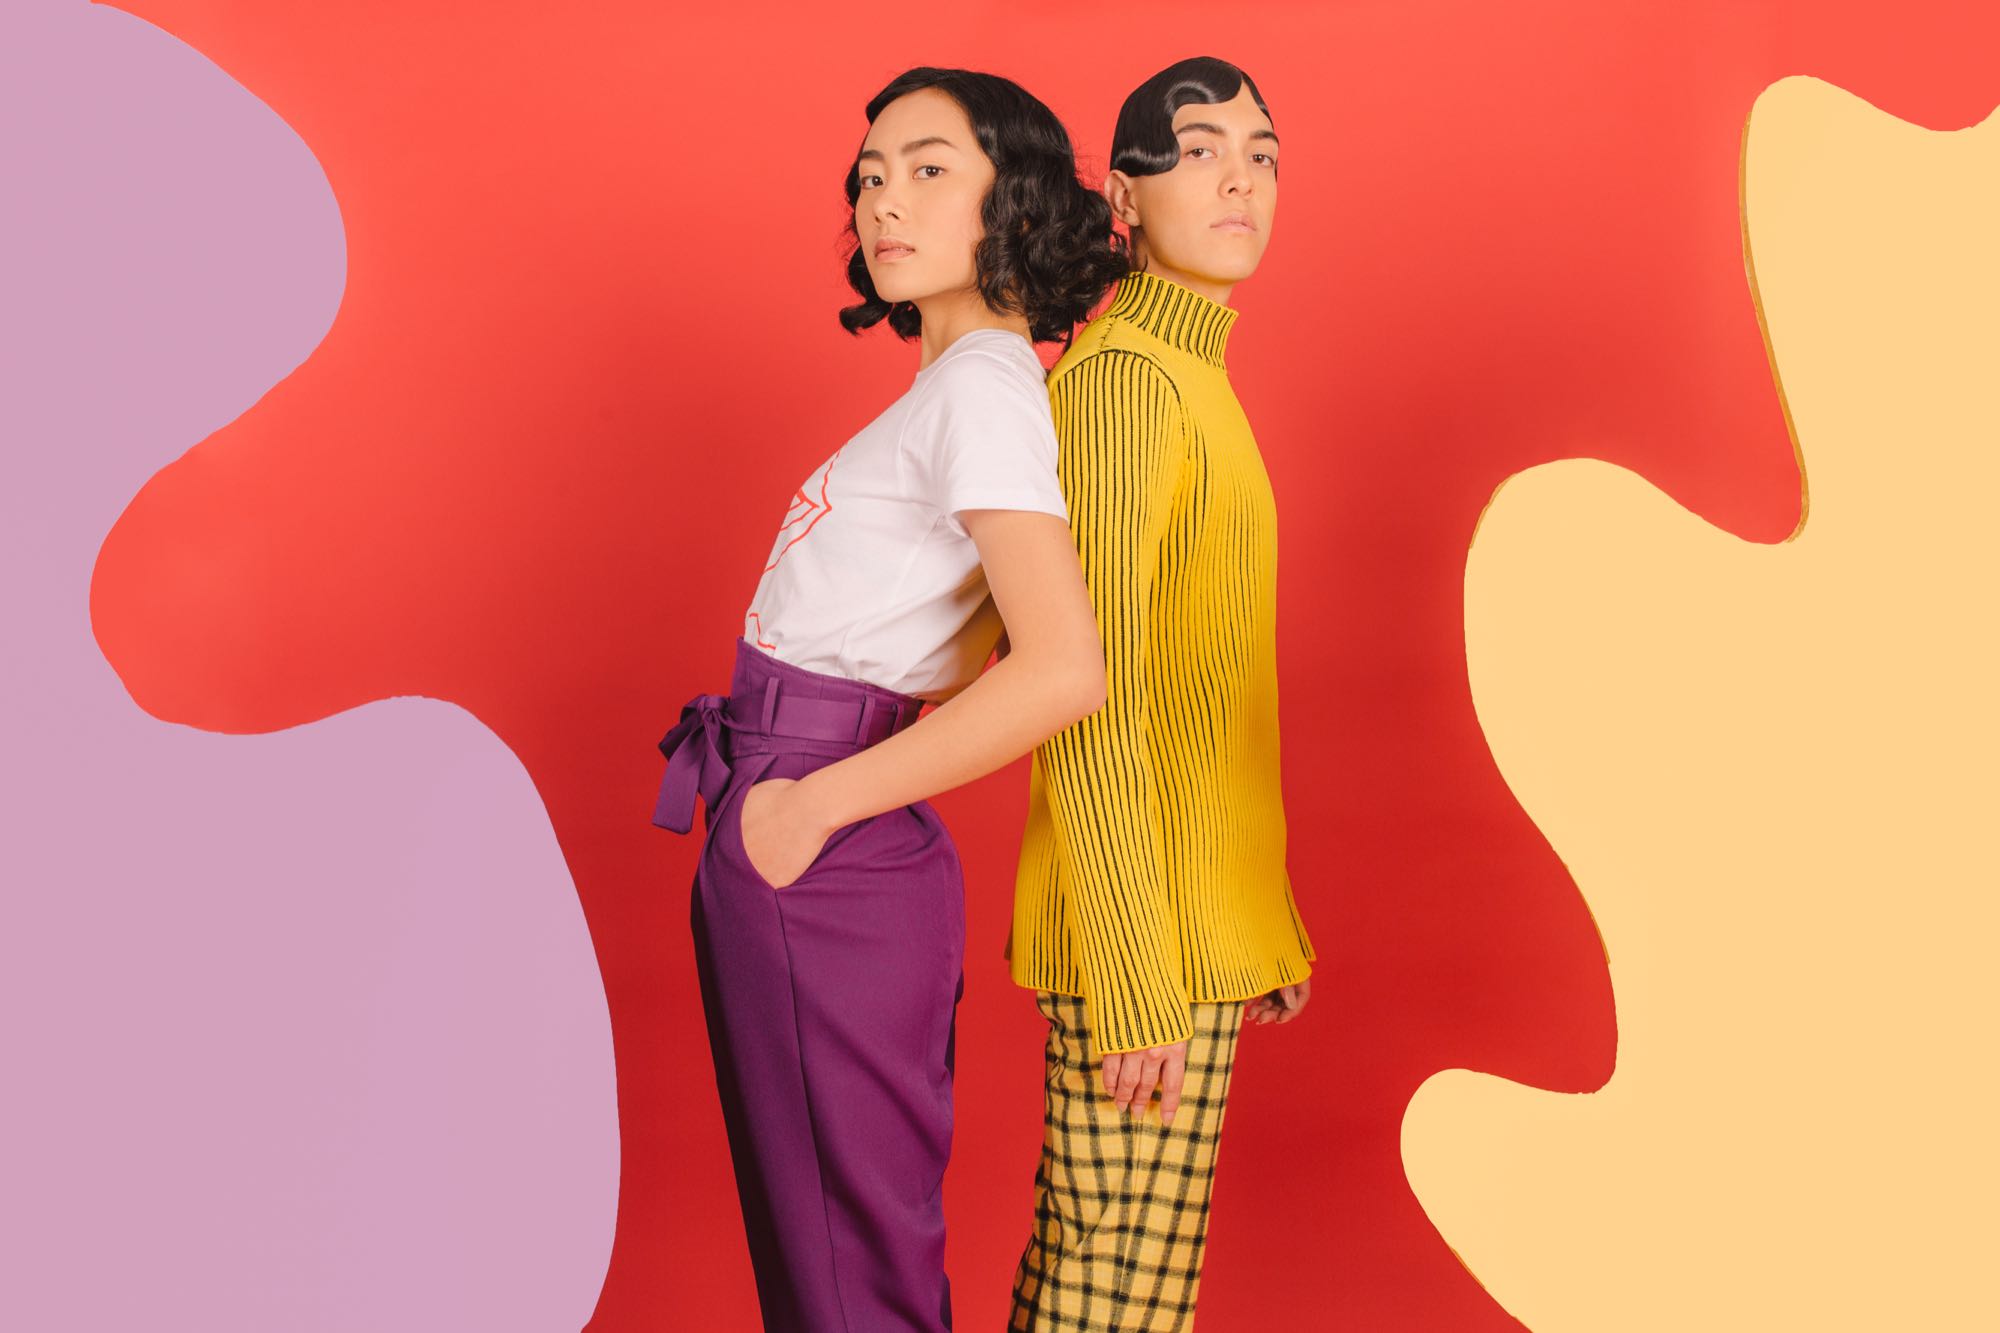
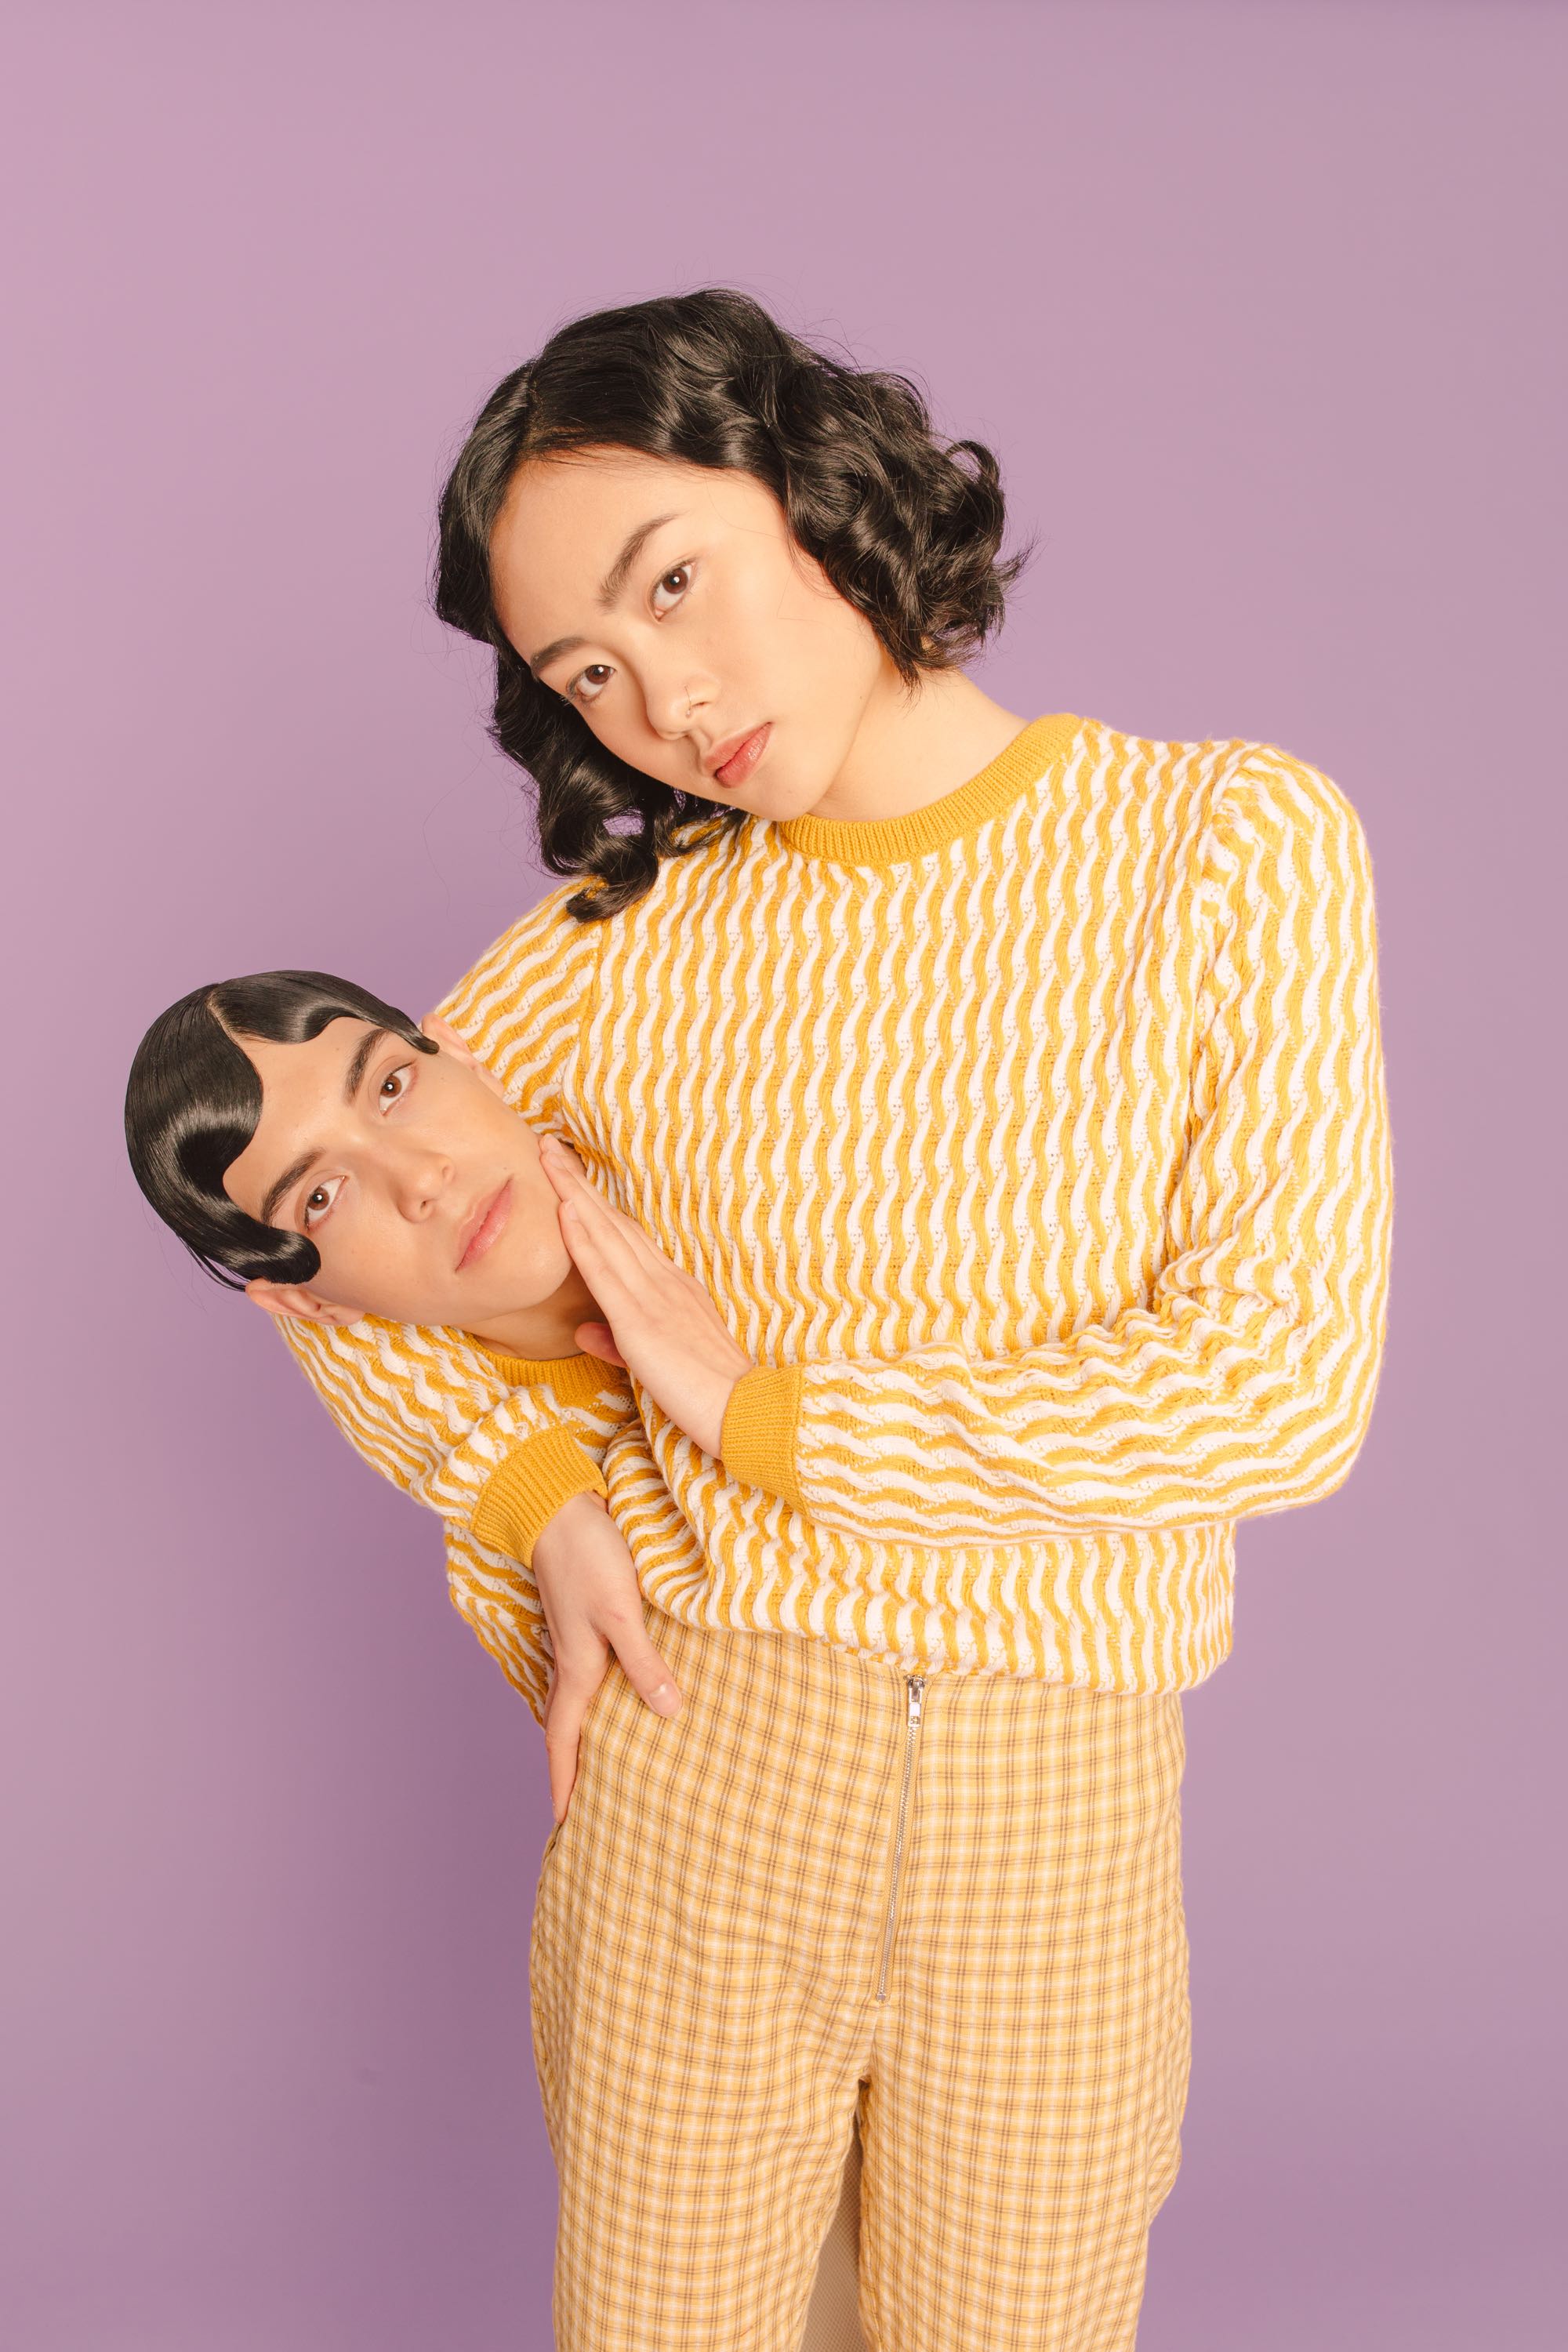
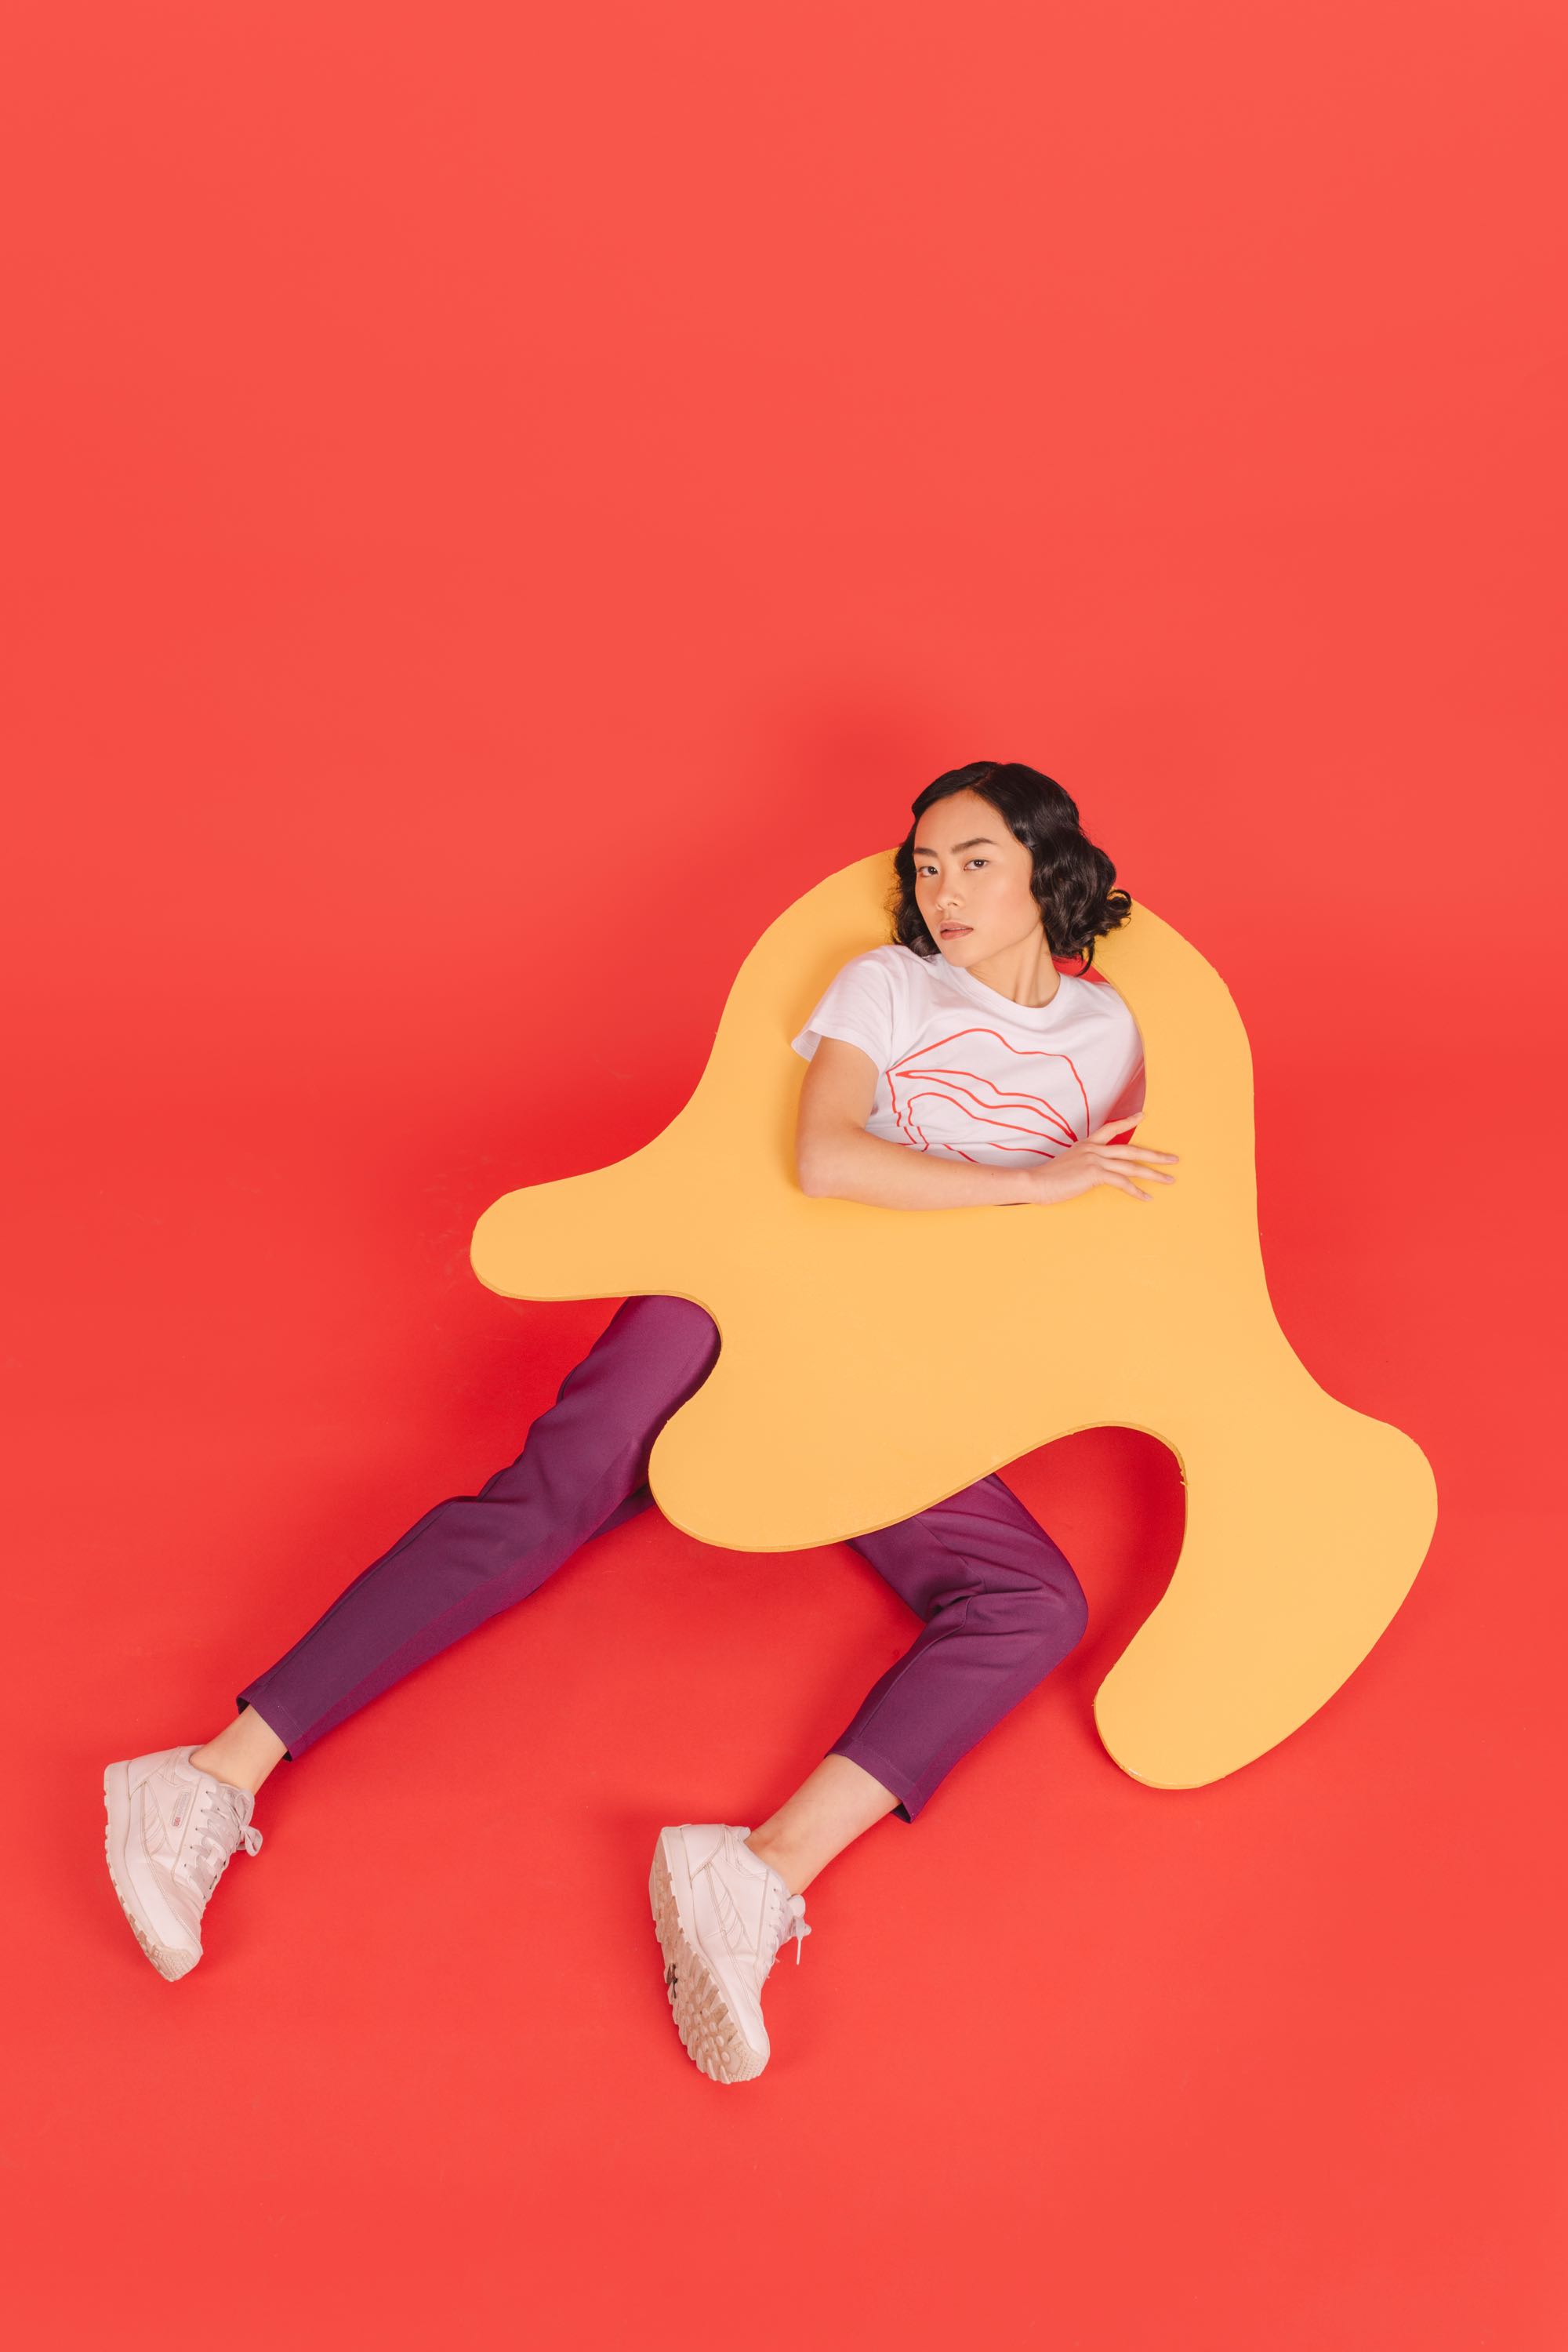
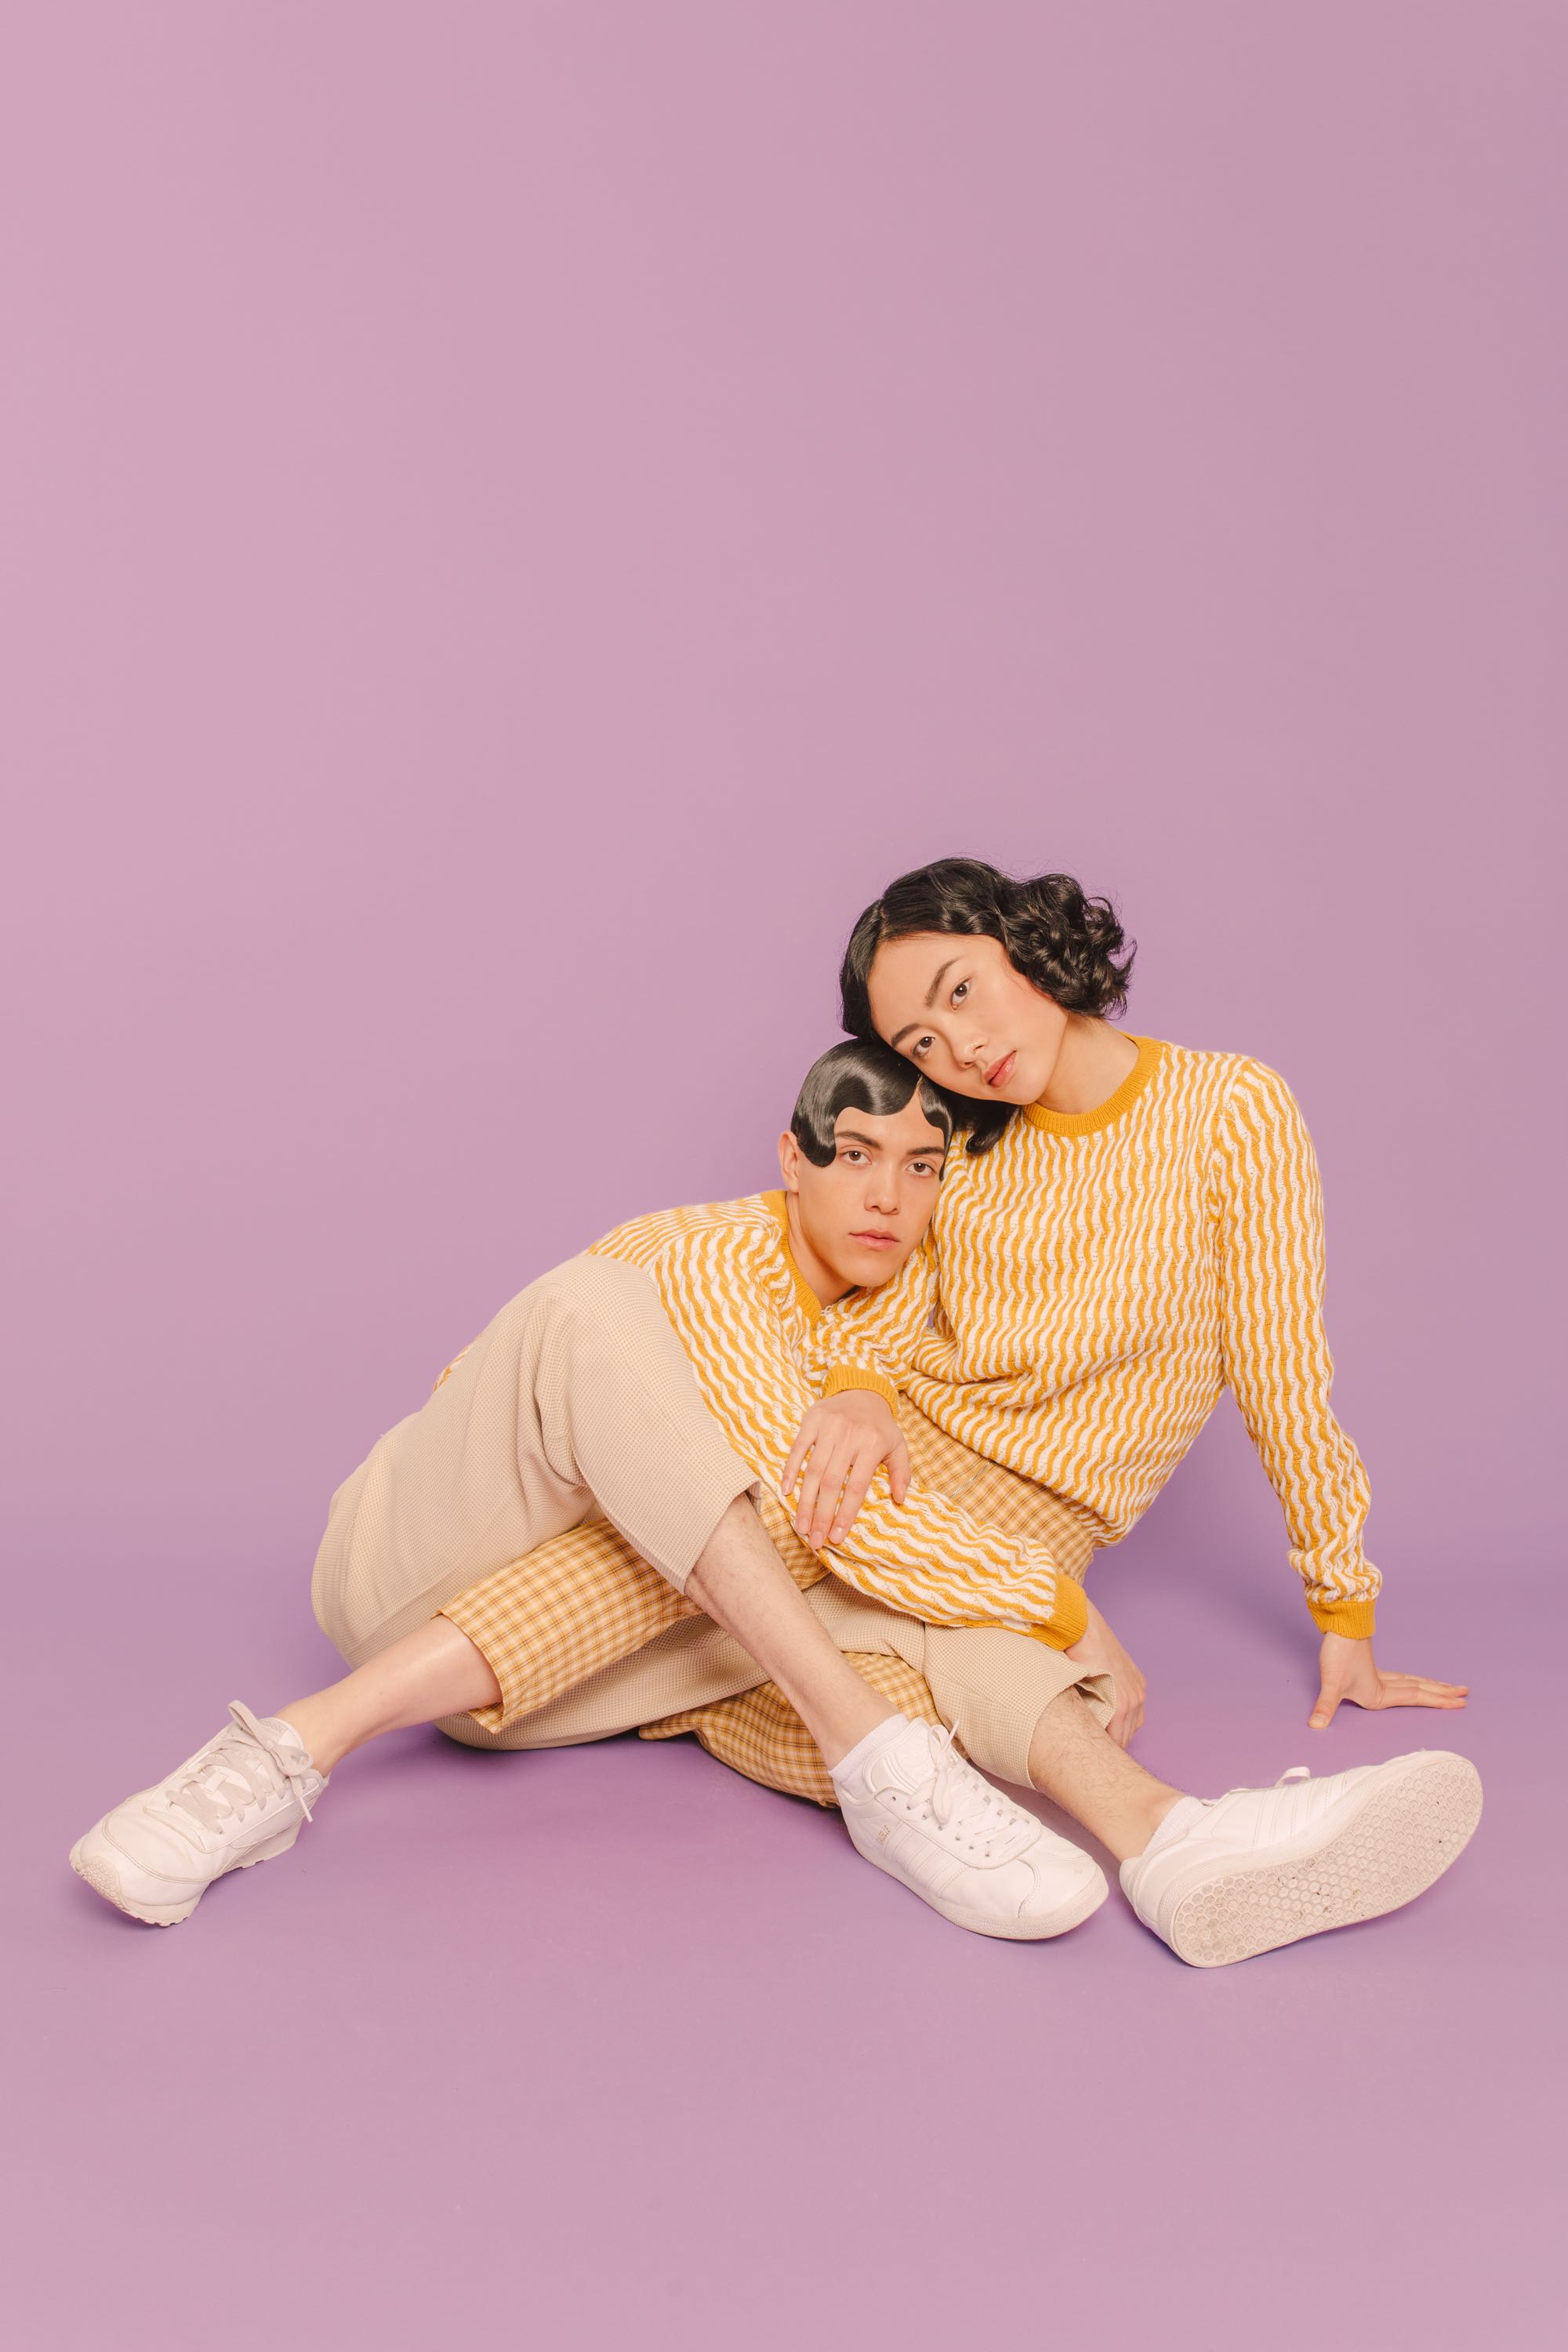

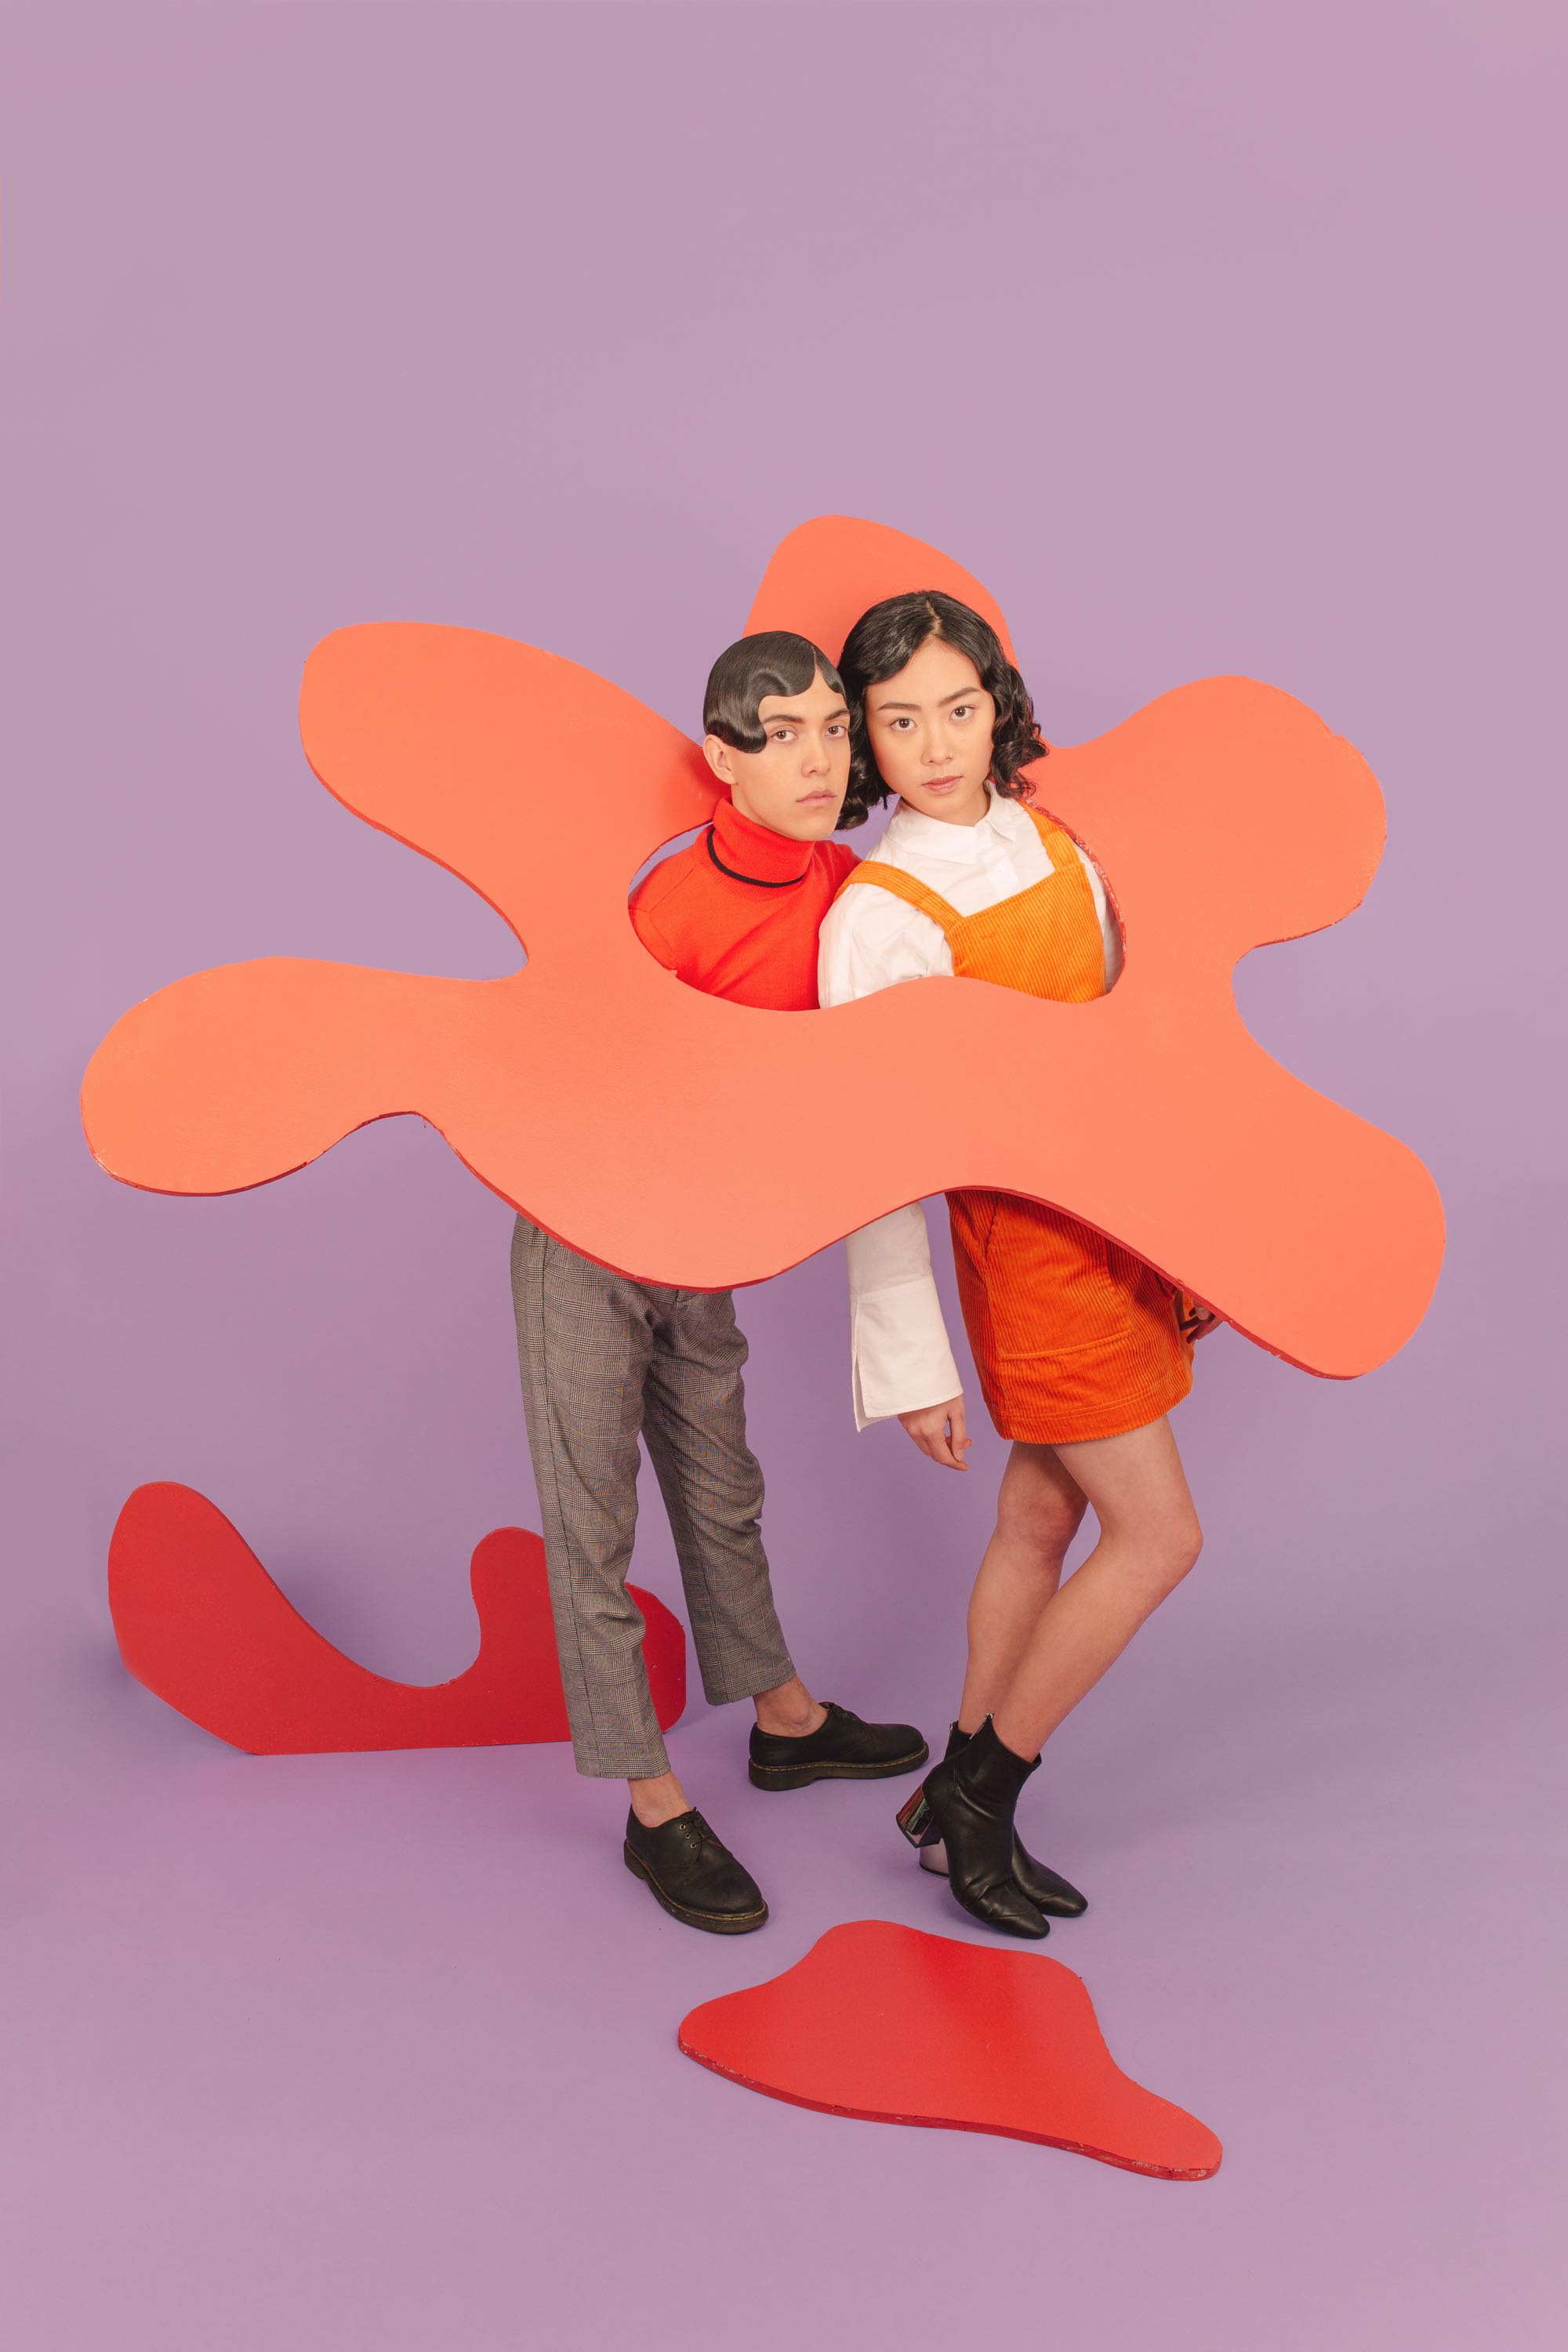
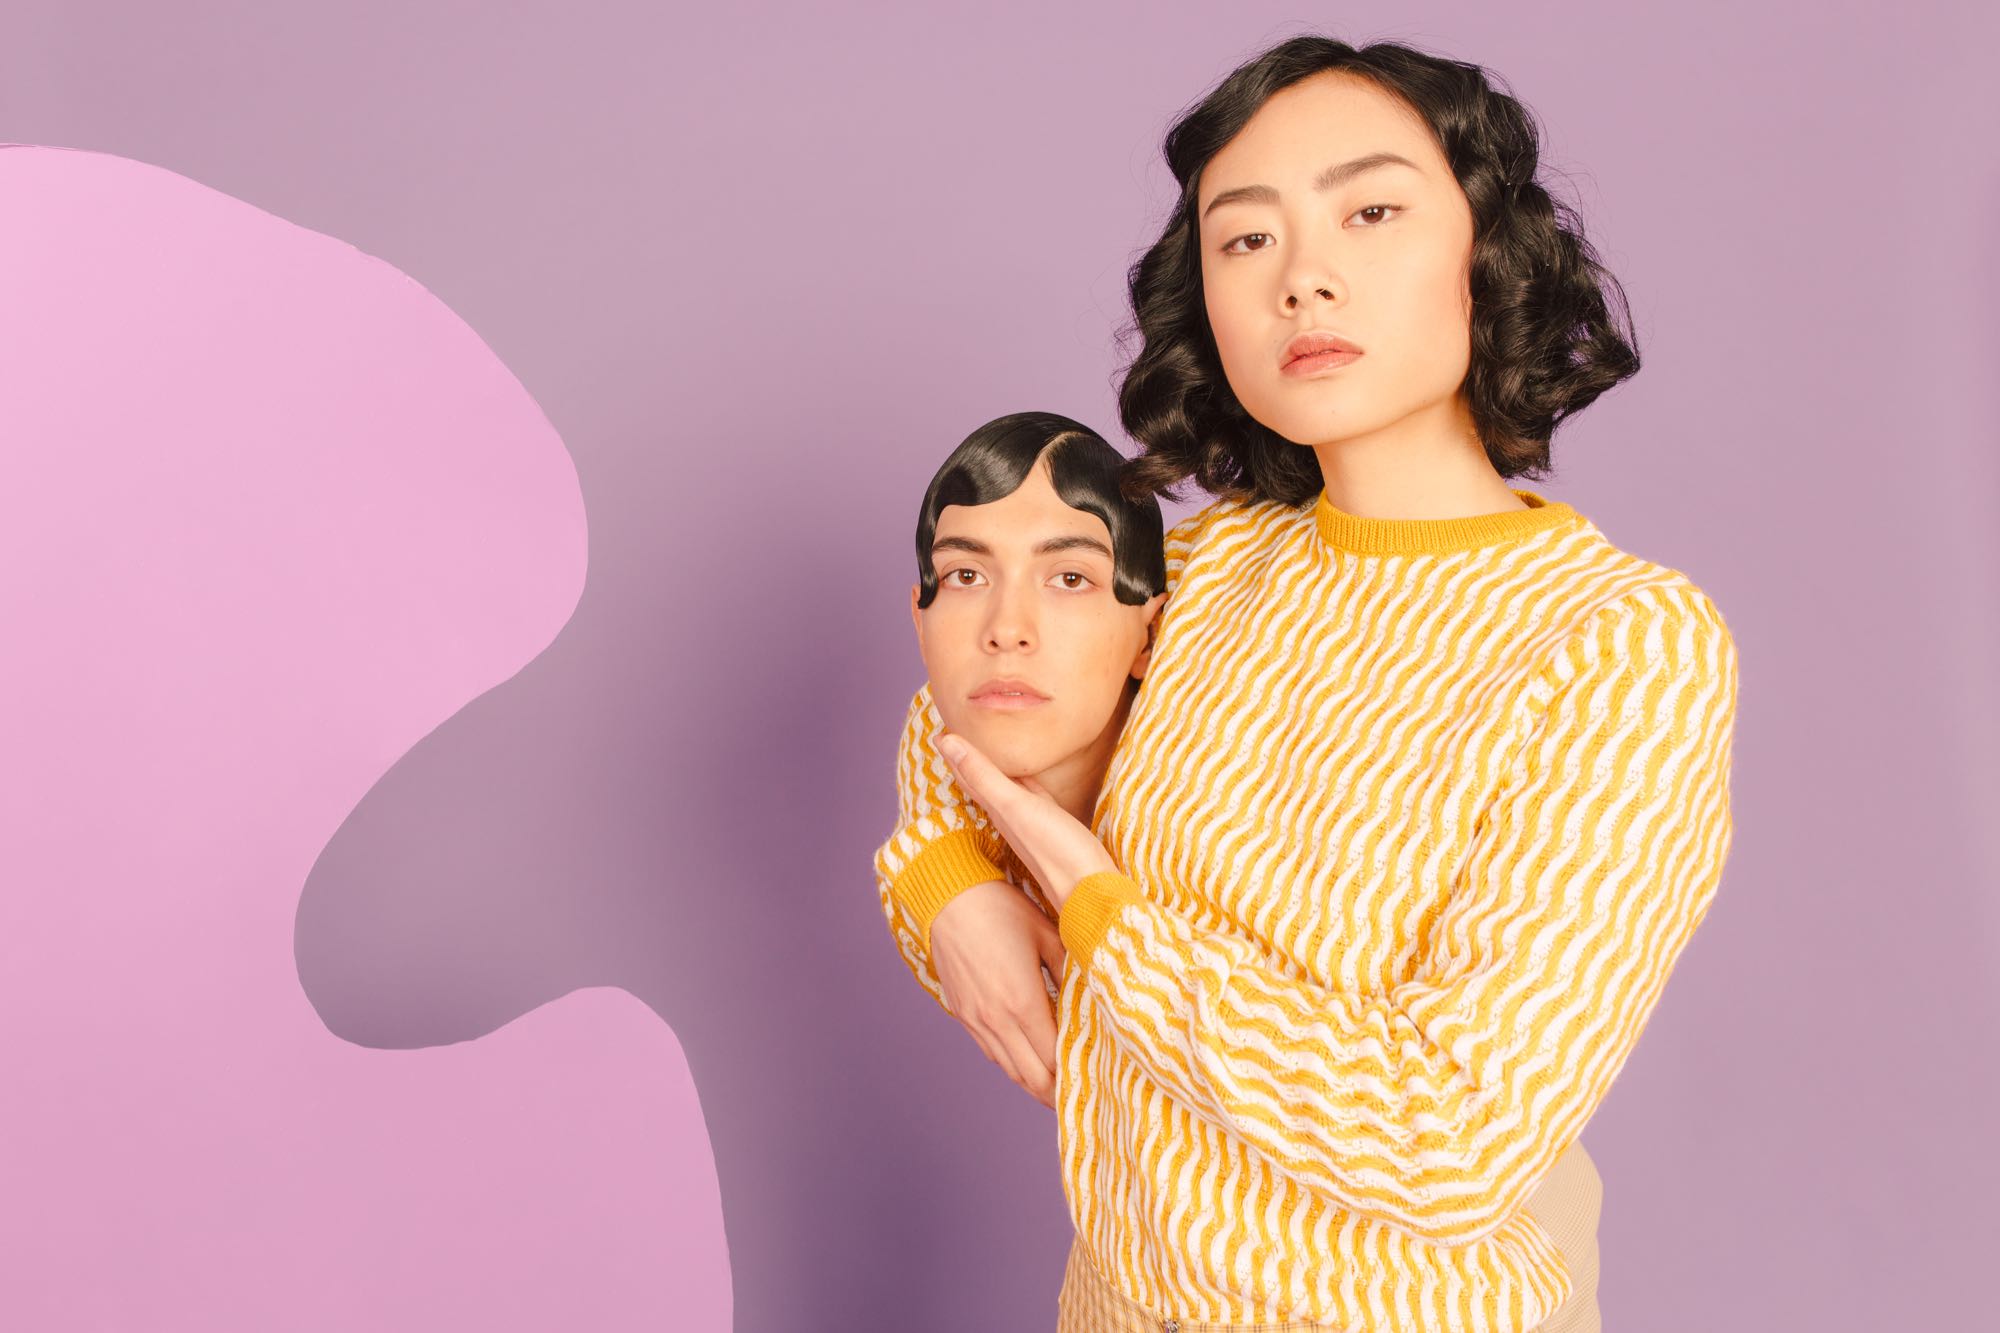
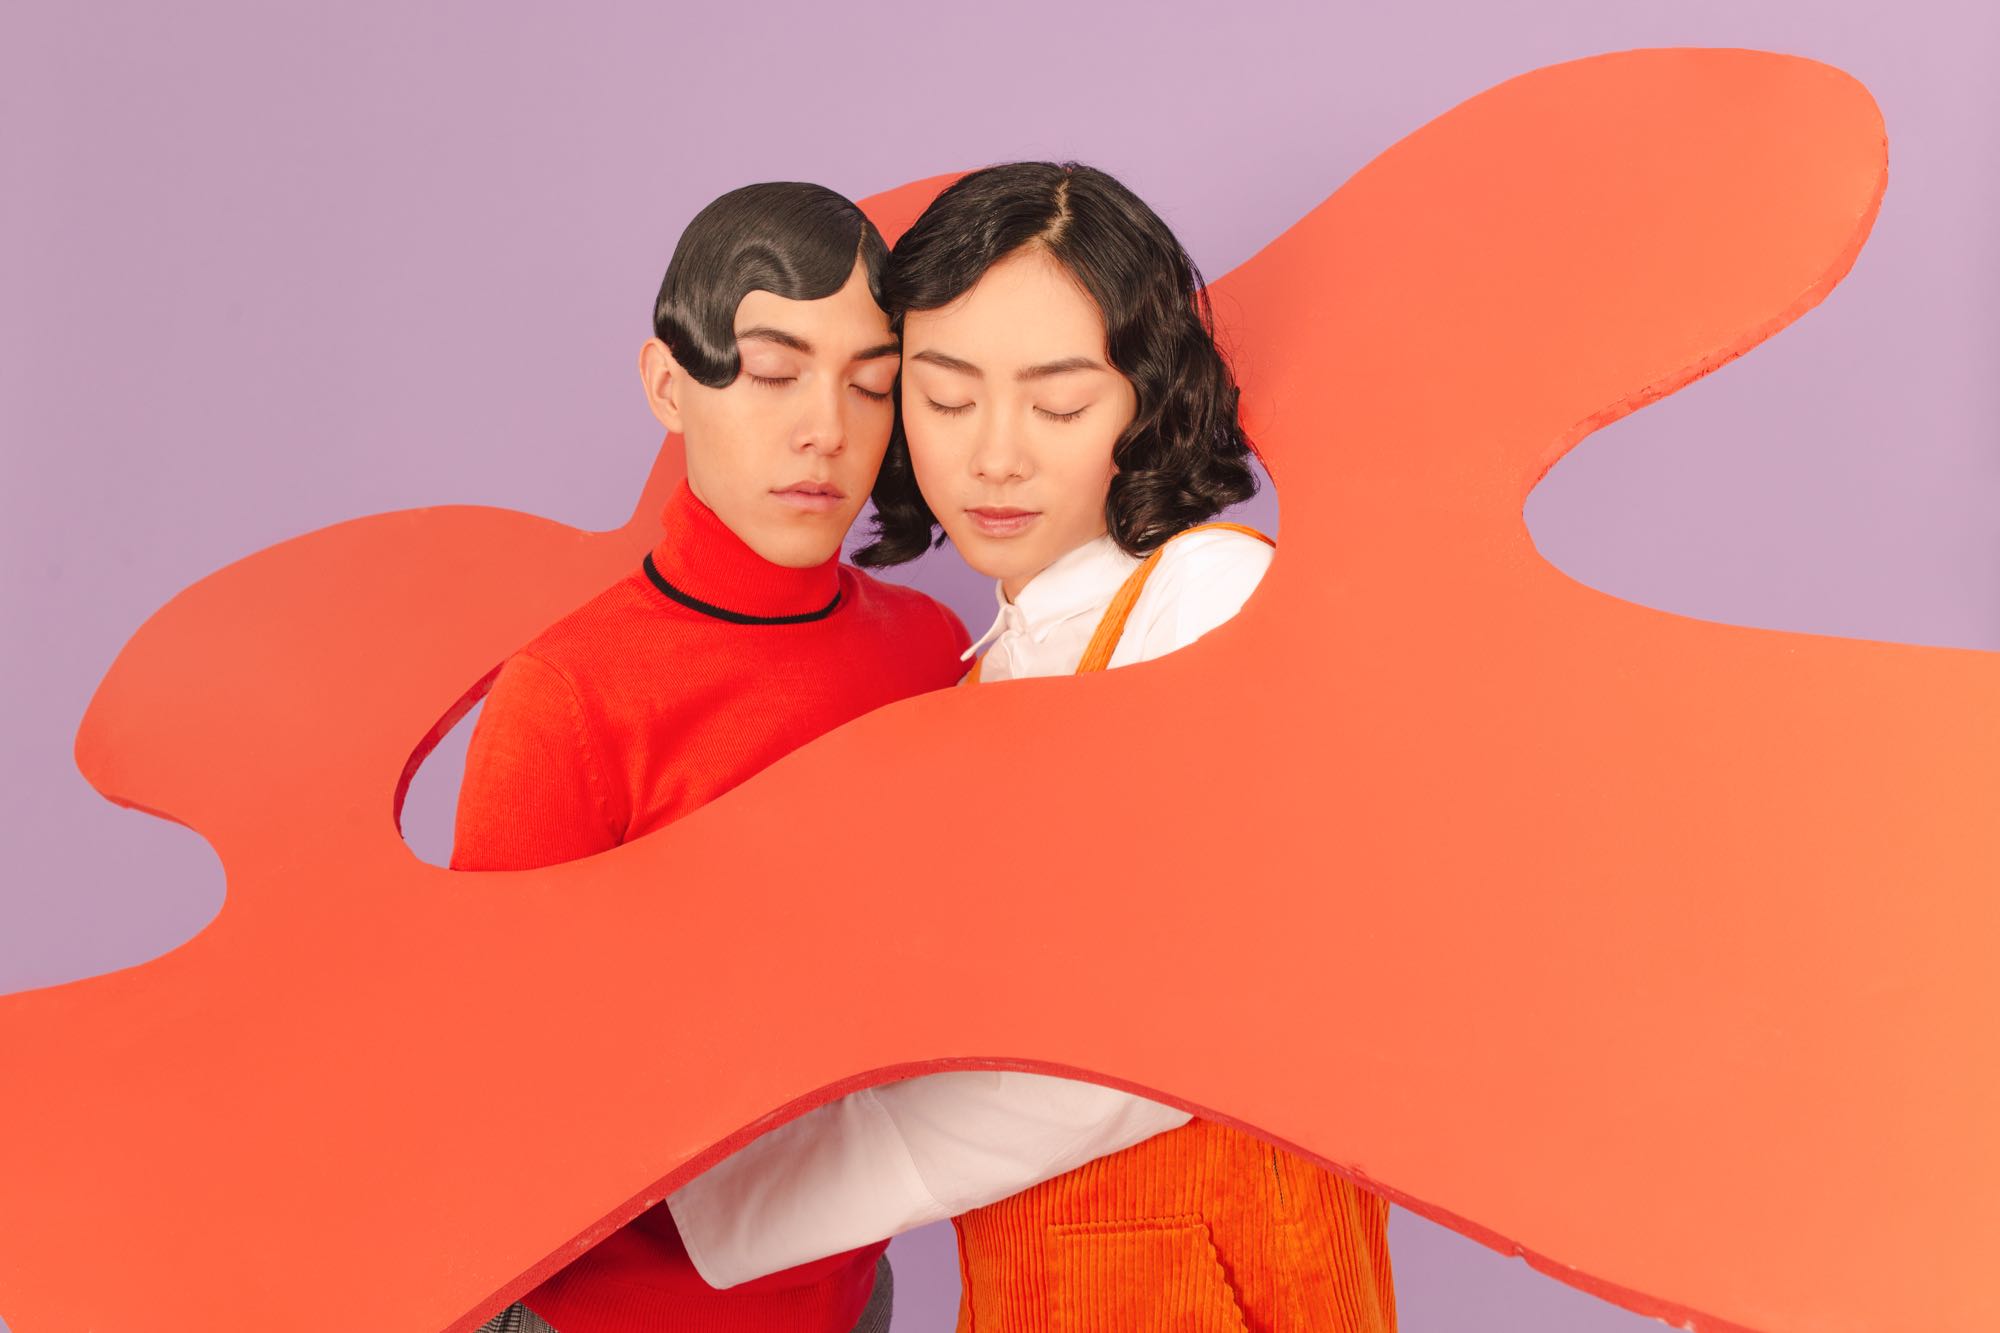
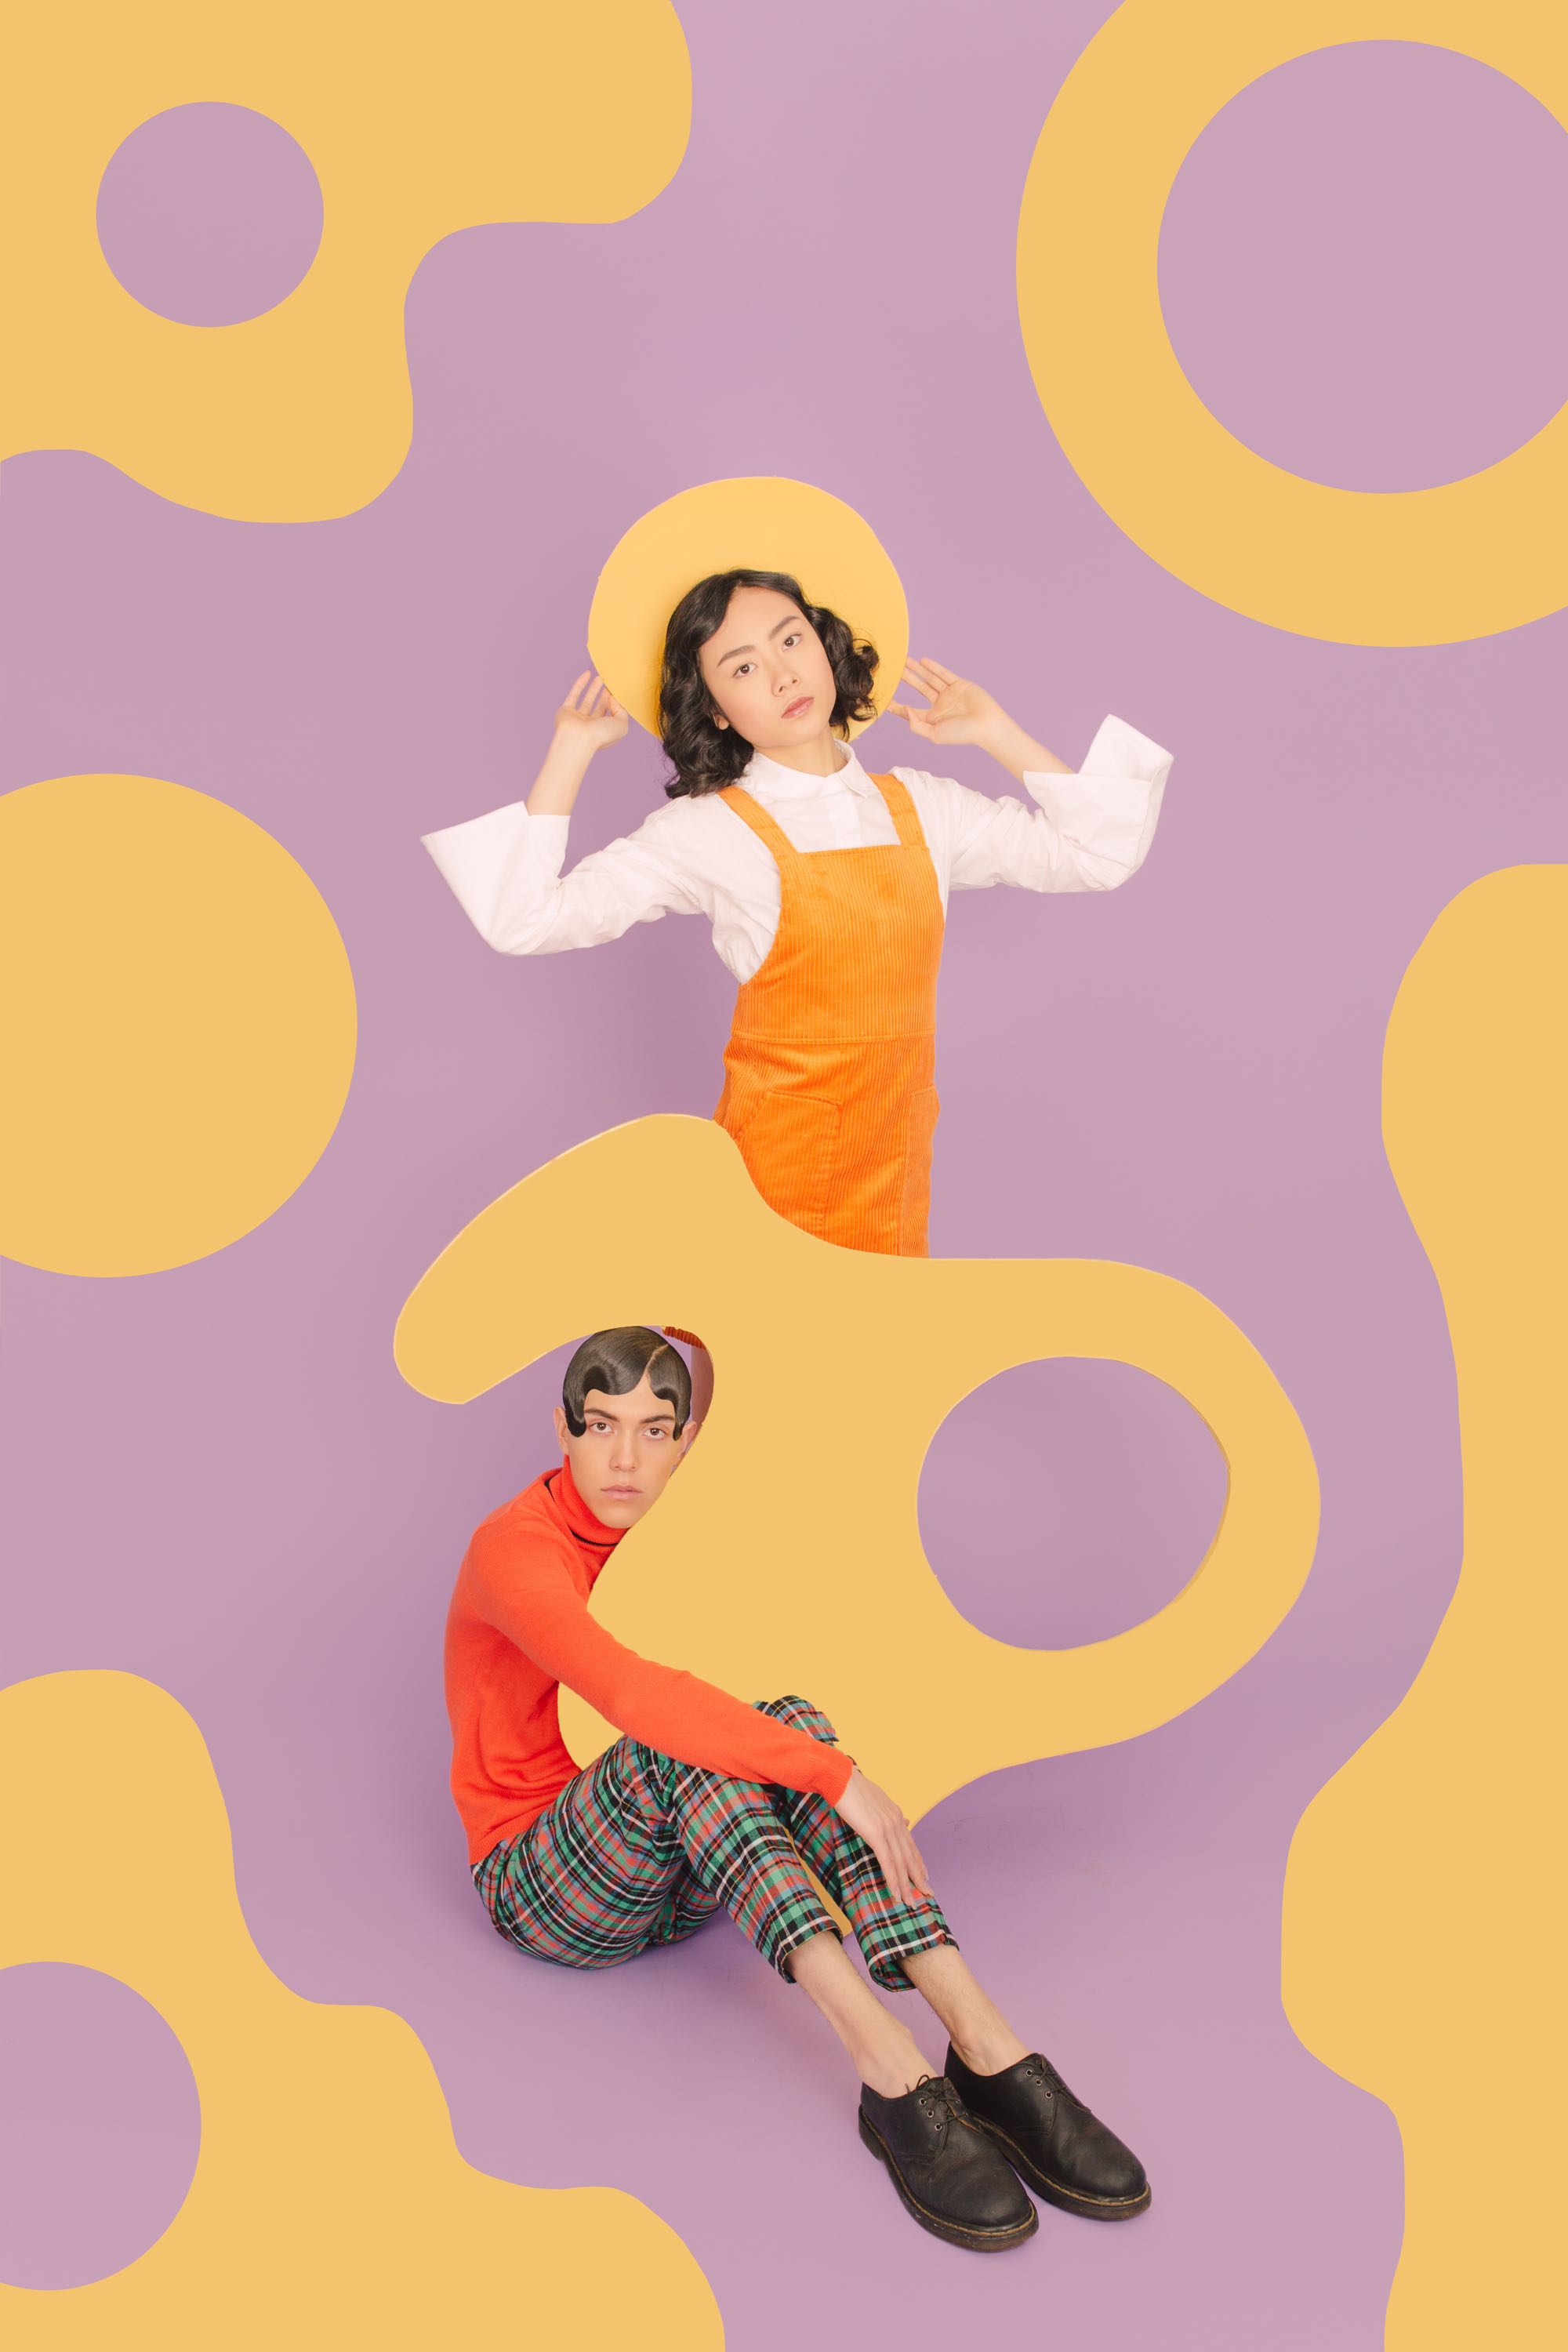
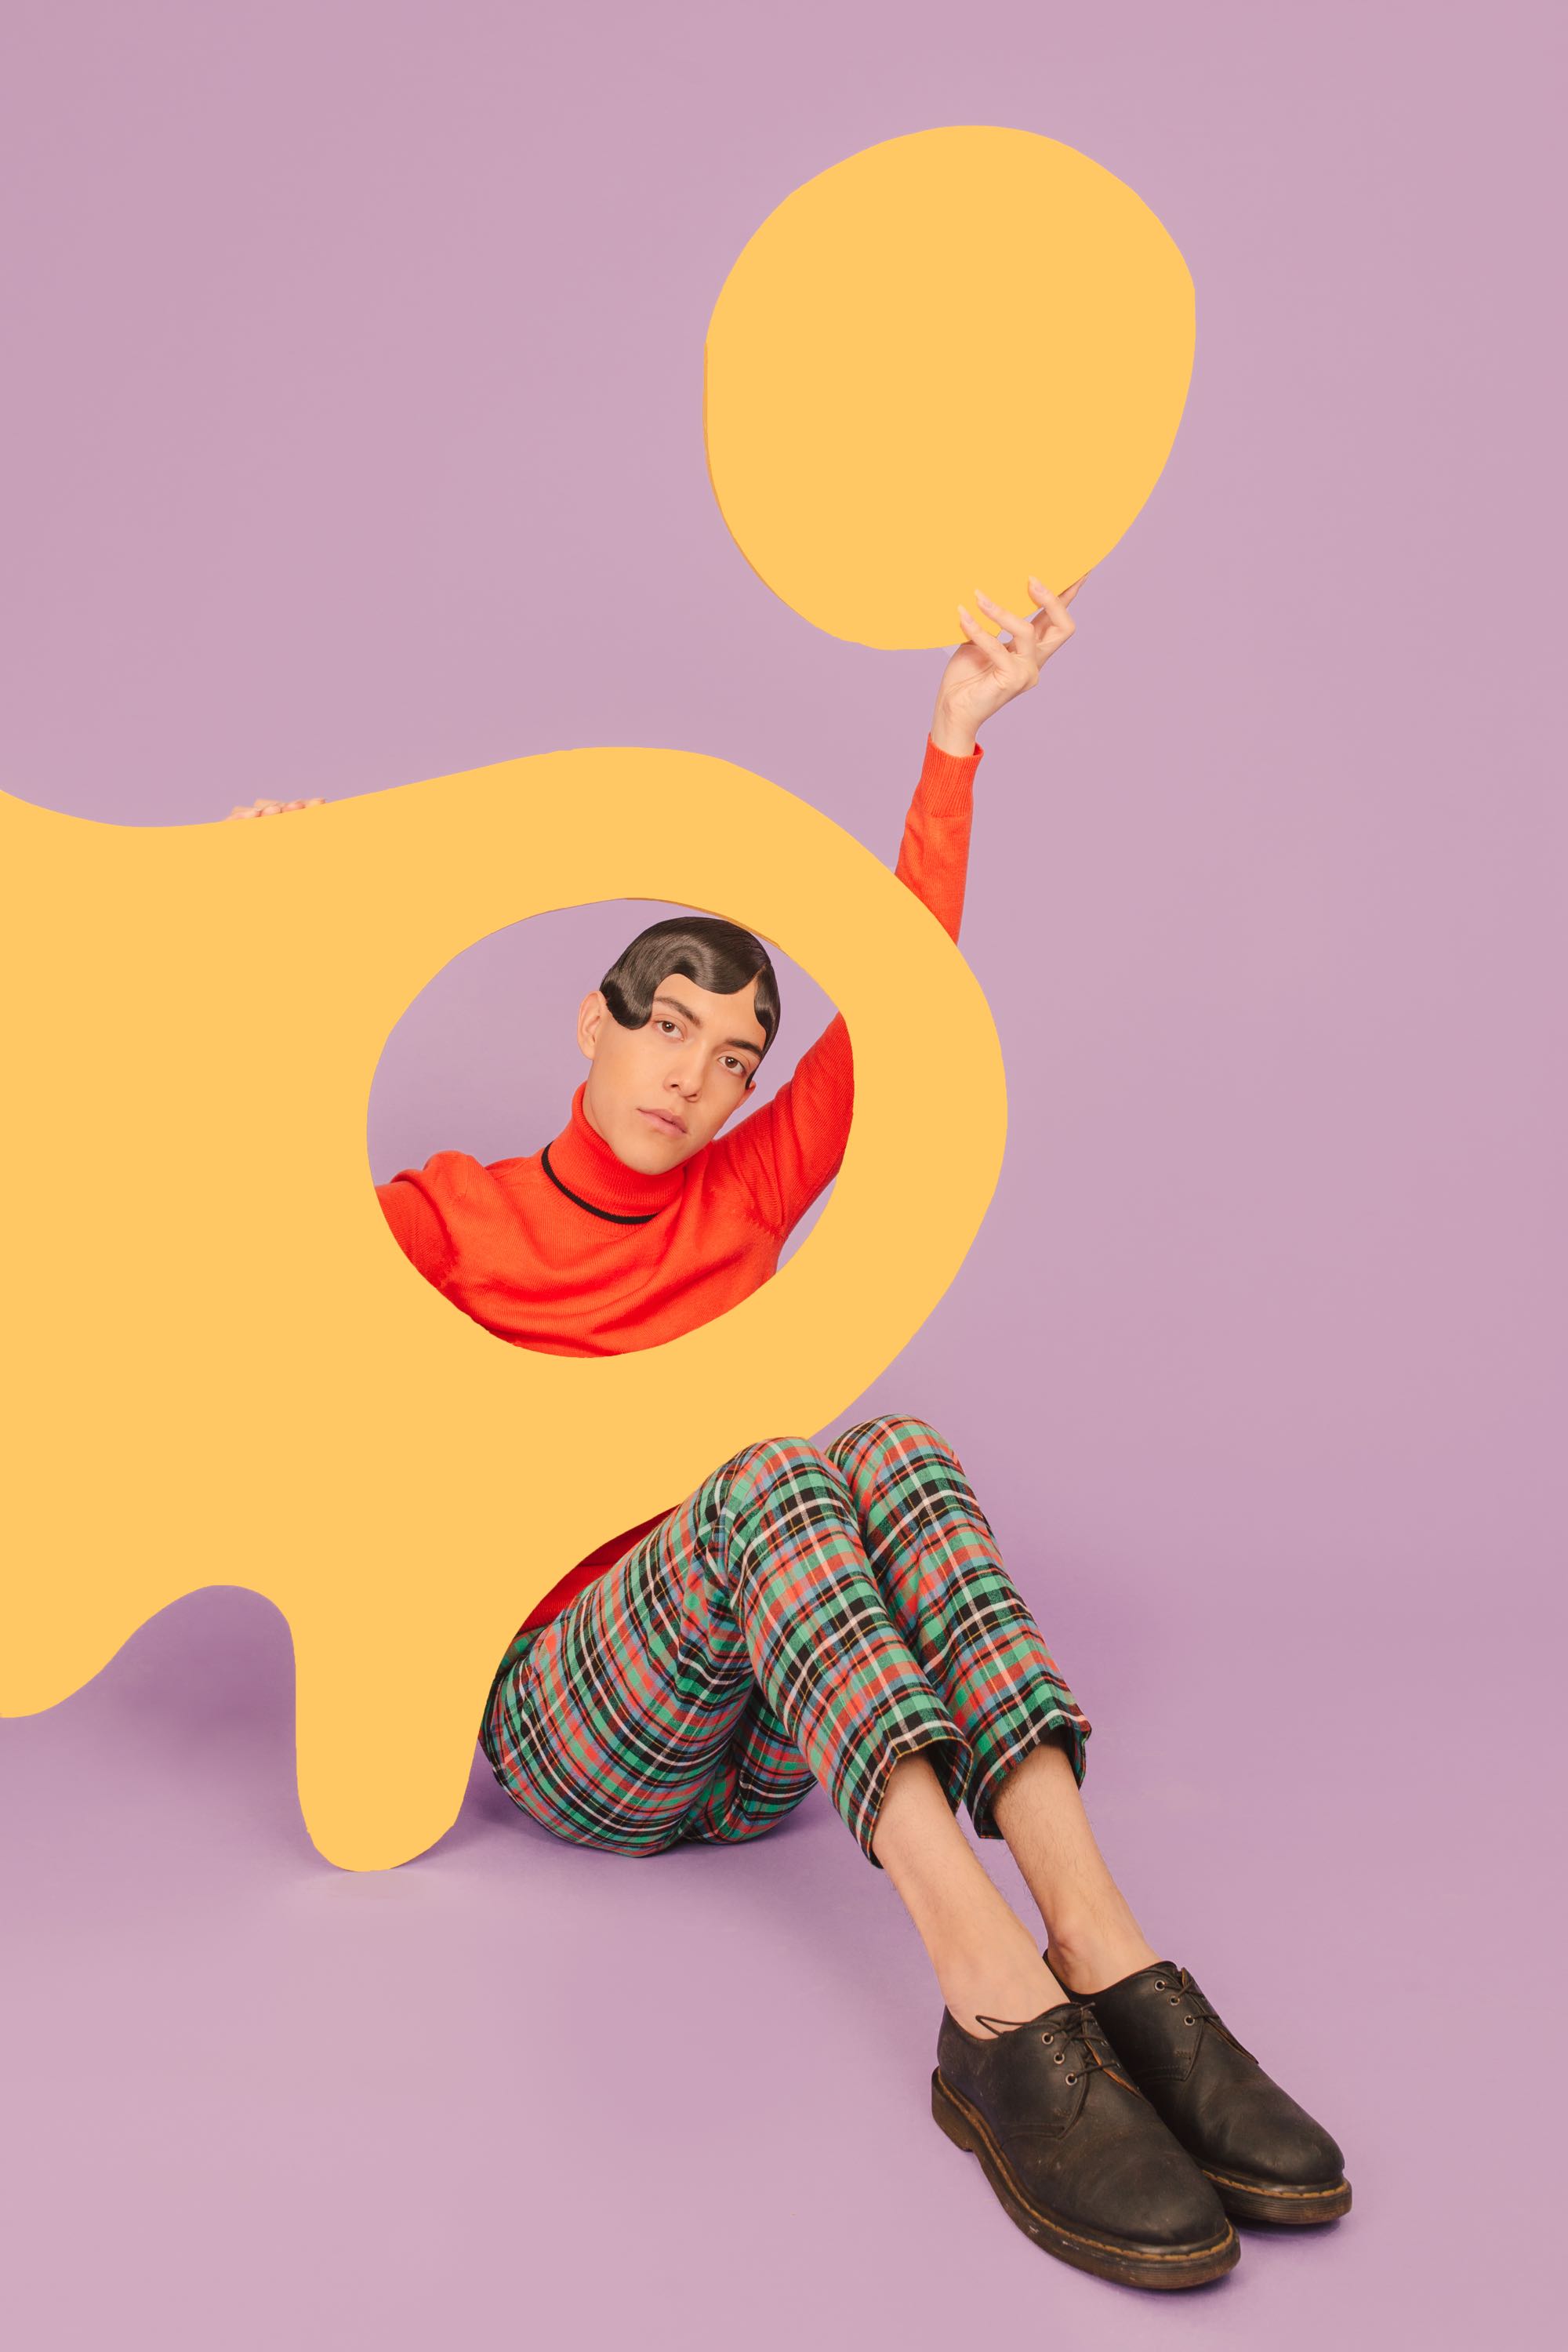

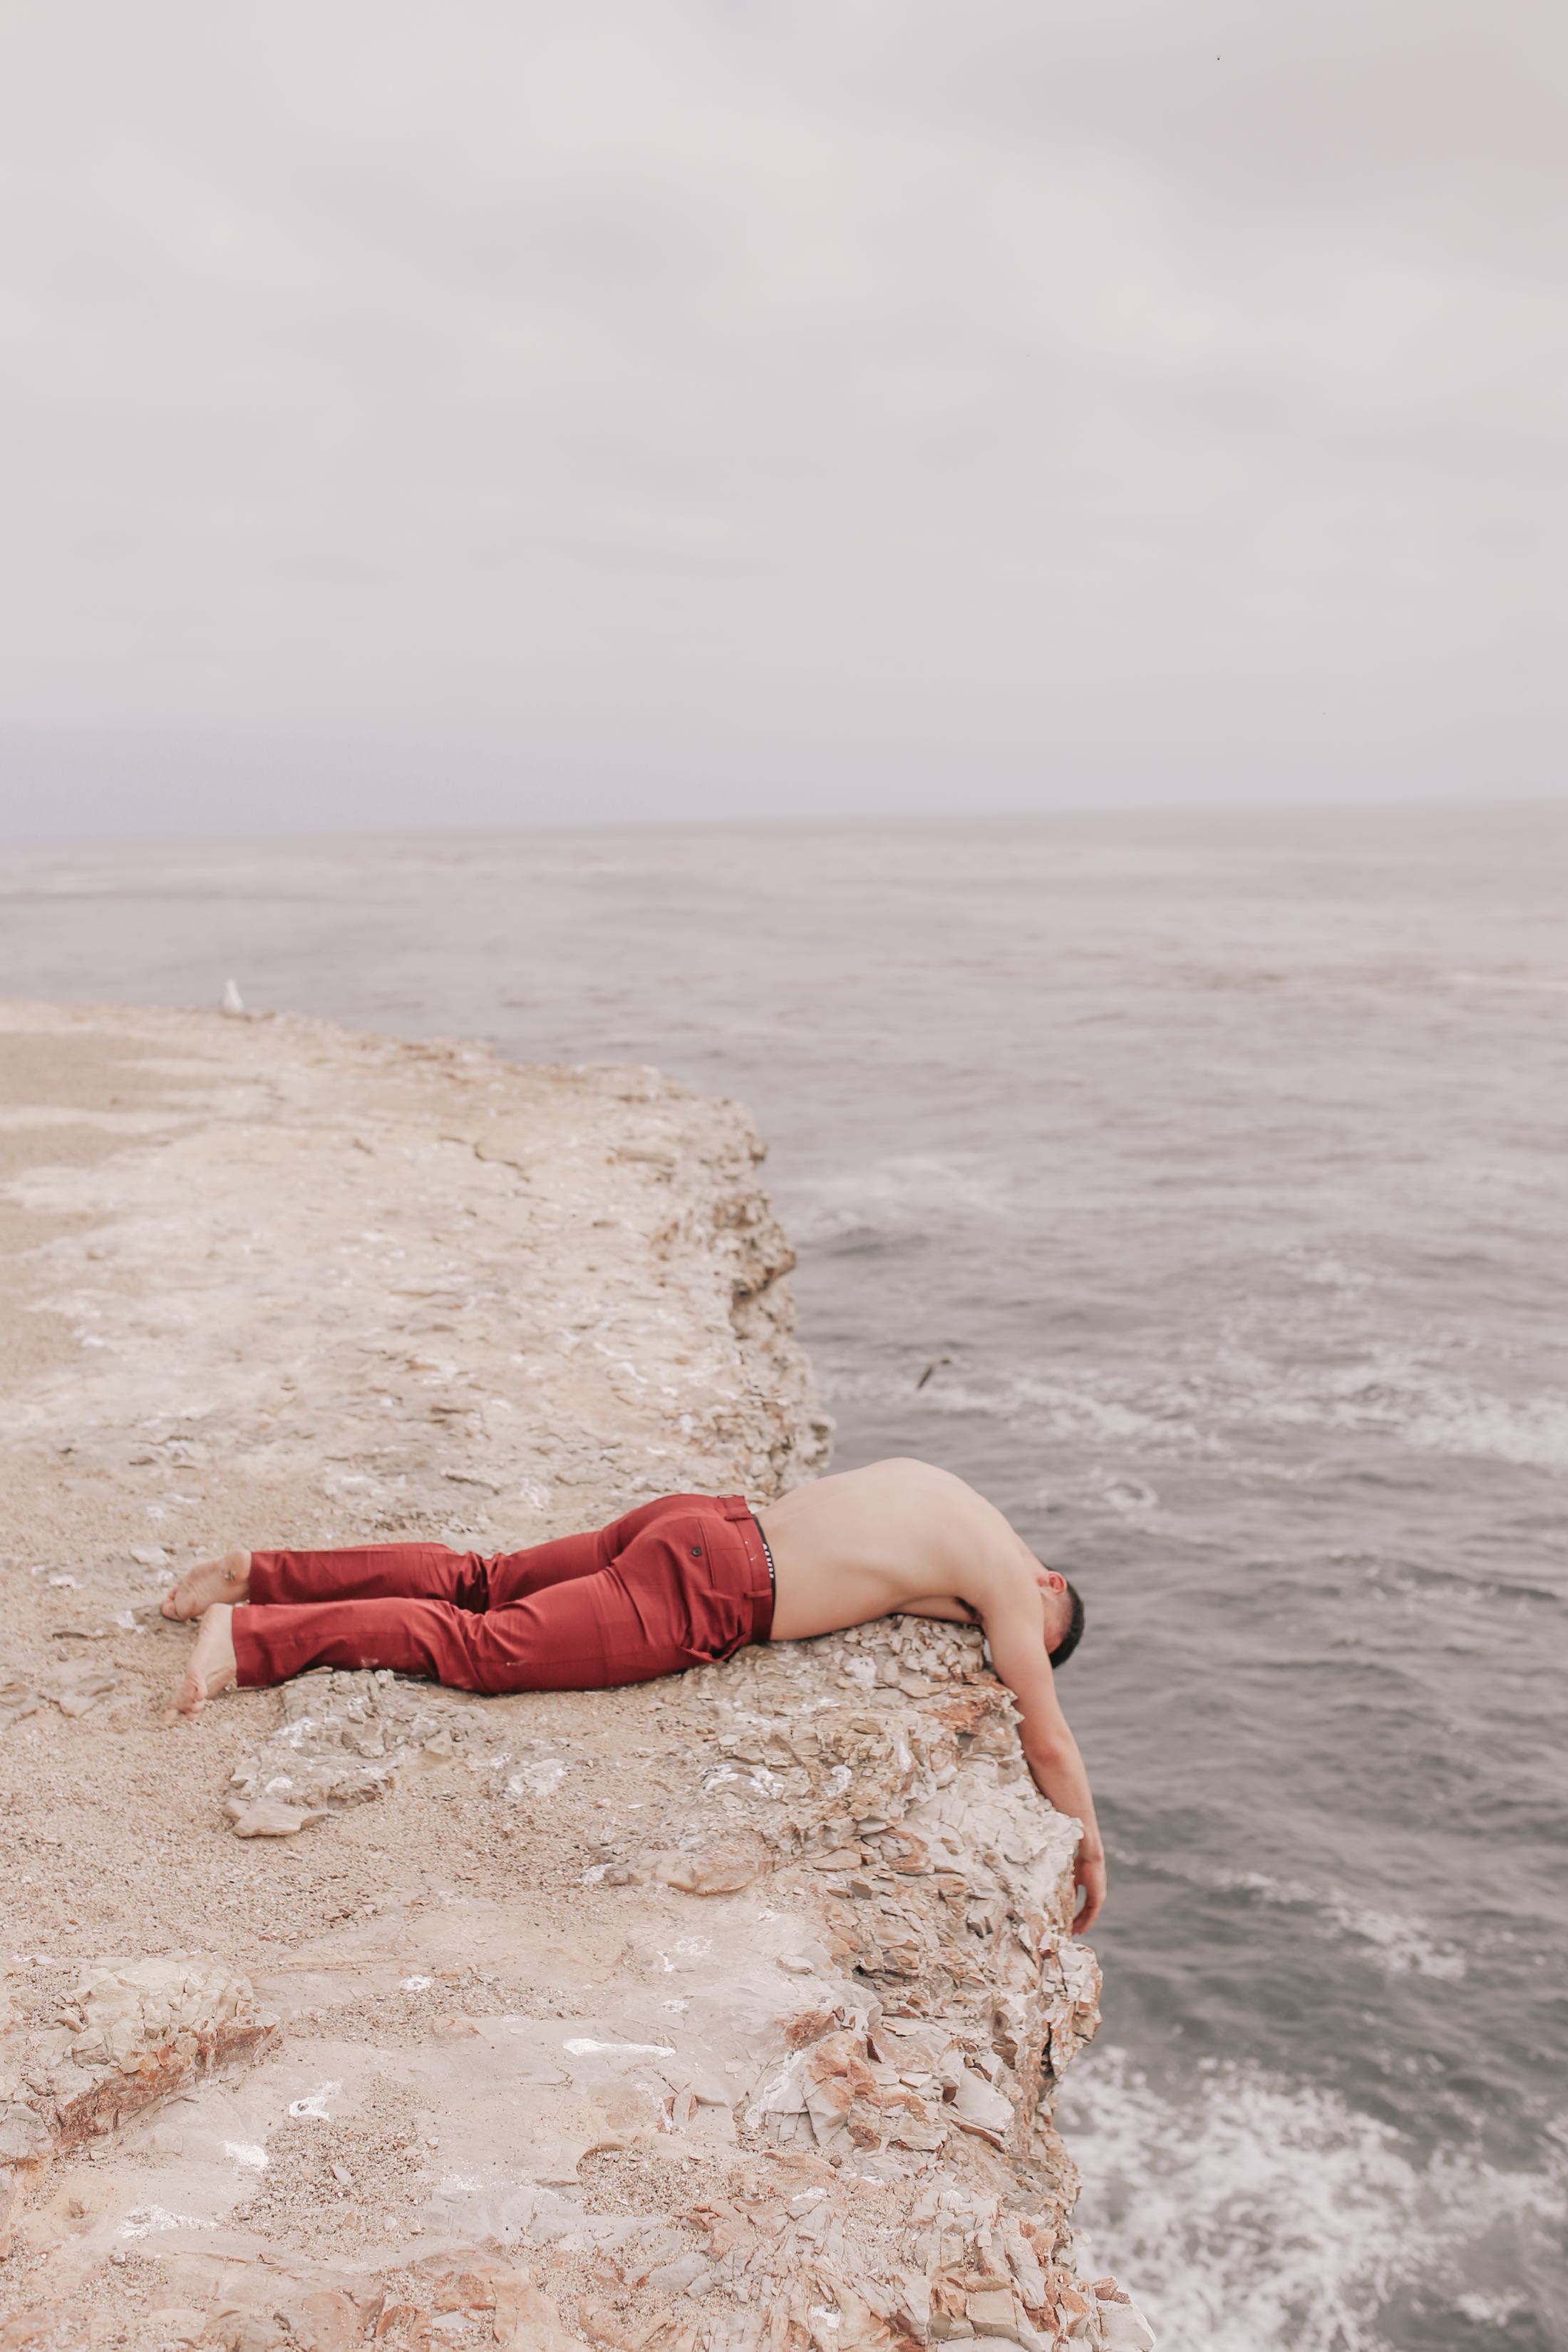
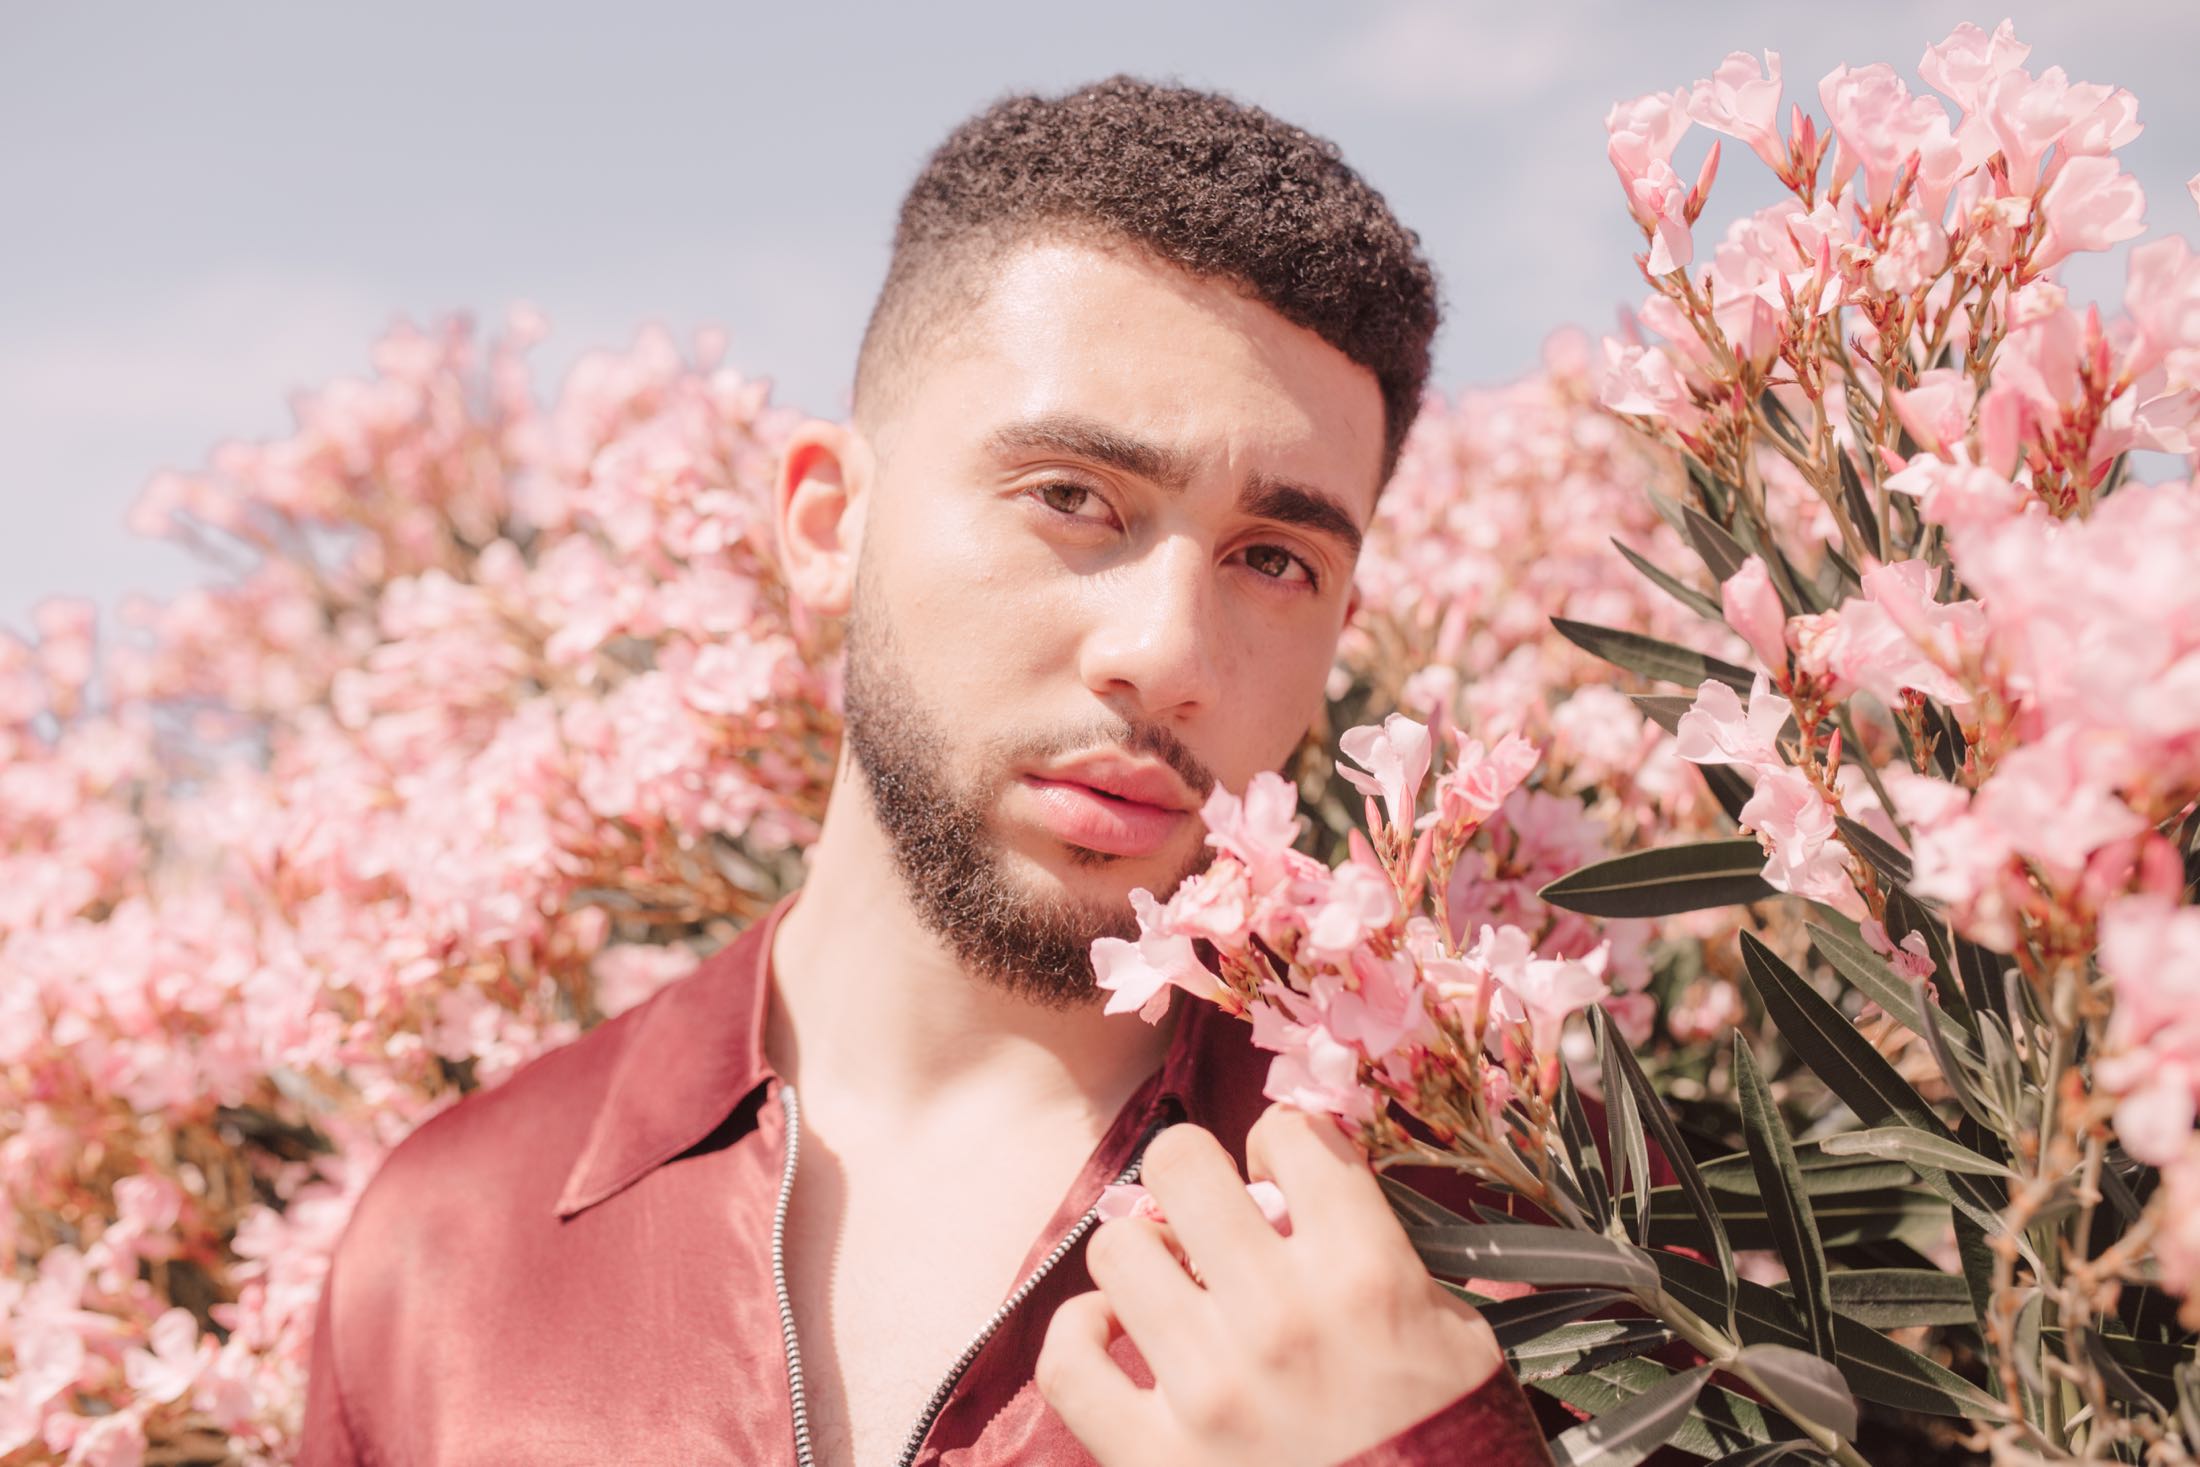
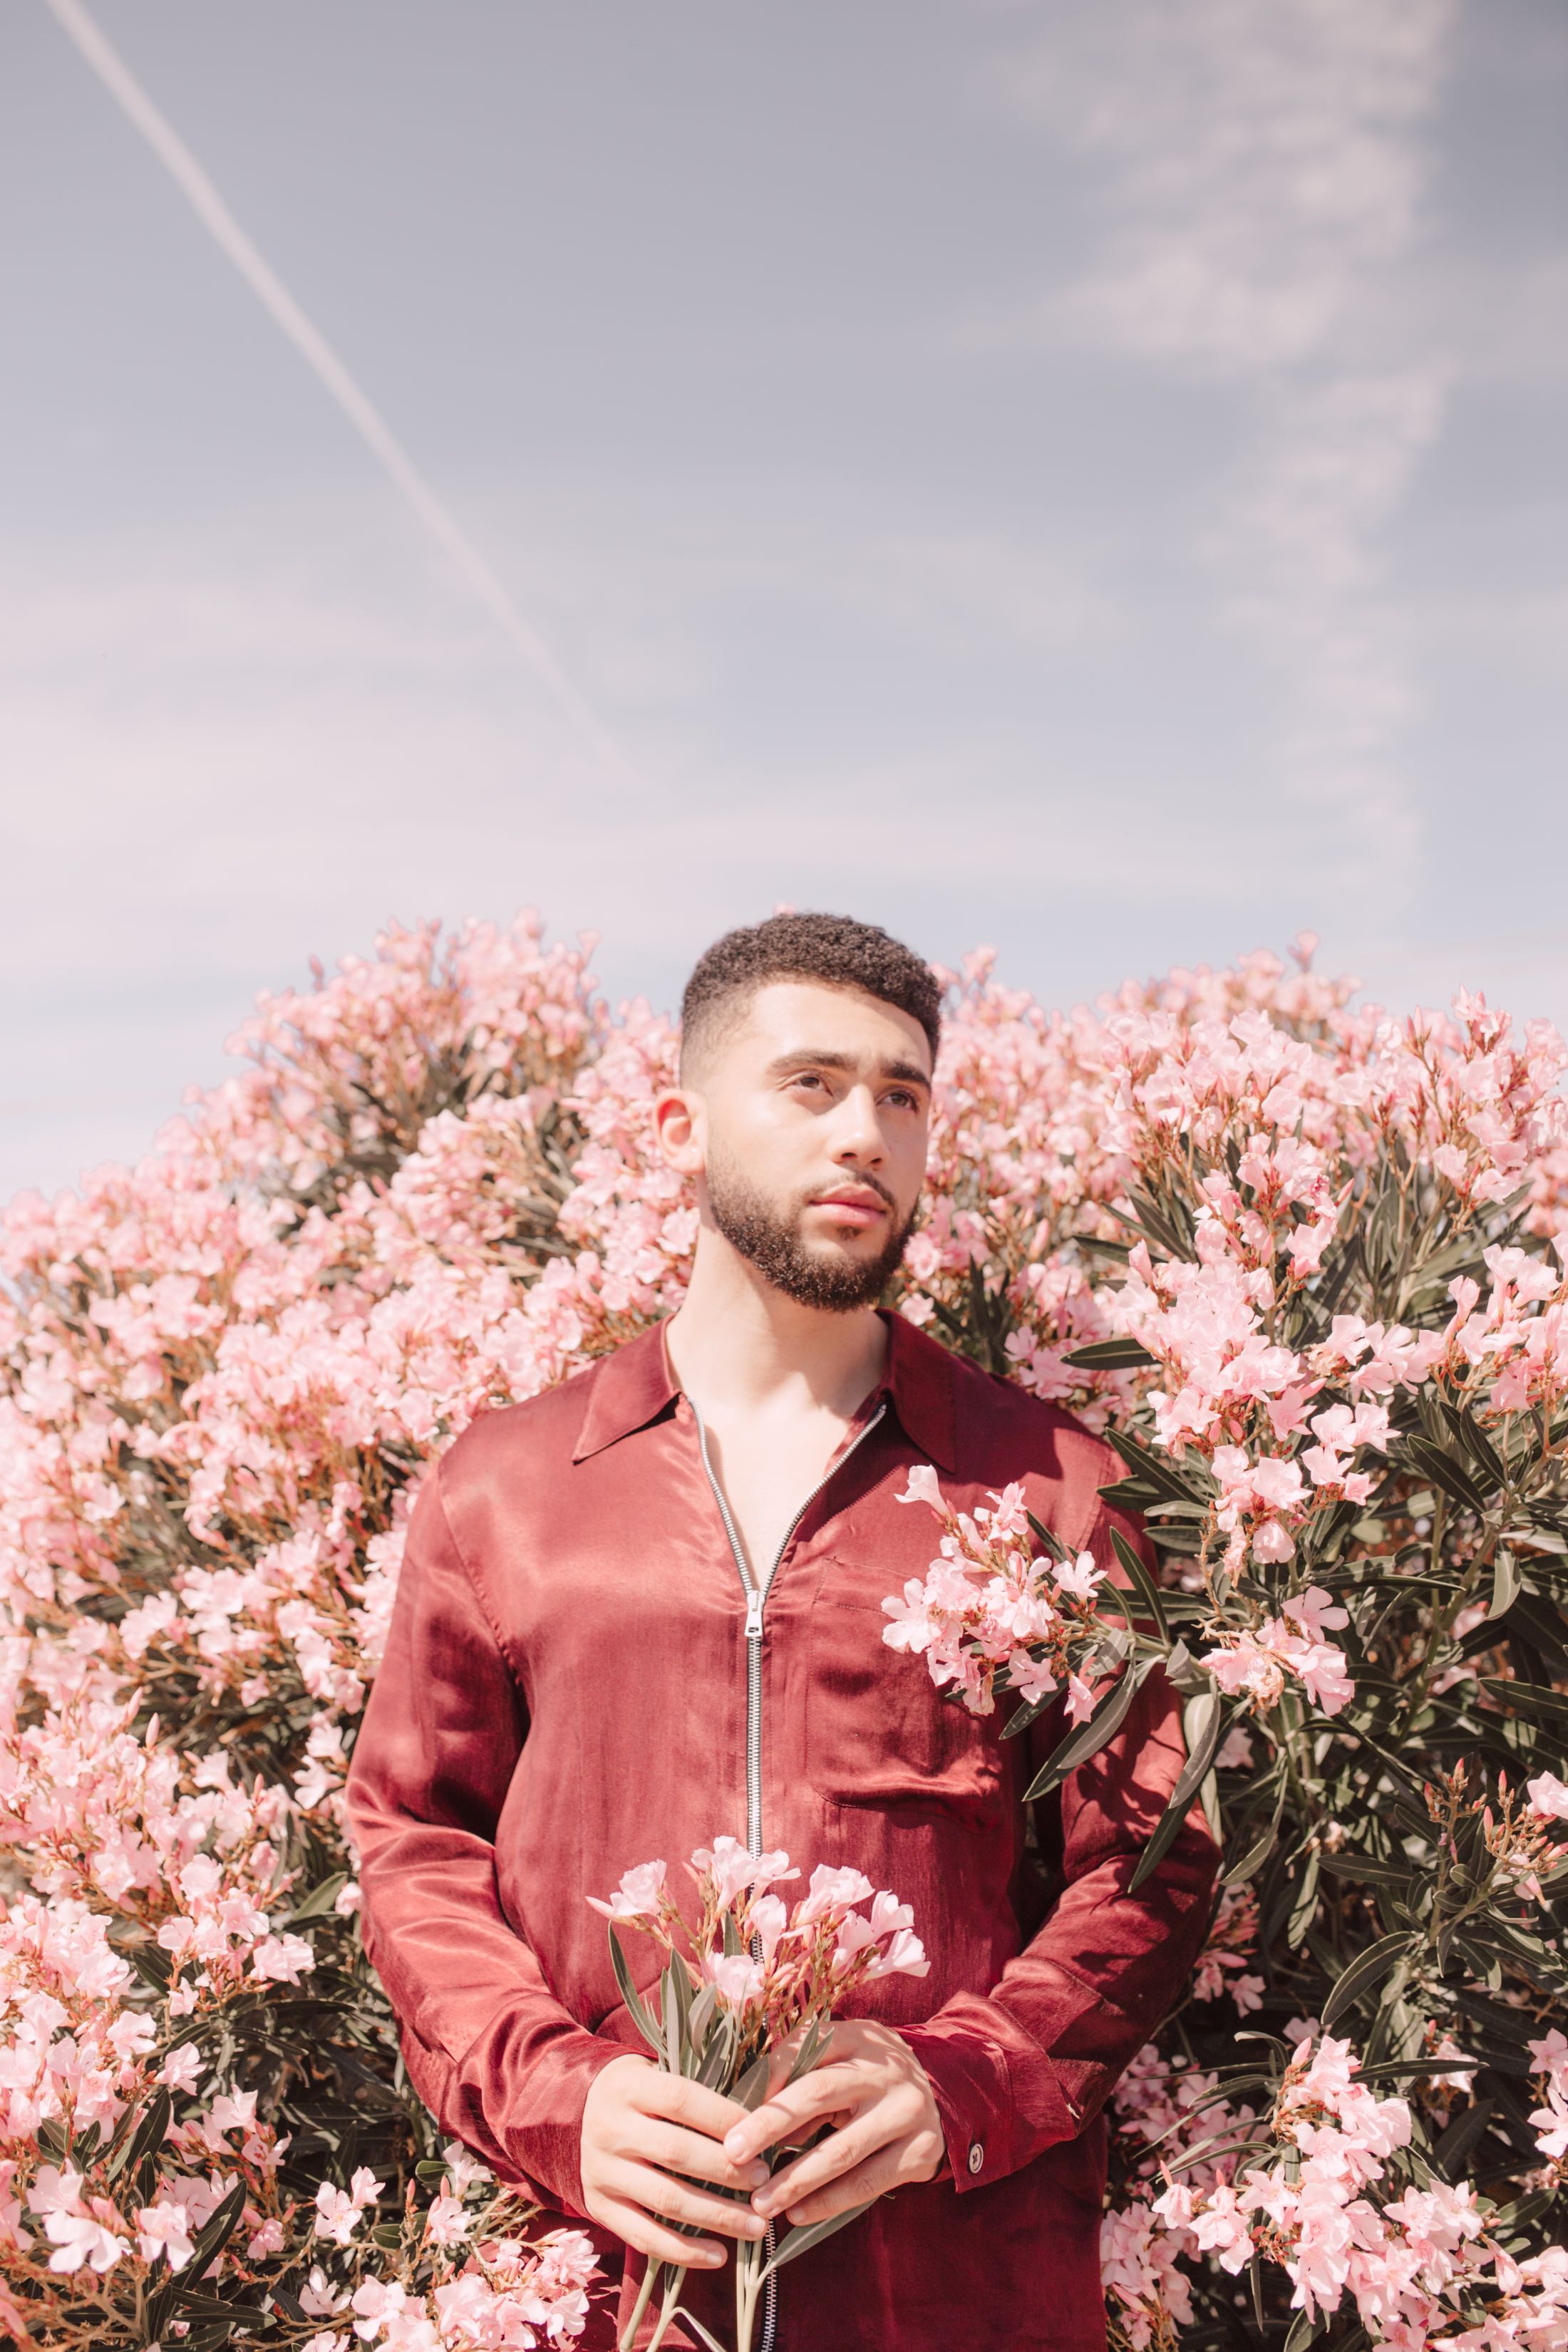

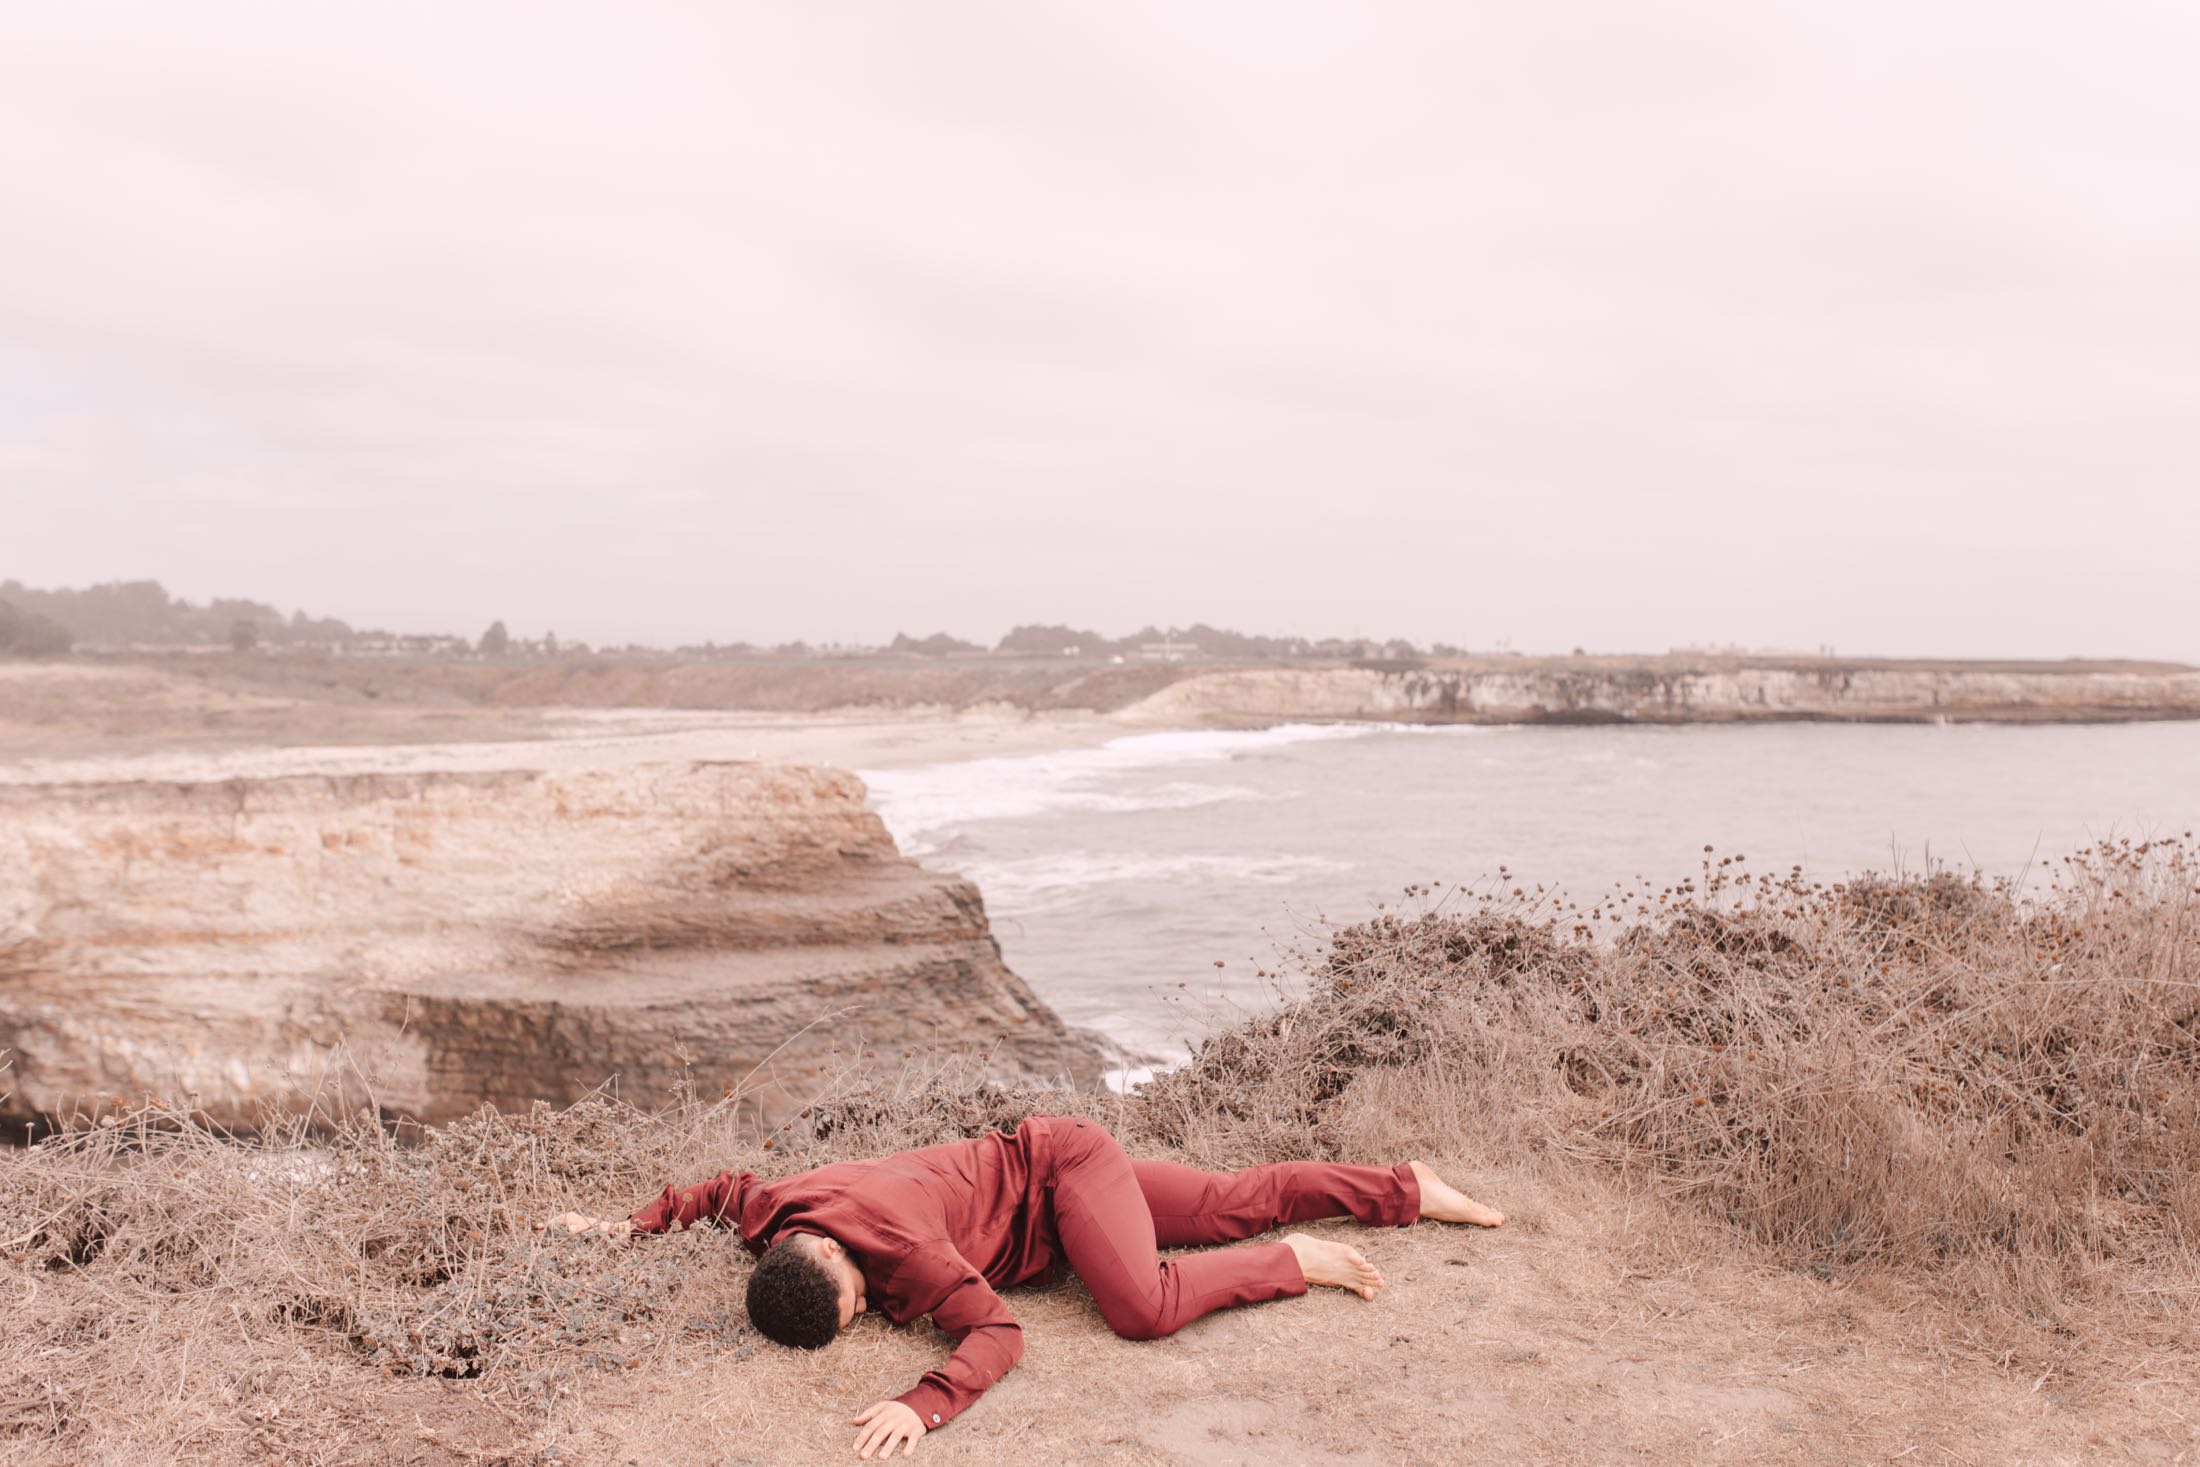


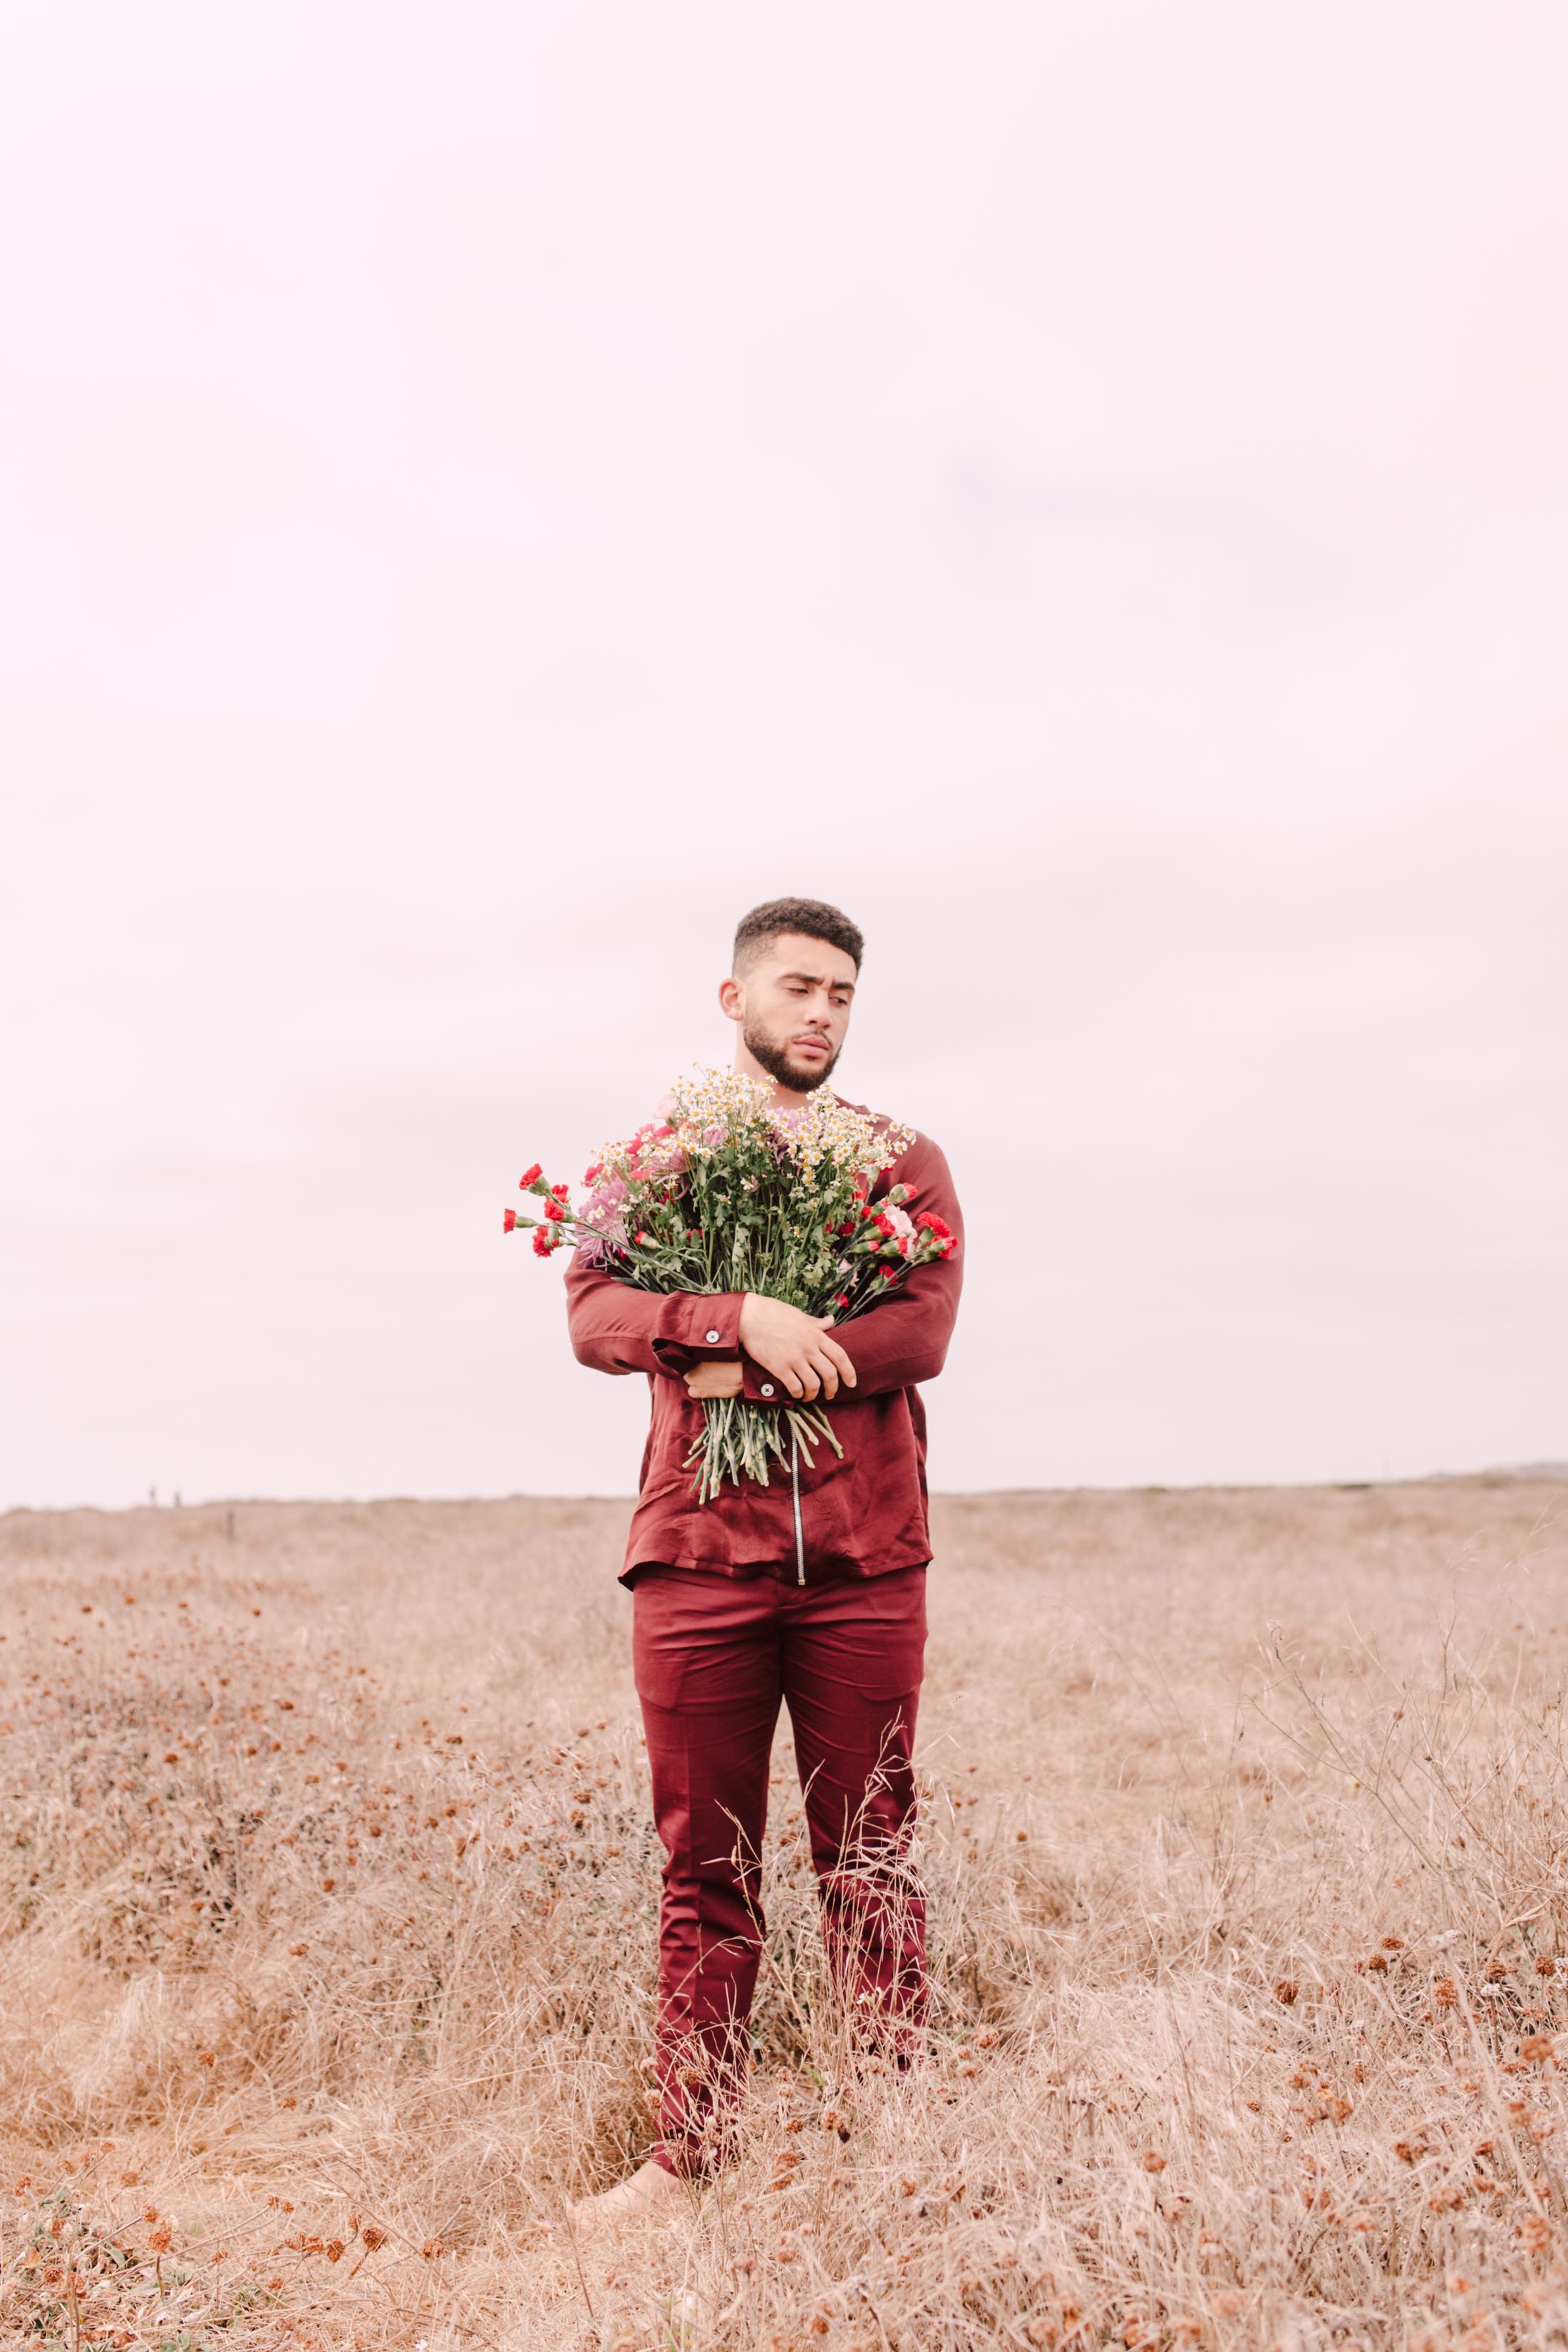
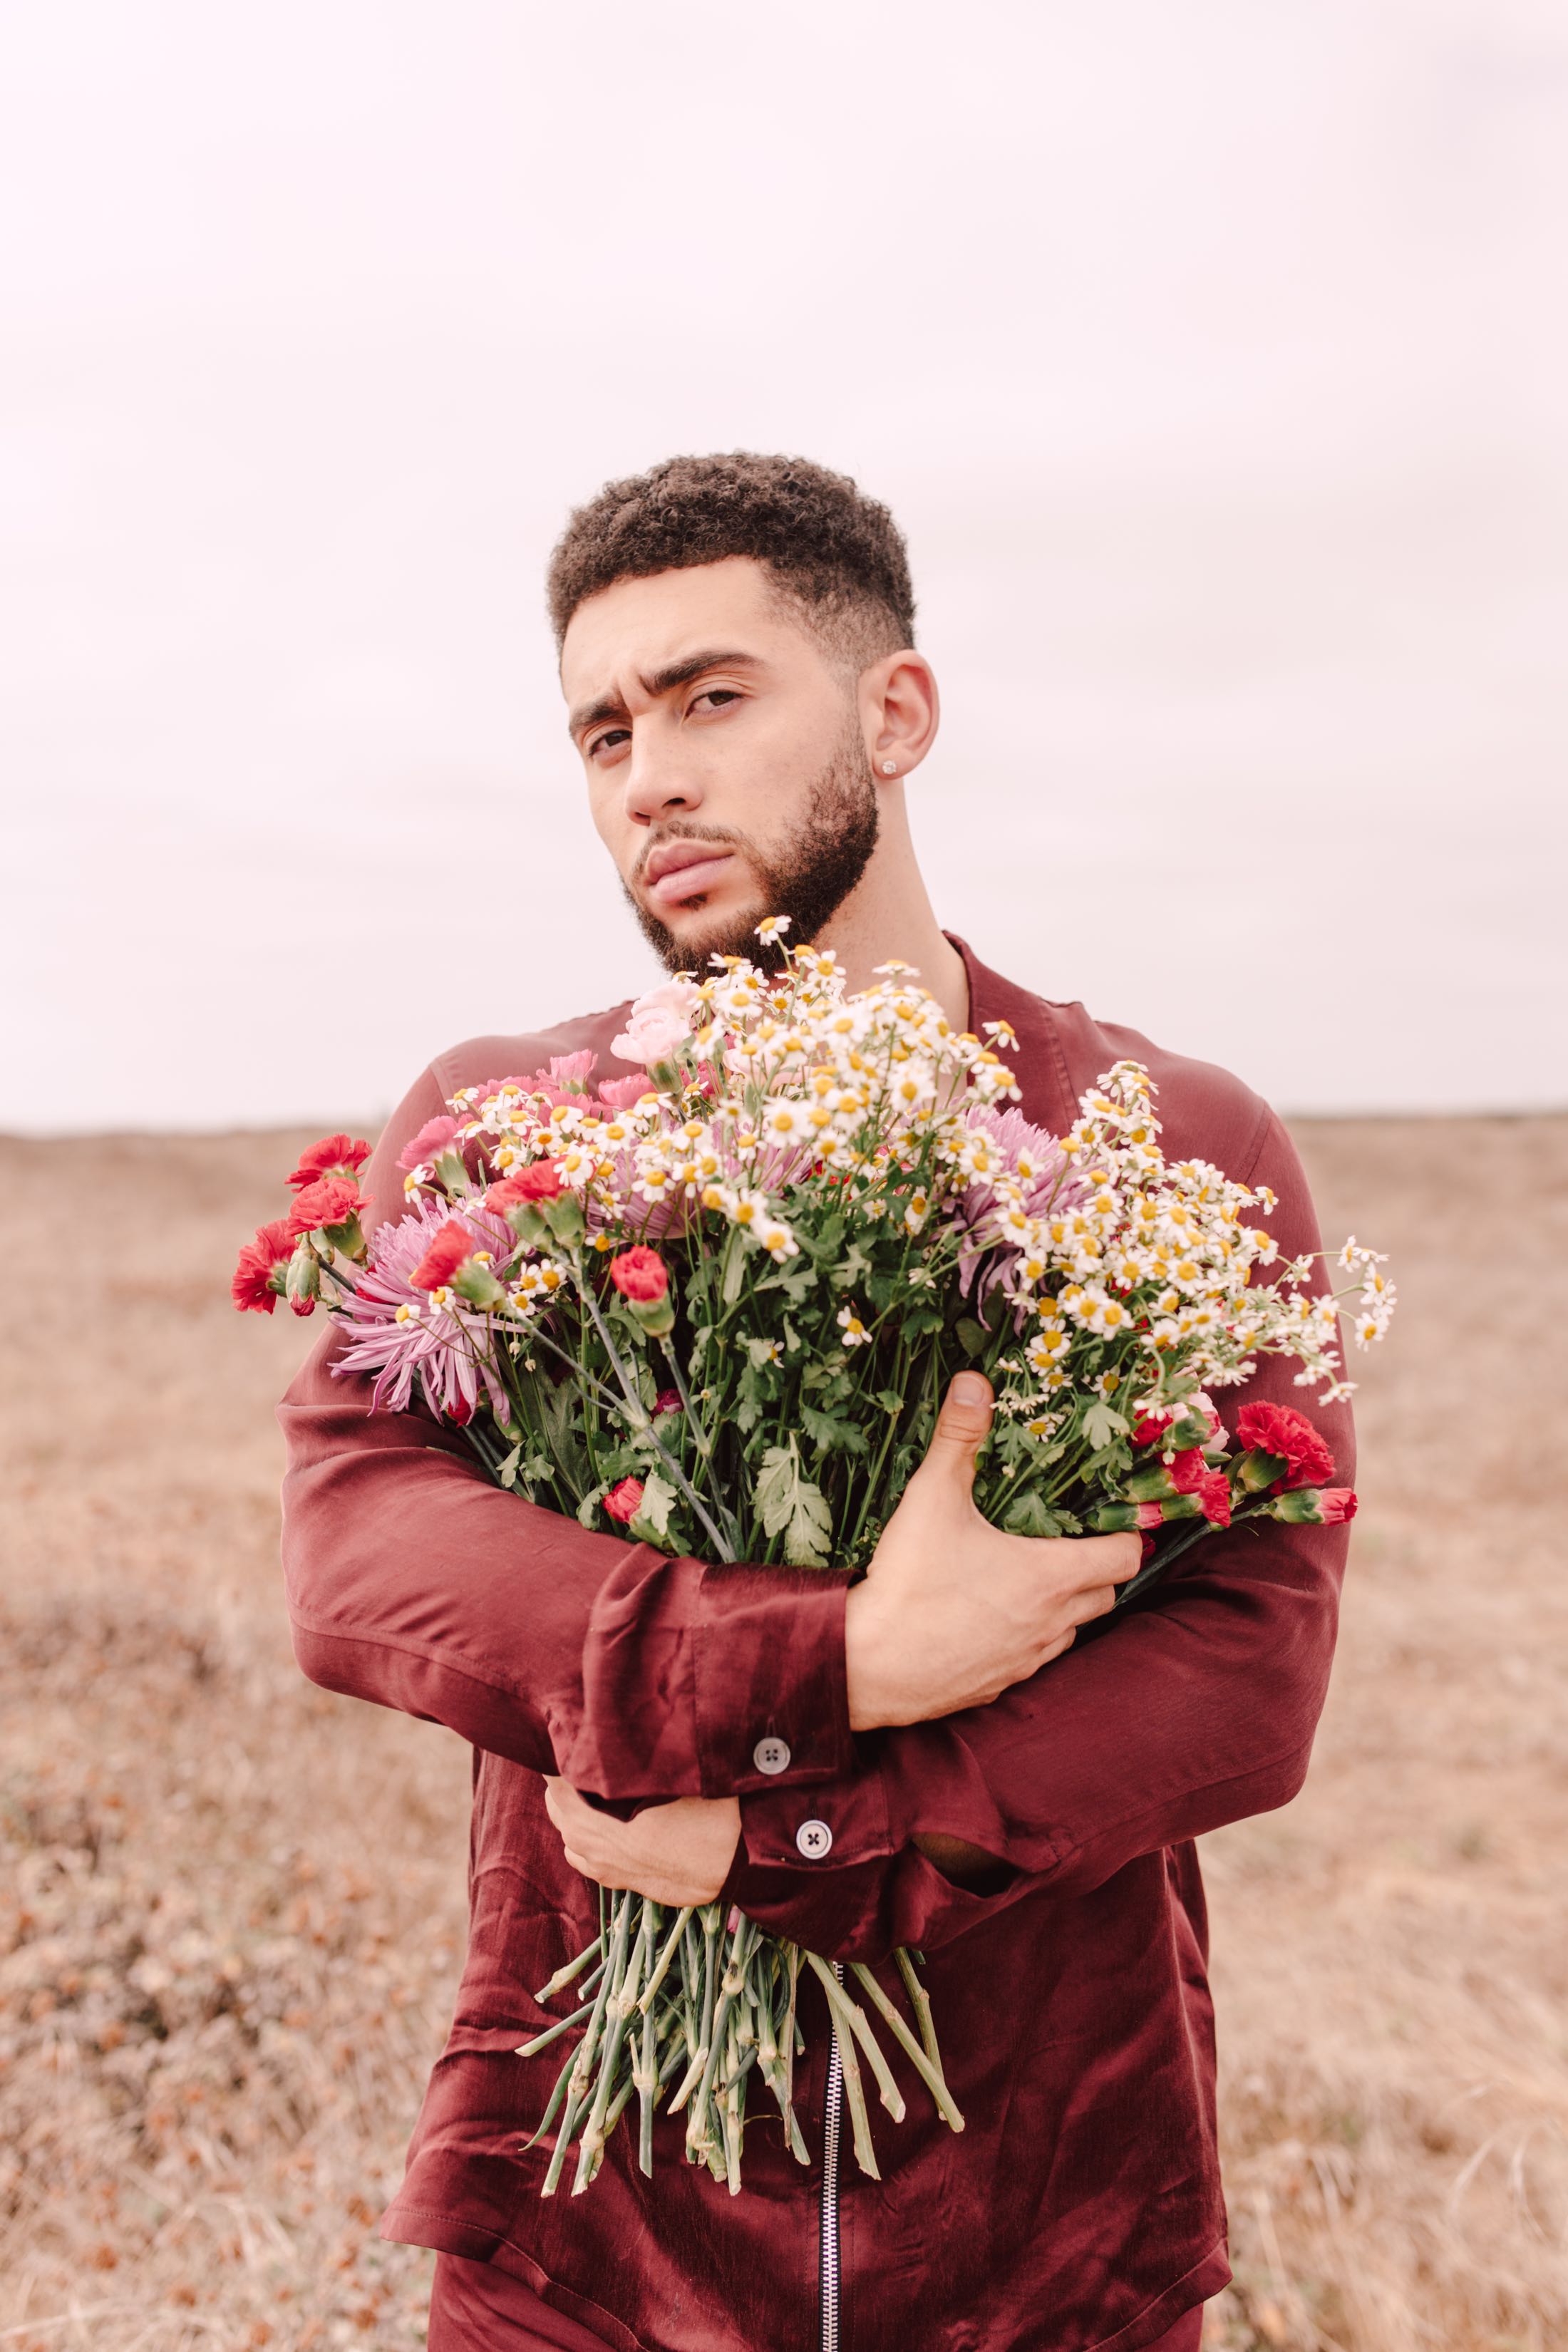
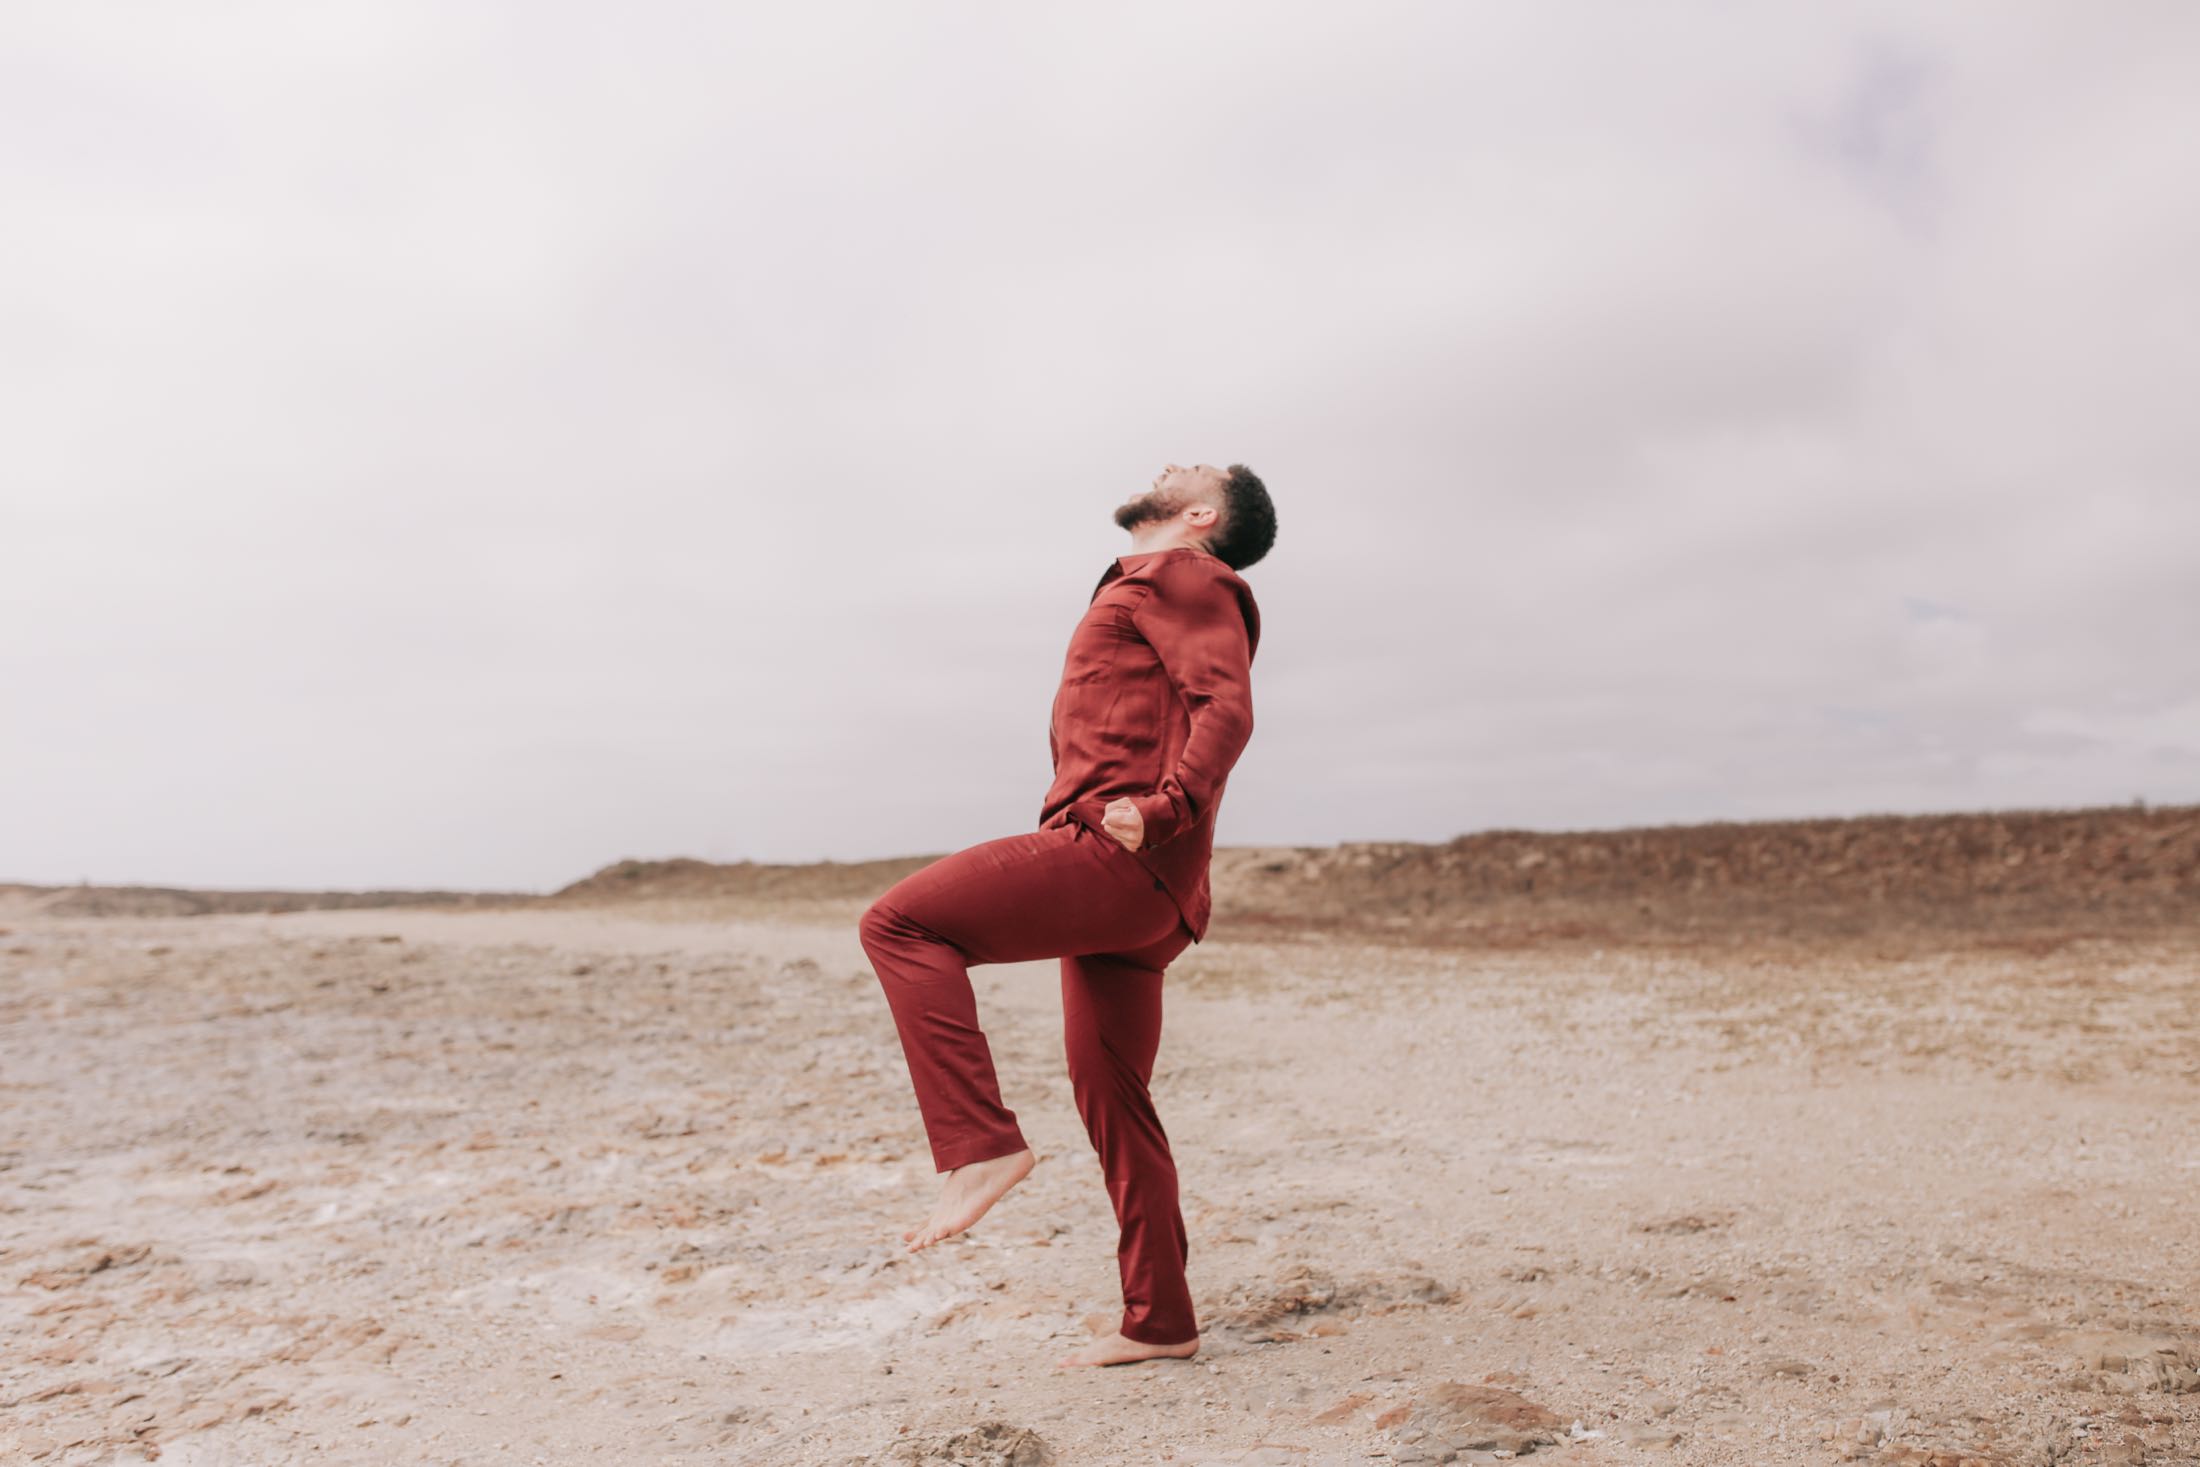

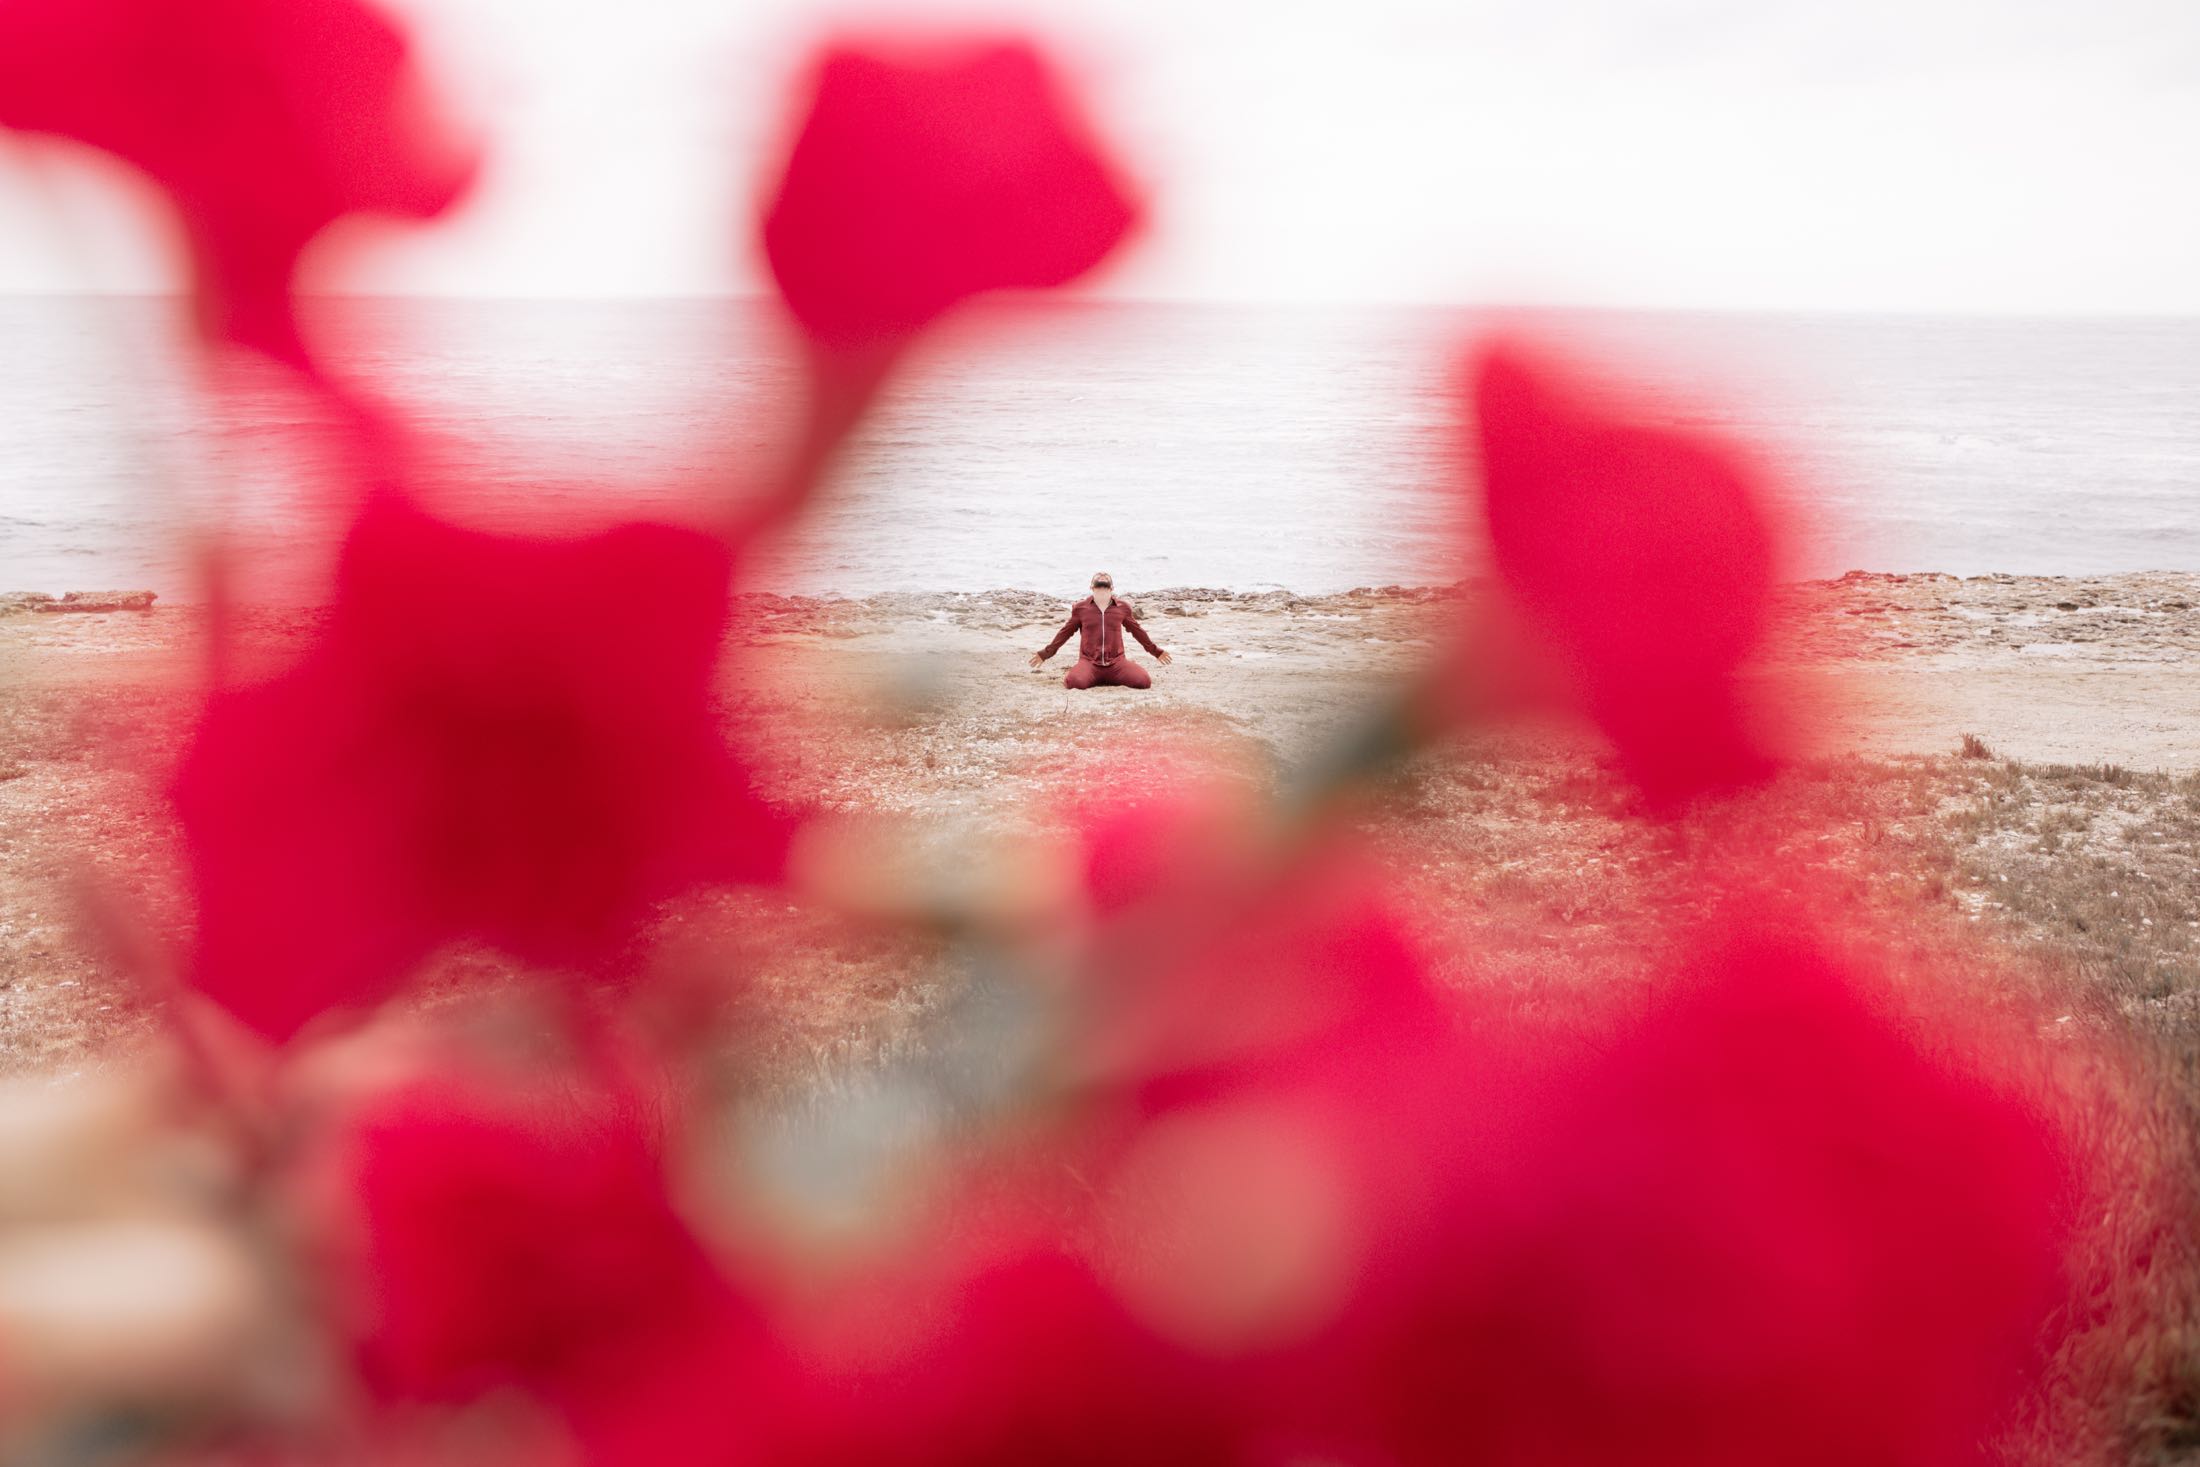
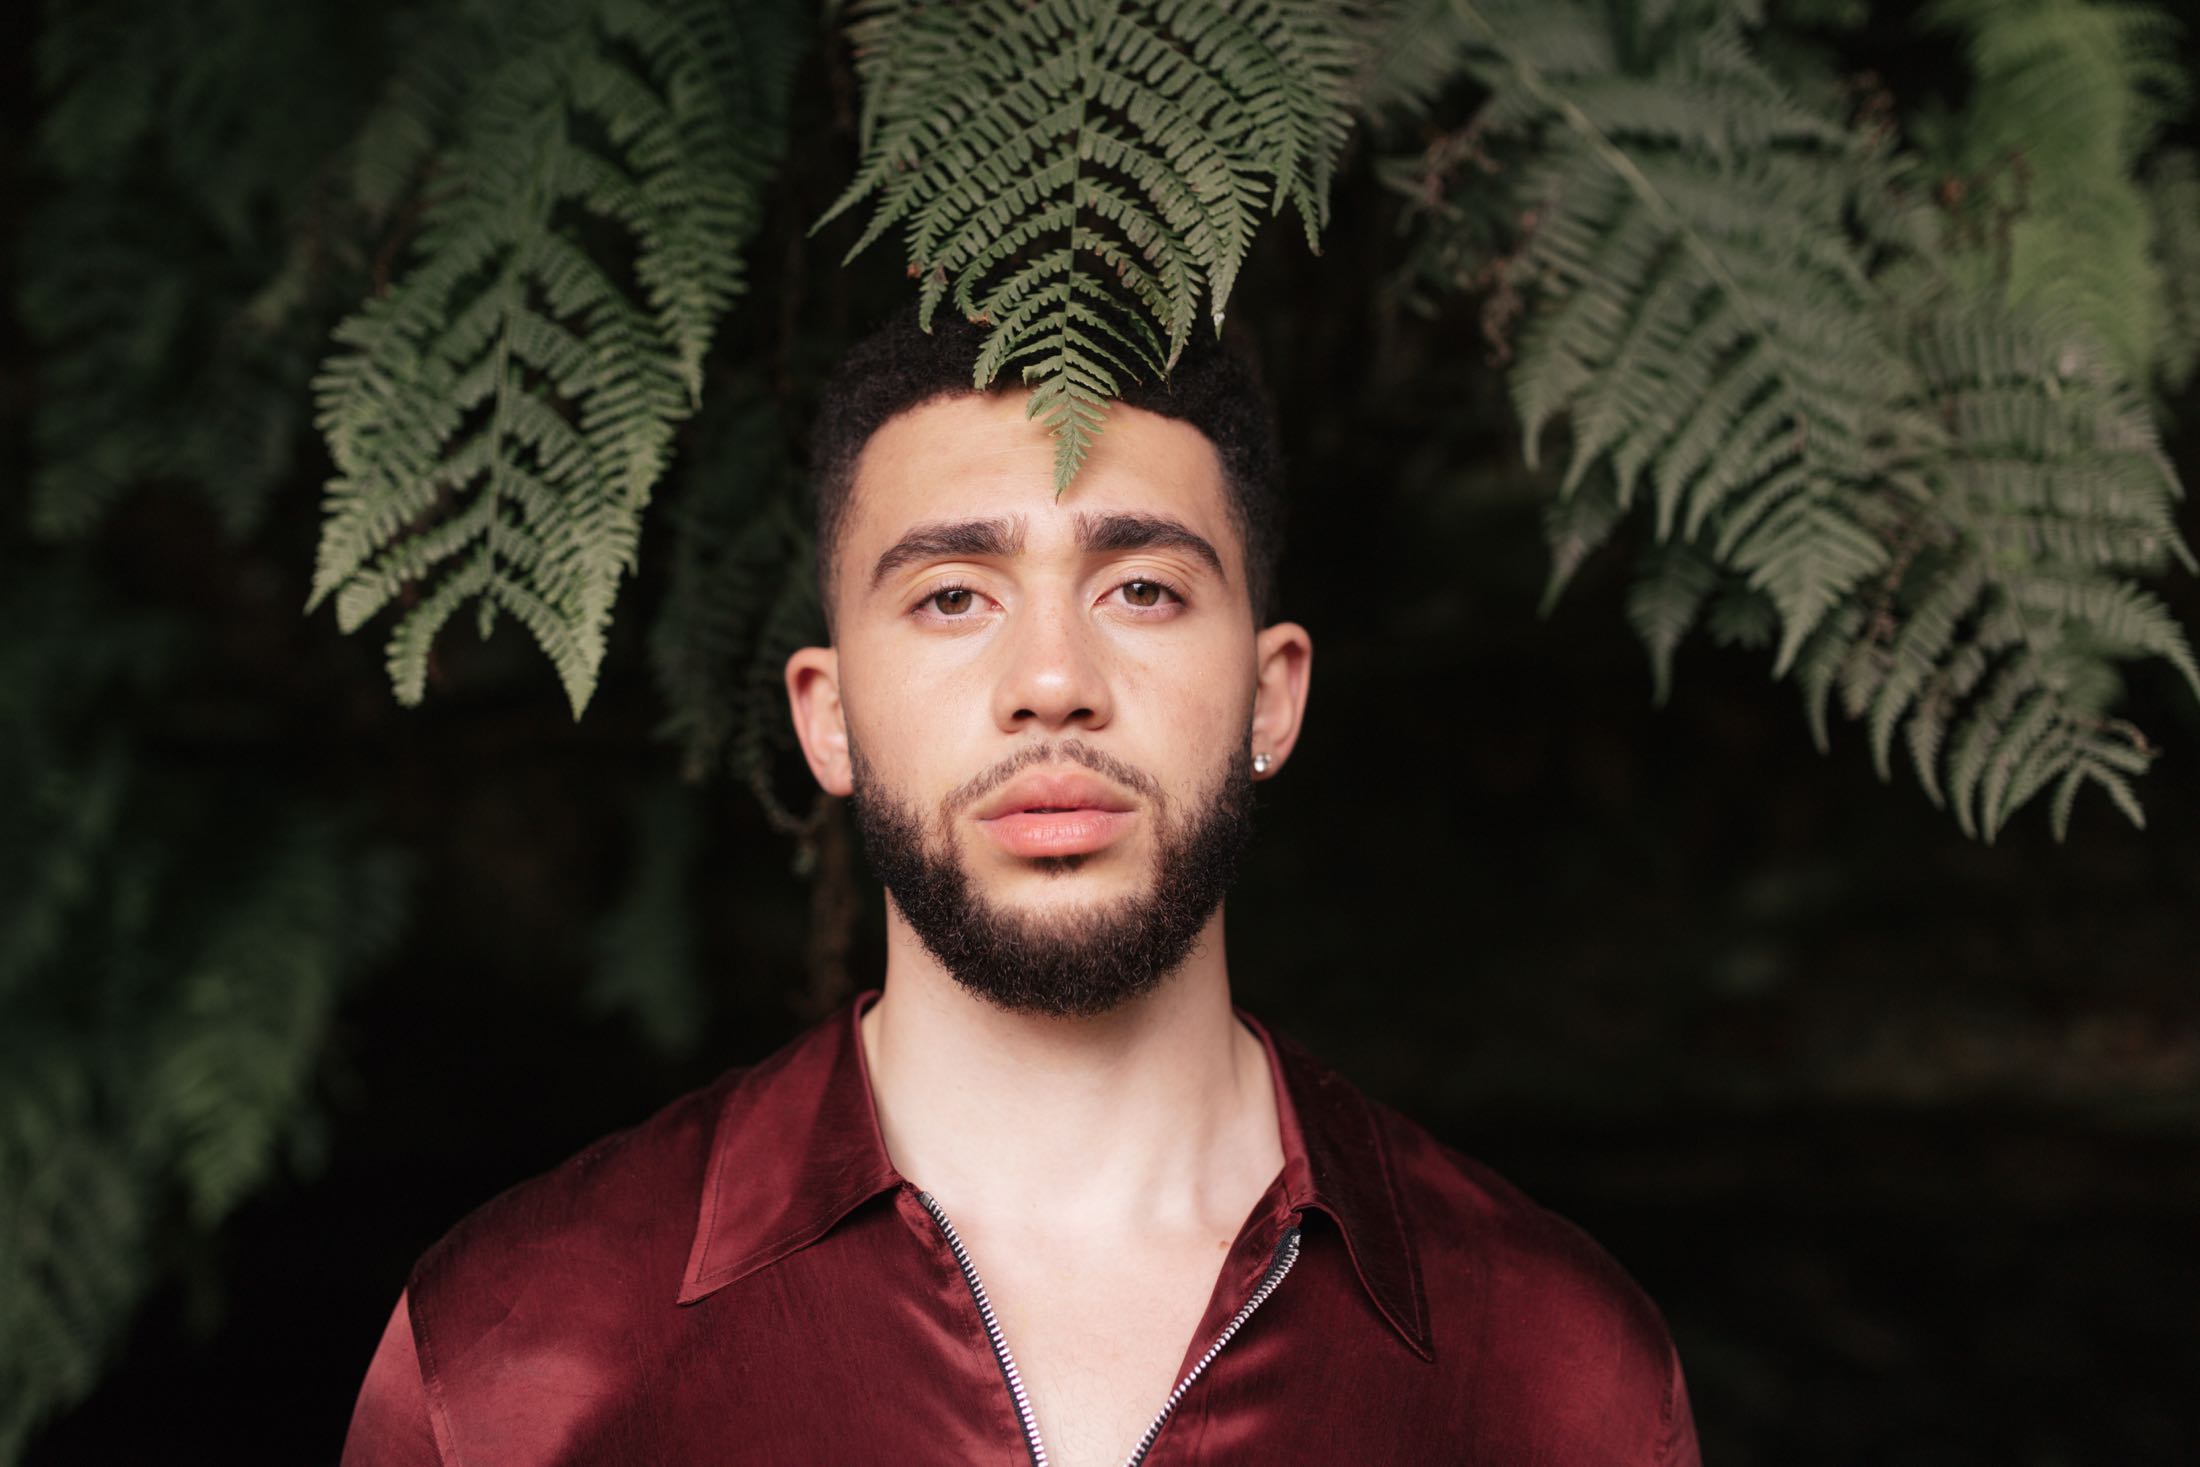
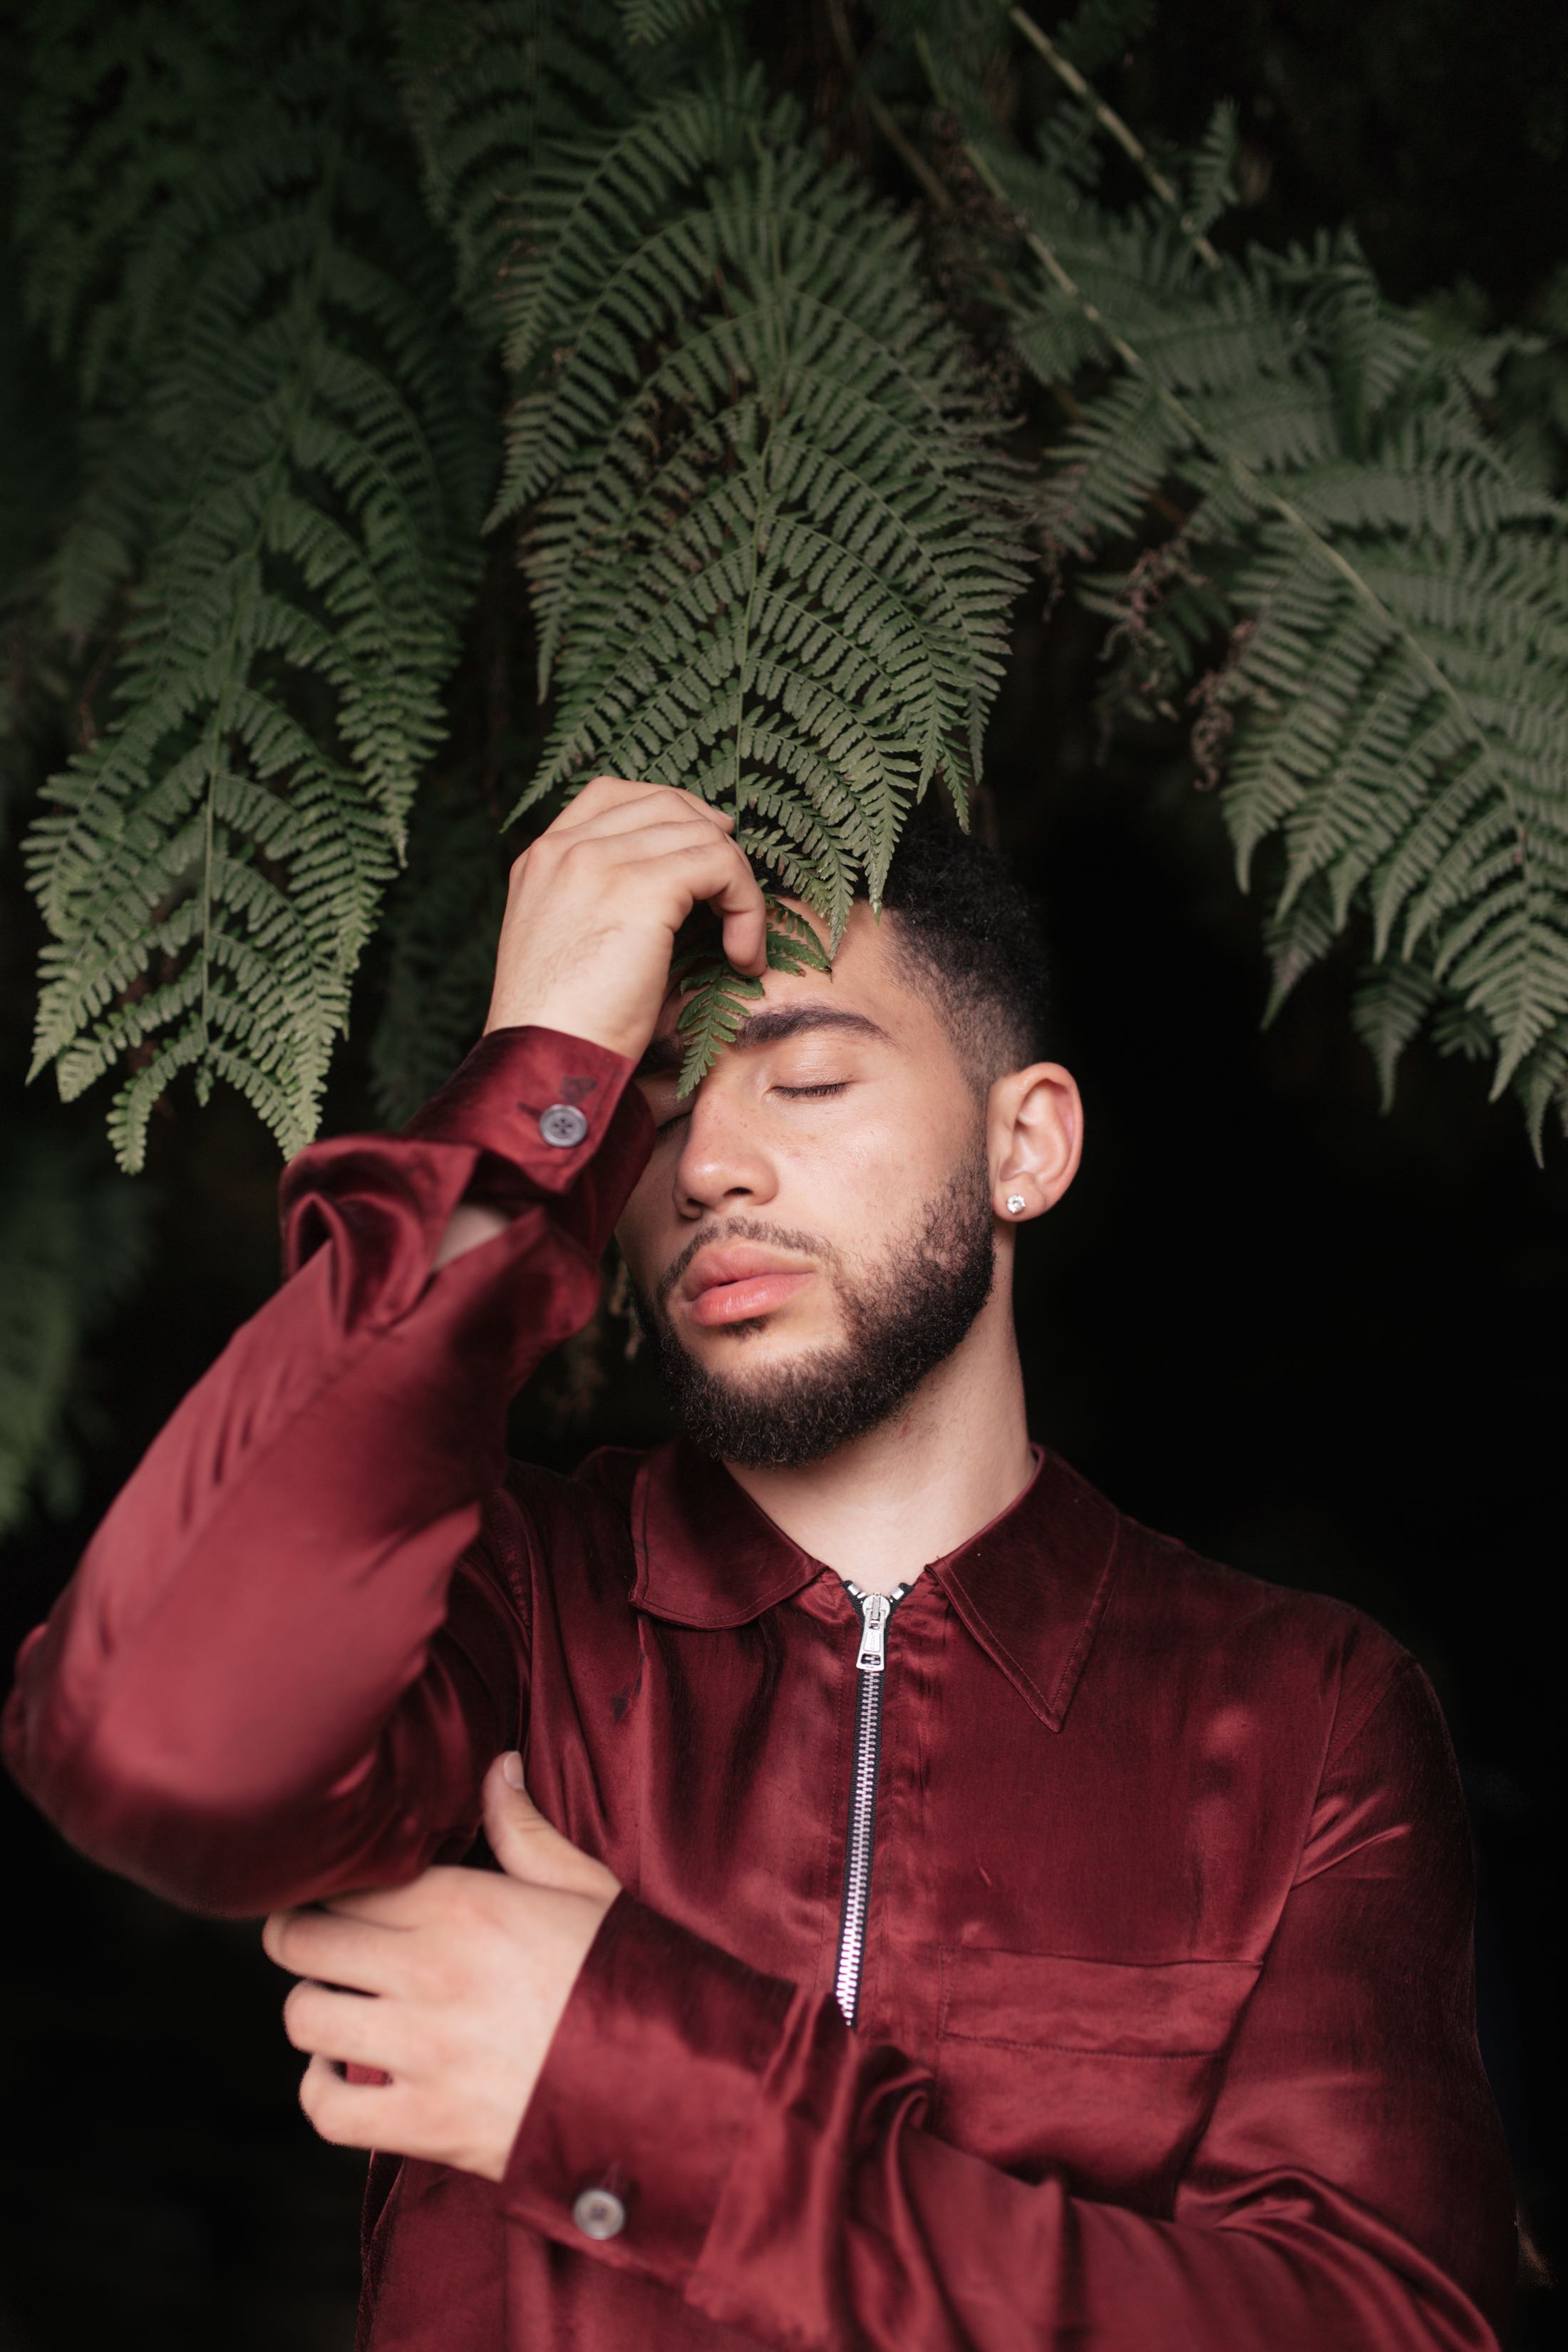
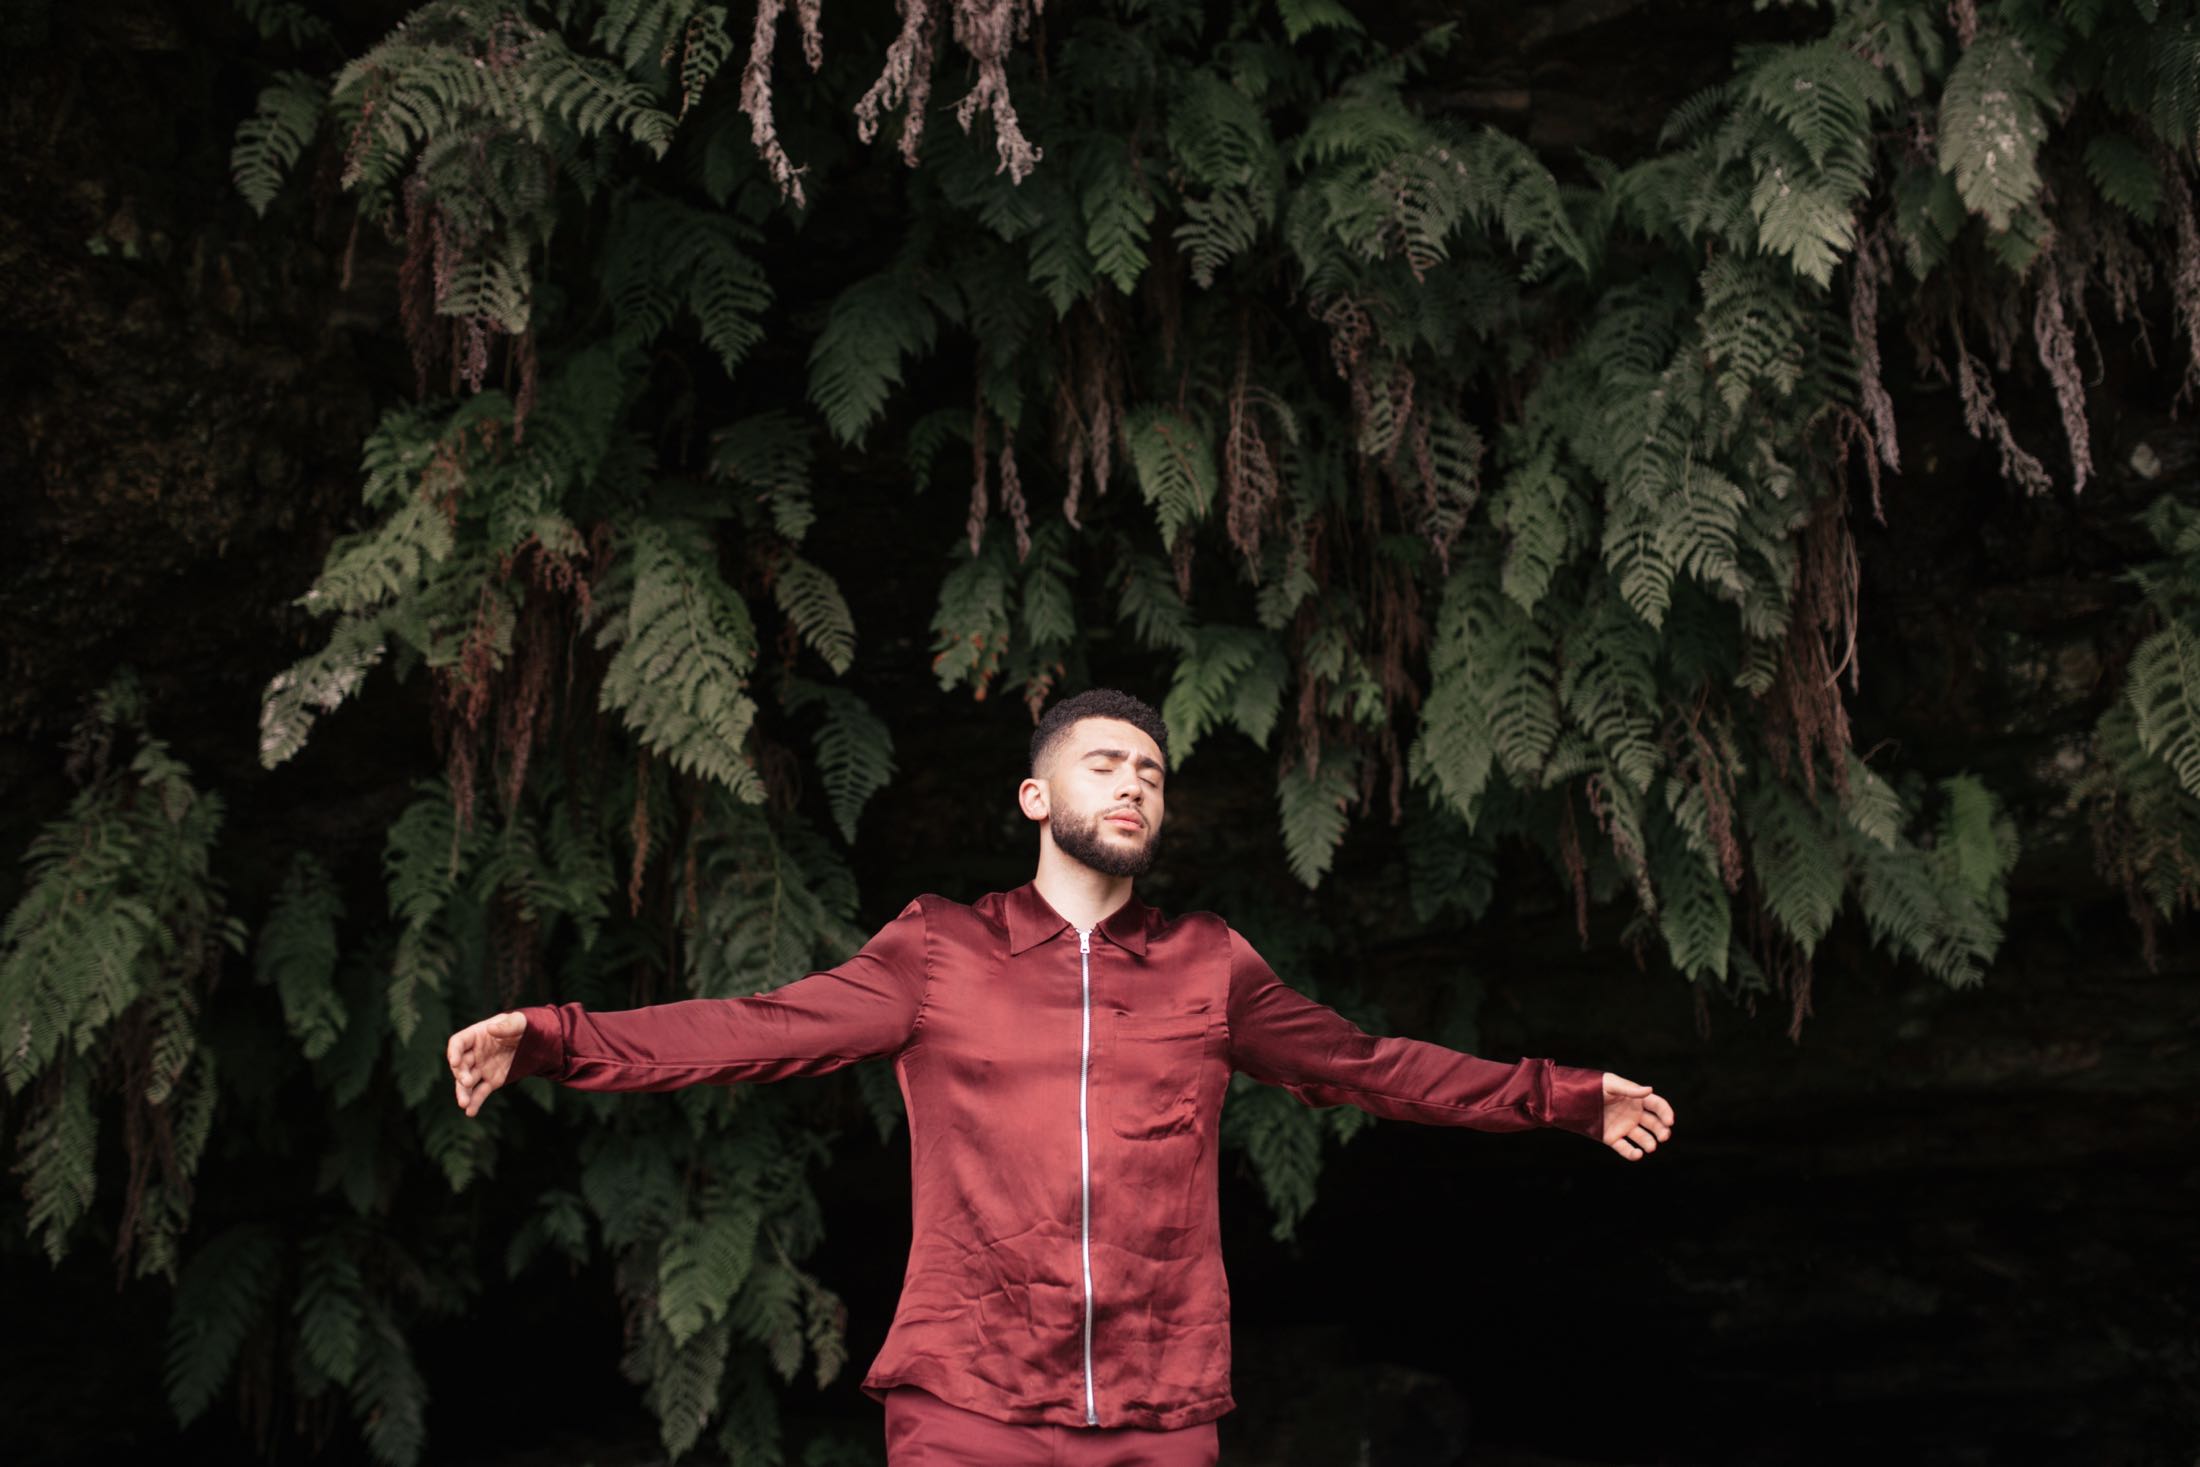
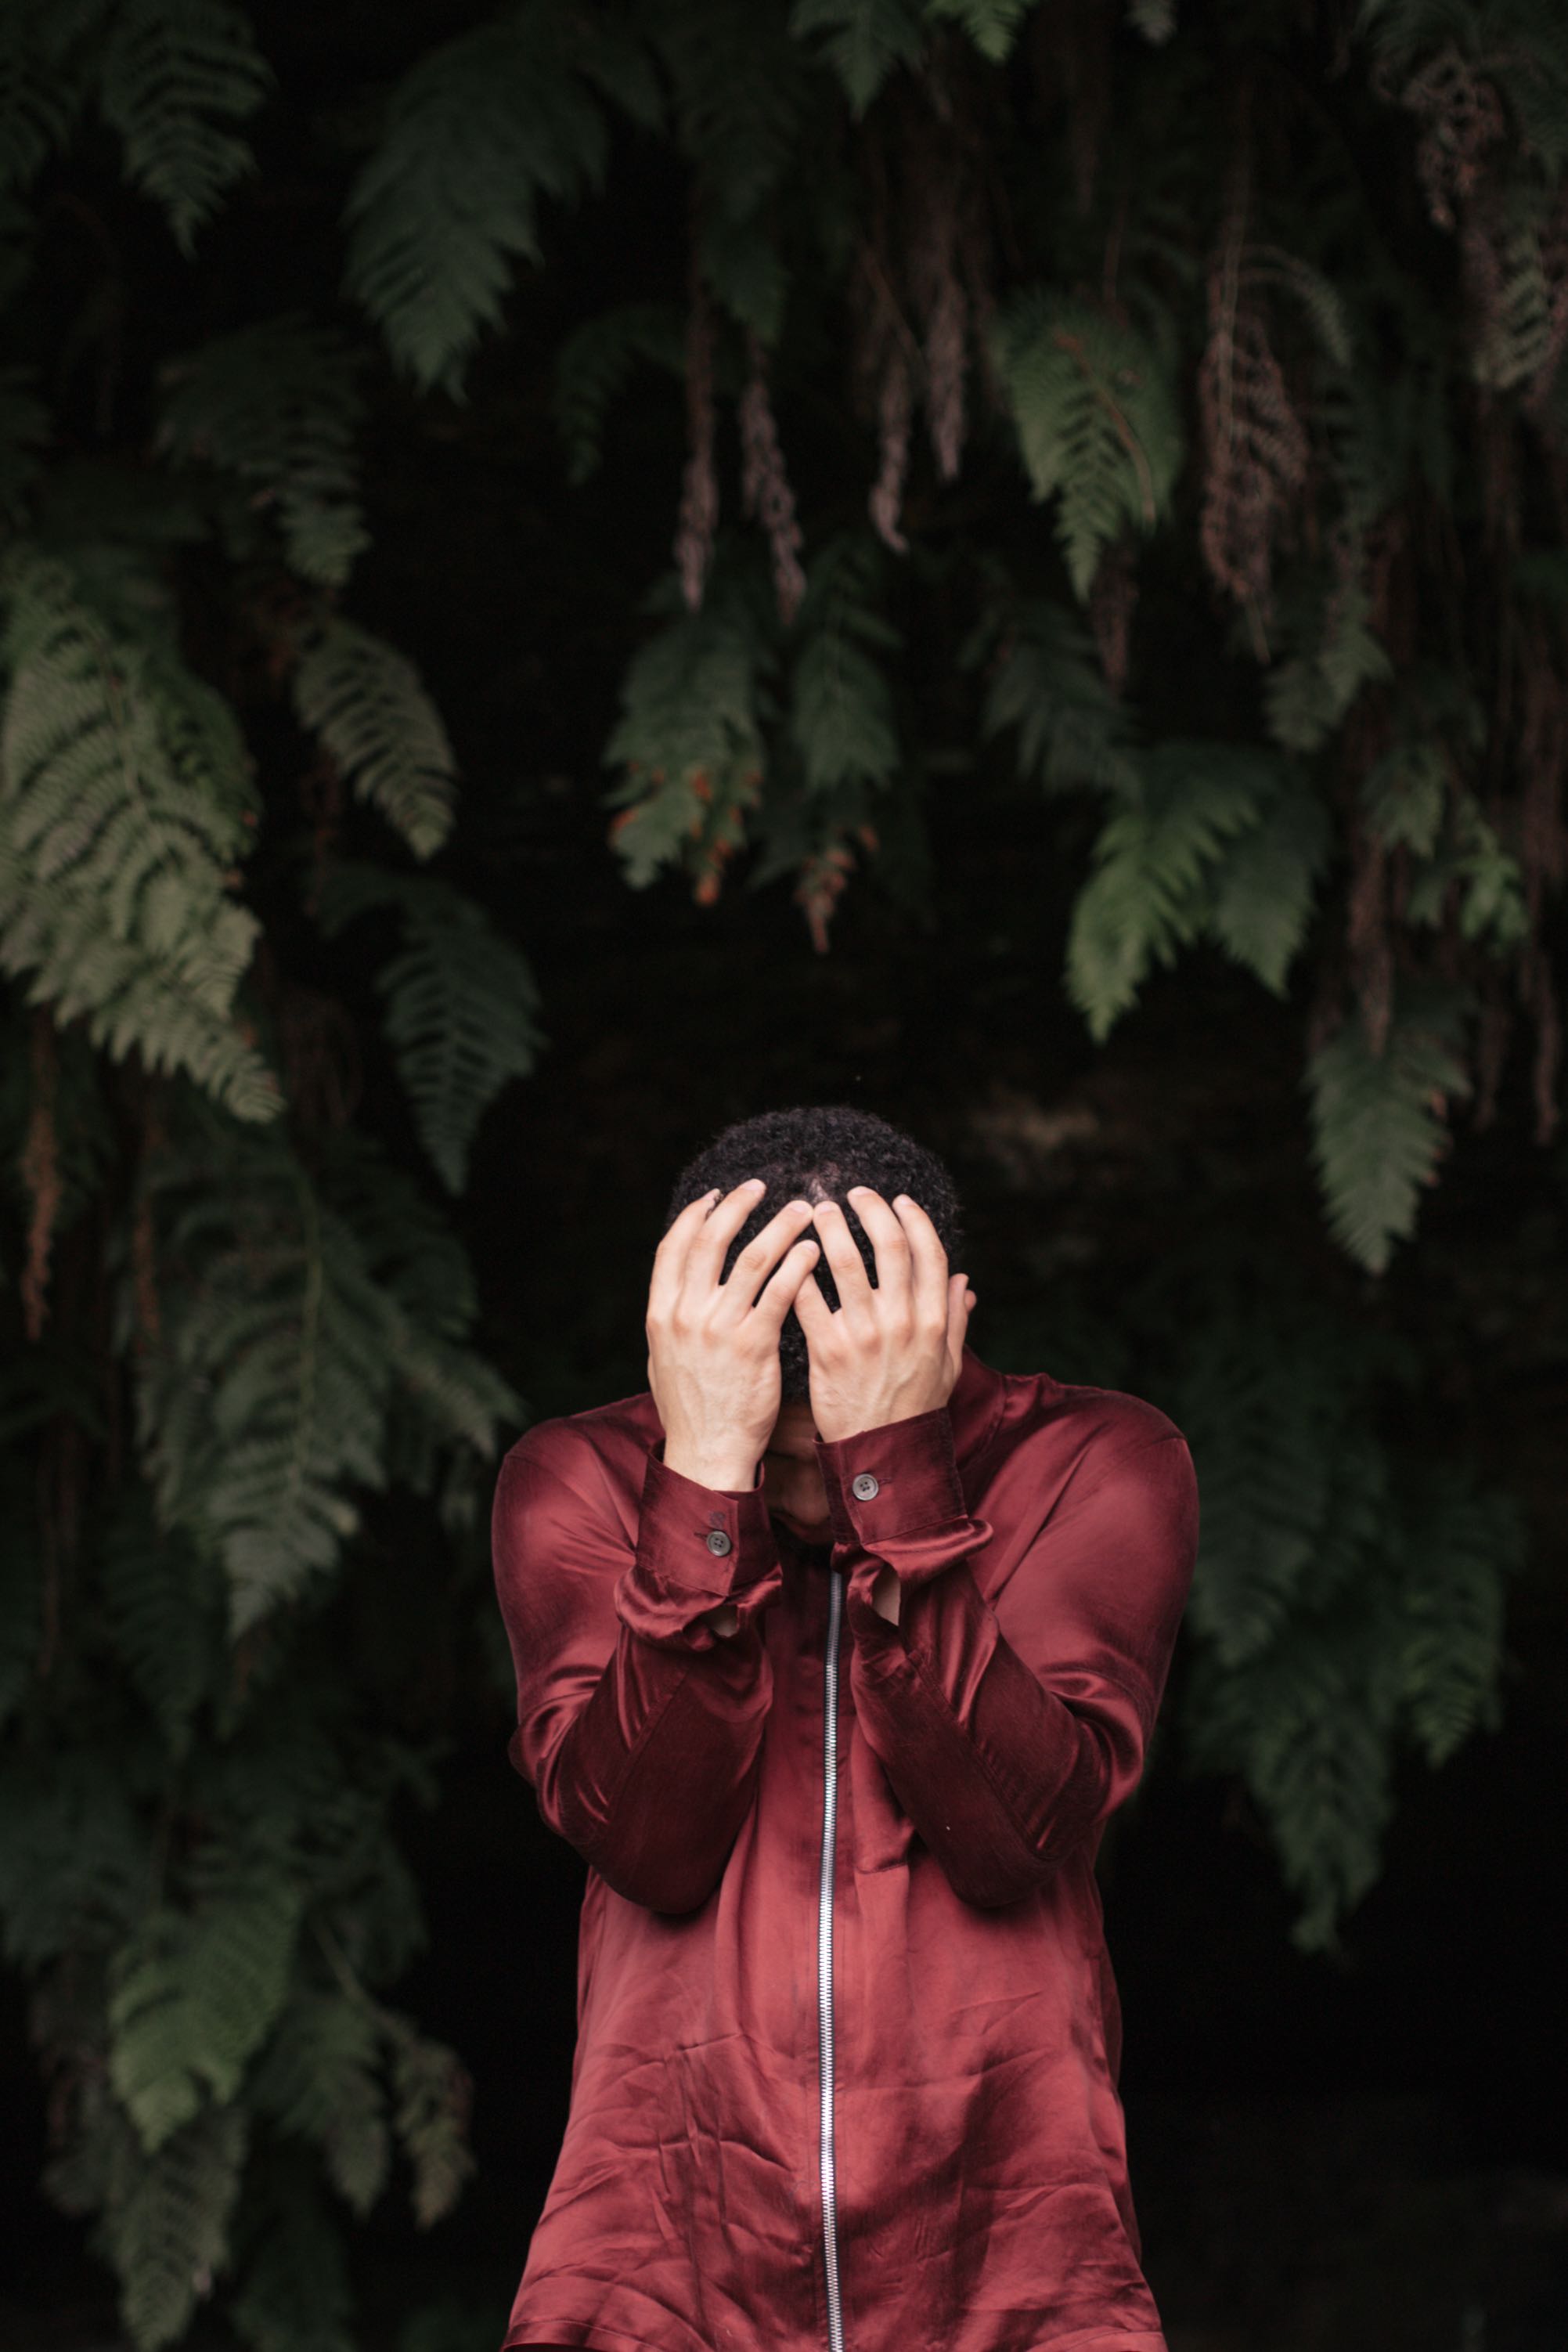
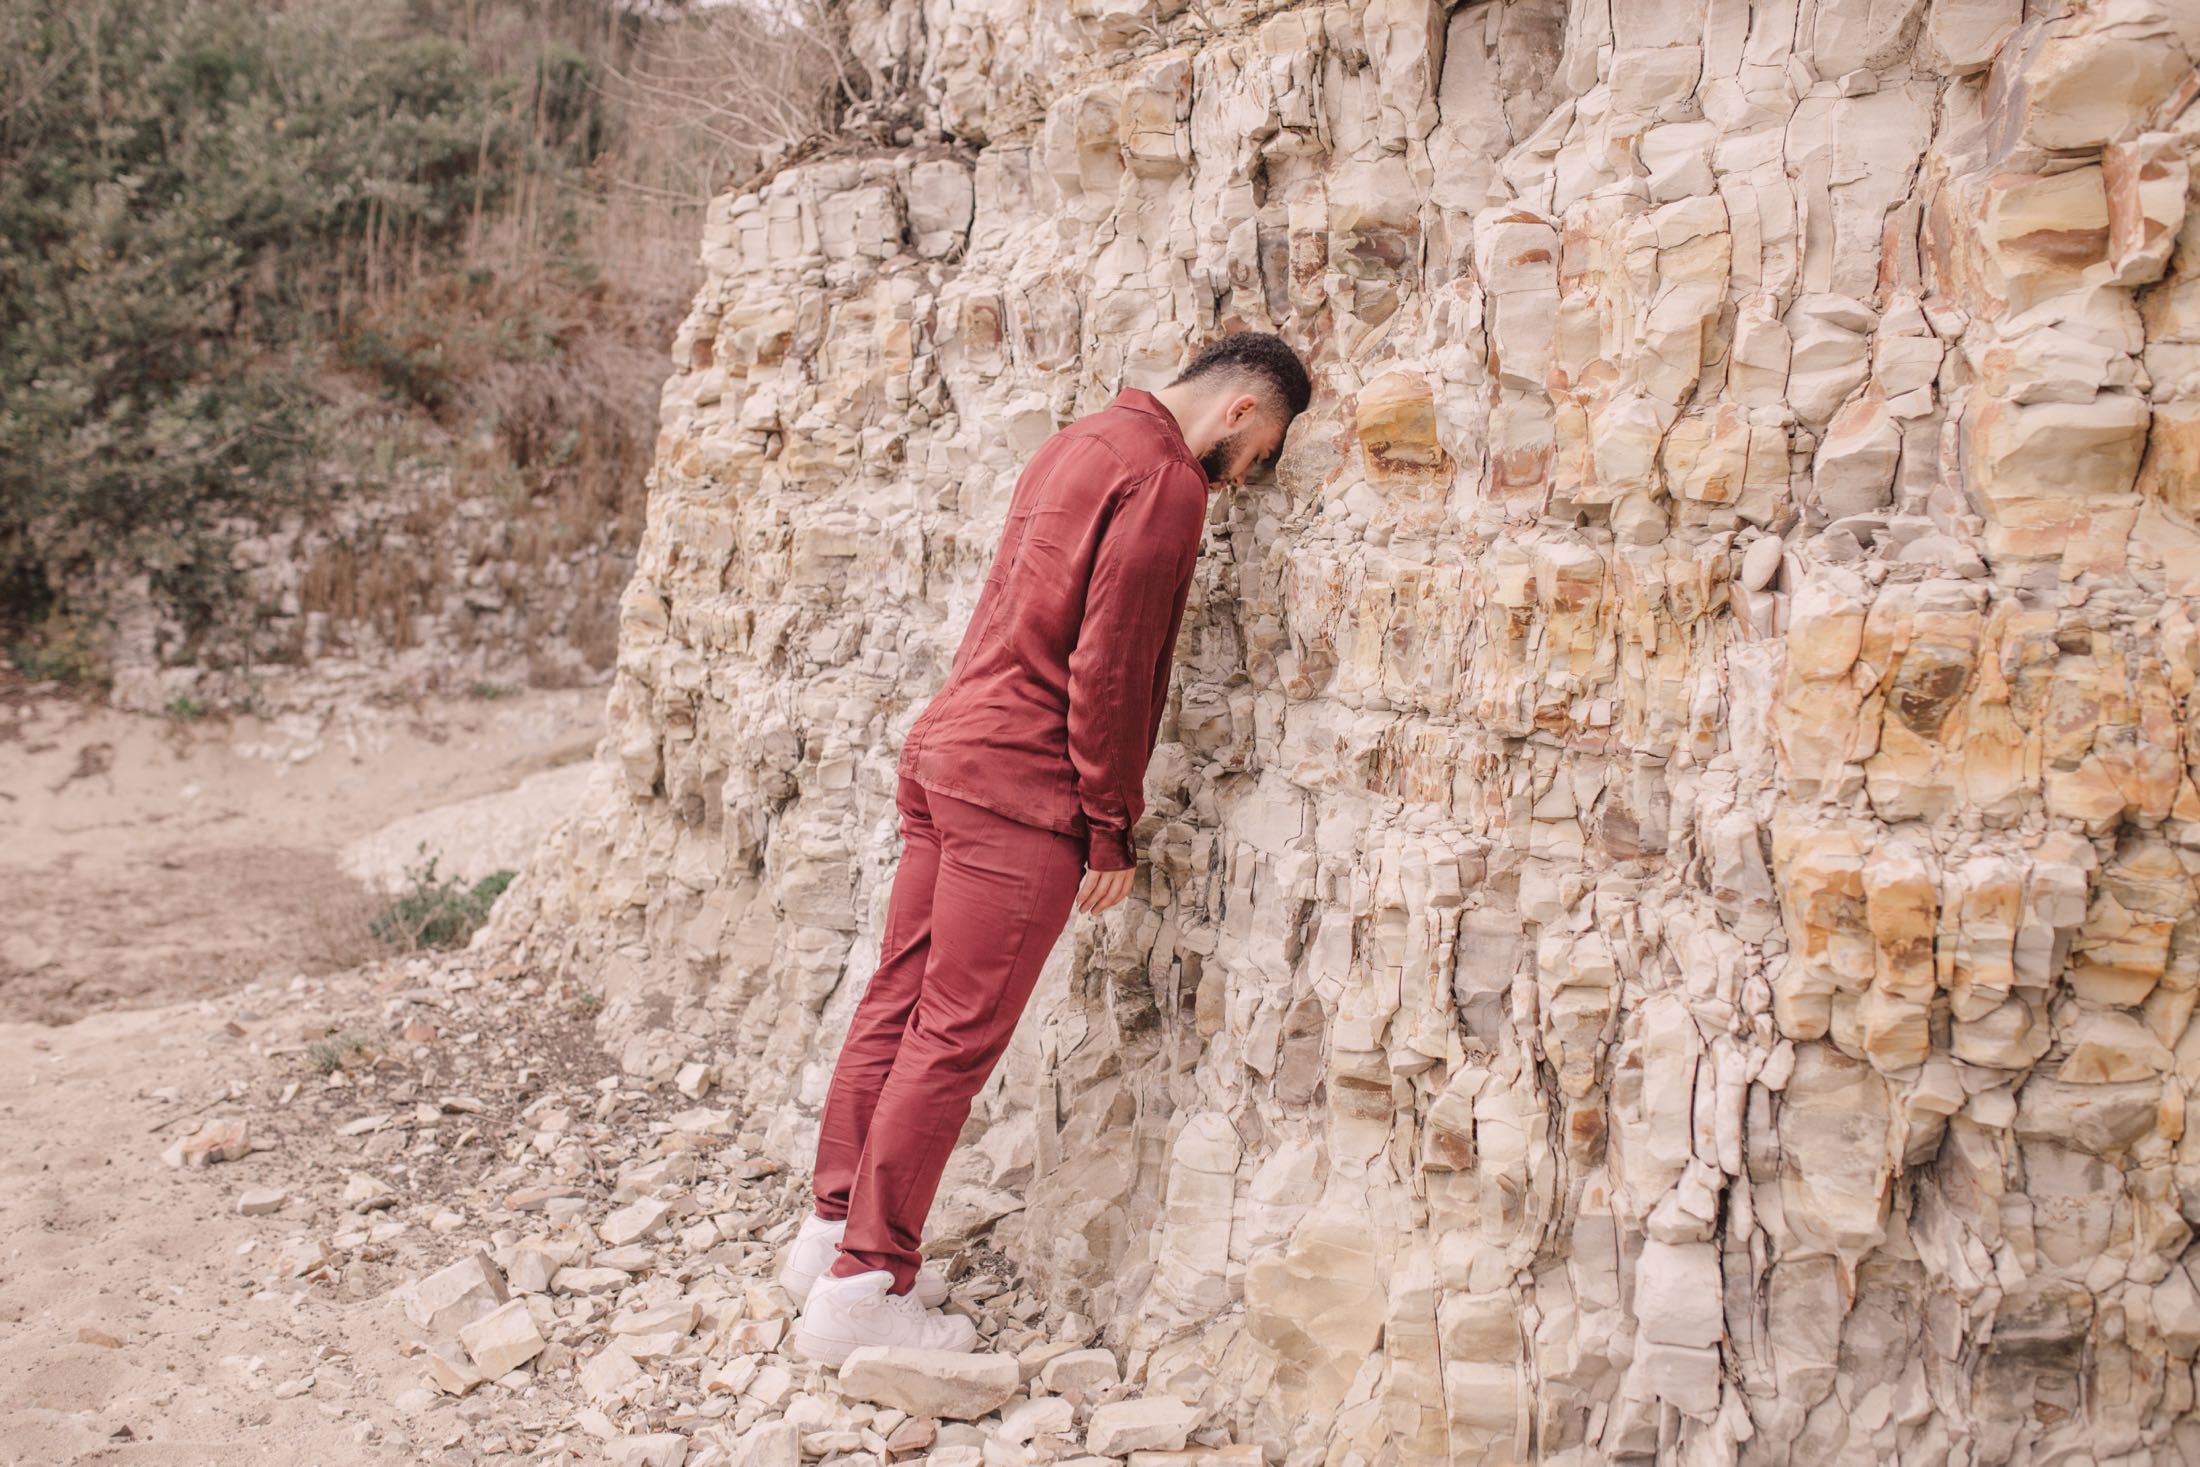
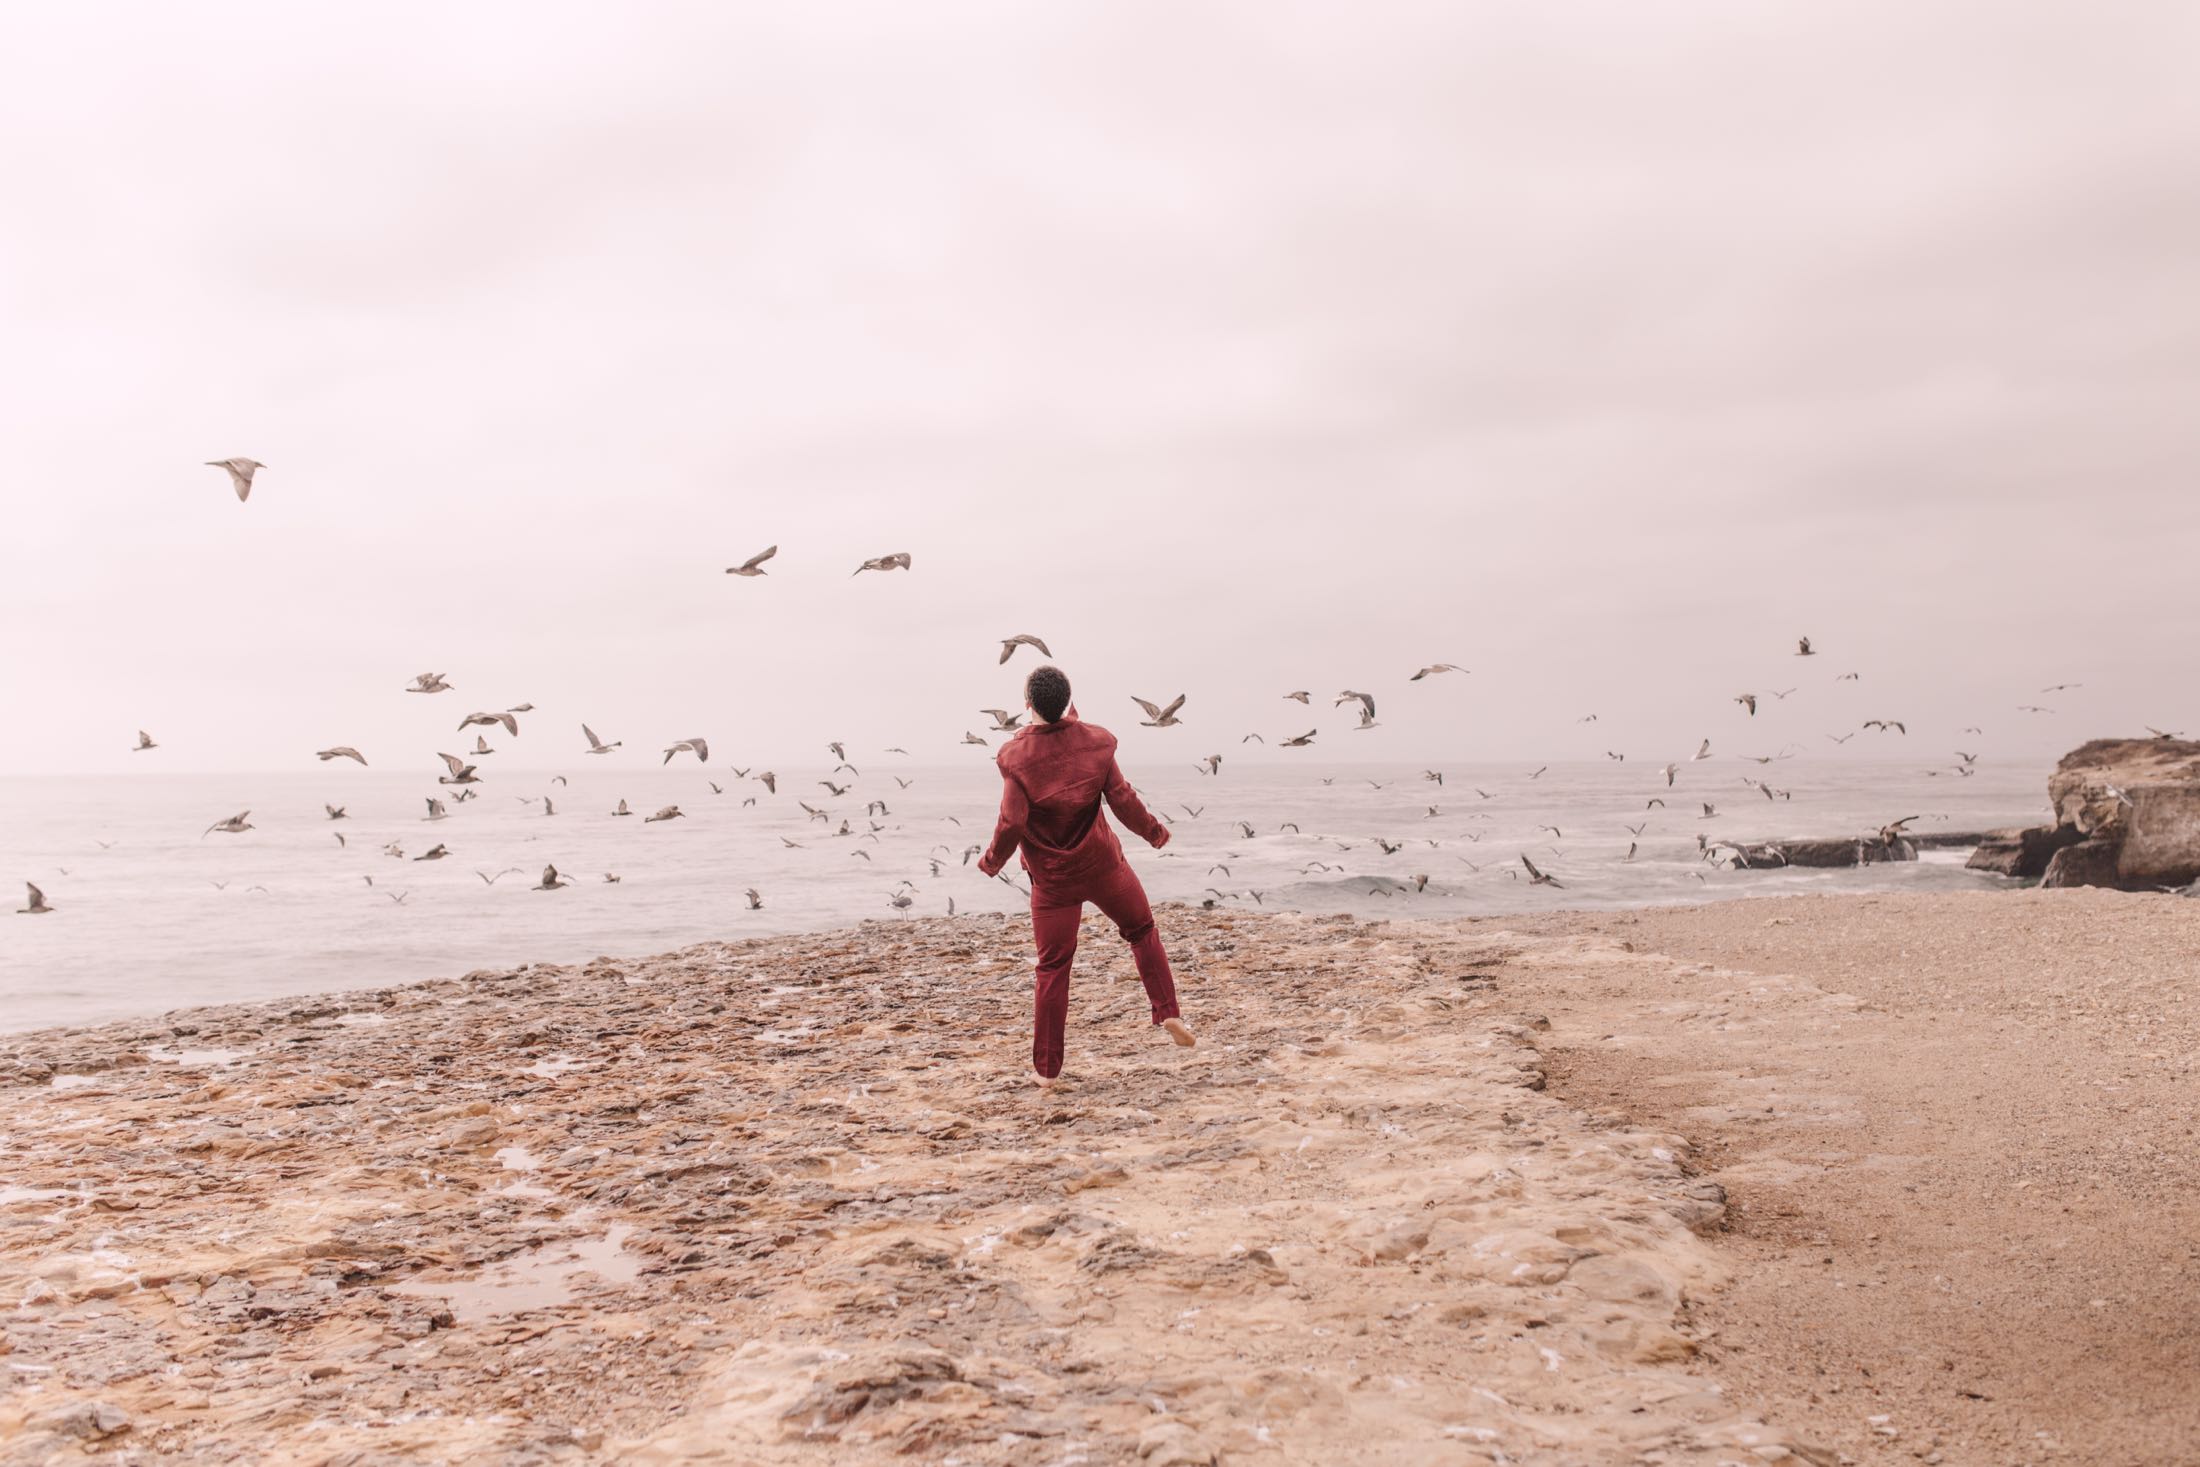
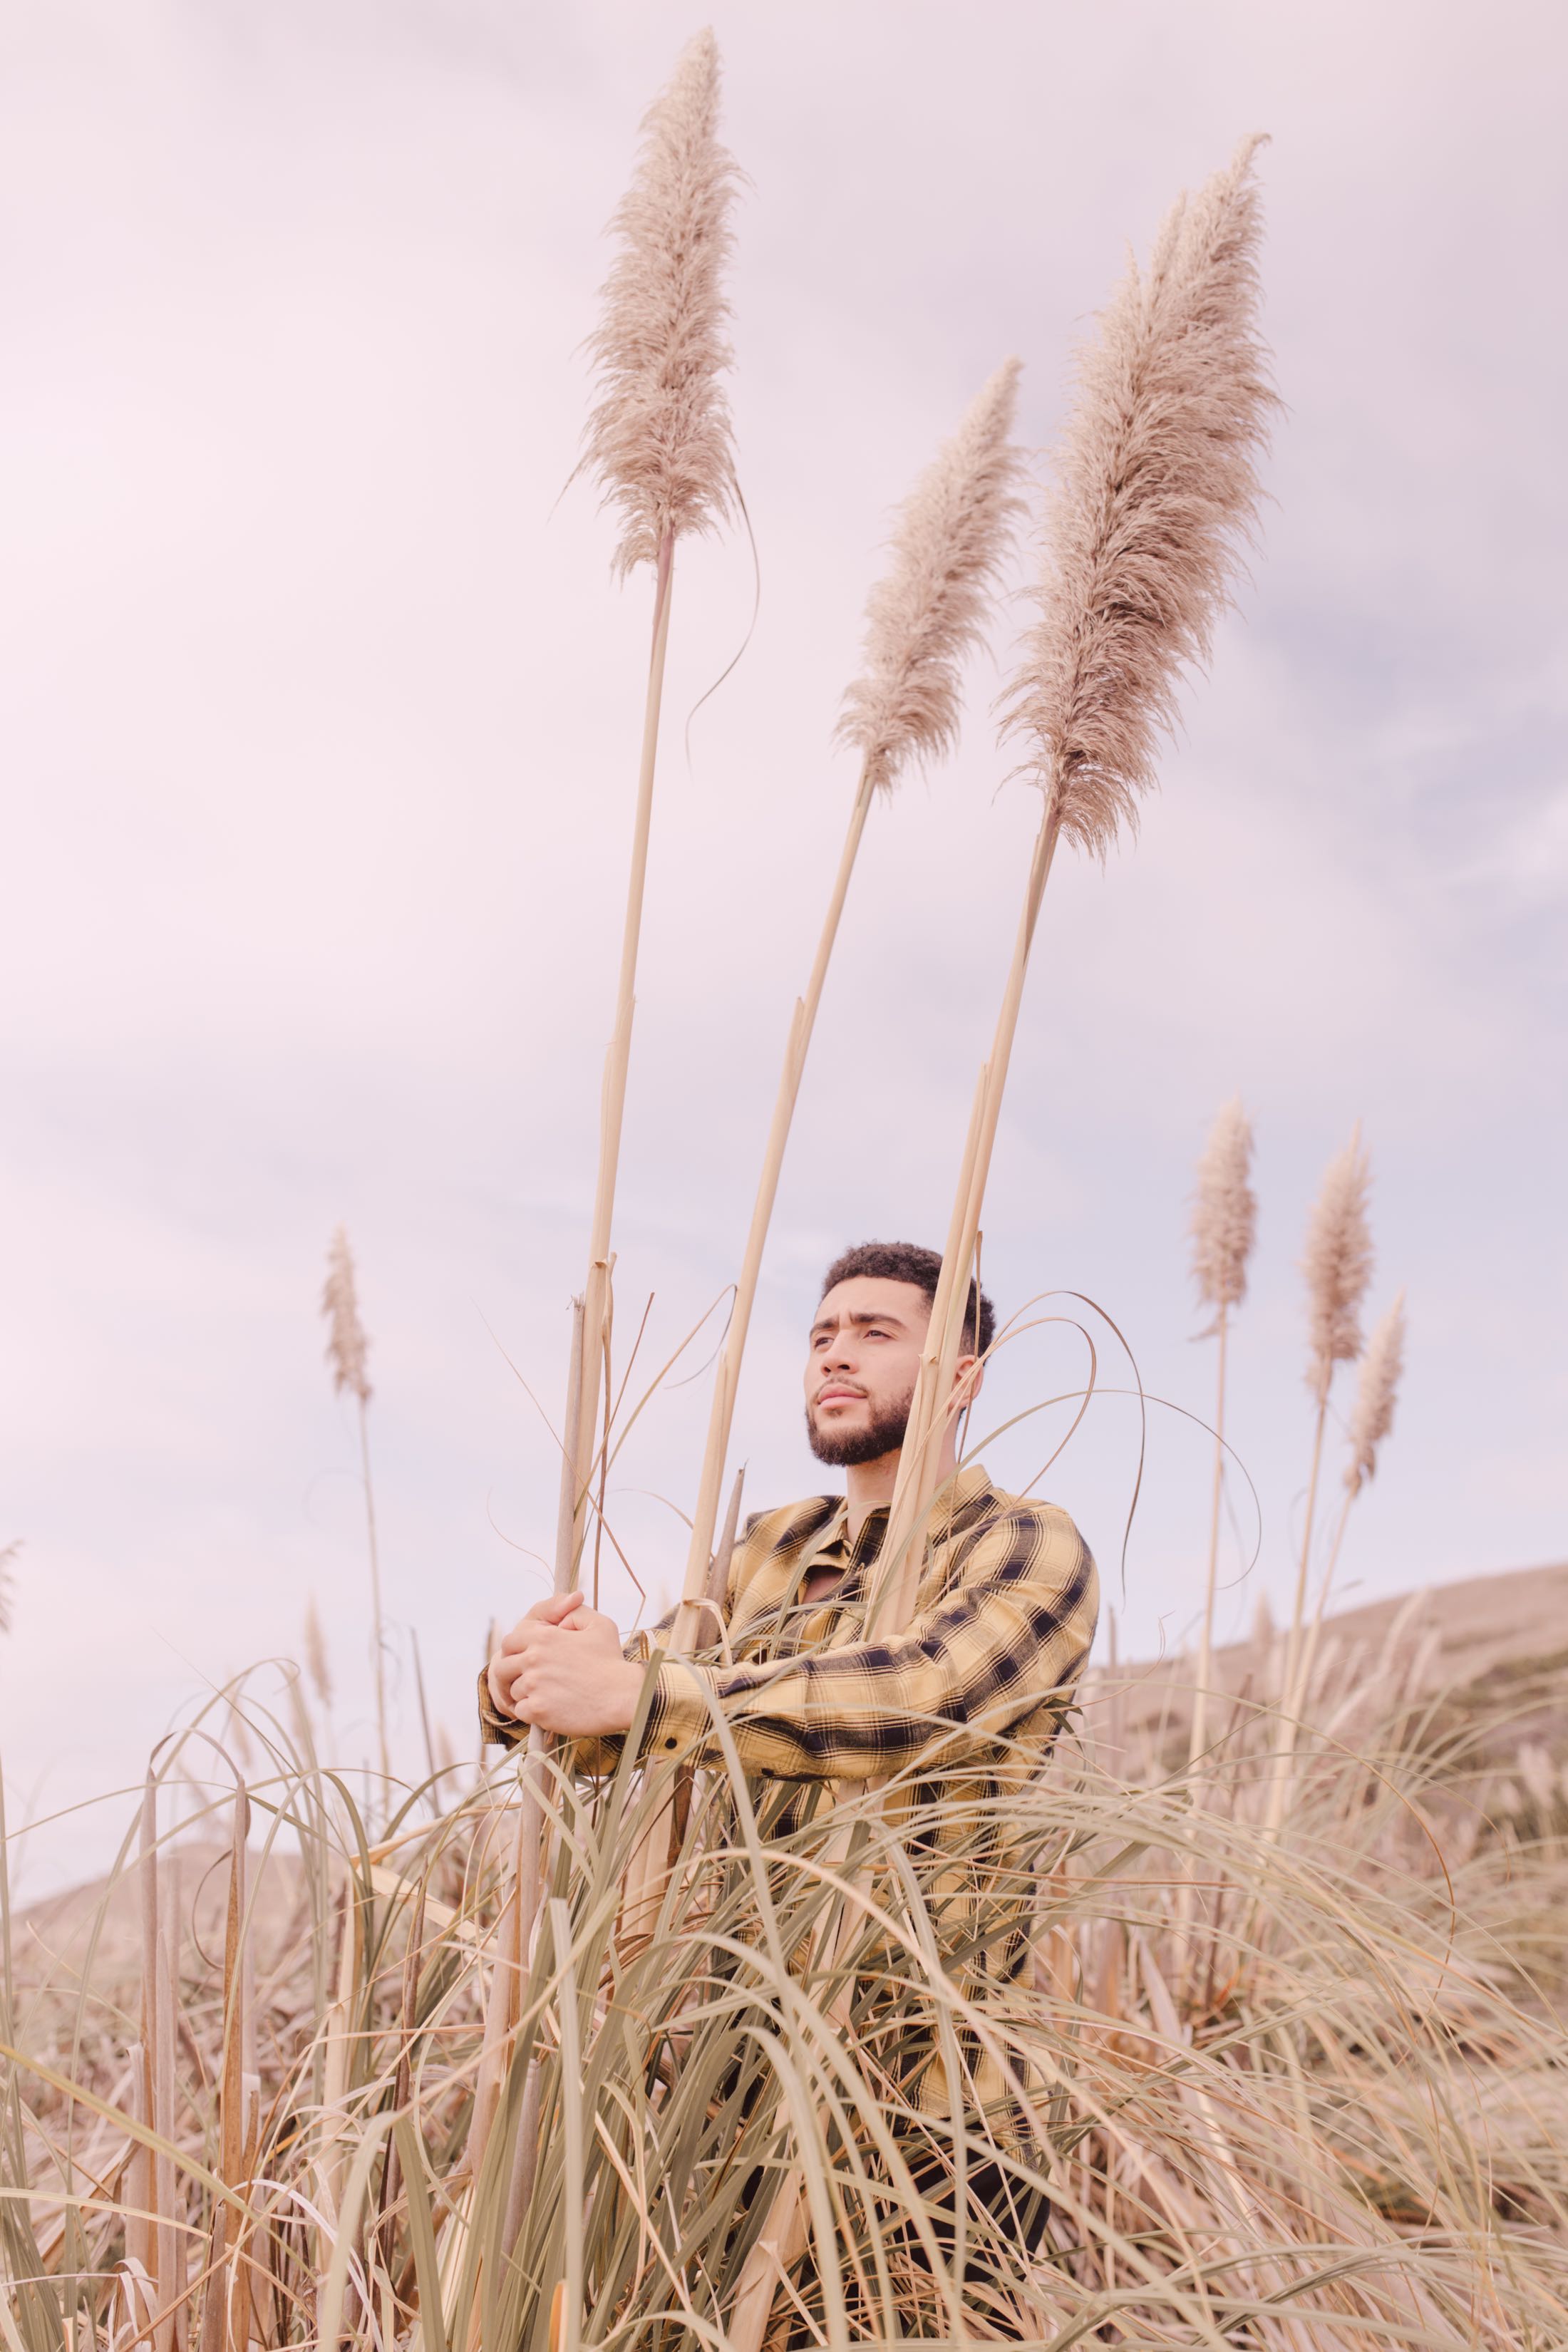
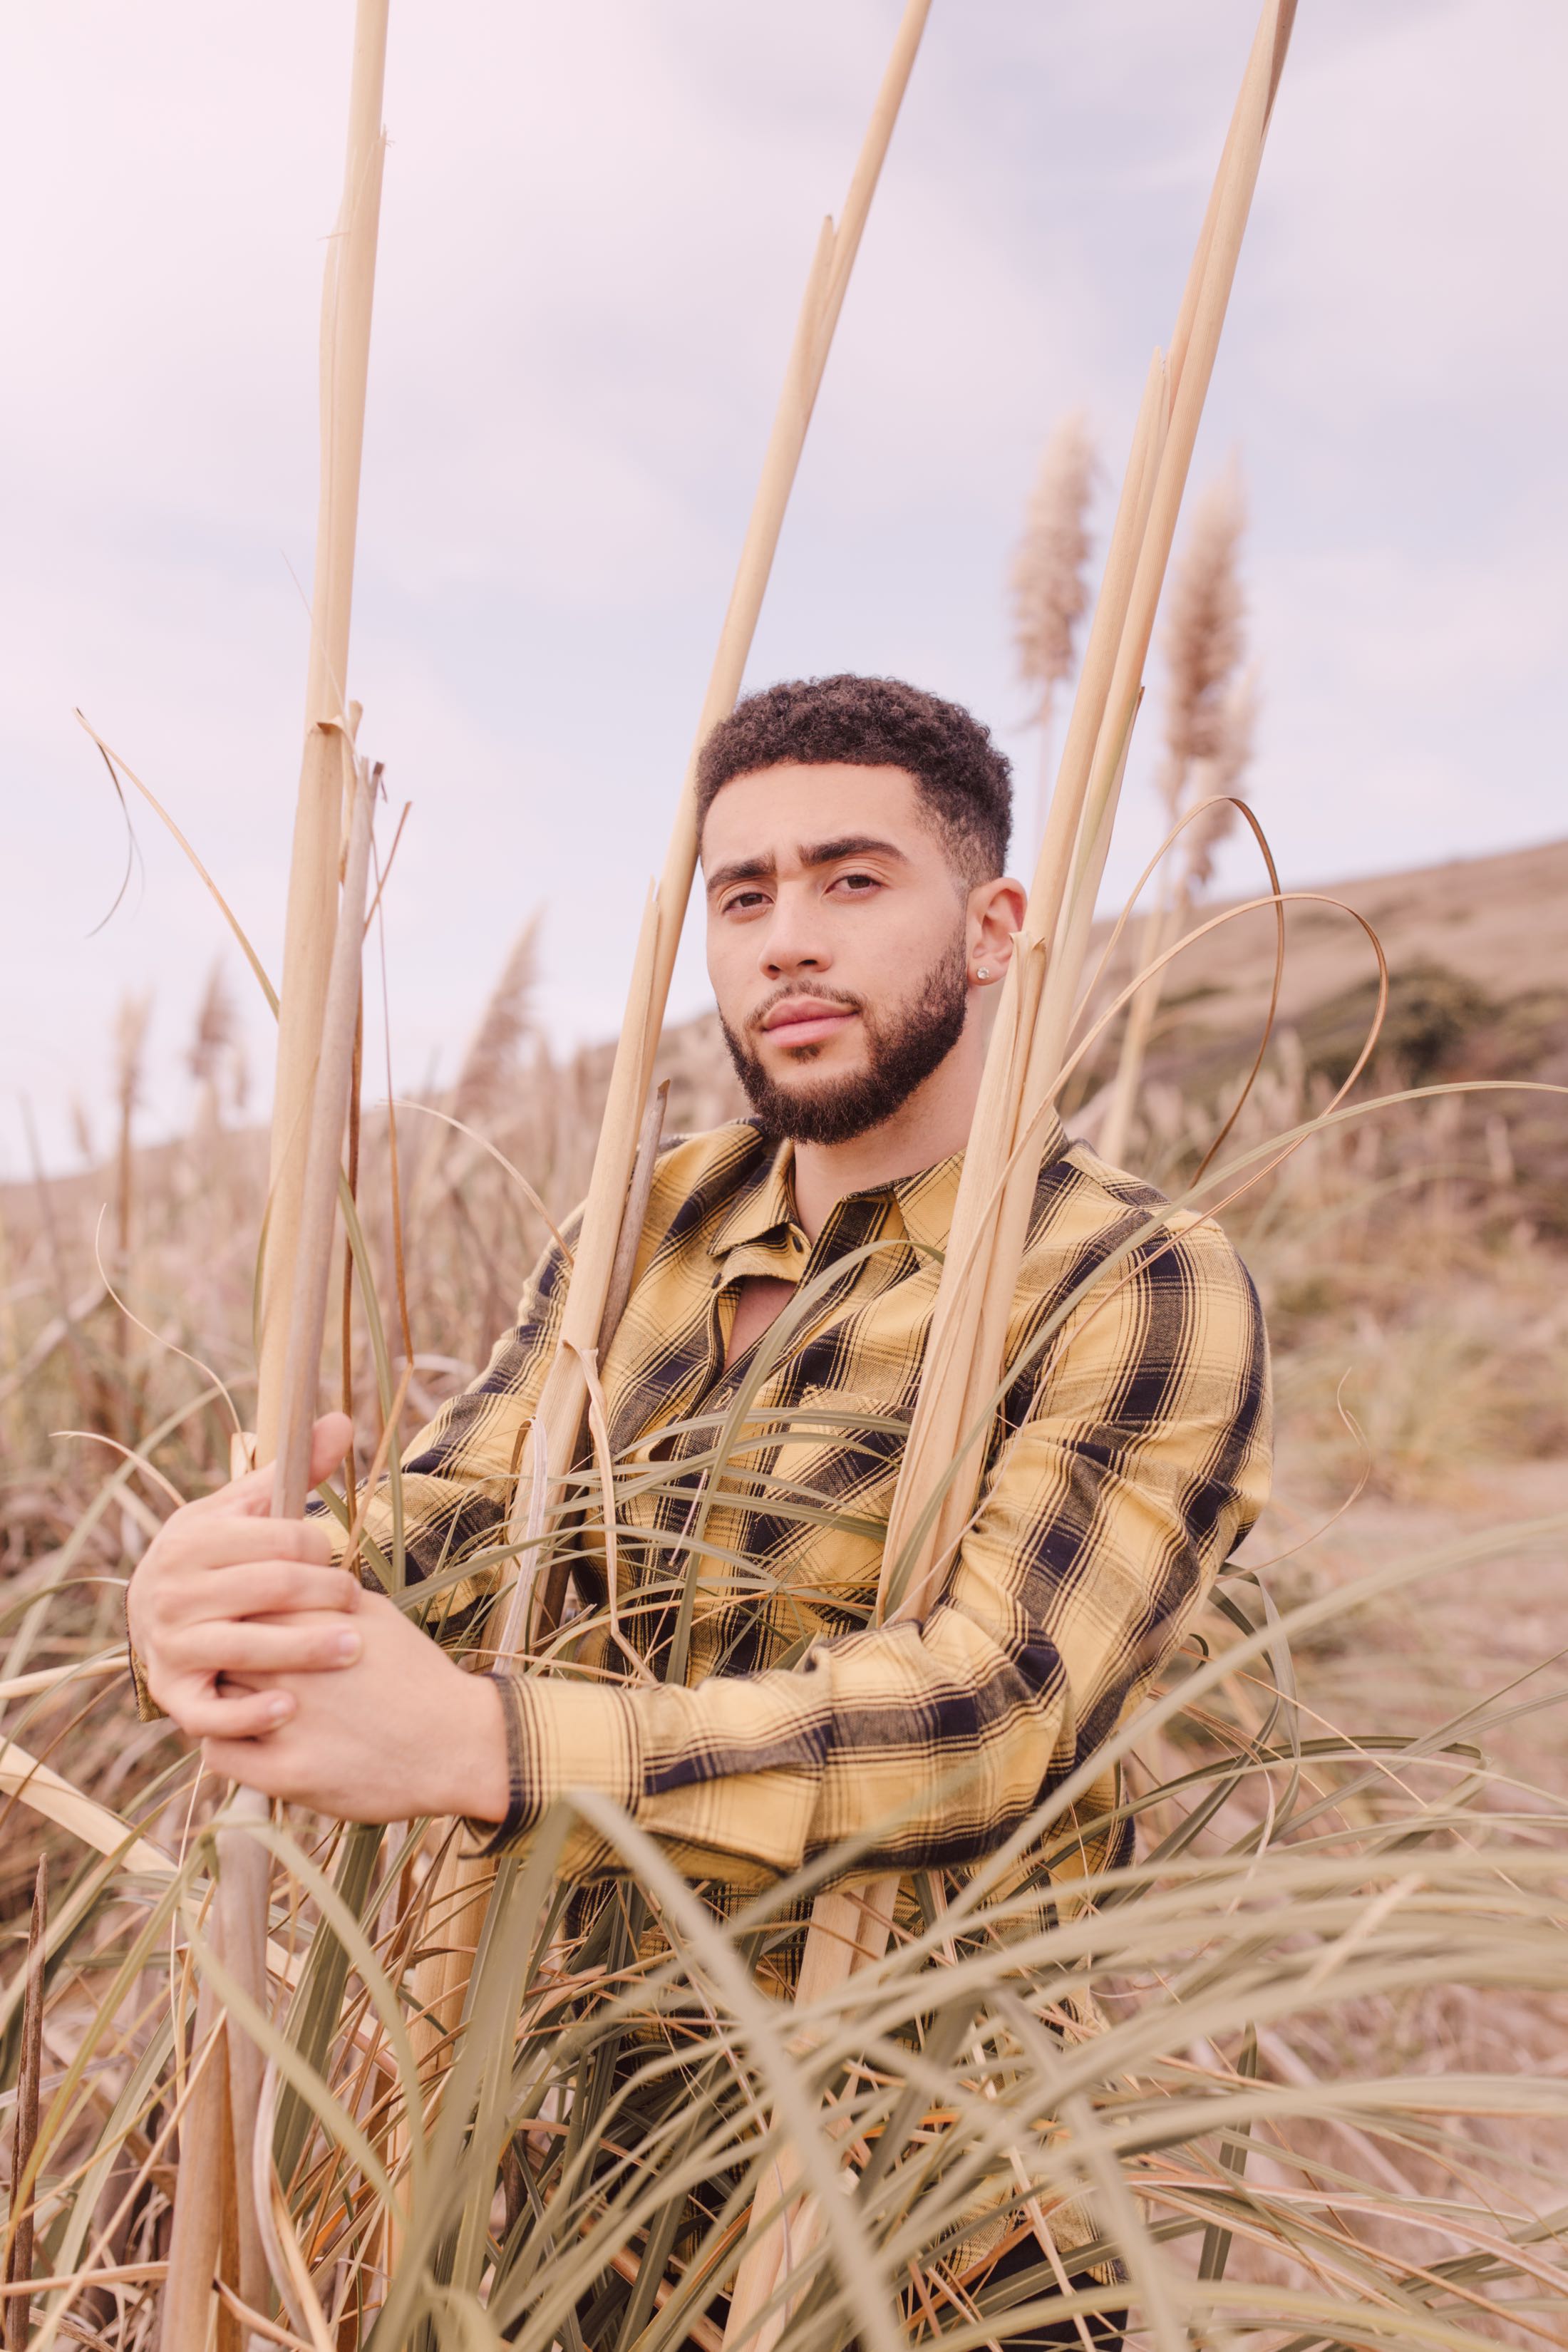

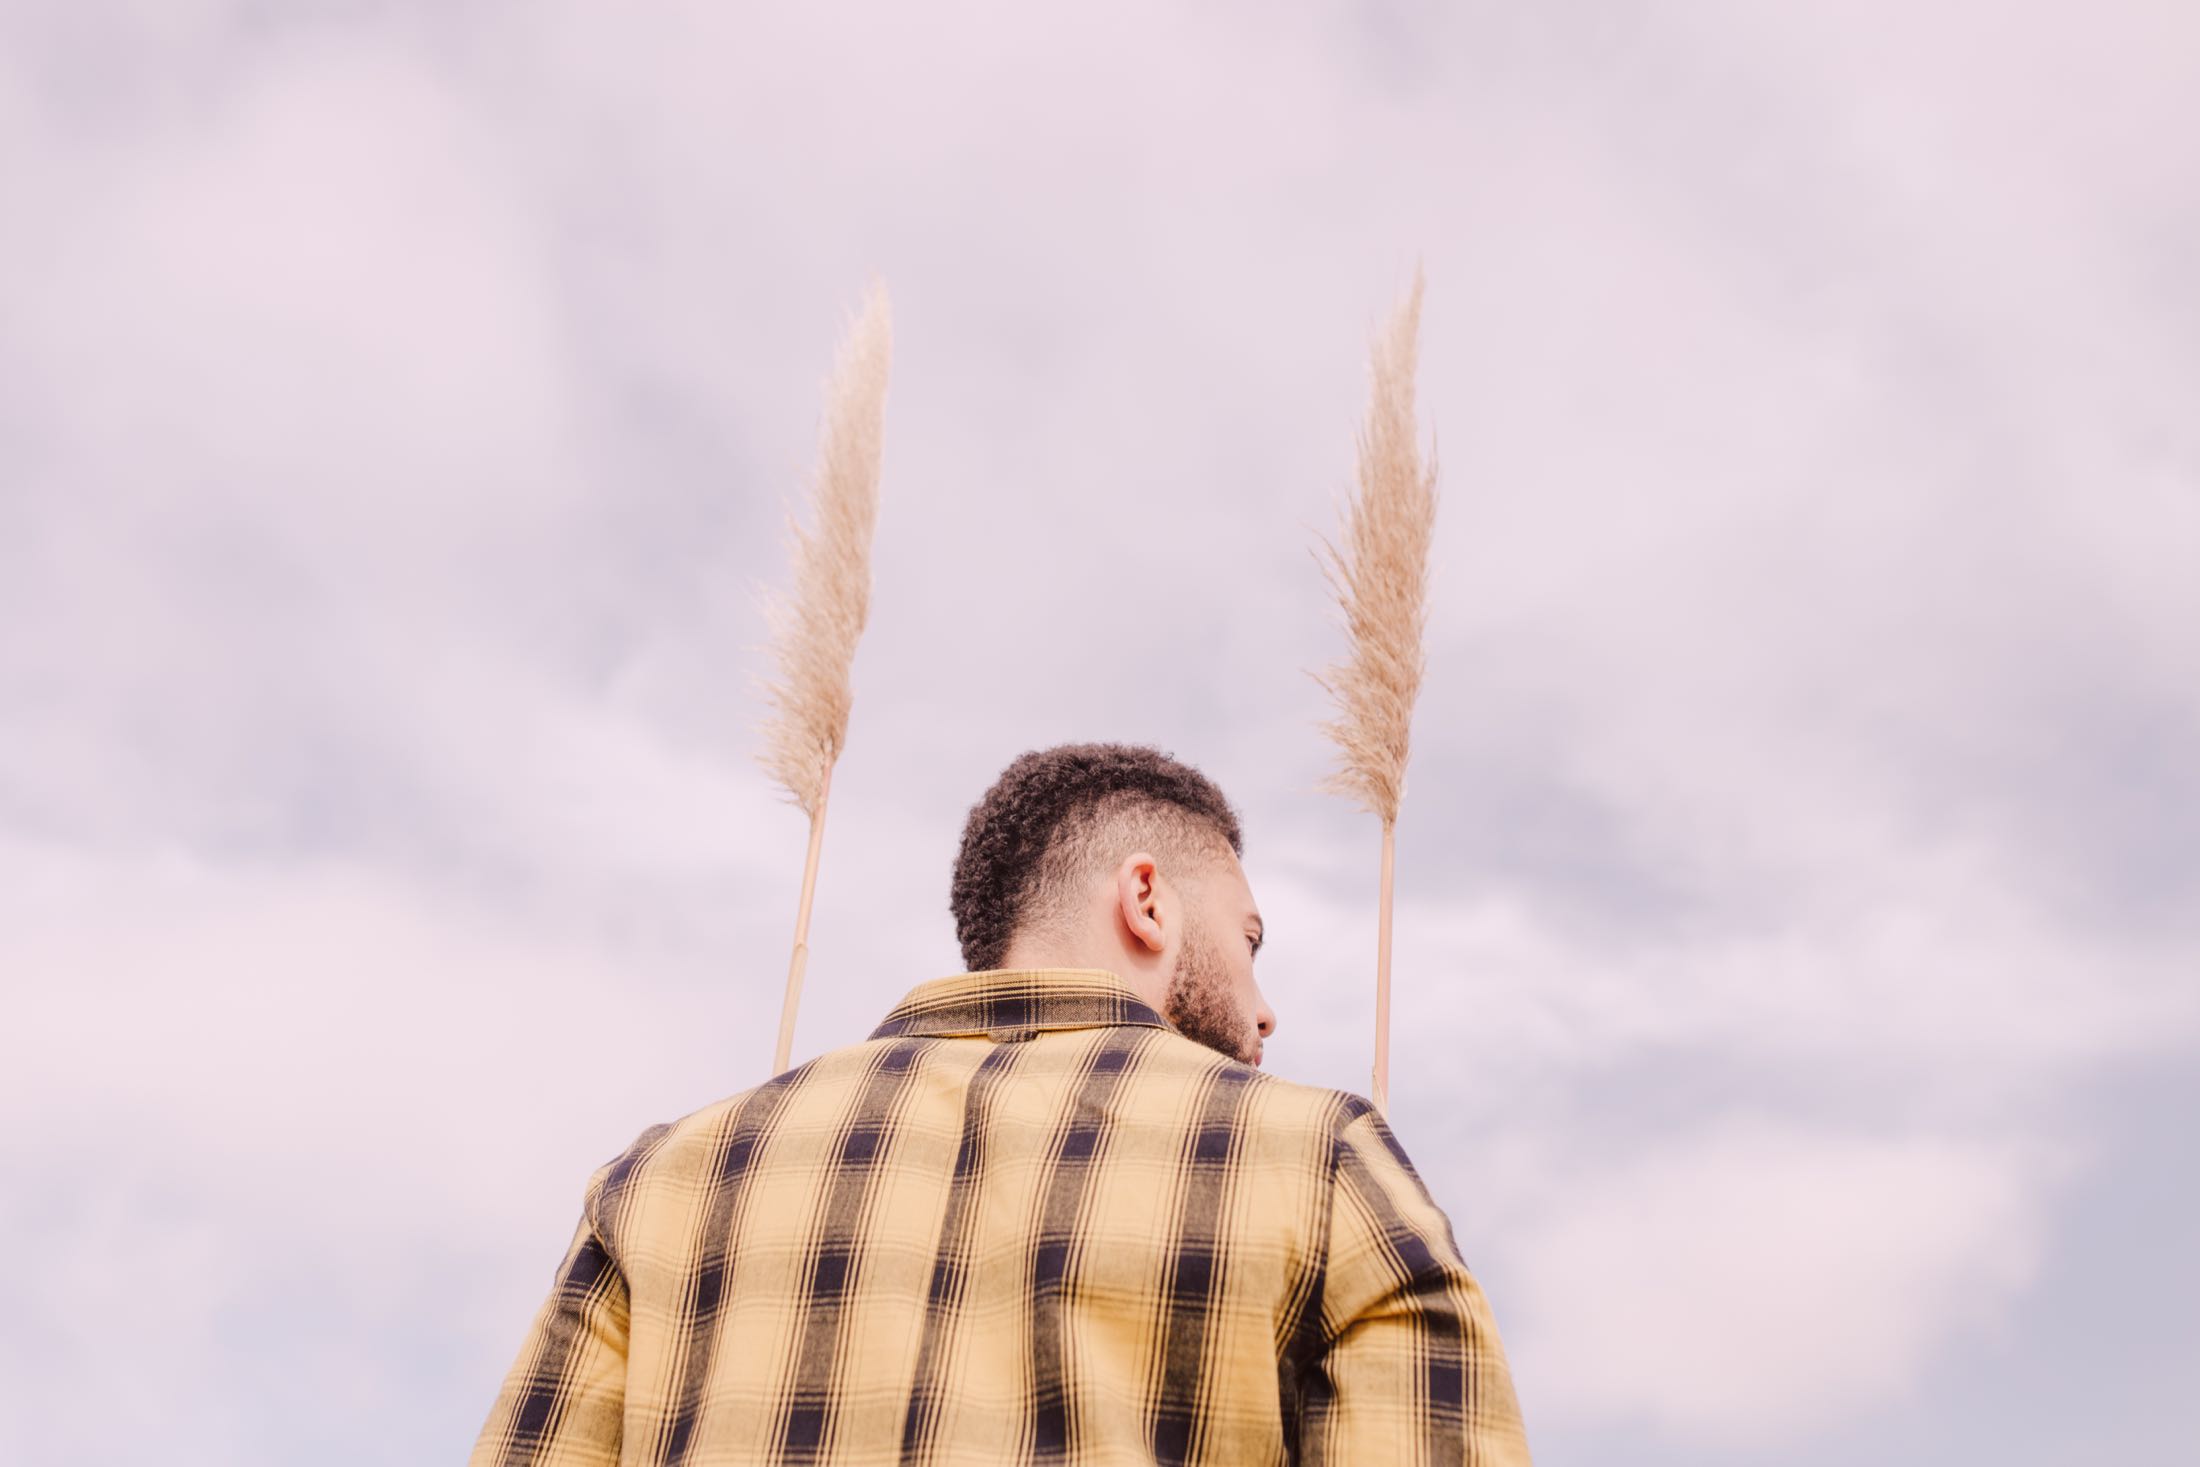
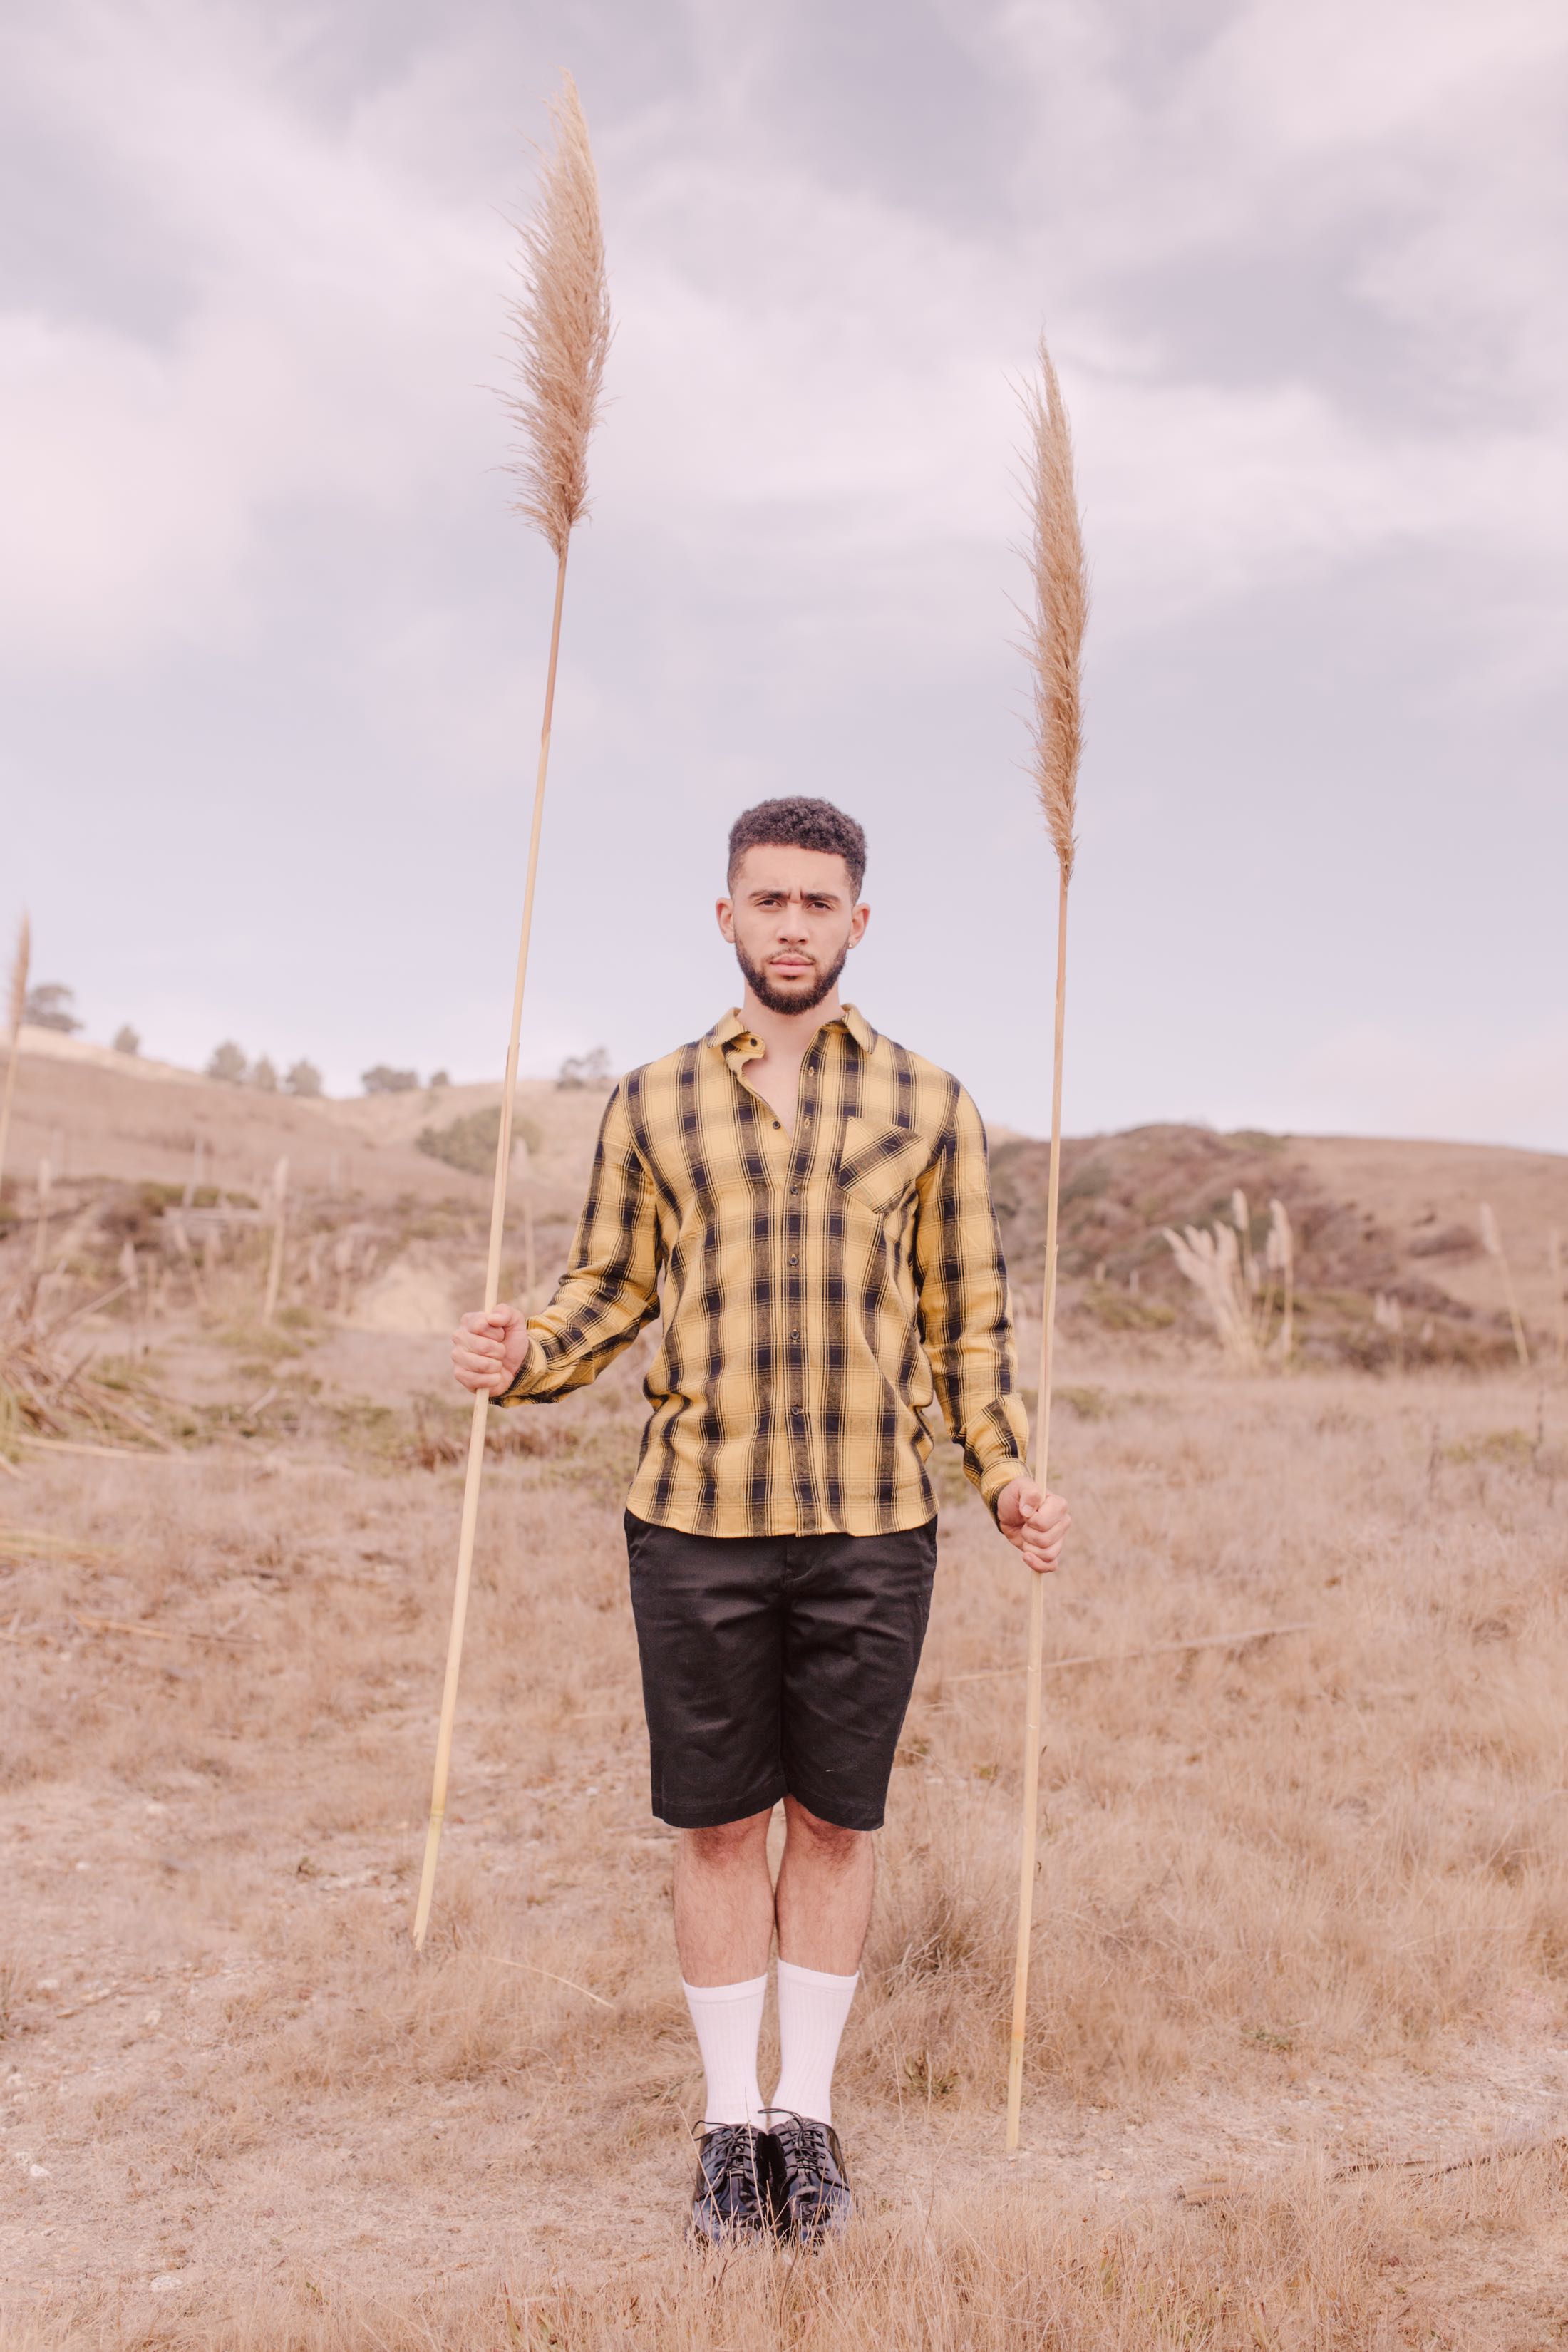
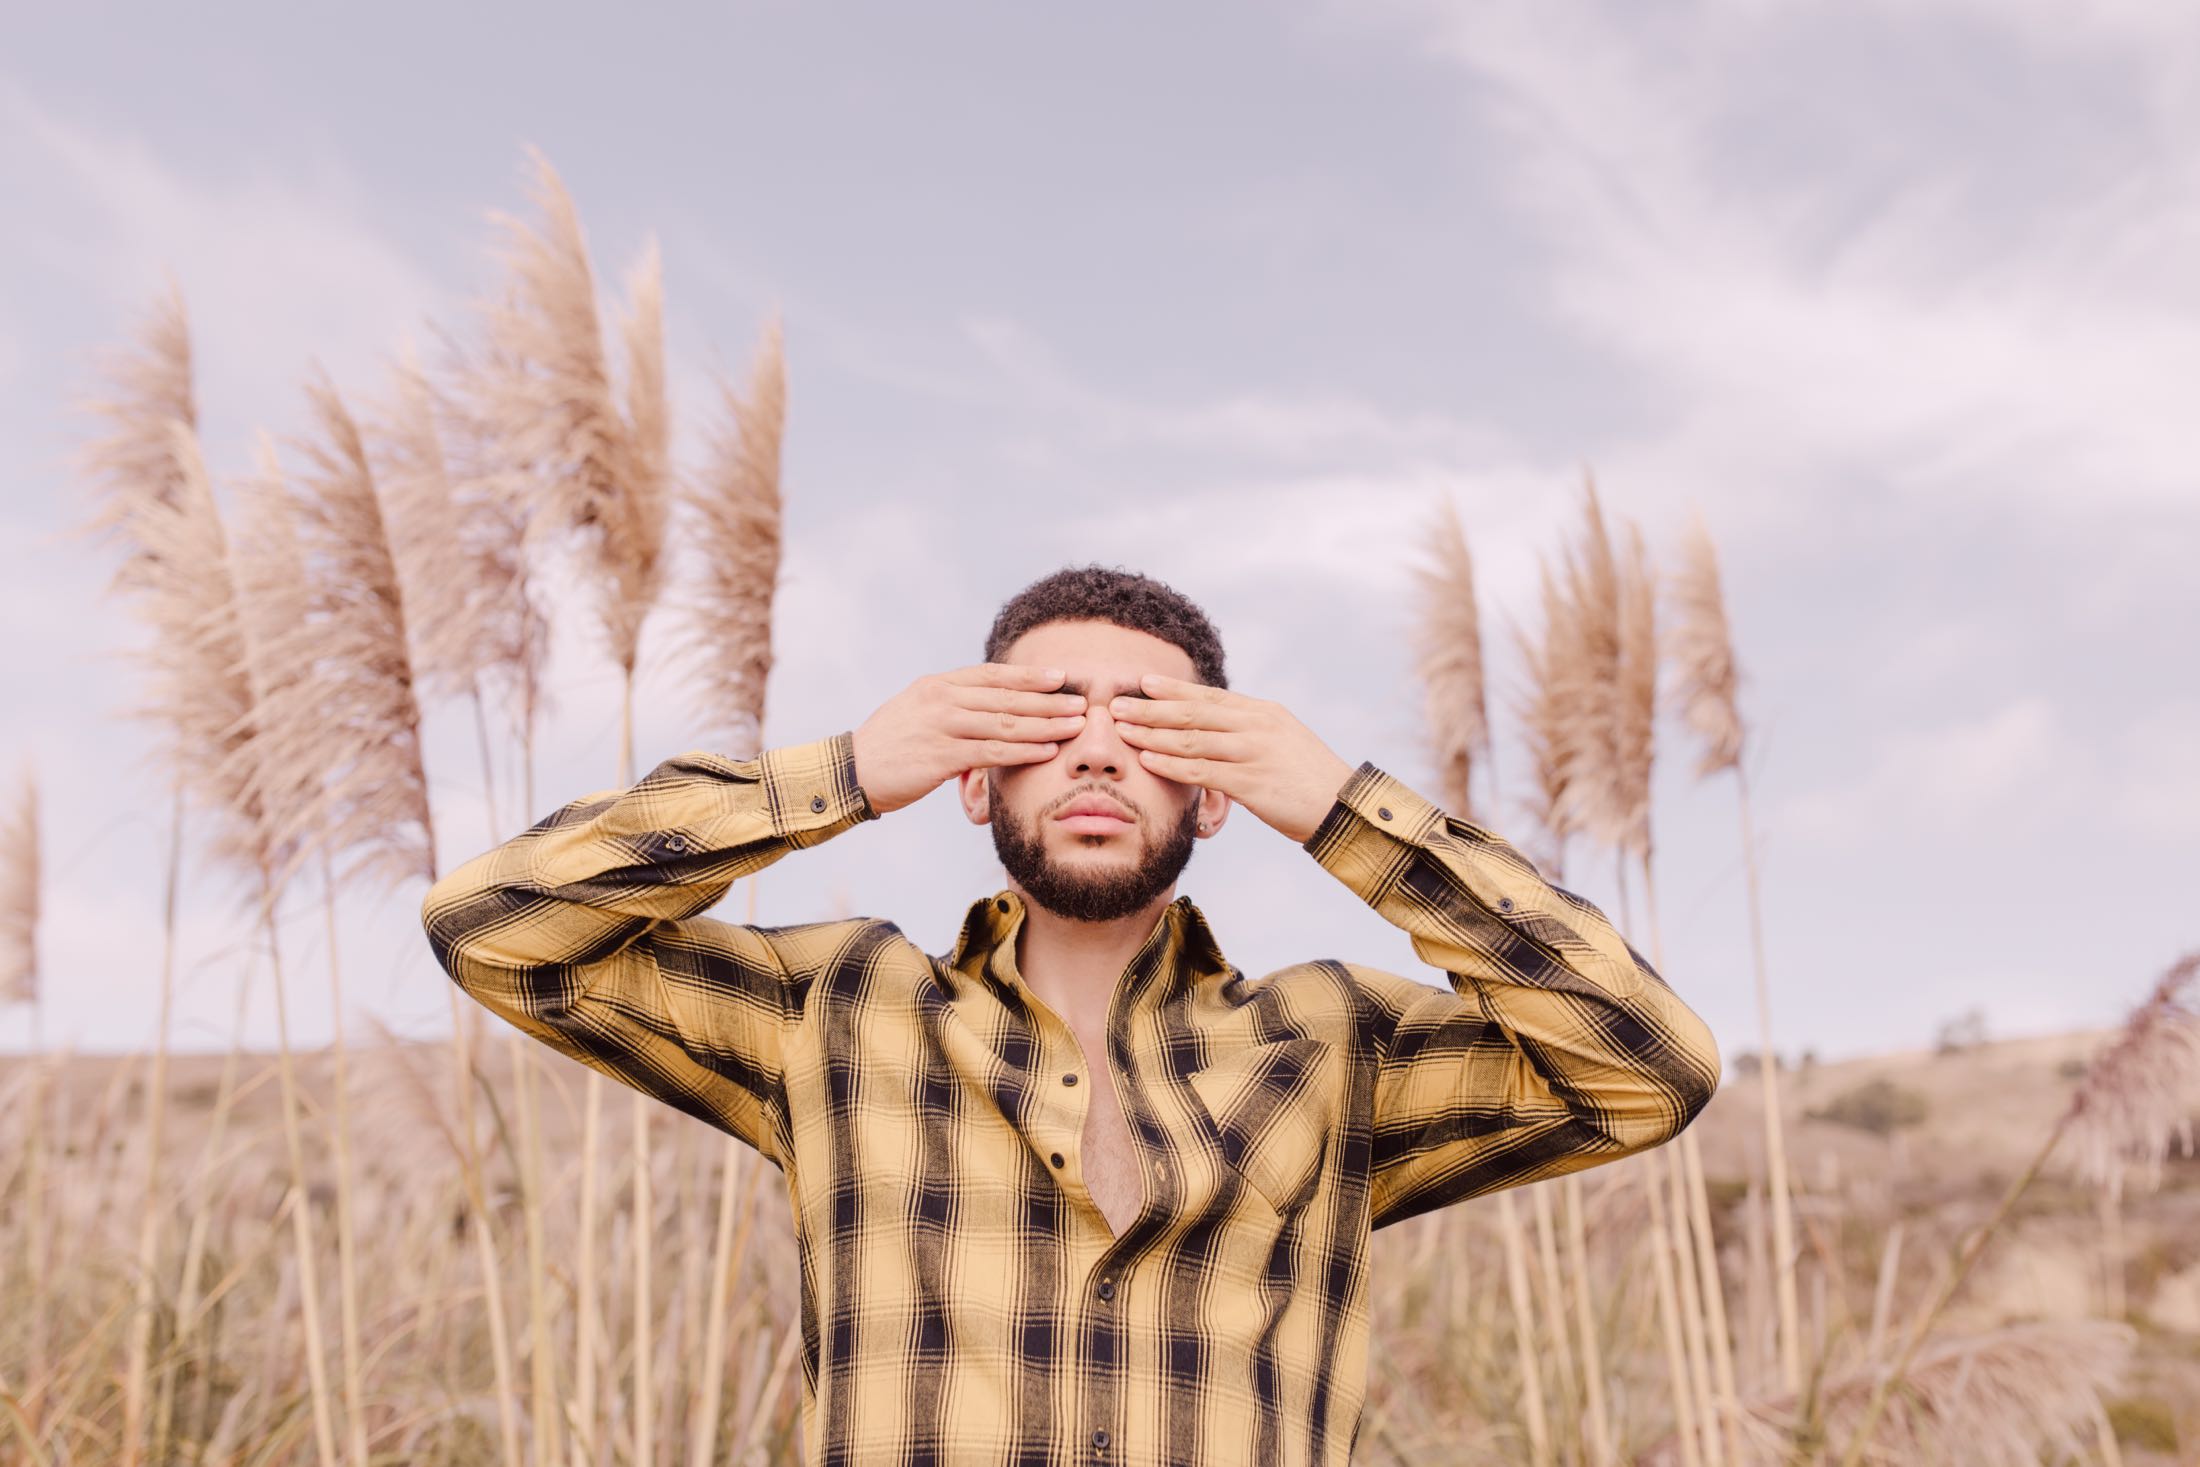
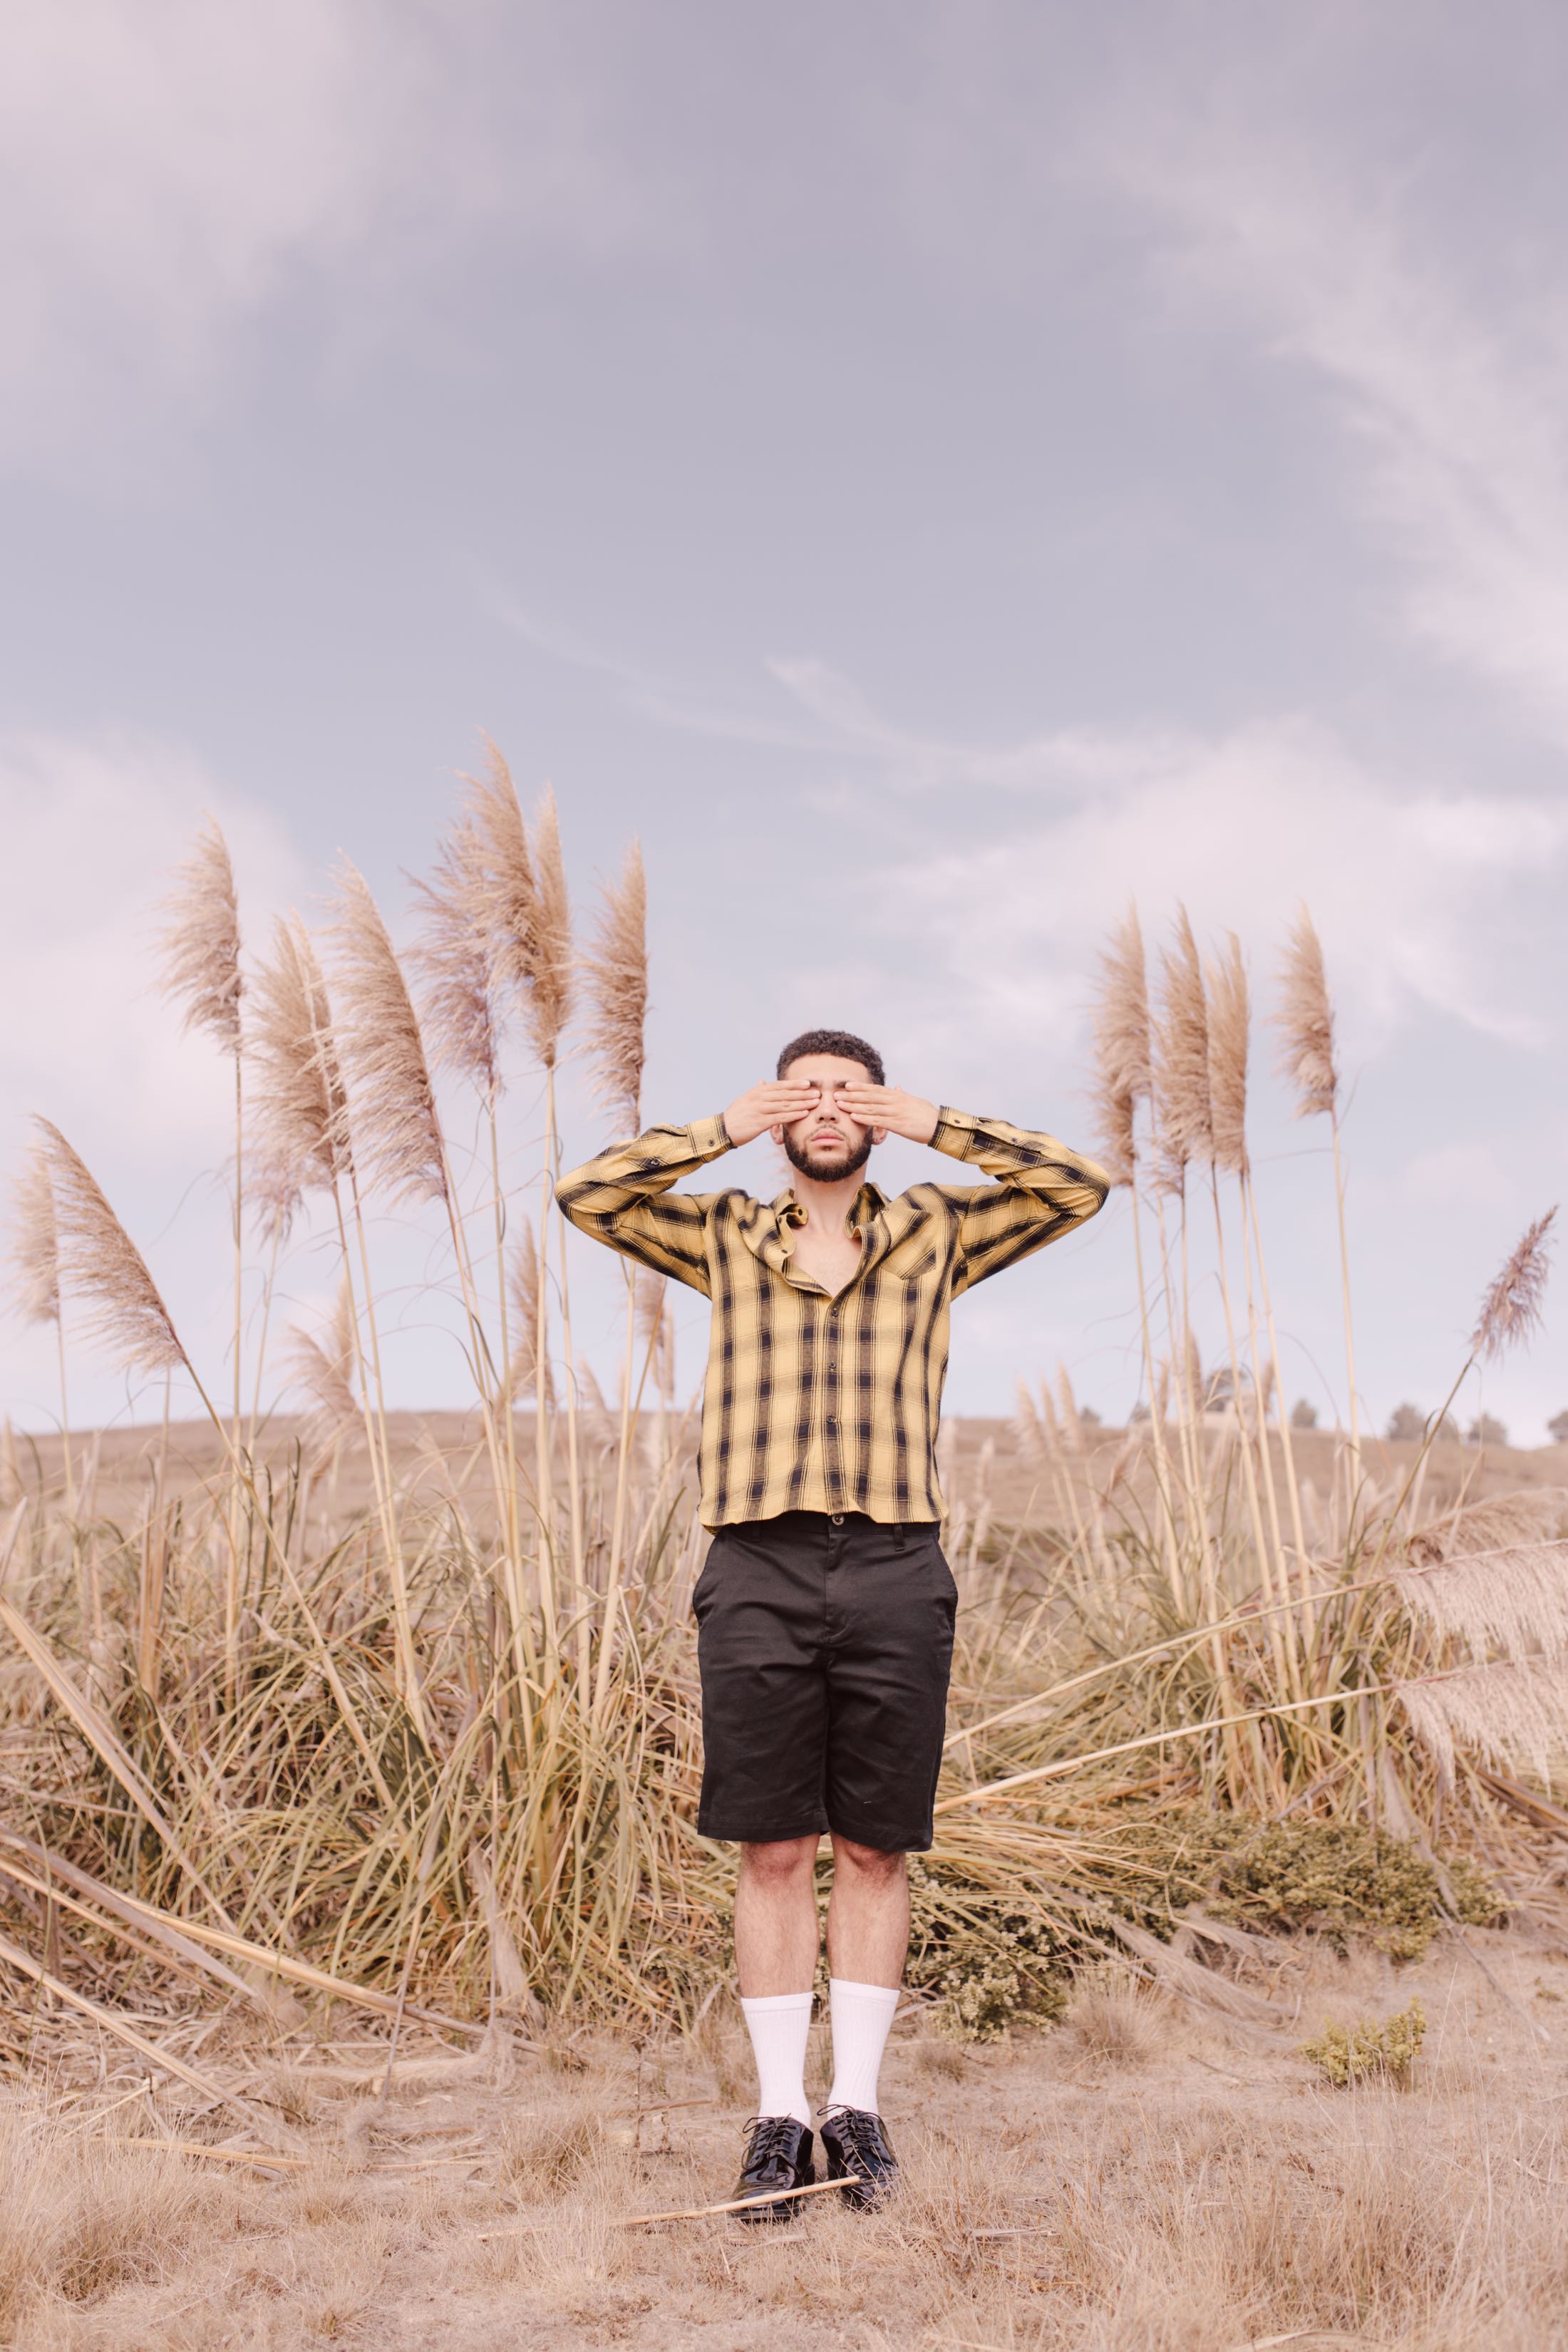
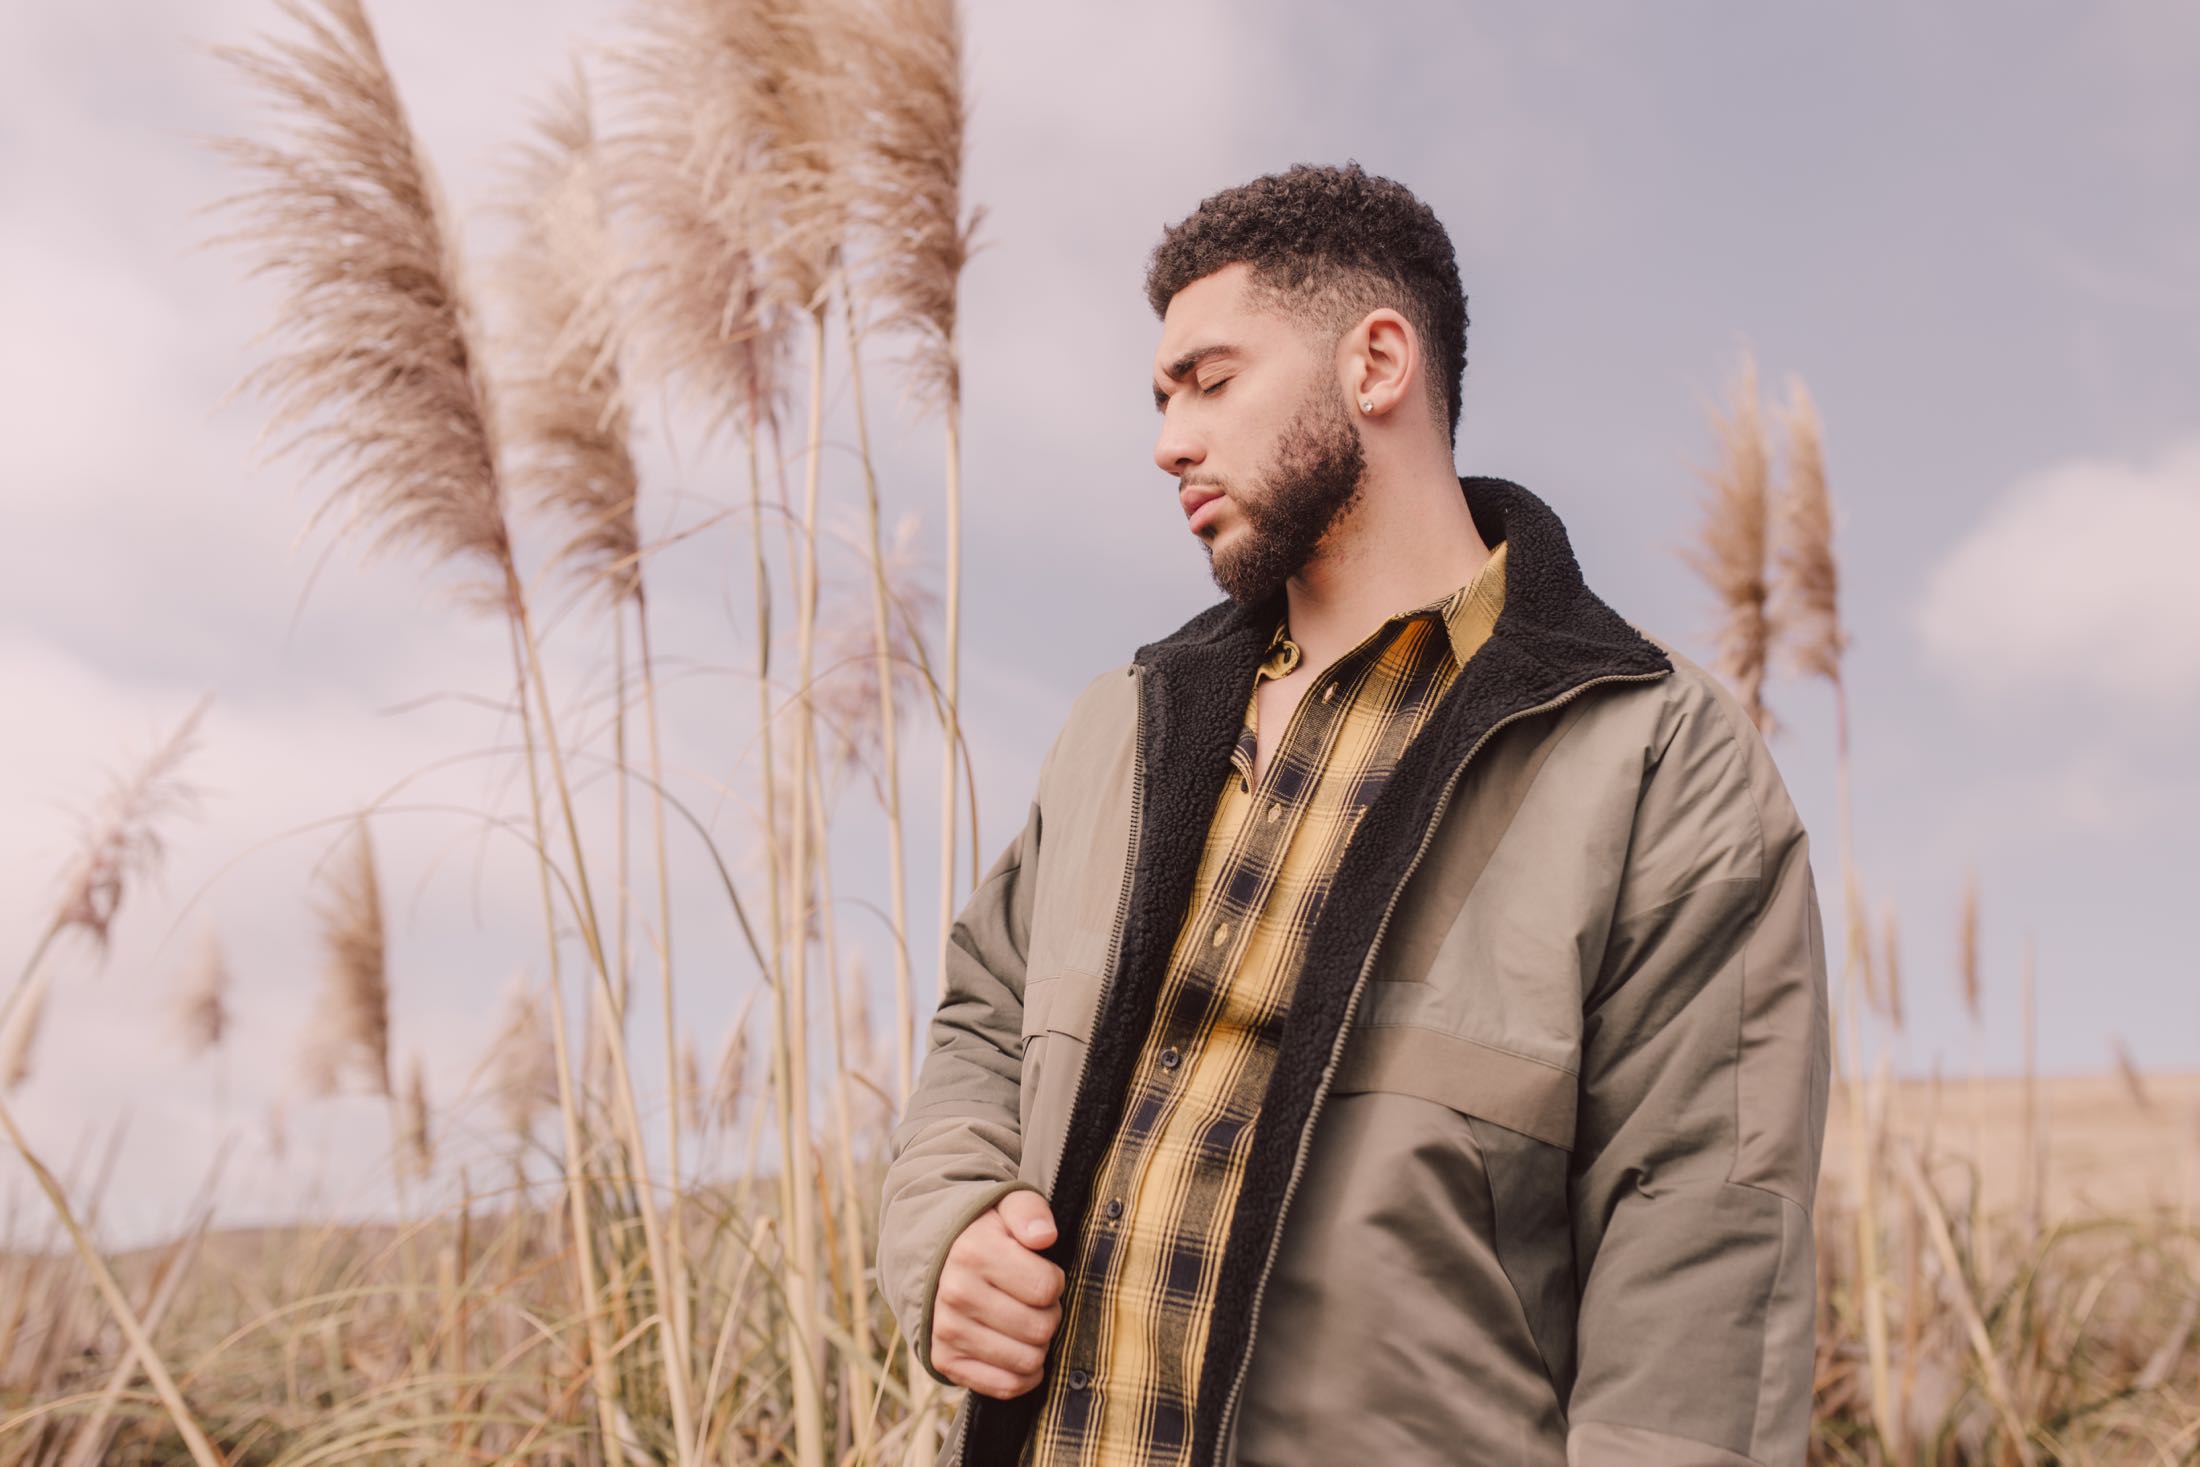
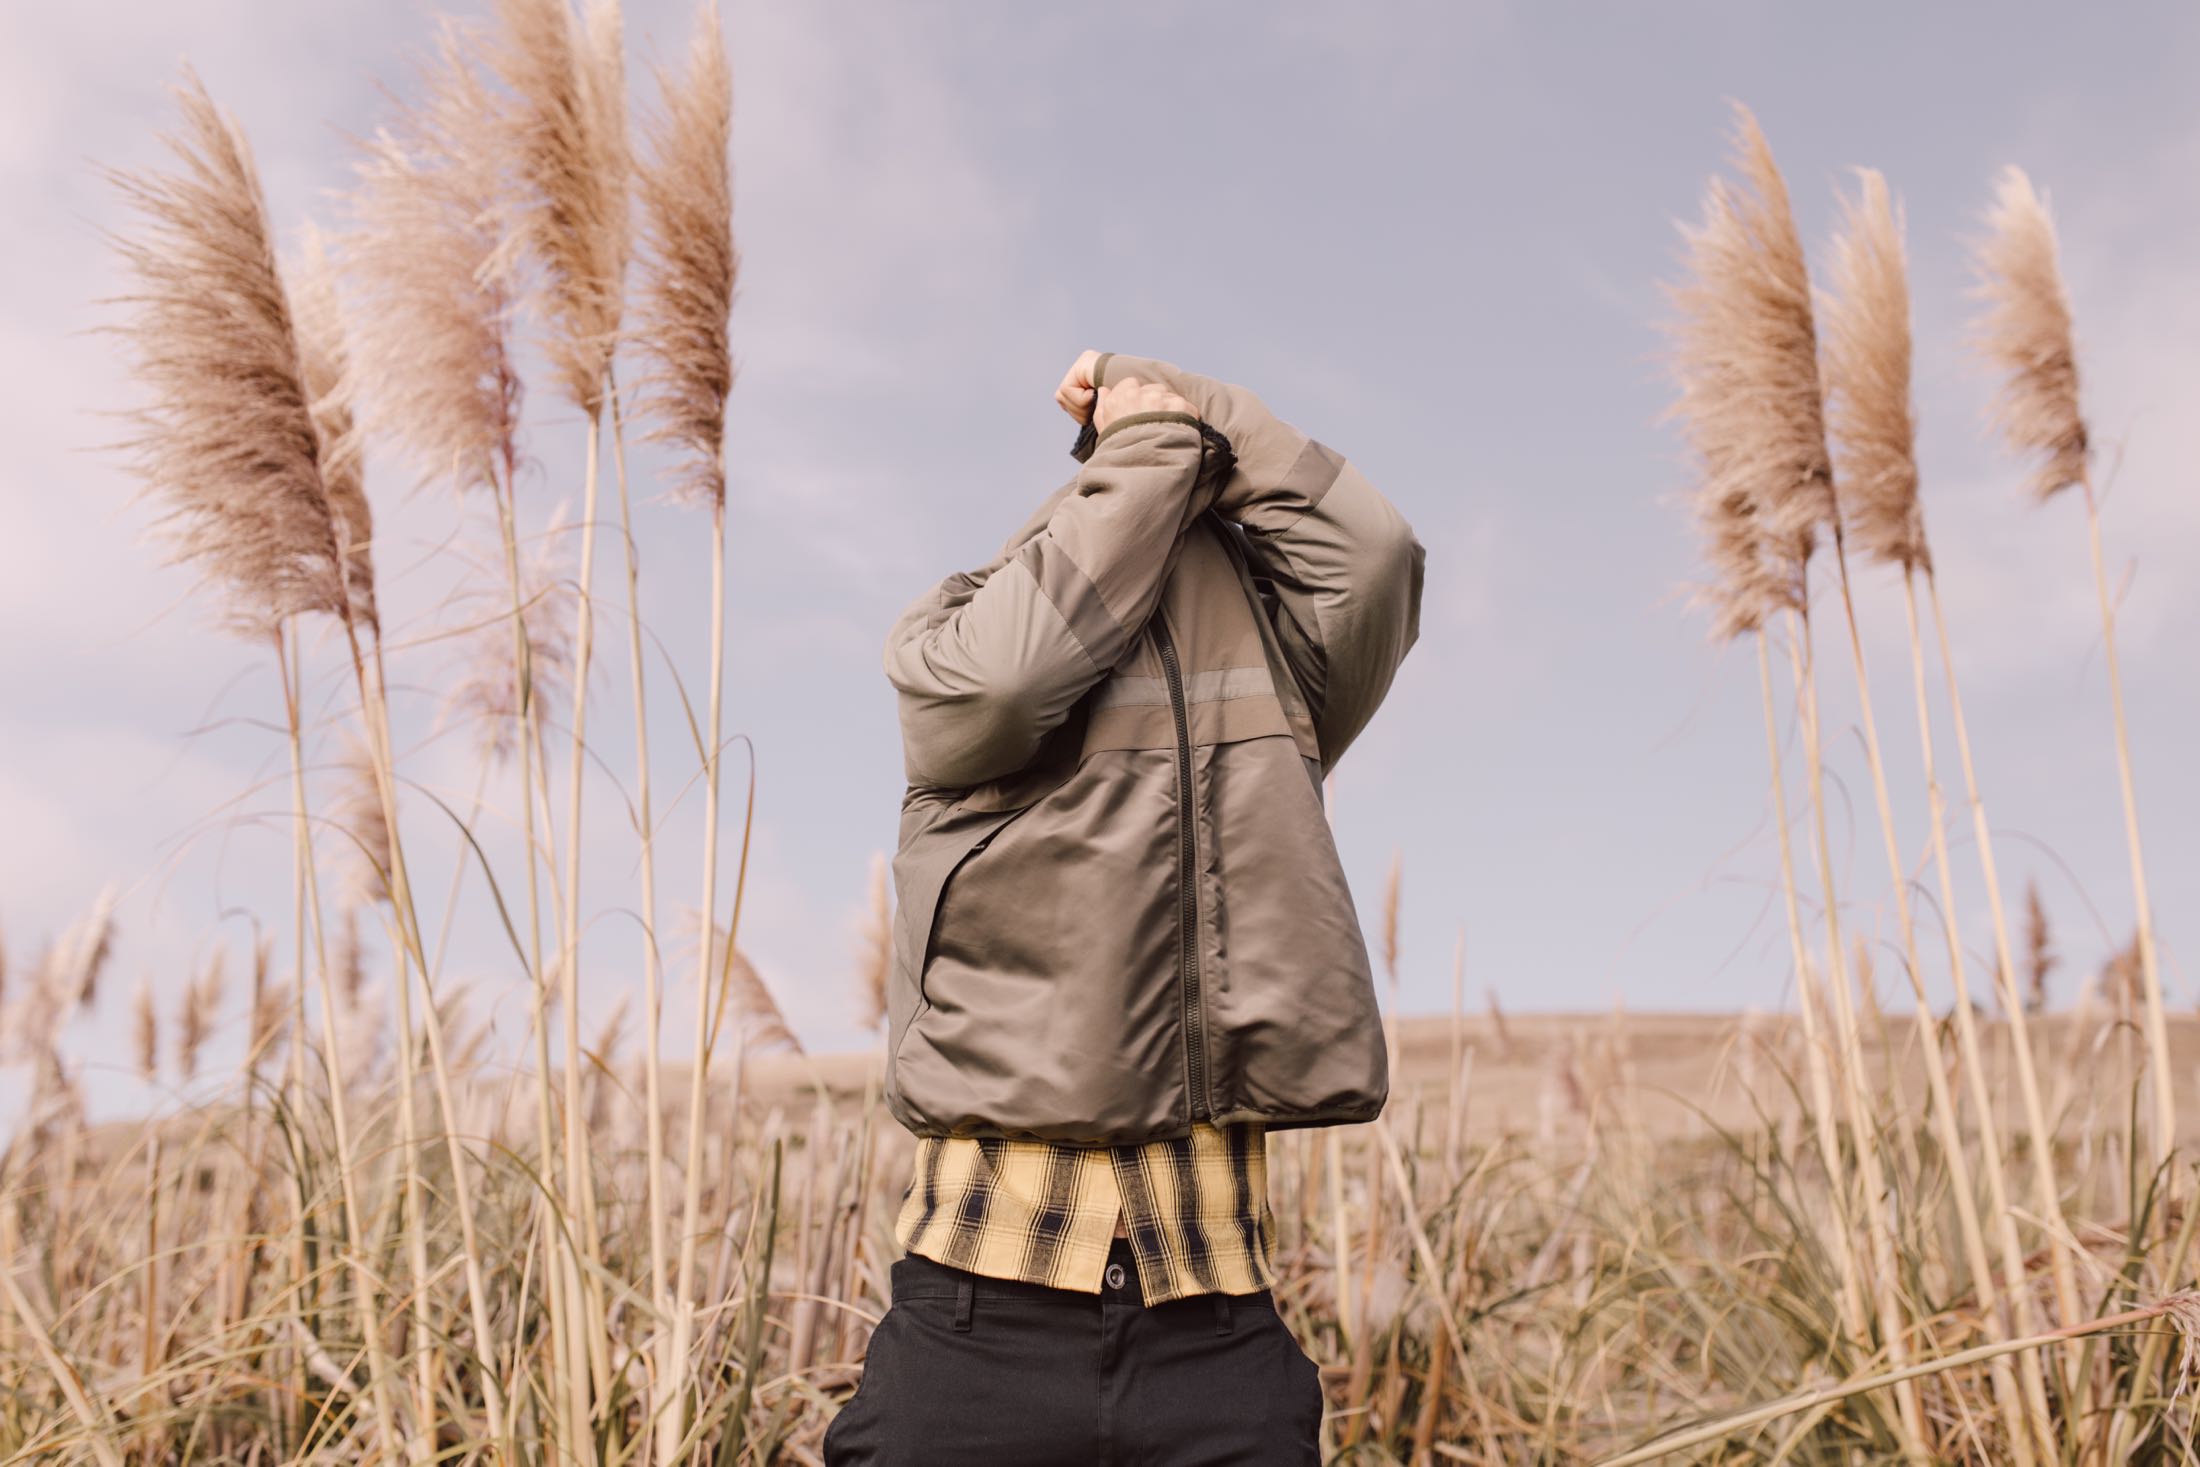
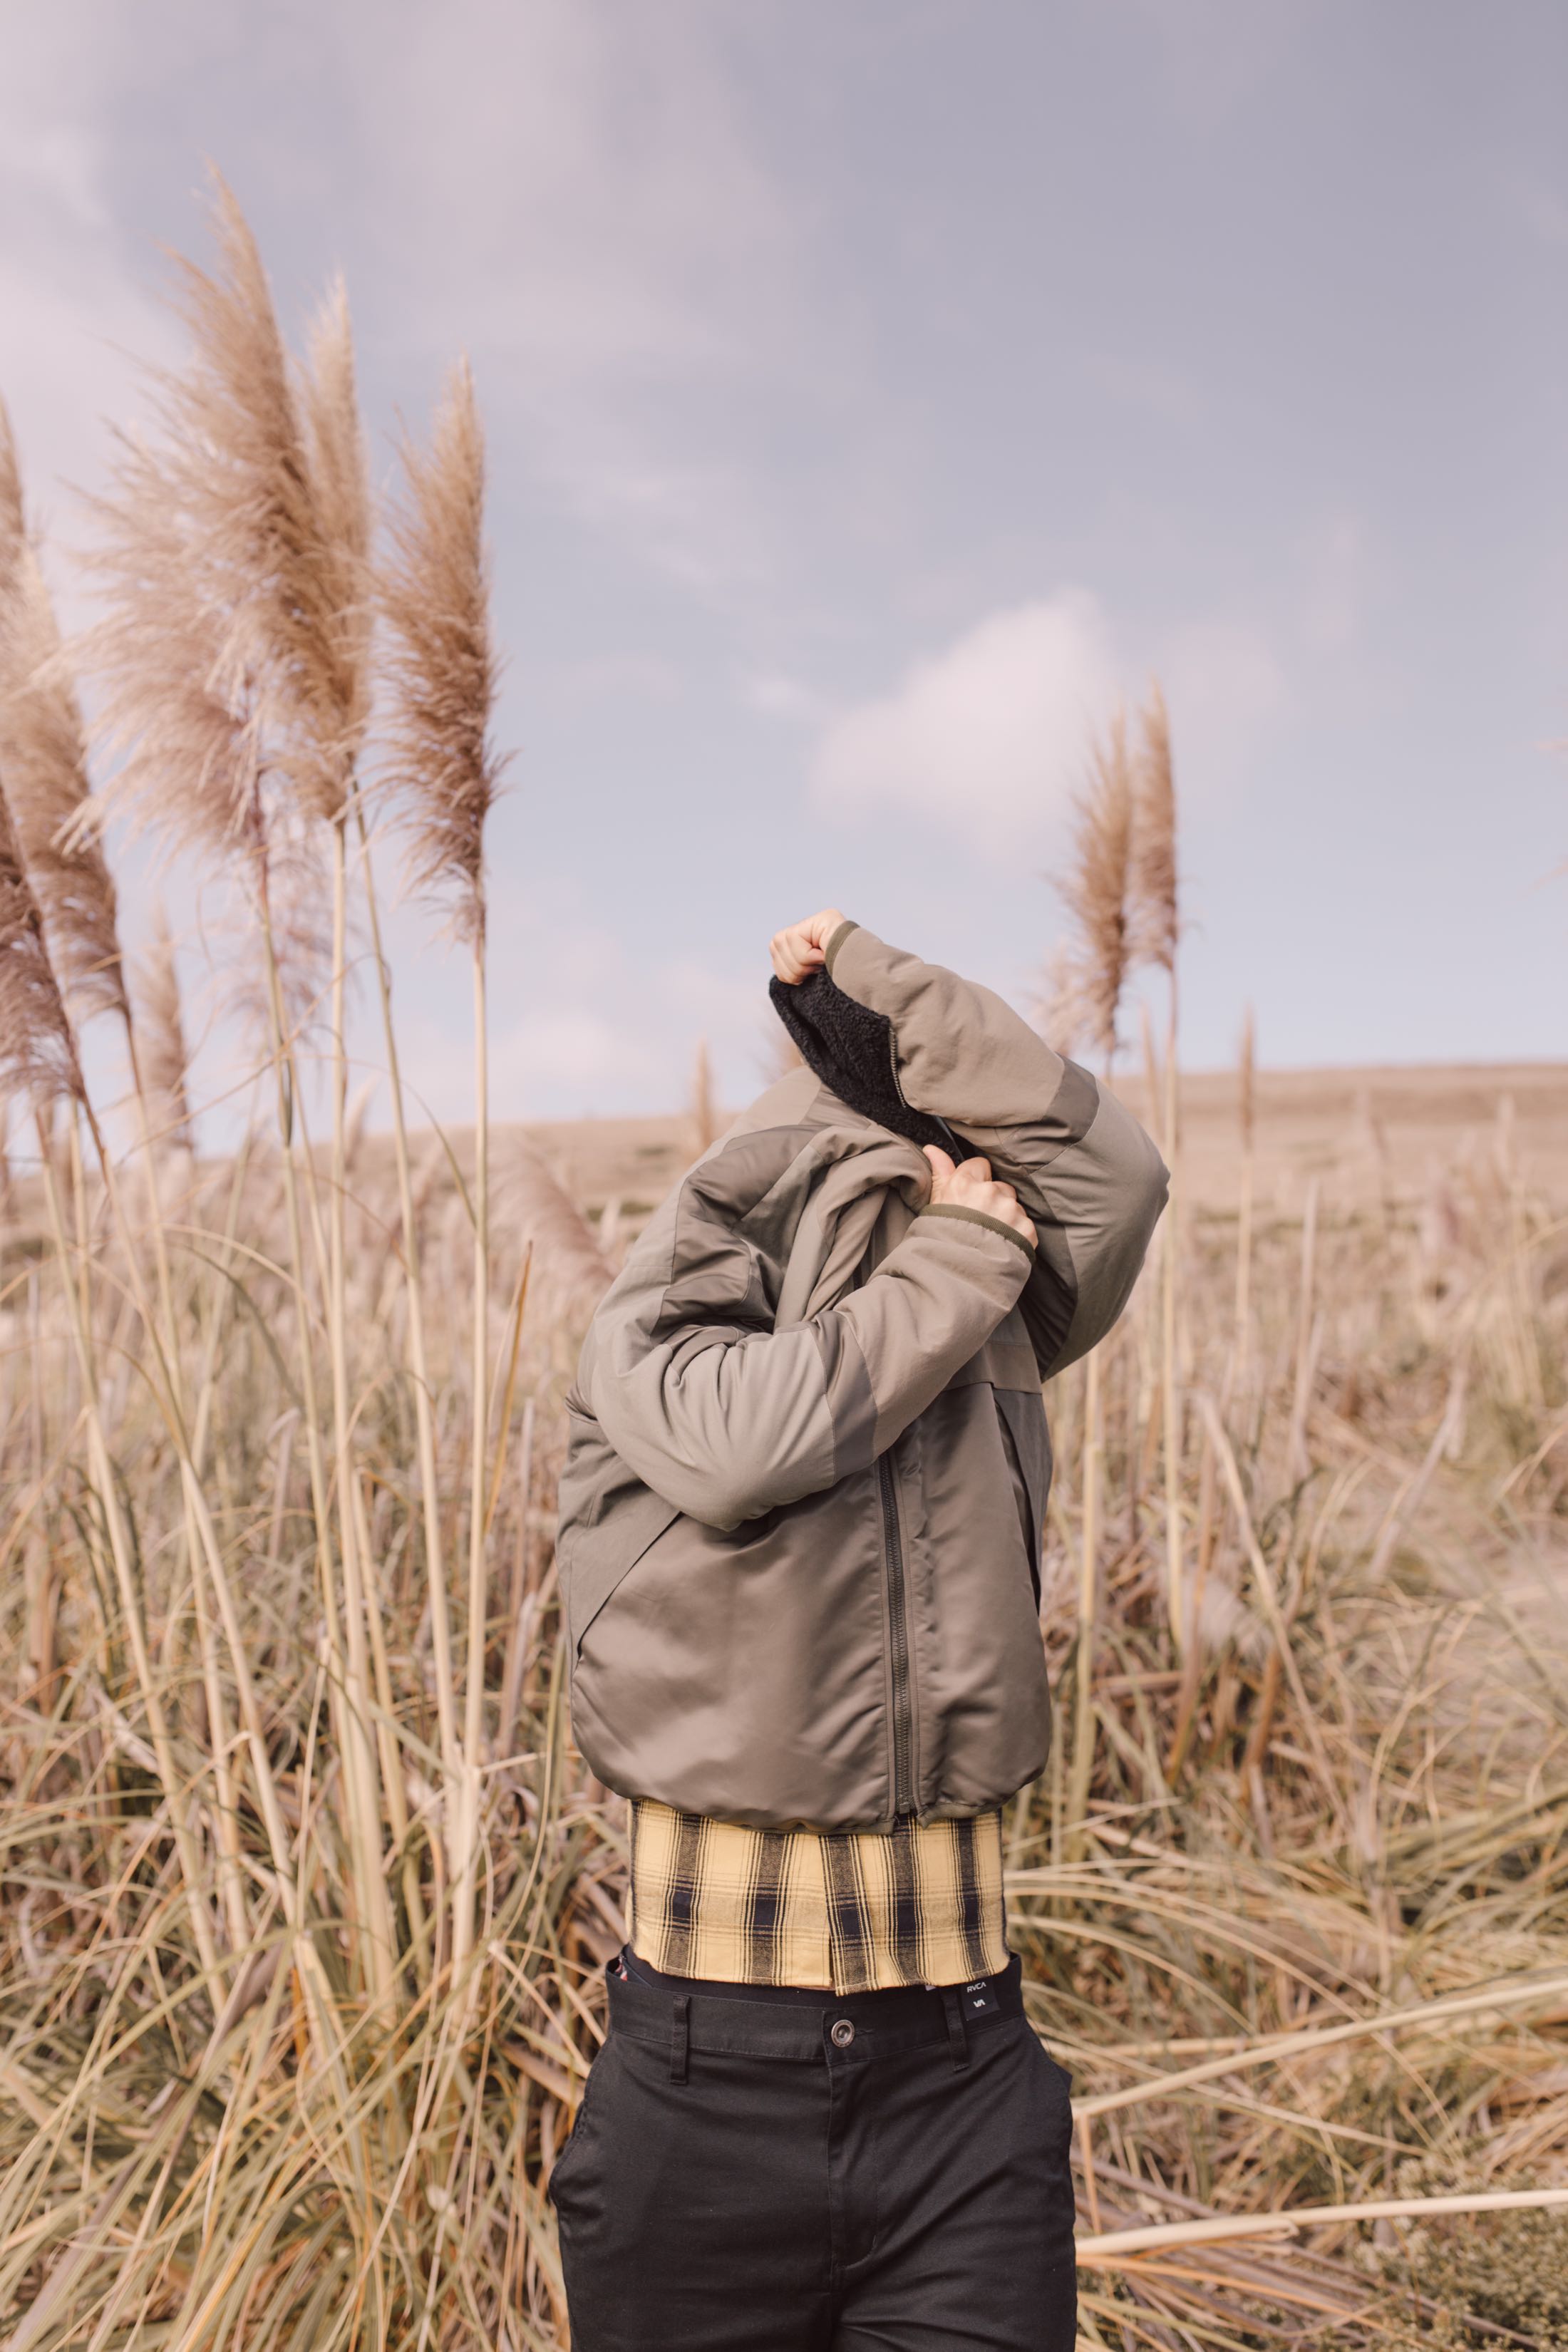


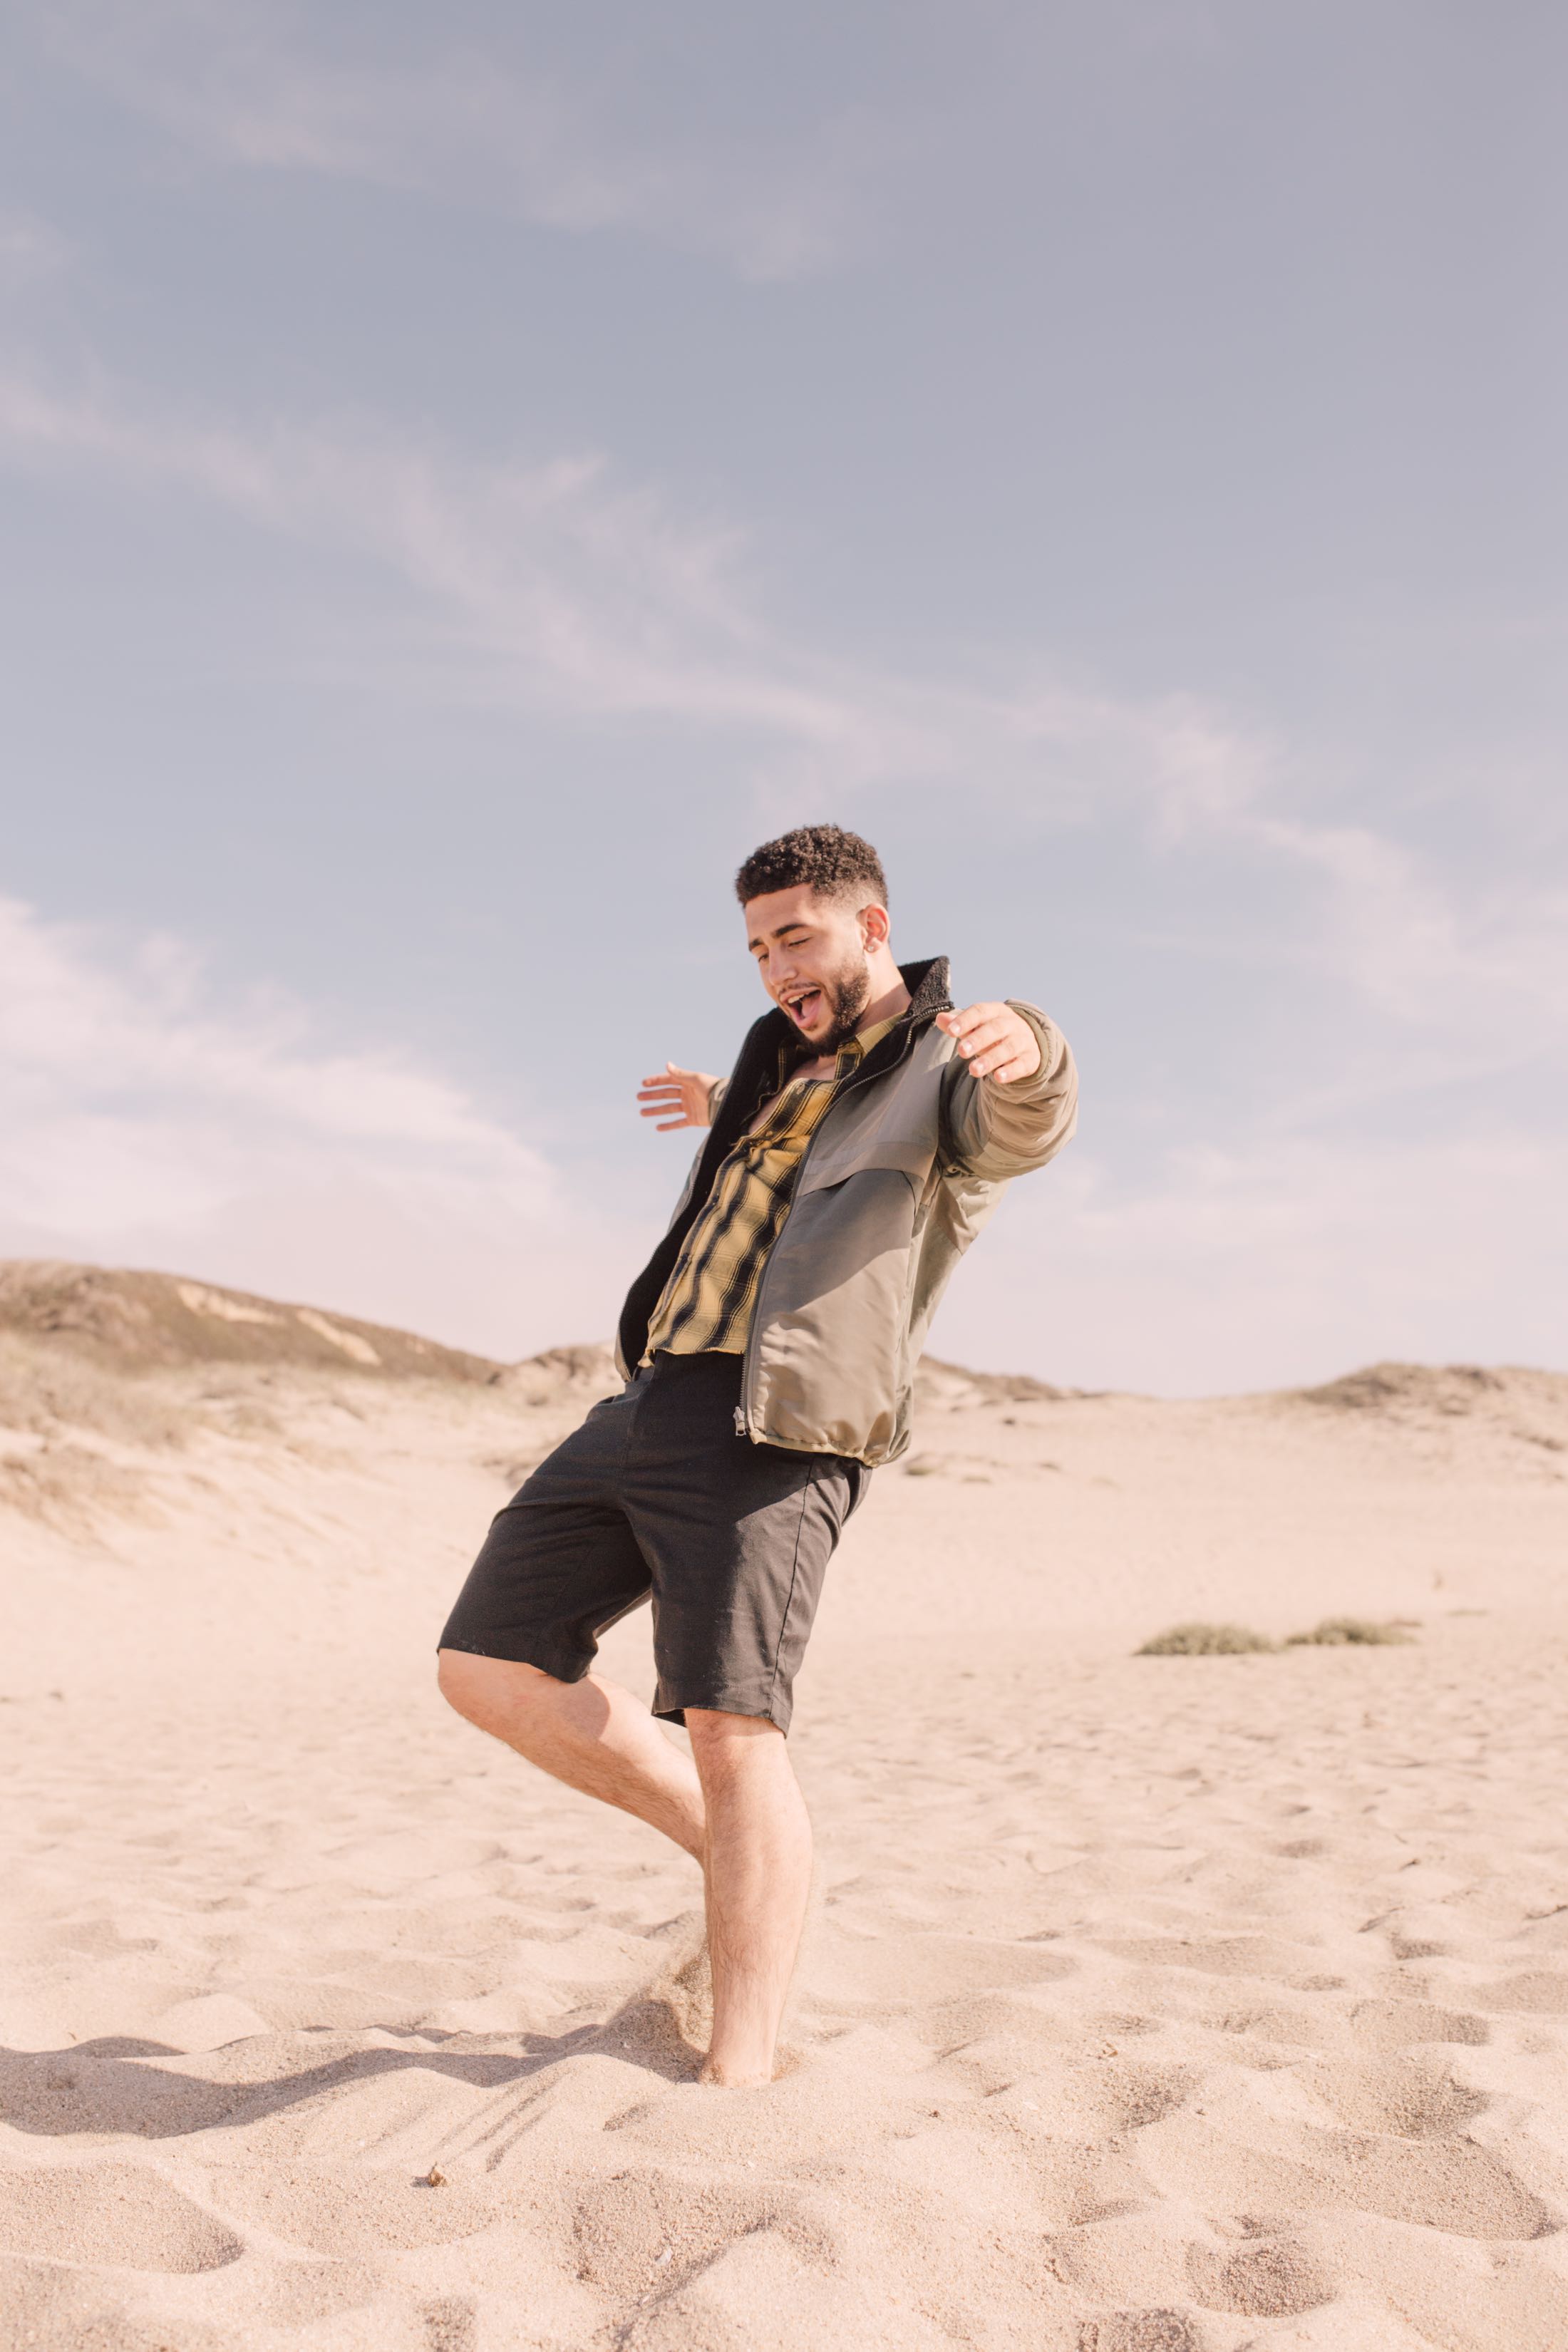
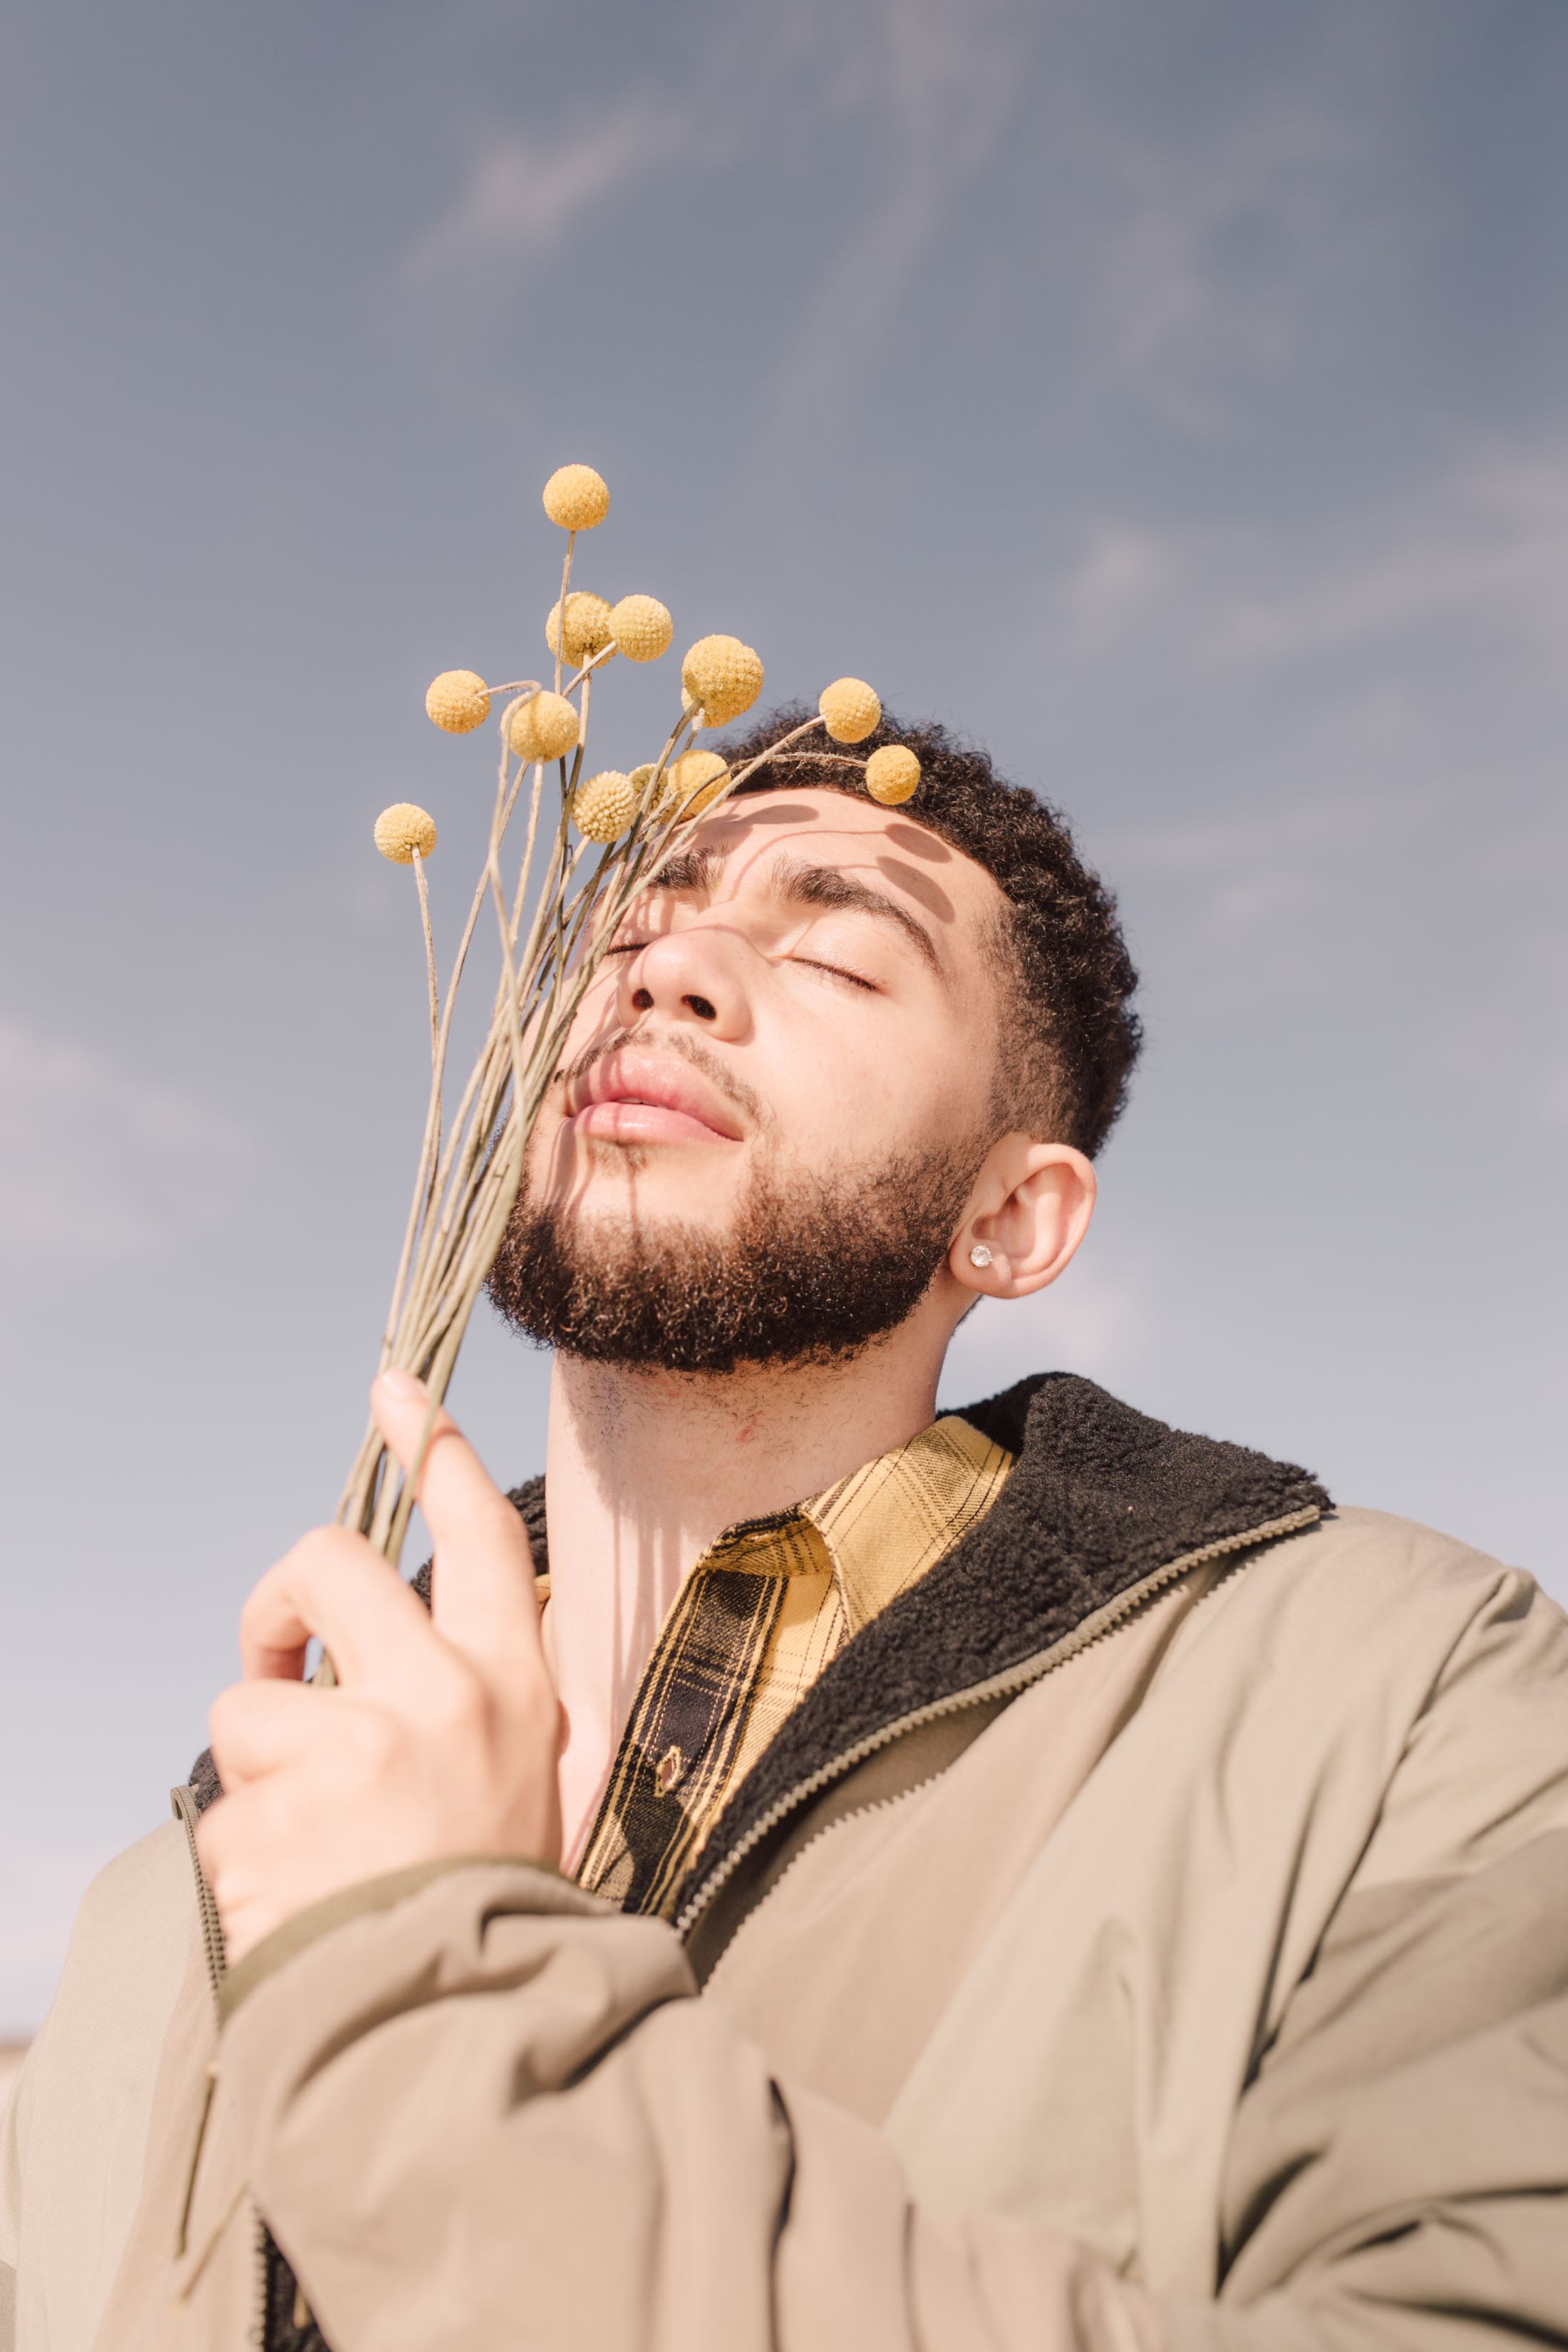
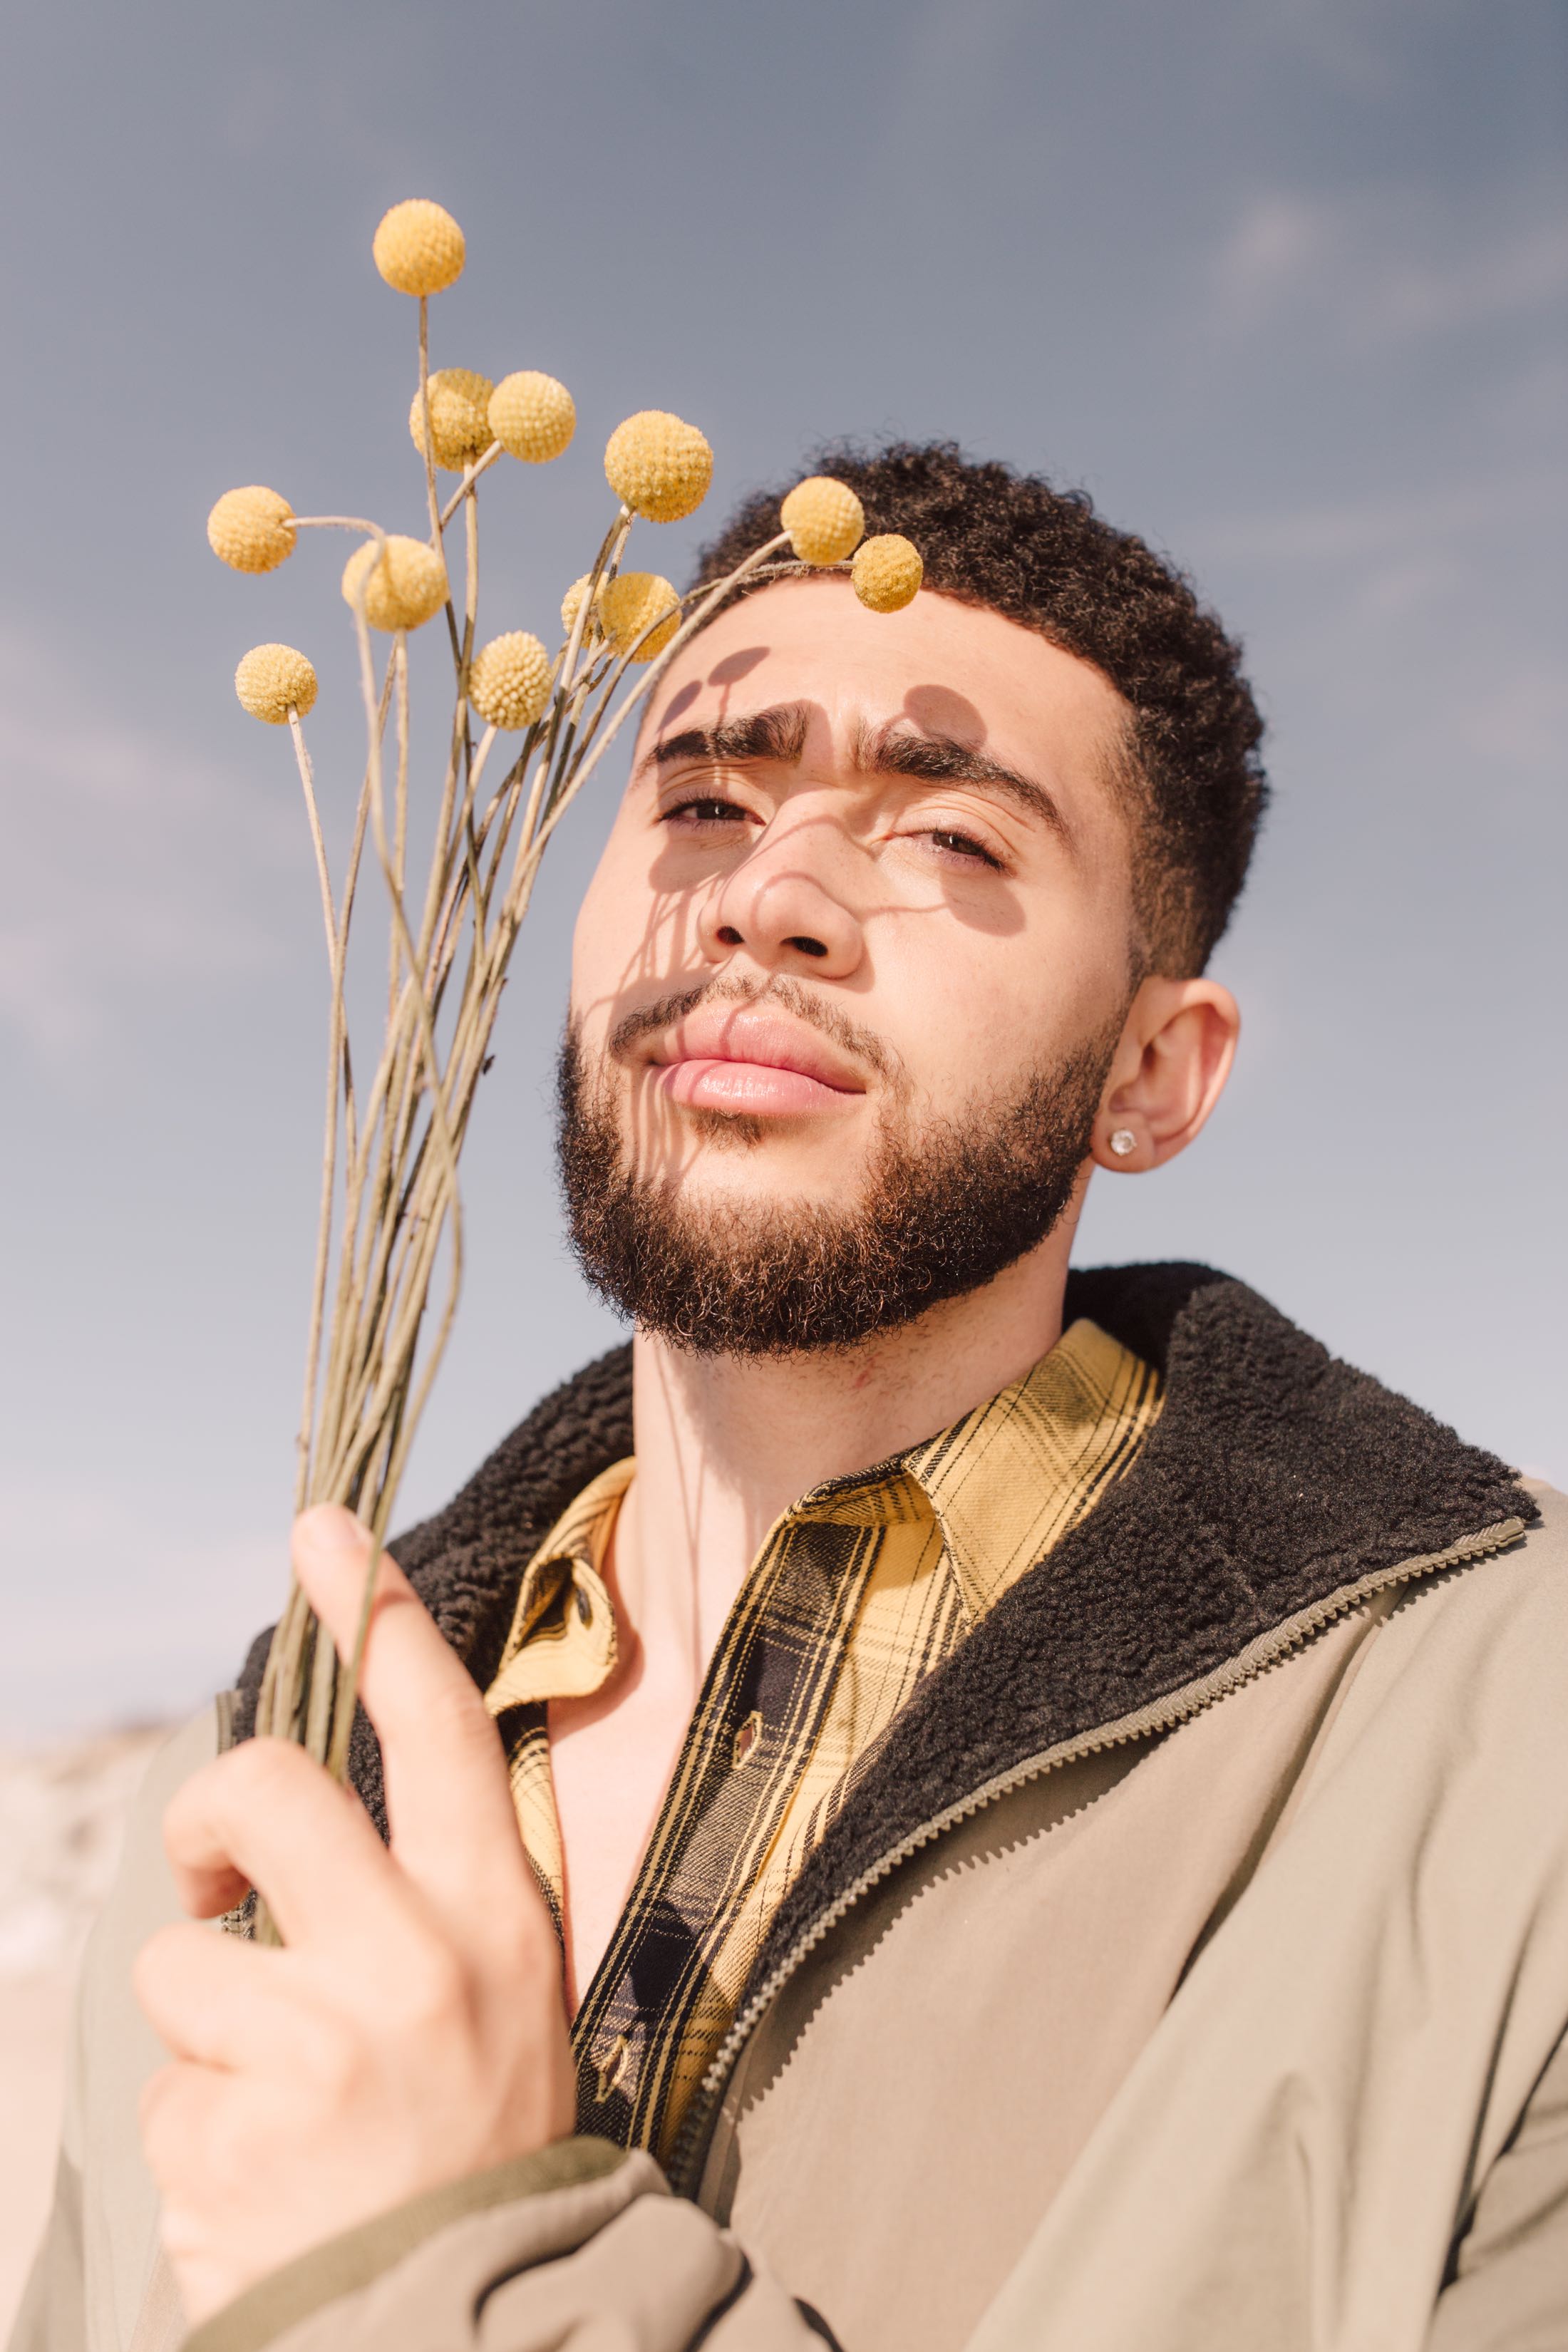
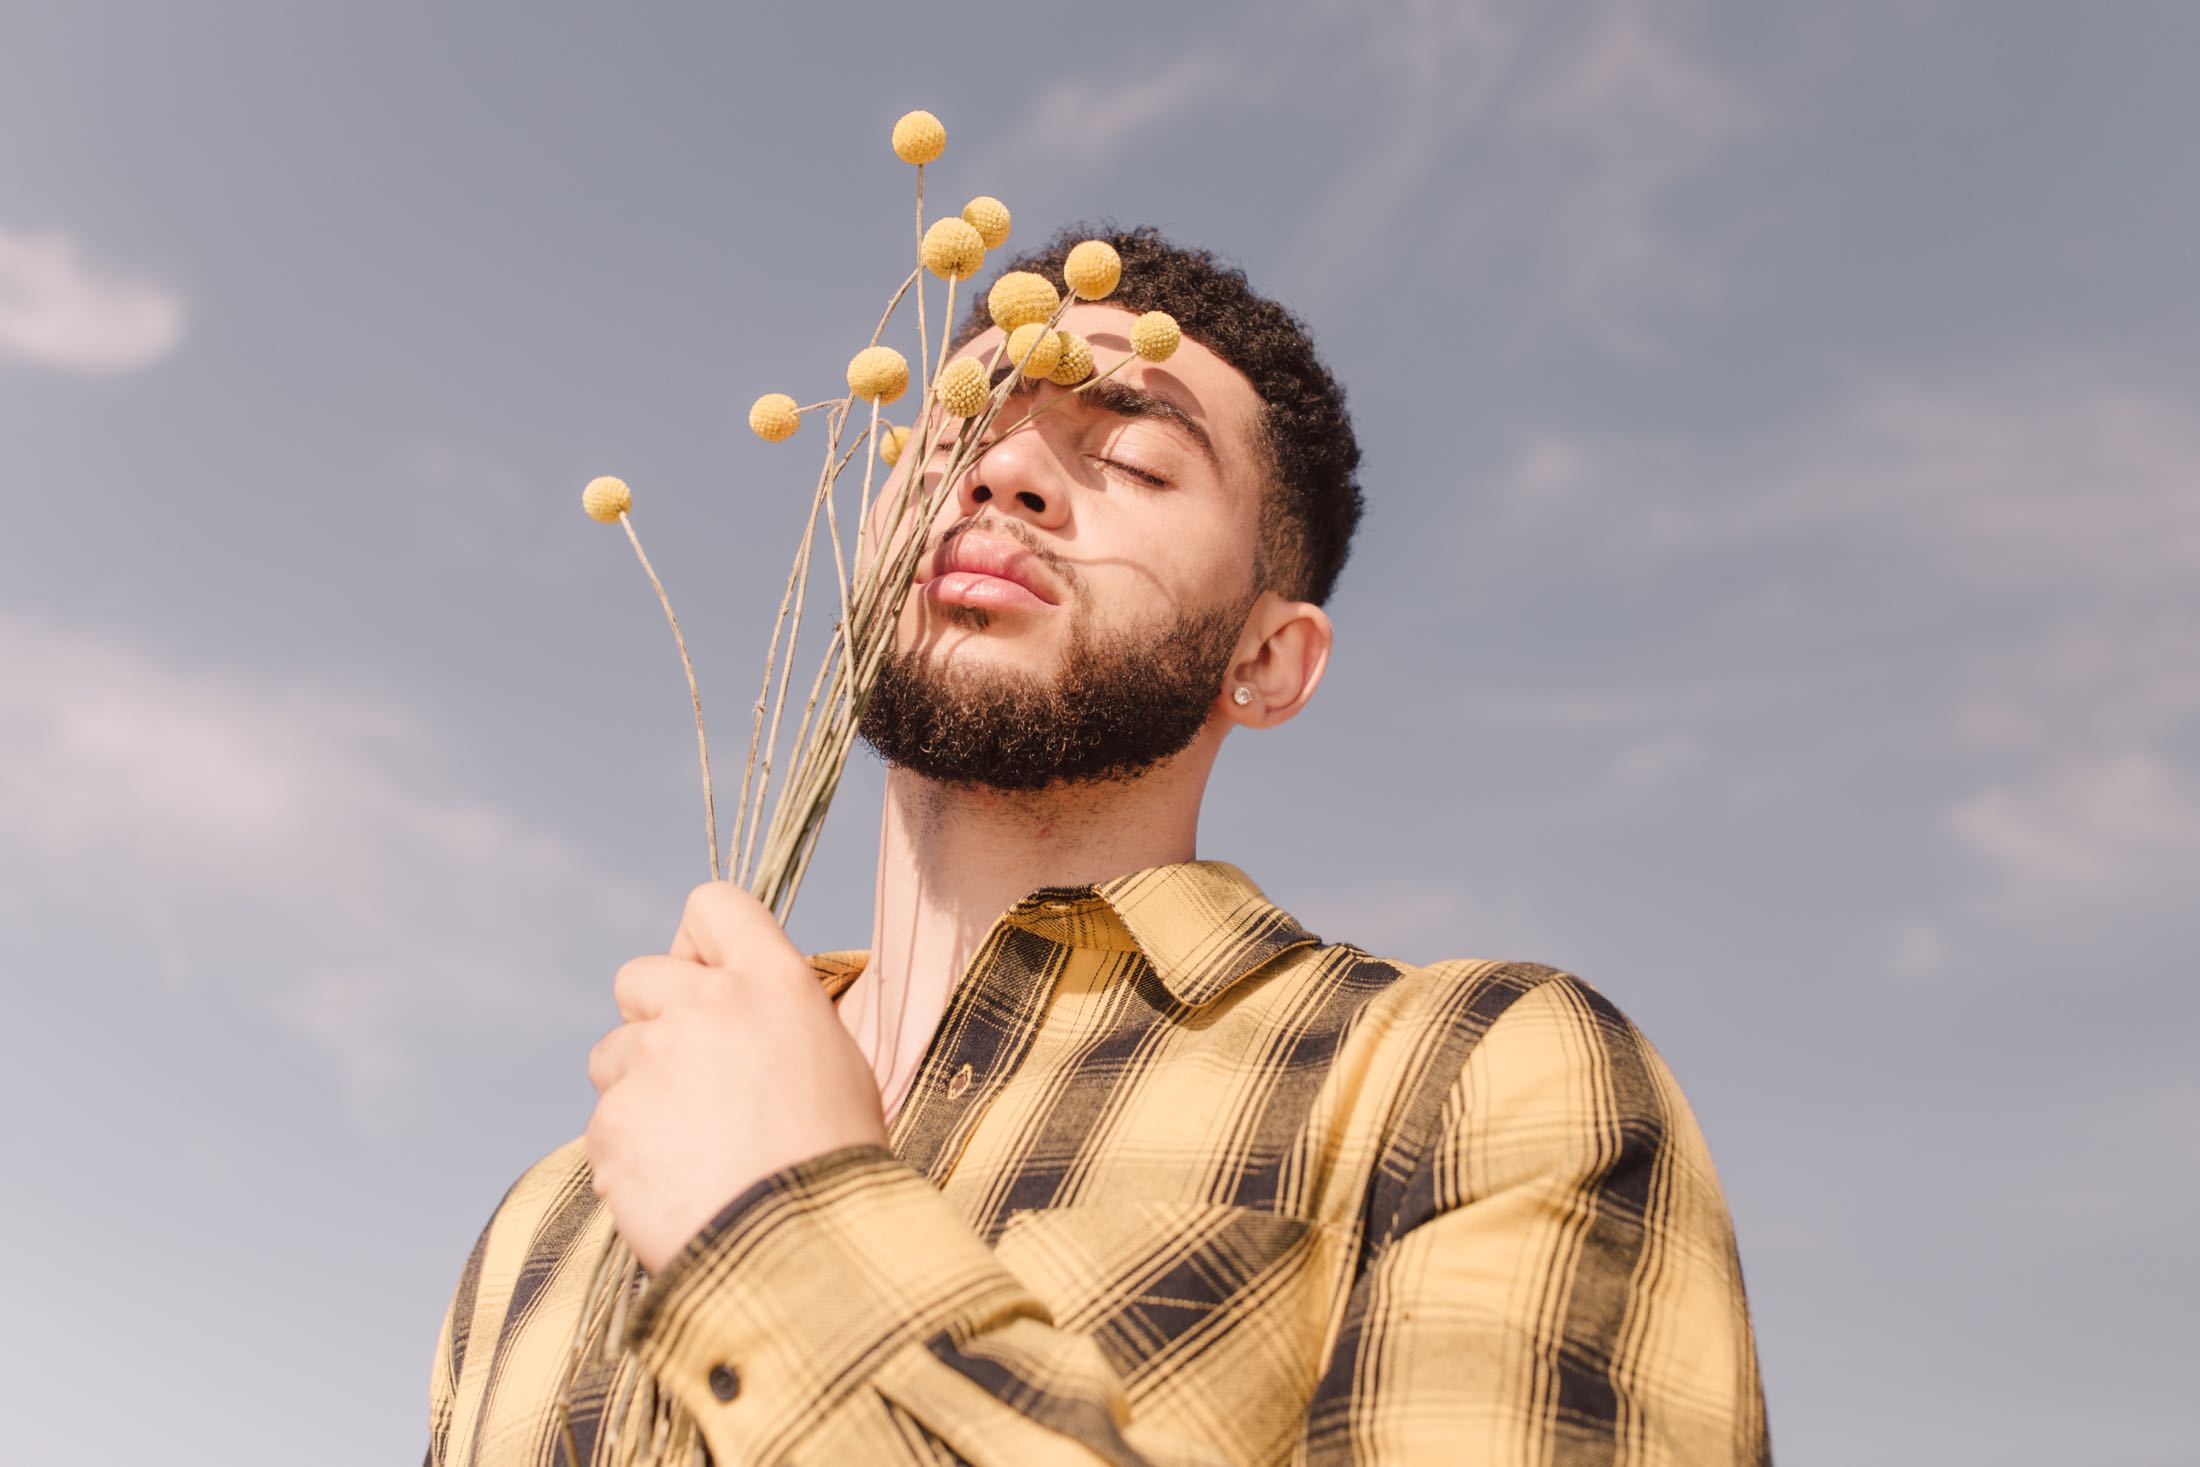
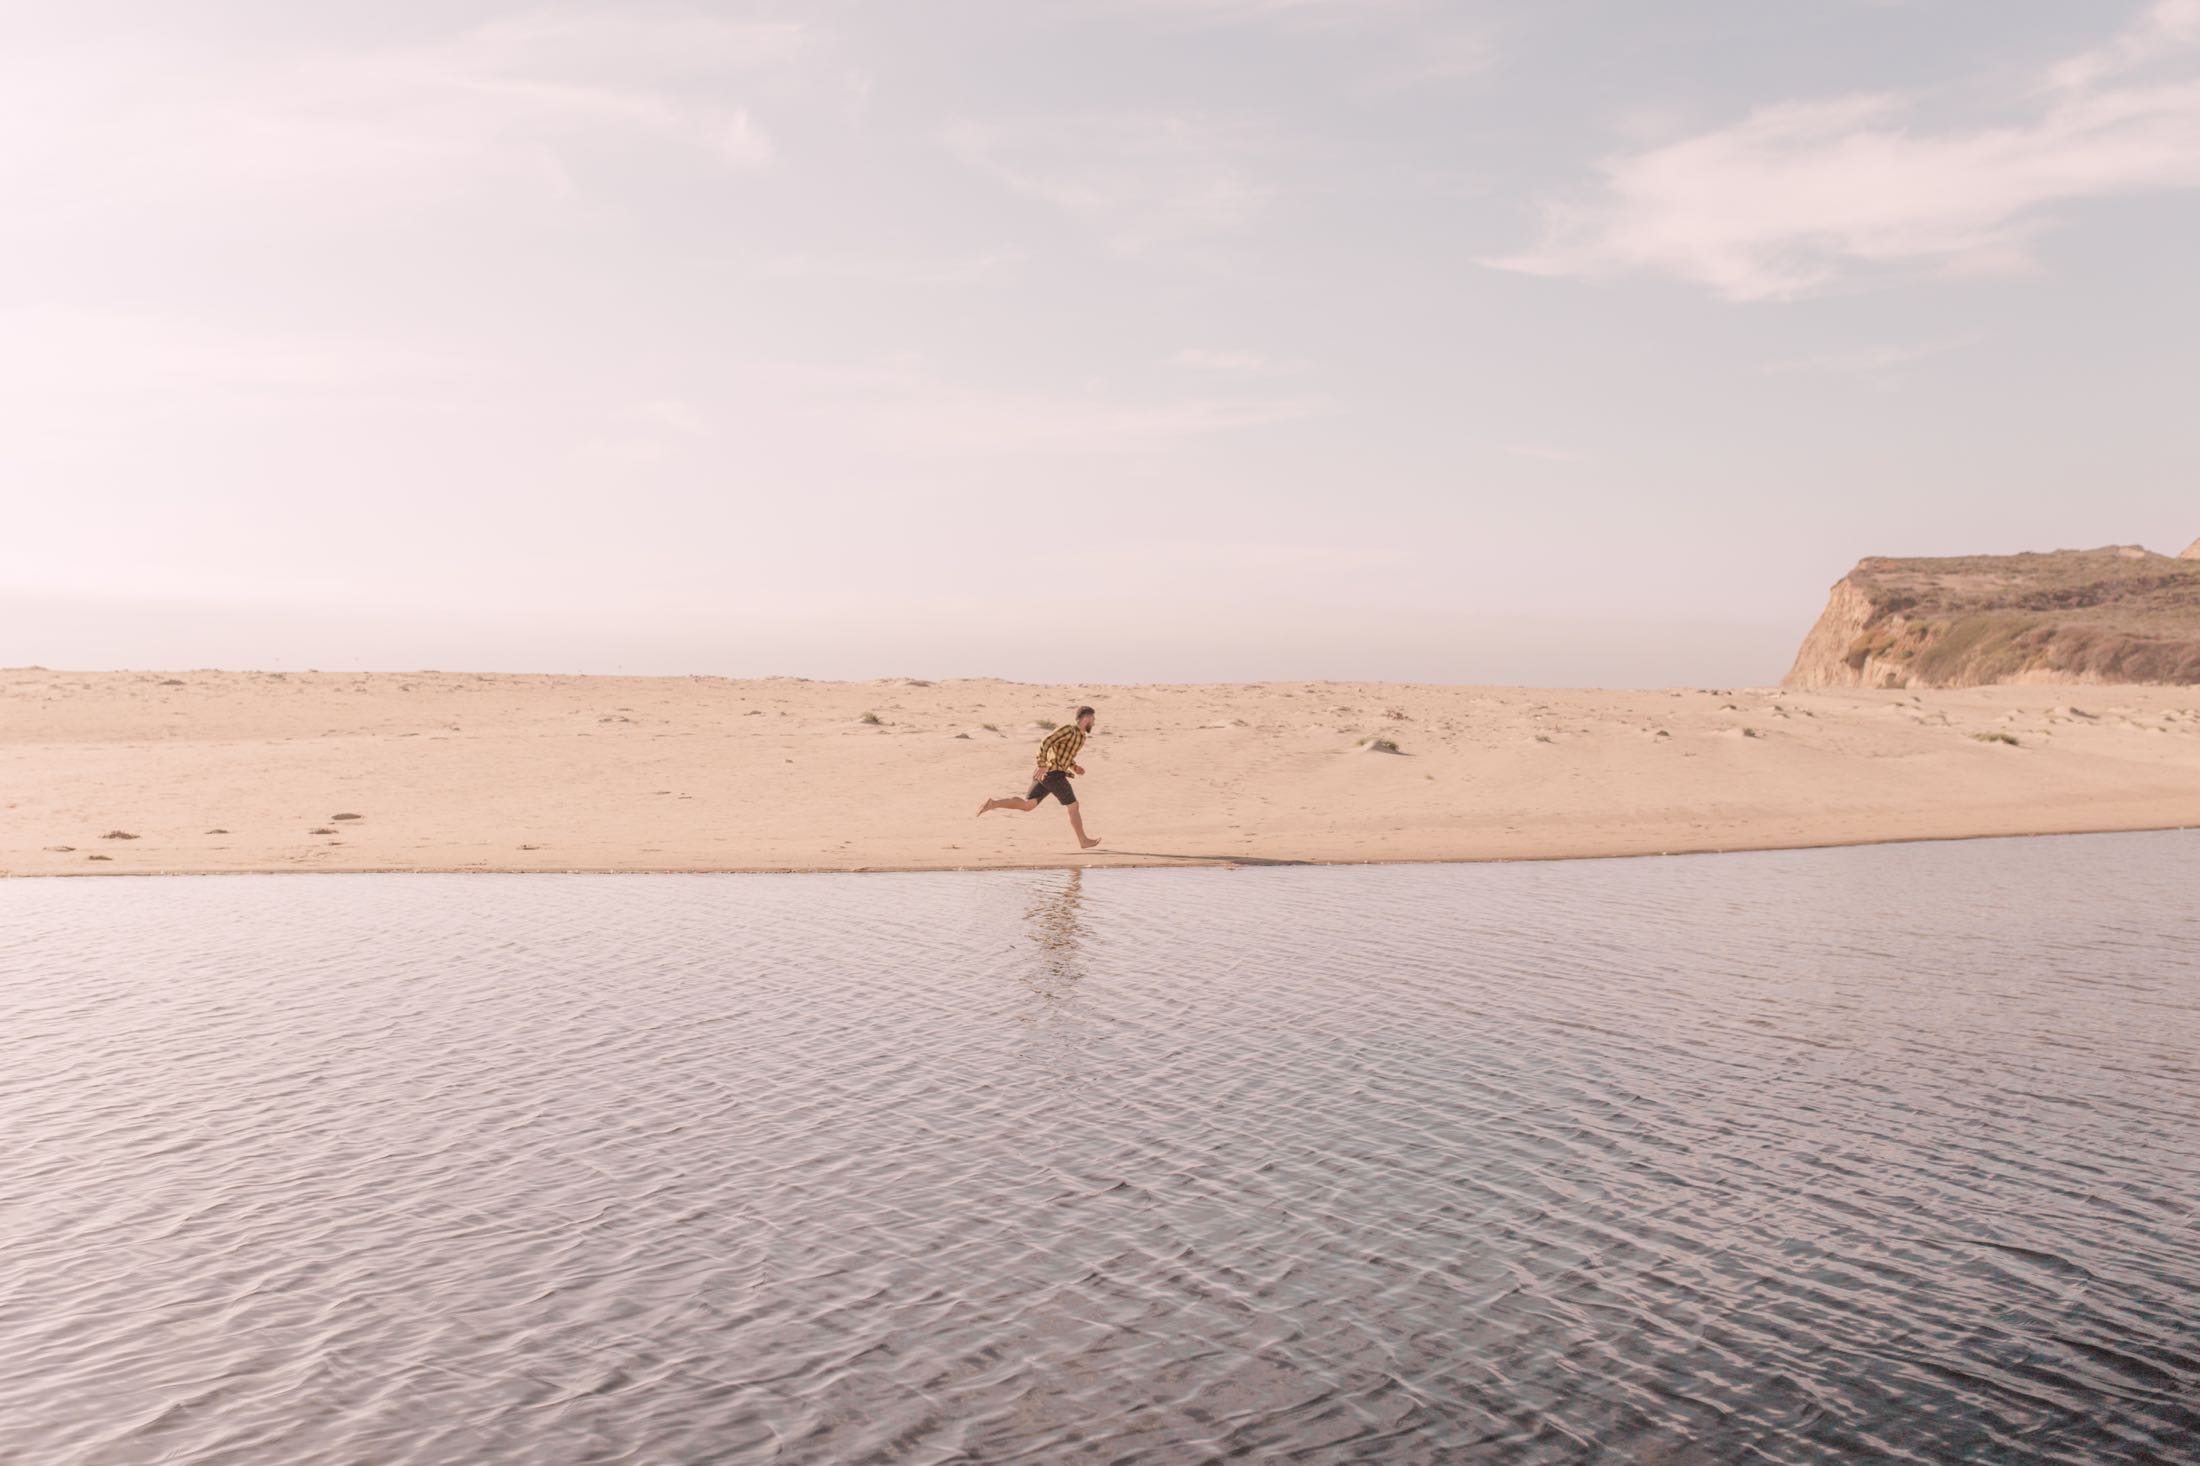
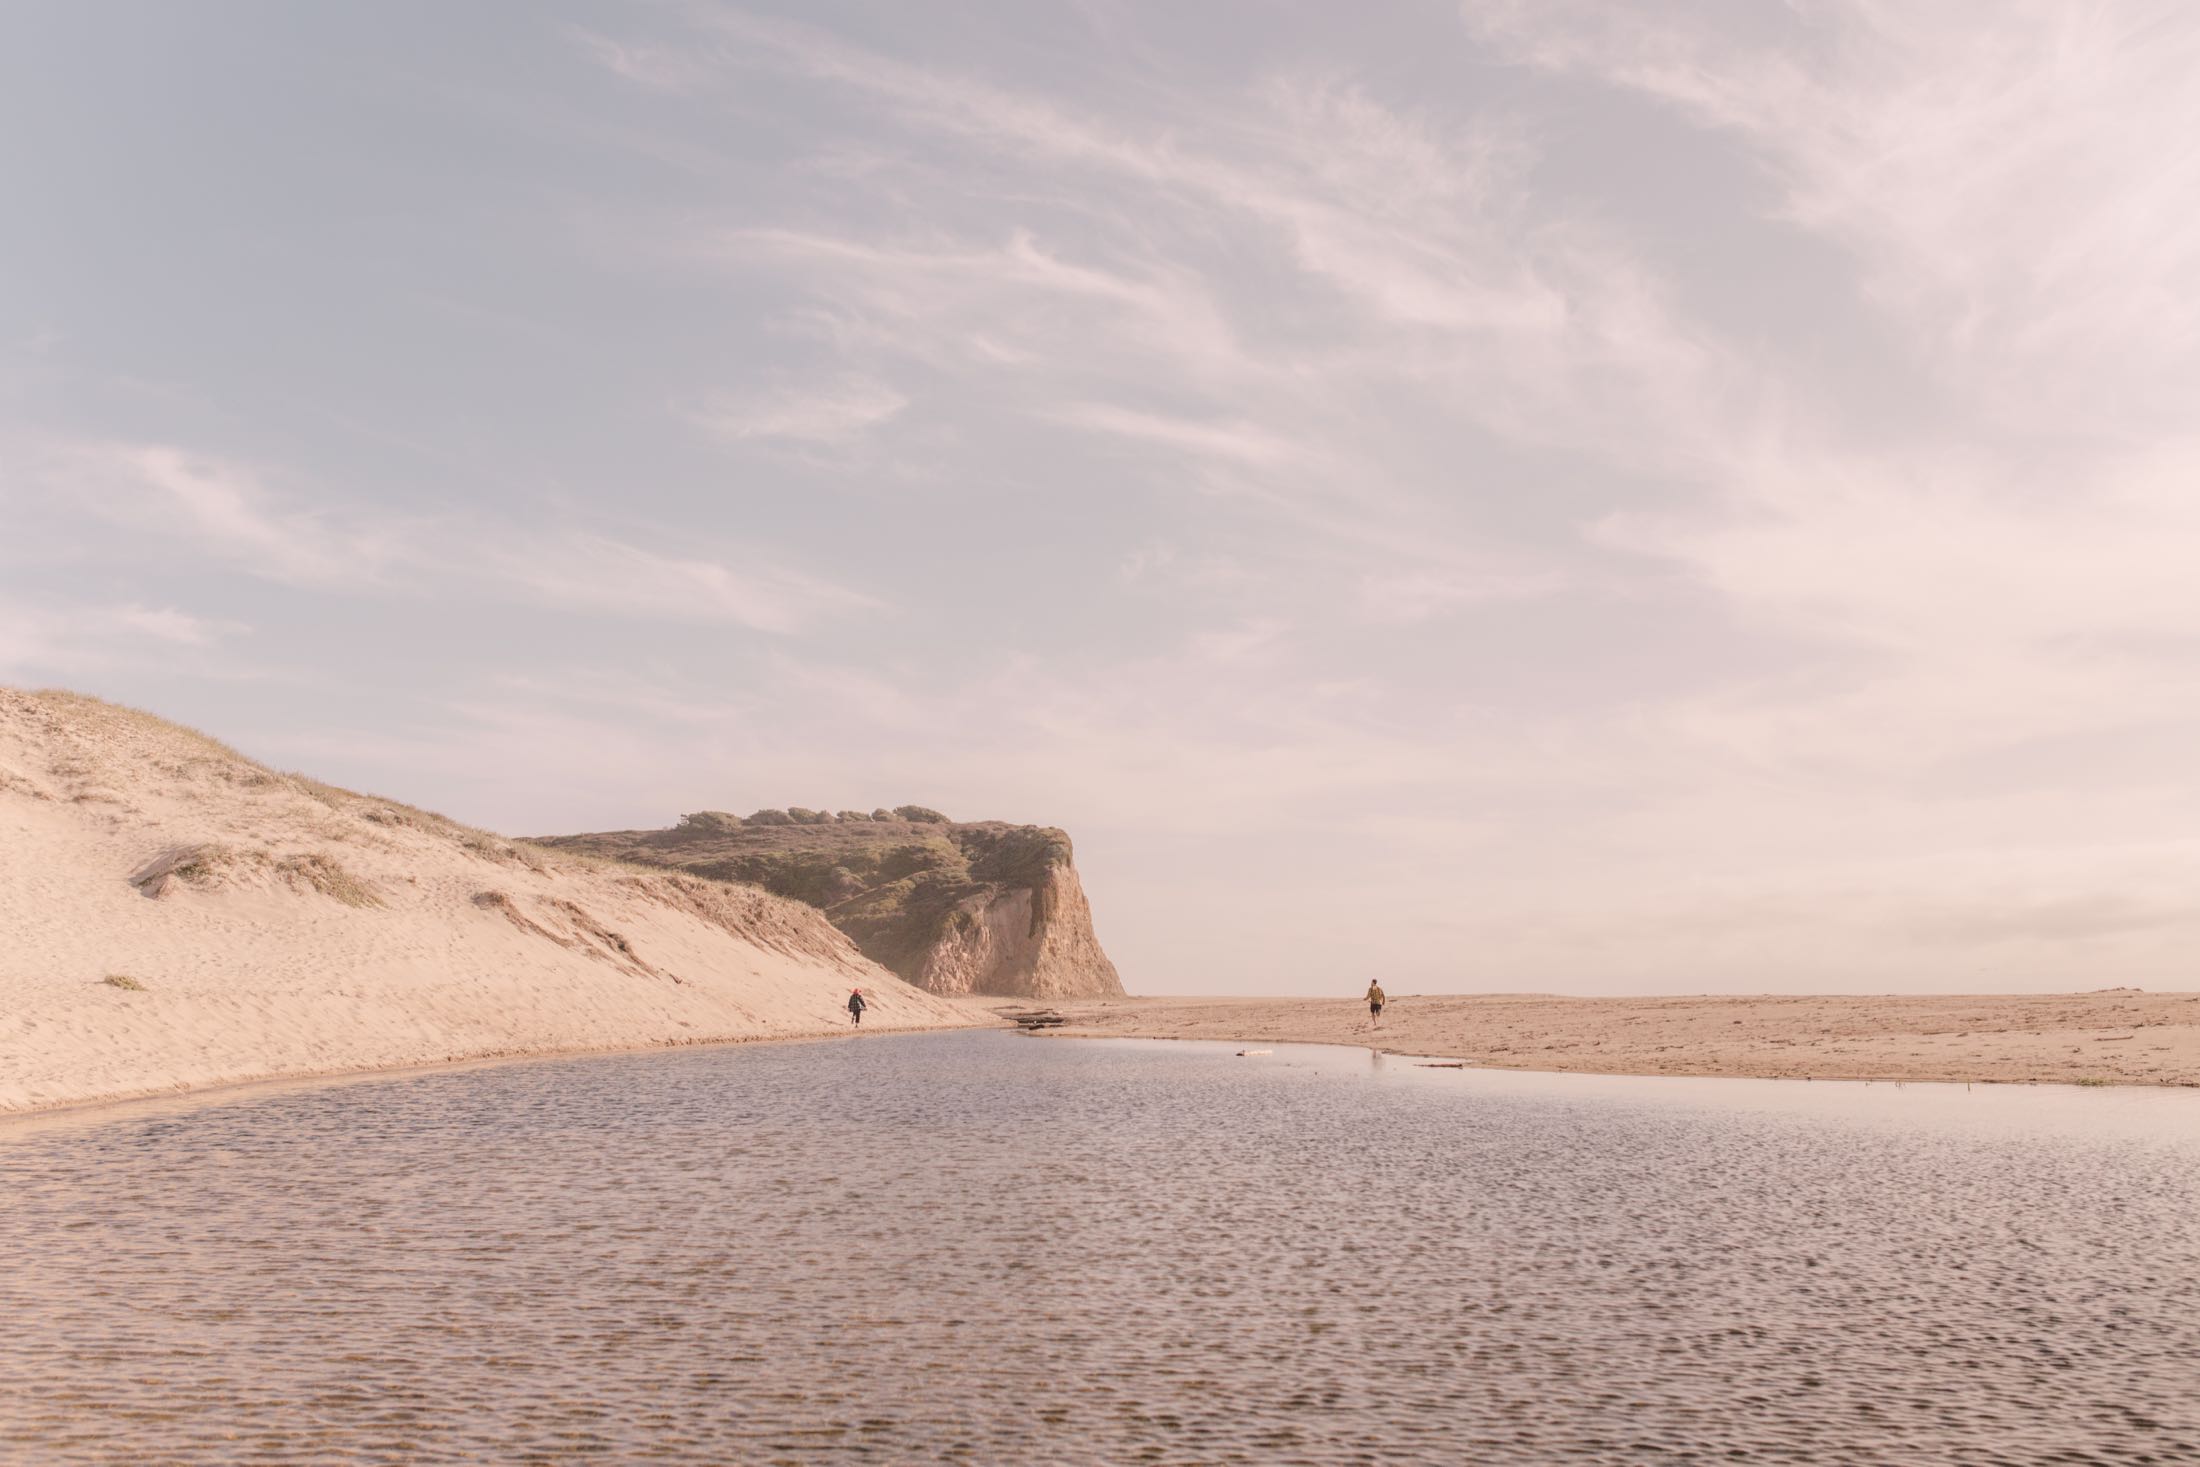
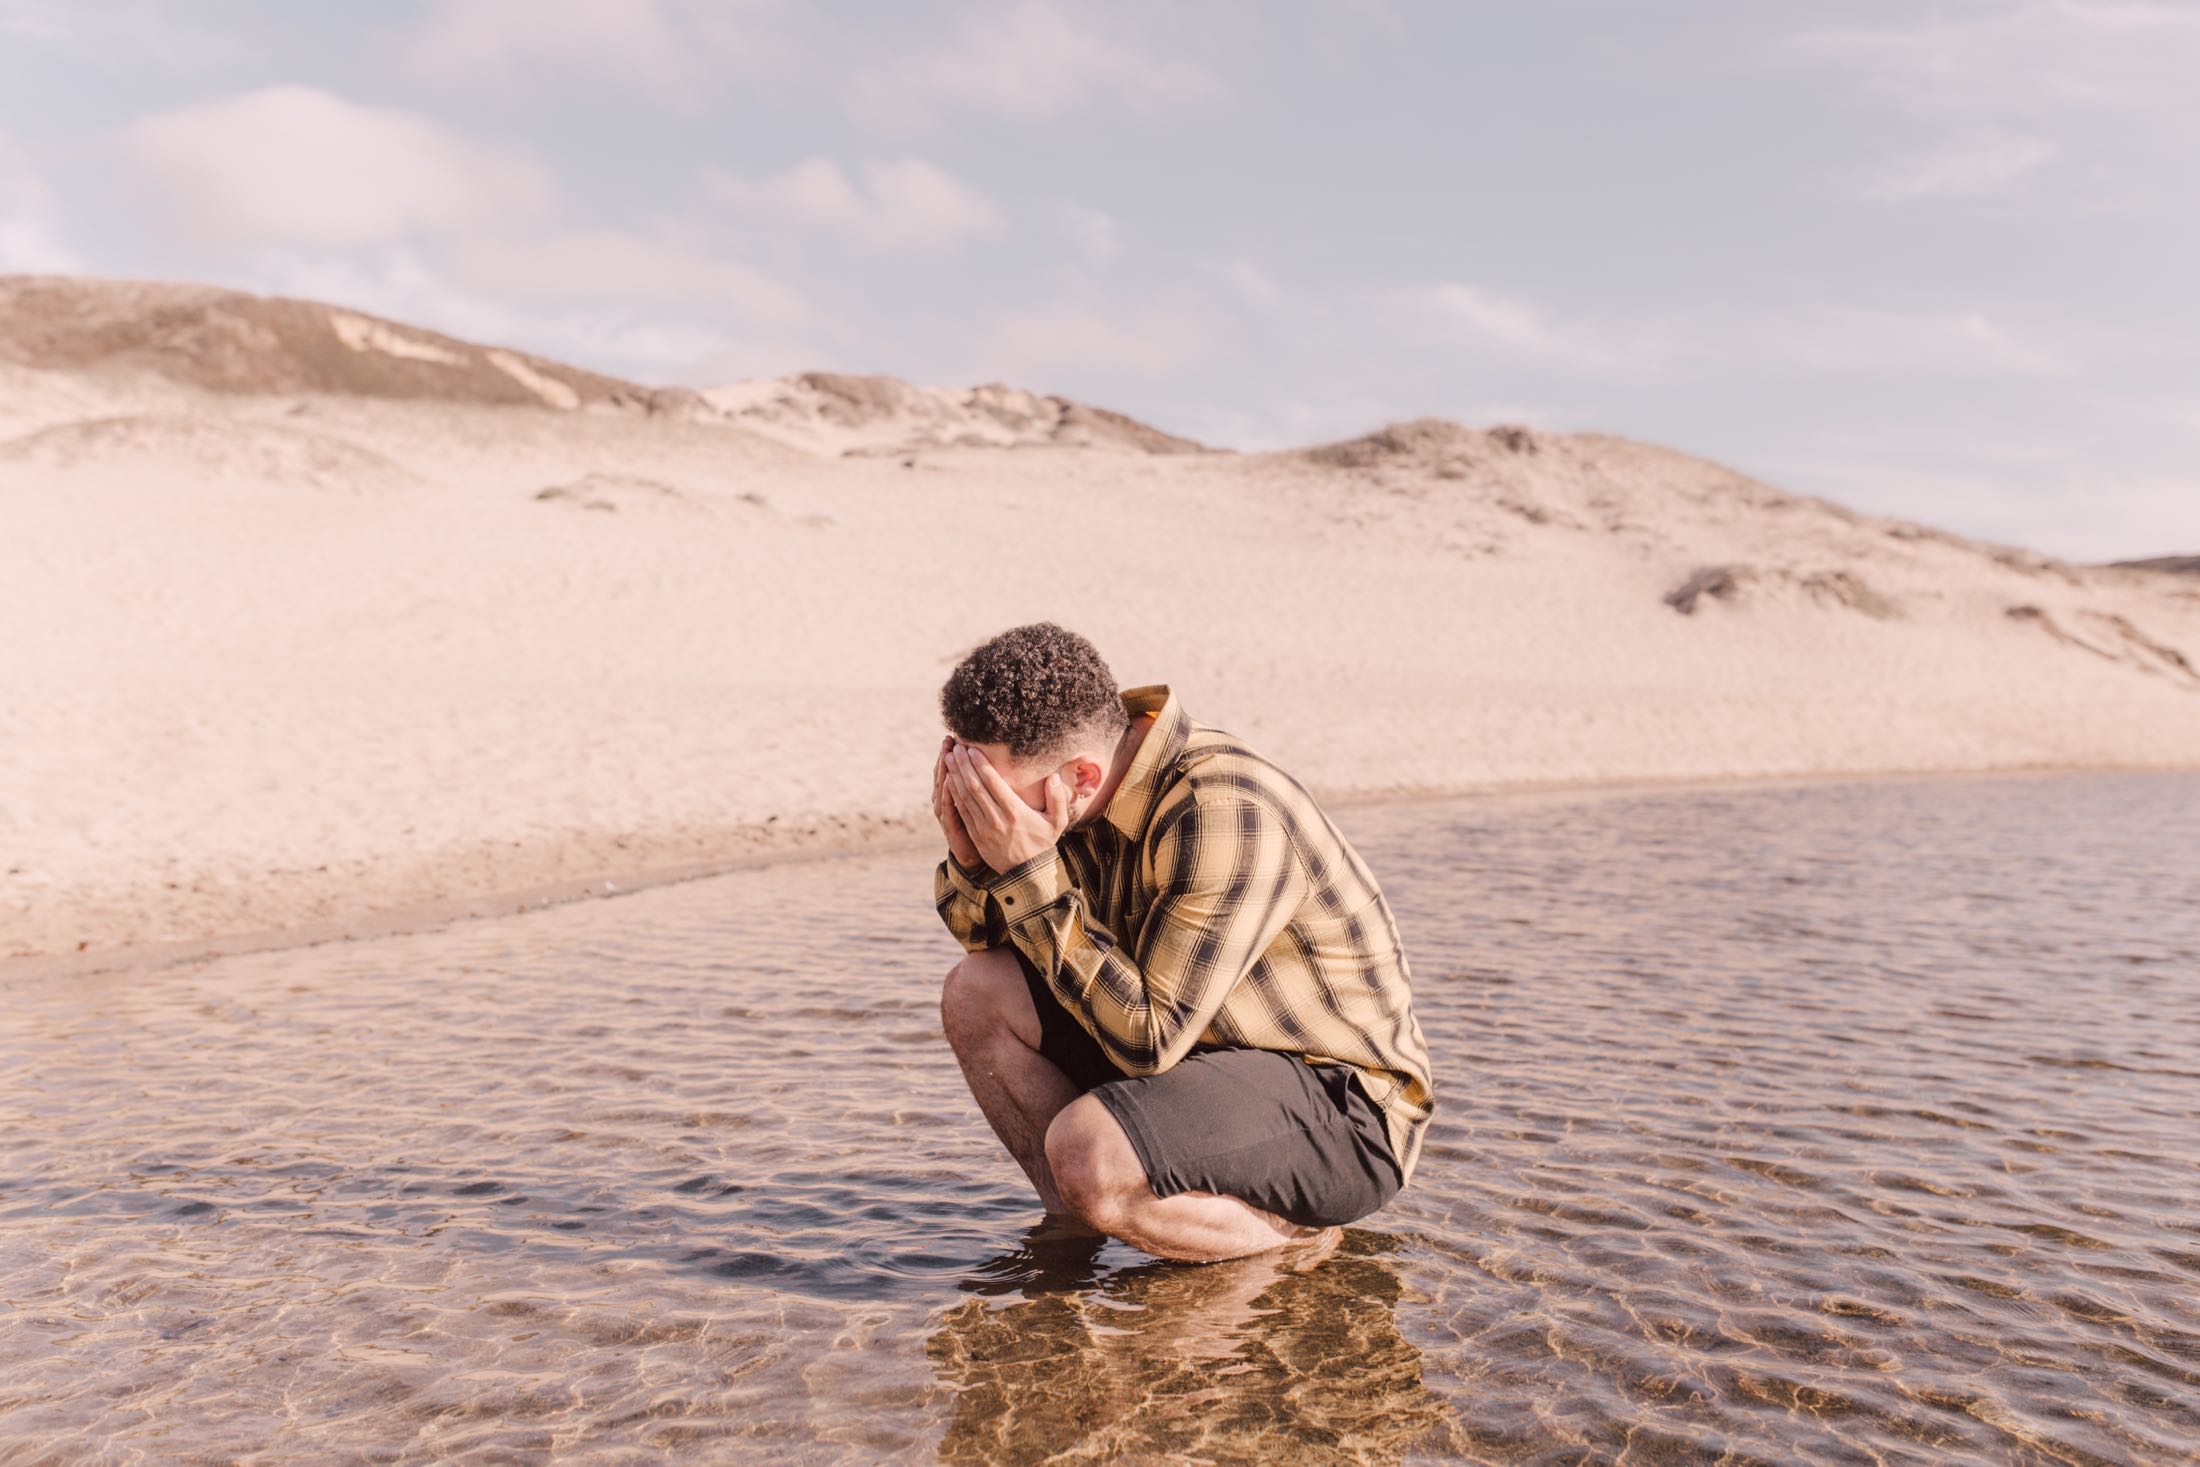
Happy to have one of my favorite shoots ever published in Array Photo Journal! Get your copy here. (By purchasing a copy, you’re supporting Array’s ability to feature more artists in the next volume!)
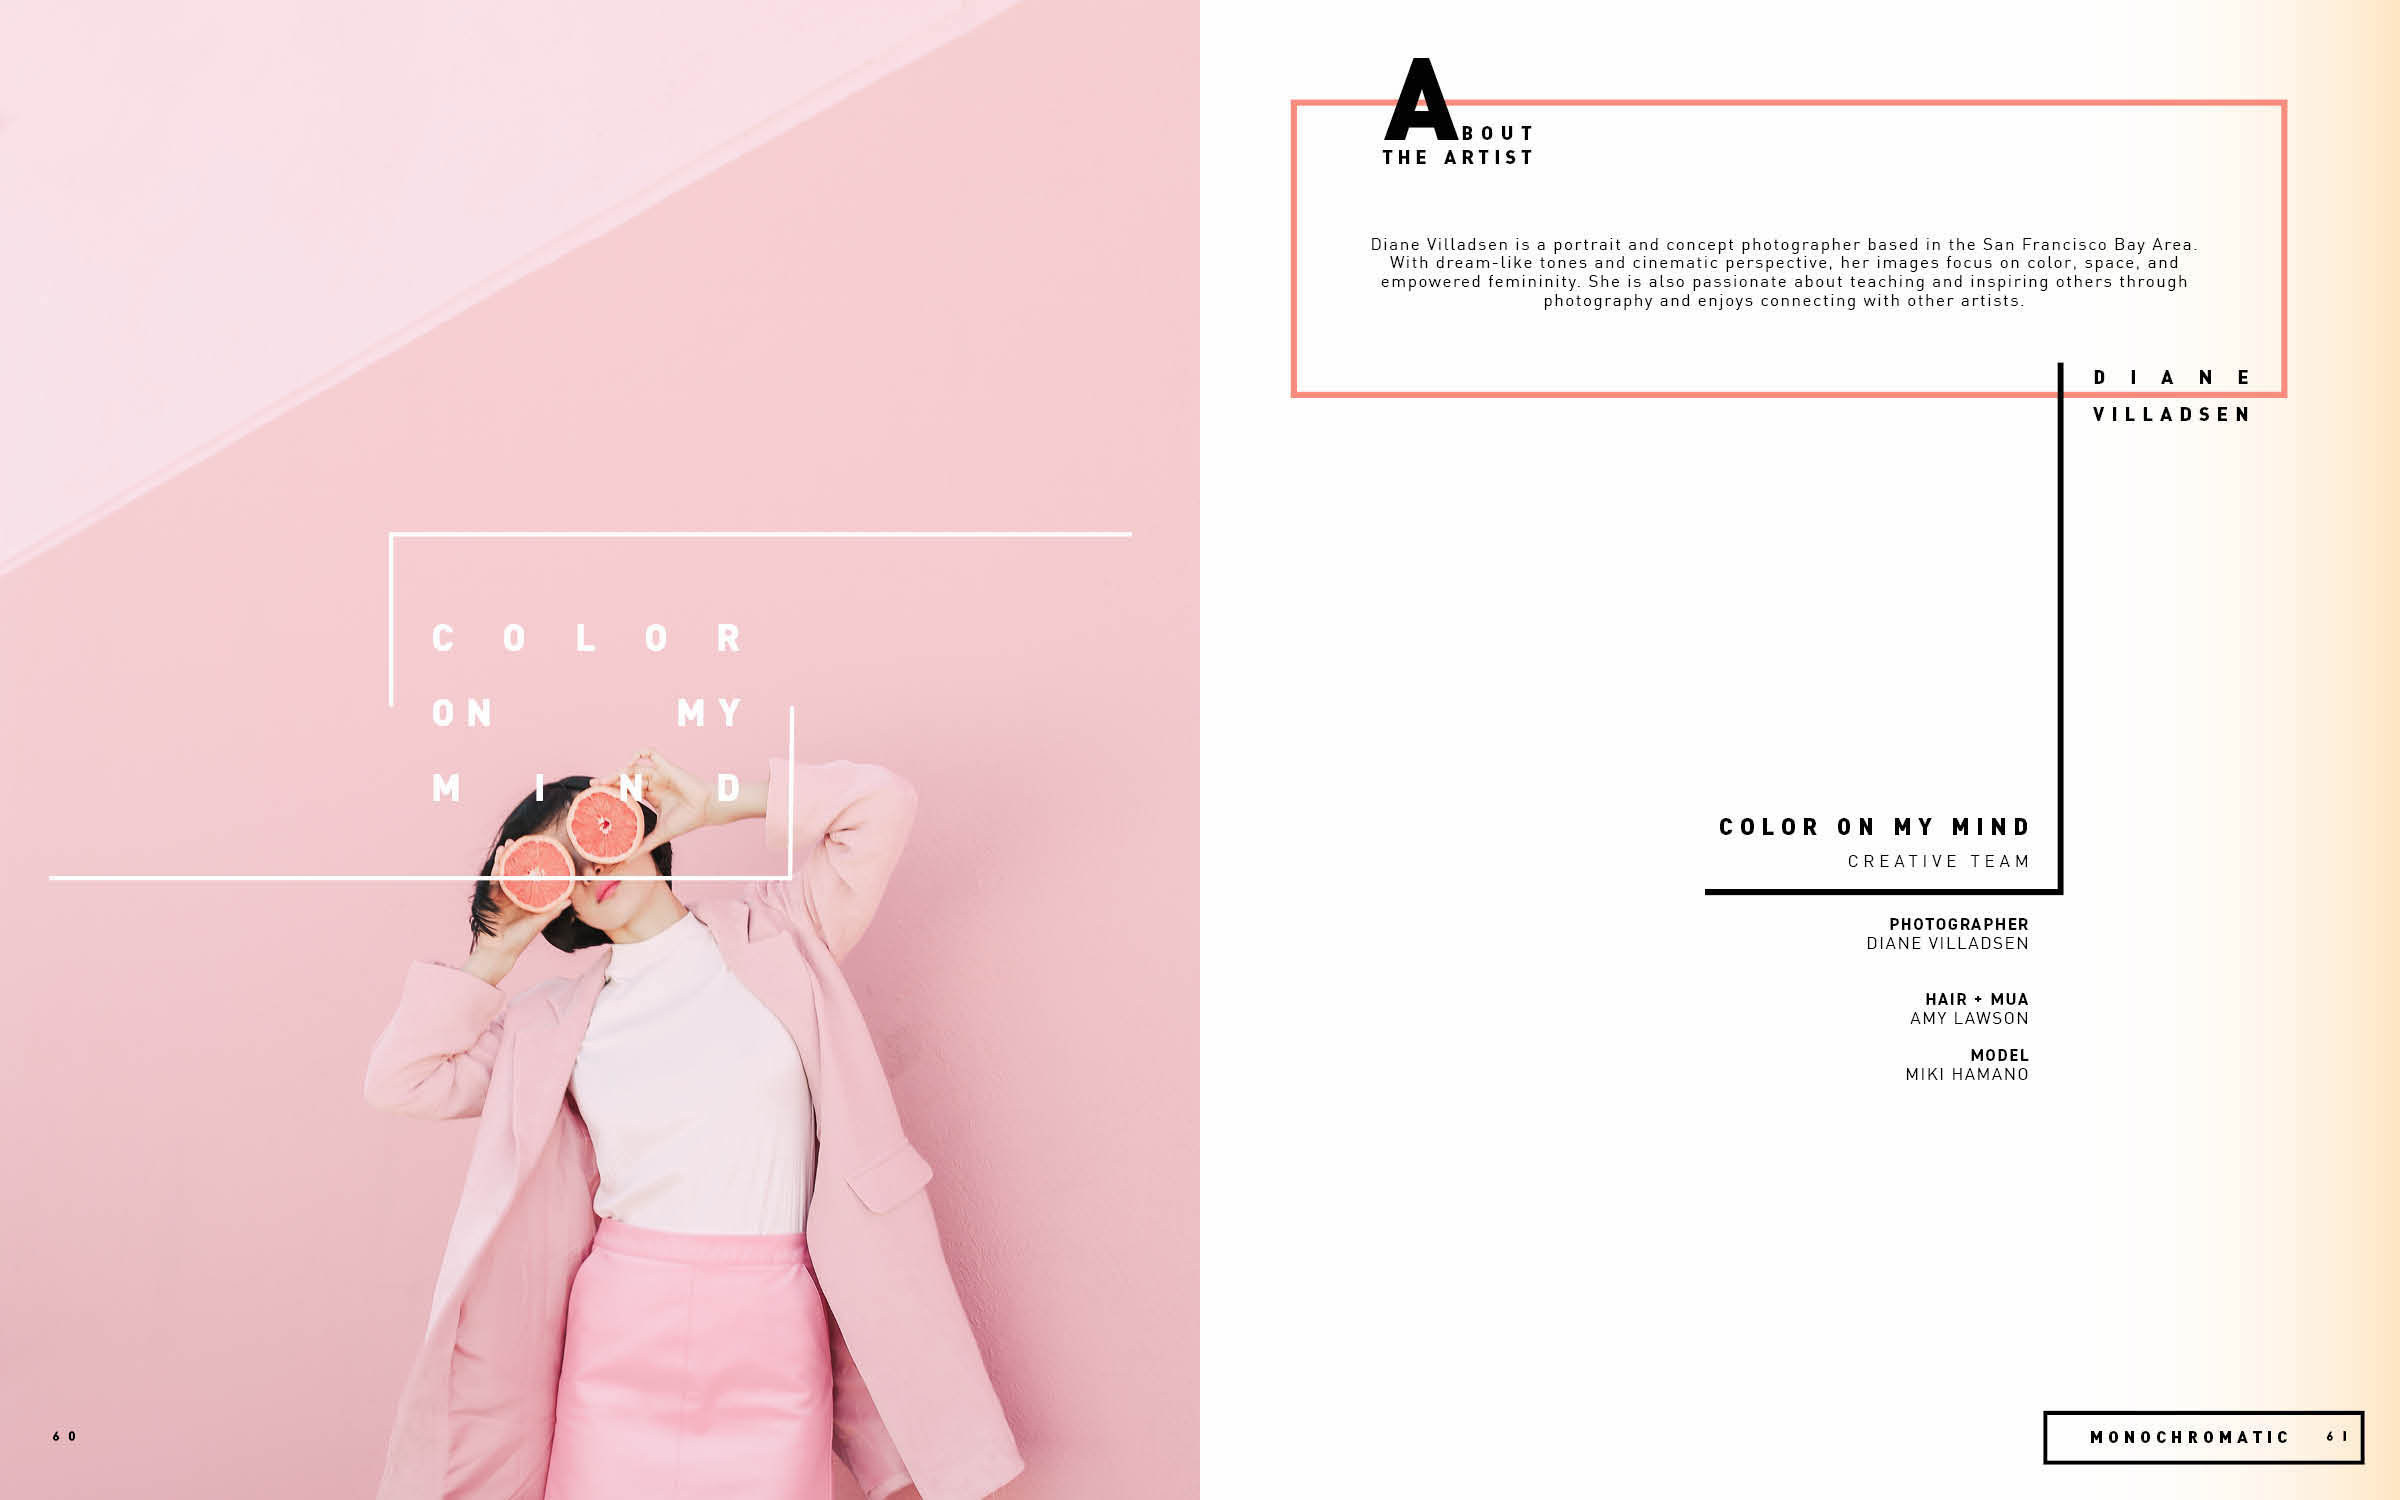
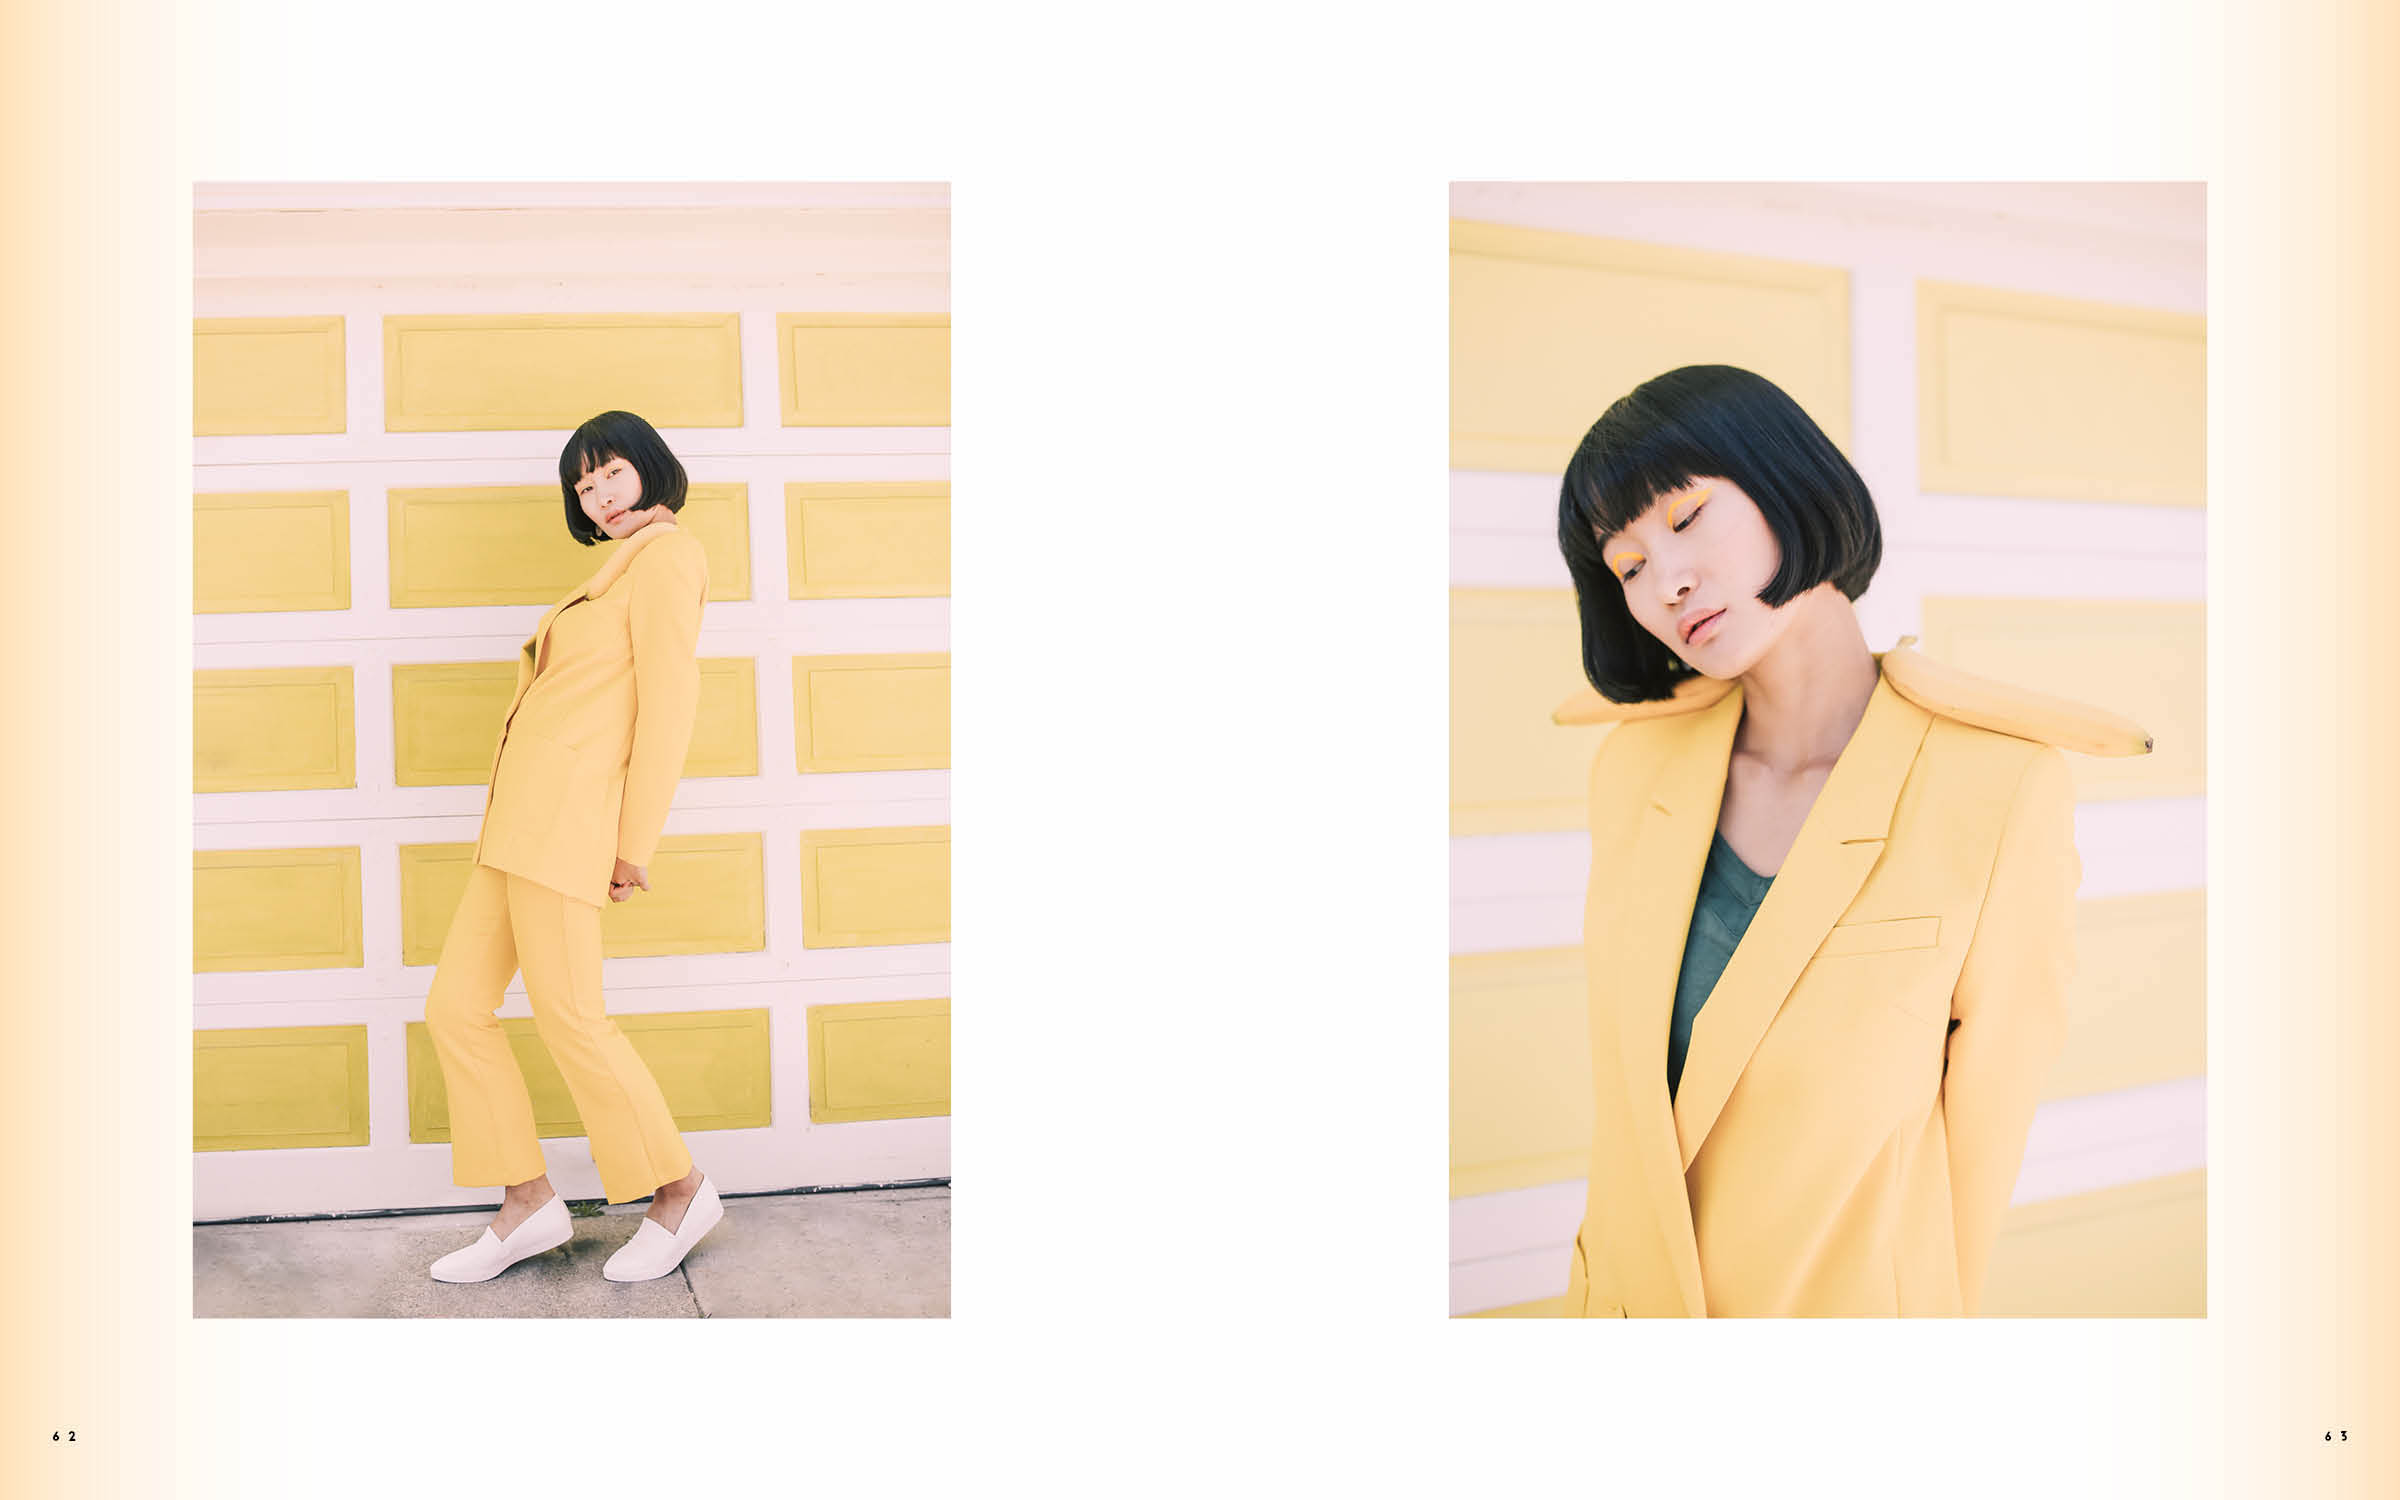
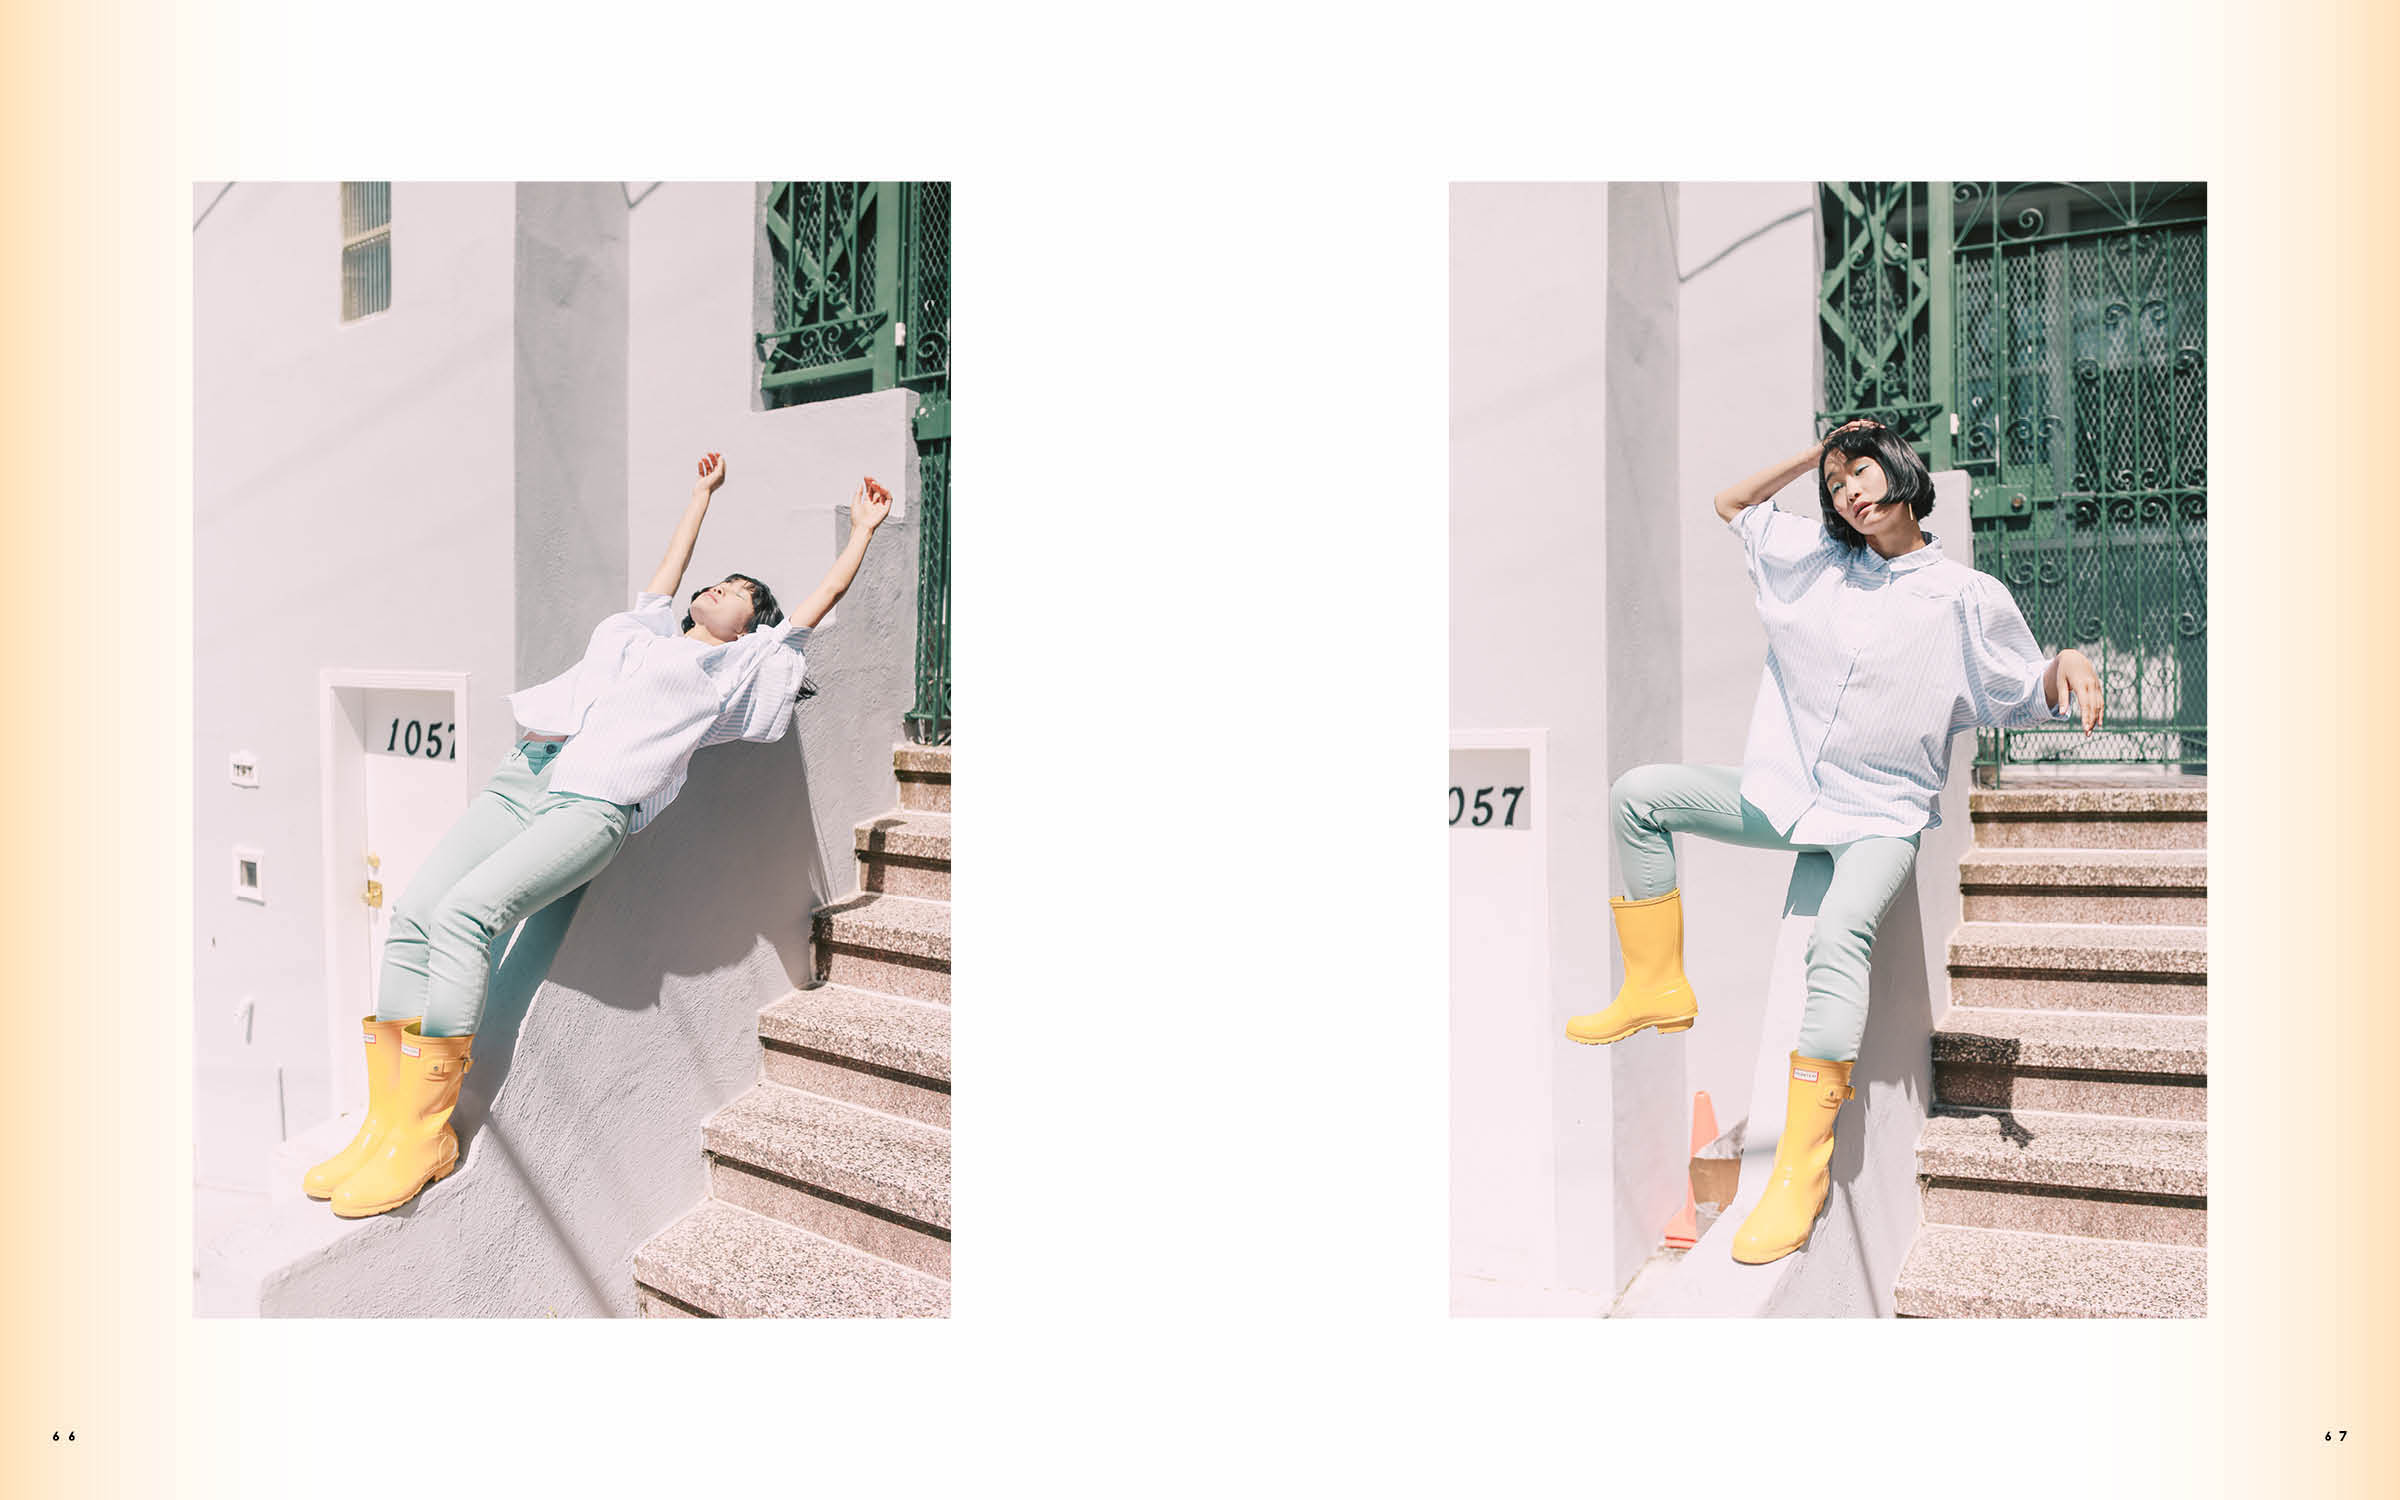
Model: Miki Hamano
Hair and makeup: Amy Lawson
Graphic Designer: P L Y G R N D
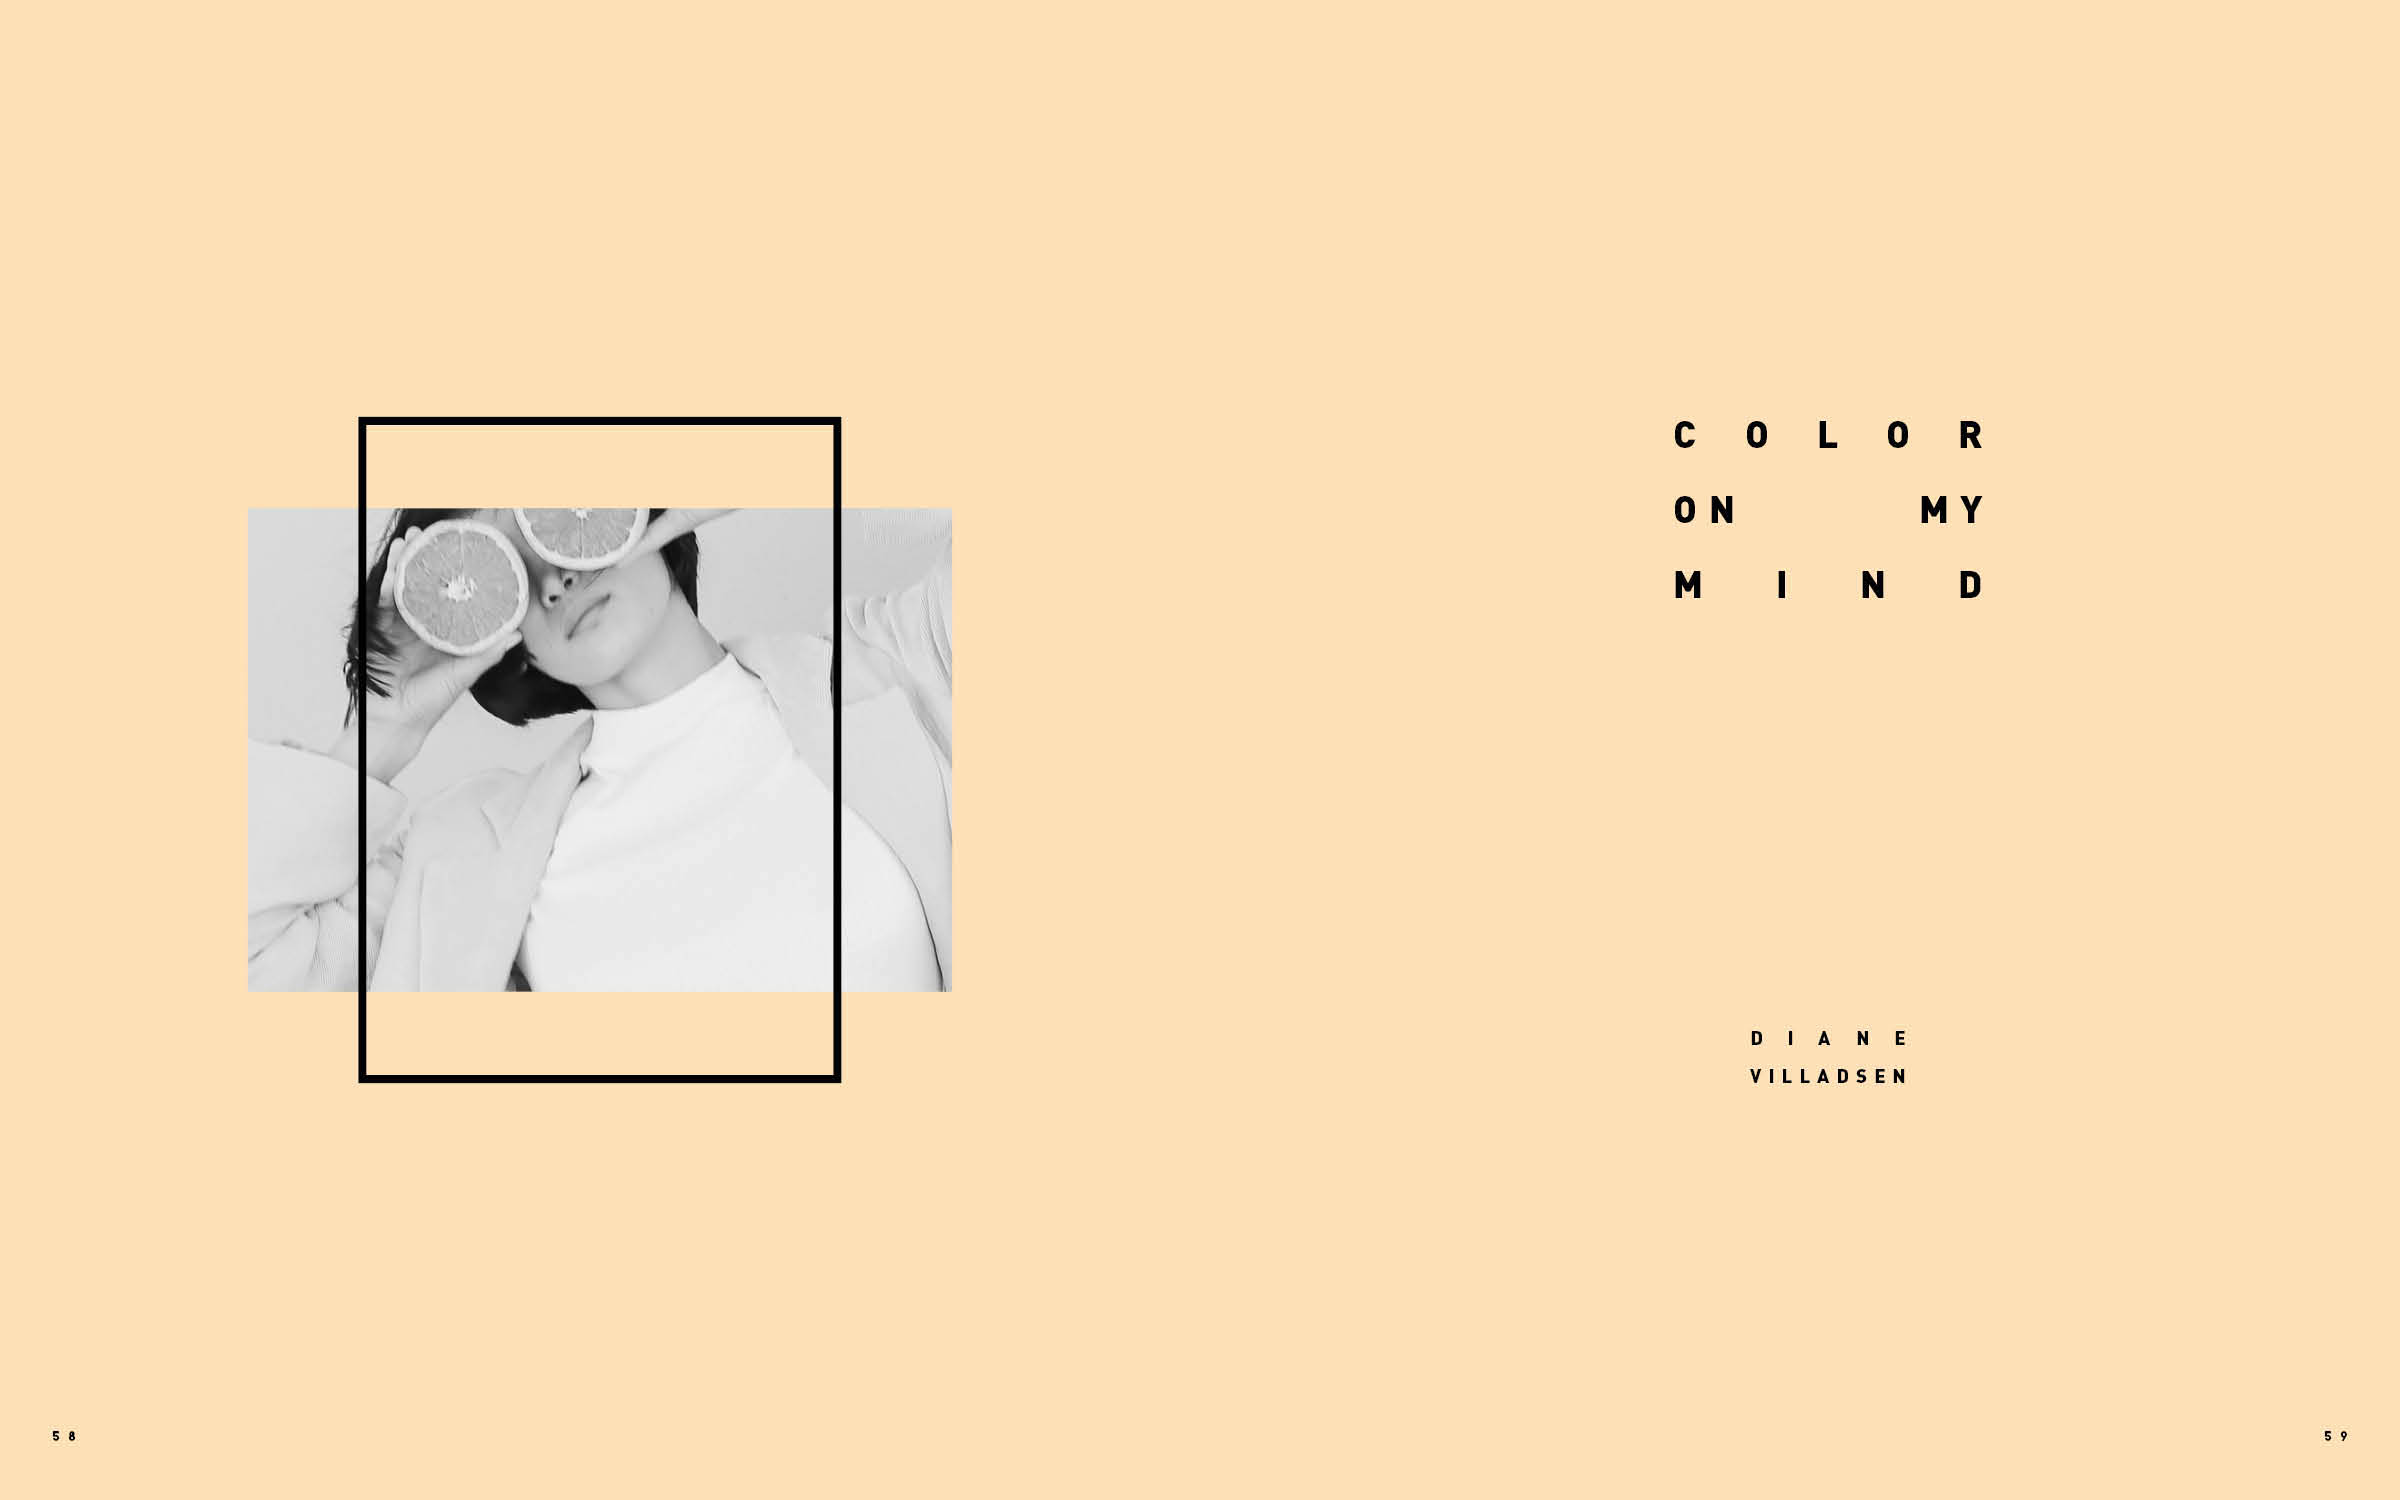
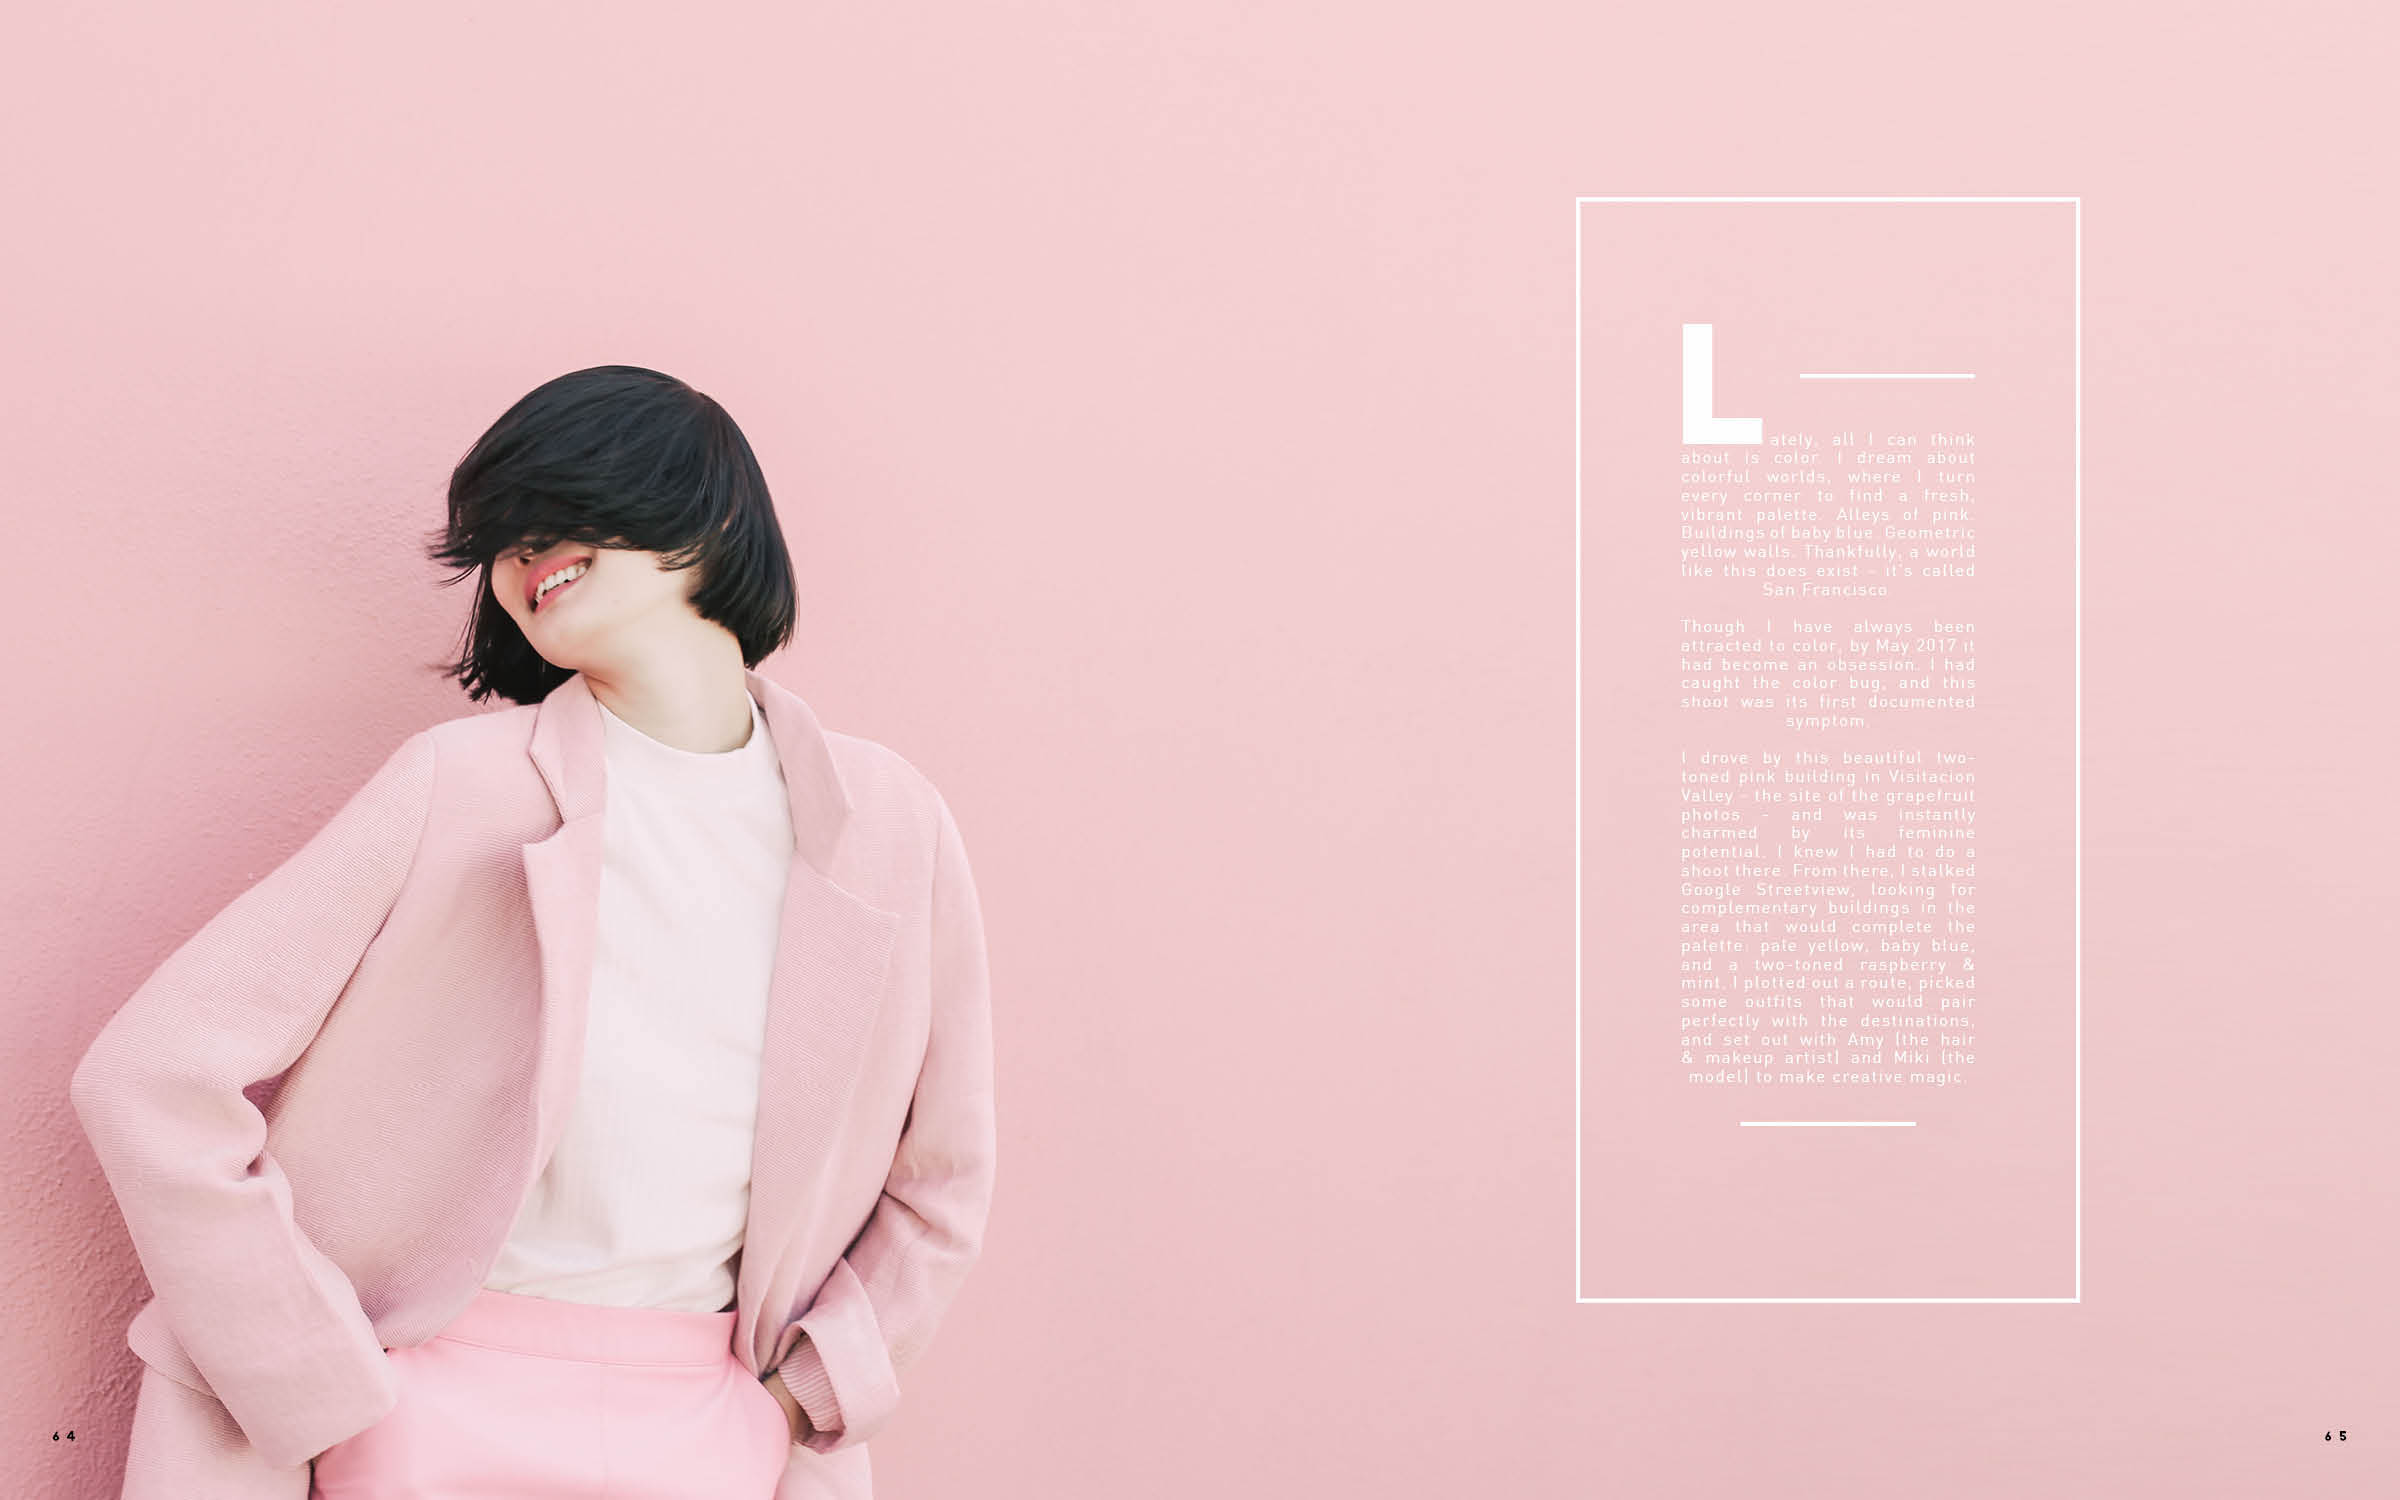
In case it’s hard to read, here’s the text I wrote:
COLOR ON MY MIND
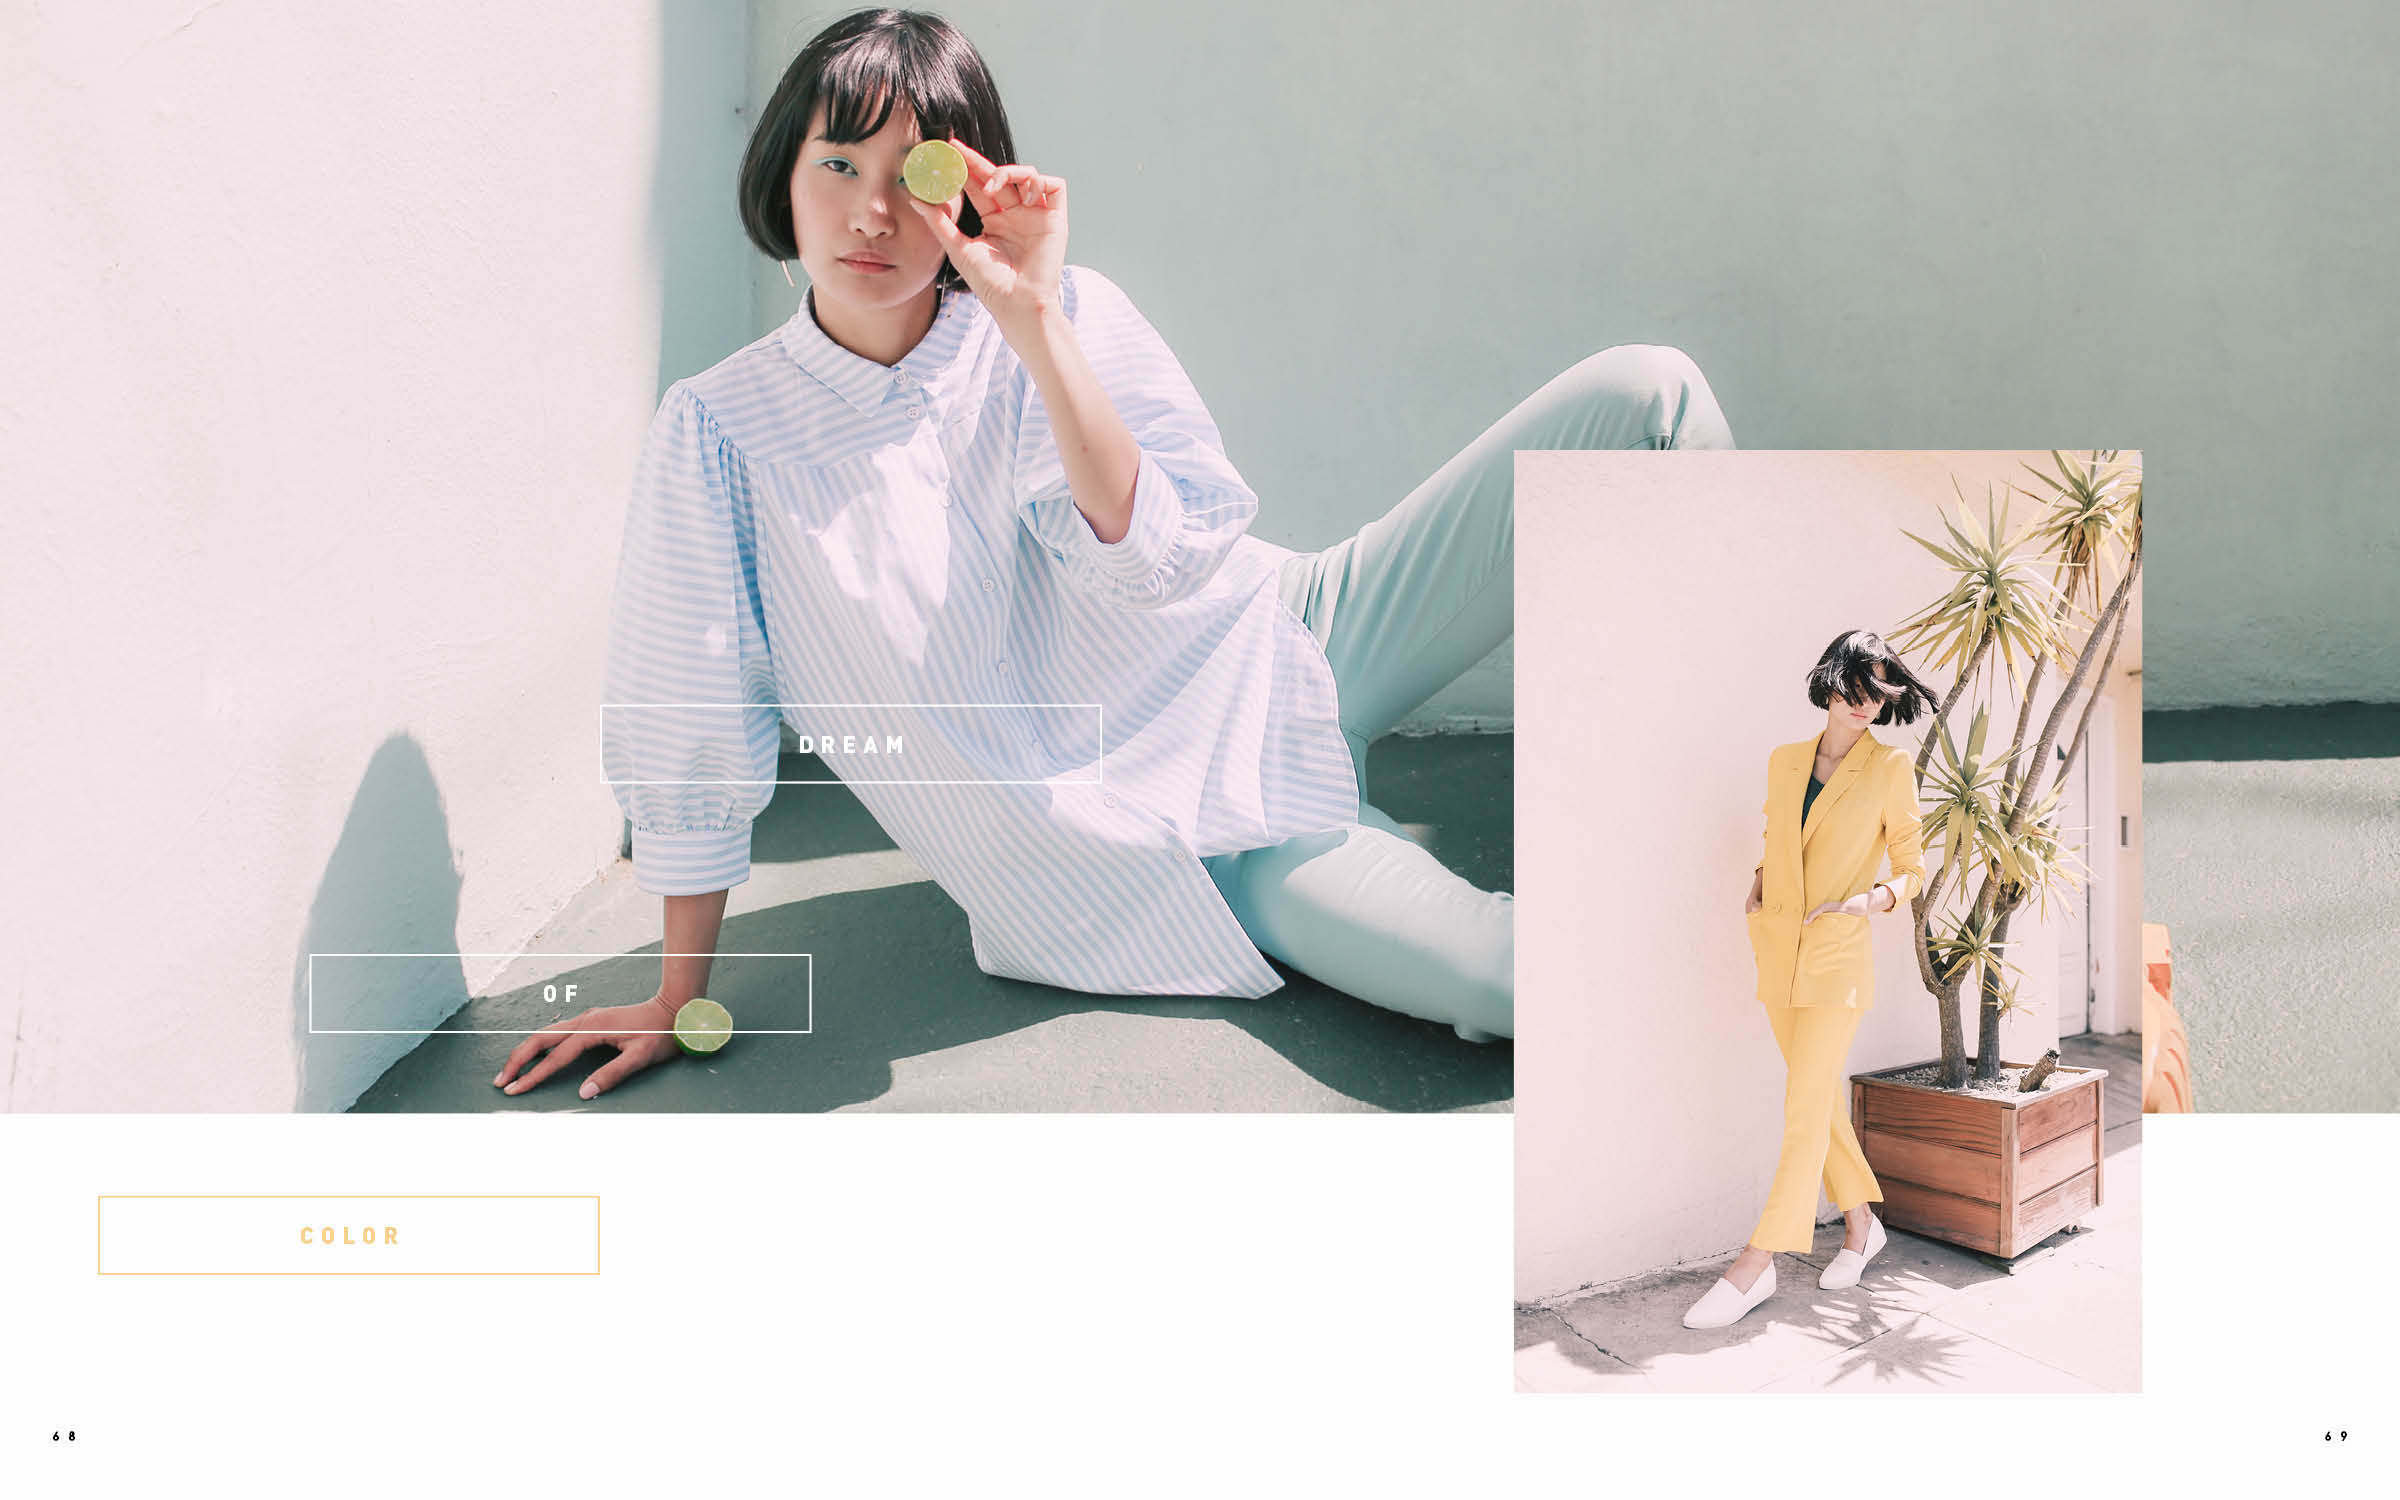
Lately, all I can think about is color. I dream about colorful worlds, where I turn every corner and find a fresh, vibrant palette. Alleys of pink. Buildings of baby blue. Geometric yellow walls. Thankfully, a world like this does exist - it's called San Francisco.
Though I have always been attracted to color, by May 2017 it had become an obsession. I had caught the color bug, and this shoot was its first documented symptom.
I drove by this beautiful two-toned pink building in Visitacion Valley - the site of the grapefruit photos - and was instantly charmed by its feminine potential. I knew I had to do a shoot there. From there, I stalked Google Streetview, looking for complementary buildings in the area that would complete the palette: pale yelllow, baby blue, and a two-toned raspberry & mint. I plotted out a route, picked out some outfits that would pair perfectly with the destinations, and set out with Amy (the hair & makeup artist) and Miki (the model) to make creative magic.
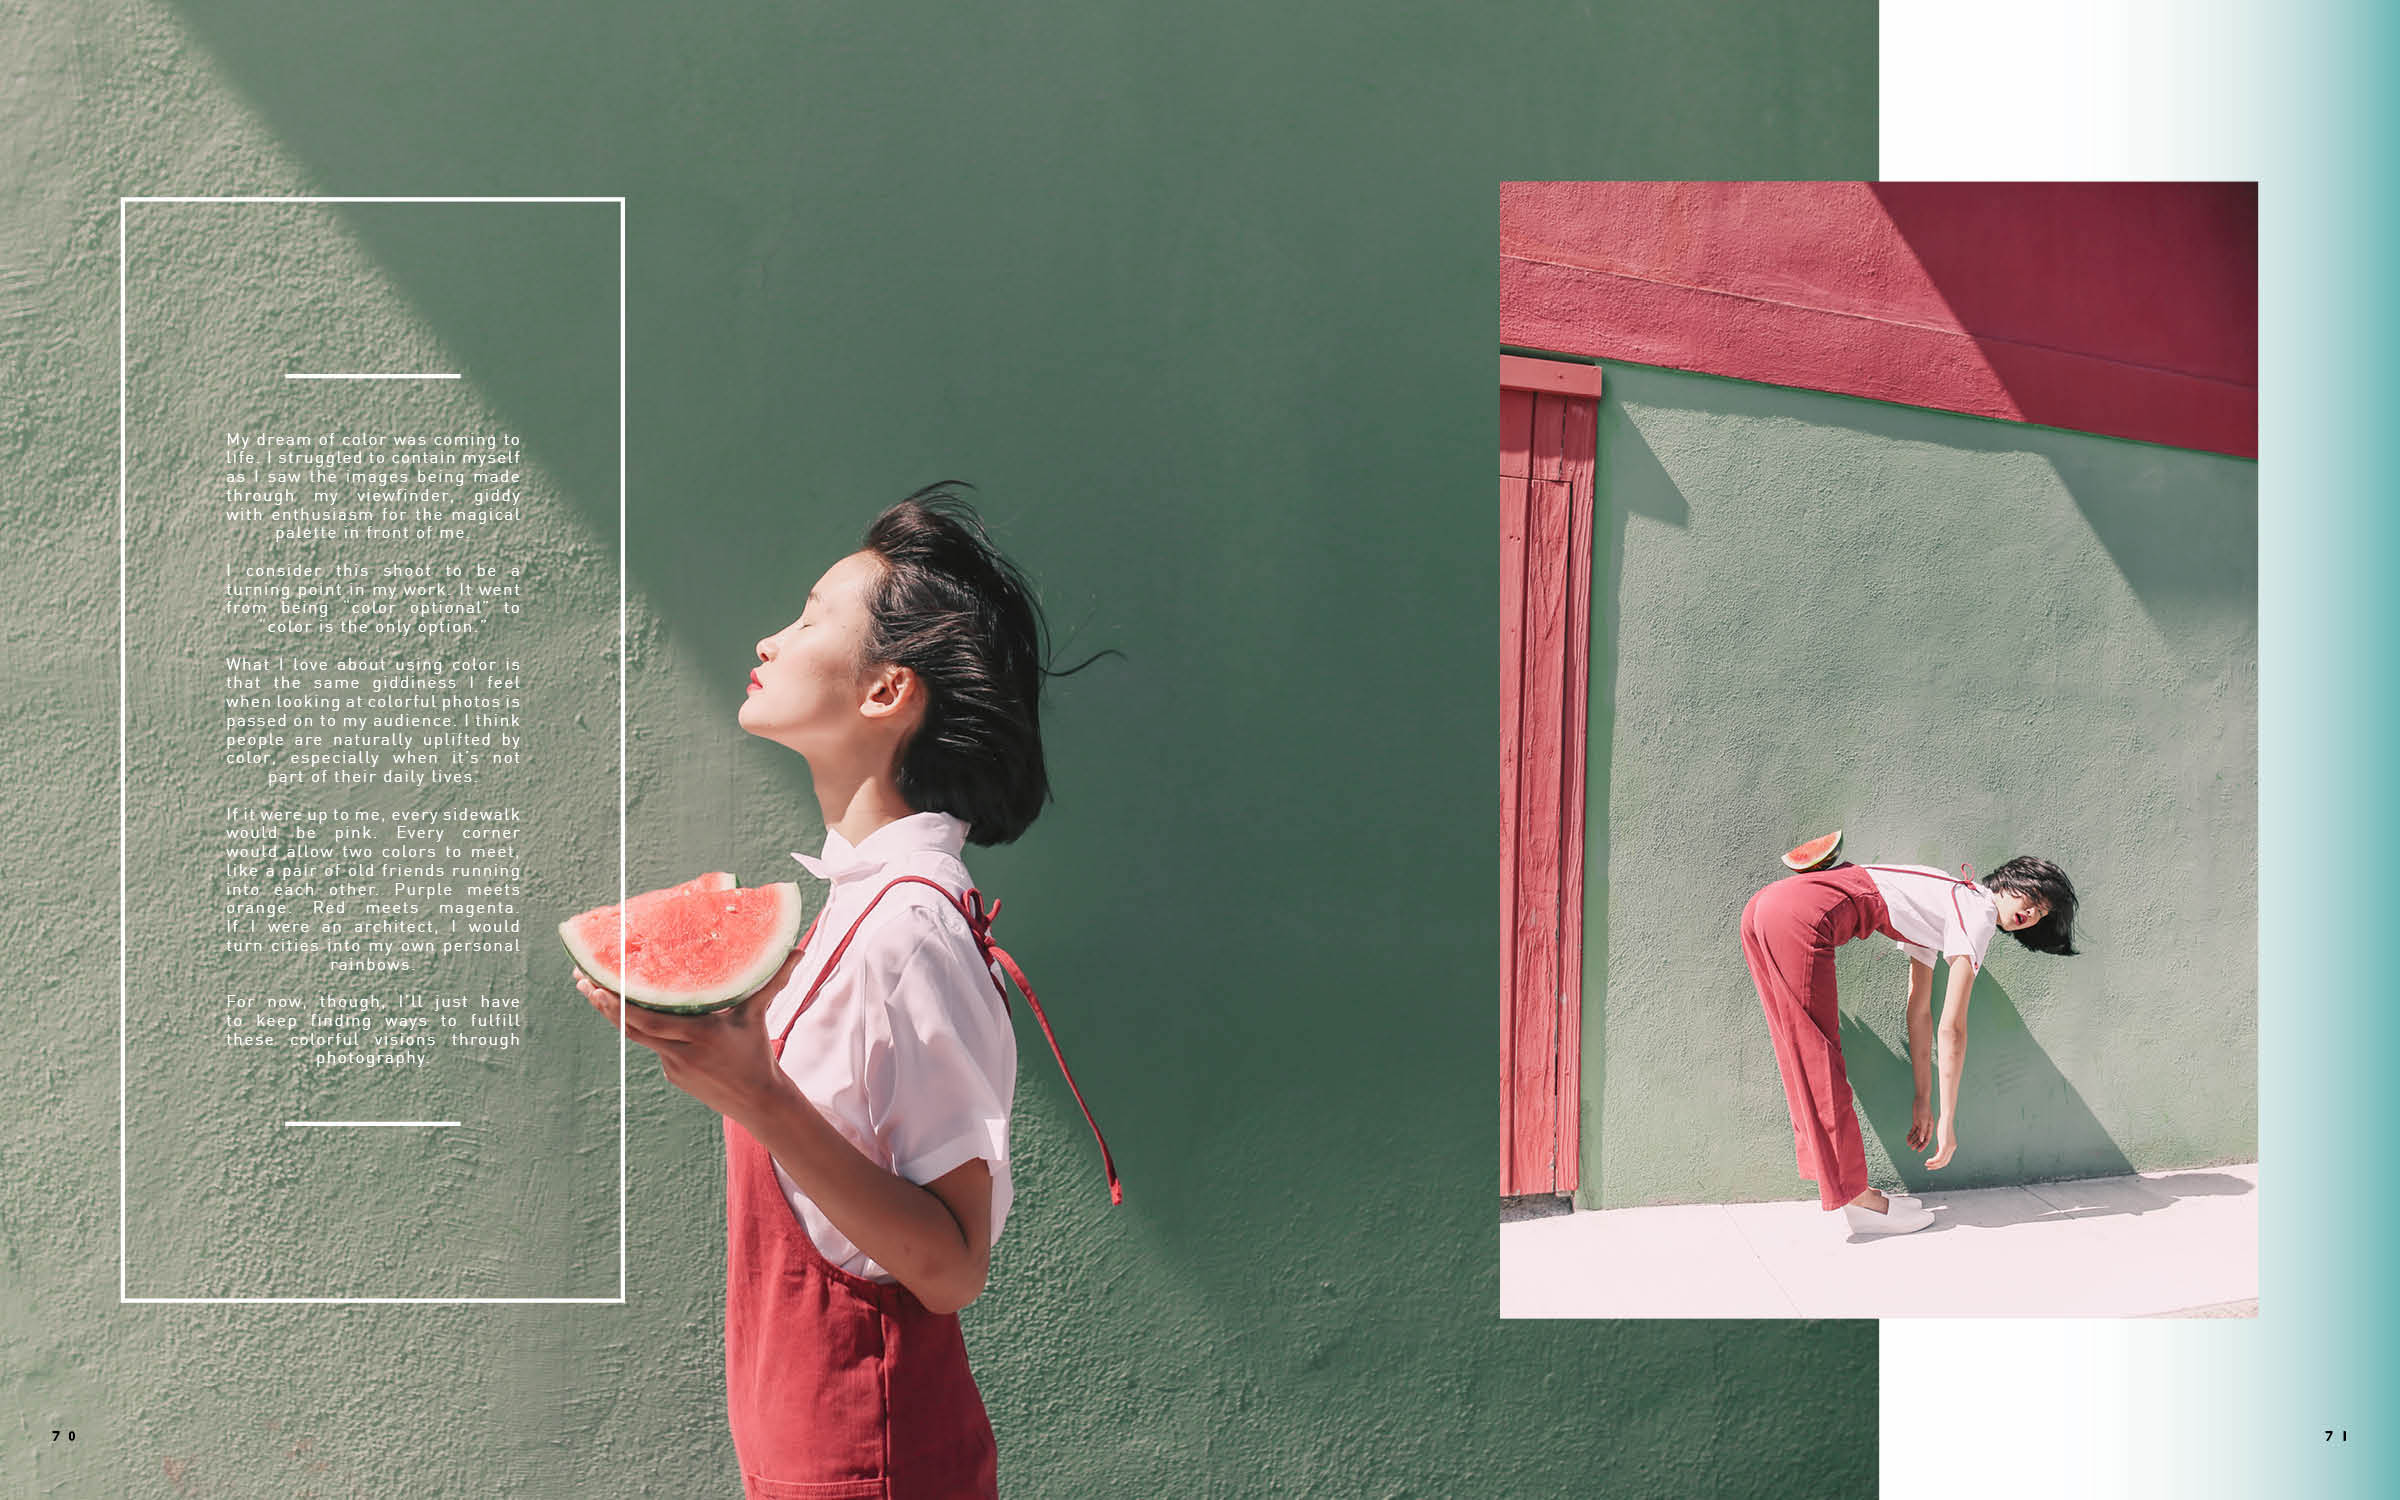
My dream of color was coming to life. I struggled to contain myself as I saw the images being made through my viewfinder, giddy with enthusiasm for the magical palette in front of me.
I consider this shoot to be a turning point in my work. It went from being "color is an option" to "color is the only option."
What I love about using color is that the same giddiness I feel when looking at colorful photos is passed on to my audience. I think people are naturally uplifted by color, especially when it's not part of their daily lives.
If it were up to me, every sidewalk would be pink. Every corner would allow two colors to meet, like a pair of old friends running into each other. Purple meets orange. Red meets magenta. If I were an architect, I would turn cities into my own personal rainbows.
For now, though, I'll just have to keep finding ways to fulfill these colorful visions through photography.
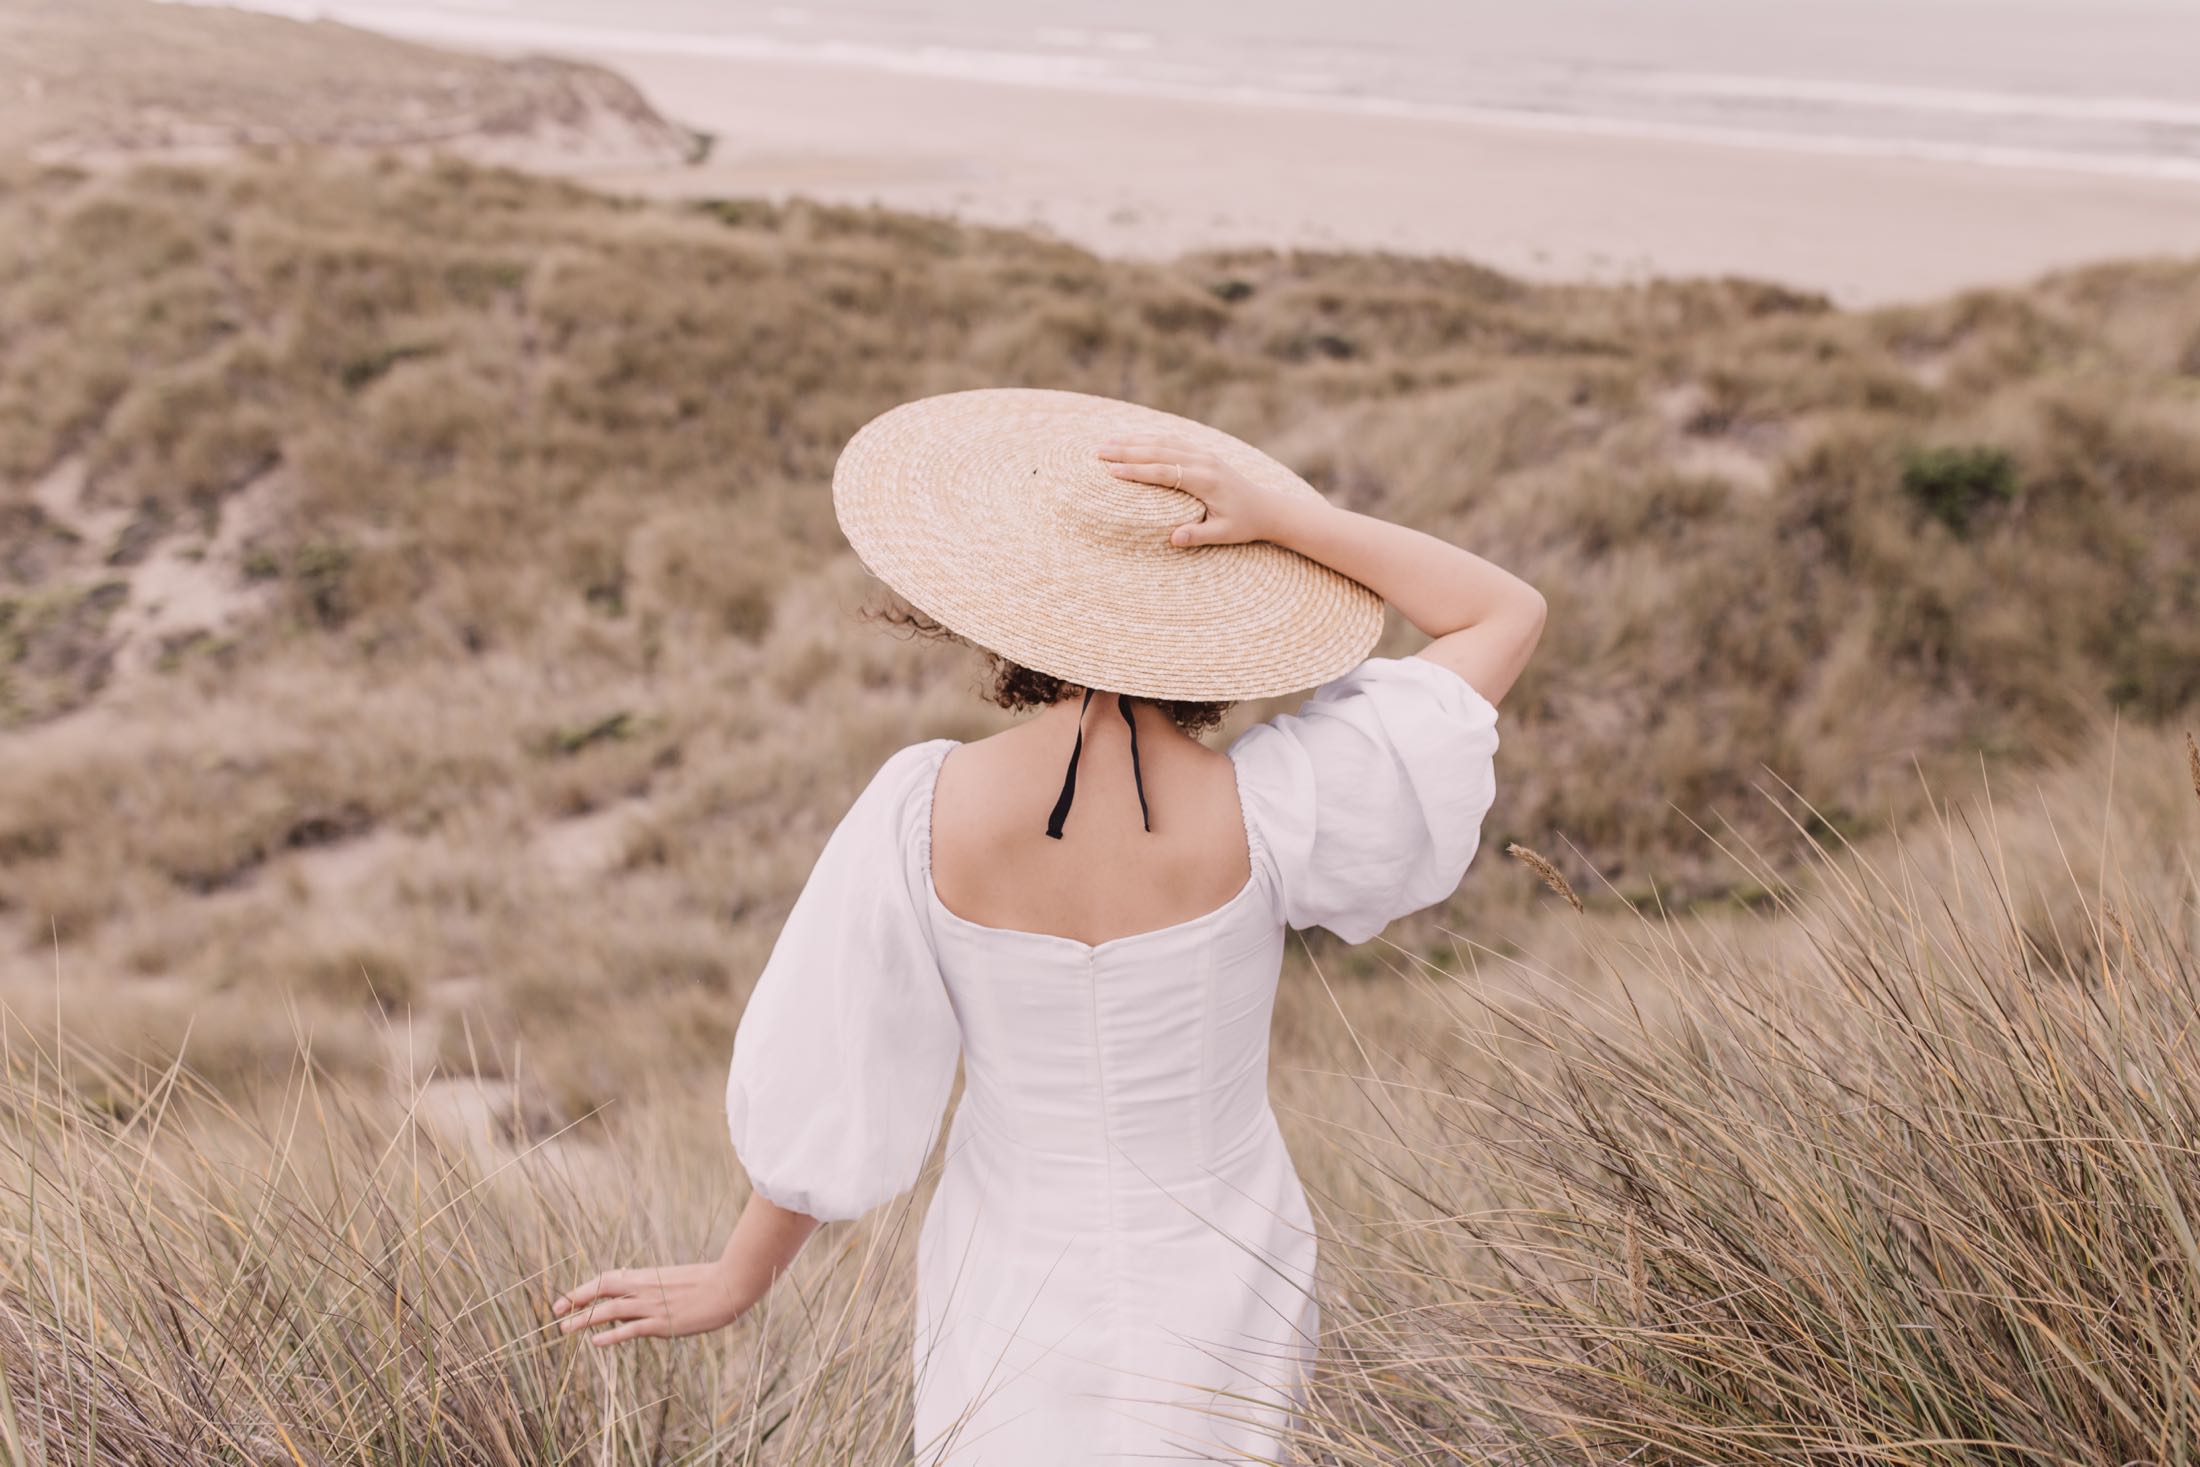
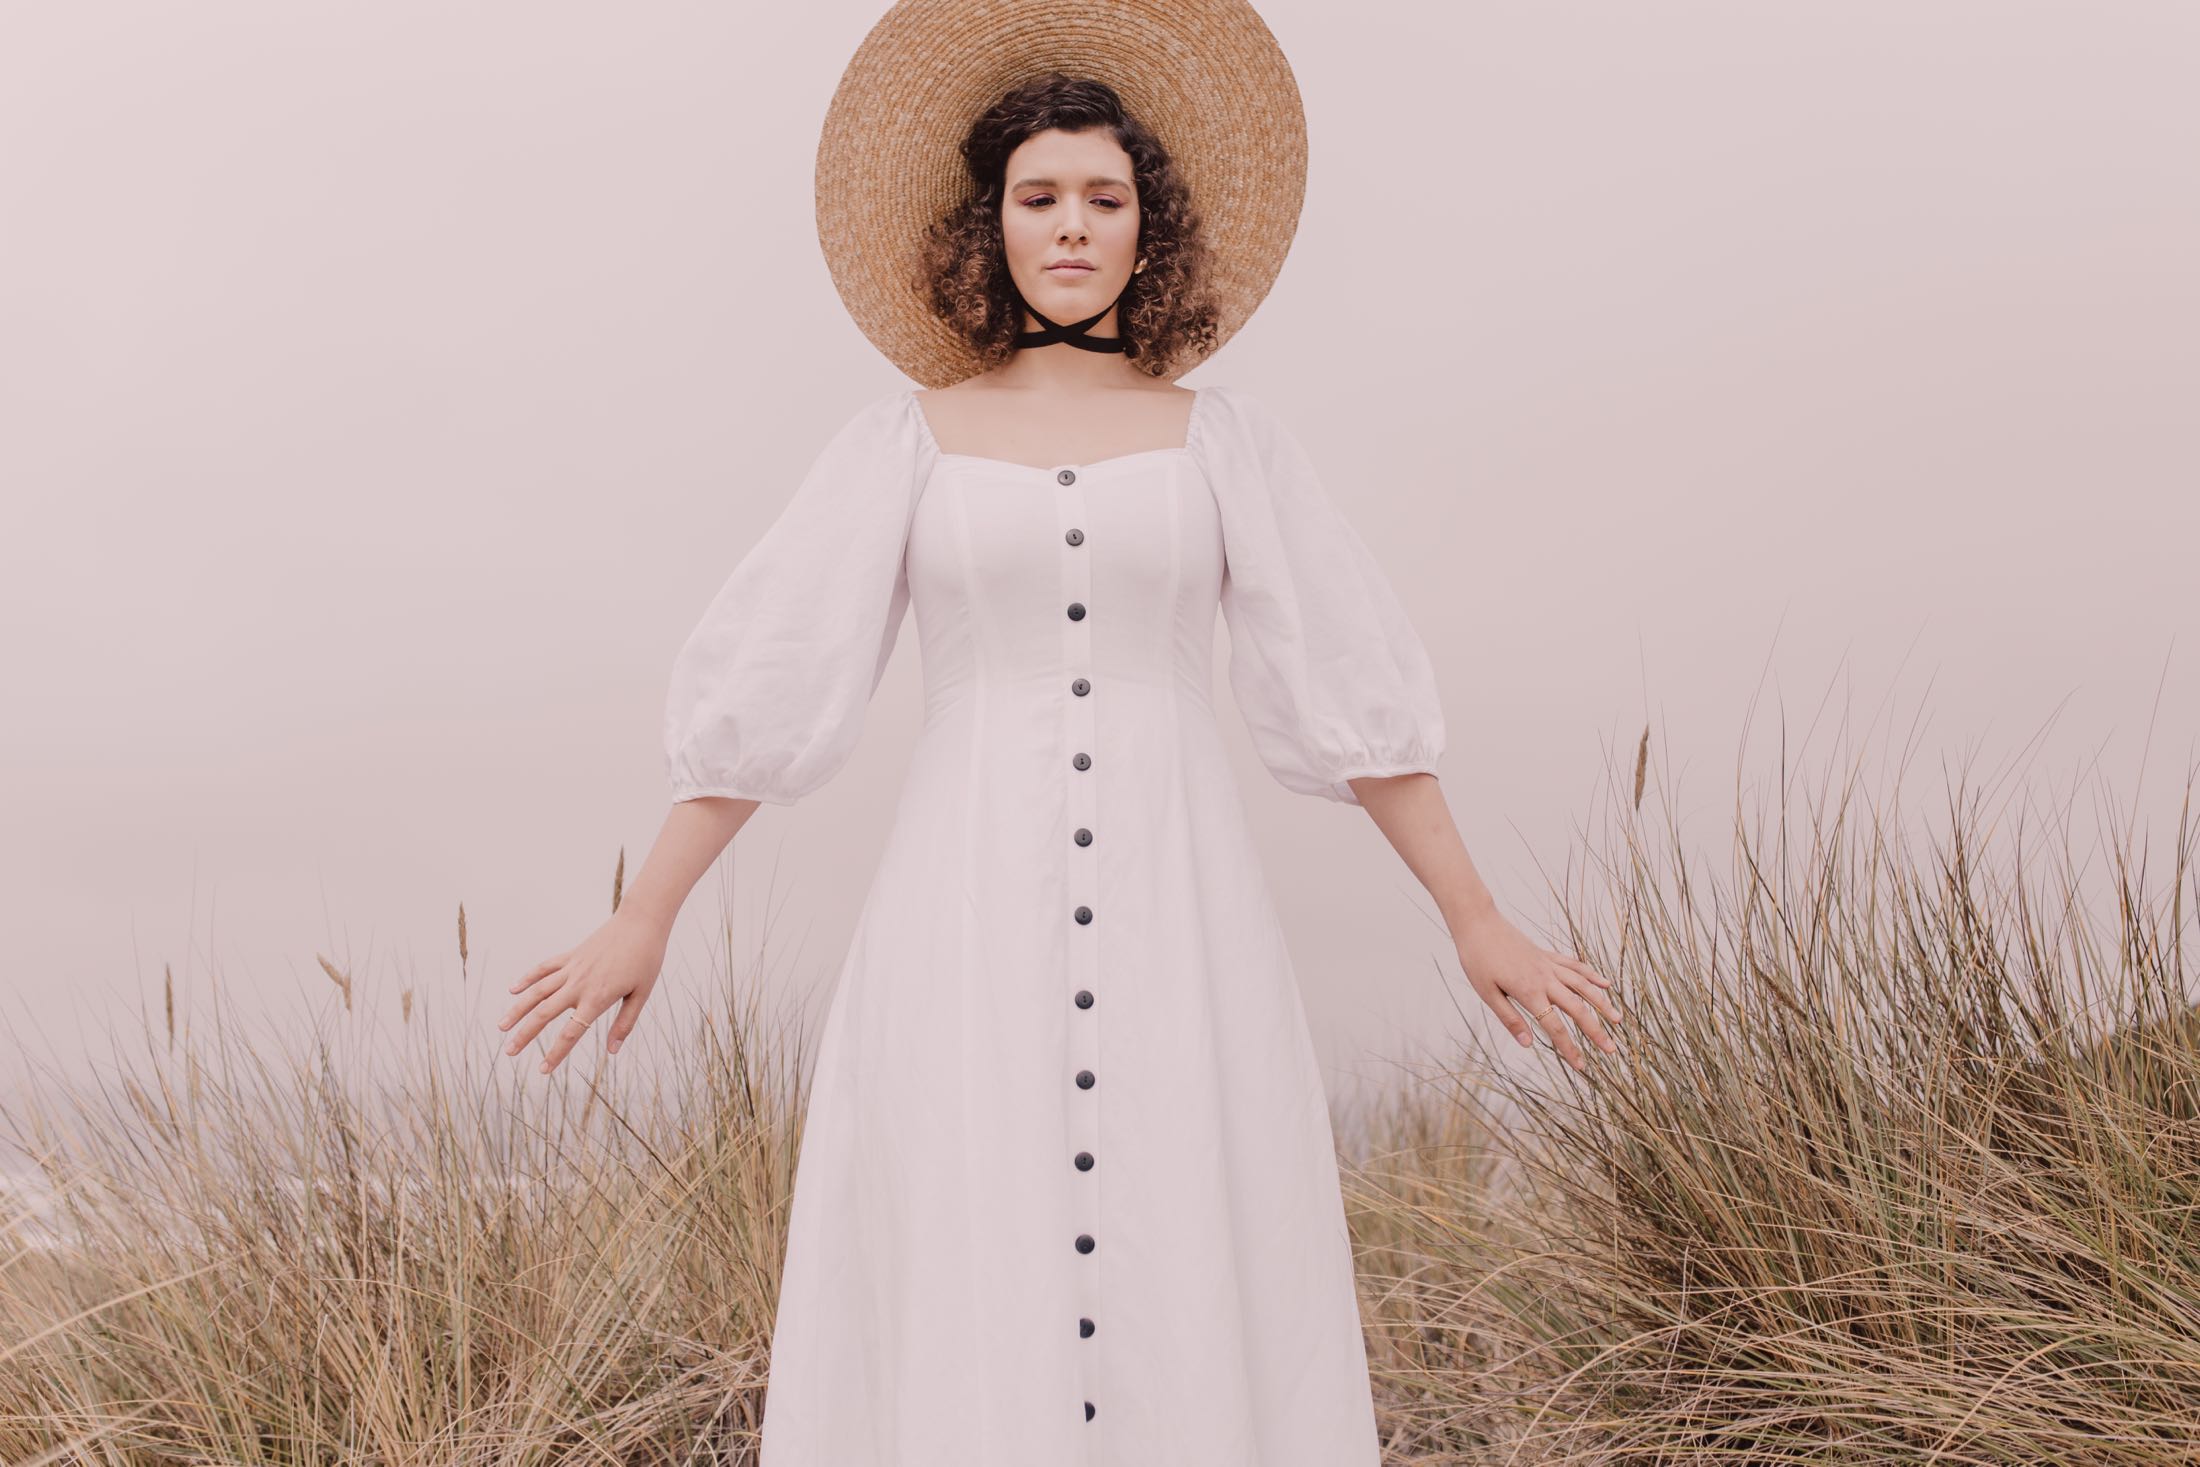
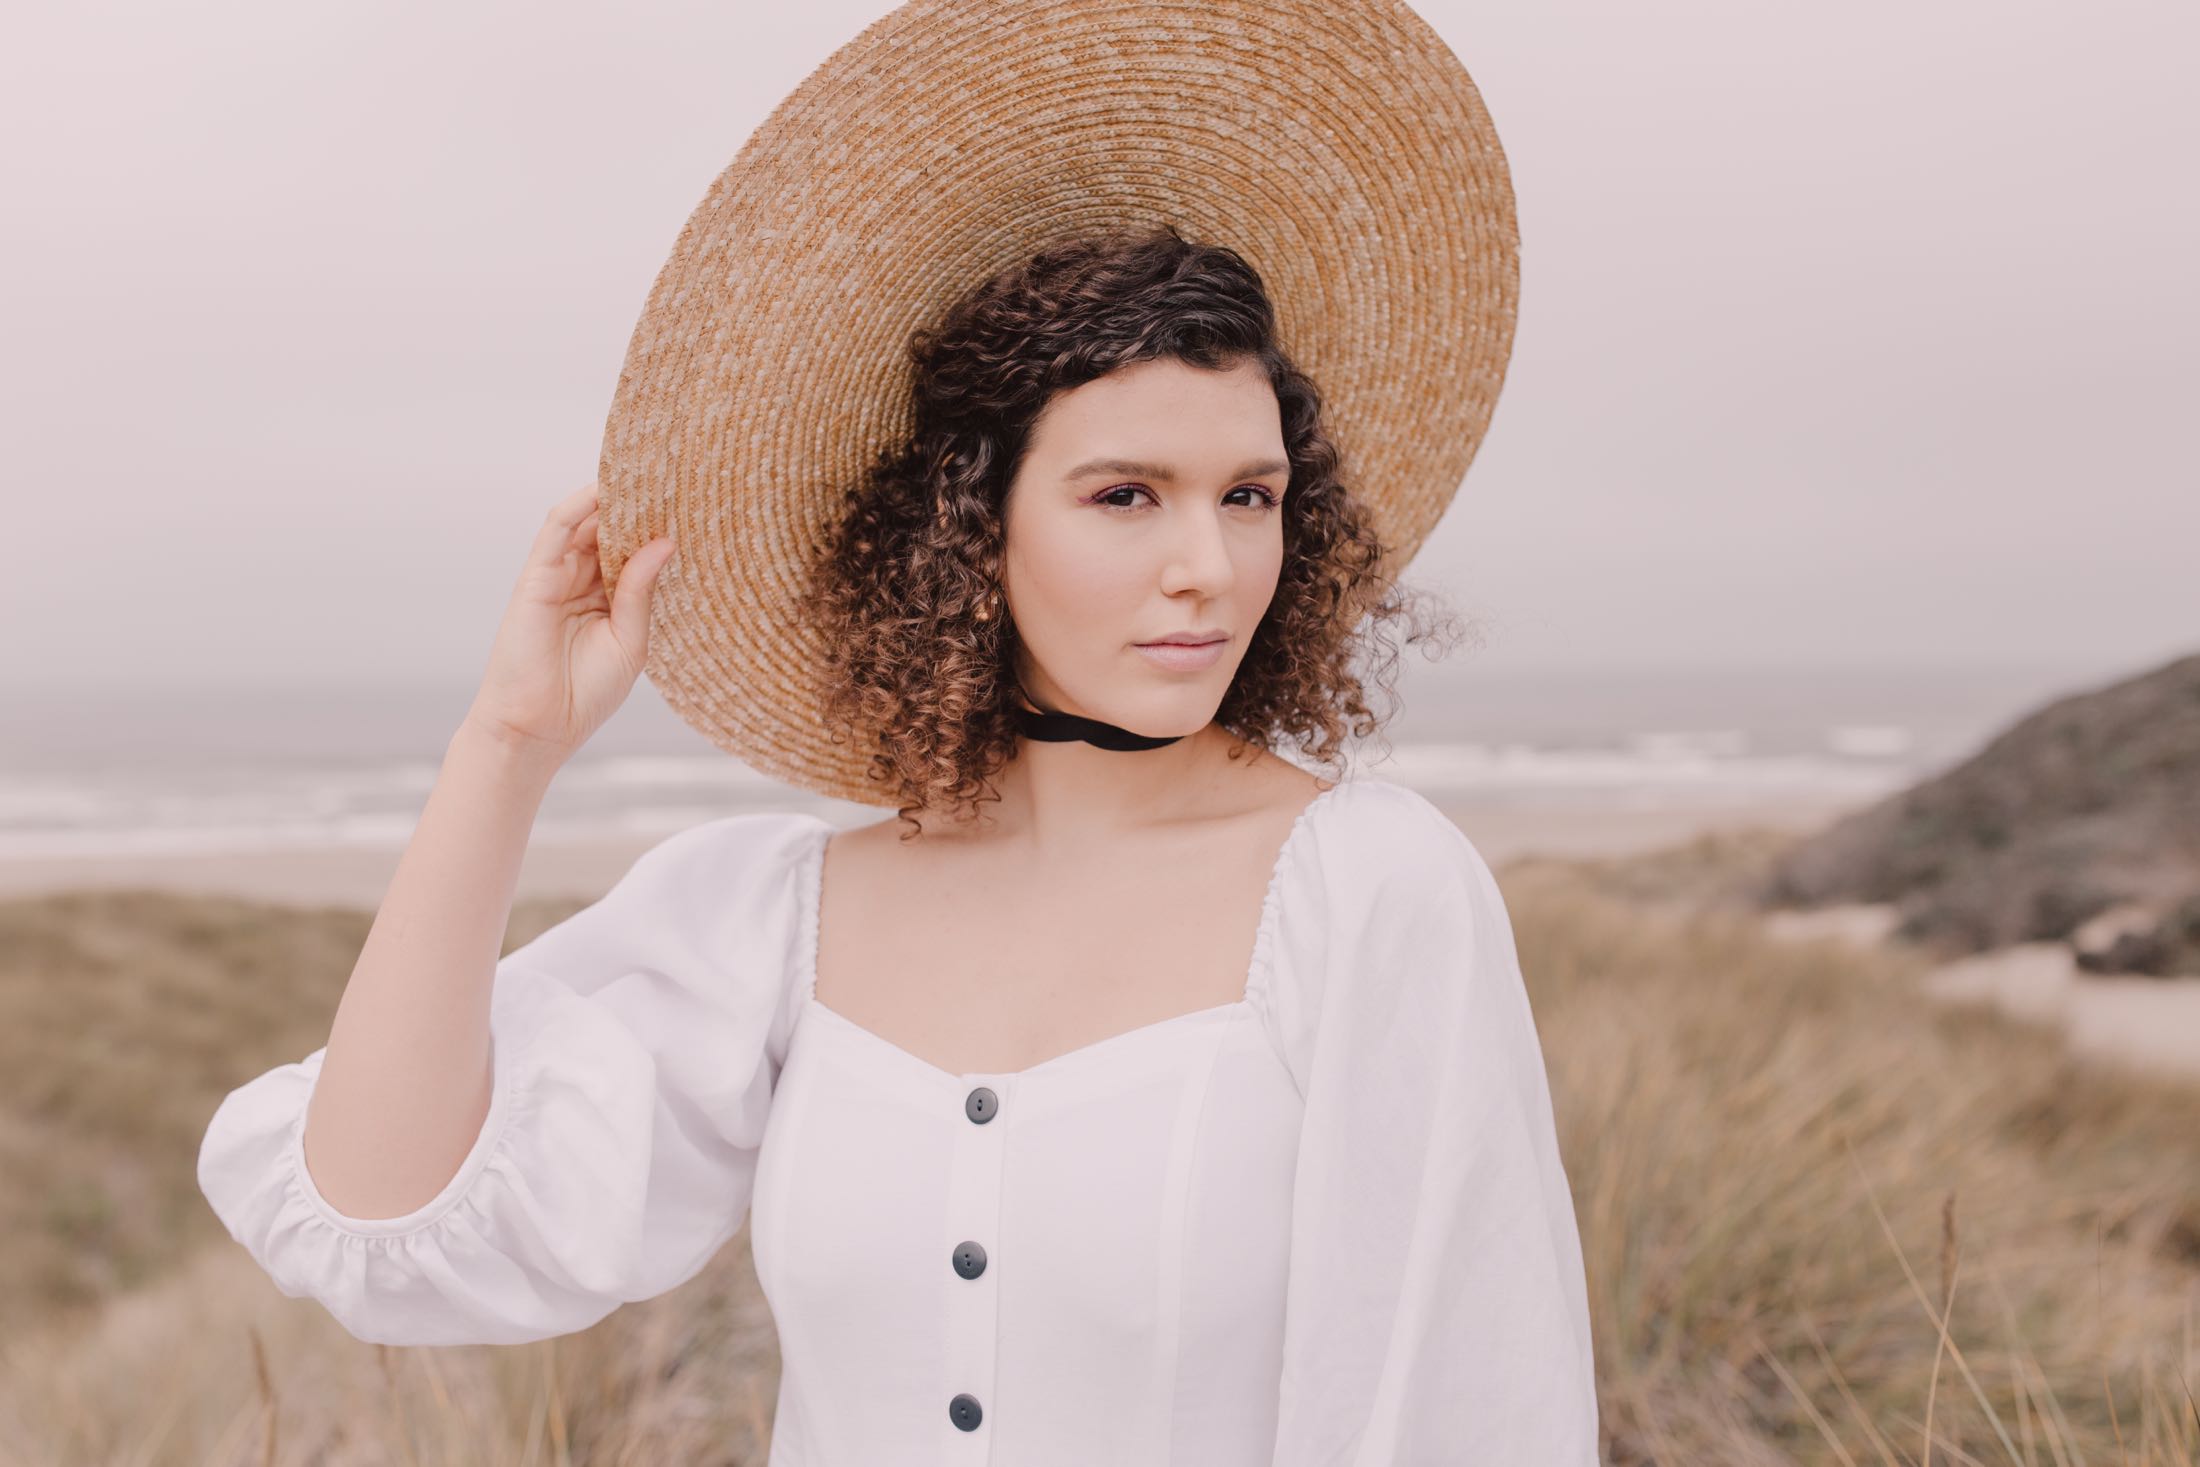
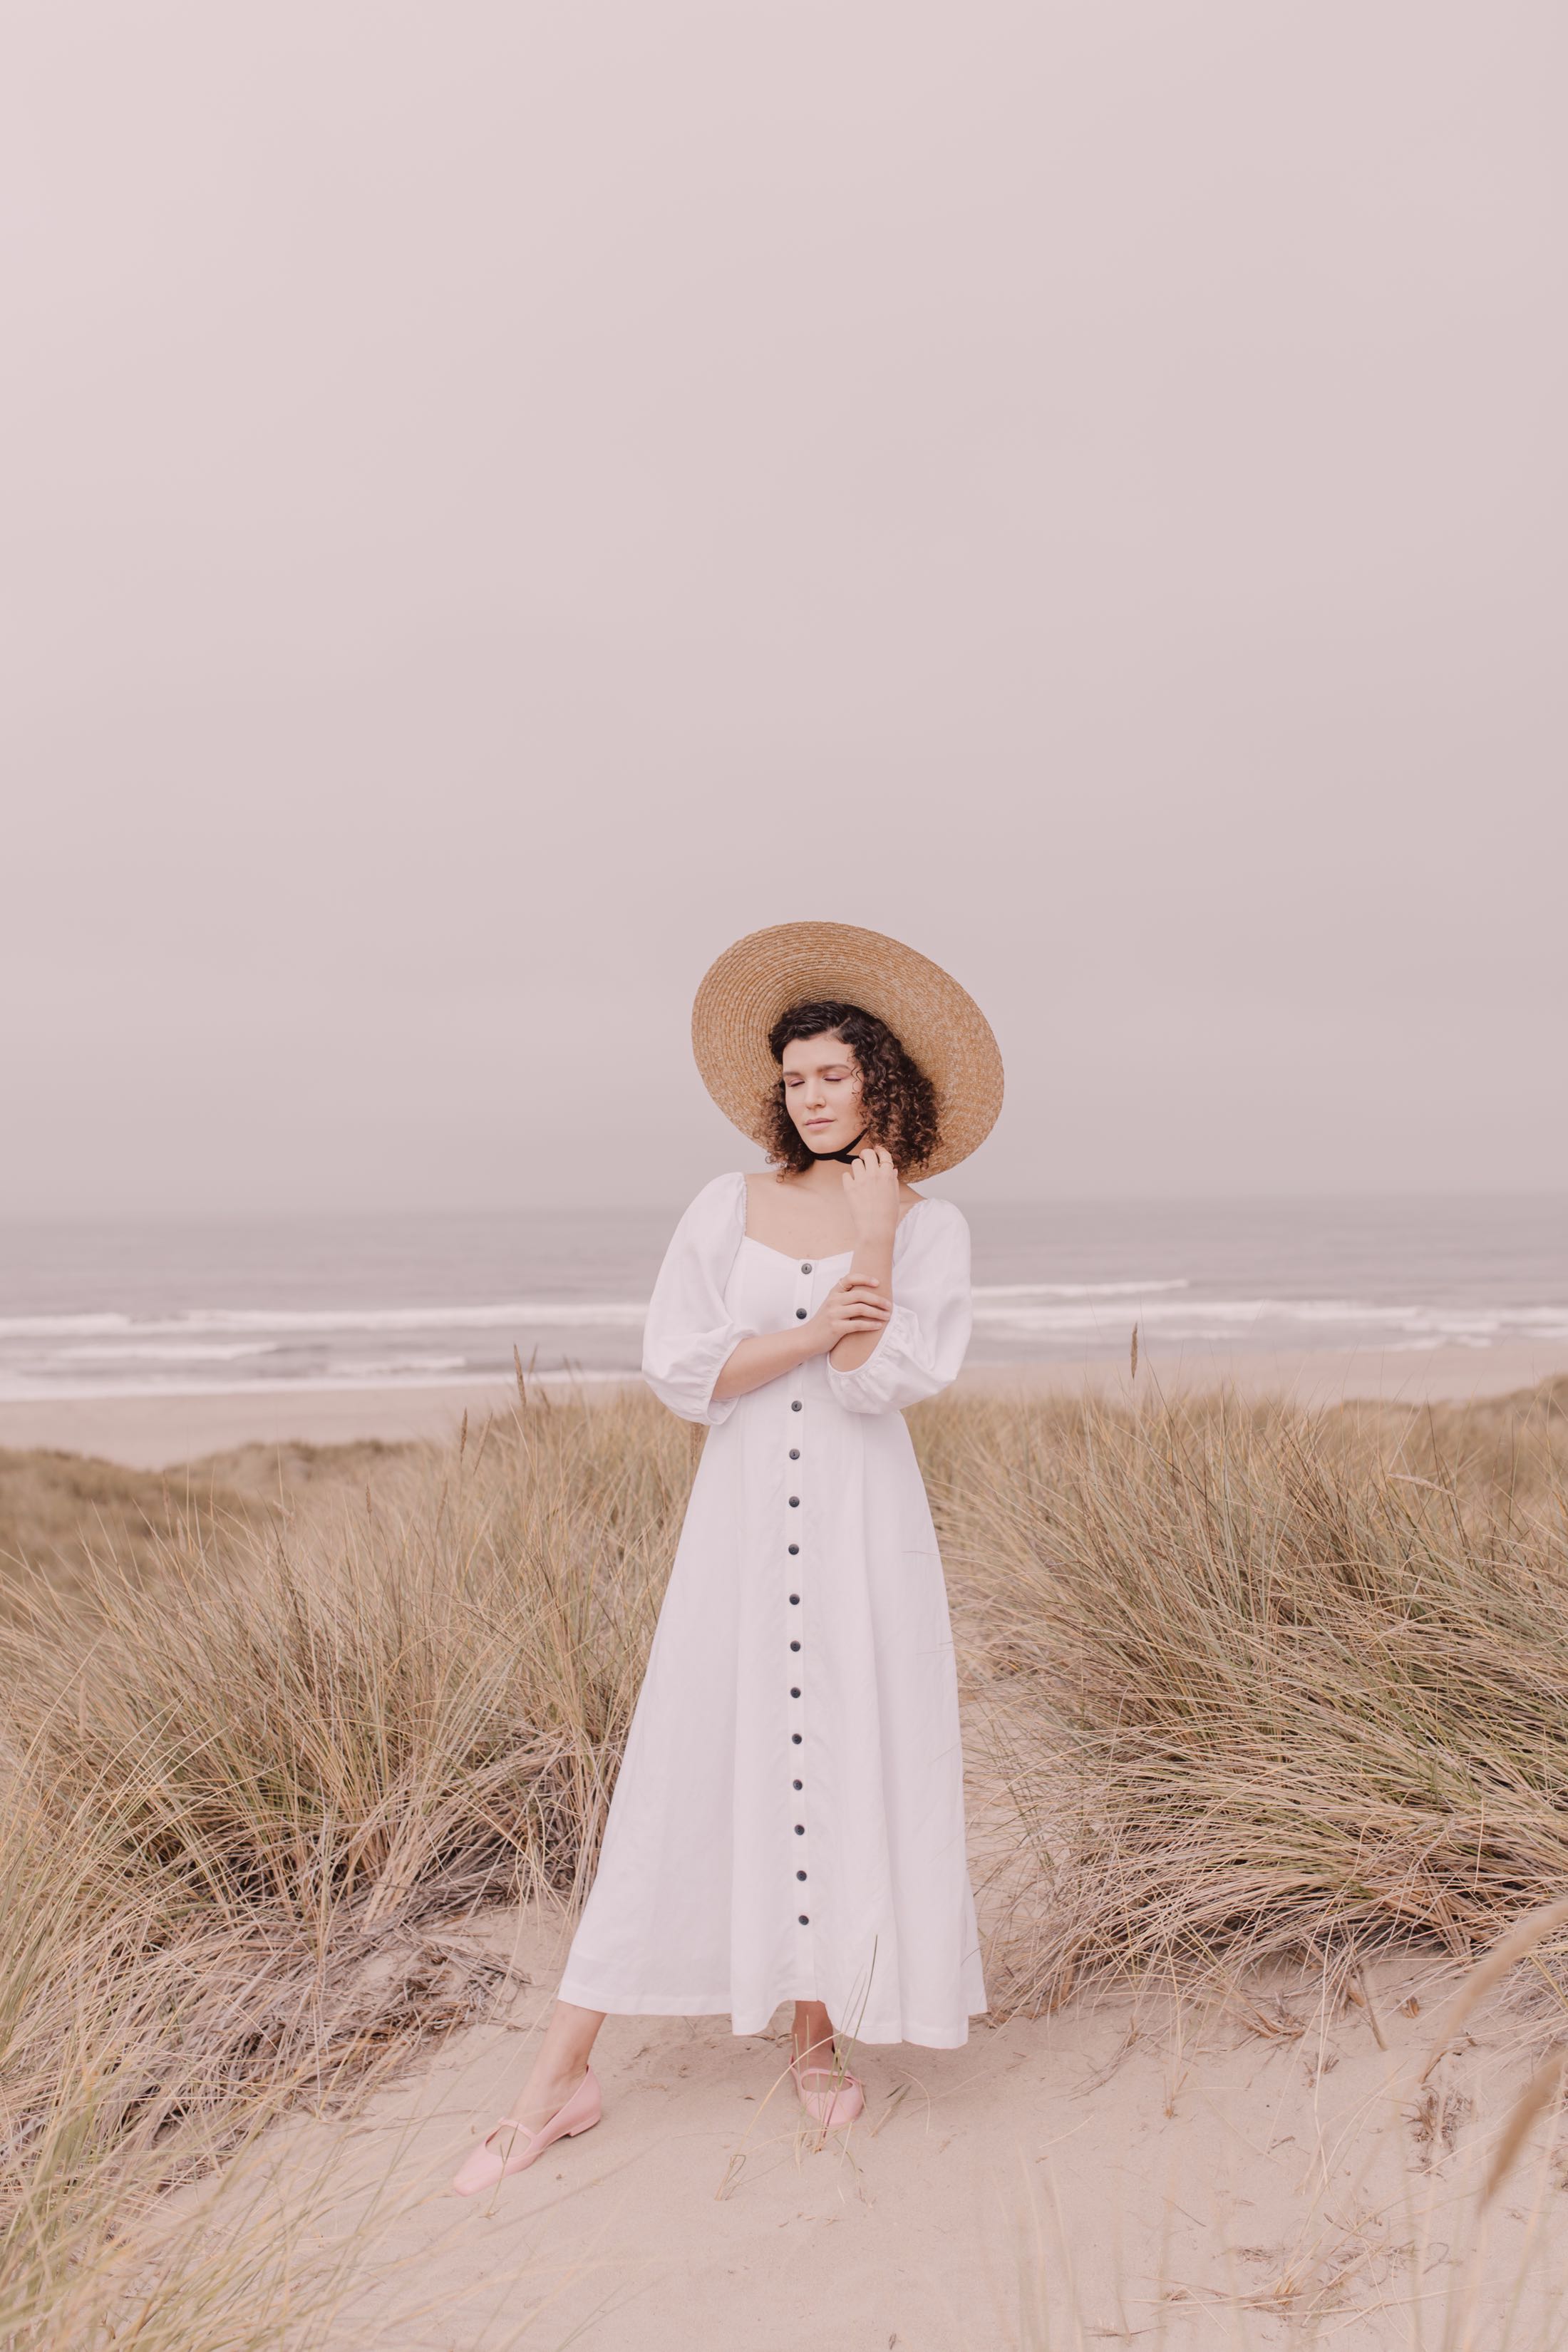
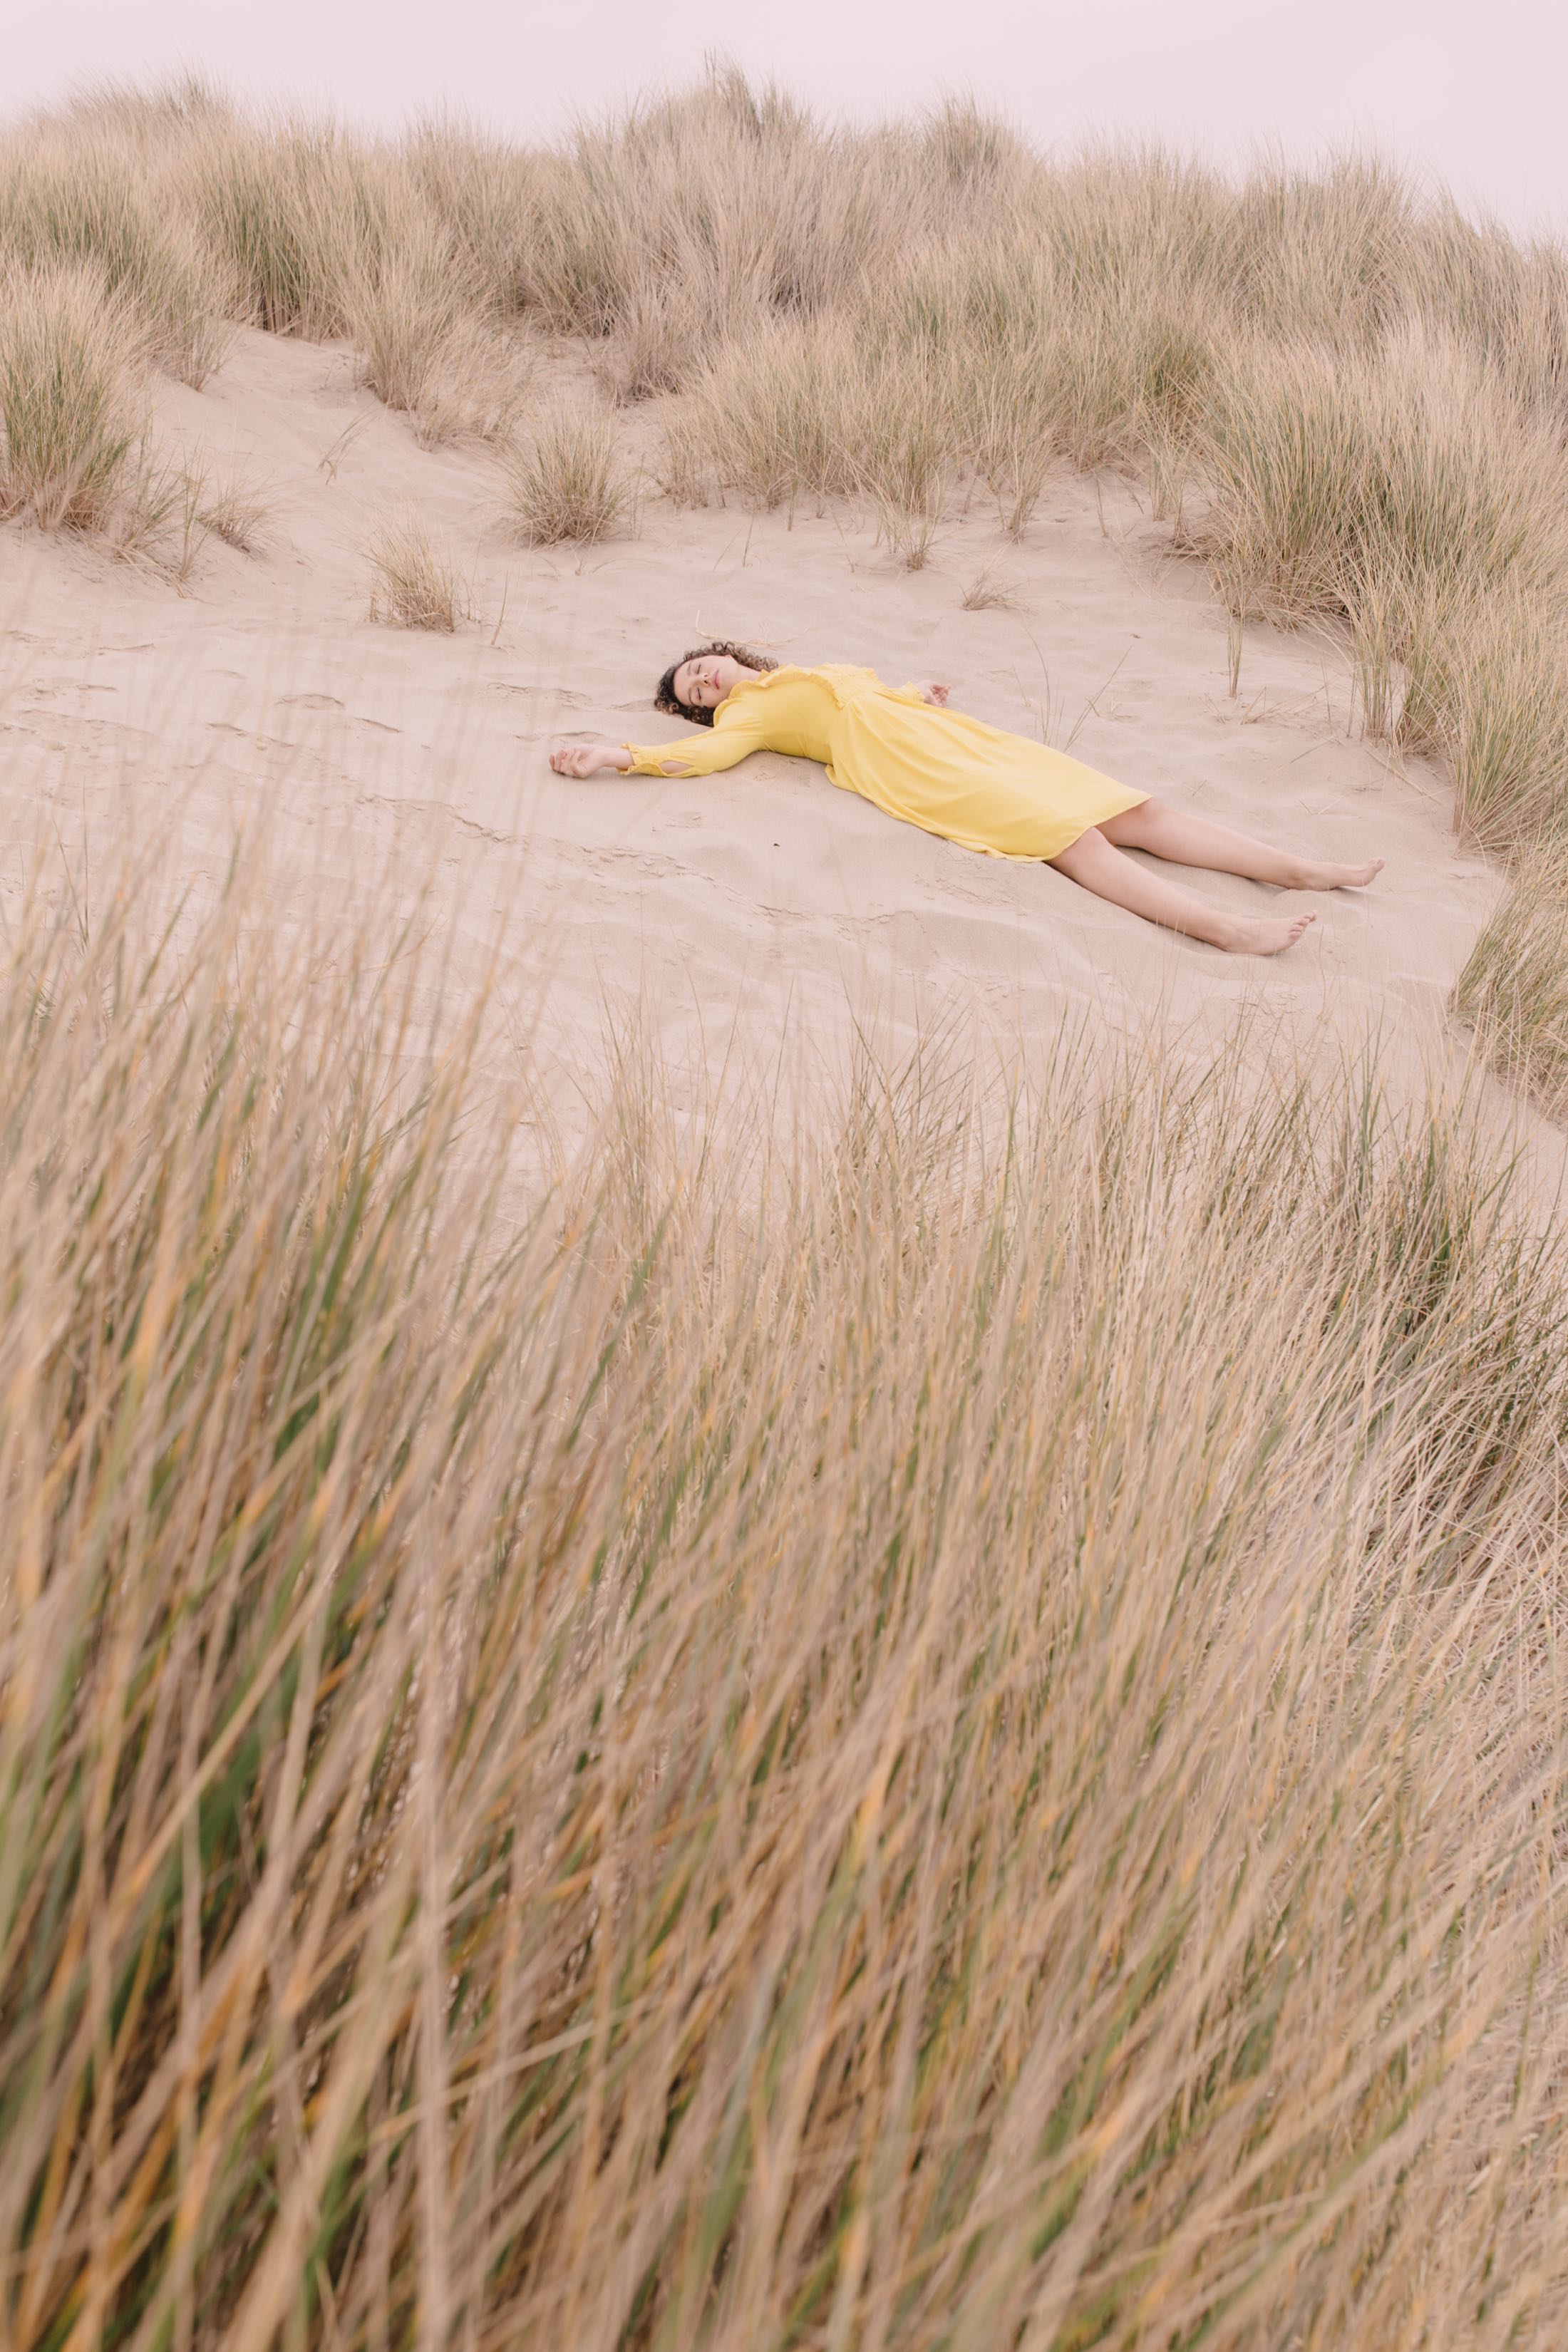
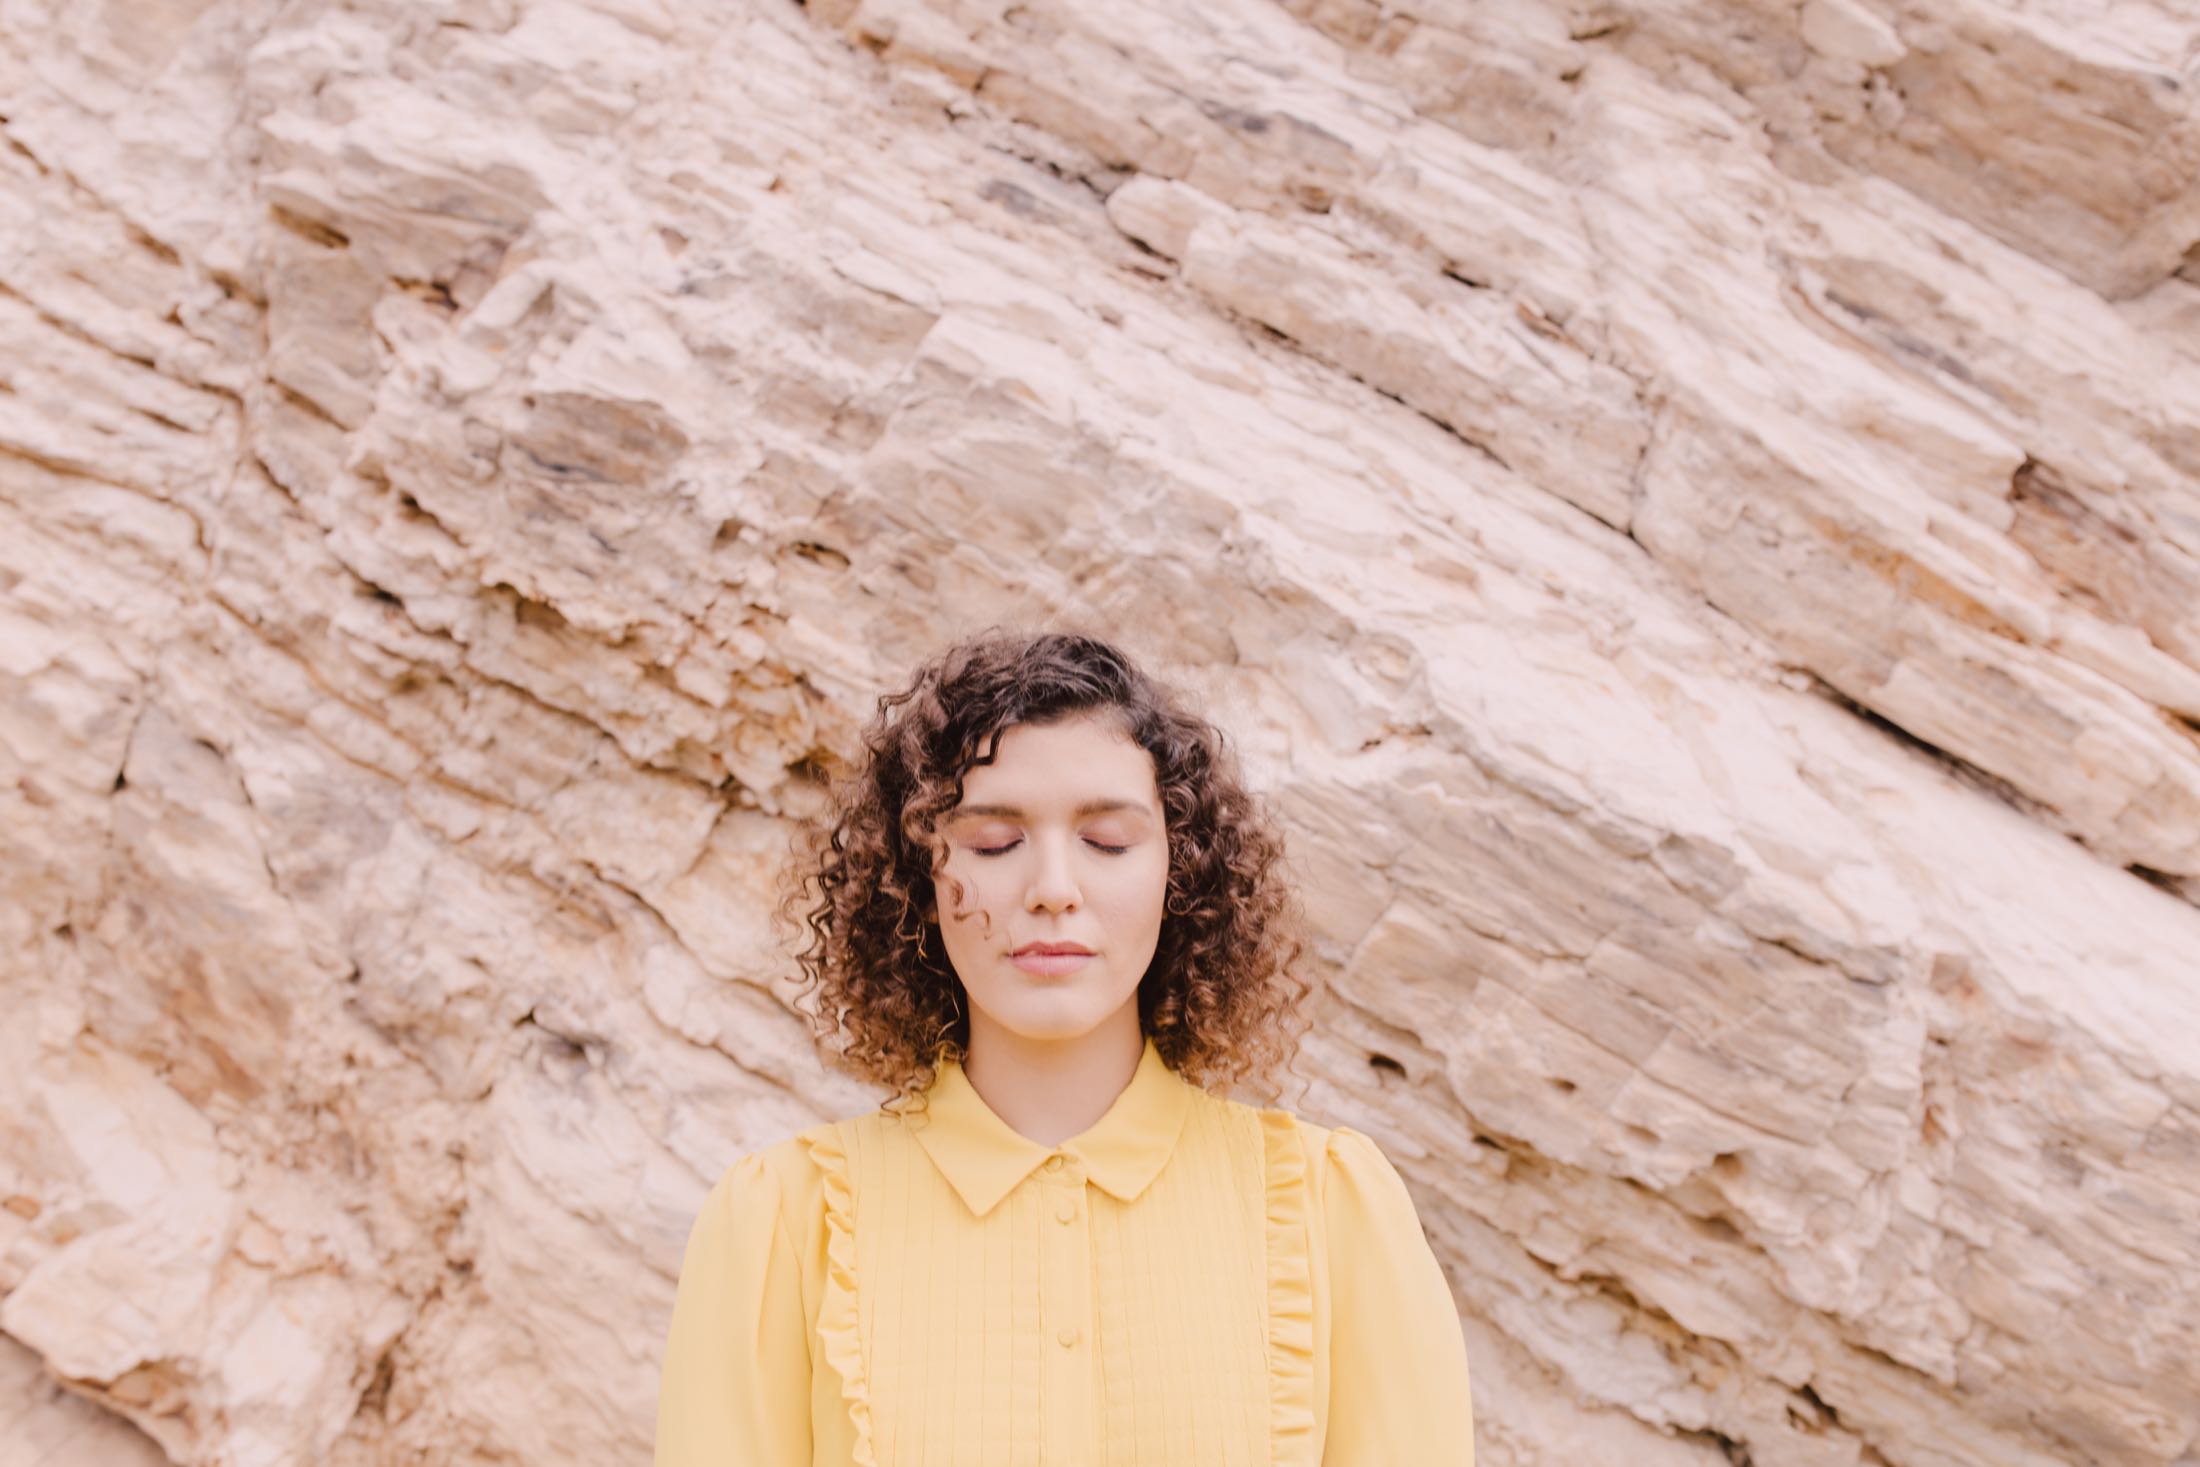
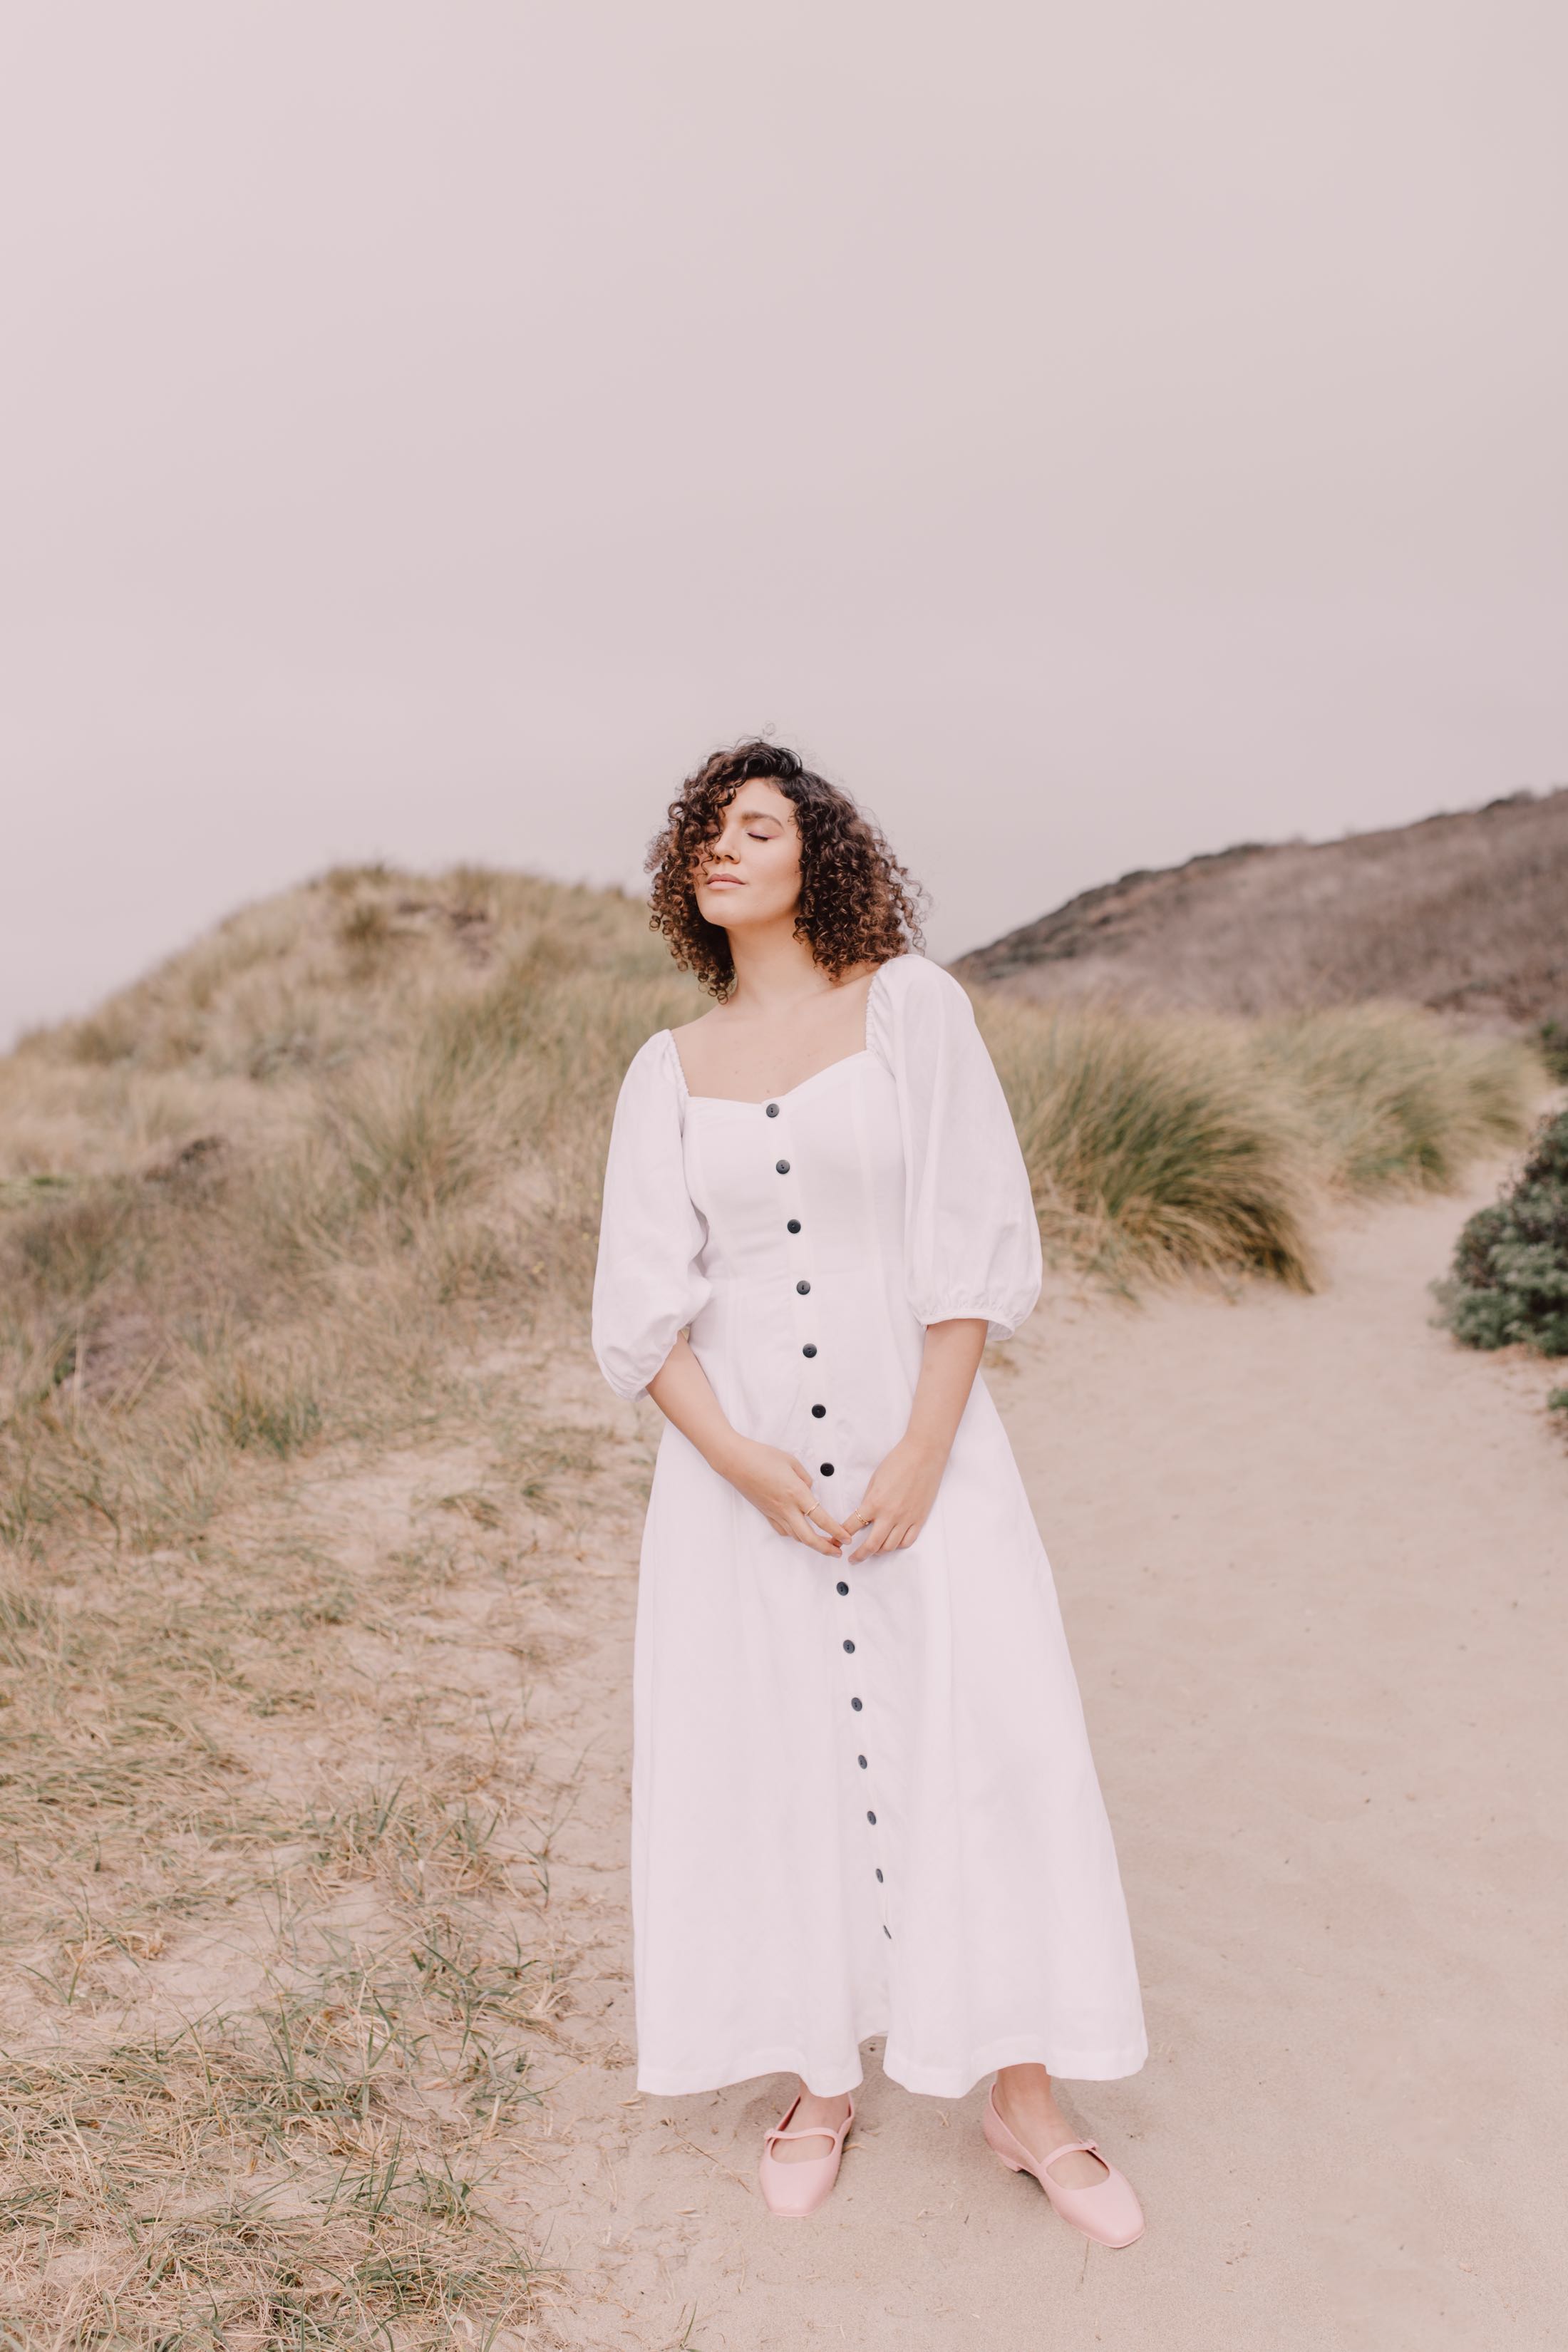
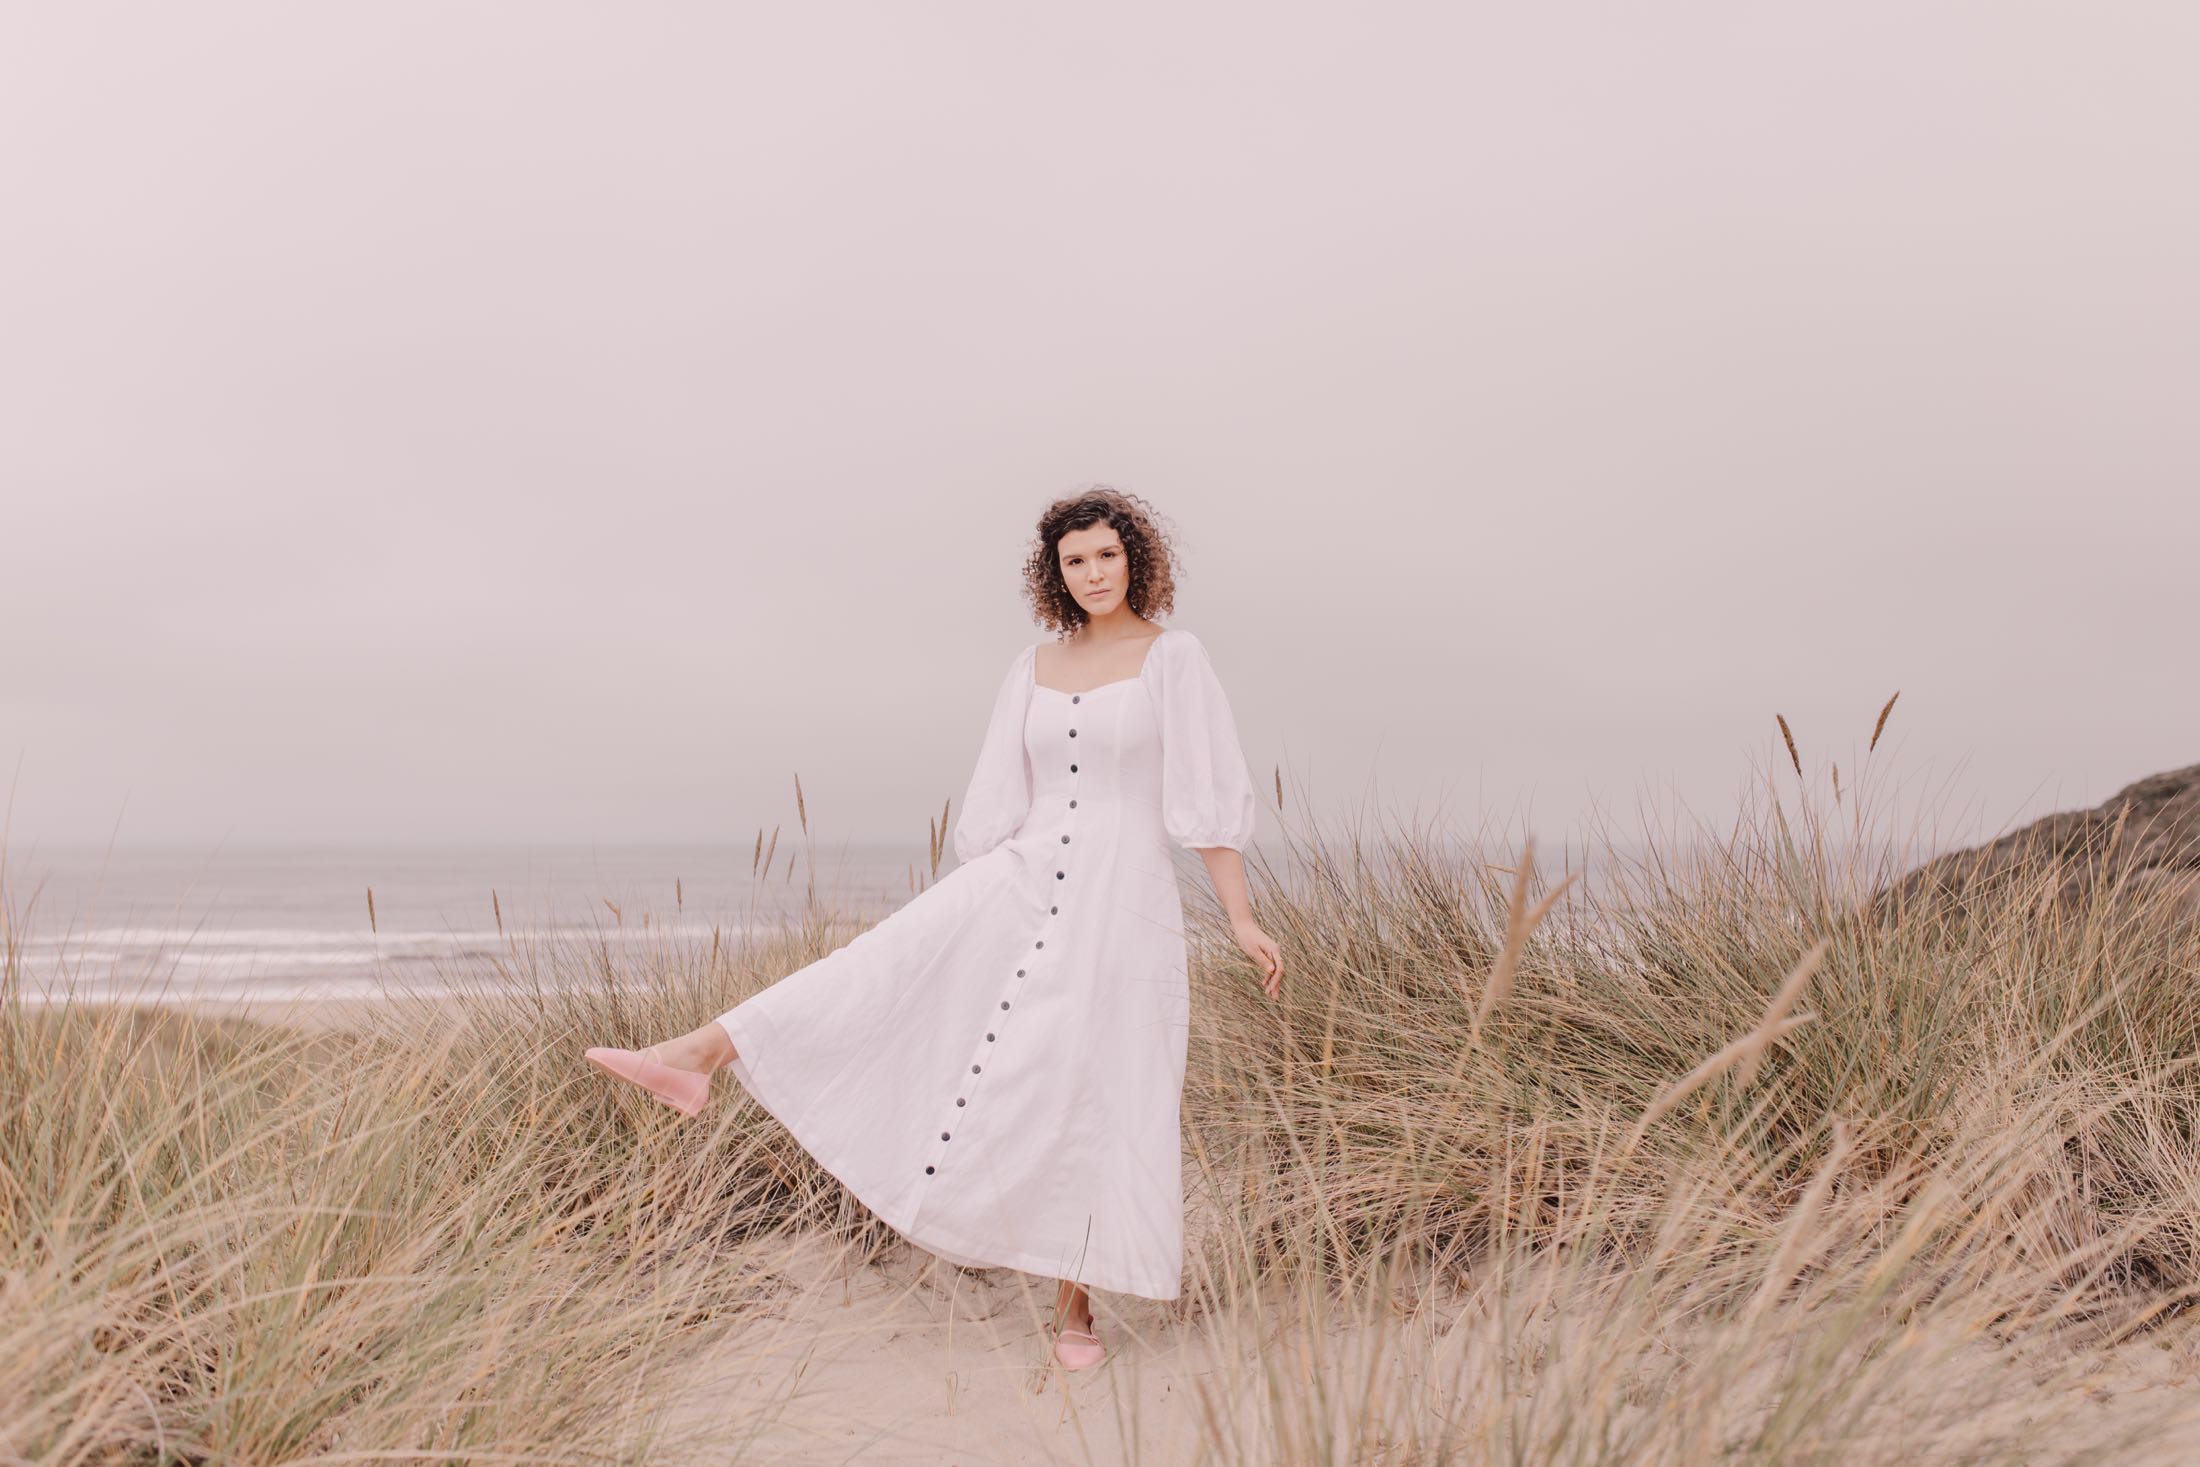
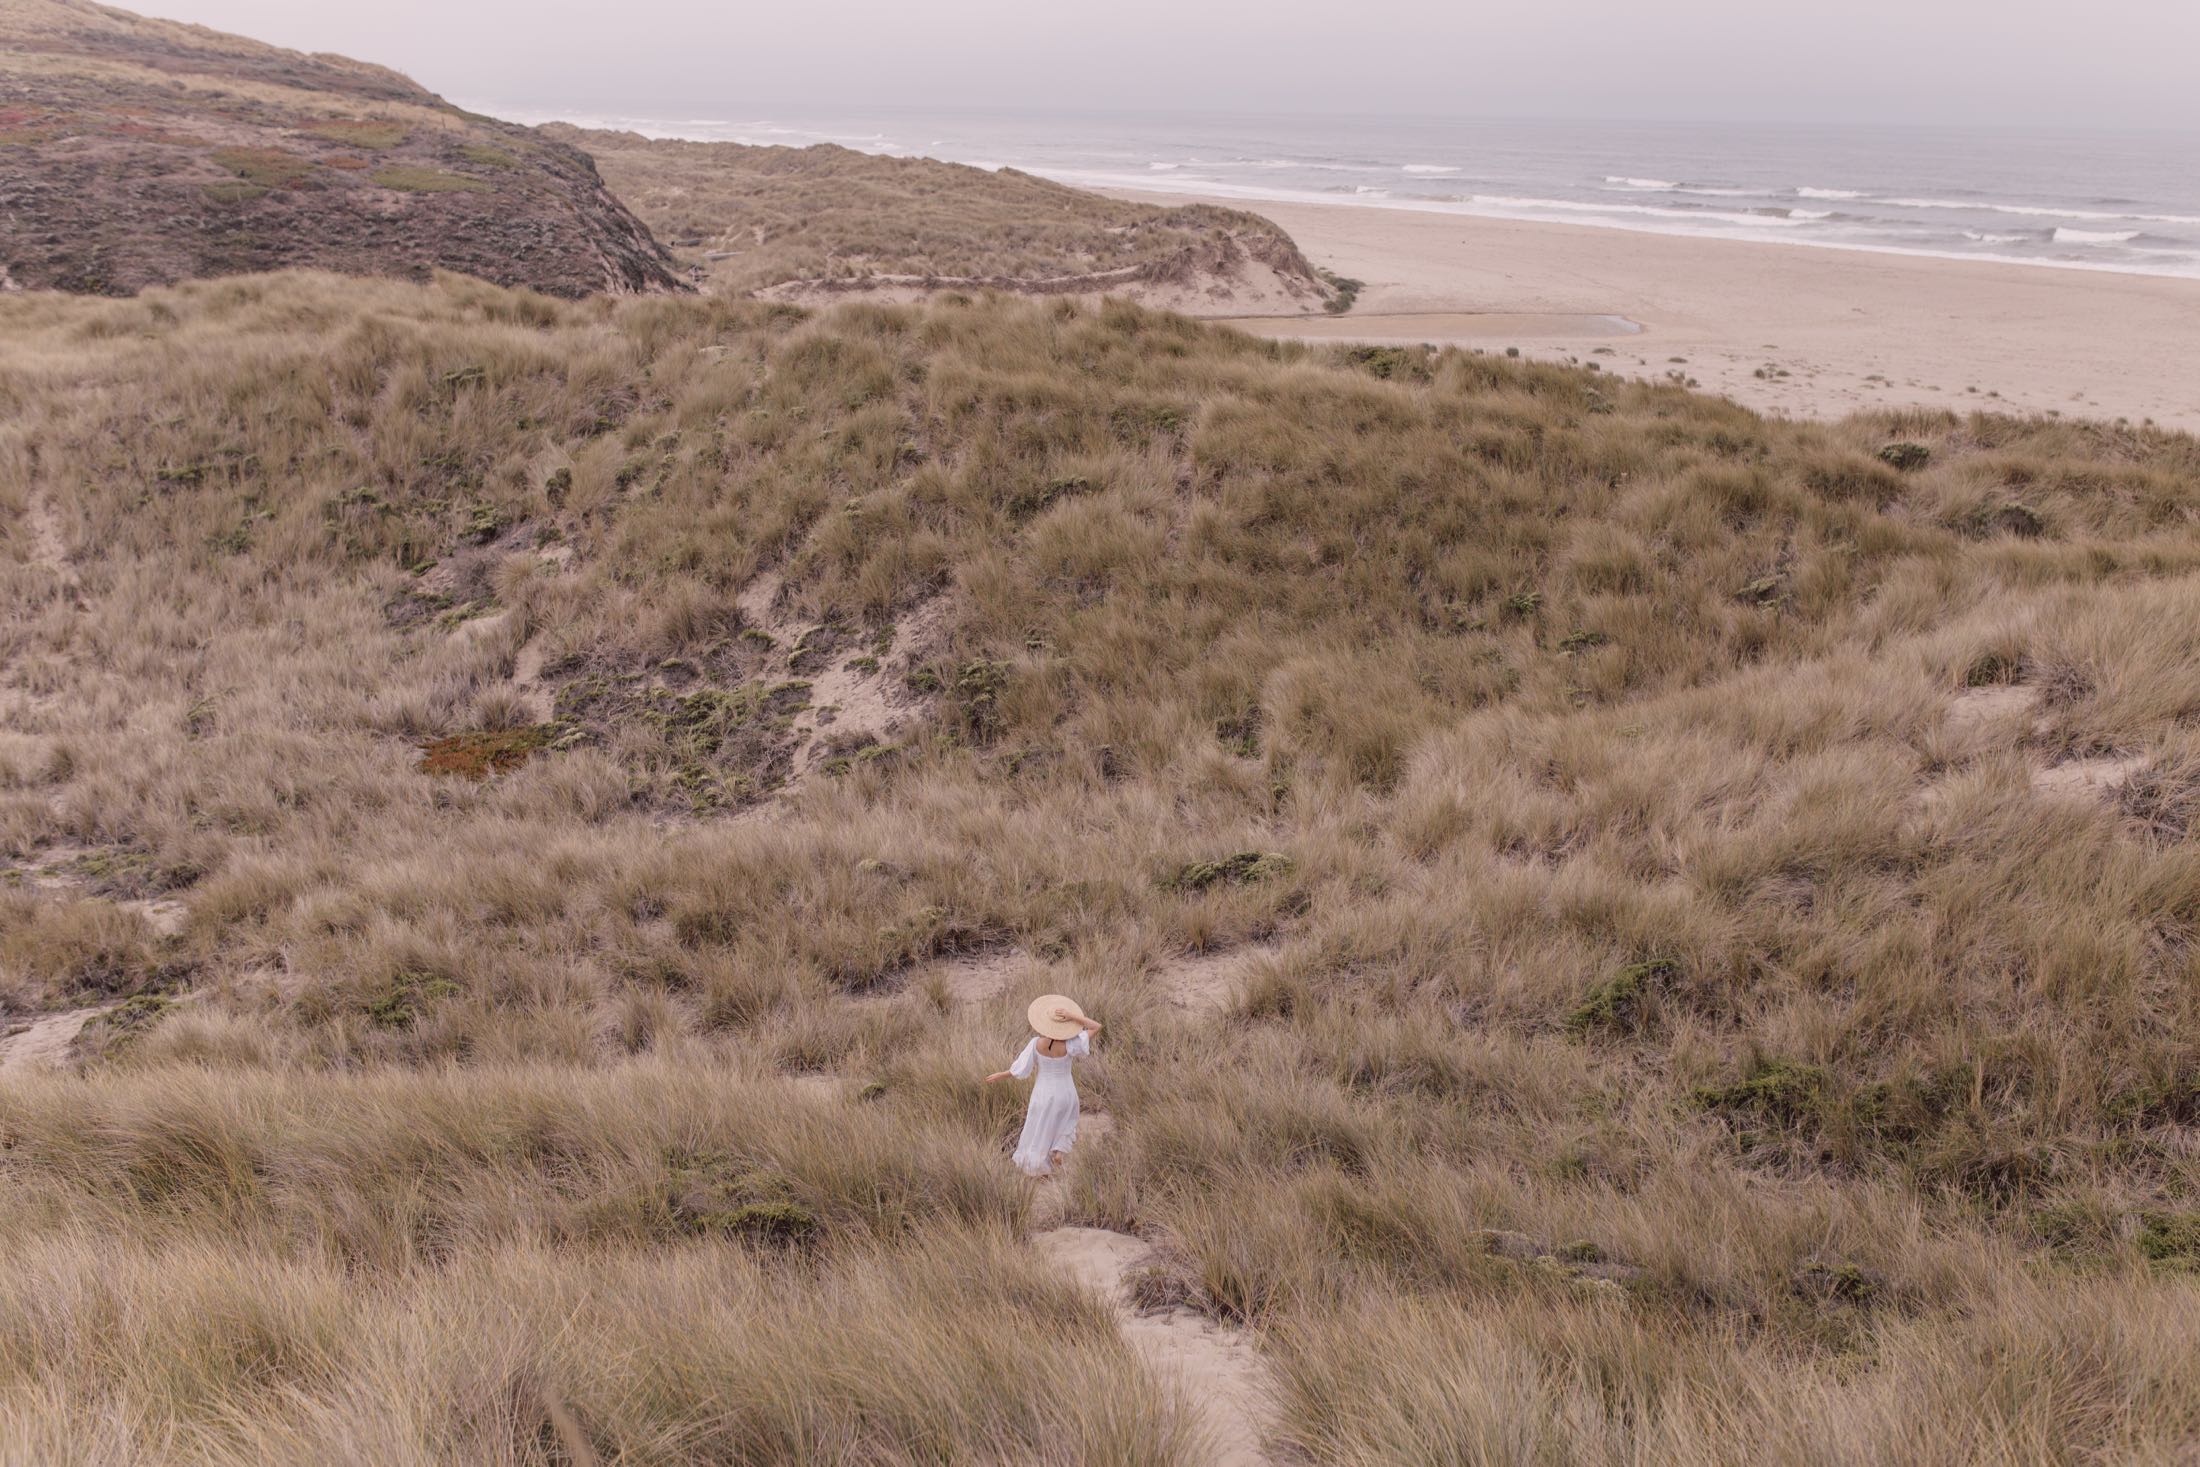
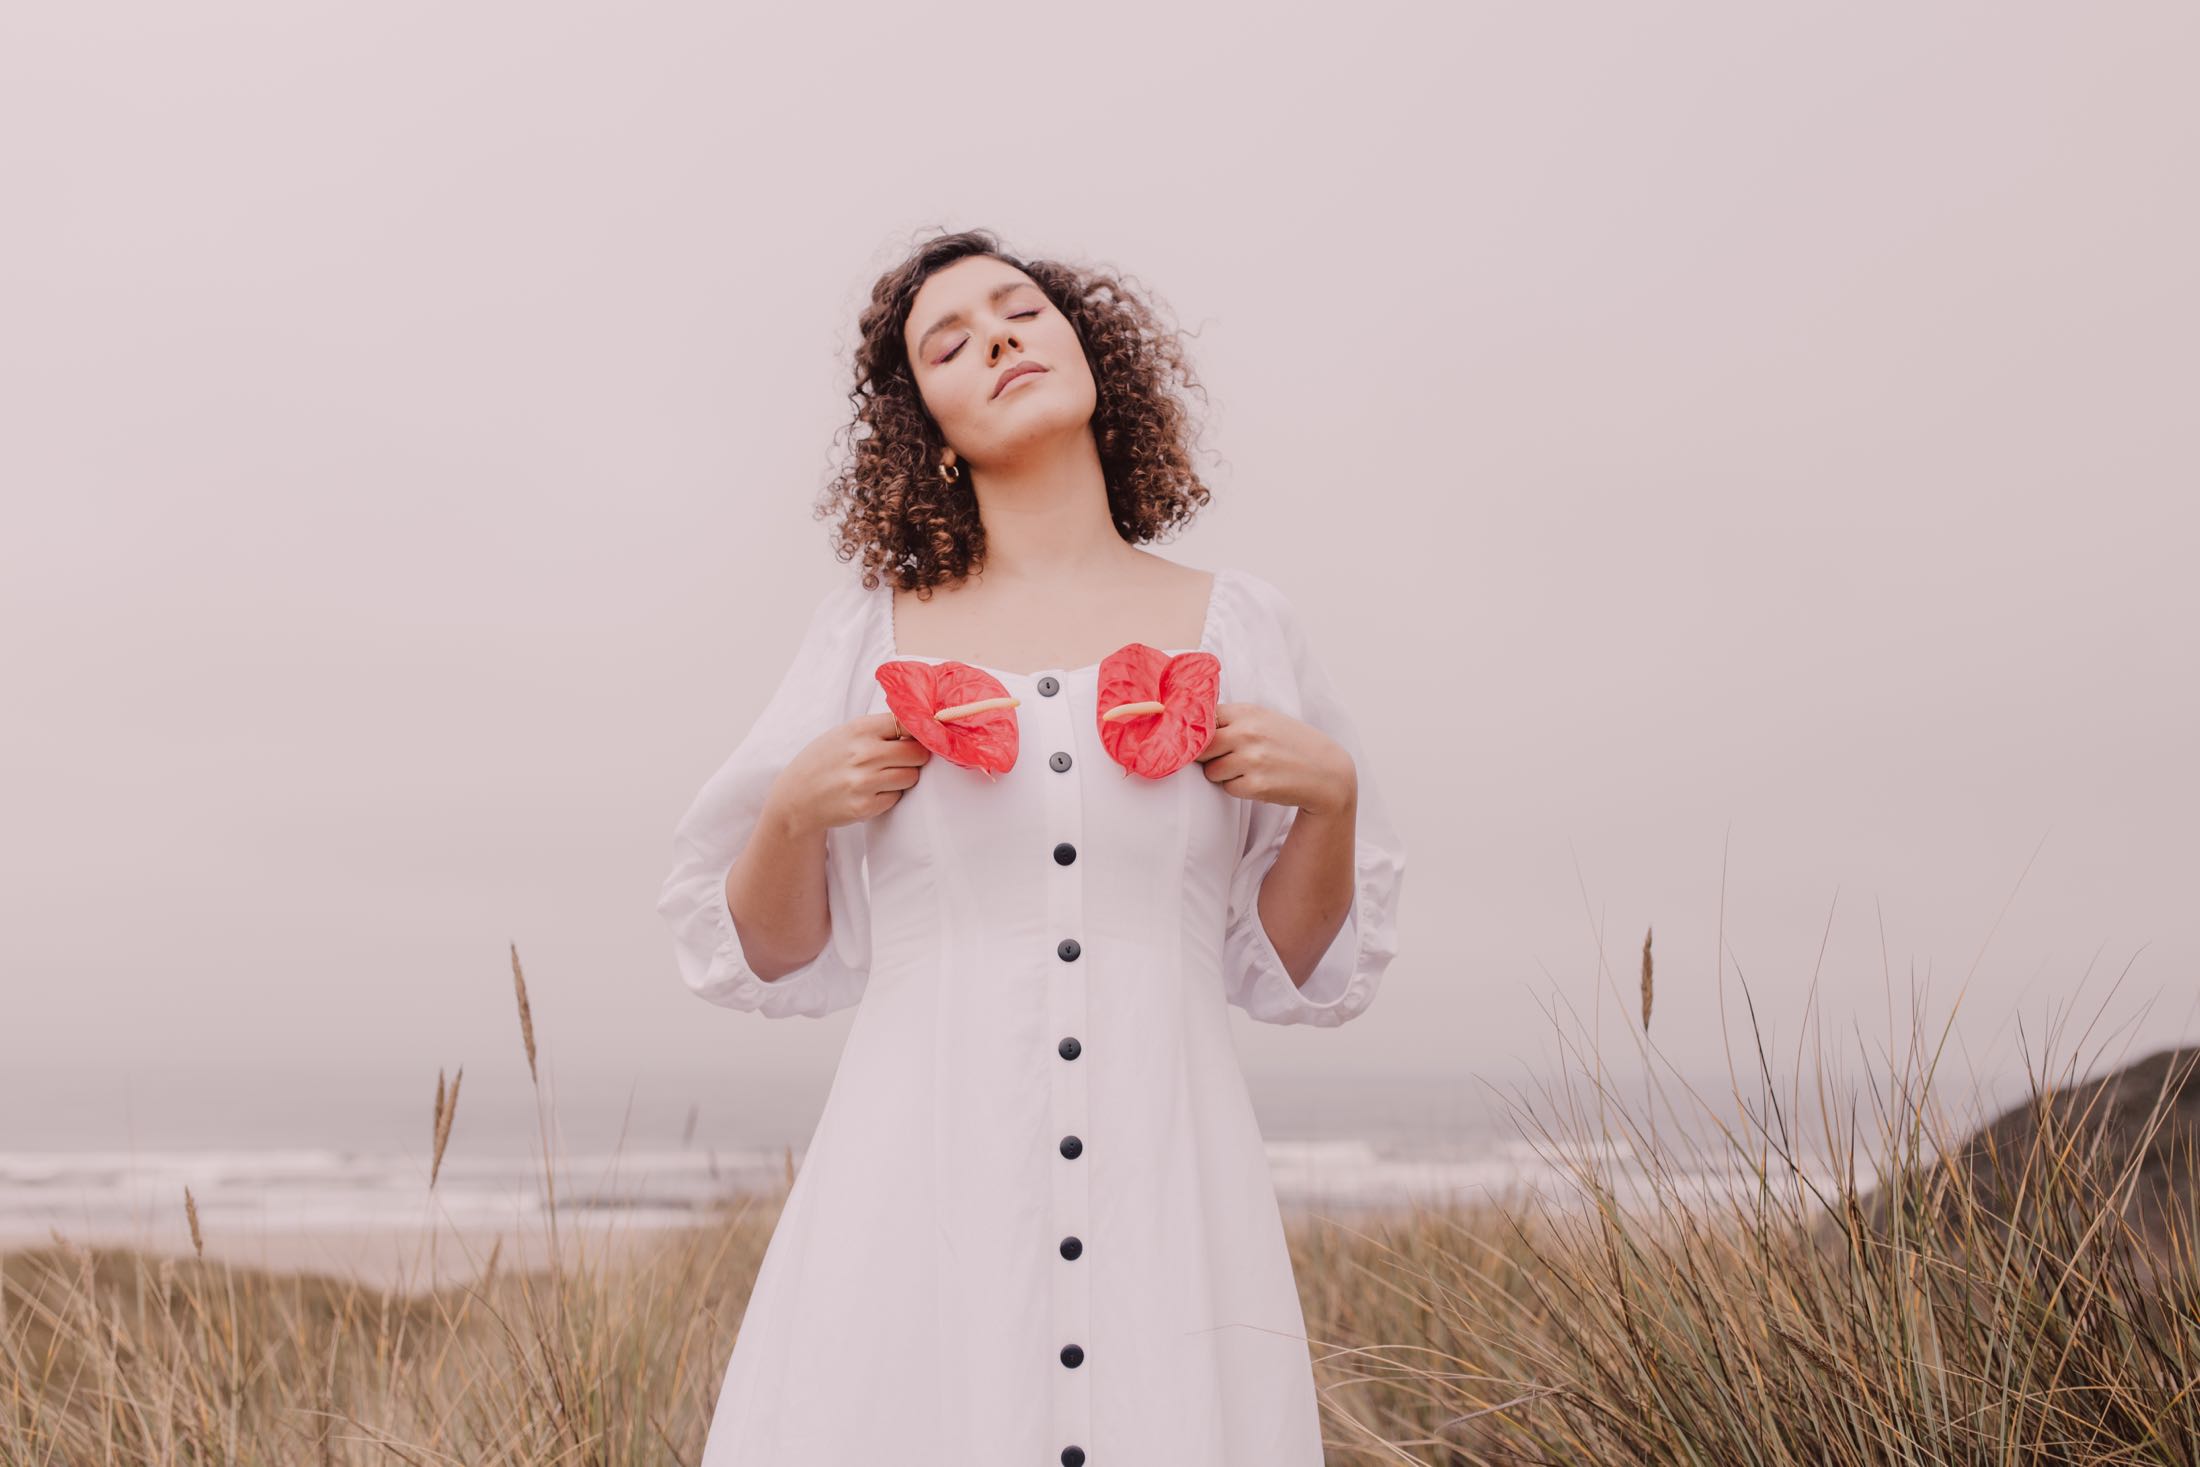
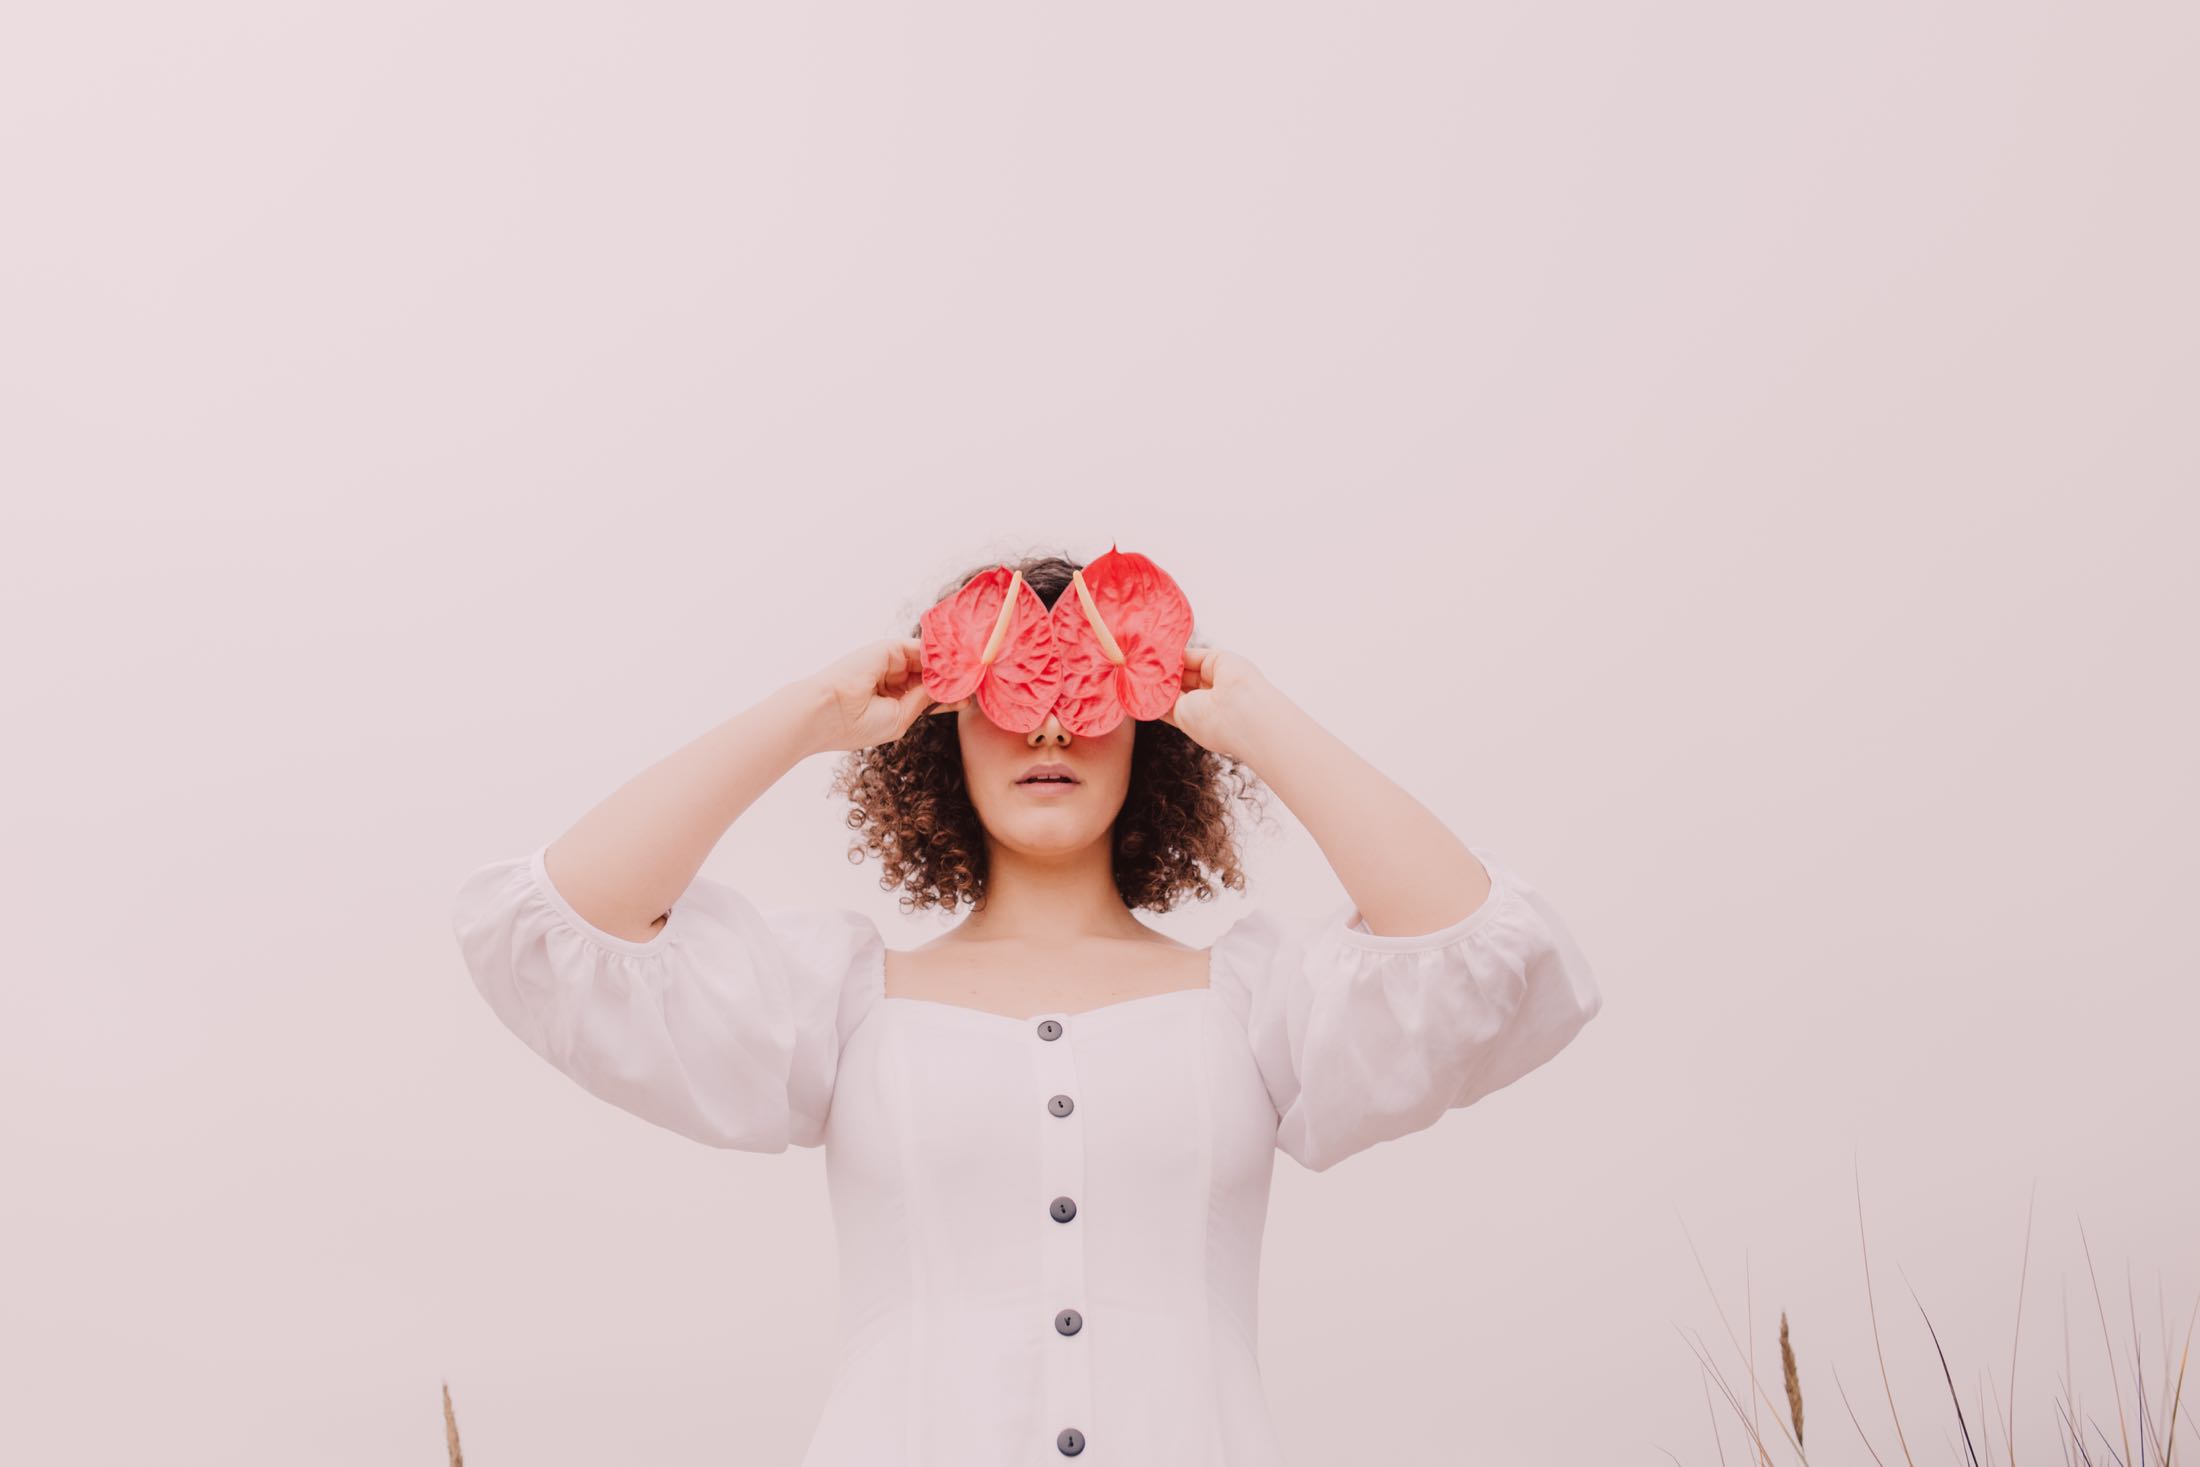
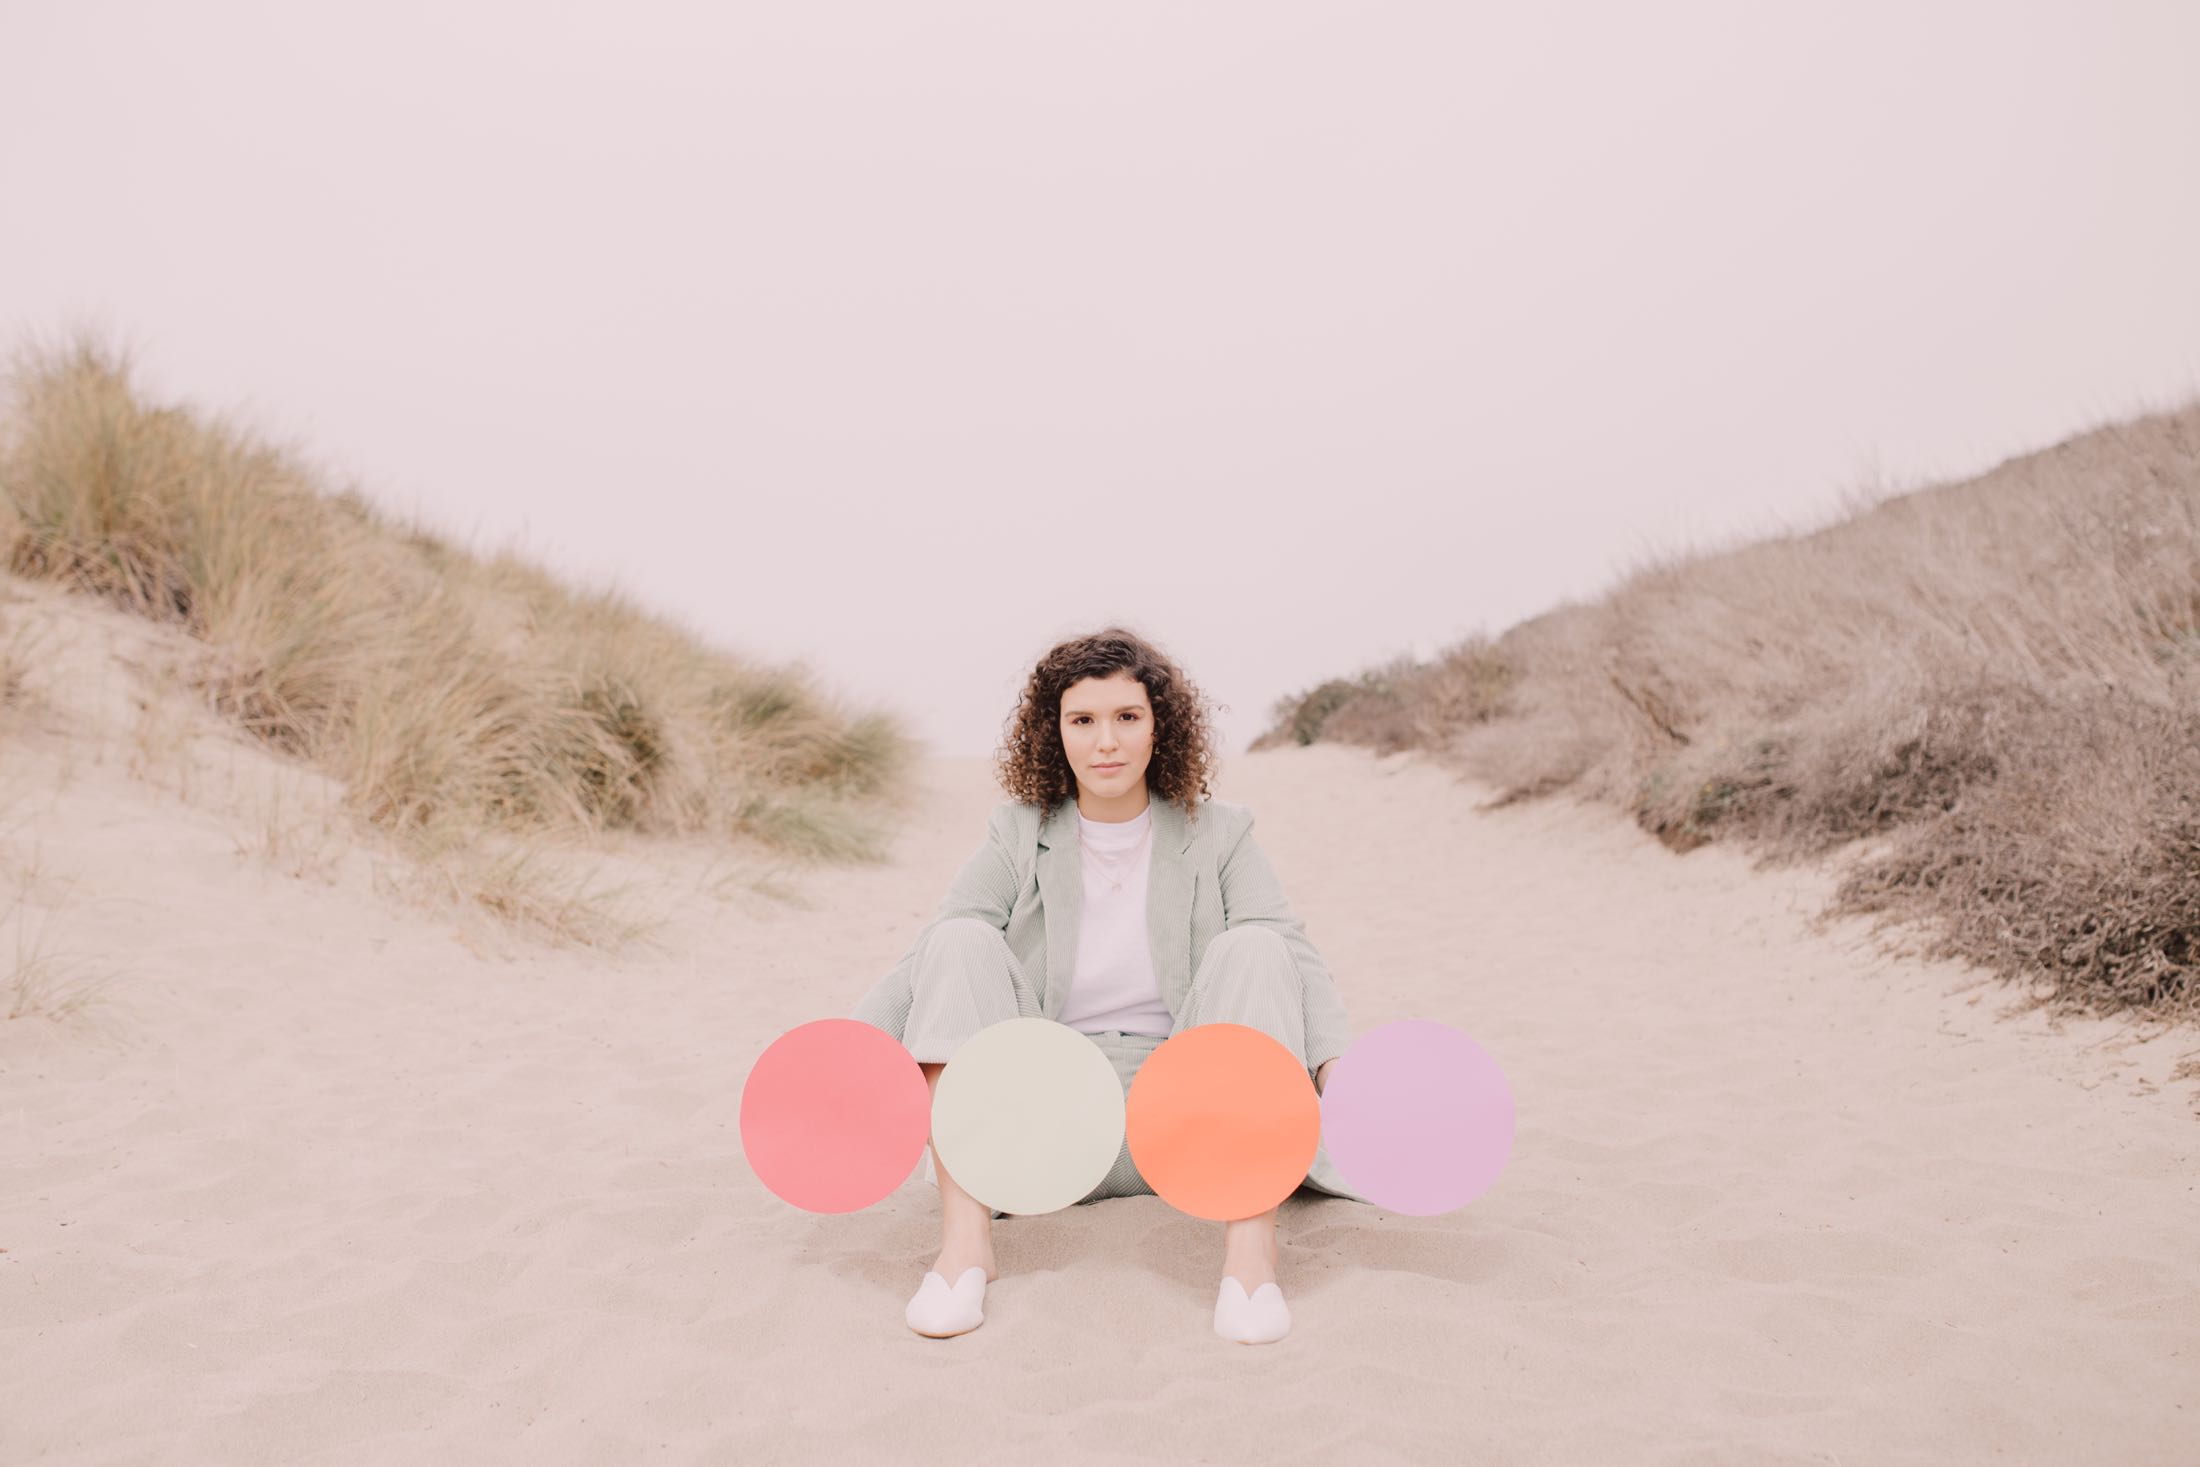
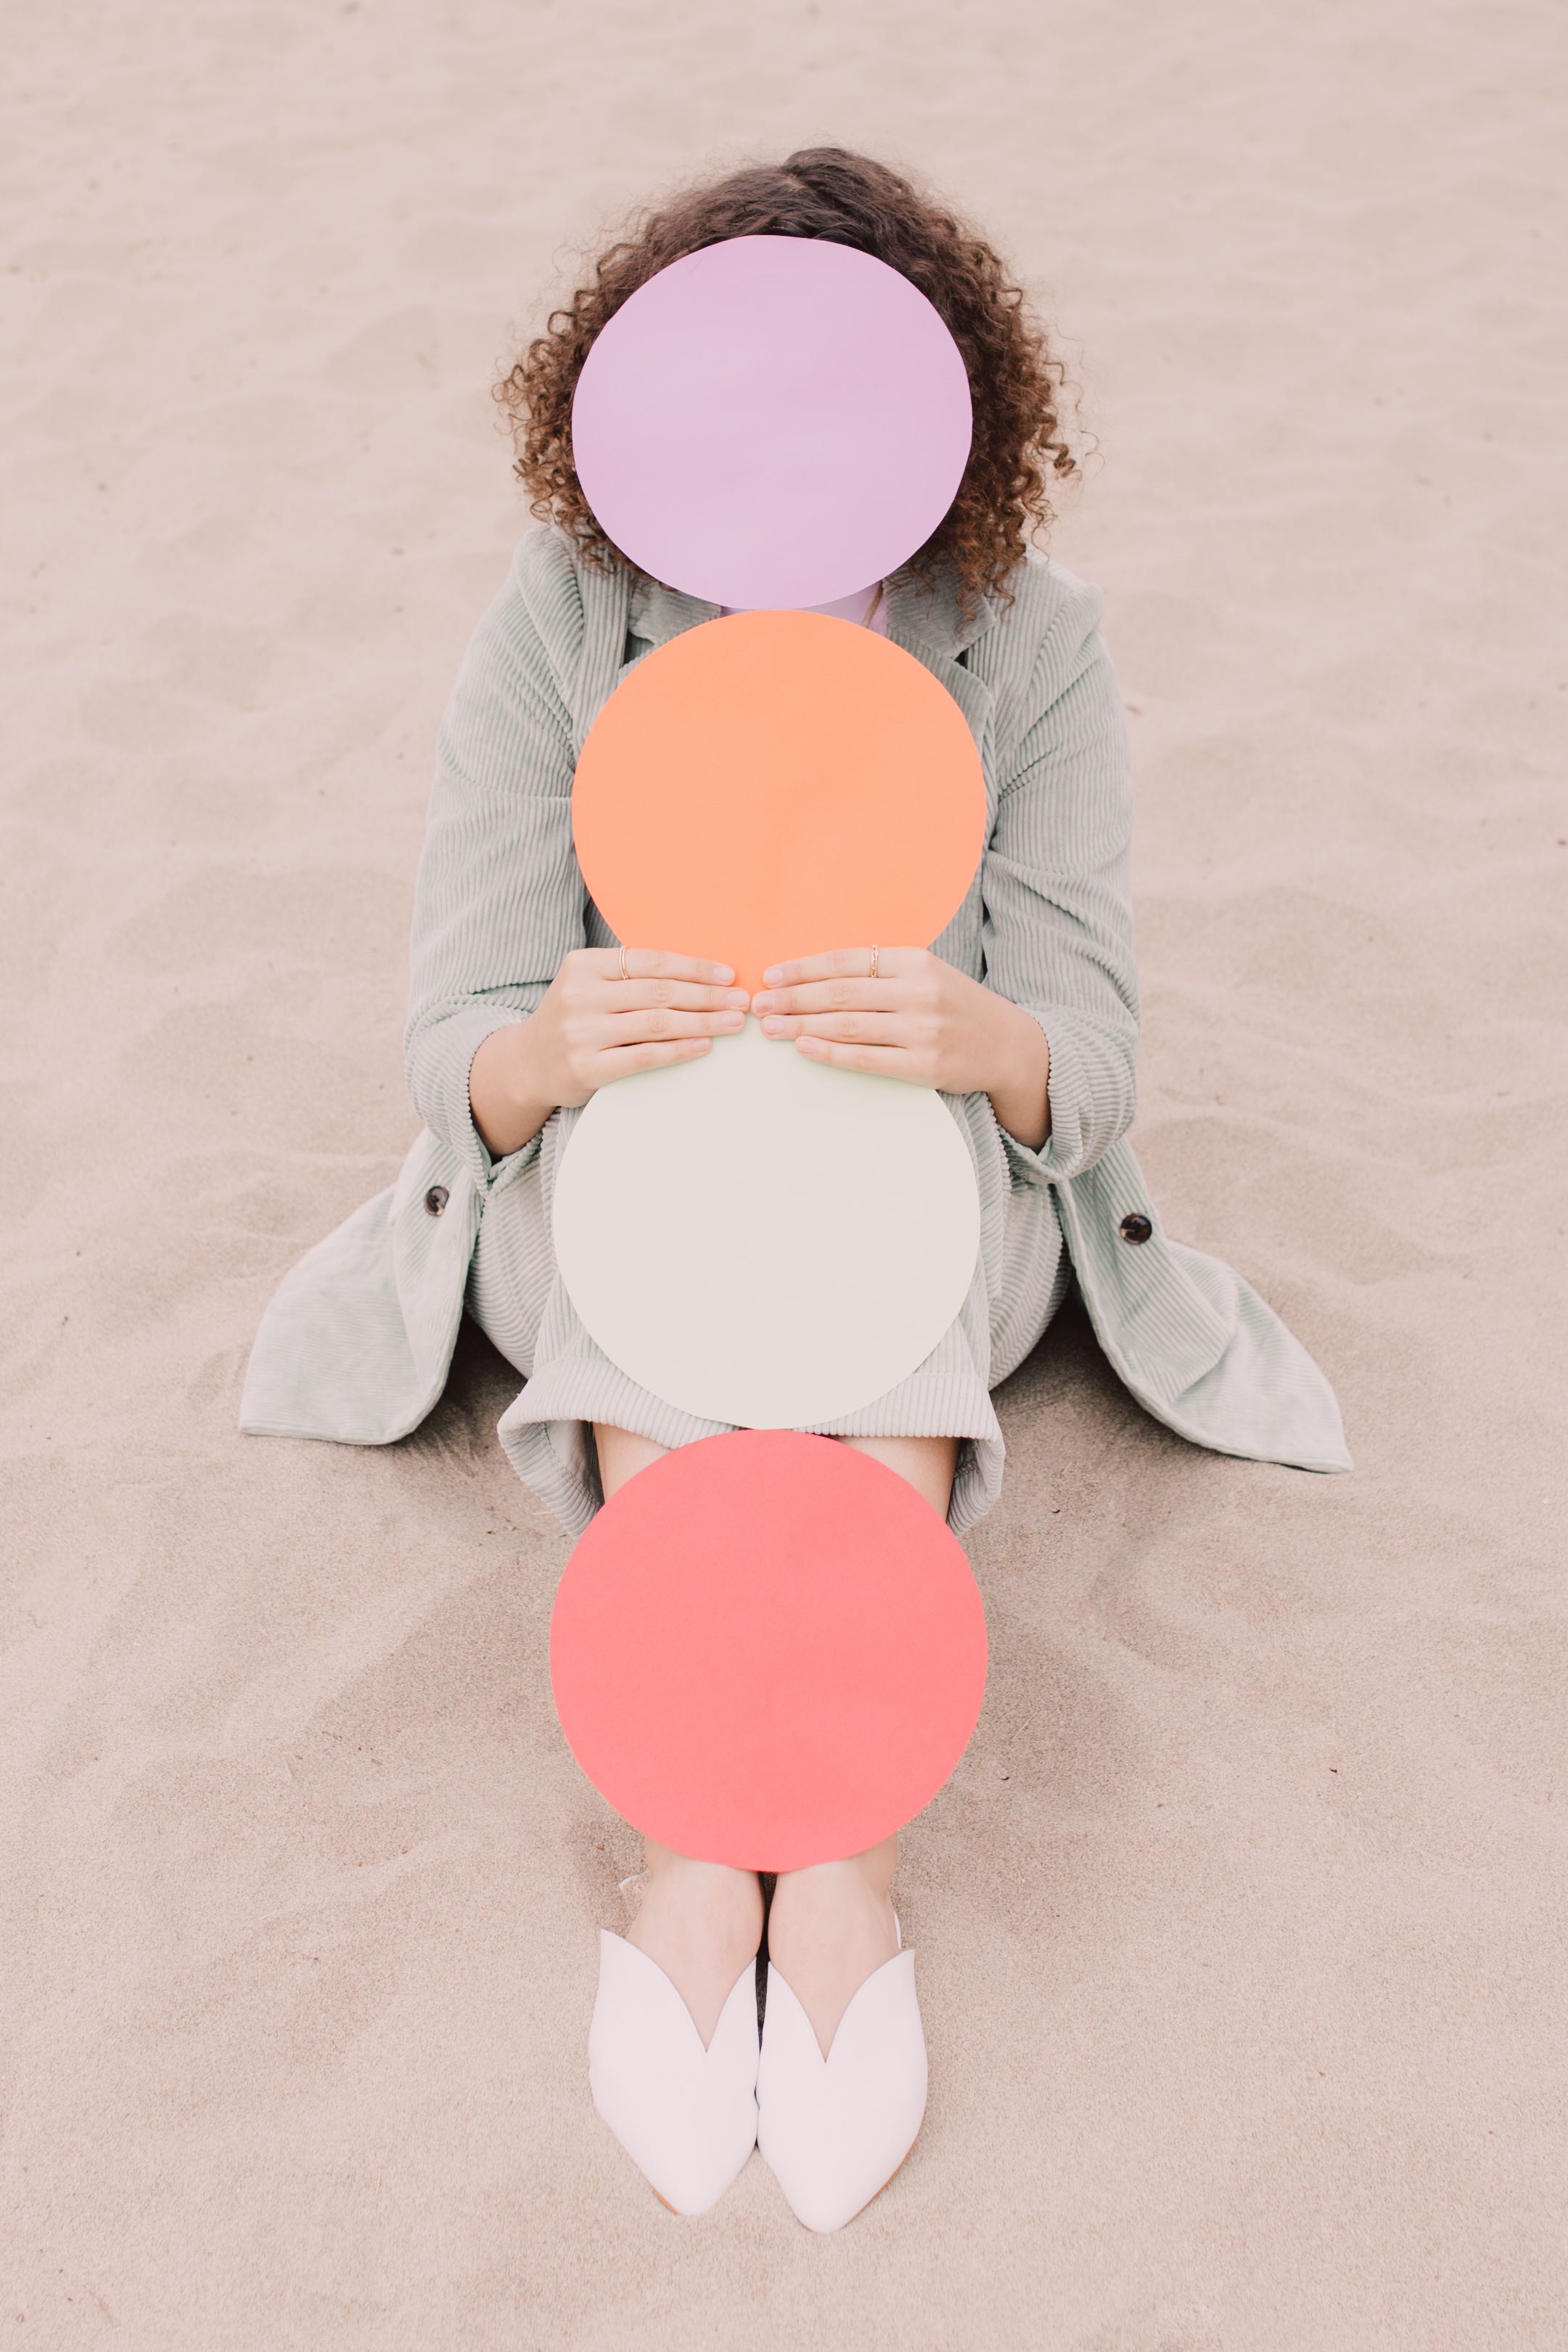
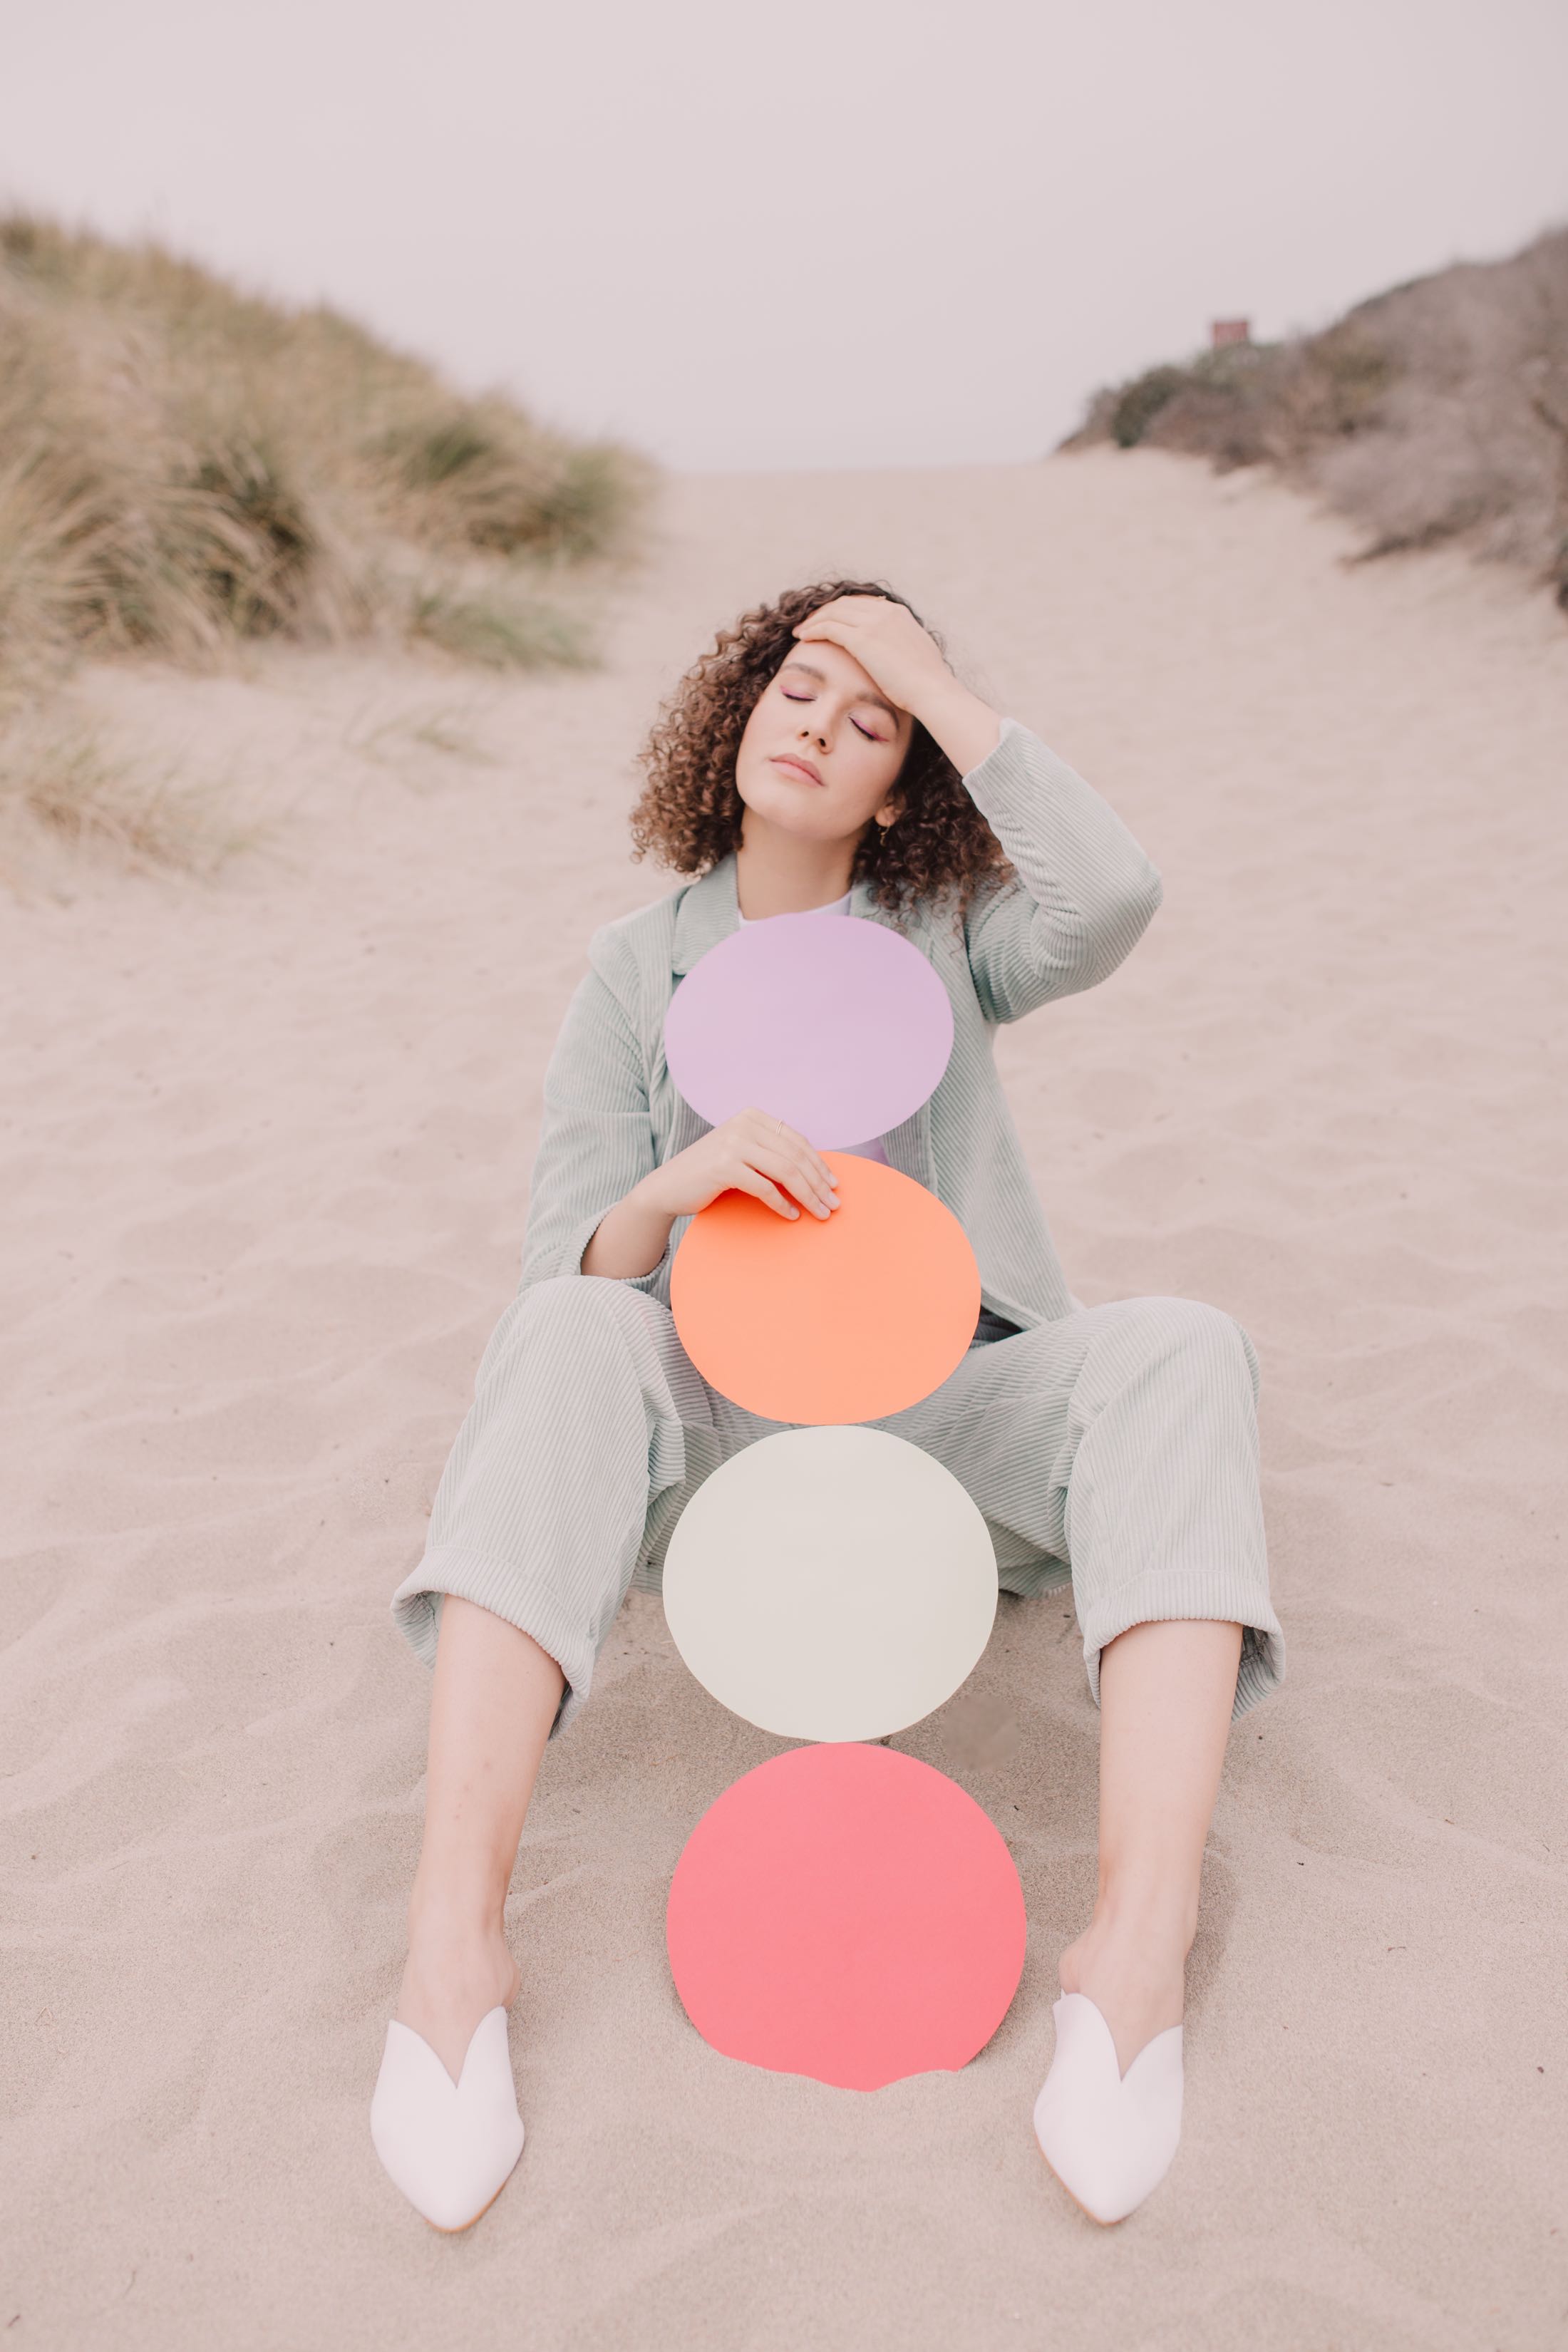
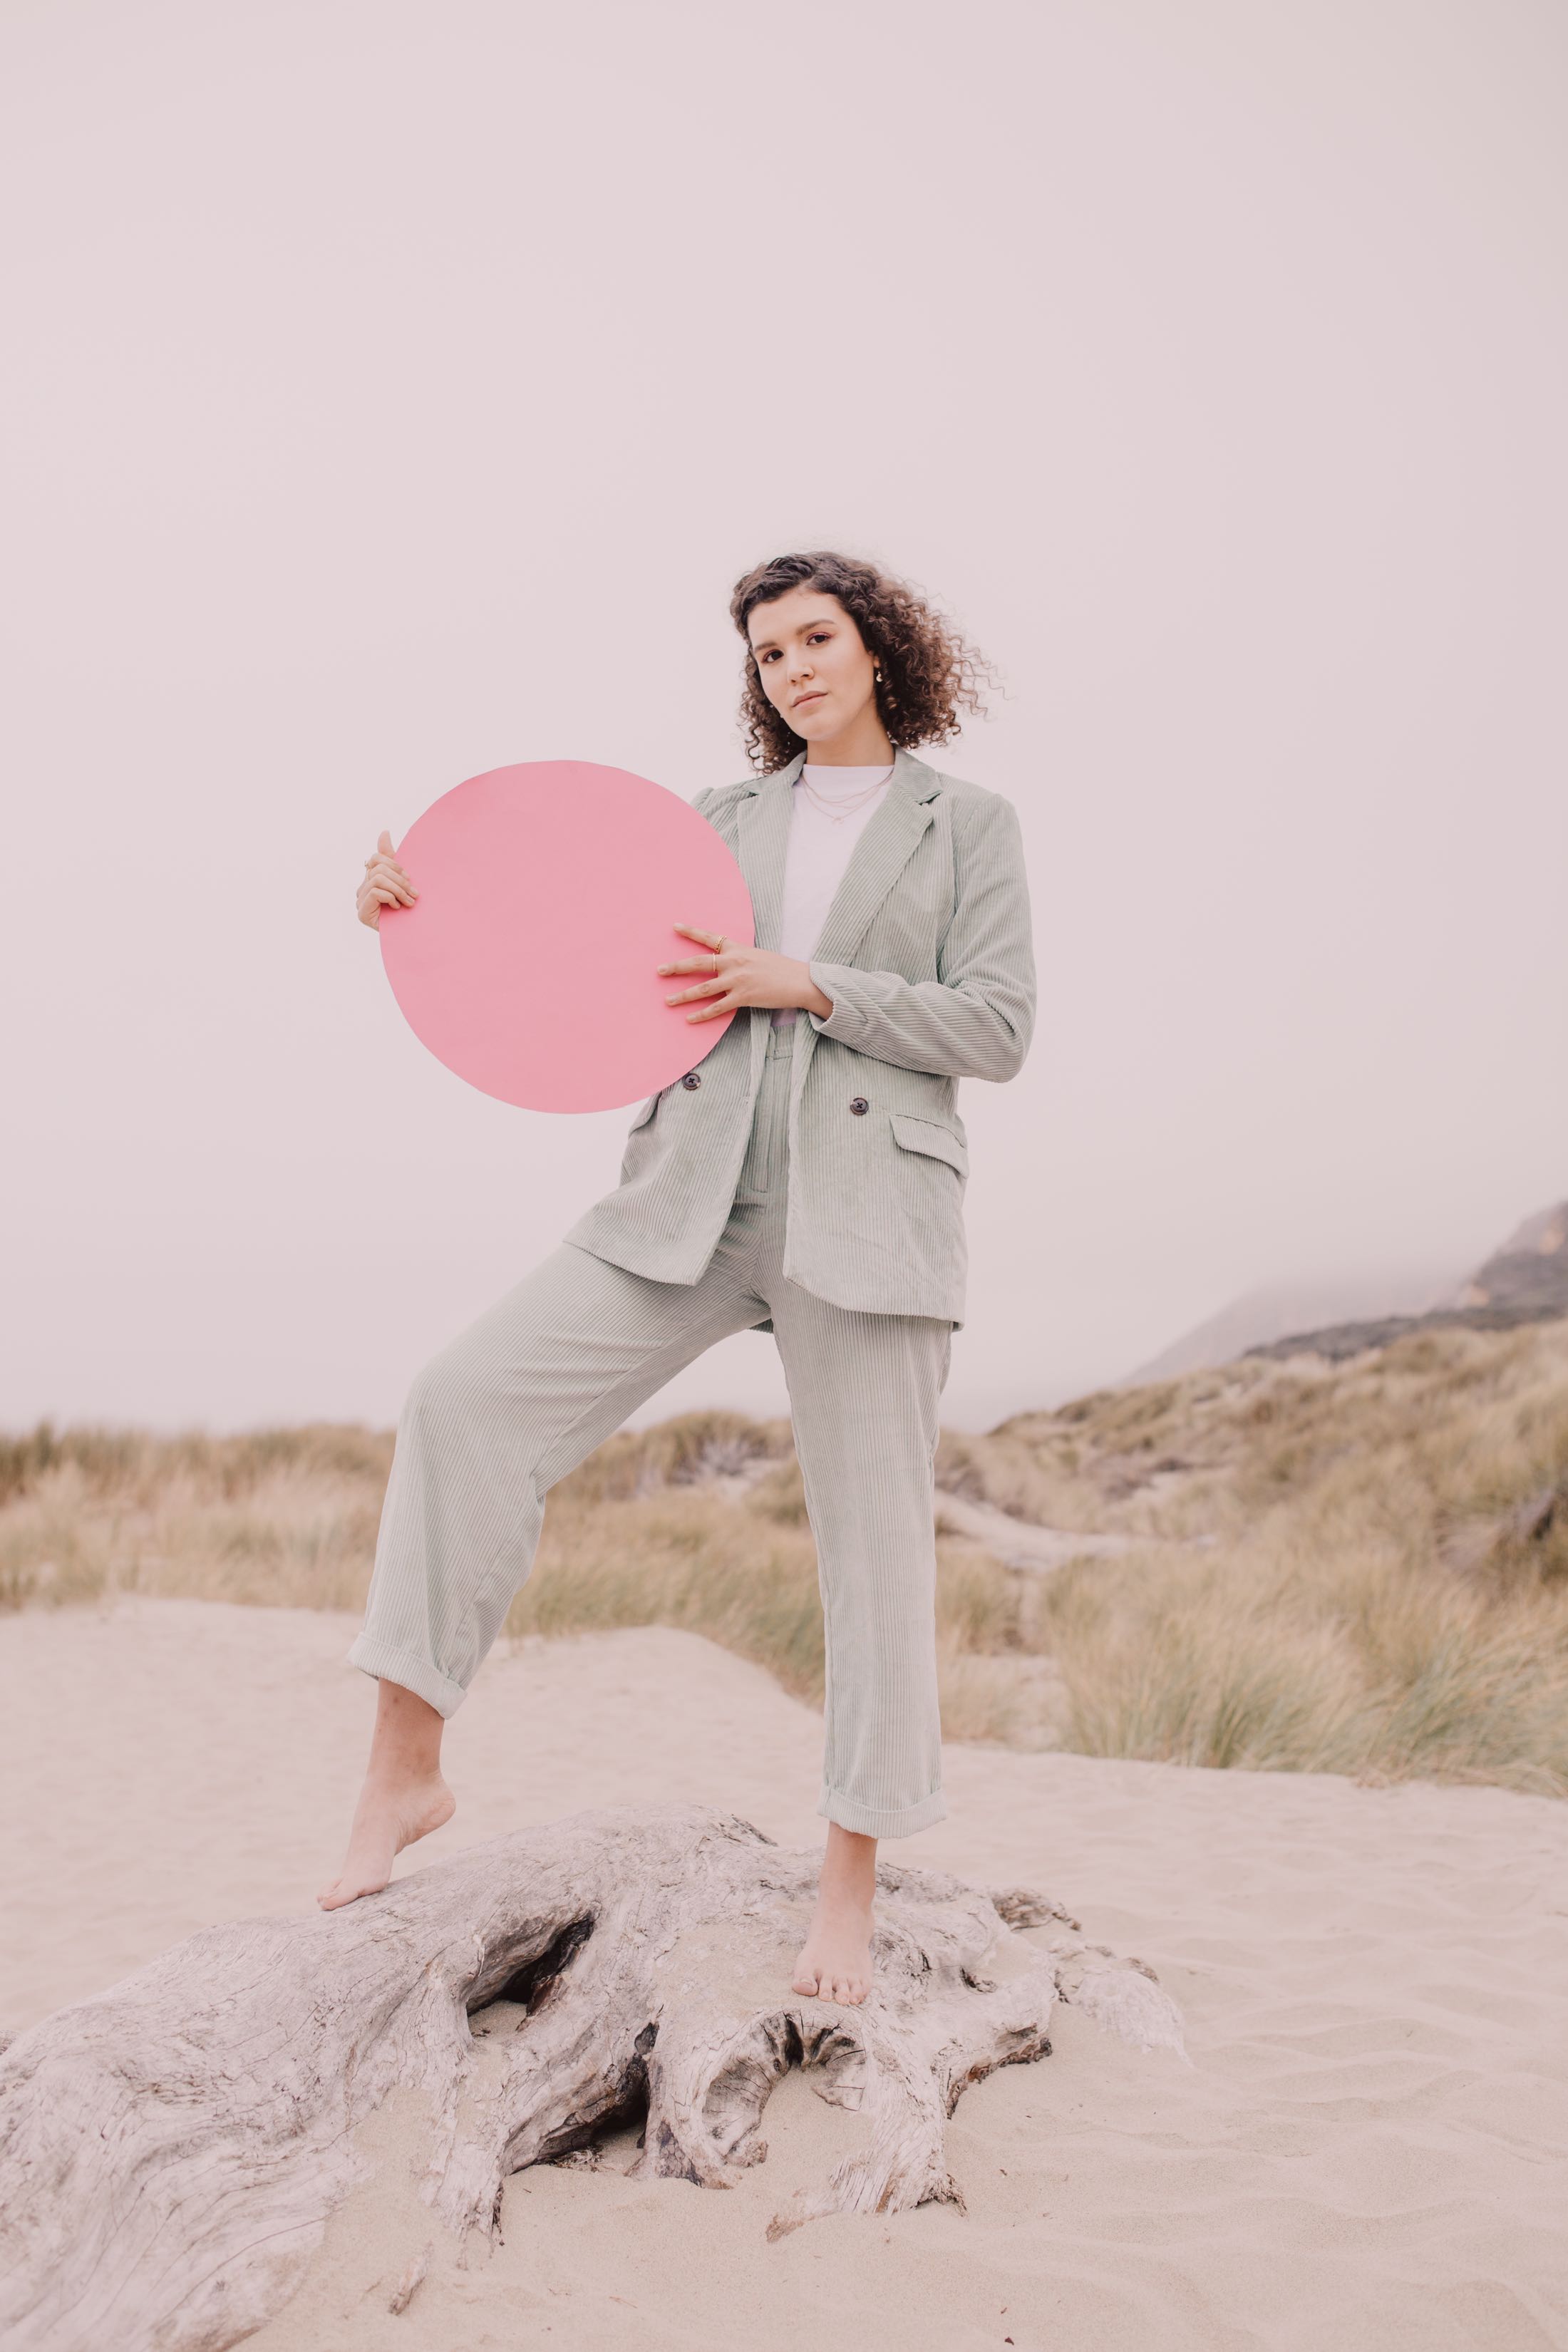
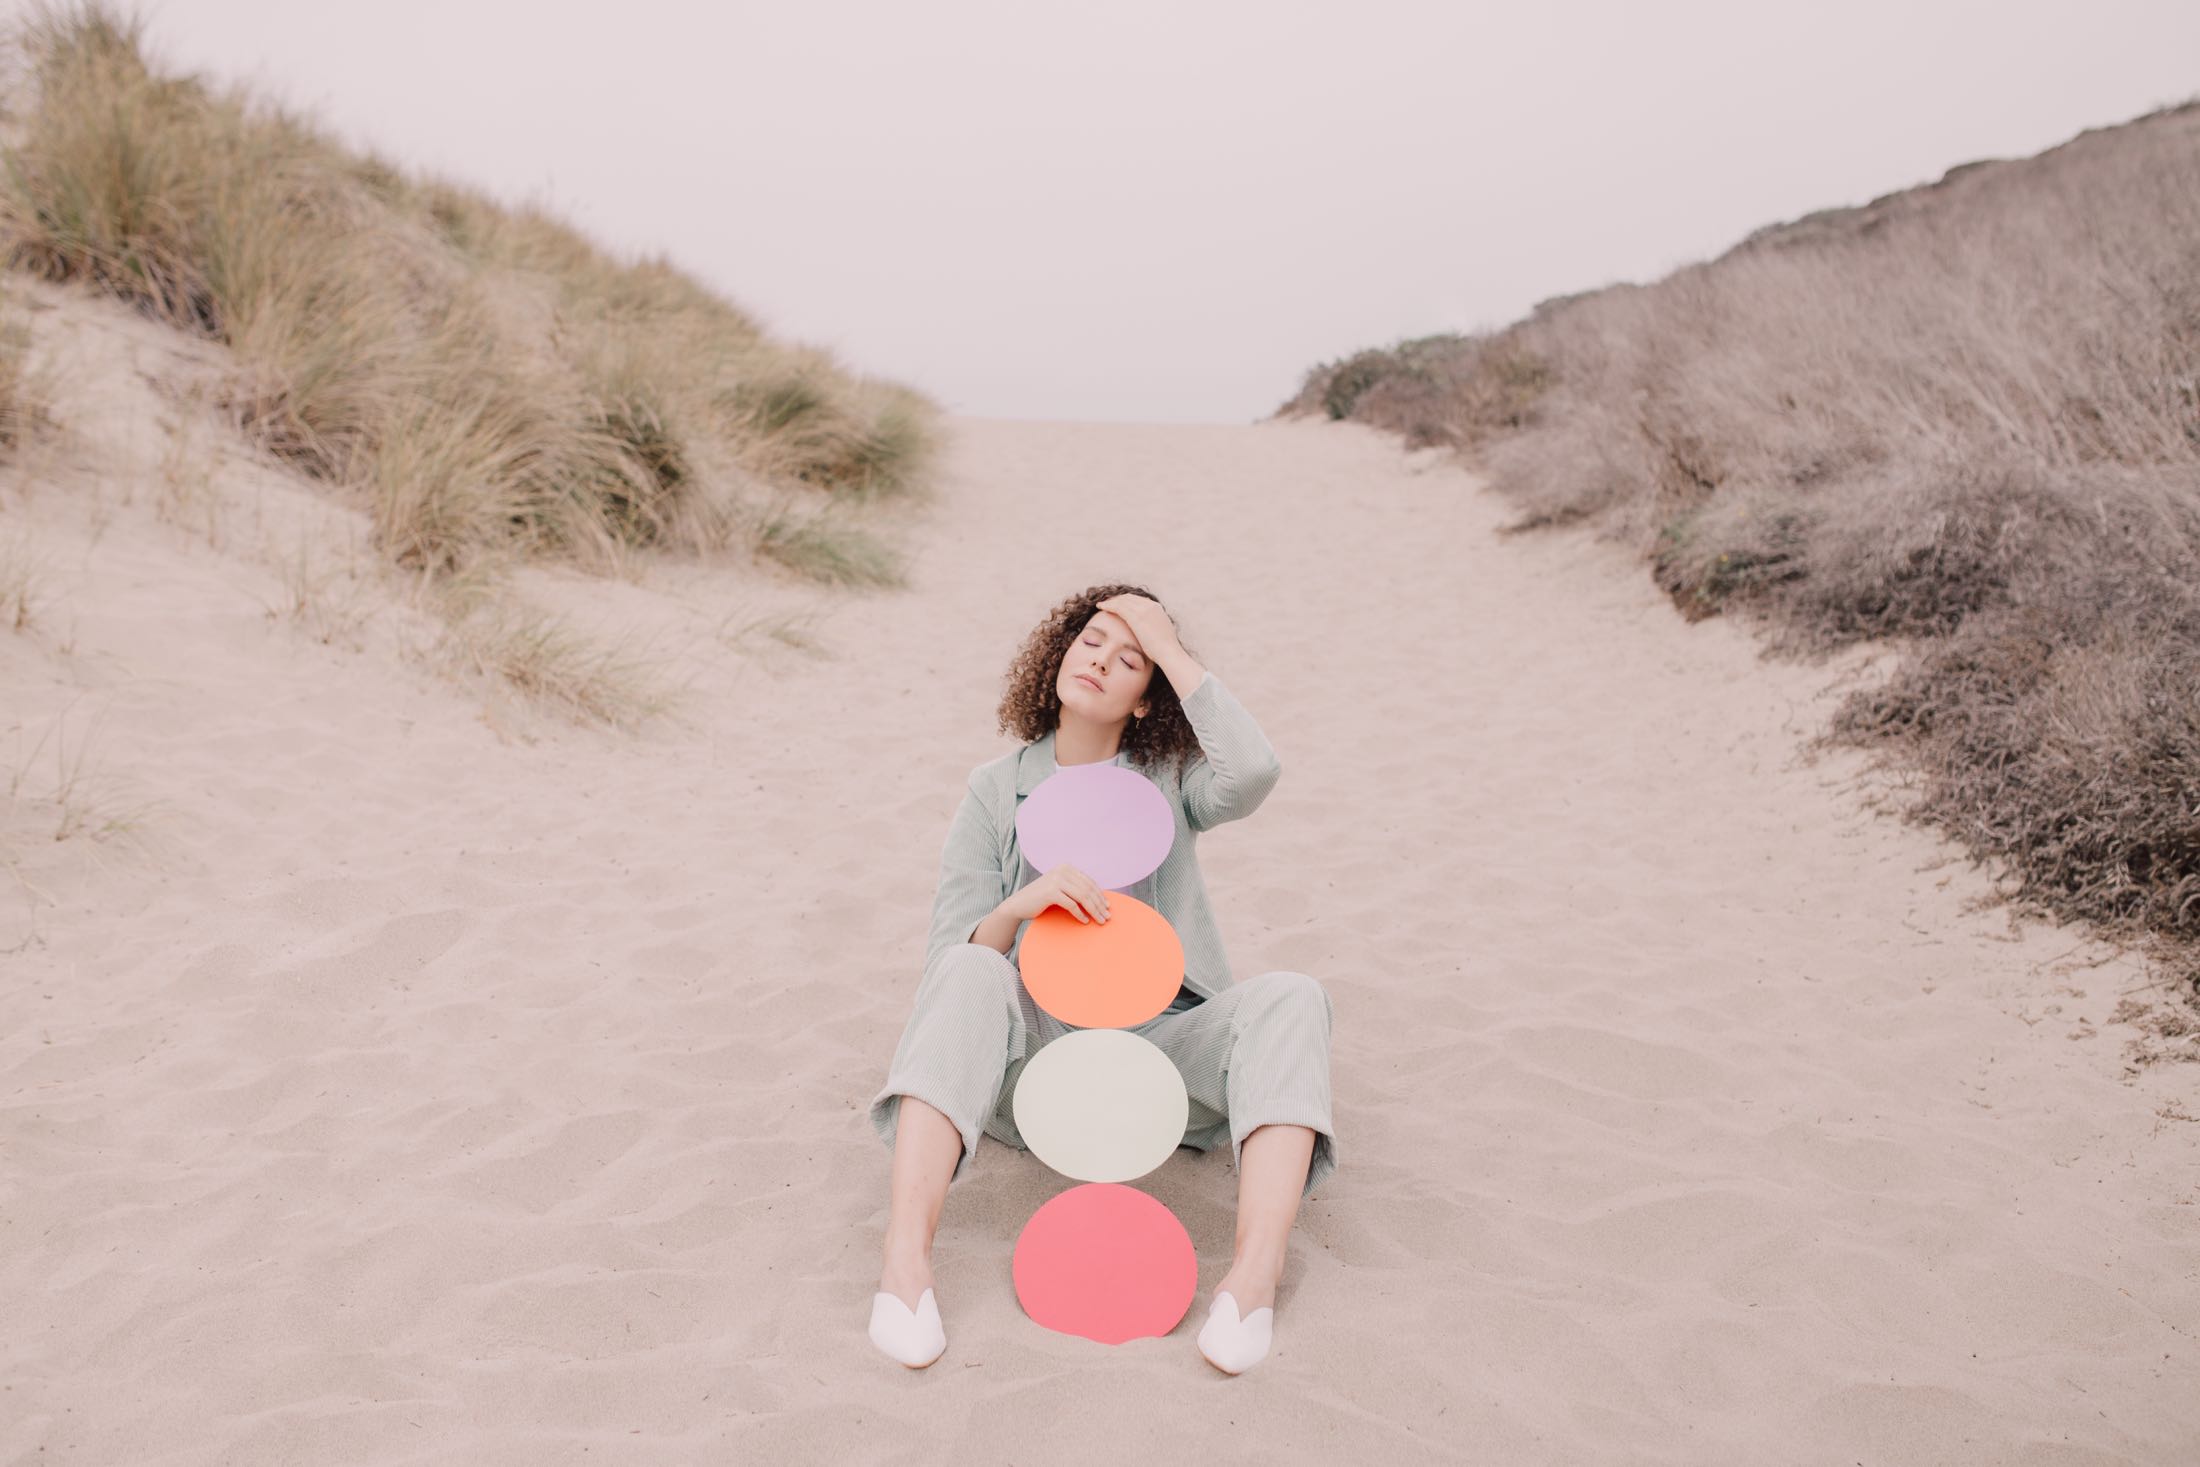
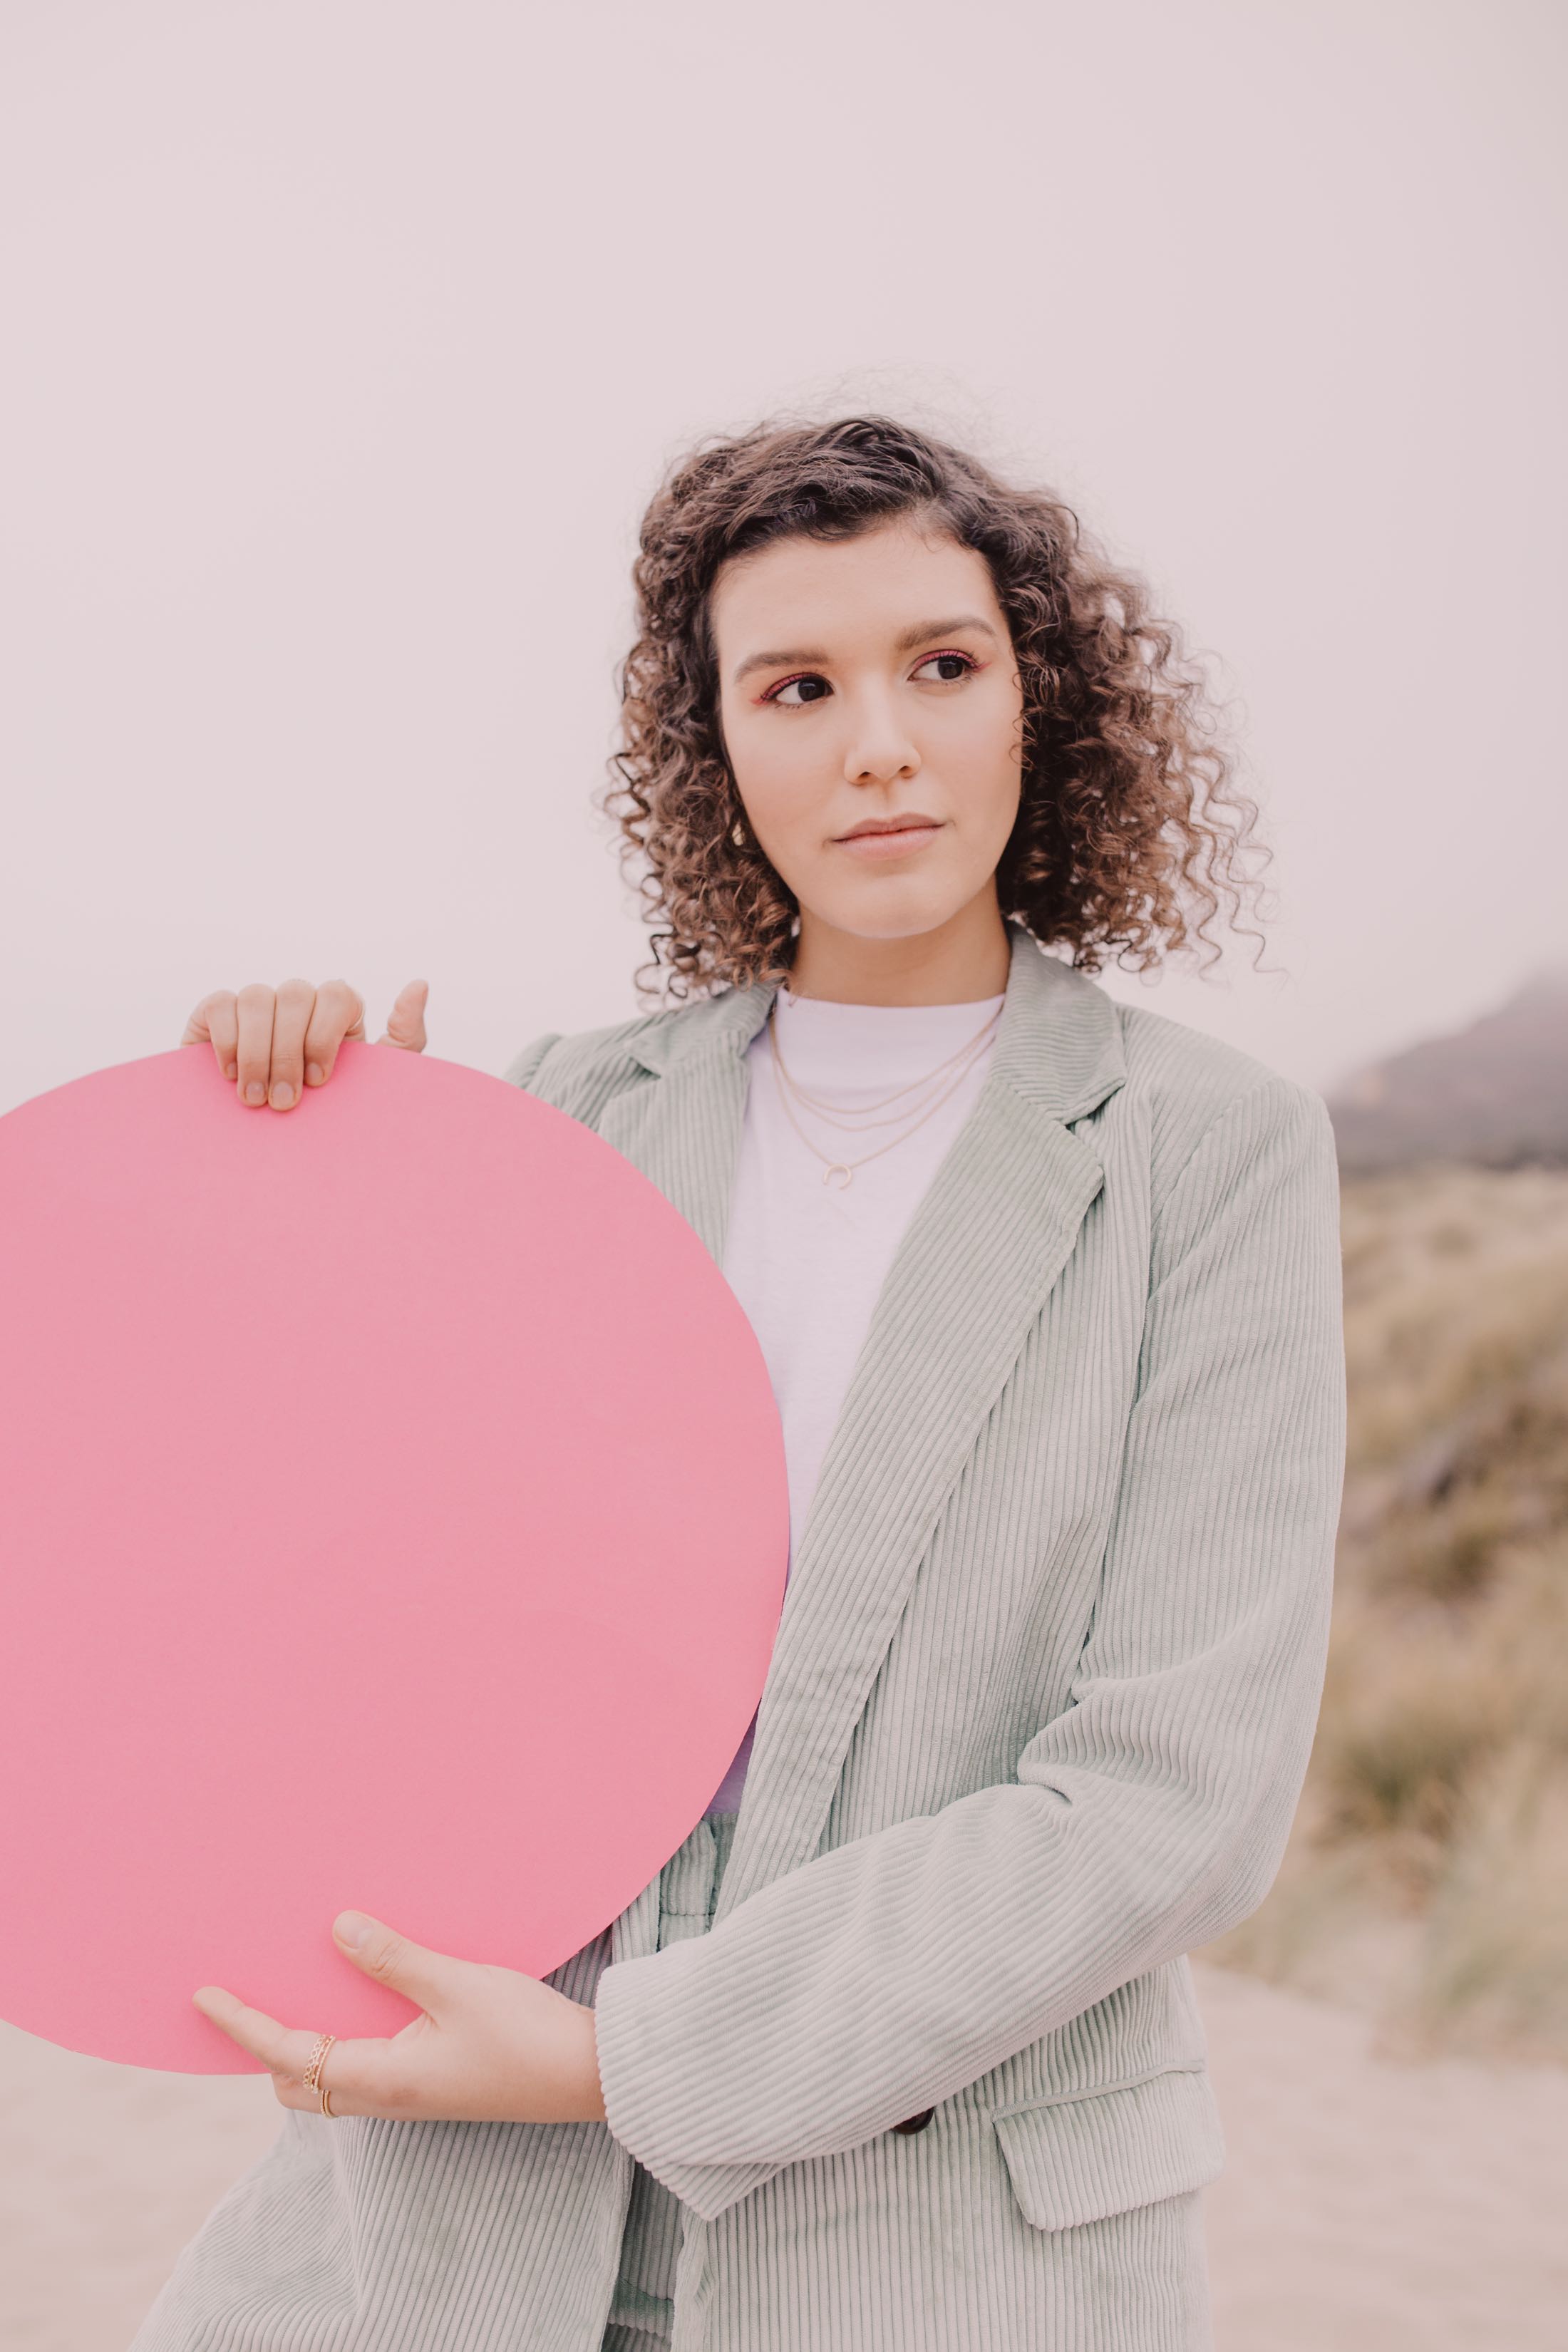
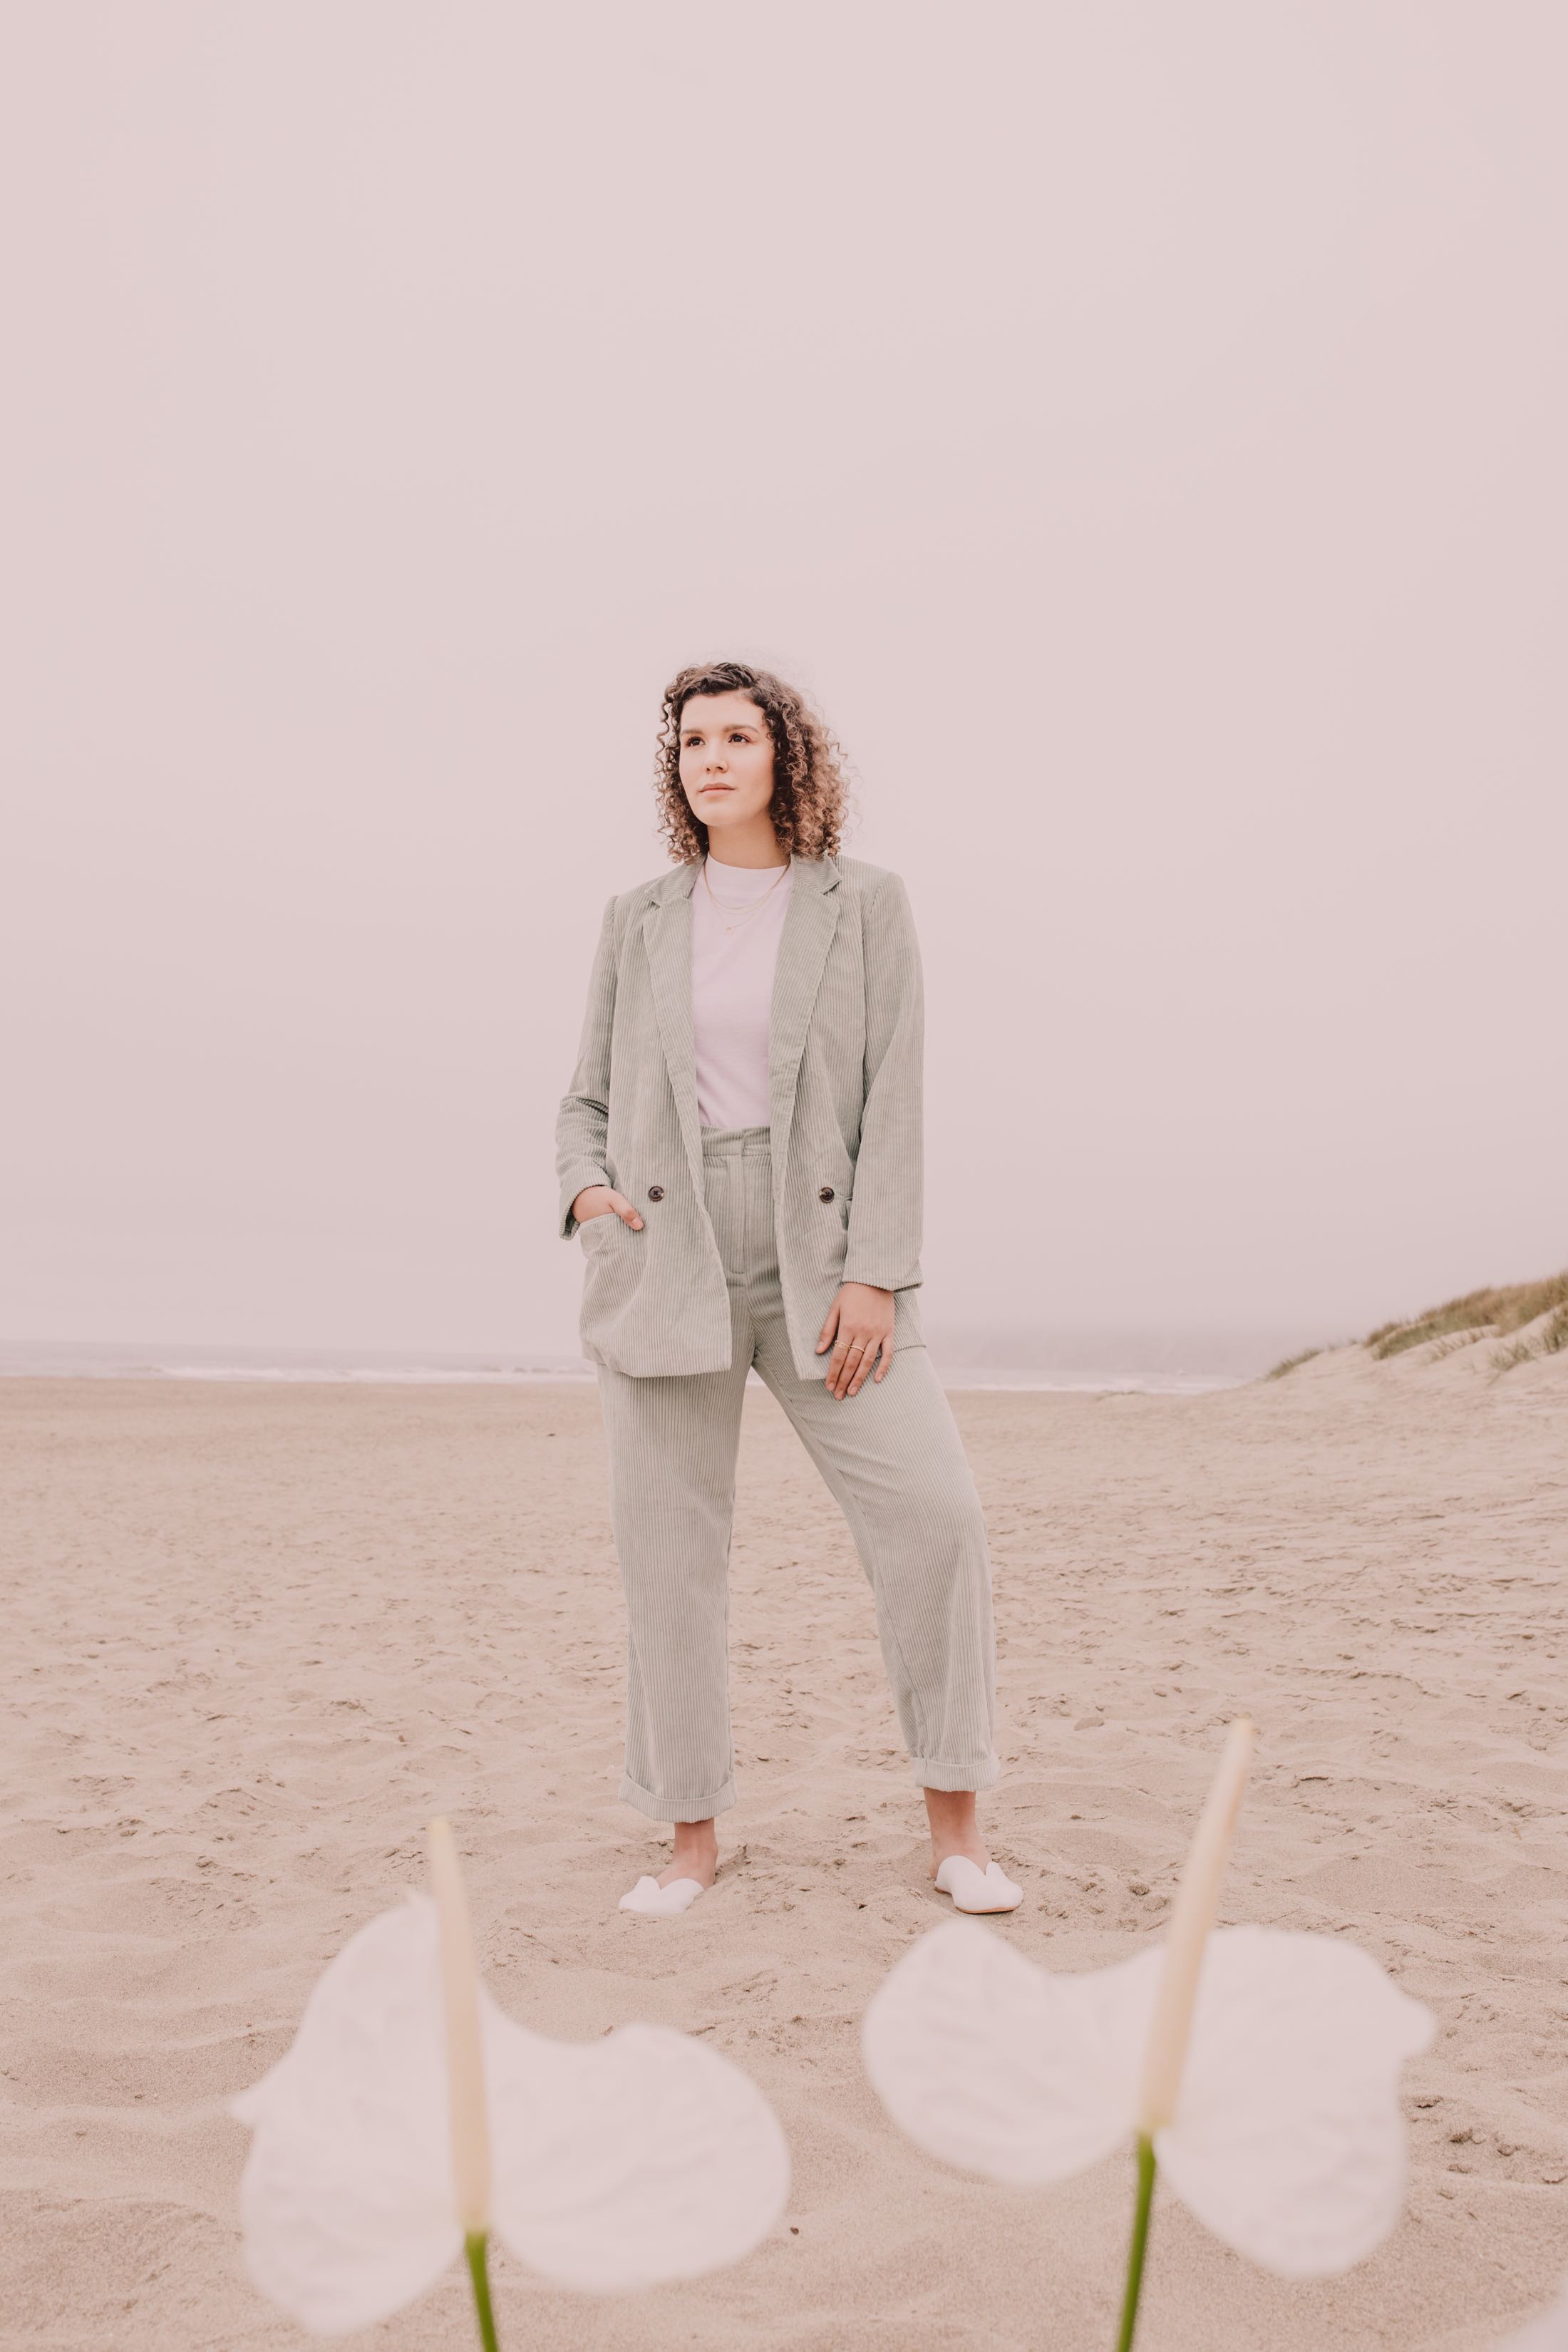
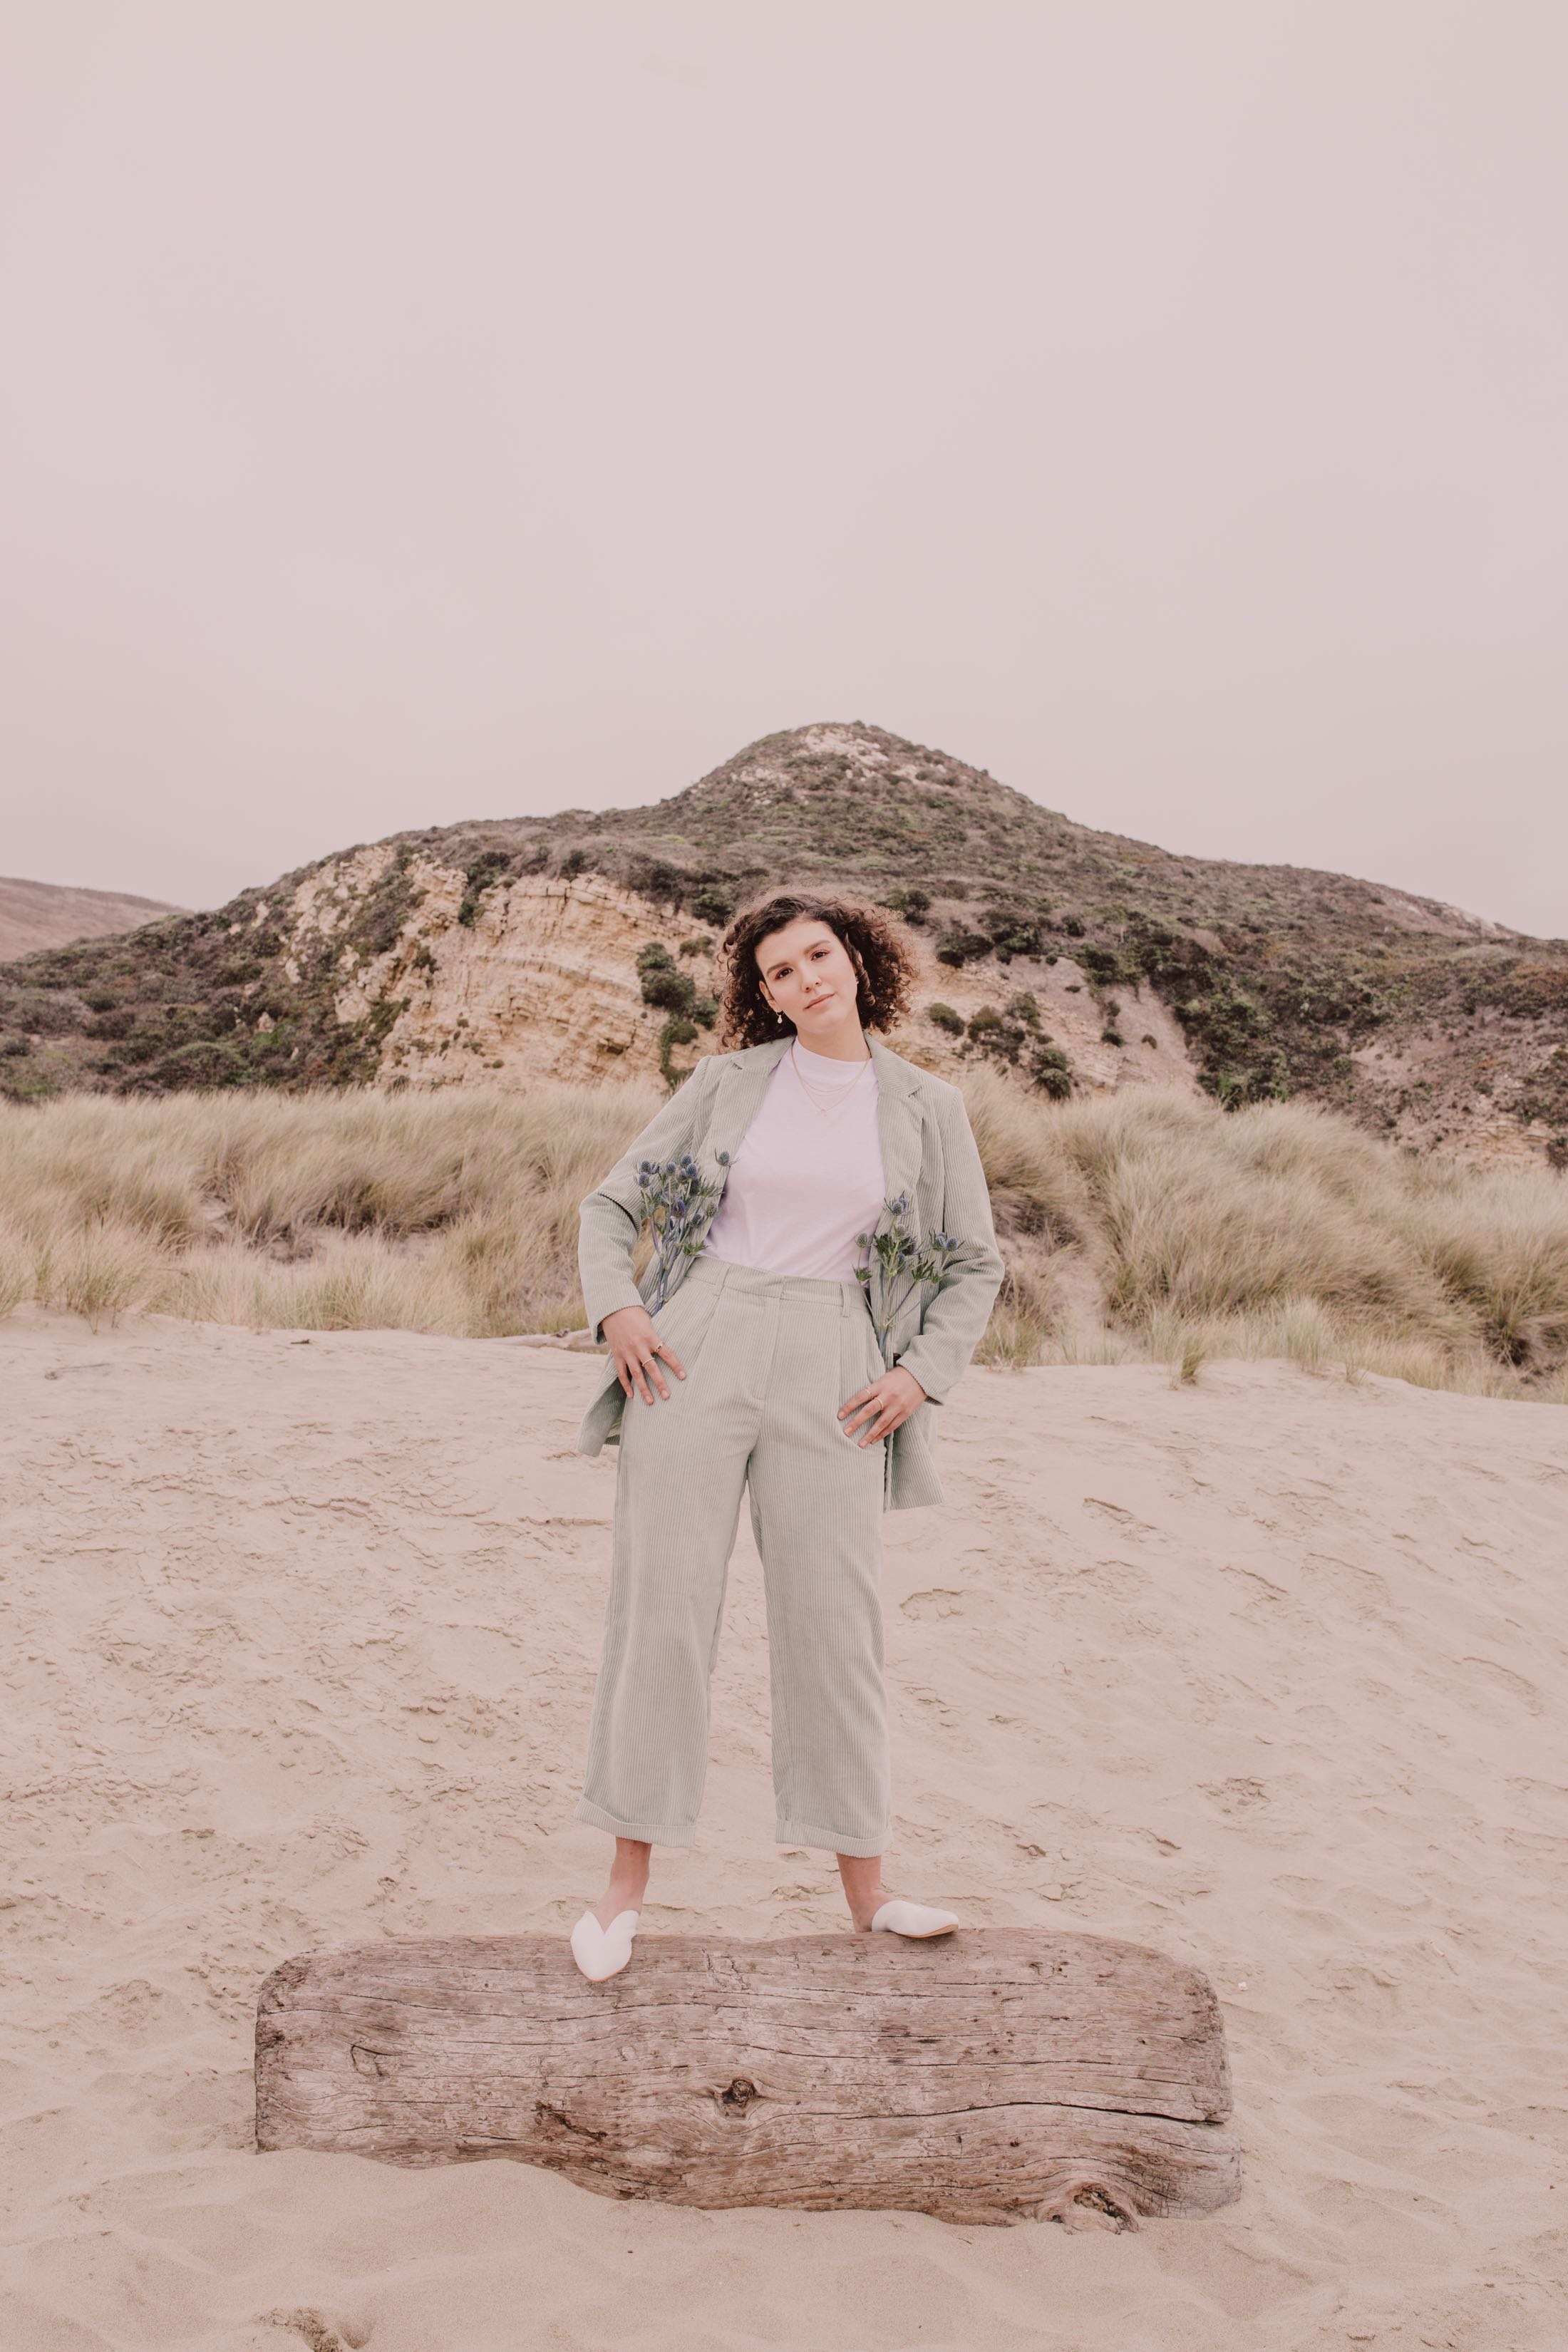
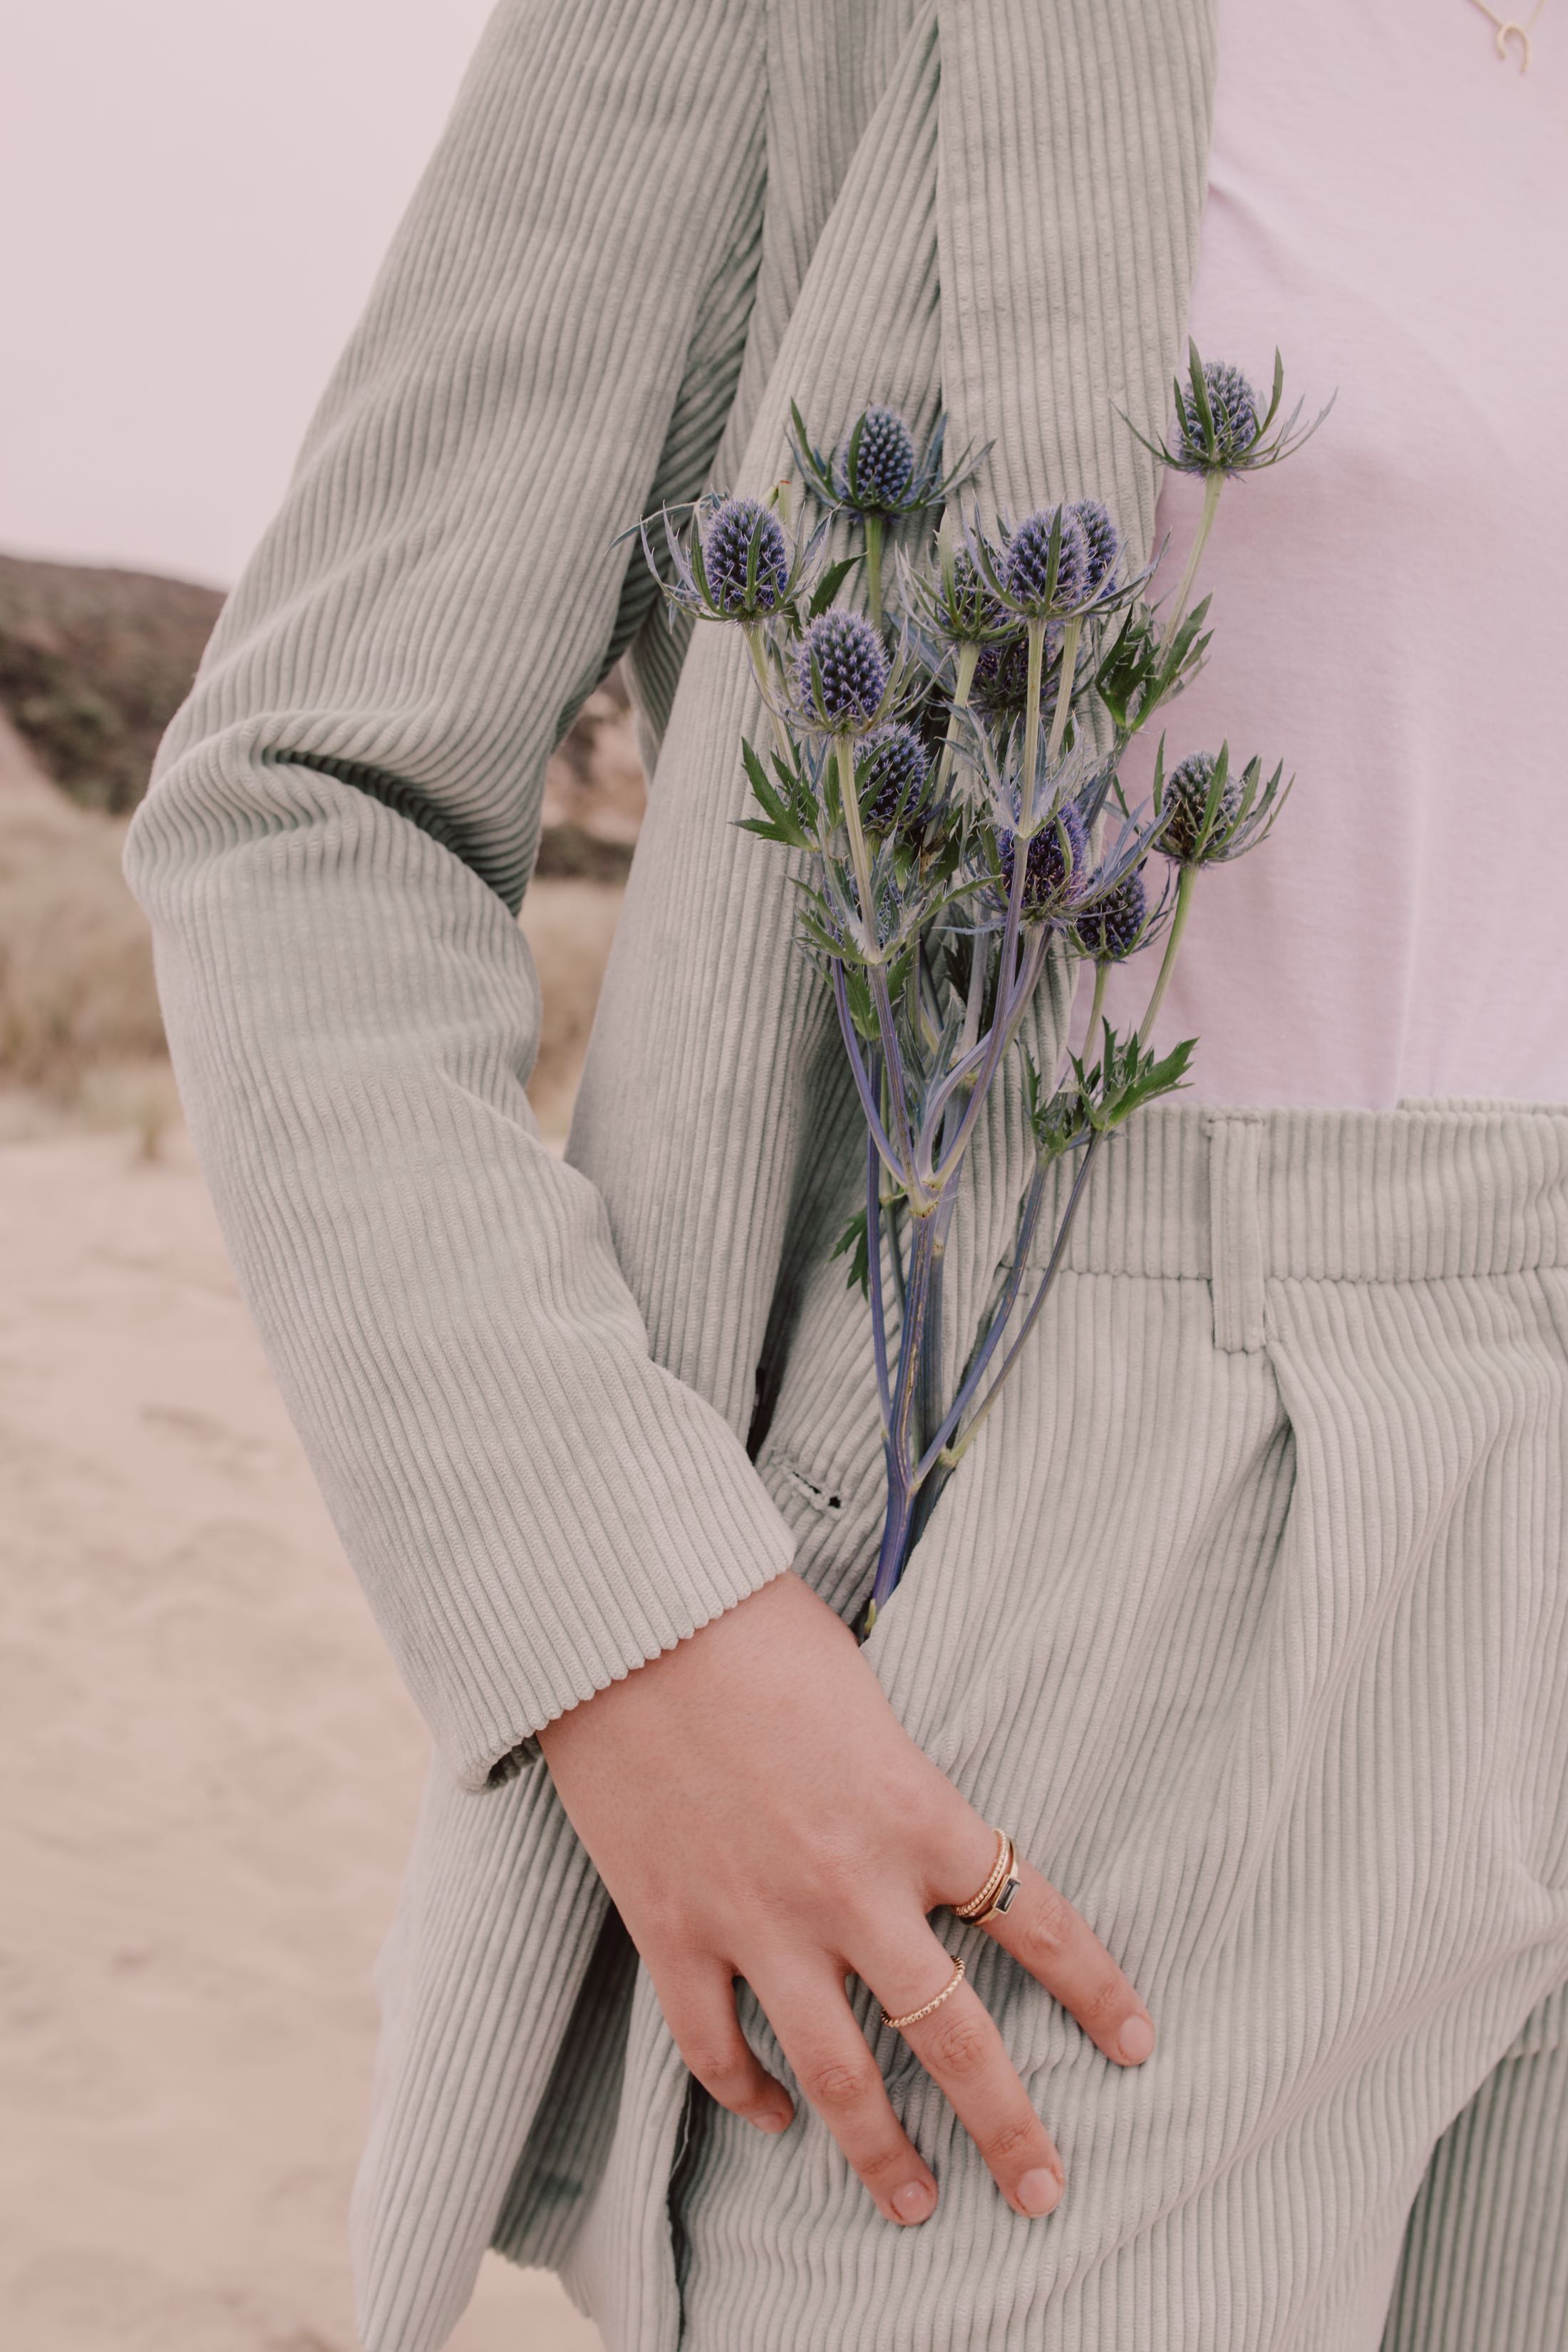
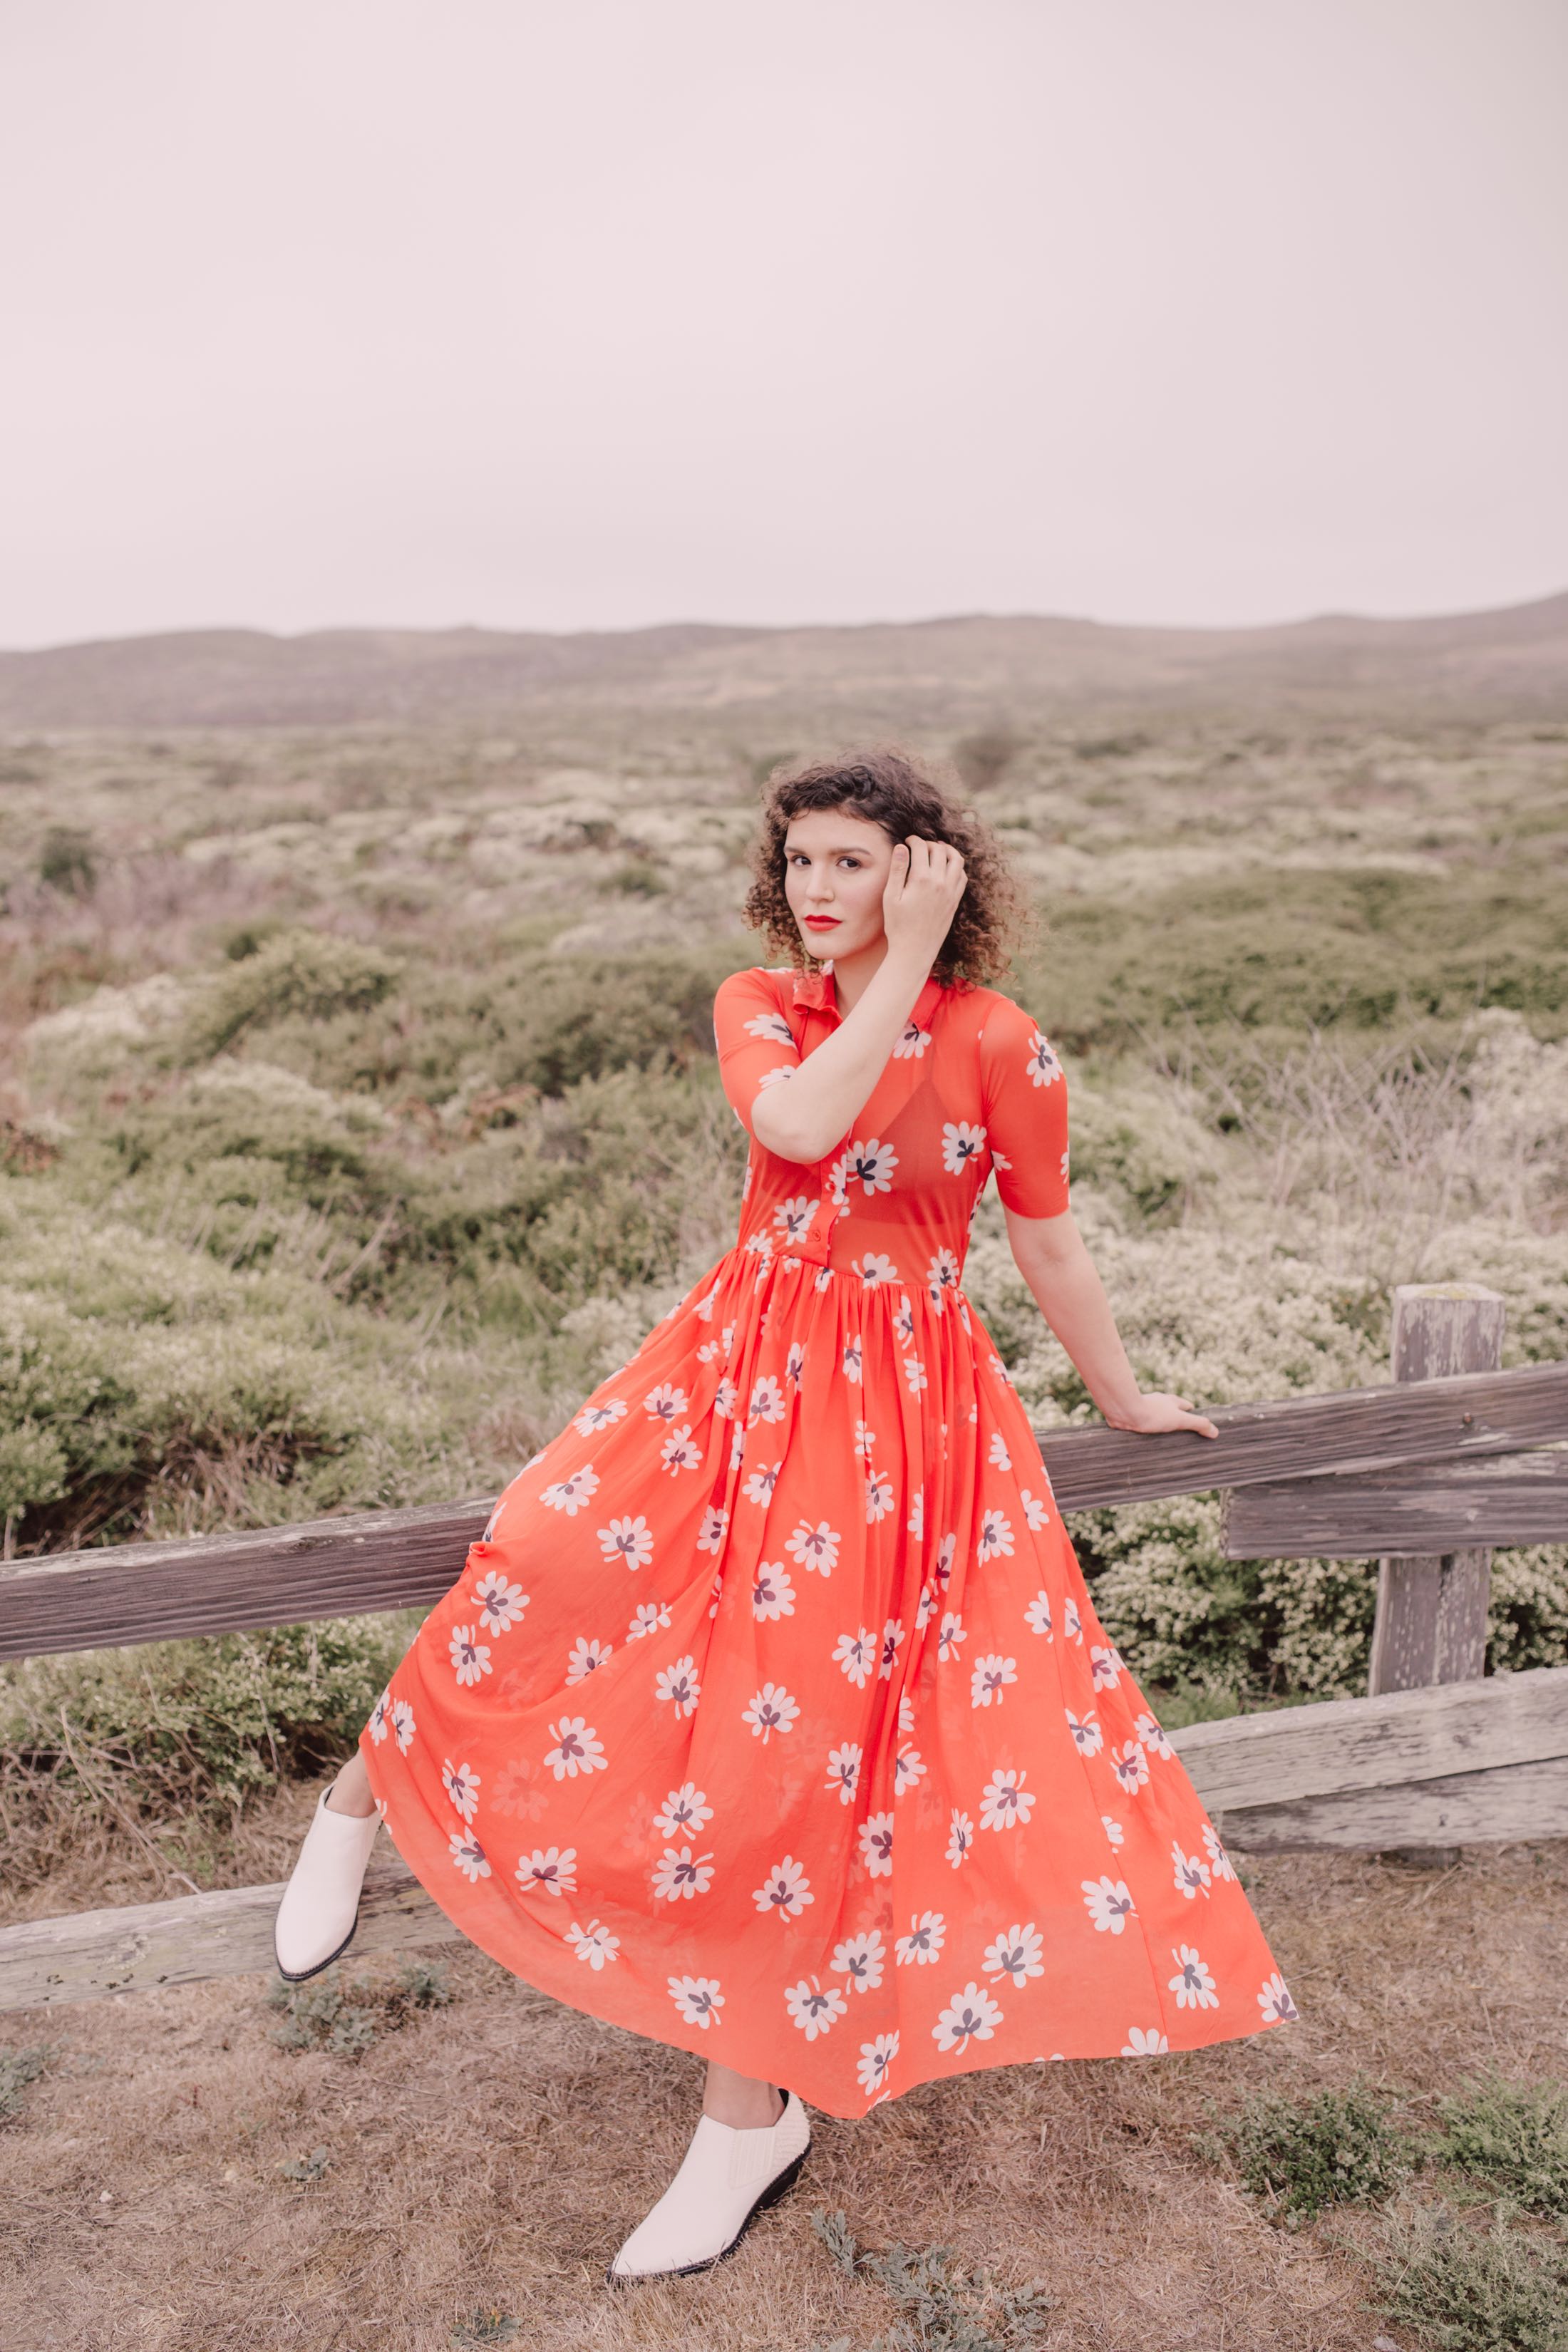
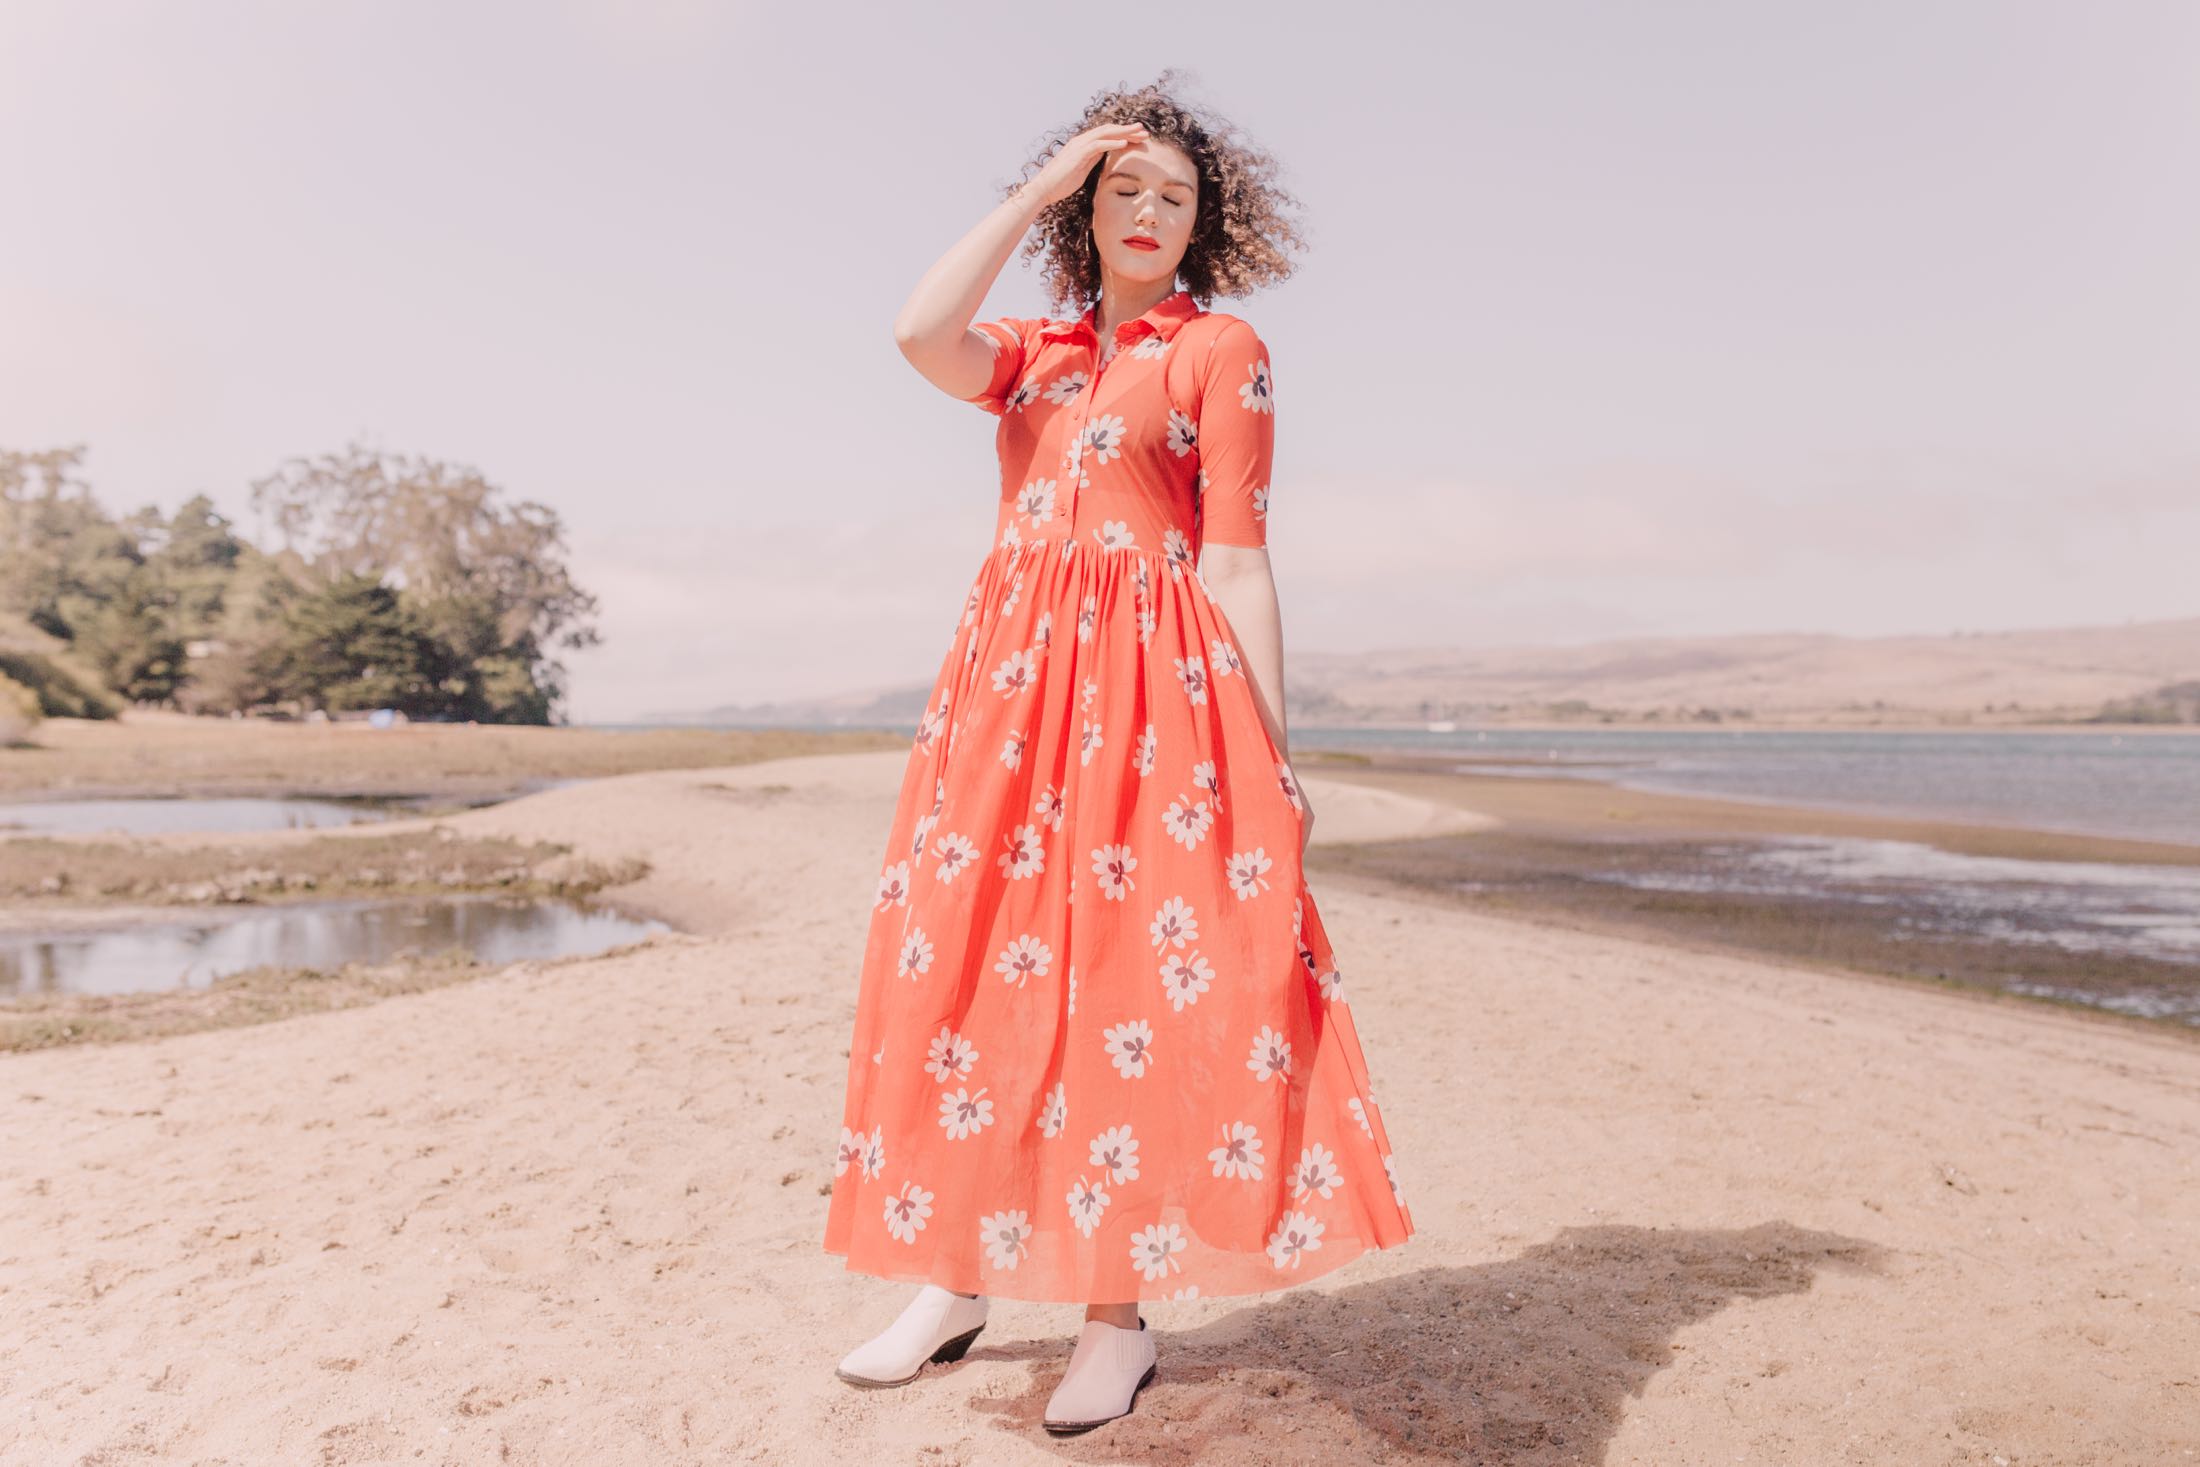
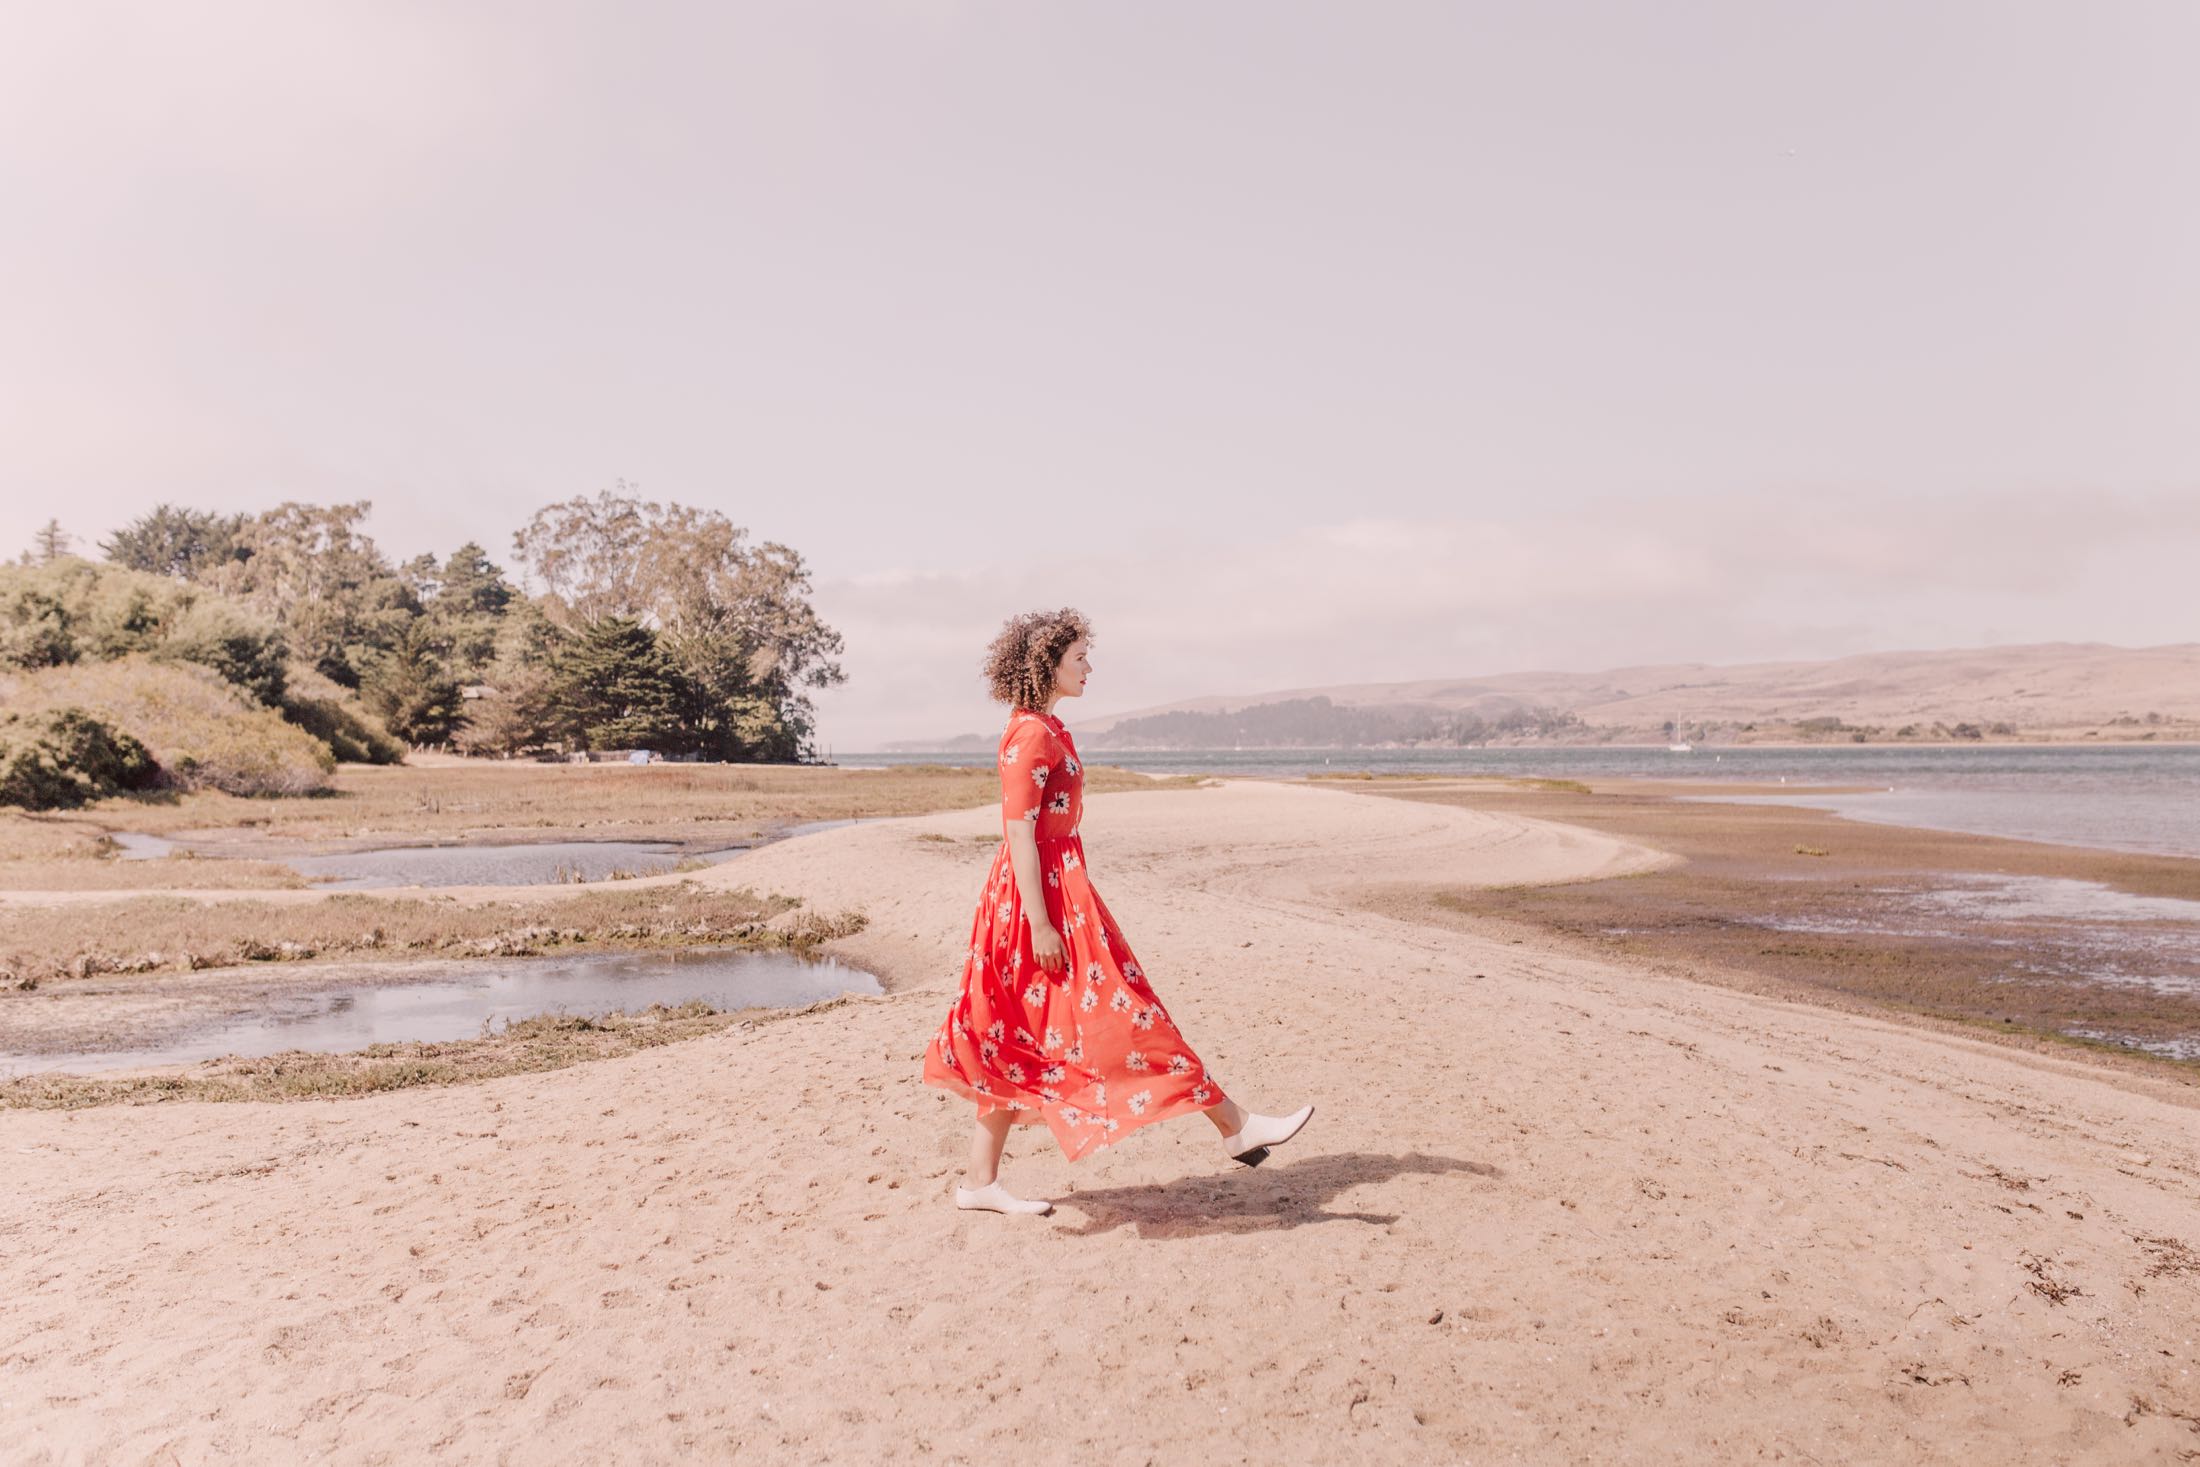
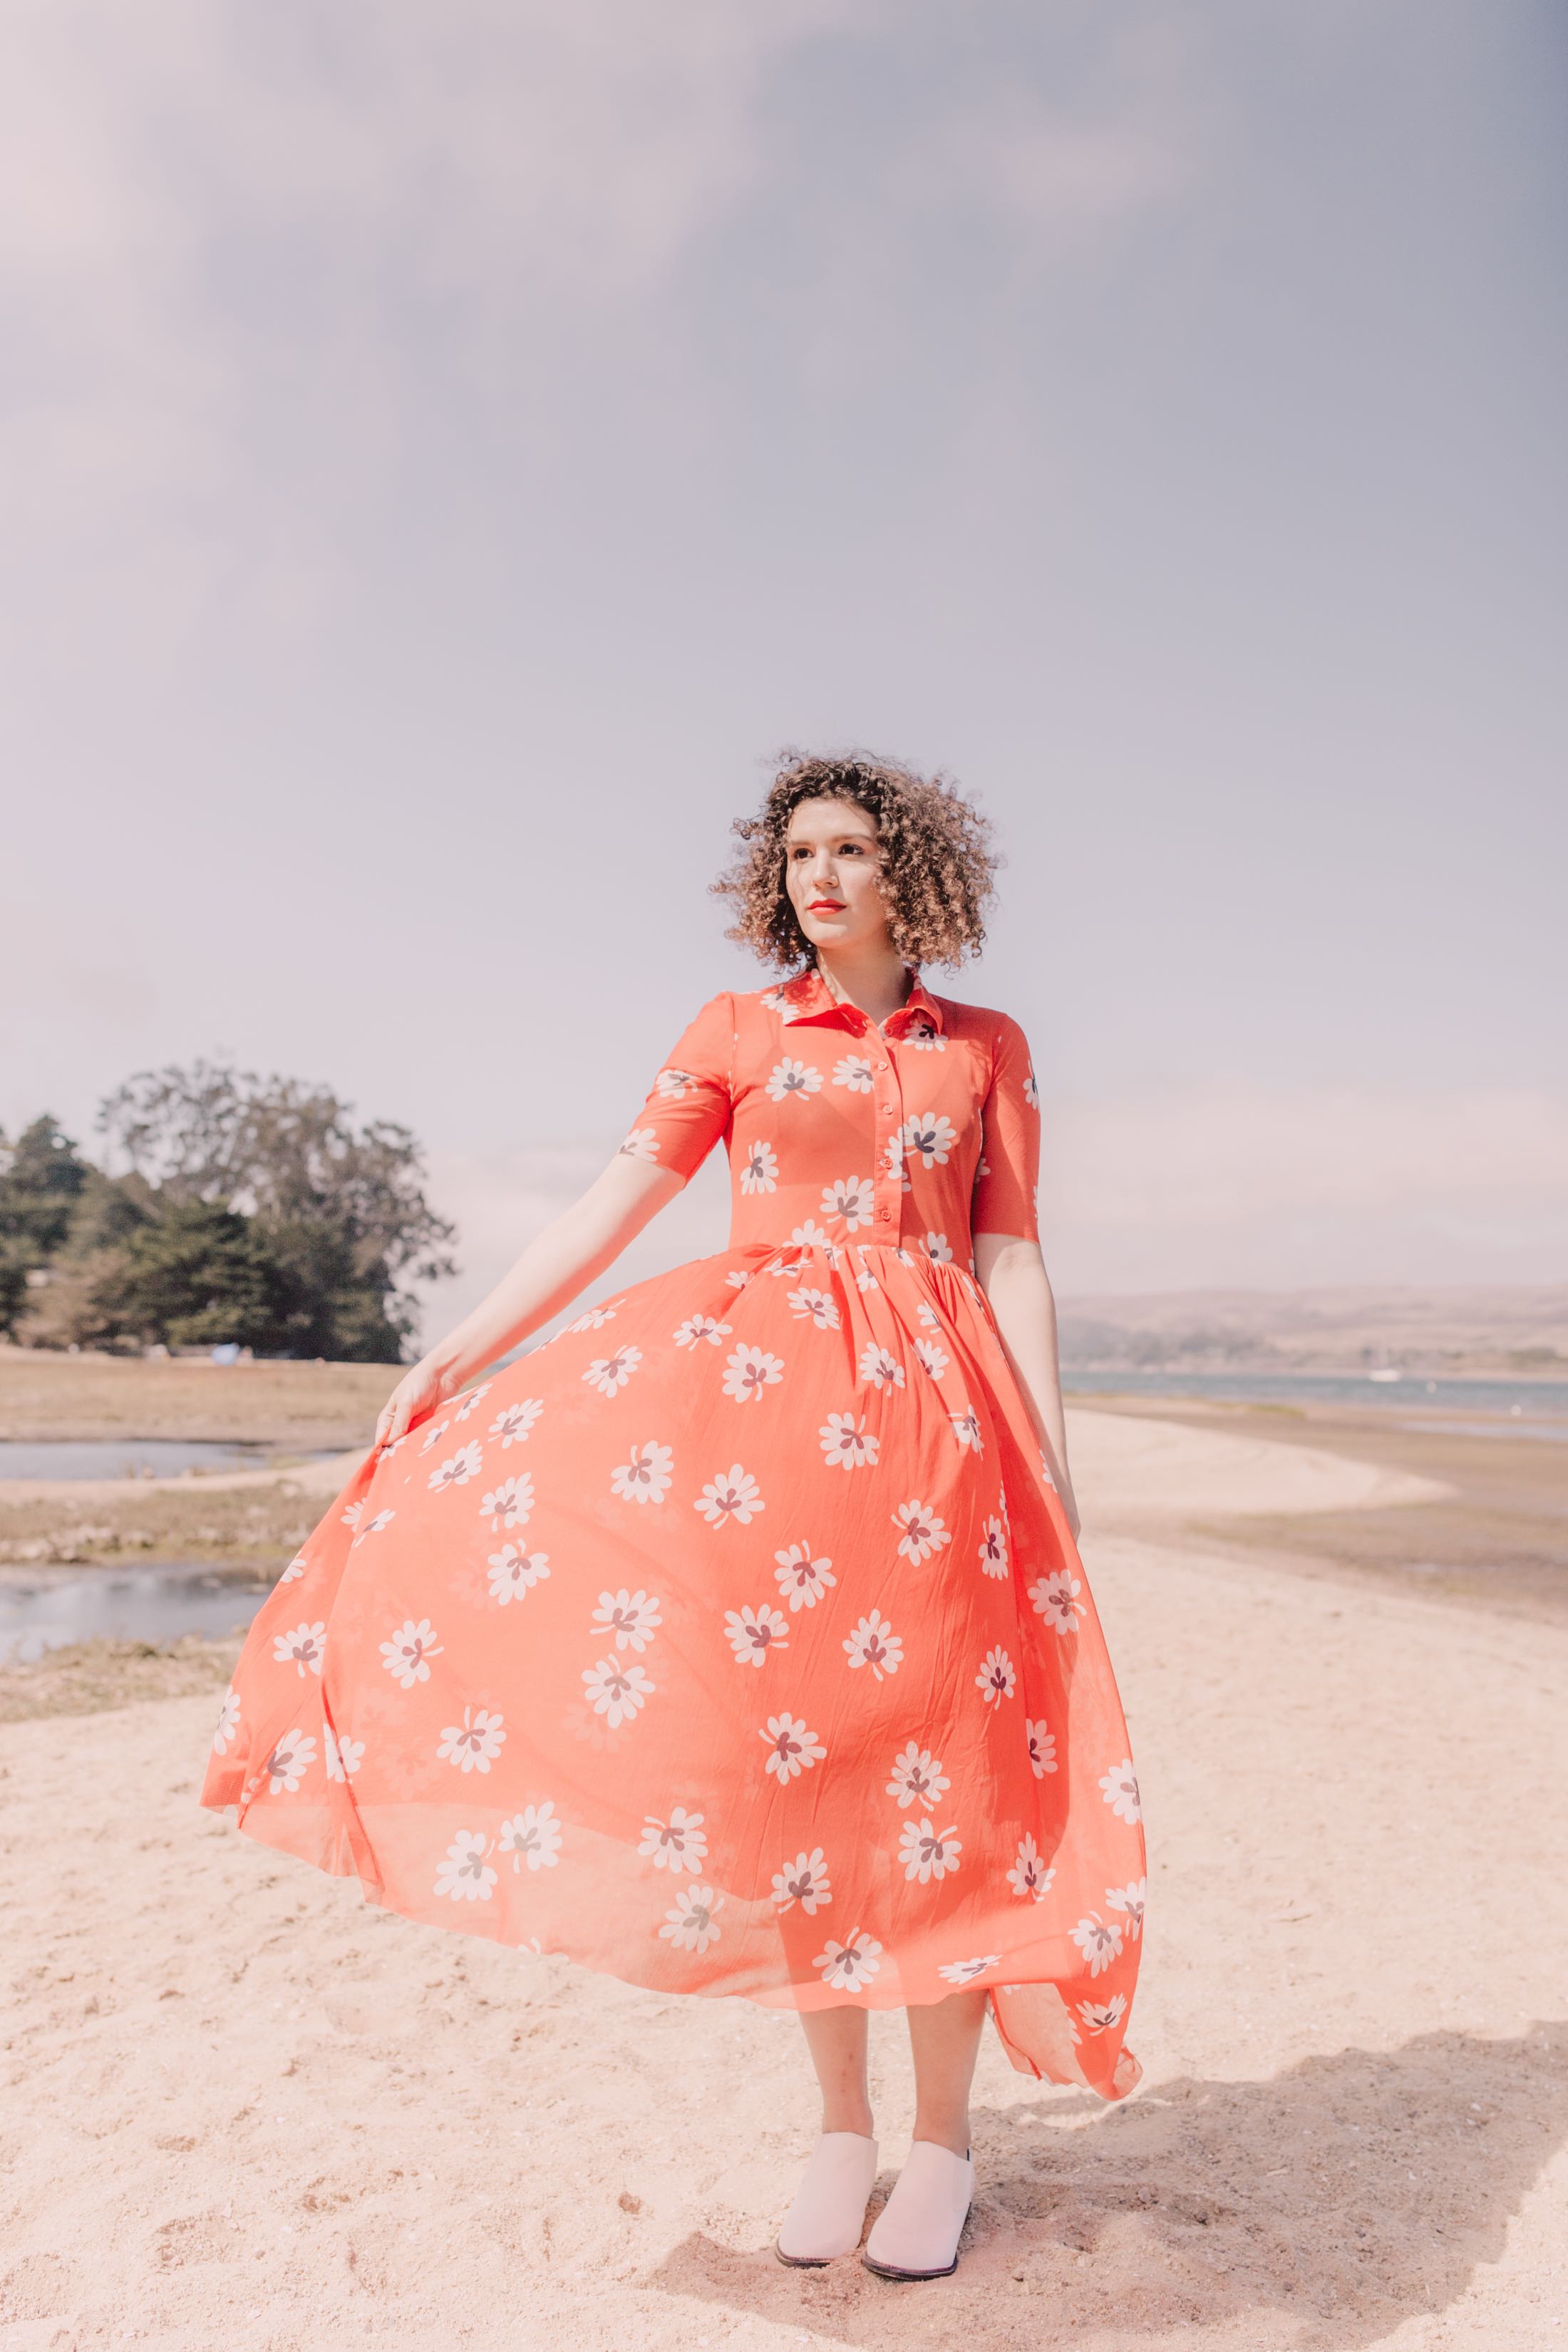
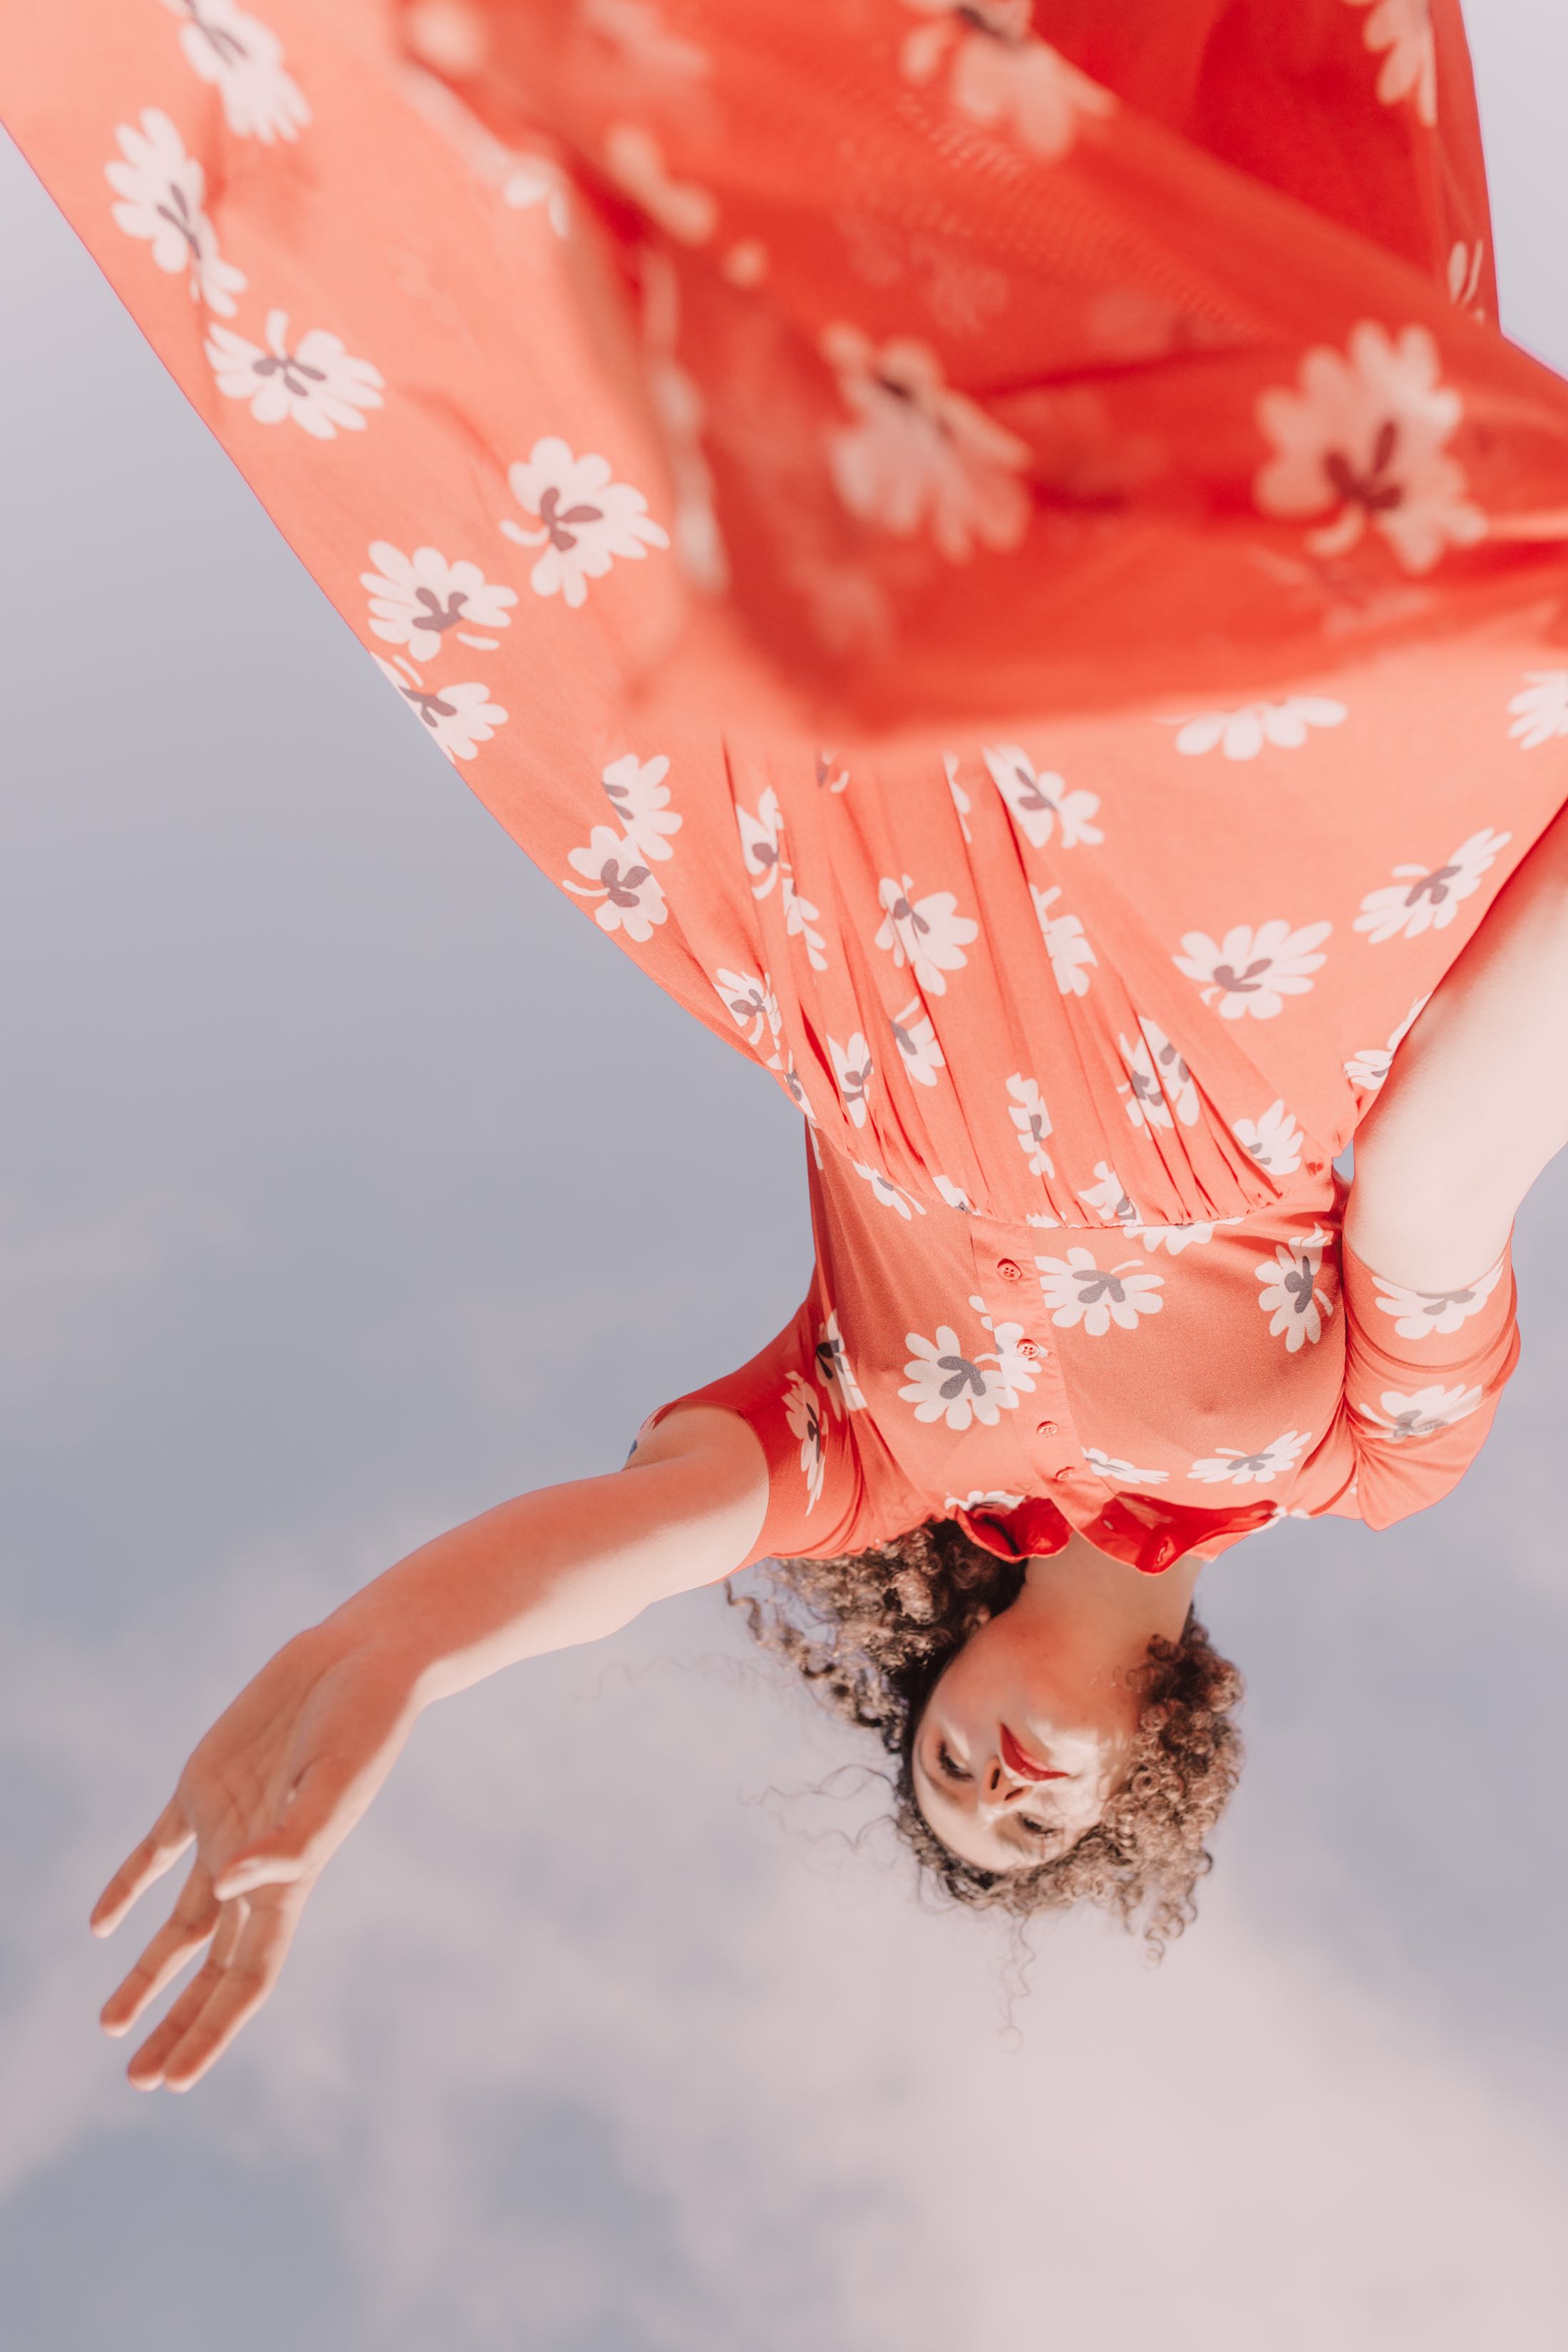
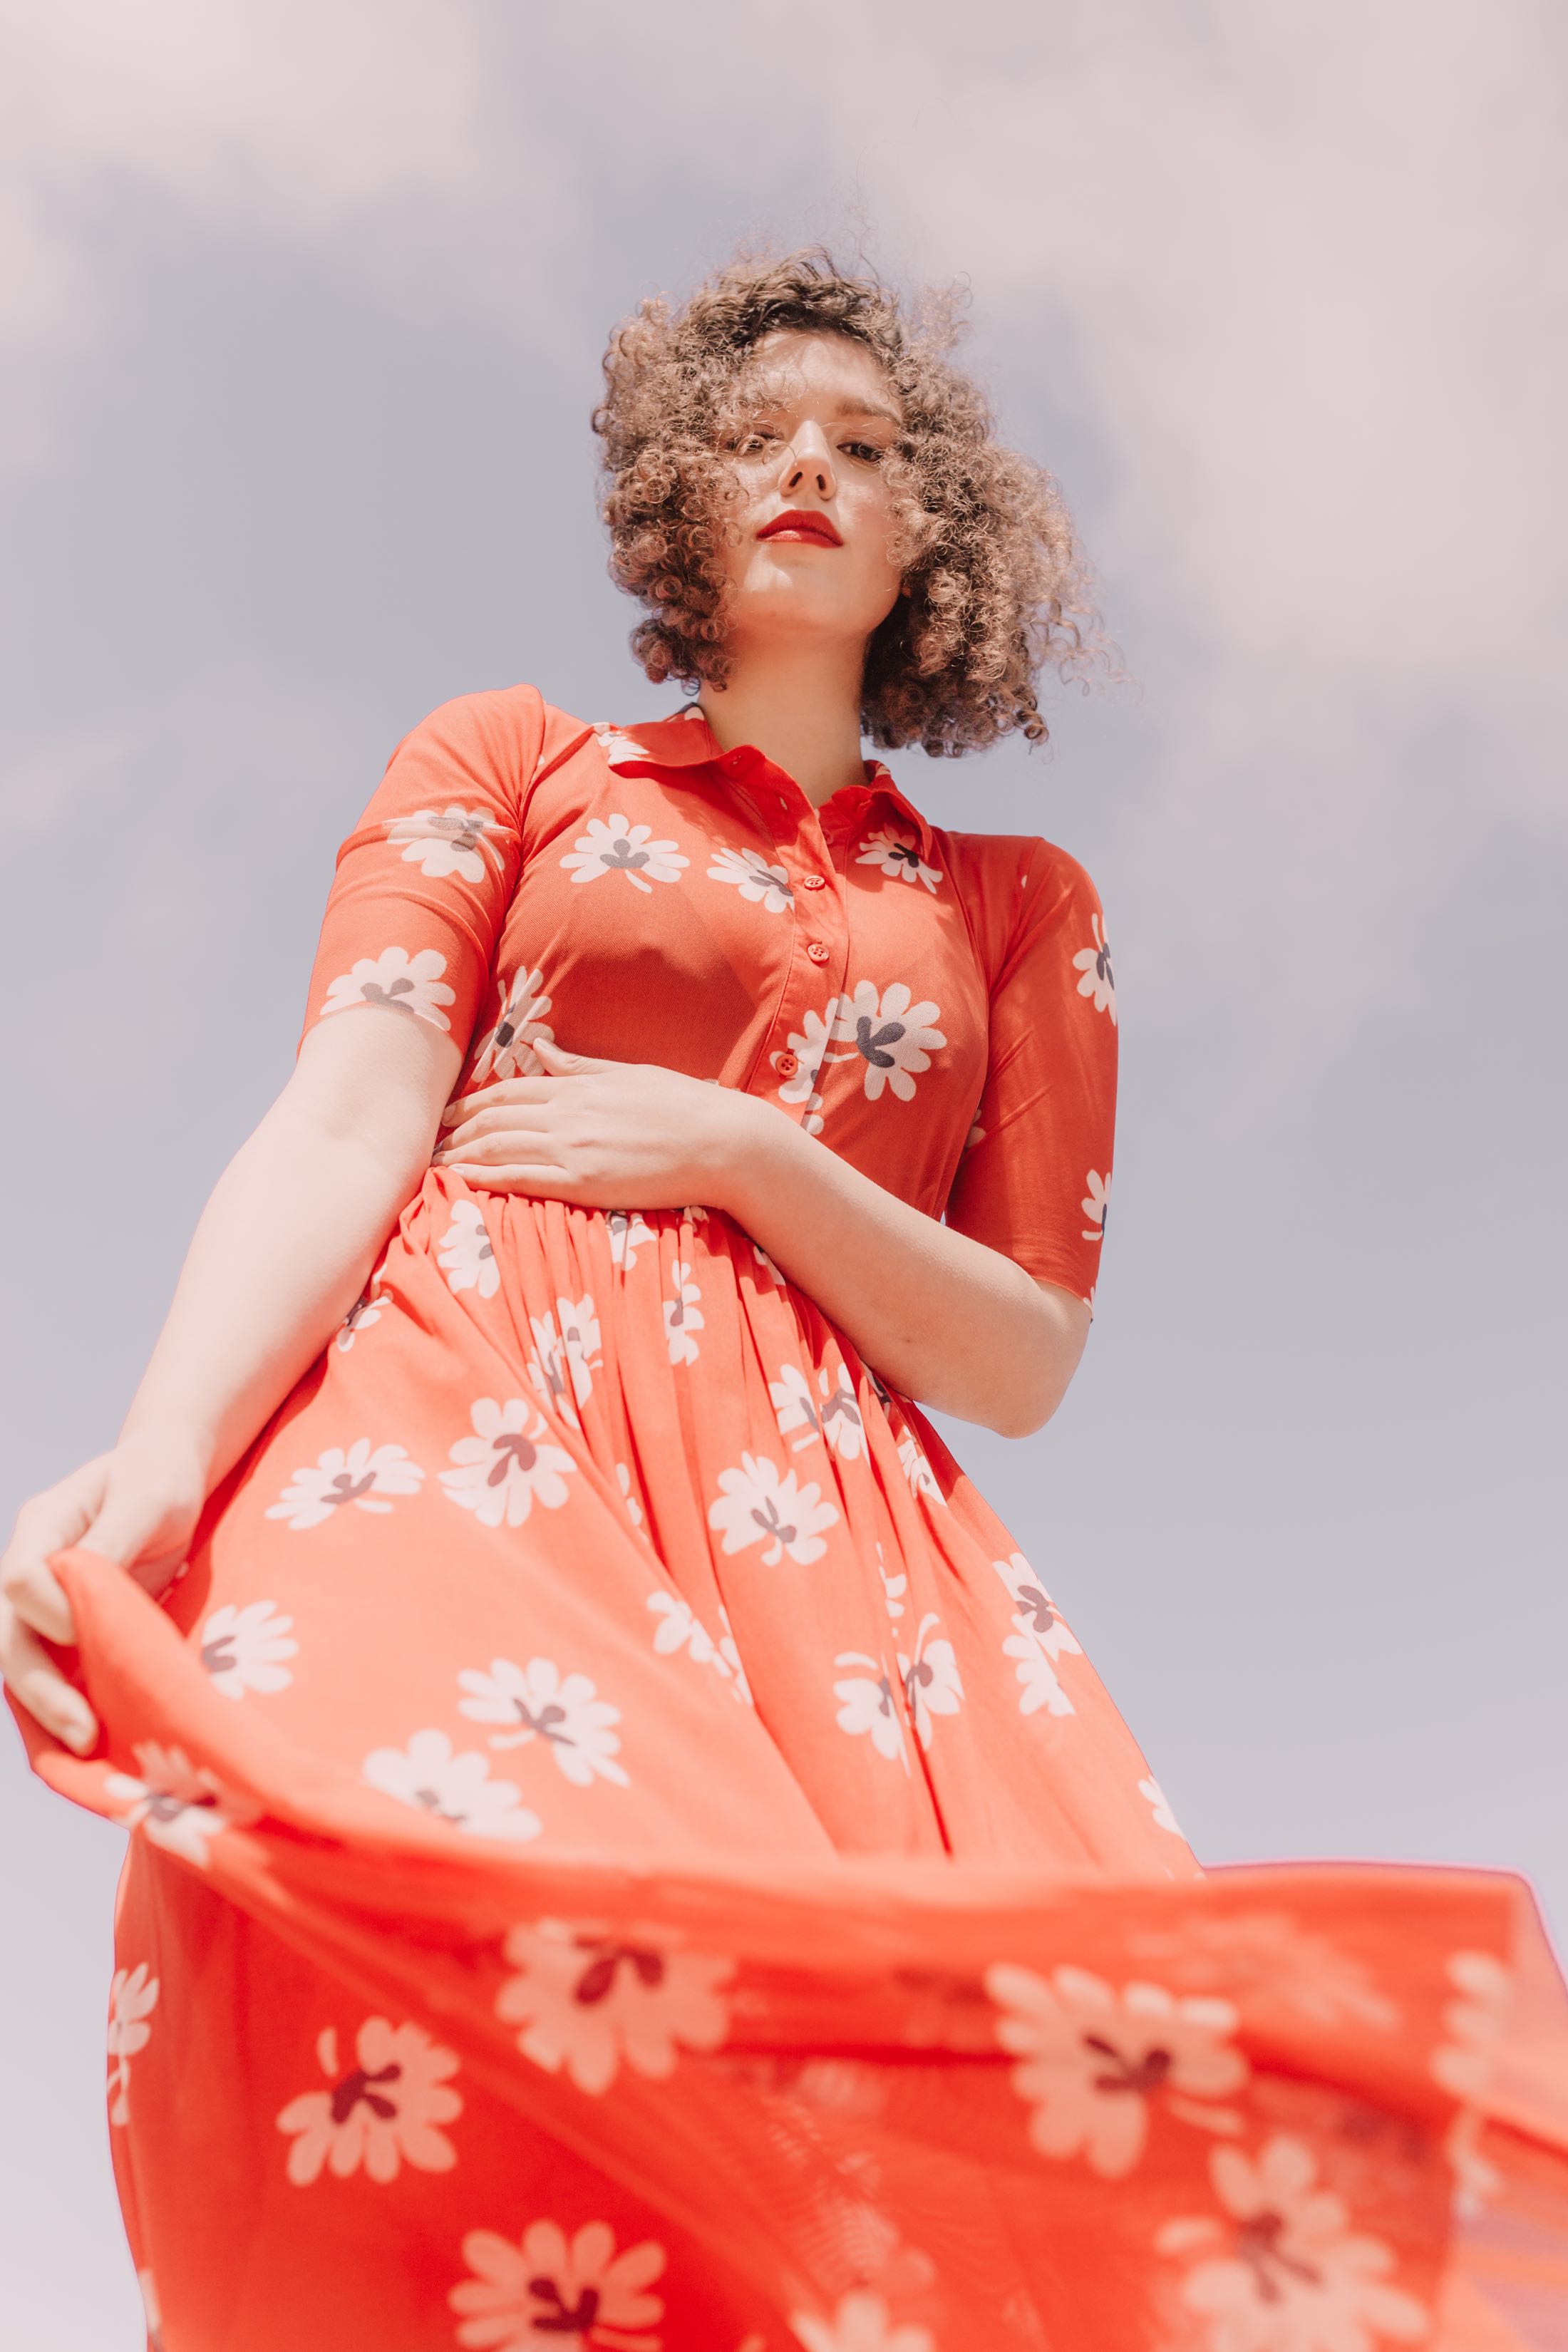
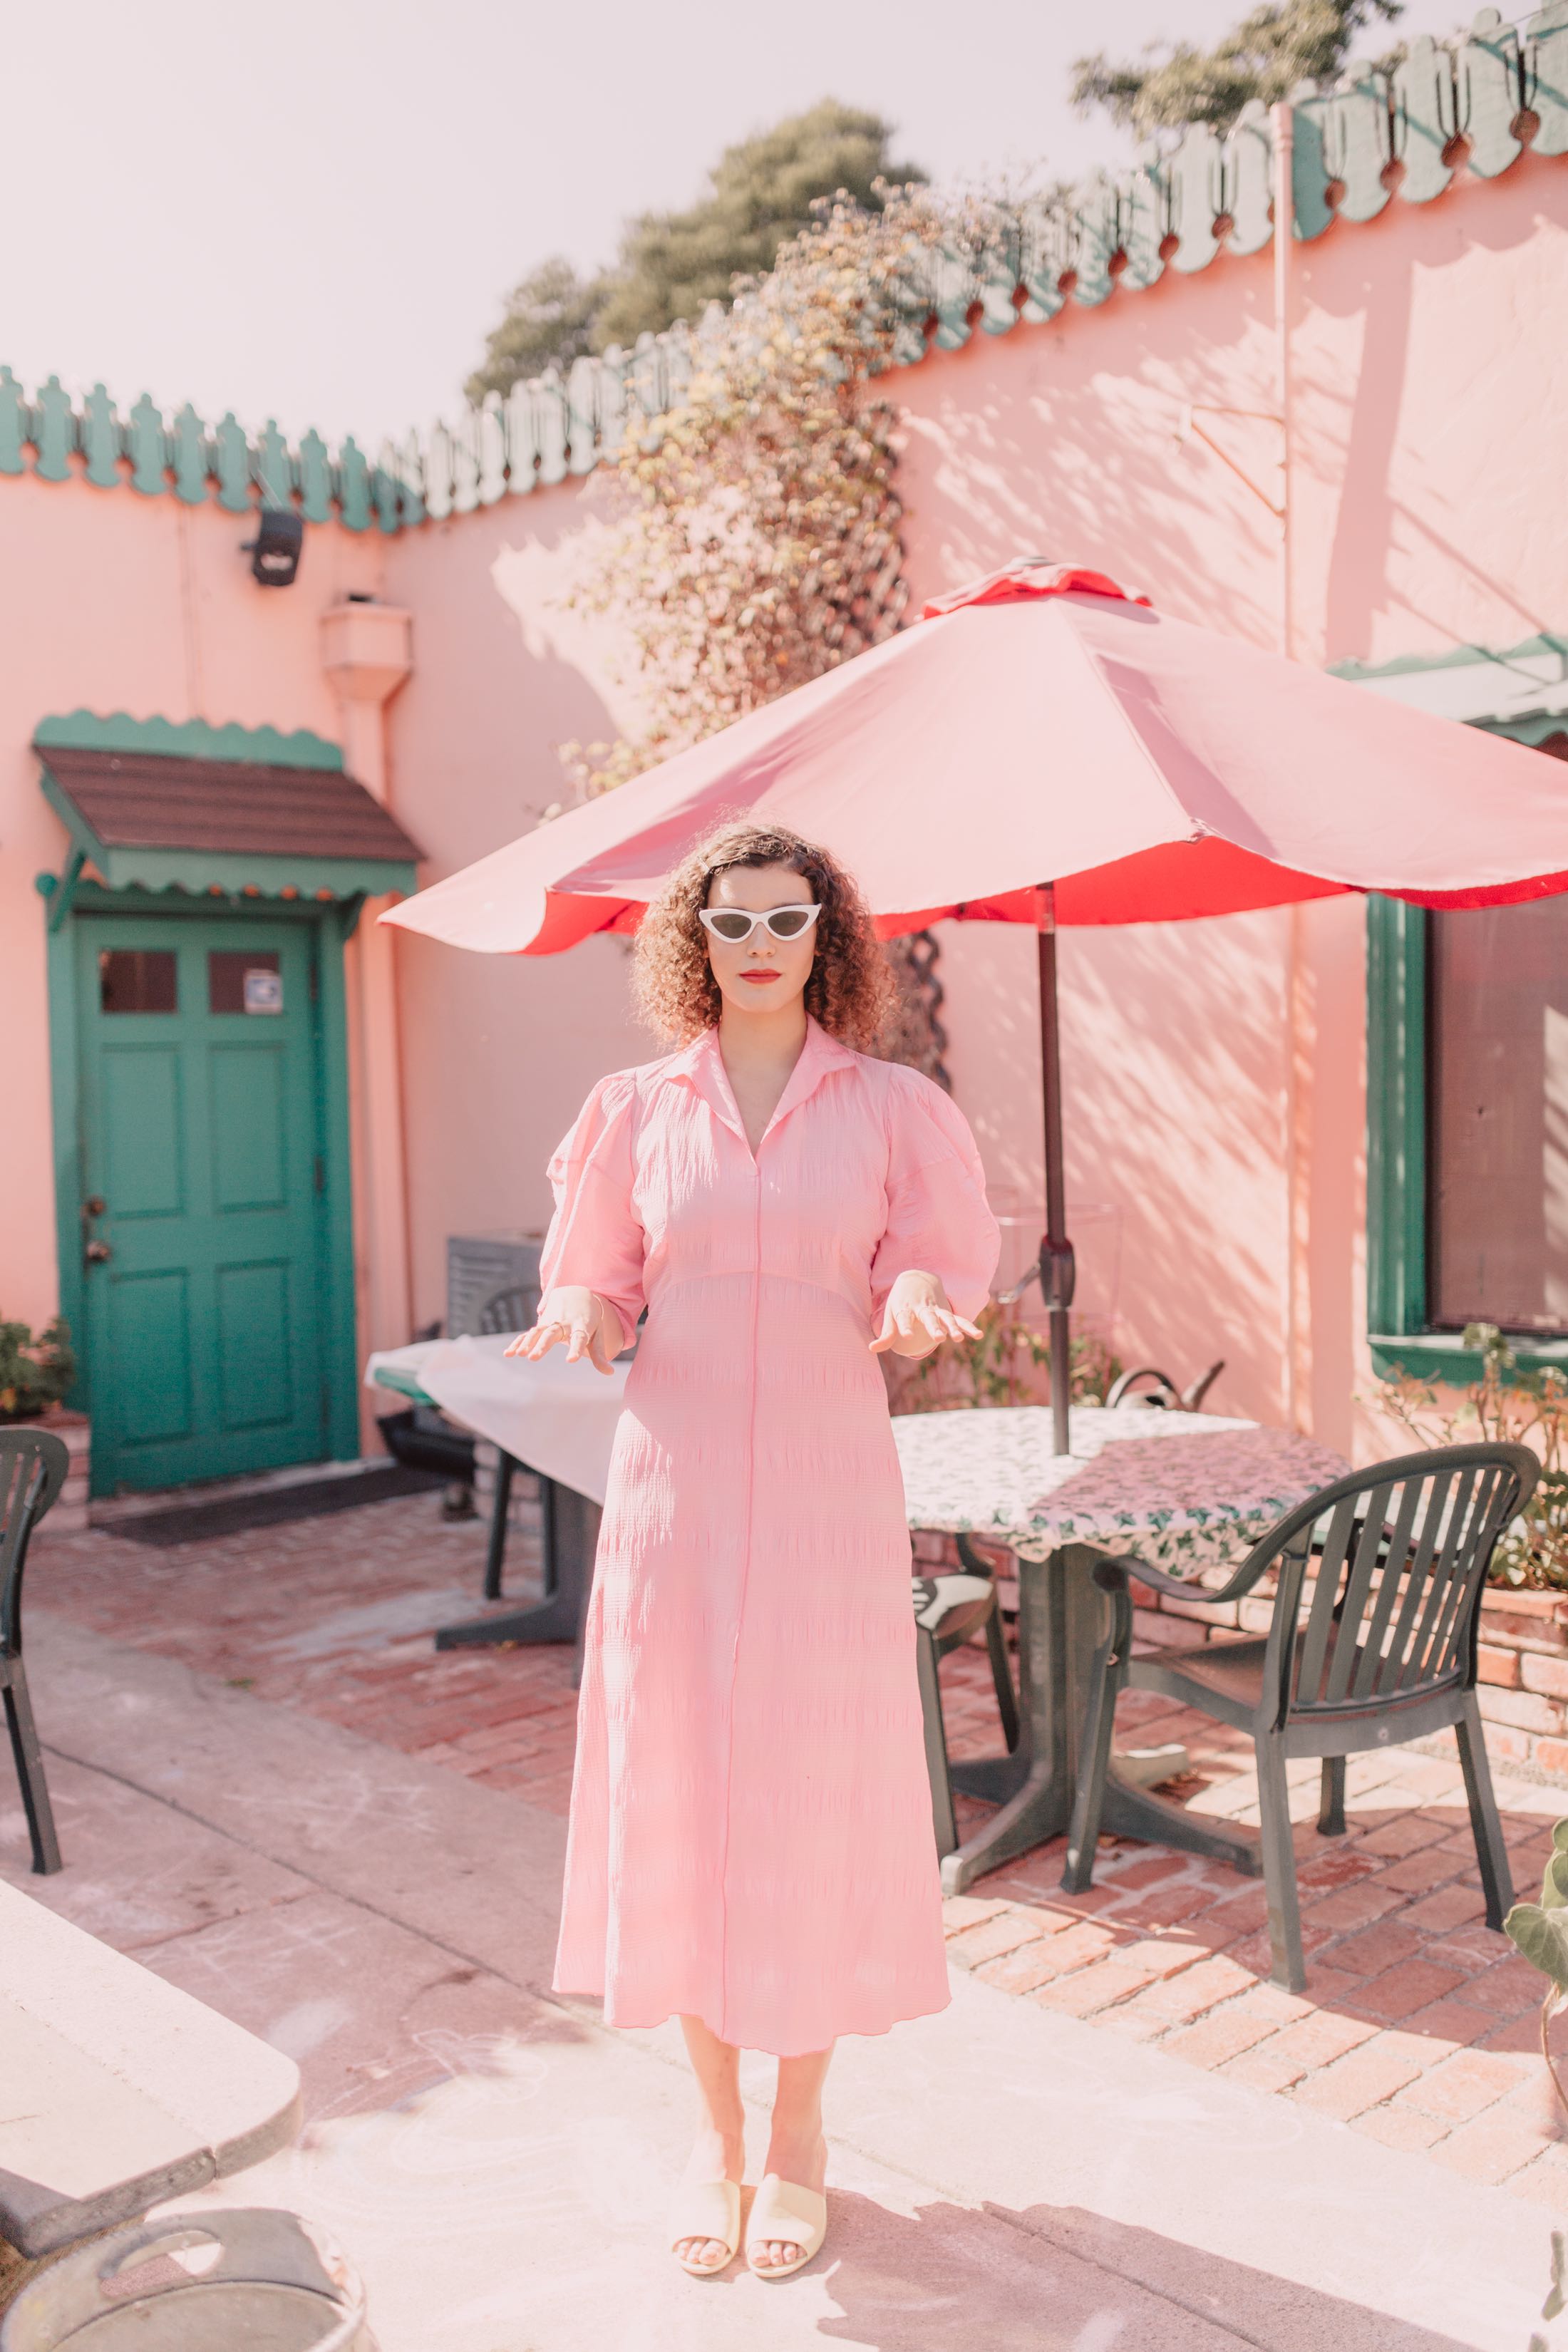
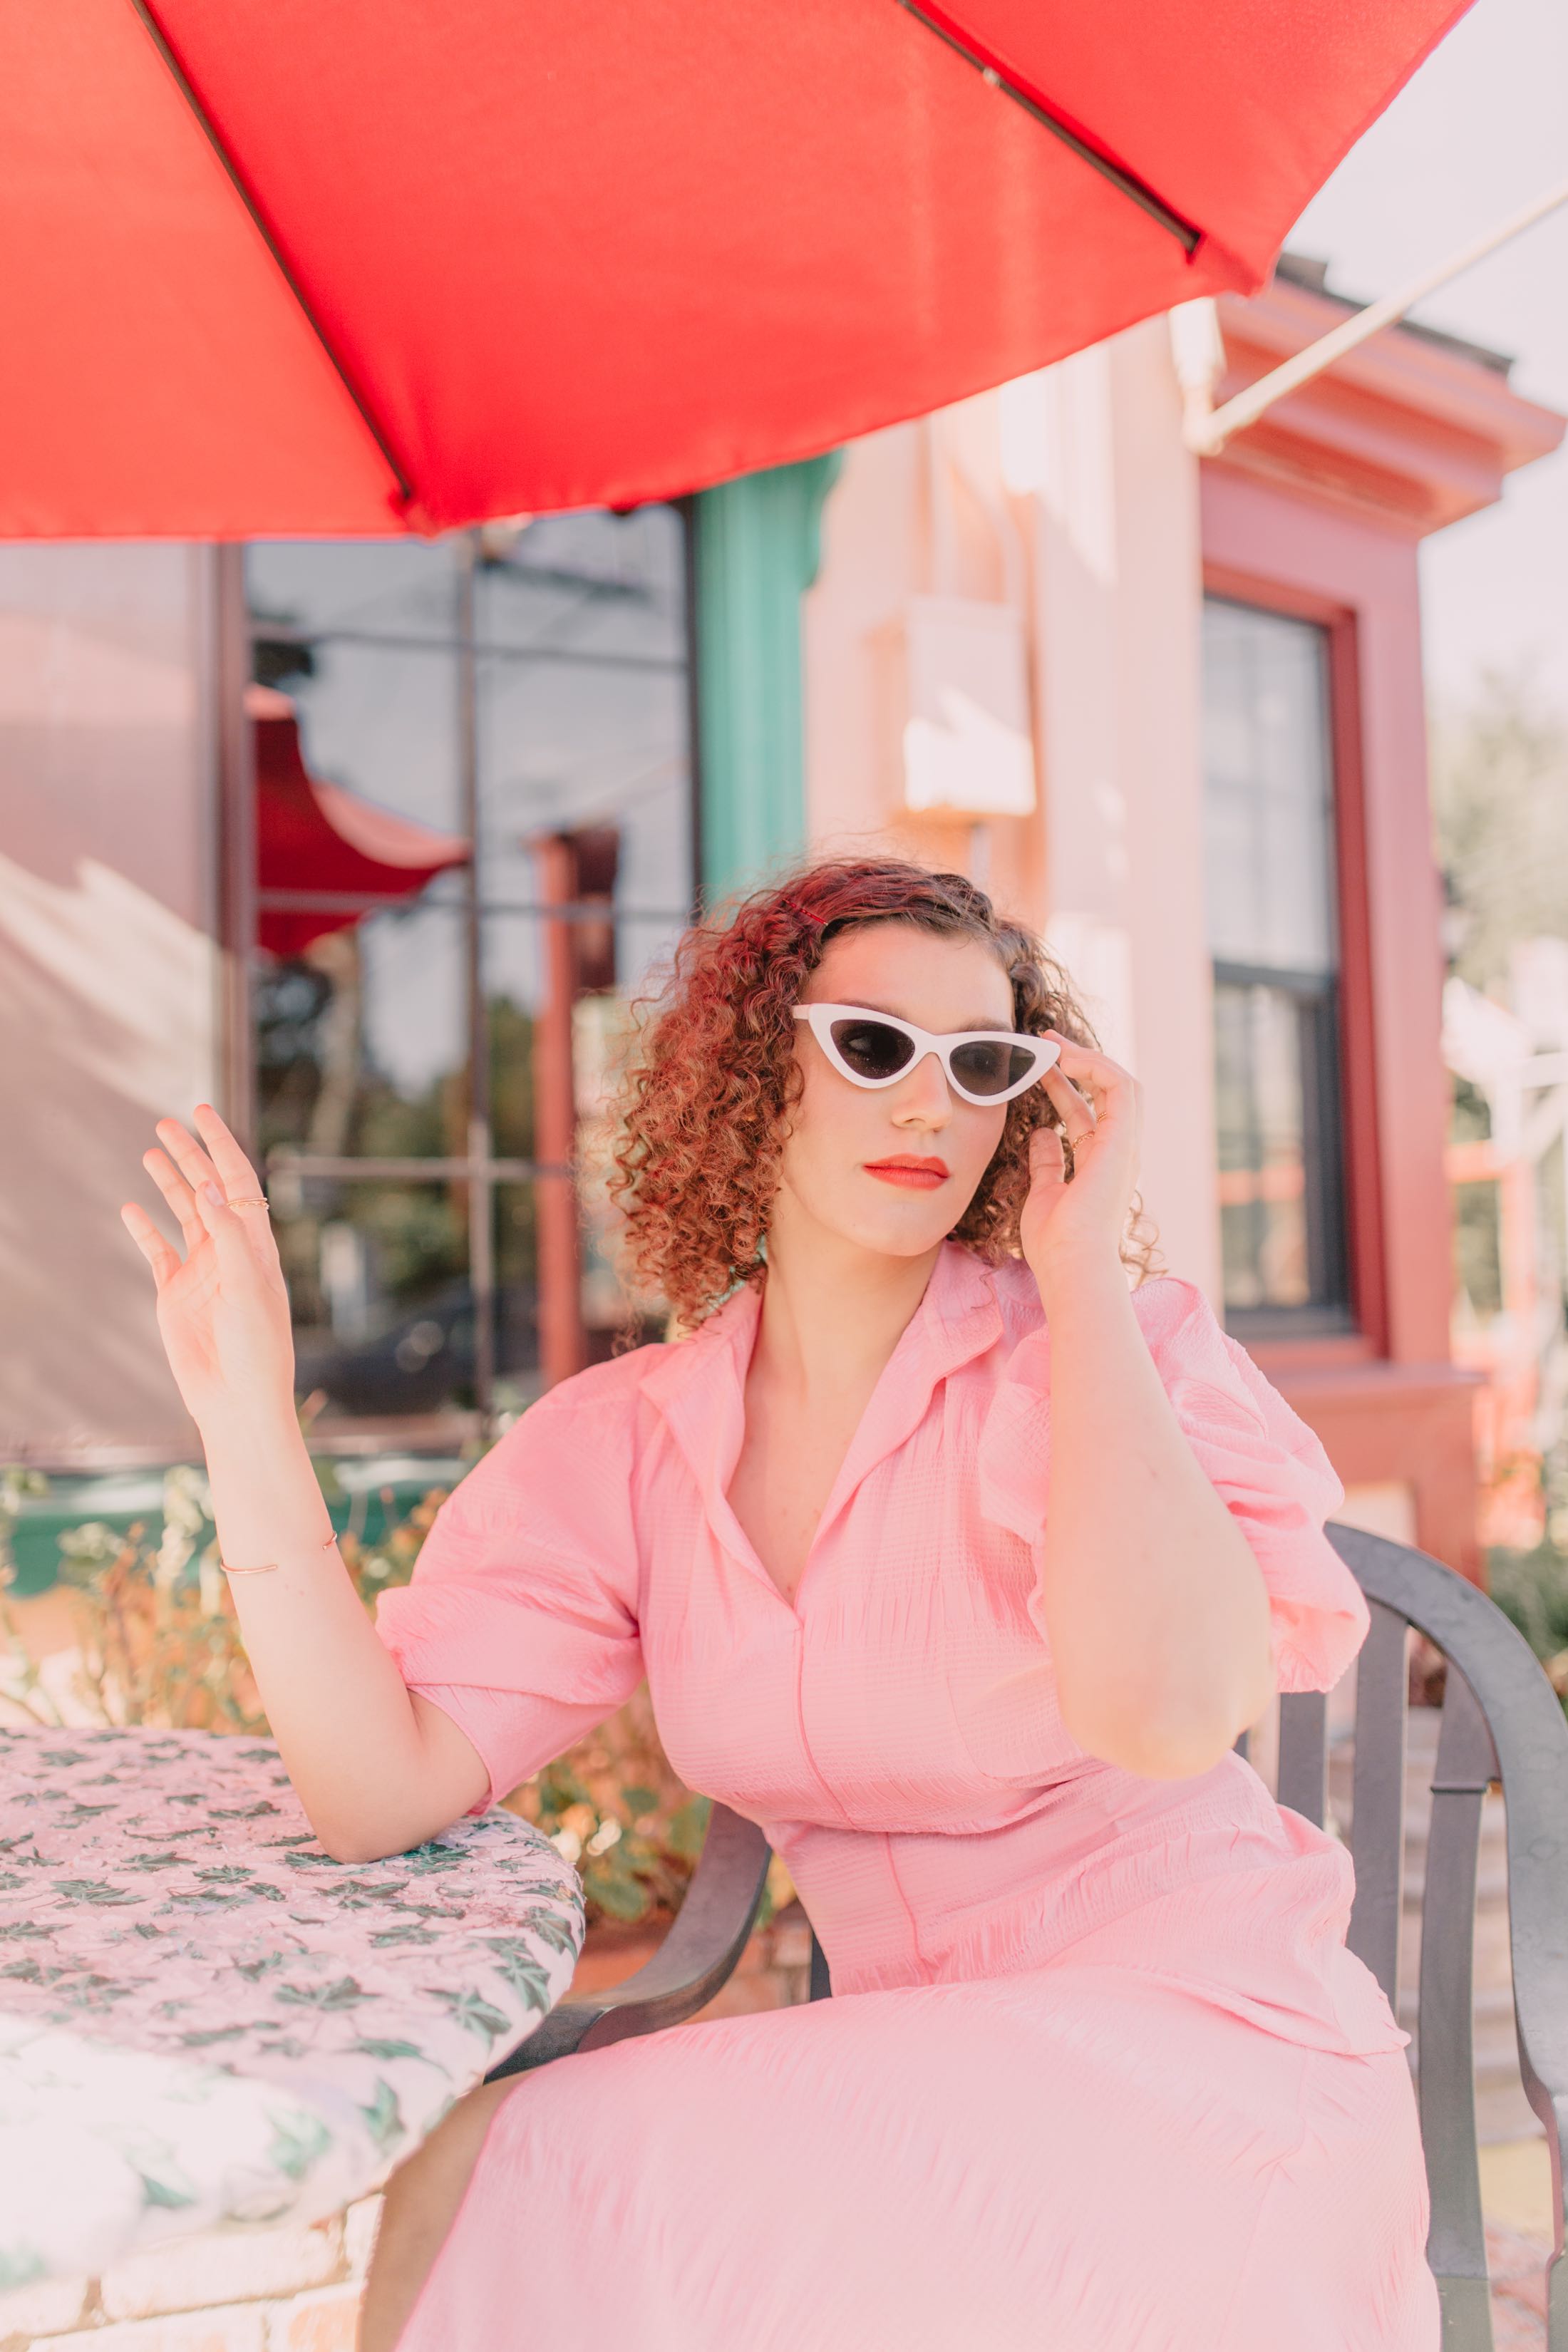
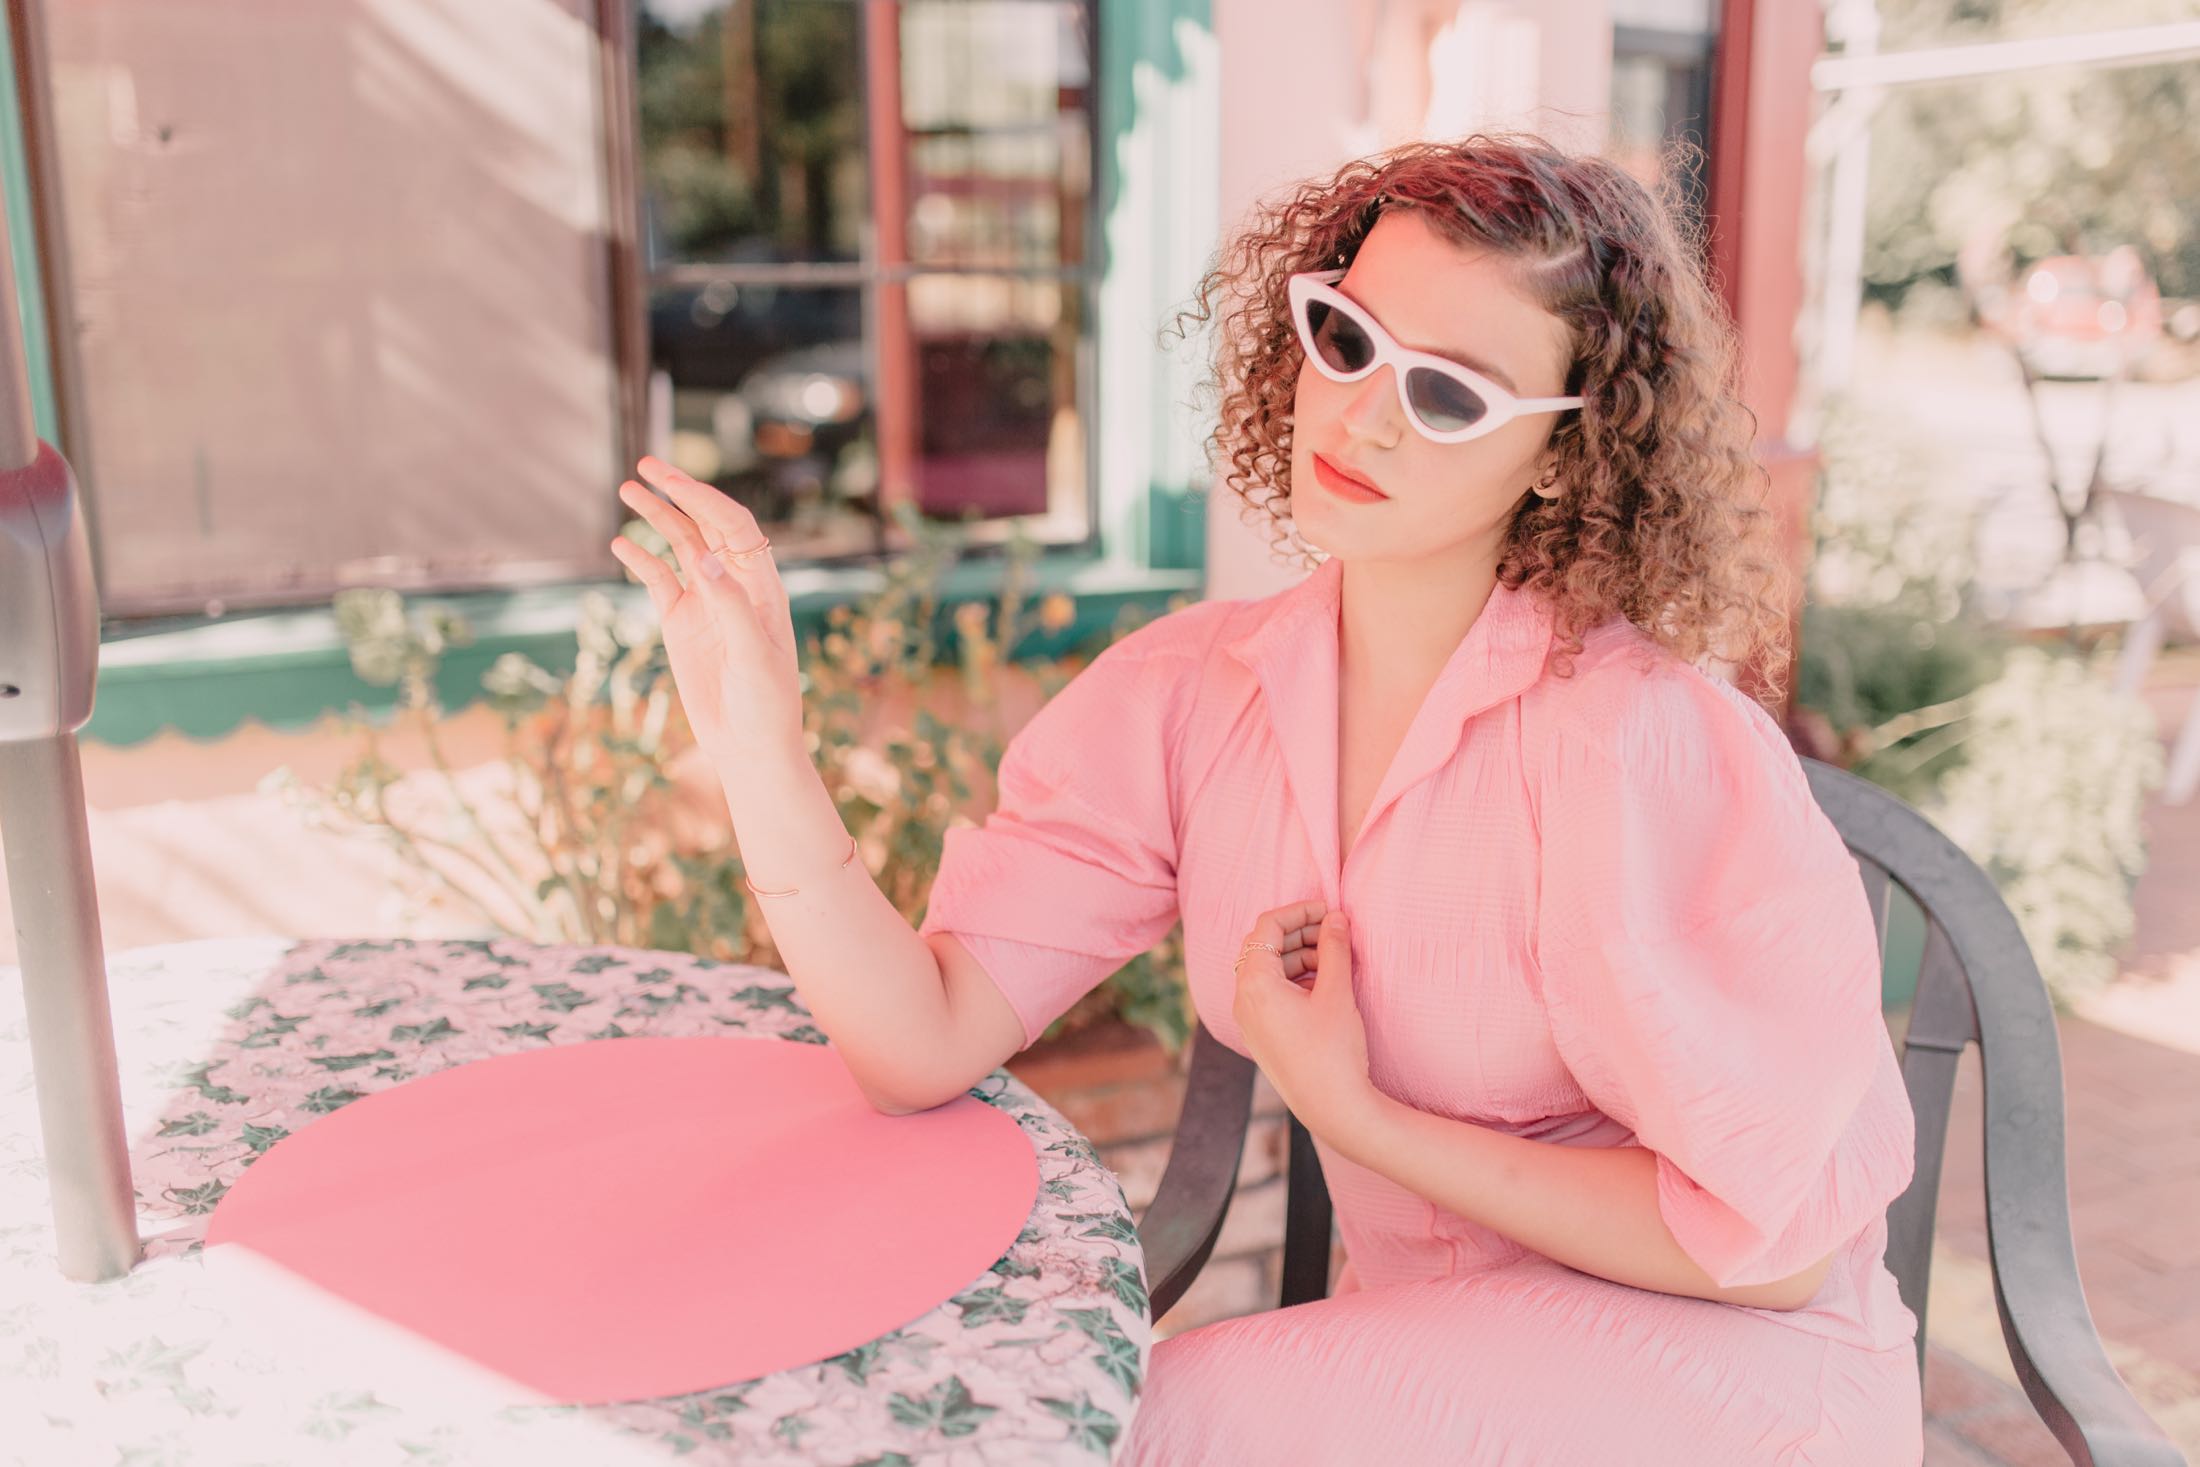
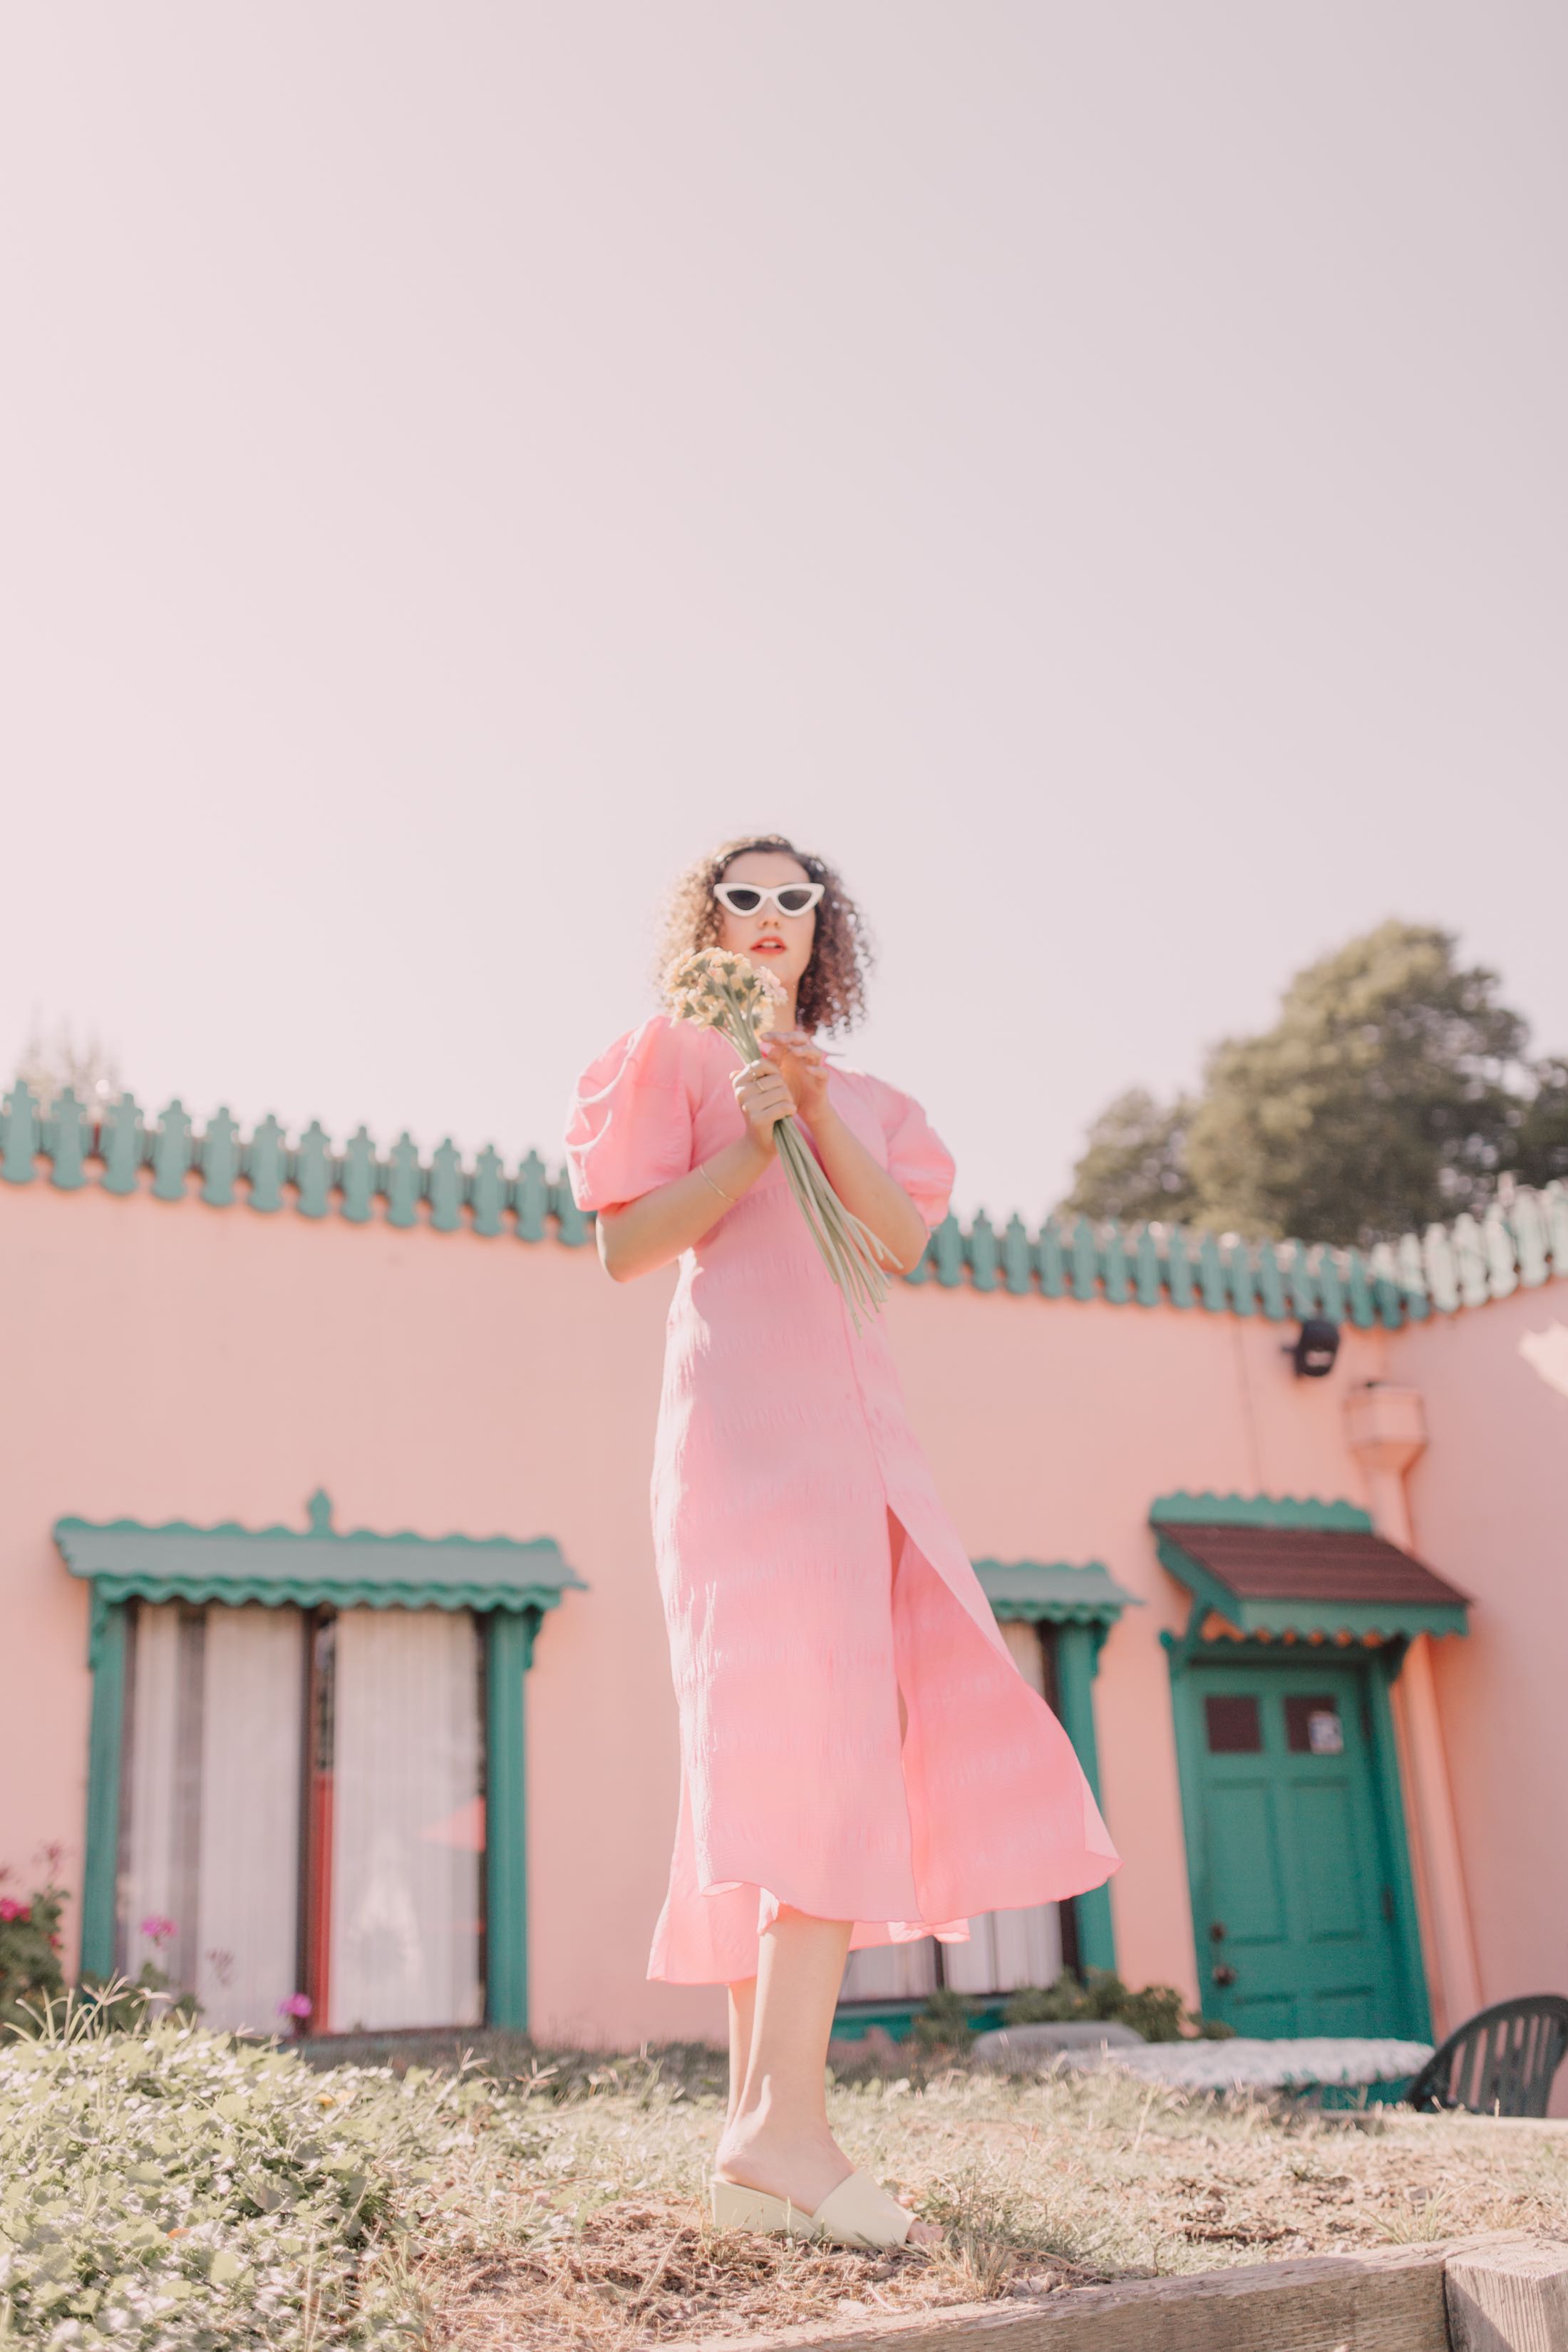

Wandering the Alfama with Analicia. March 2018.
Read More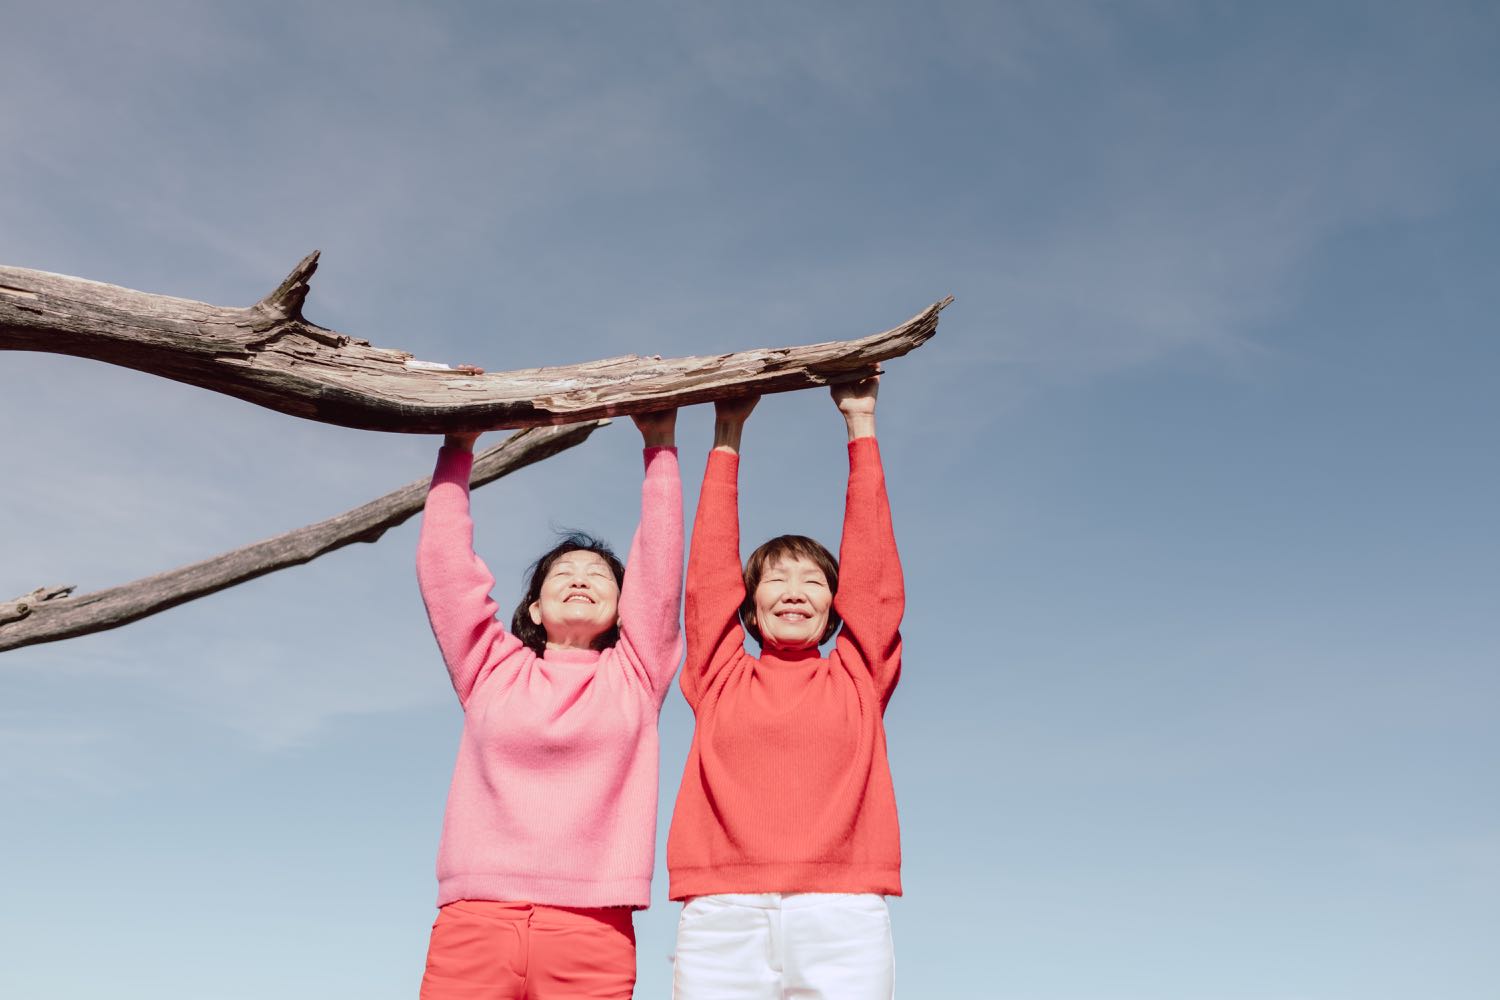
Lyubov & Roza in San Francisco, California. Another addition to my “Old Friends” series.
Read More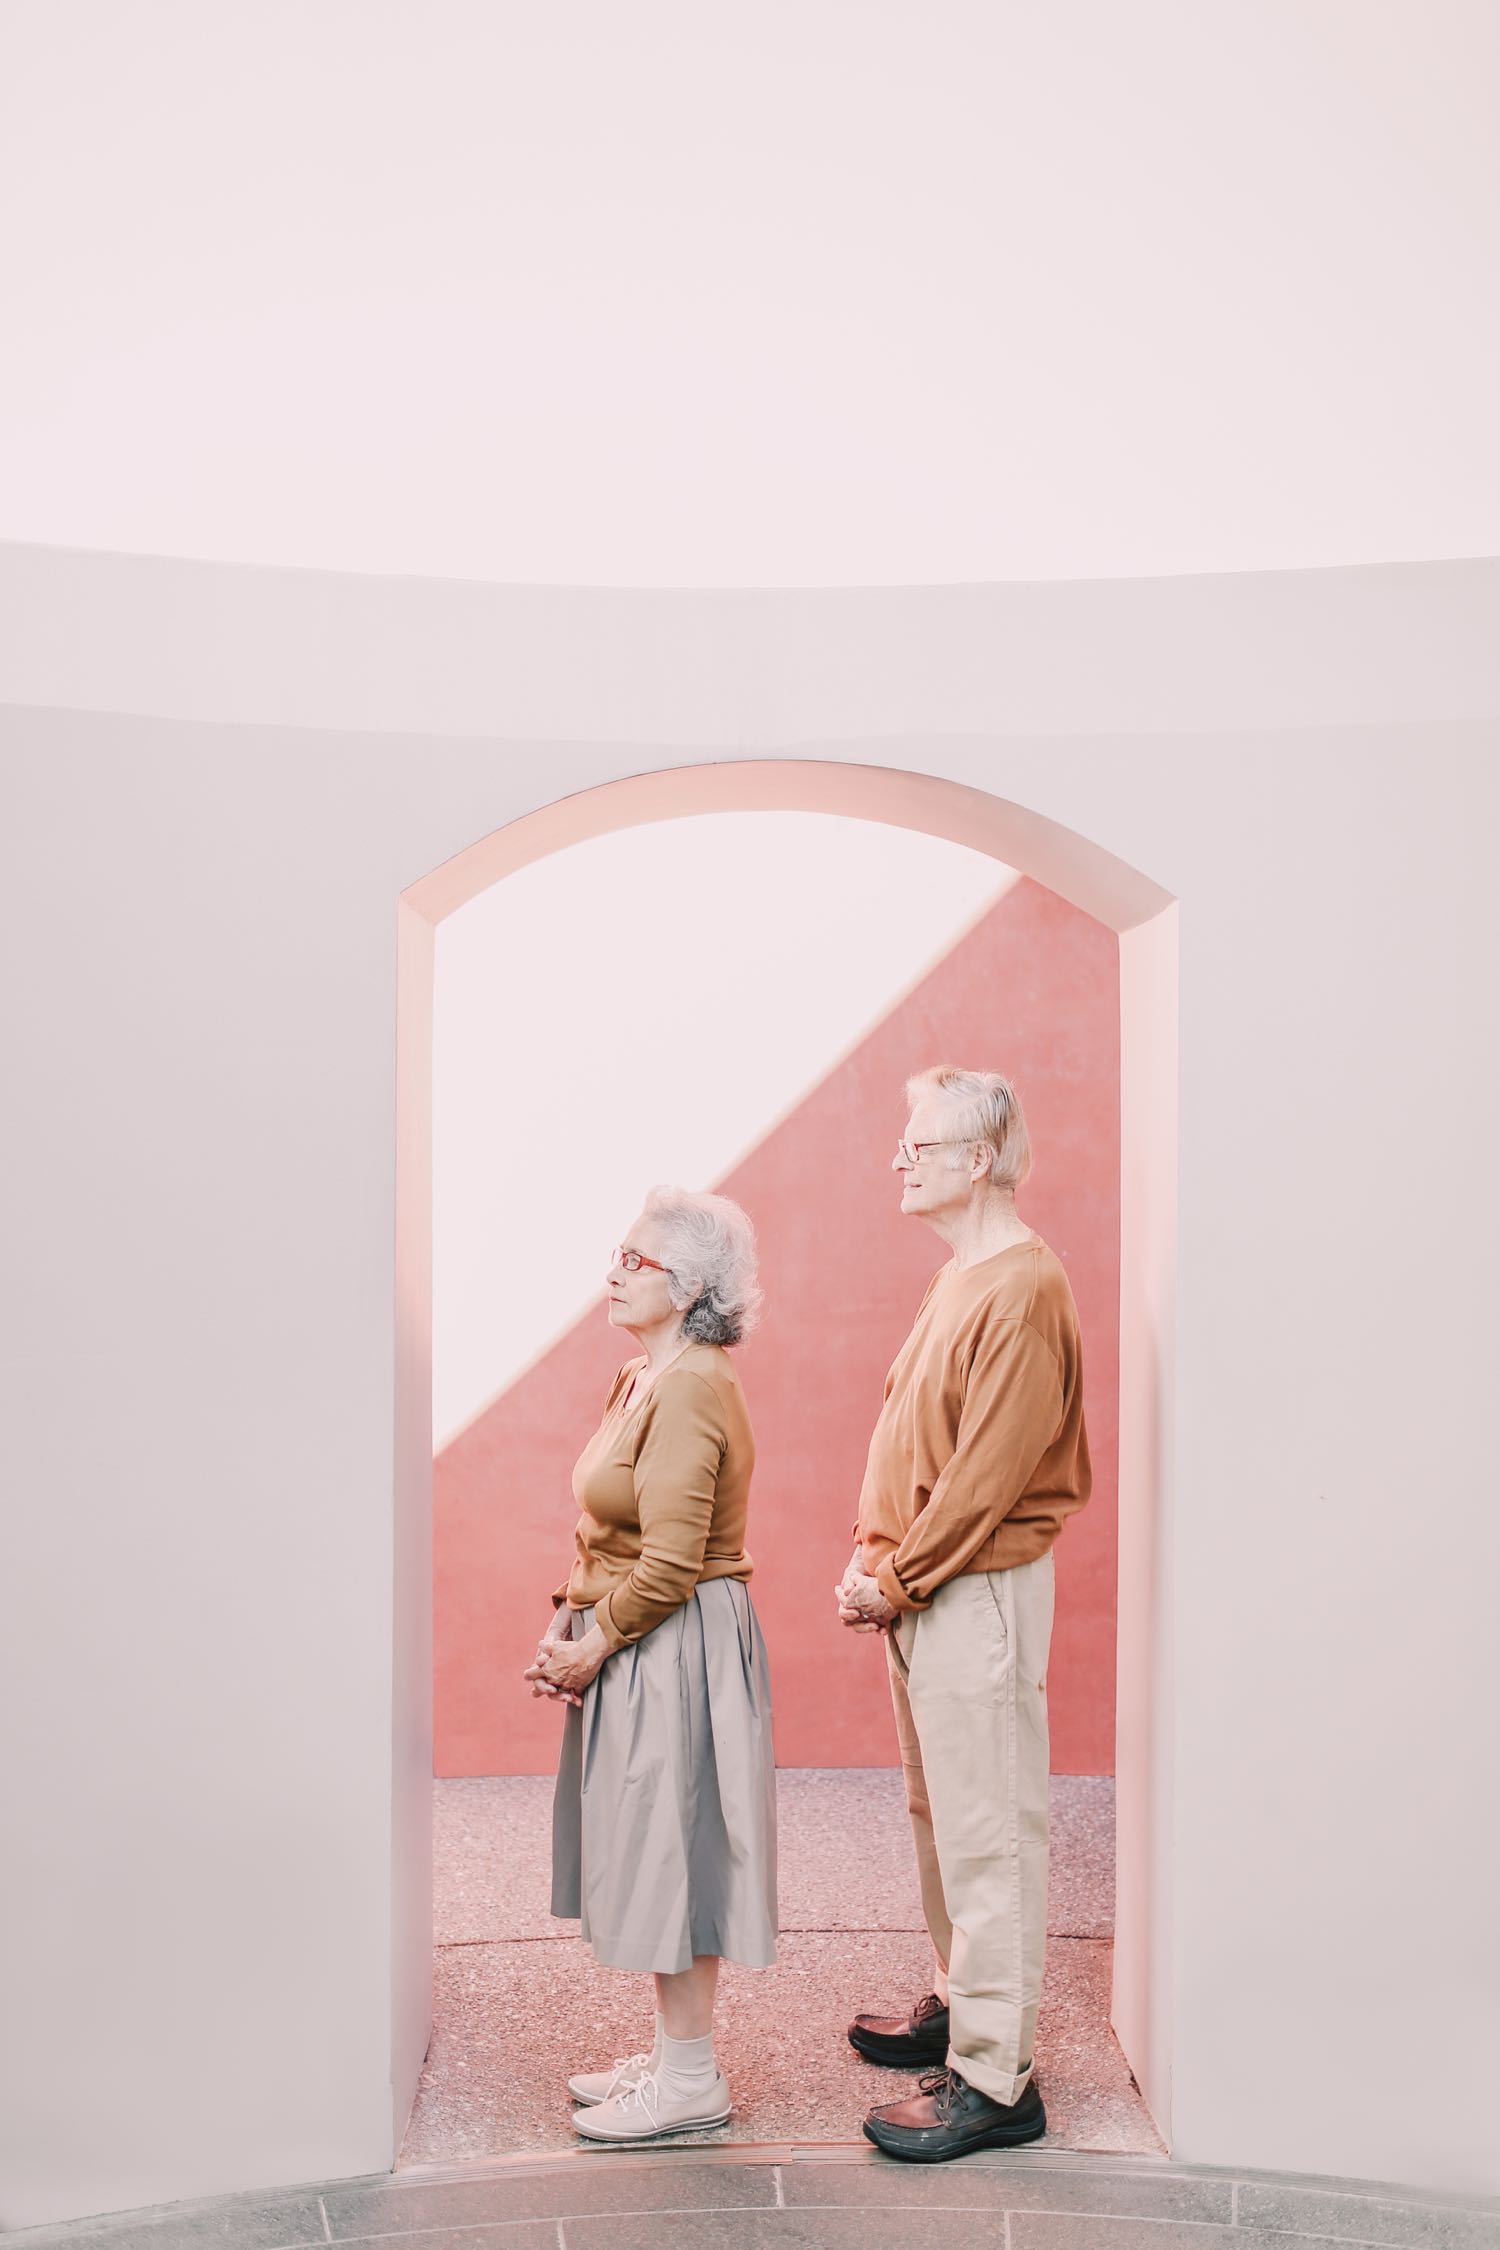
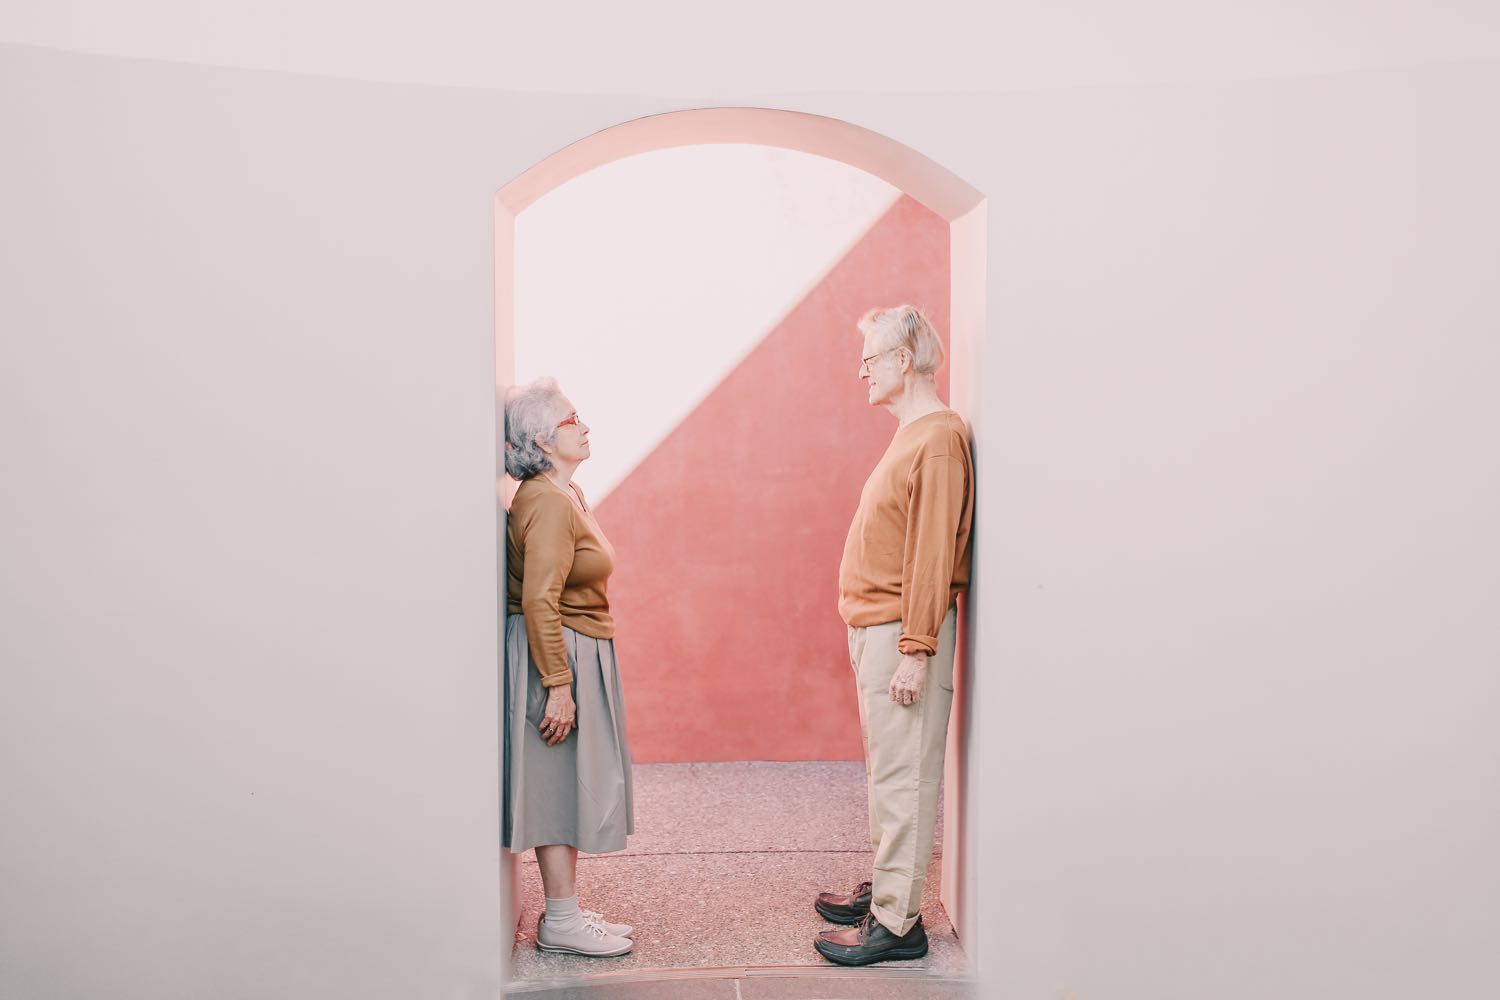
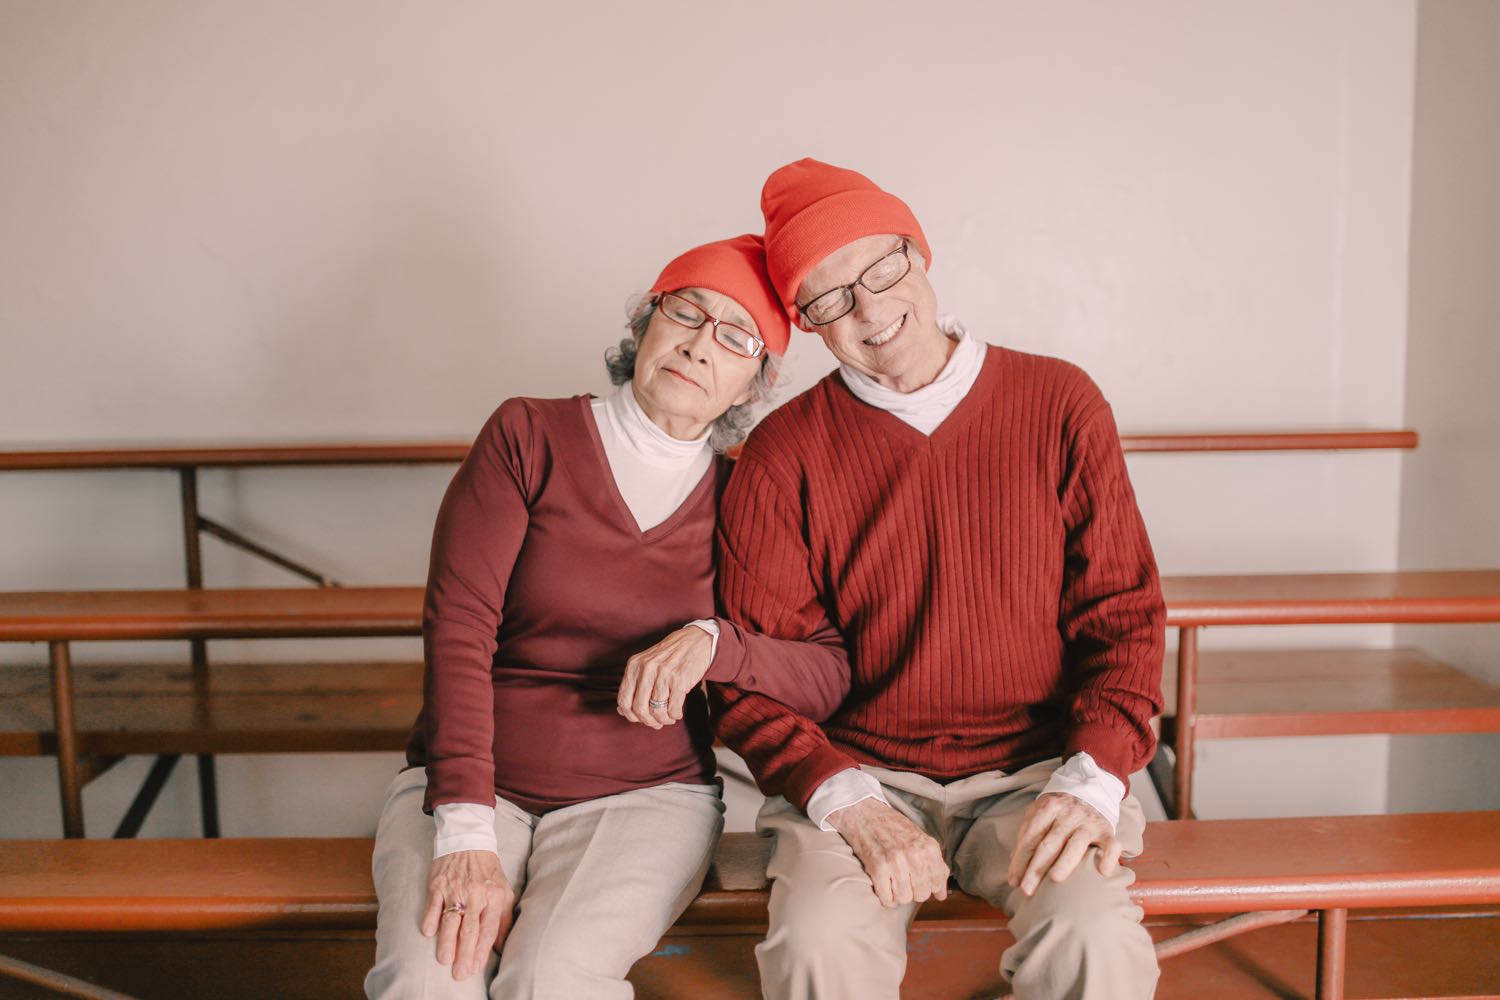
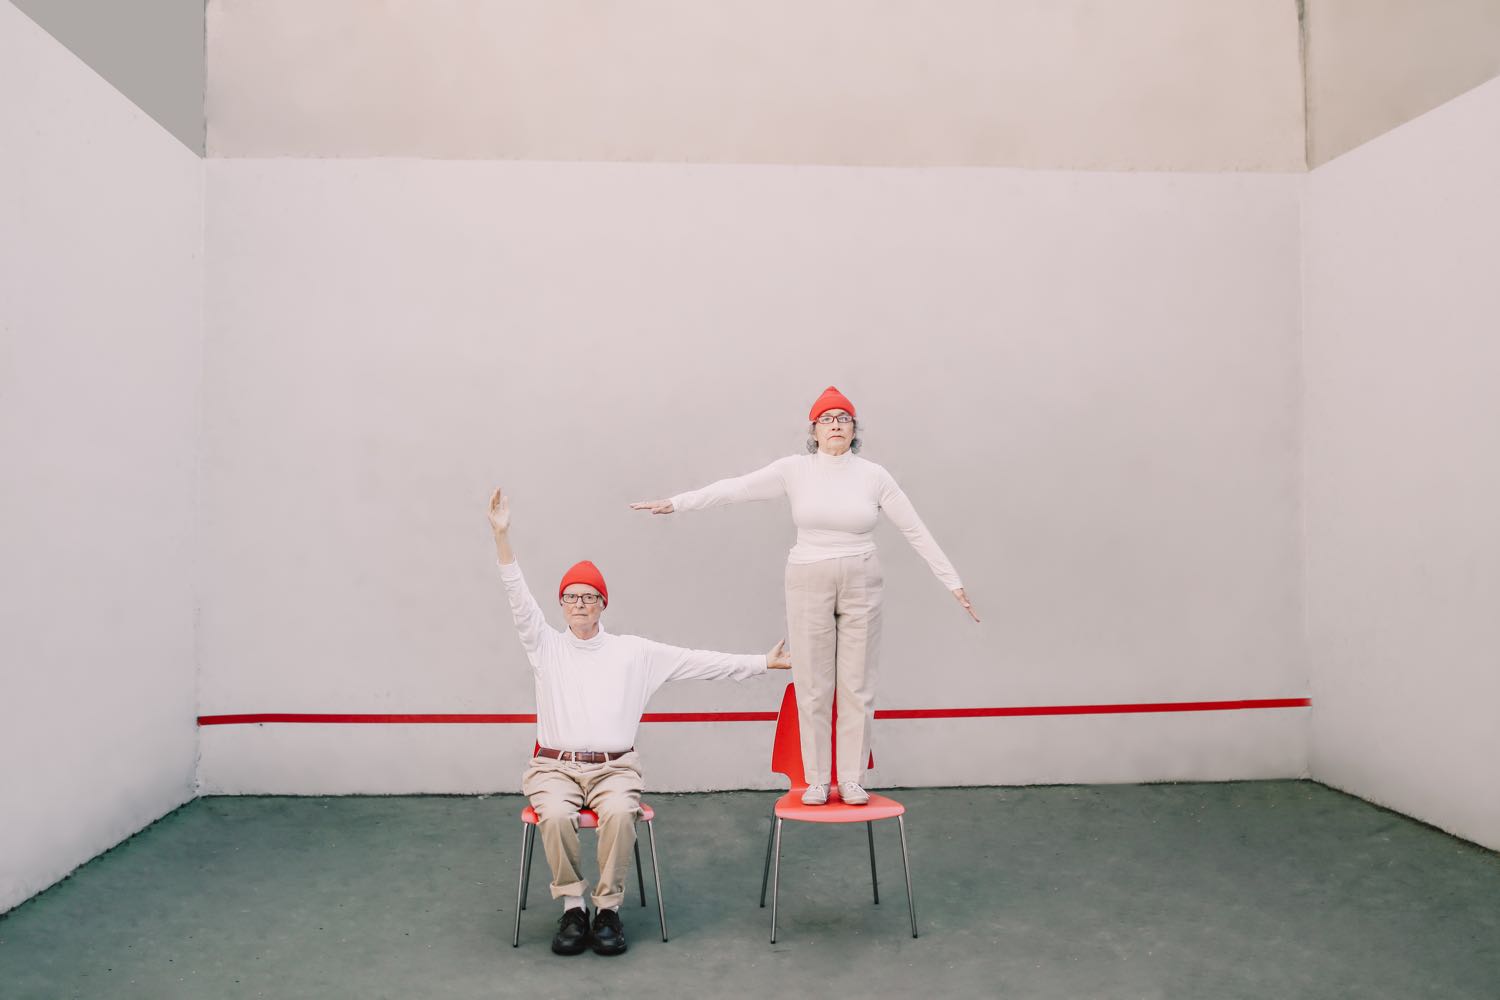
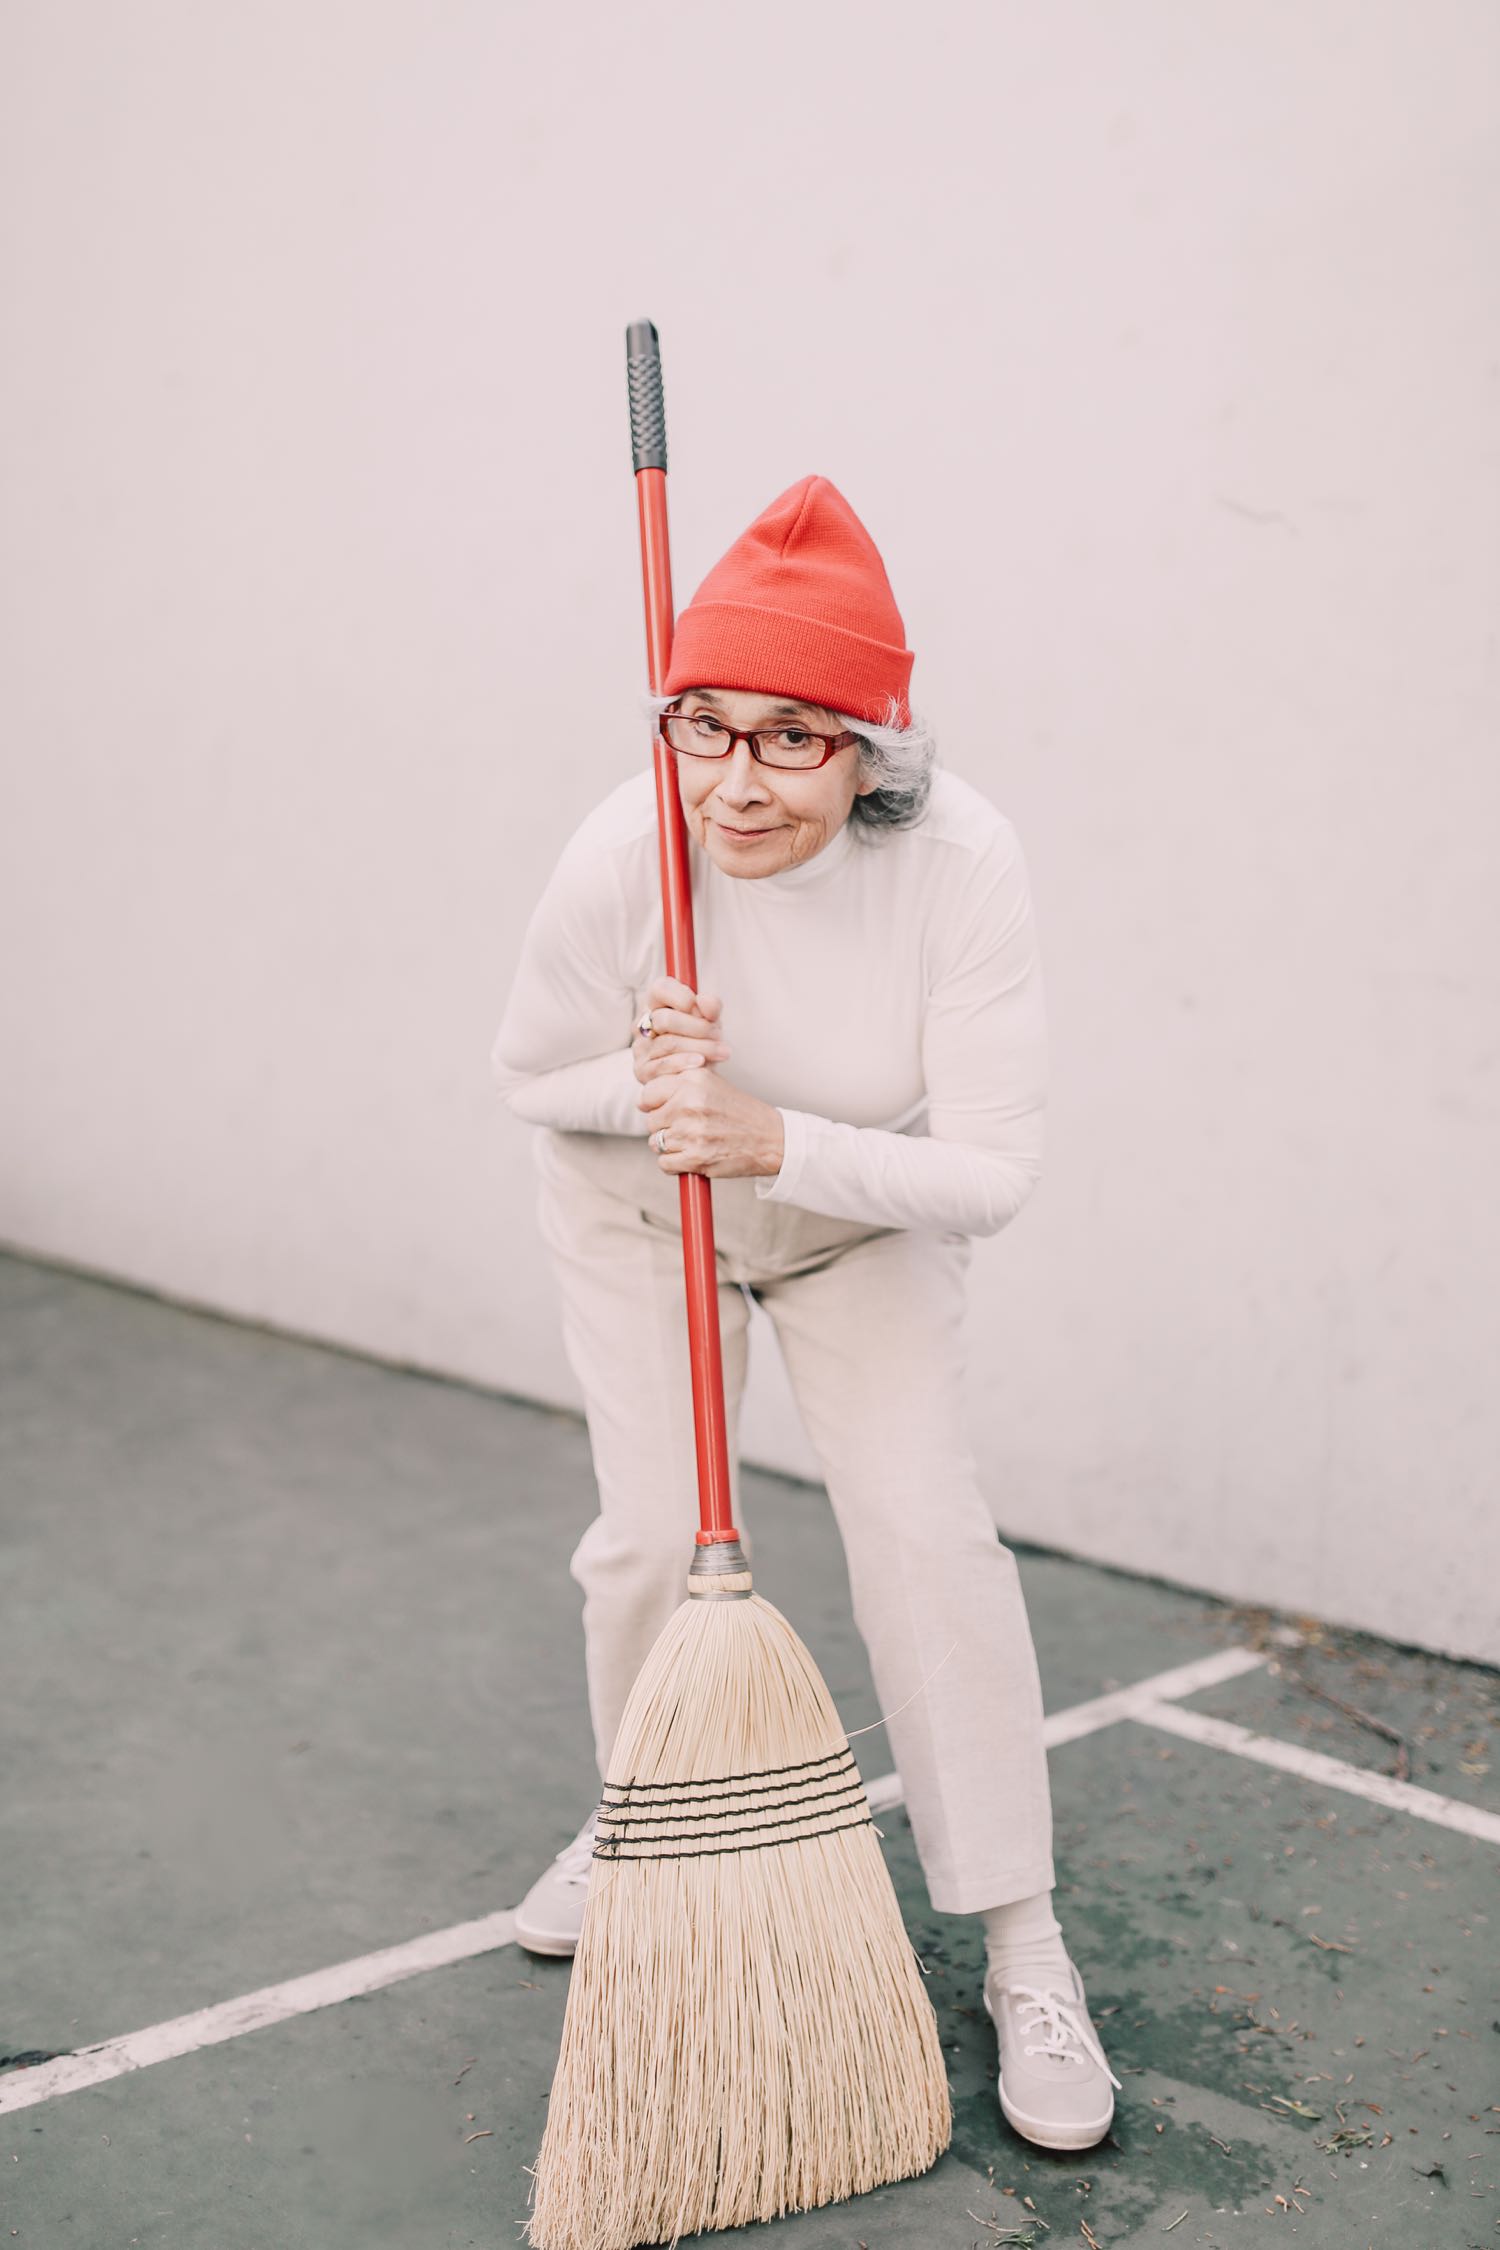
This is the second shoot in my "Old Friends" series. Lollie & Bill, two good friends, were a joy to shoot. Lollie is a renaissance woman who designs clothes and accessories, acts, models, directs films, and basically every creative thing you can think of! Bill is a filmmaker, and the two met when she was acting in one of his films. I highly encourage you to check out Lollie's portfolio - she's a ball of fire, as my grandpa would say. :)
Other sessions:
All photos edited with Pop! Presets Soft Light Pack & Harsh Light Pack.
Can you imagine us years from today,
Sharing a parkbench quietly
How terribly strange to be seventy
Old friends, memory brushes the same years,
Silently sharing the same fears
"Old Friends" by Simon & Garfunkel





 When I was eight, my friend Anna and I cut down mistletoe from the walnut tree in my backyard. We wrapped it in ribbon, attached small bells - basically just decked it out with various holiday-themed accoutrements. We carefully placed each mini bundle in a basket and walked all around the neighborhood with my dad, going door-to-door like traveling saleswomen. We took whatever we'd made from the 10 or so sales and donated it to a homeless shelter.
When I was nine, we made potions in my bathroom. Toothpaste, glittery body spray, shampoo, hair gel, costume eye shadow – nothing was off limits. Into a little jar it went. We put the camcorder on a tripod and made long, rambling sales pitches about why our potions were the BEST – infused with a bit of nine-year-old "comedy," of course.
Around the same time, Anna and I spent weekends scavenging the sideyard at my parents' house, looking to "invent" things. We marveled at our transportation-related inventions: a steerable "wagon" of sorts made from wheeling plant dollies and a cardboard frame. A second iteration made out of an existing gardening wagon that was now a rocket, thanks to the addition of some cereal boxes and some shiny paper. I remember feeling so inspired by the fact that we'd empowered ourselves with a vehicle in which we could roll ourselves down the driveway. I told my parents I wanted to be an inventor.
When I was ten, we collected all our unwanted "little kid" toys, carefully displayed them on trays, and set them on a table next to some lemonade. We sat at the bottom of Anna's driveway, patiently waiting for cars to turn the corner – in a very un-busy neighborhood. When a rare customer dared entertain the offers that our hand-drawn signs promised, we sat poised to pitch them our unique selling proposition: while you're buying lemonade, would you like to buy a toy? I'm sure we were the only lemonade stand in town selling lemonade AND toys. Needless to say, it wasn't a very successful venture.
Throughout high school, I immersed myself in music. I musically directed a play, led a band, learned music theory, composed songs, and I even played keyboard in my middle school's production of Beauty and the Beast (and got paid for it!). While this wasn't truly entrepreneurial, I put all my creative energy into music and felt the same passion for it that I now feel for photography.
When I was twenty-one, I spent hours at the beach after class, scavenging the shores for sea glass. I had jars of sea glass segments, some common, some rare. I watched one video on wire wrapping, and off to the jewelry store I went. I calculated the cost of each necklace's store-bought materials, combined with the perceived value of the glass (based on size, color, degree of smoothness), and I was in business. I launched a sea glass jewelry store and sold my handmade necklaces at a craft fair, to people at my college, and, of course, to friends and family.
When I was twenty-three, I launched a photography app on the app store. It was intended to be a location-based platform for people to share their photos and their favorite locations, so it would be easier for photographers to find a place to shoot with specific parameters in mind. It was short-lived, because I simply didn't have the time or money to maintain the app, but I consider it my brief foray into Bay Area tech.
From the time I was able to conceptualize what a nine-to-five job was, I knew I didn't want one. Without knowing it, throughout my childhood I was fostering an entrepreneurial, creative spirit that I am now realizing cannot be suppressed. I have always been filled with an intense drive to create, to strive for success on my own terms. And there has never been a time in my life where I have not been brimming with creative energy. If I try to walk away from a creative project that's been plaguing my mind, I can't. In high school, I would sit in my room for twelve hours straight without even remembering to eat because I was writing a song. I find myself addicted to art, addicted to the flutter of my heart, the way it feels when I've just created something. Sometimes, it's music. Sometimes, it's writing. Lately, it has just so happened to materialize through photography.
It also just so happens that photography is a viable business idea for me.
The intense creative fulfillment I derive from photography, combined with the potential it has to be my main financial lifeline, is why I'm here, writing this post.
Starting in 2018, I will be attempting to "make it" in photography. Full-time. No other steady paycheck of my own.
It's really hard to walk away from the benefits, predictability, and all around simplicity of my current job. I don't mean that my job is simple, but that my taxes, my healthcare, my all-around finances are all part of one streamlined system that makes it easy. I guess I just like to torture myself with things that are hard.
Being my own boss will probably be ten times harder than having a boss. There's no one to deflect to, I'm personally liable, and I don't have the option of calling in sick. Sure, I may have a more flexible schedule, but my sustenance is based on me pushing my business forward and not just giving up even when the rest of my life gets difficult or busy.
That's why I need your help. Friends and family, please understand that my photography is not just a hobby anymore. I need to charge professional rates to survive in the Bay Area, where the median cost of a house is $645,000. I love helping out when I can, but please don't feel slighted or surprised when I quote you a rate that may feel high, or when I can't shoot you for free because I need to spend the time on paid projects.
Fellow photographers, and strangers around the globe, I need your help, too. All of you who watch my YouTube tutorials or buy my presets, I am so thankful for your support of my efforts to share what I've learned with the photography community. Don't sell your own work short, and be mindful of the true cost of photography. In a world where everyone is a "photographer," our industry is diluted and needs professionals to stay true to their value and reflect it in their pricing.
The good thing is: I'm ready. In 2015, after I graduated college, I felt like I was ready to launch into my own business then, but looking back I was a bit naïve and definitely not ready. I hope I don't say the same thing in 3 years! :D
I don't know if this will work out. Maybe in five years I'll find myself pining for the predictability of a 9-to-5 job. But what I do know is that I need to try. I need to follow the instincts that have been slowly manifesting since I was a child.
I'm going to try to follow my own advice that I tell myself when I face a difficult project – to "make it happen." Making my dream of being self-employed in a creative field happen. Making a lifestyle of flexibility and choice happen.
So – that's what 2018 is all about: making it happen.
I can't thank you enough for the support you've shown me so far, and now I'll need it more than ever. Thanks for reading, and stay tuned for the adventures that are sure to come.
[On that note, Padraic and I will be kicking off this new chapter by traveling in Europe for six months starting at the end of February. So book me for shoots in Europe! Or reach out to me if you want to collaborate! We'll post our itinerary soon. :) ]

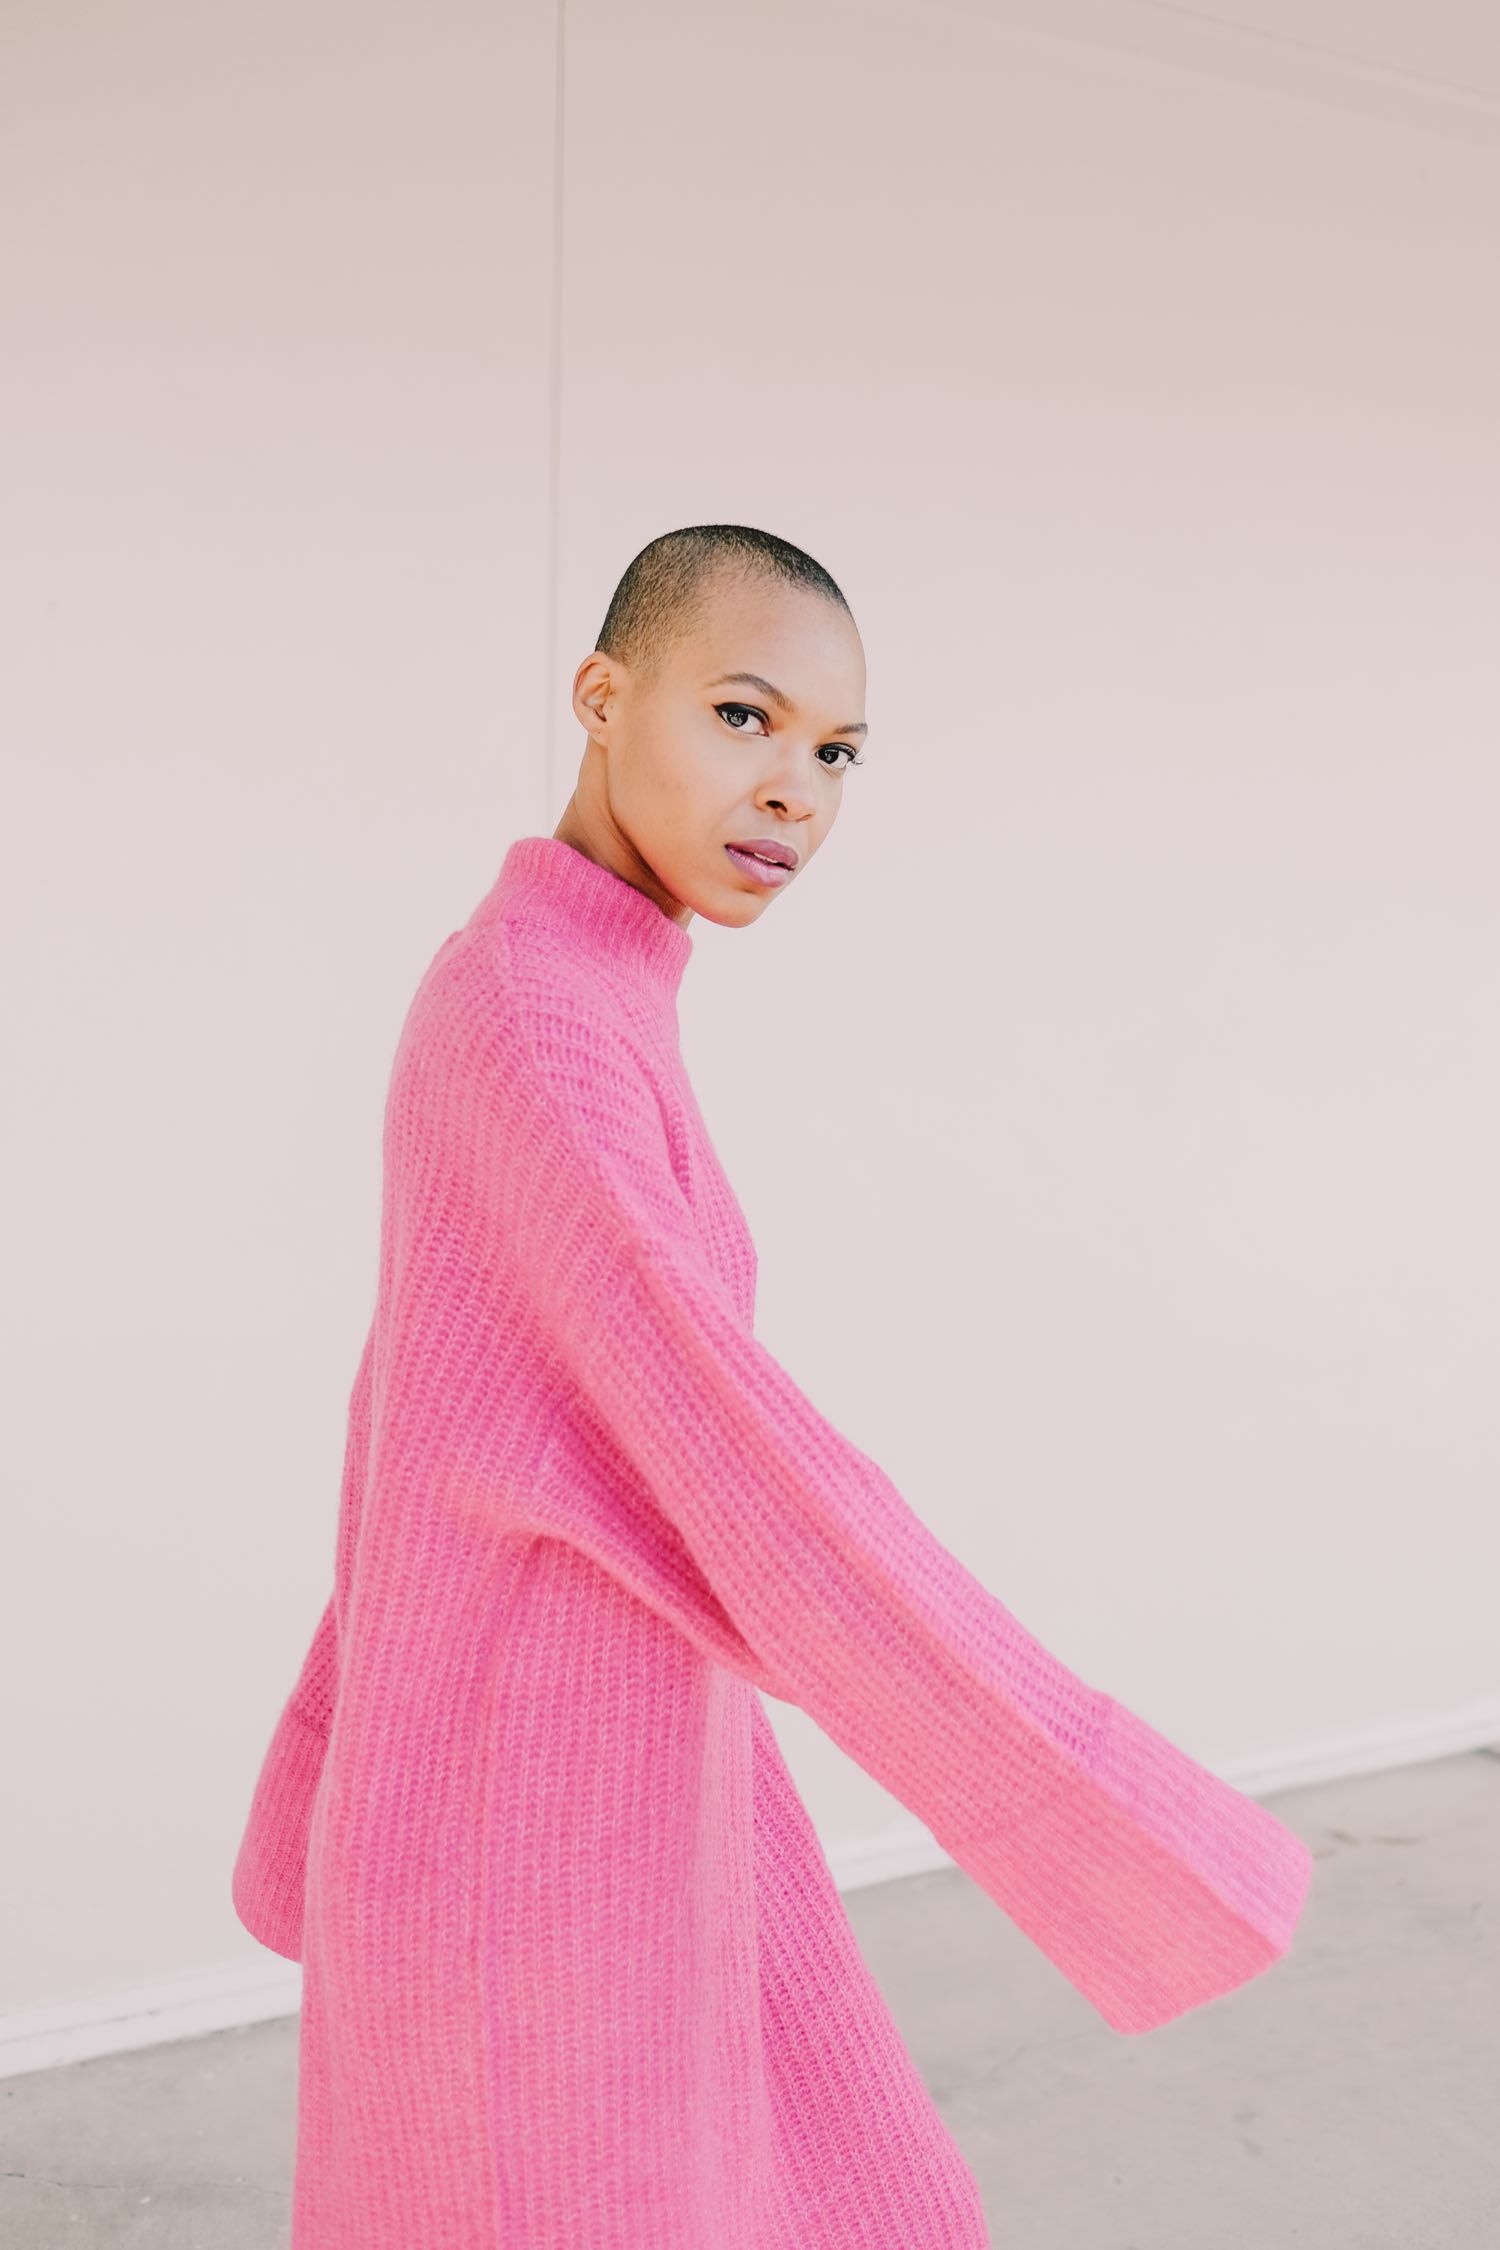
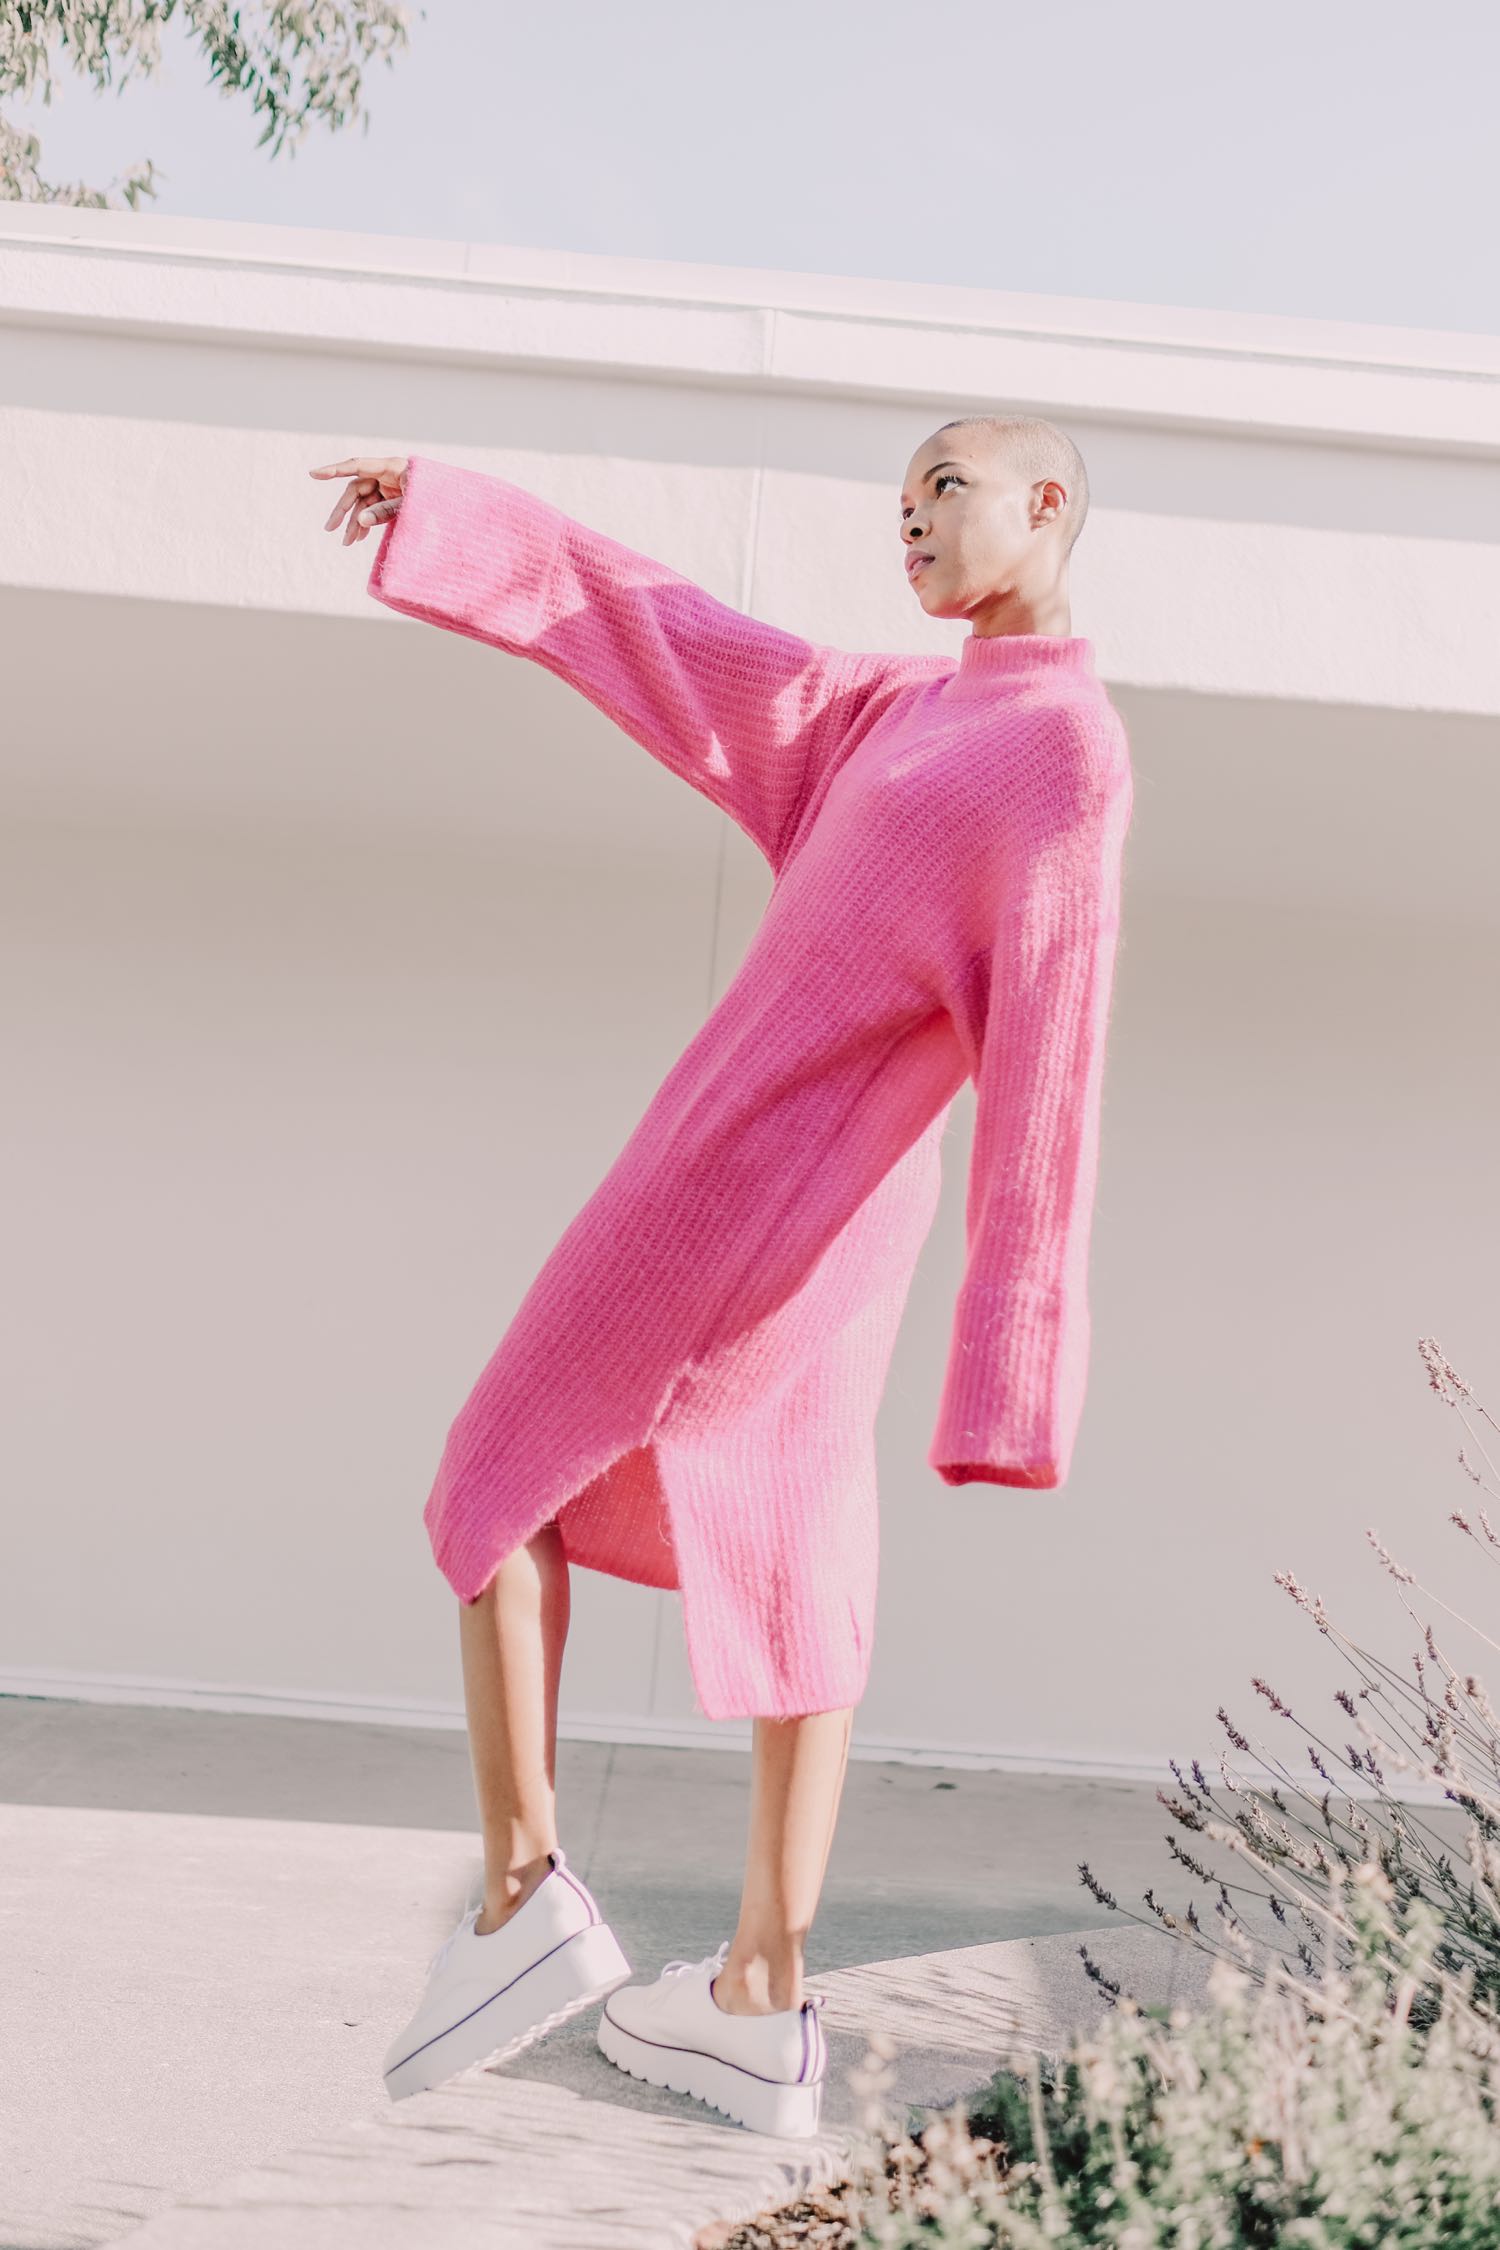
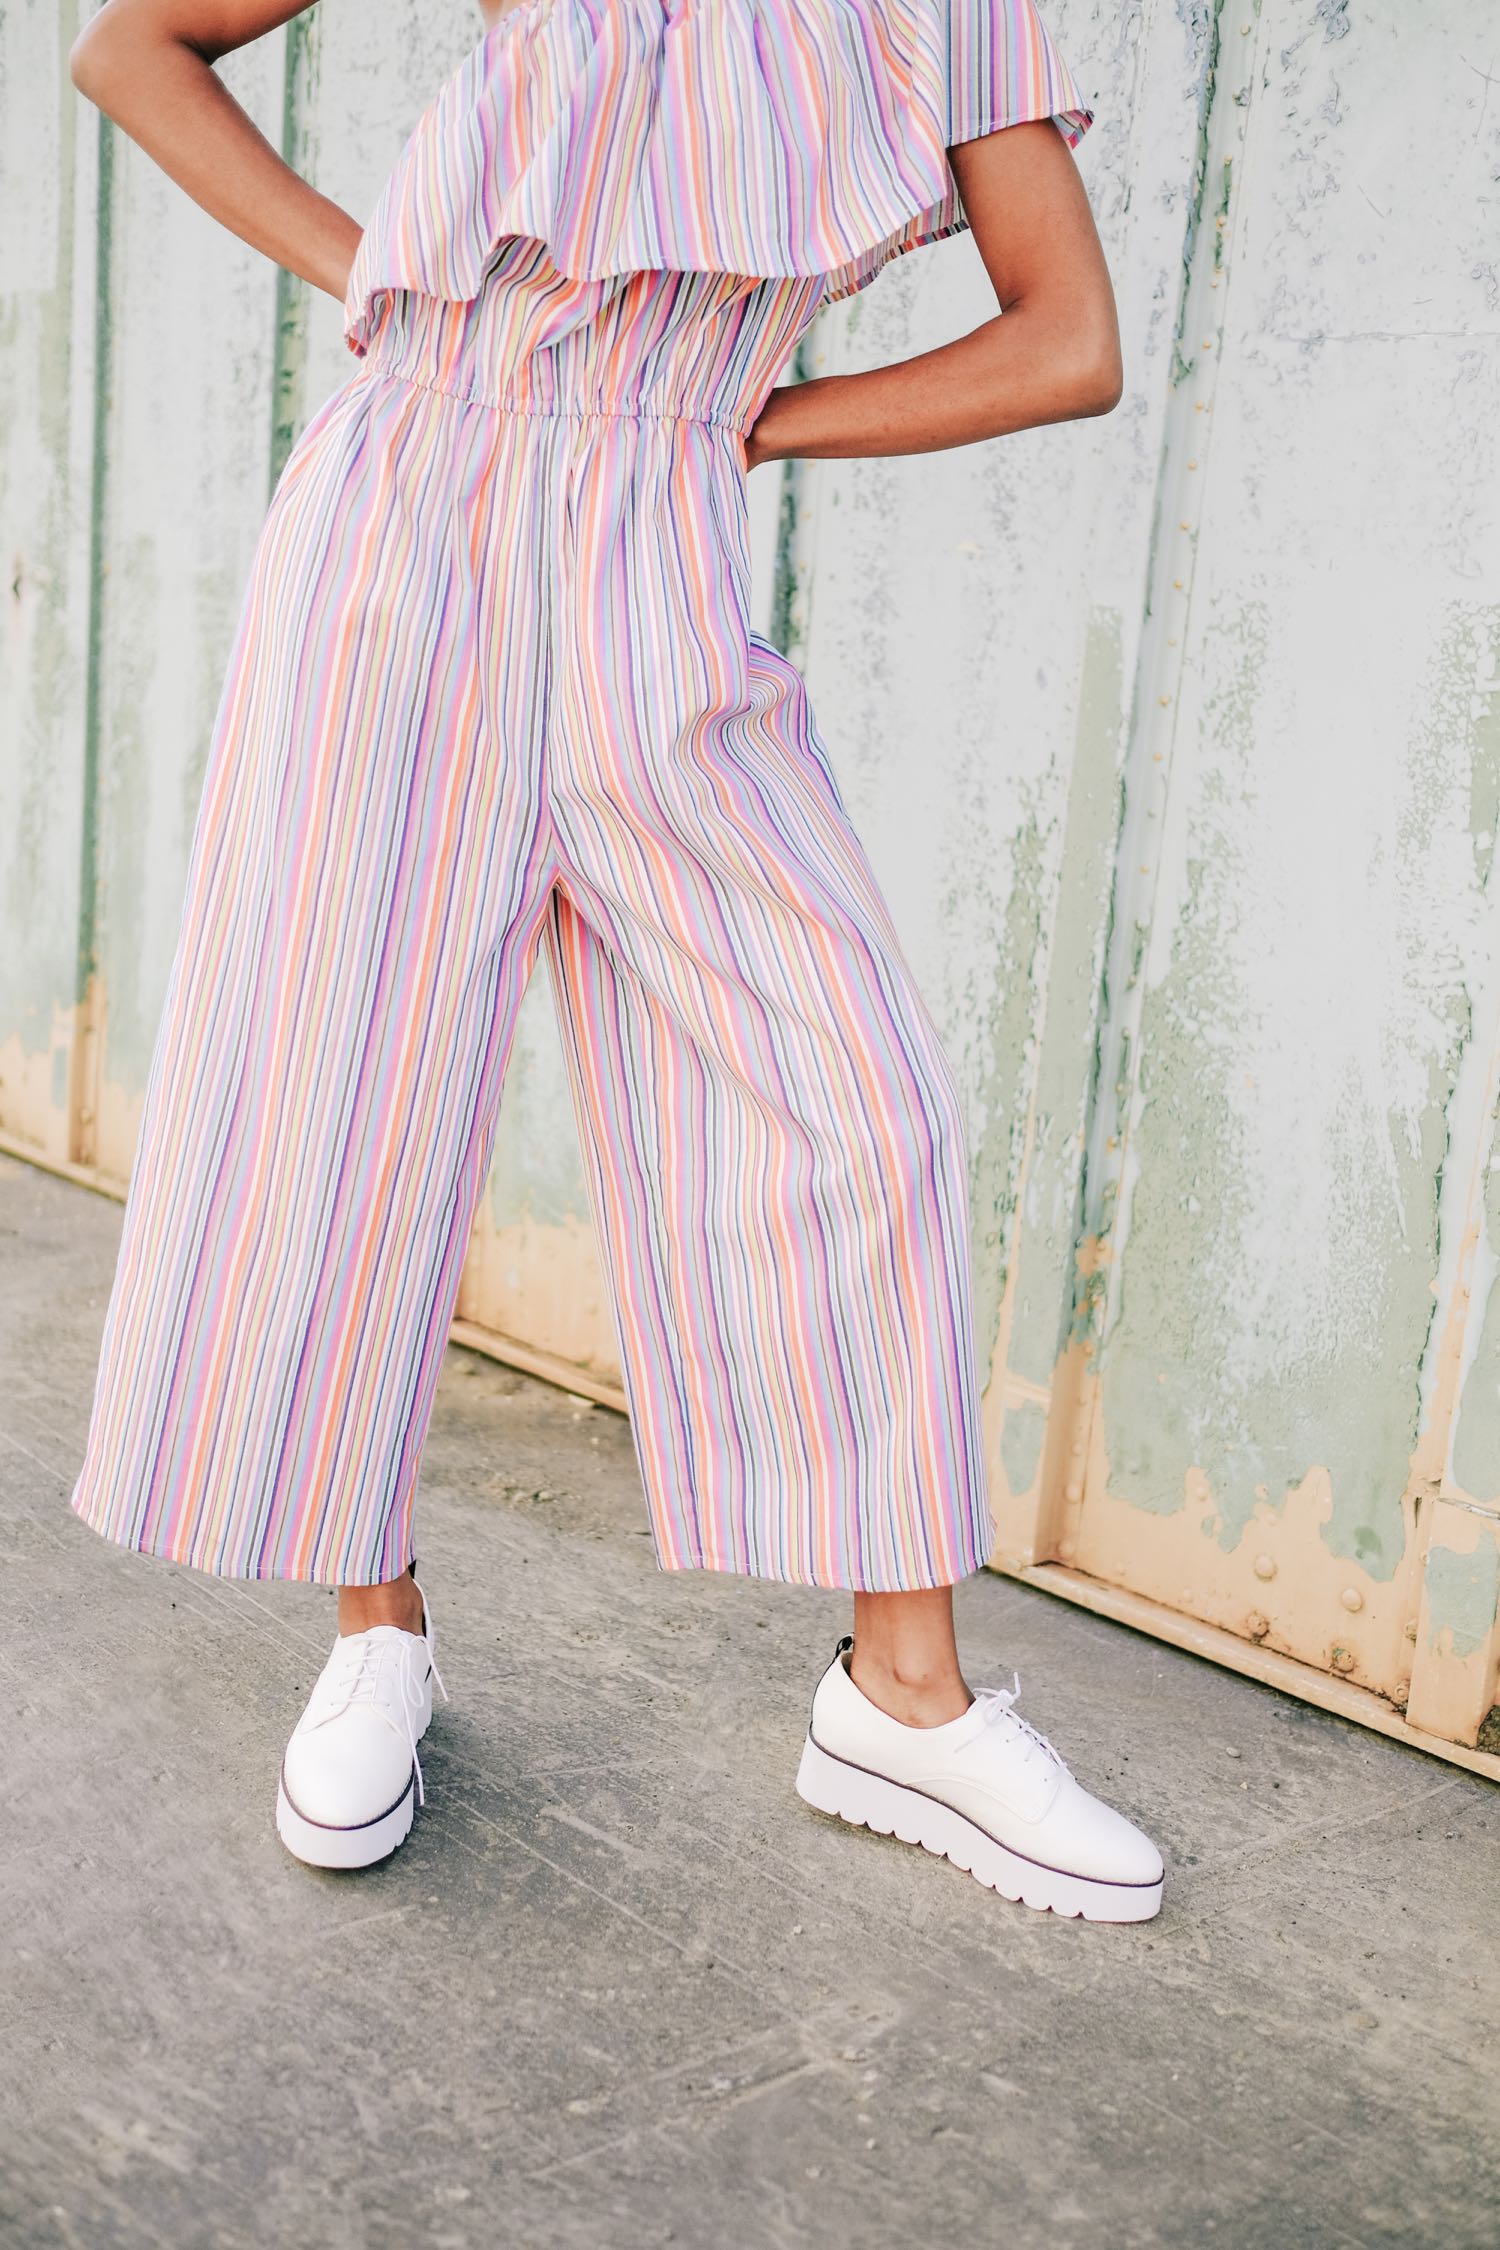
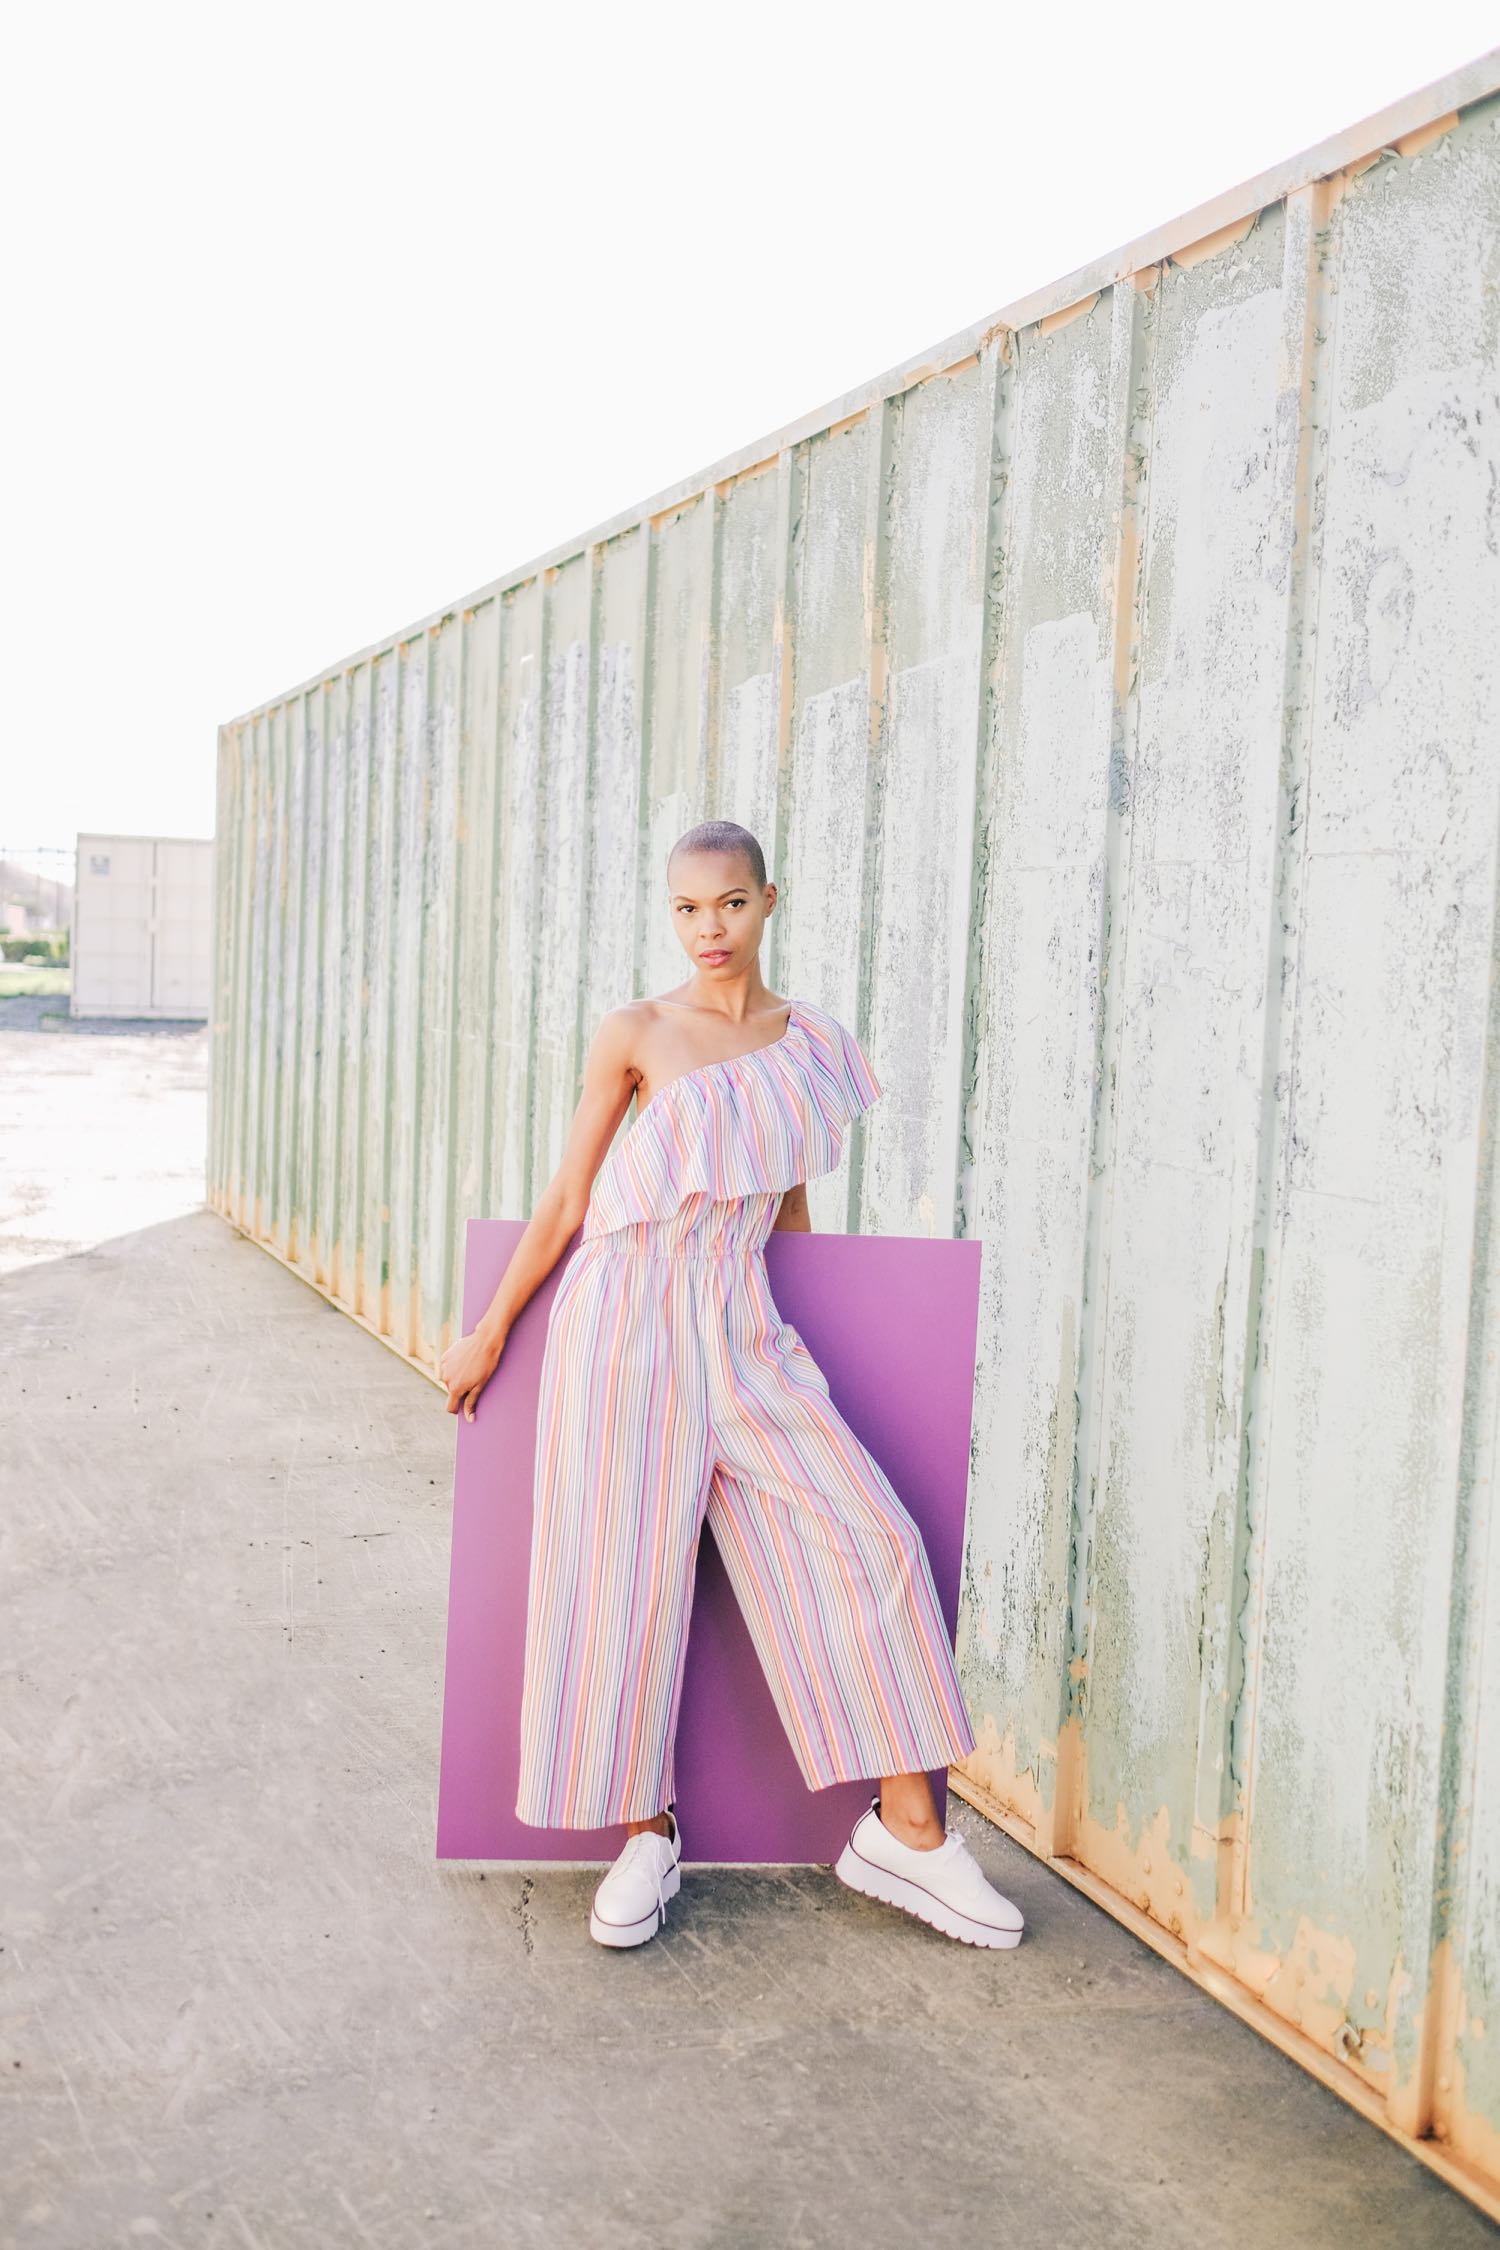
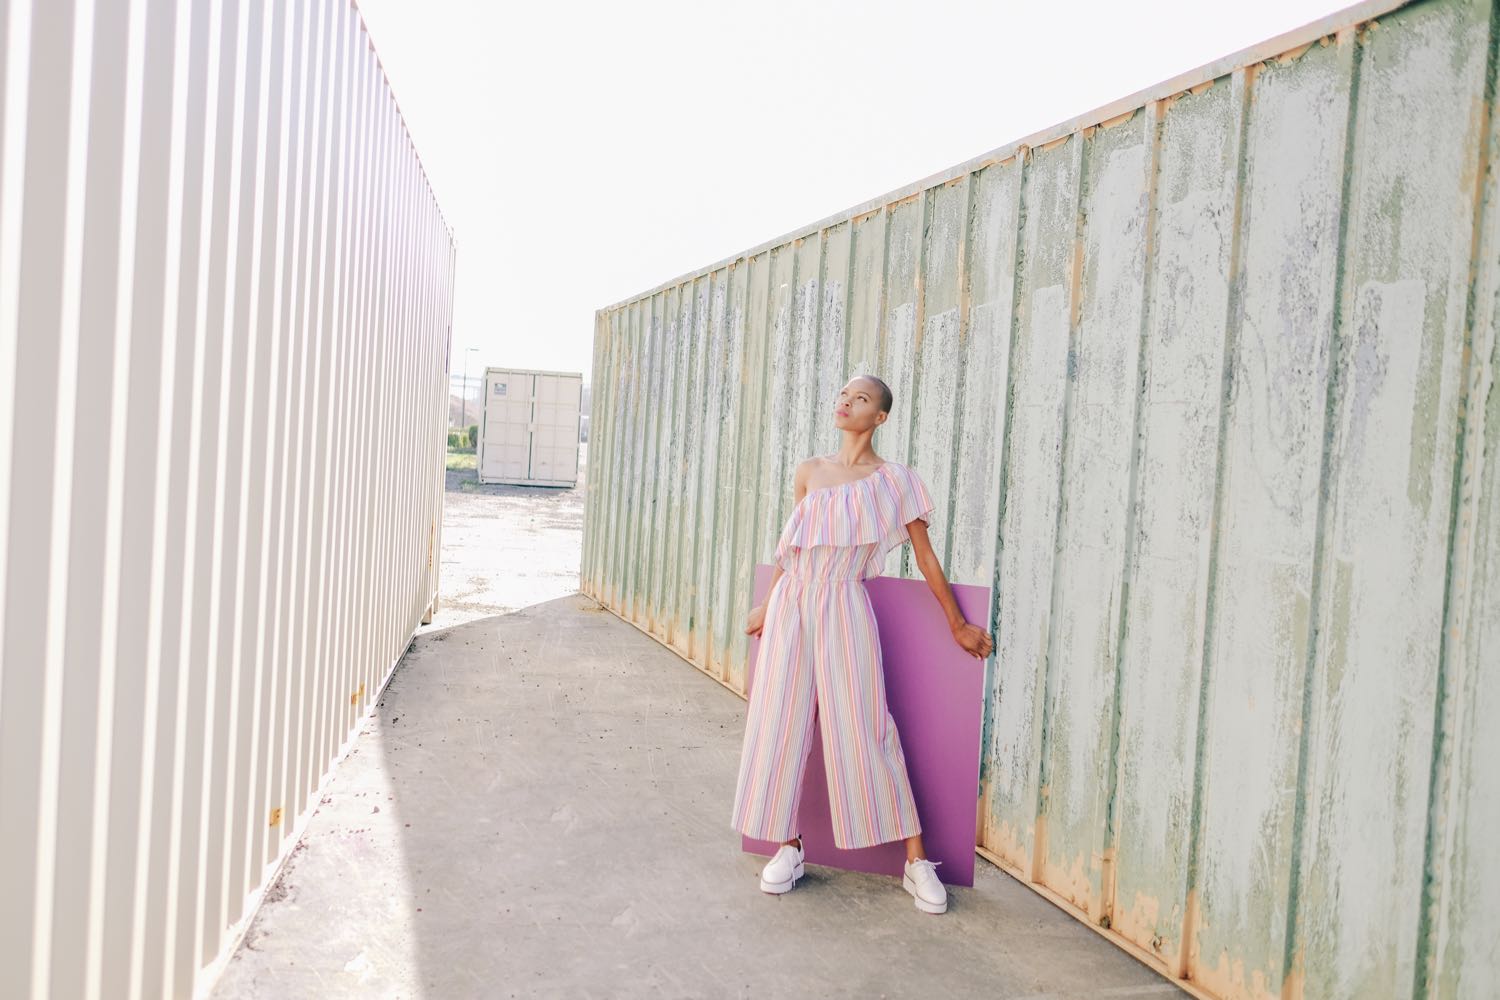
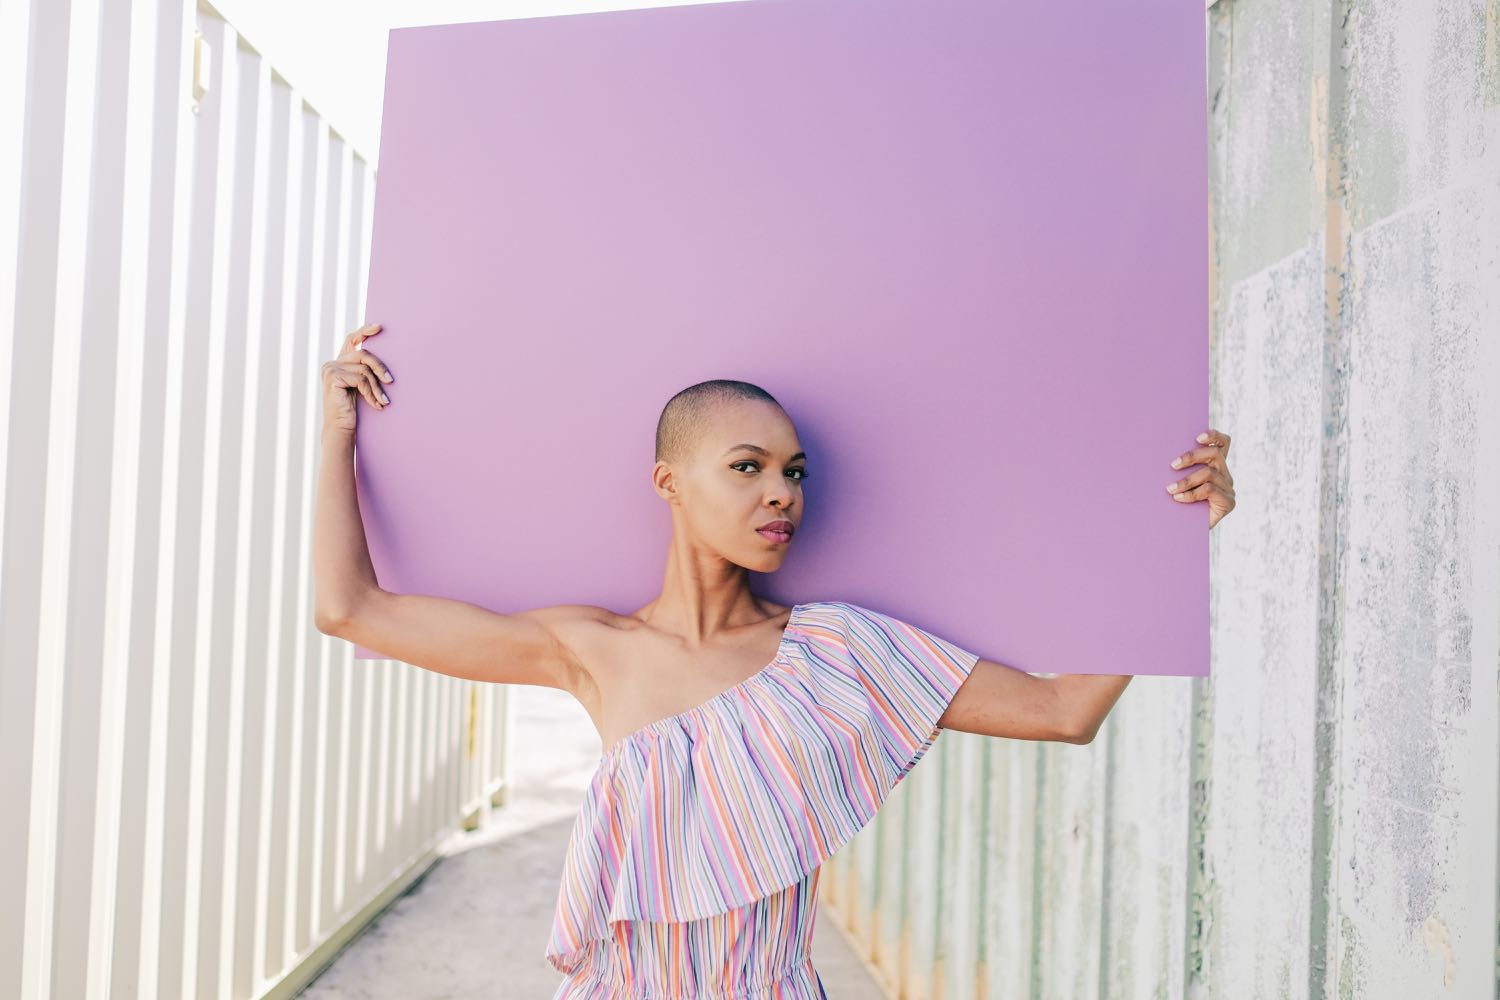
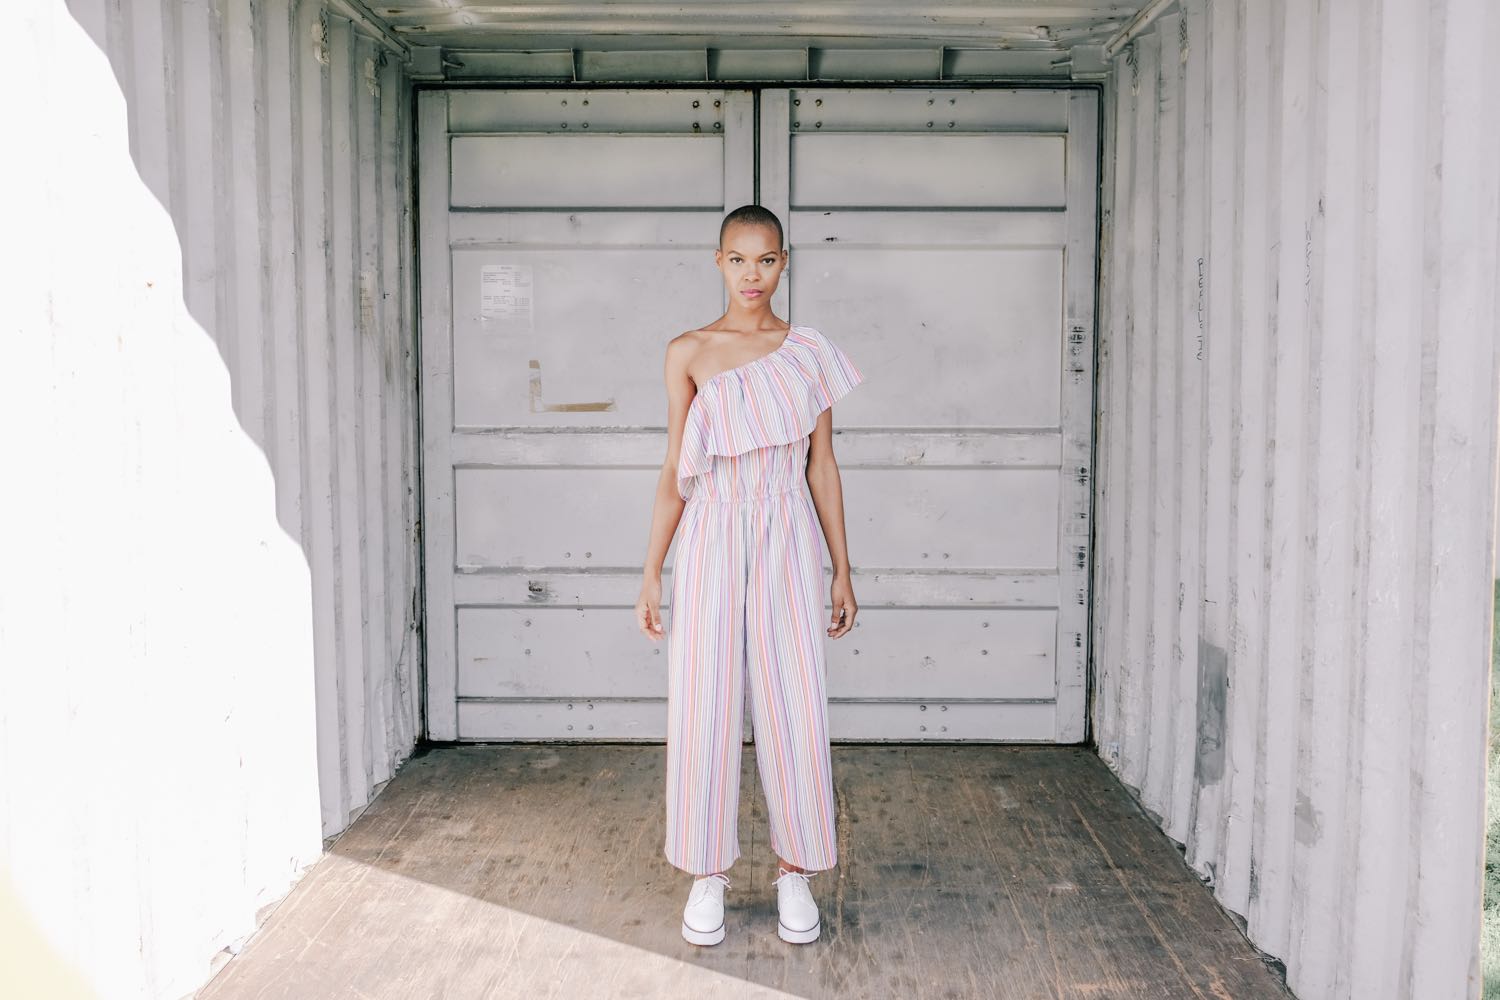
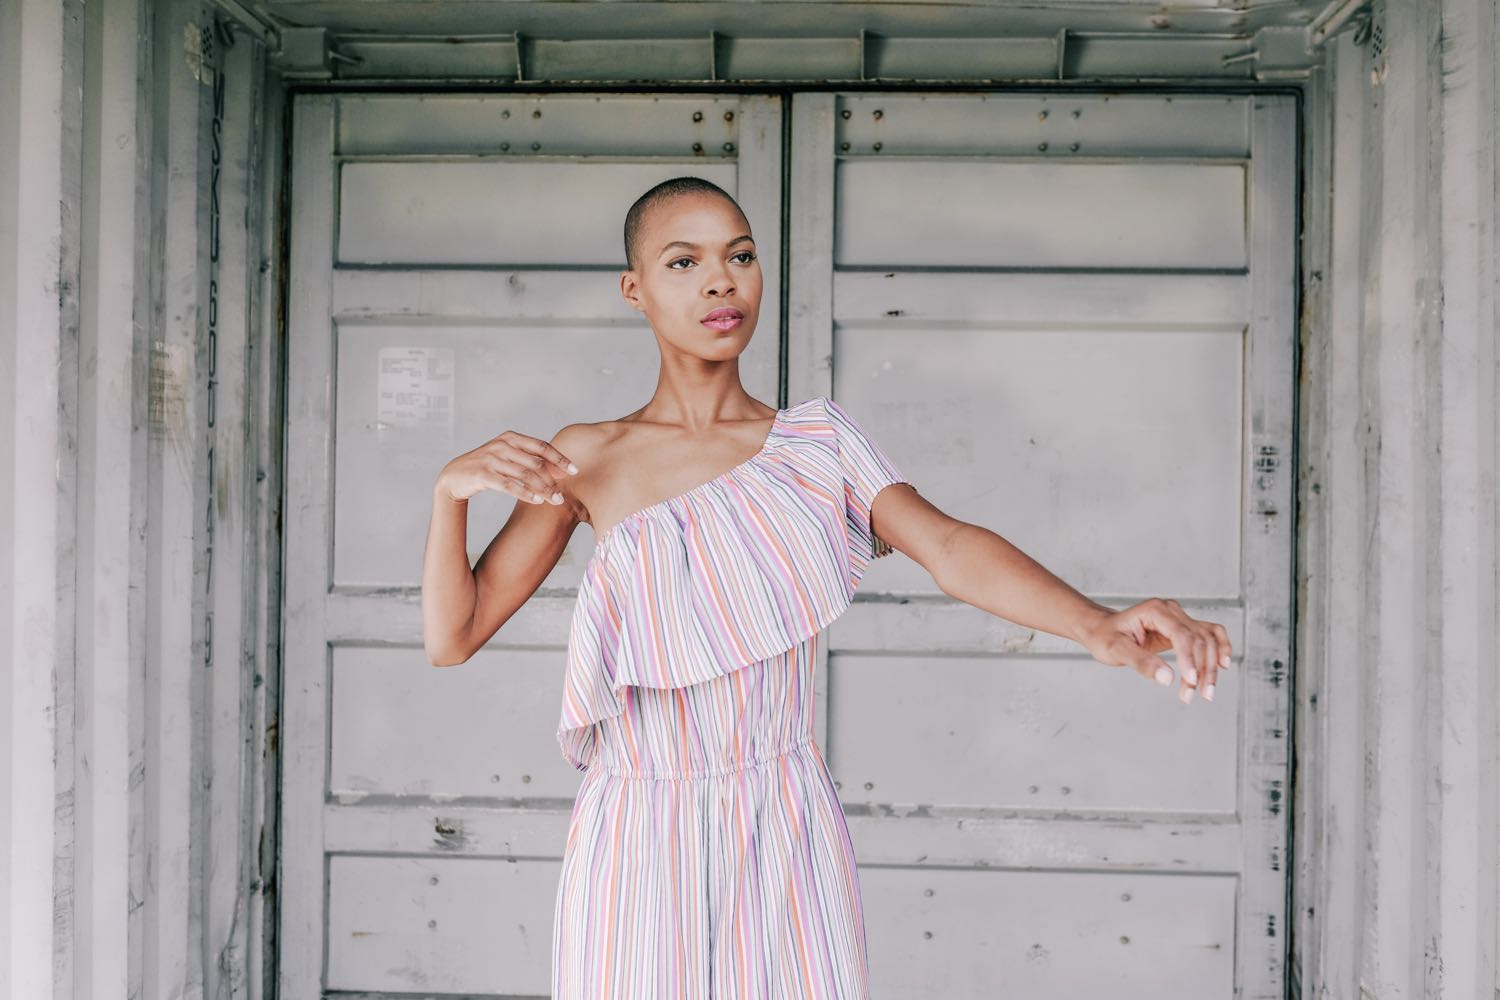
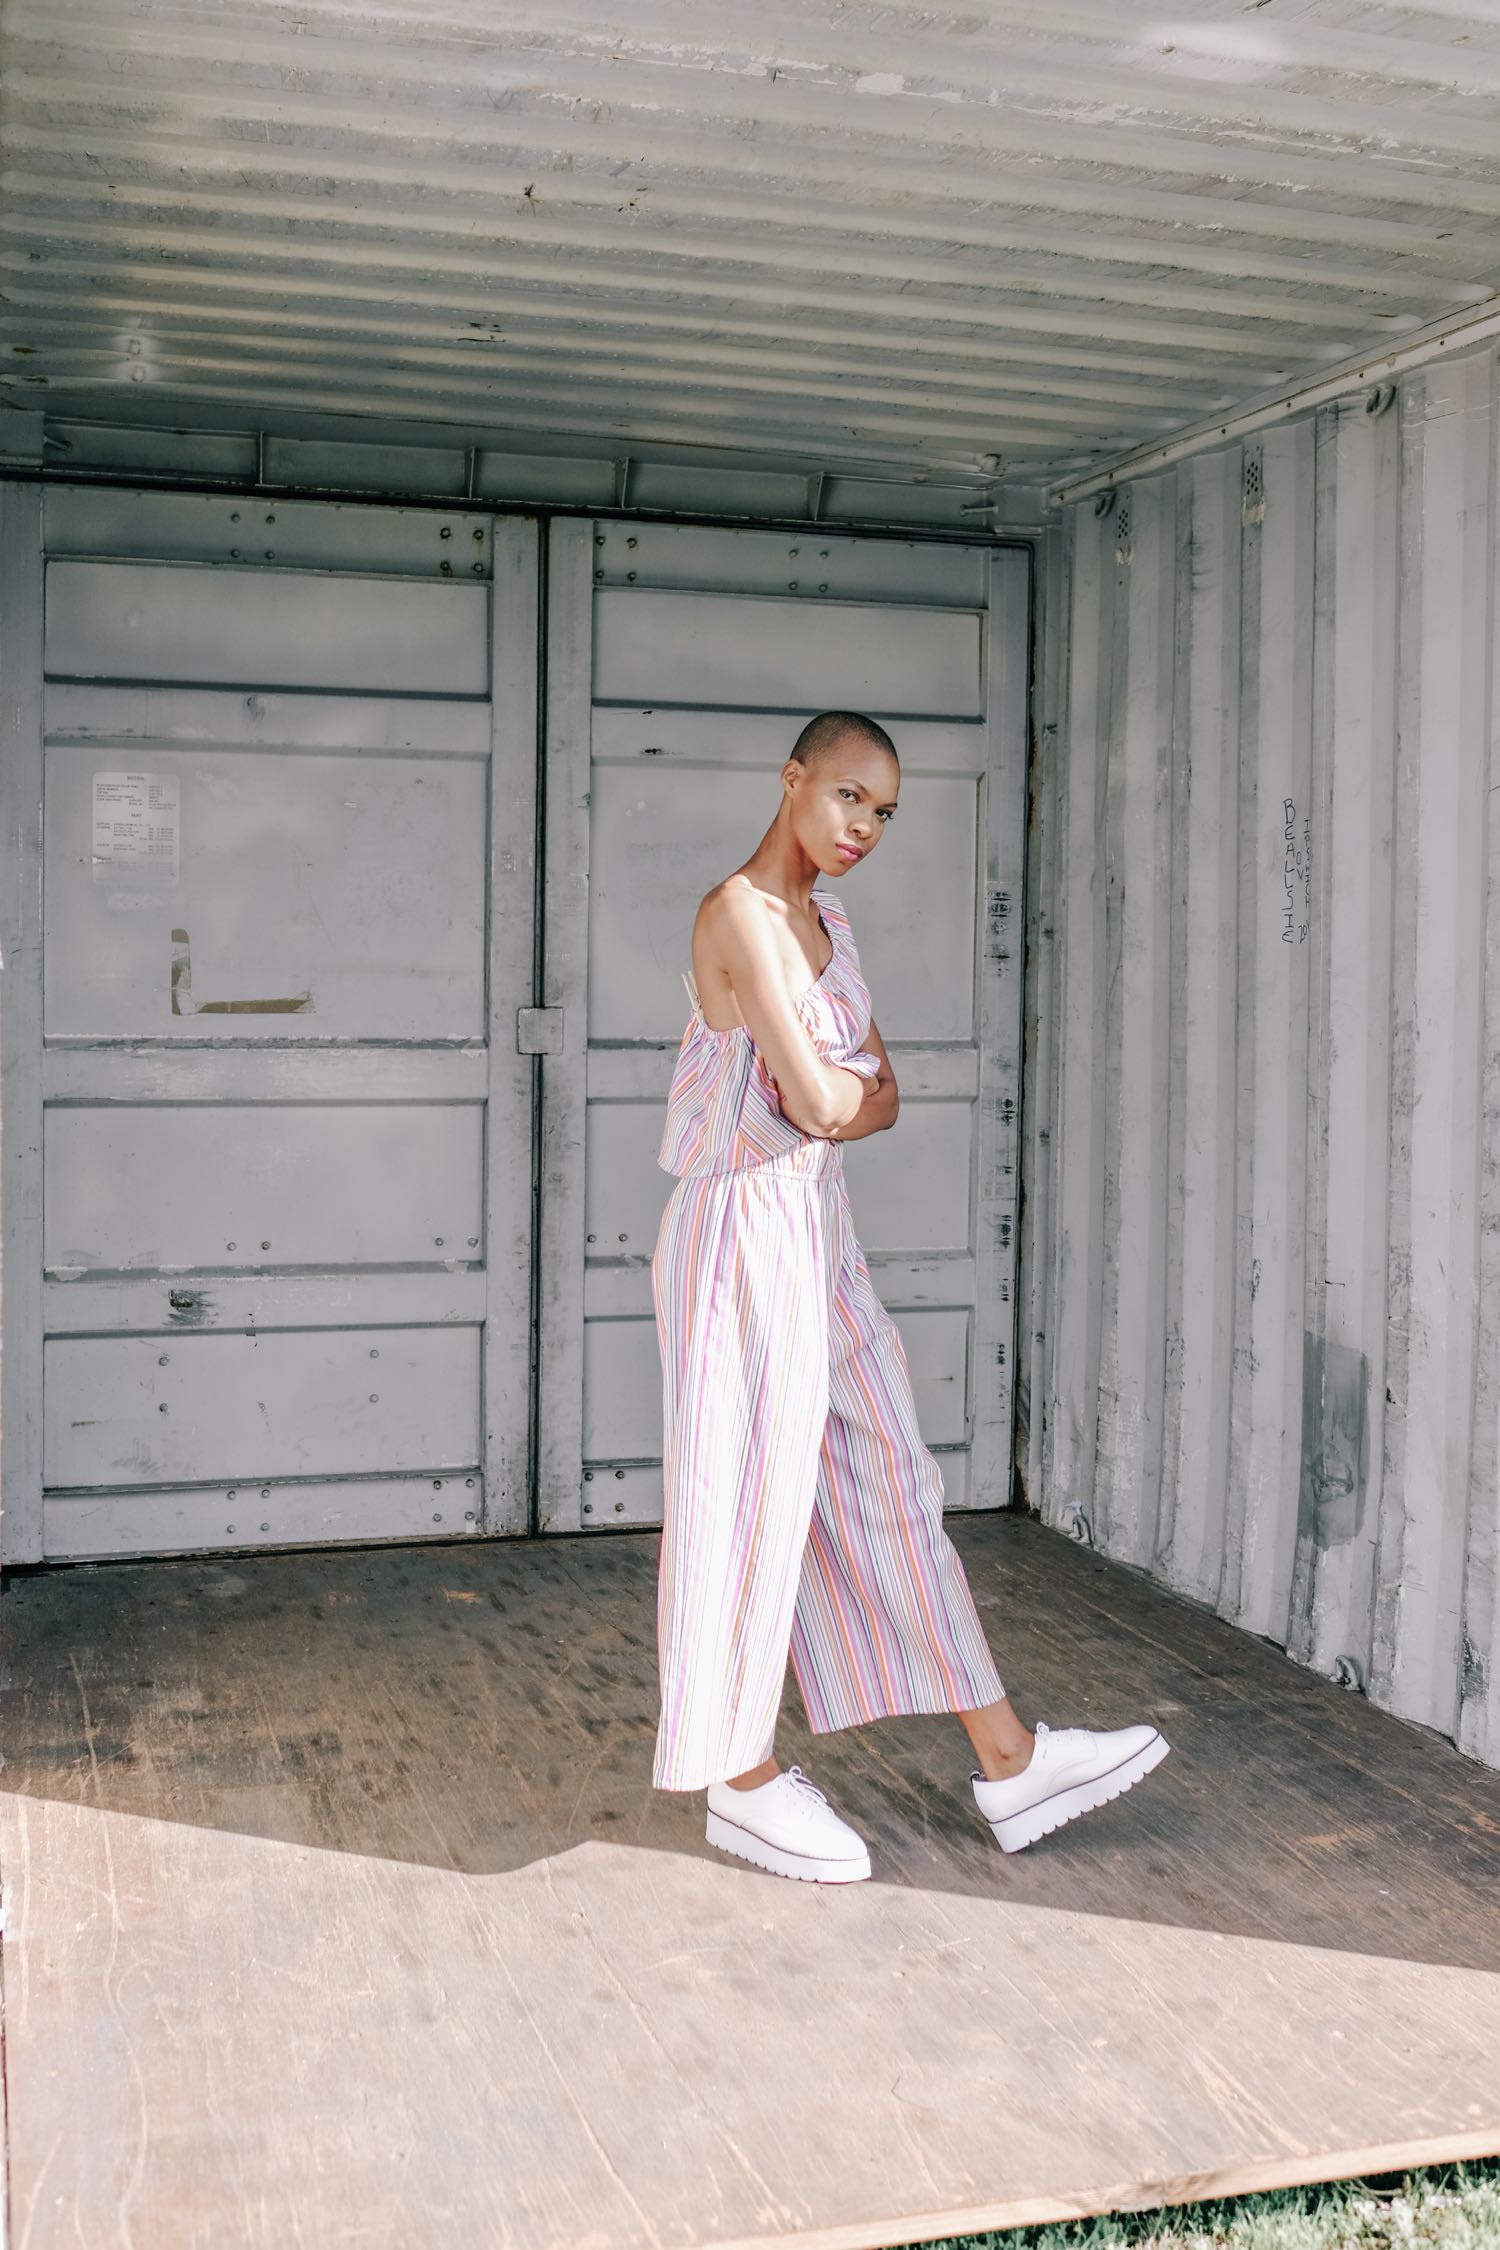
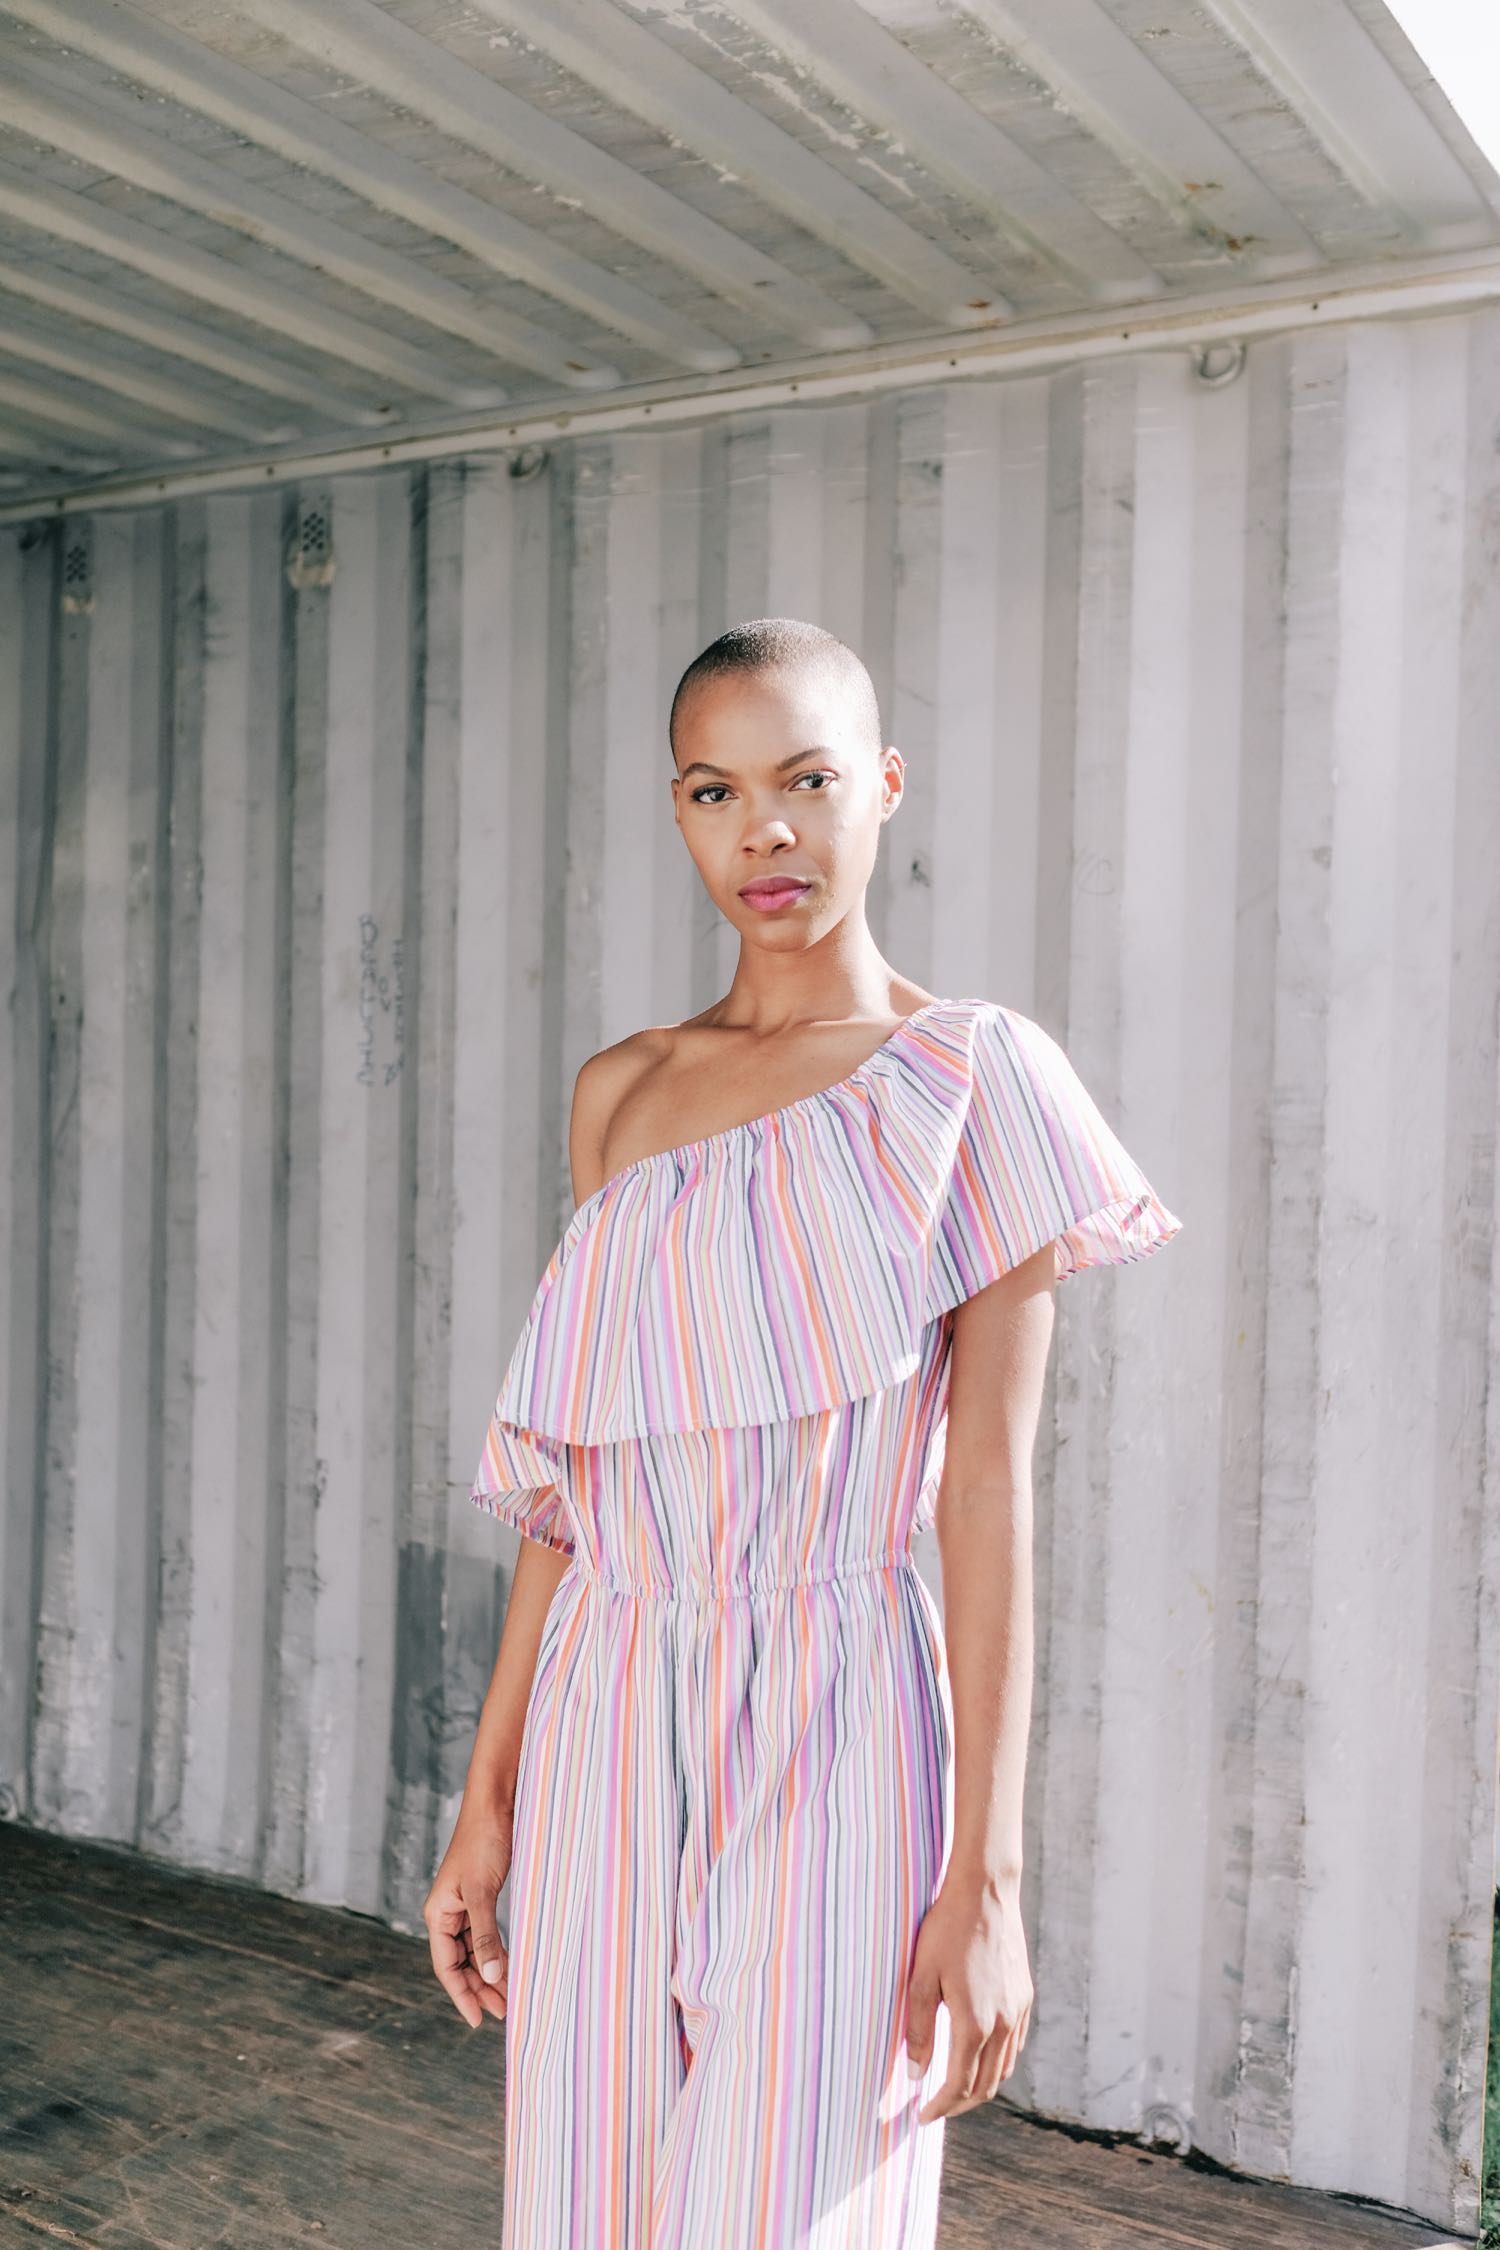
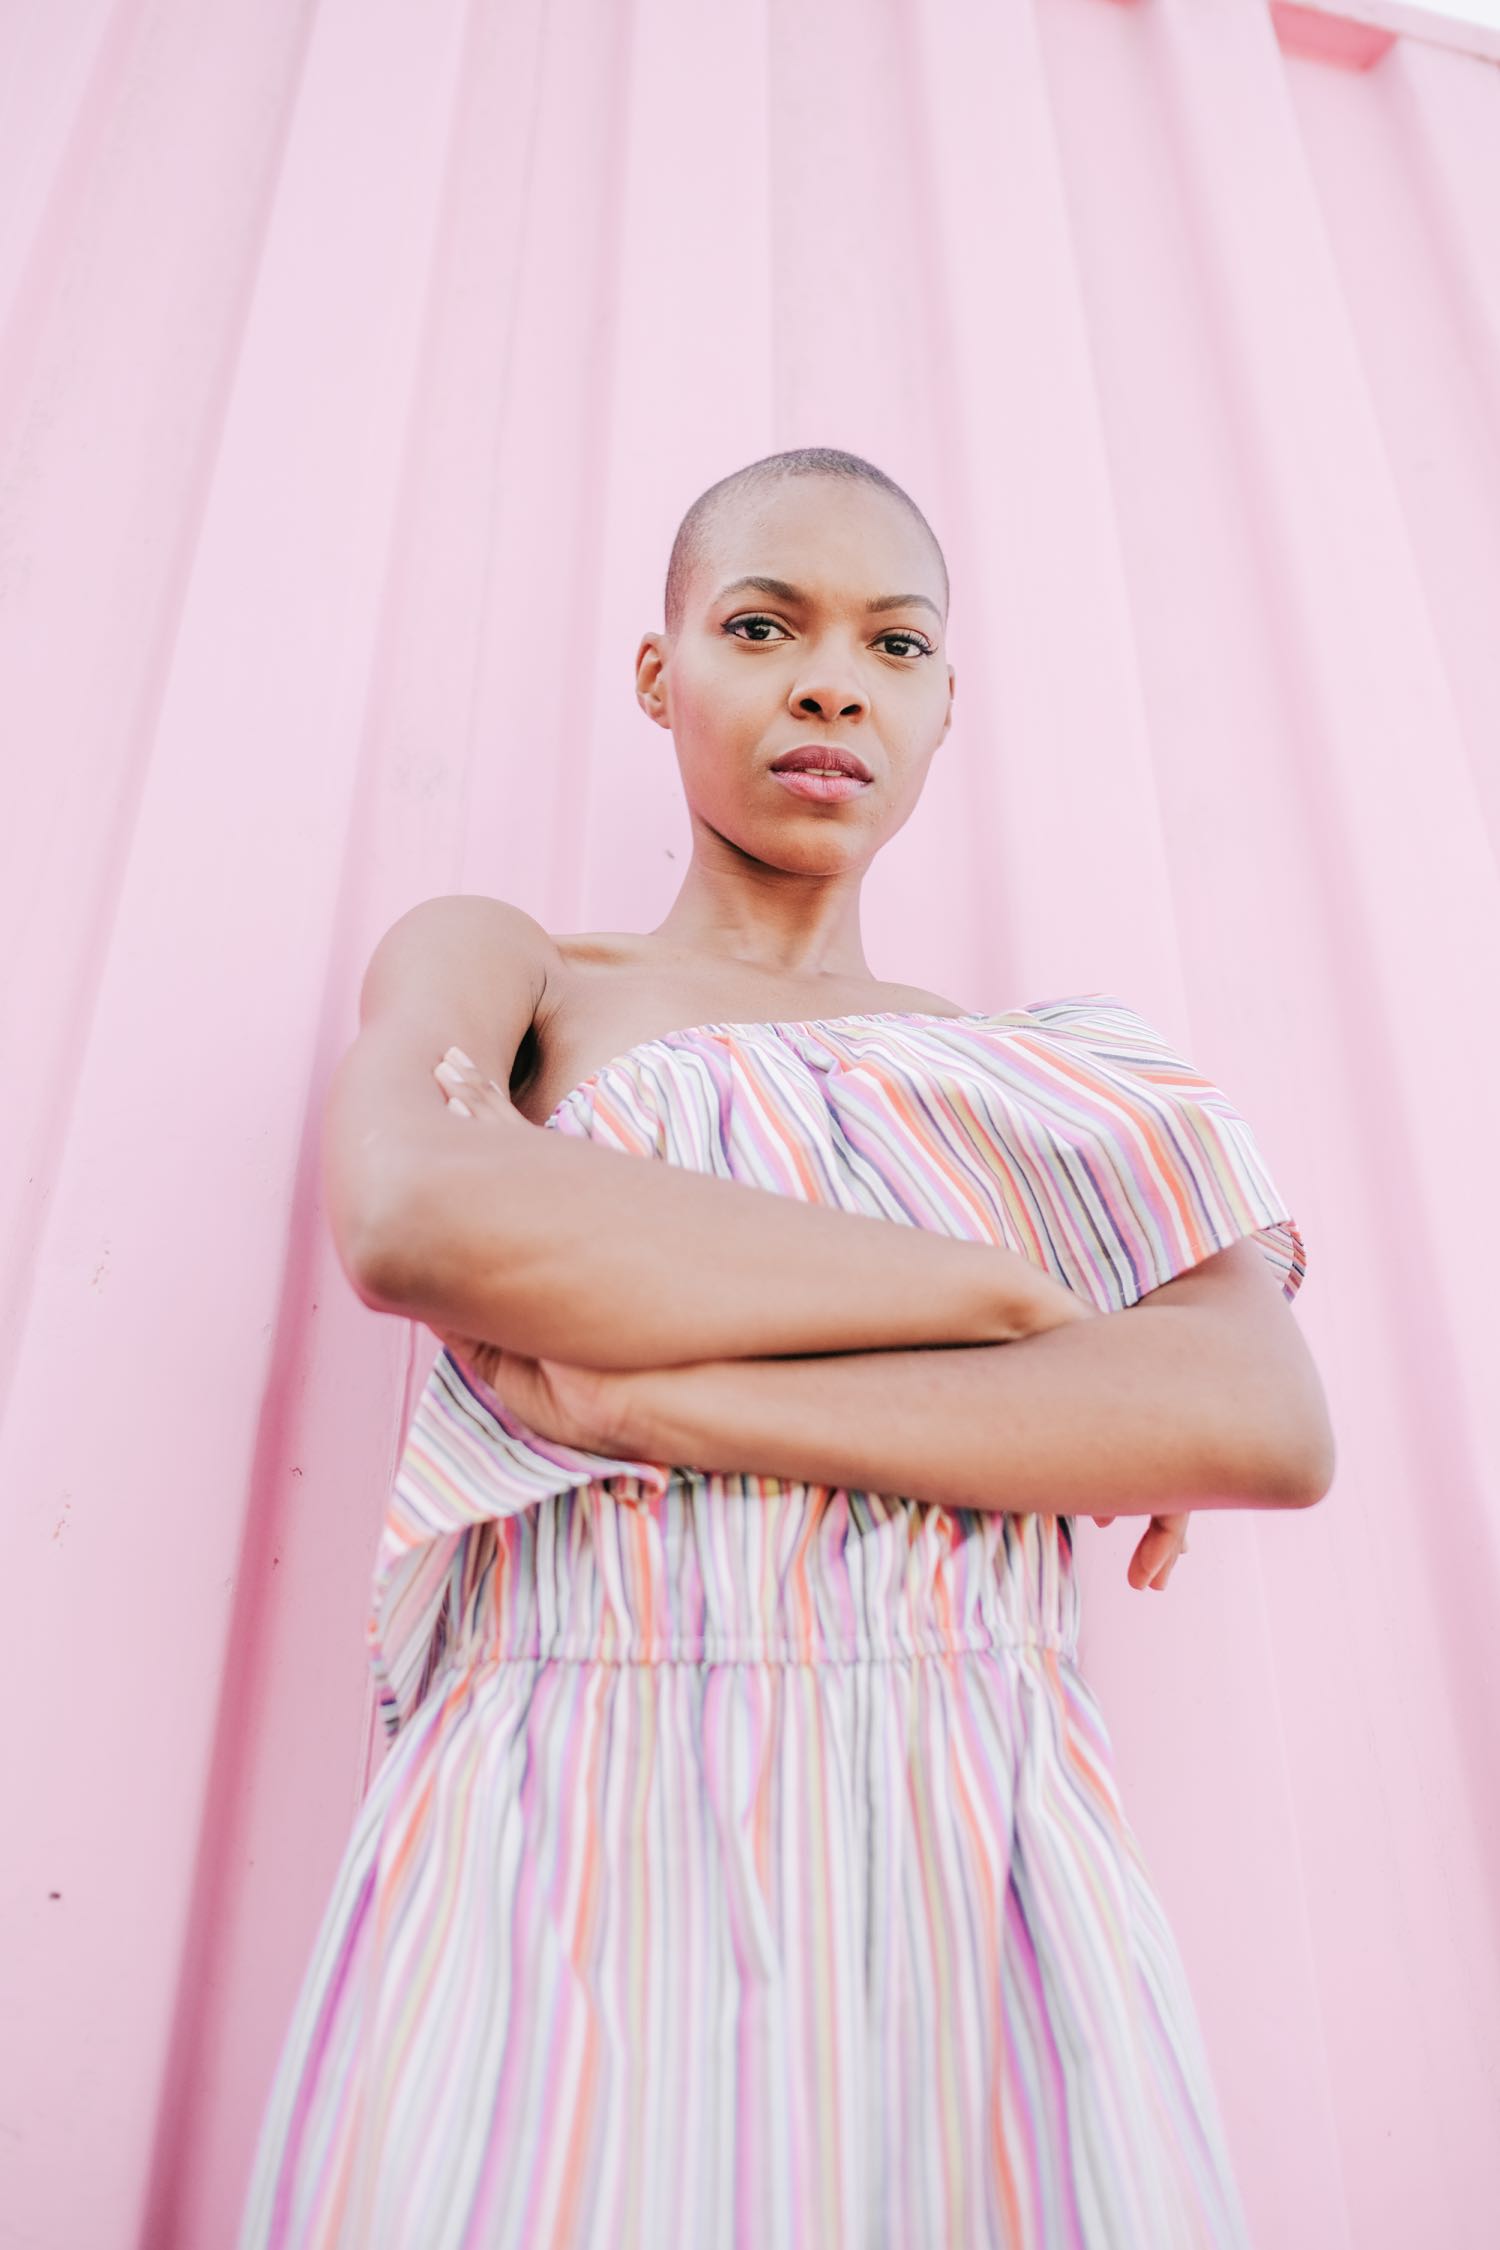
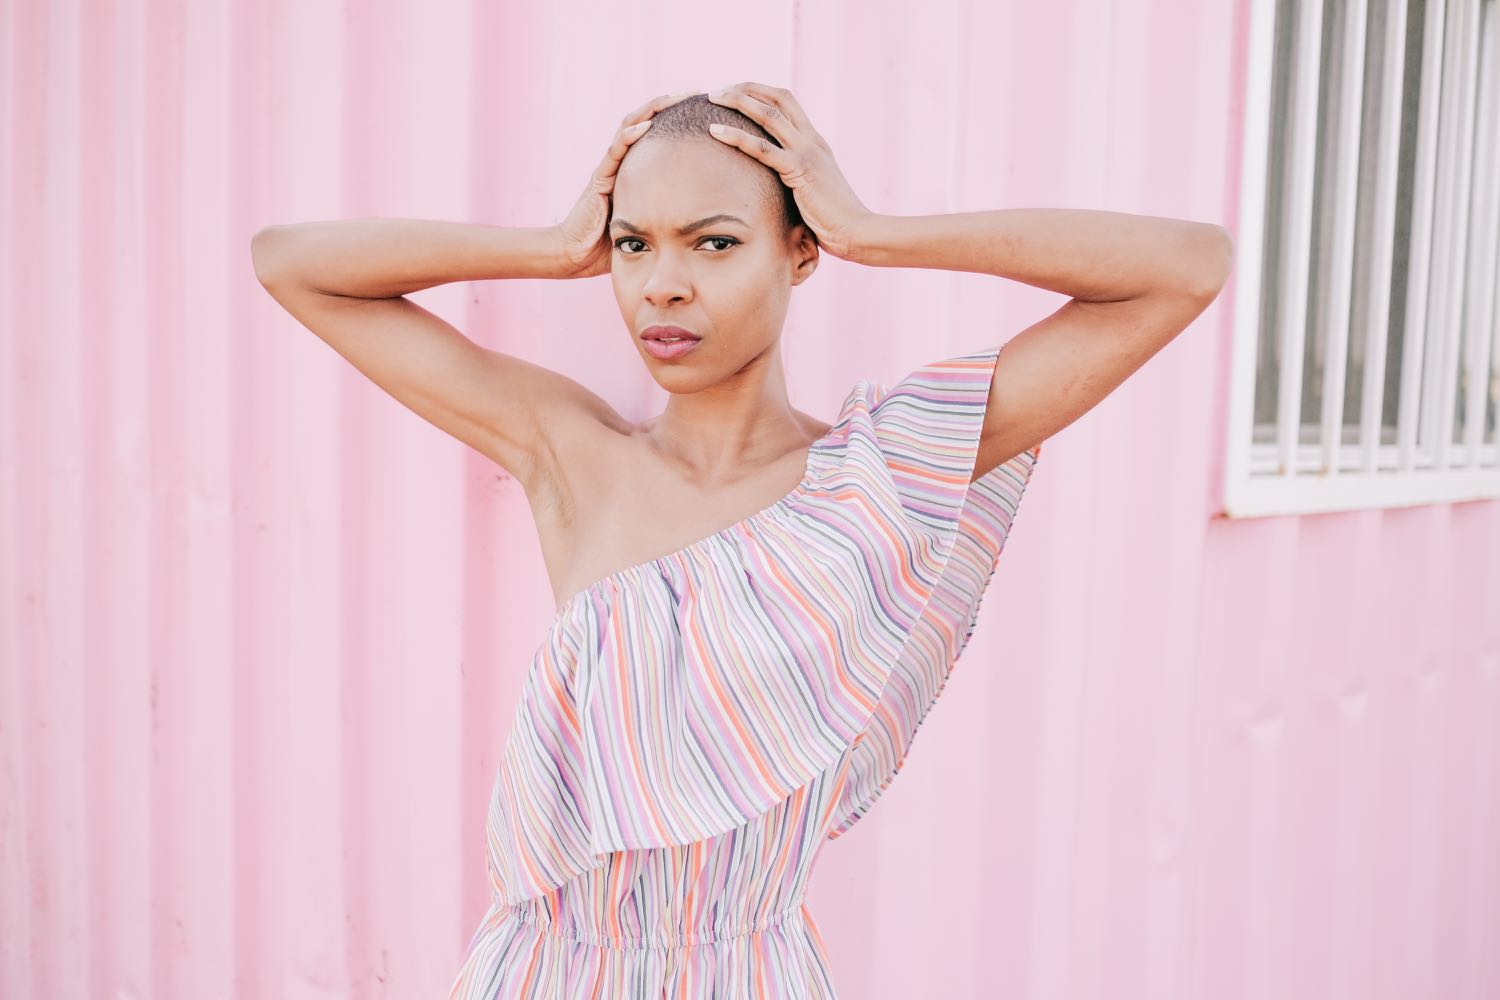
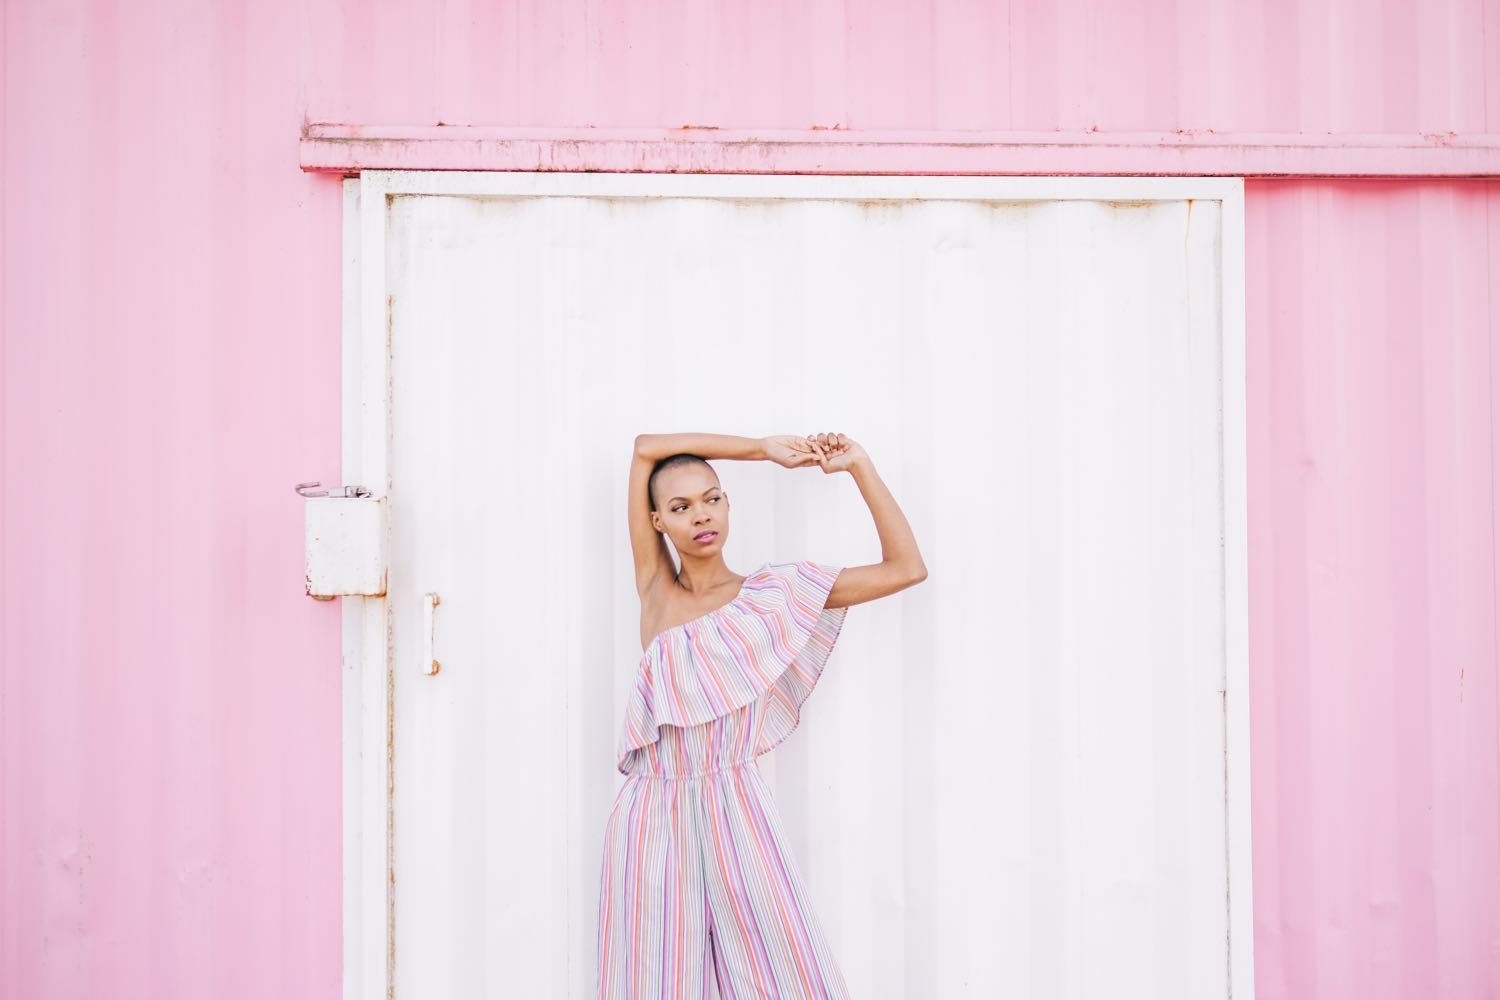
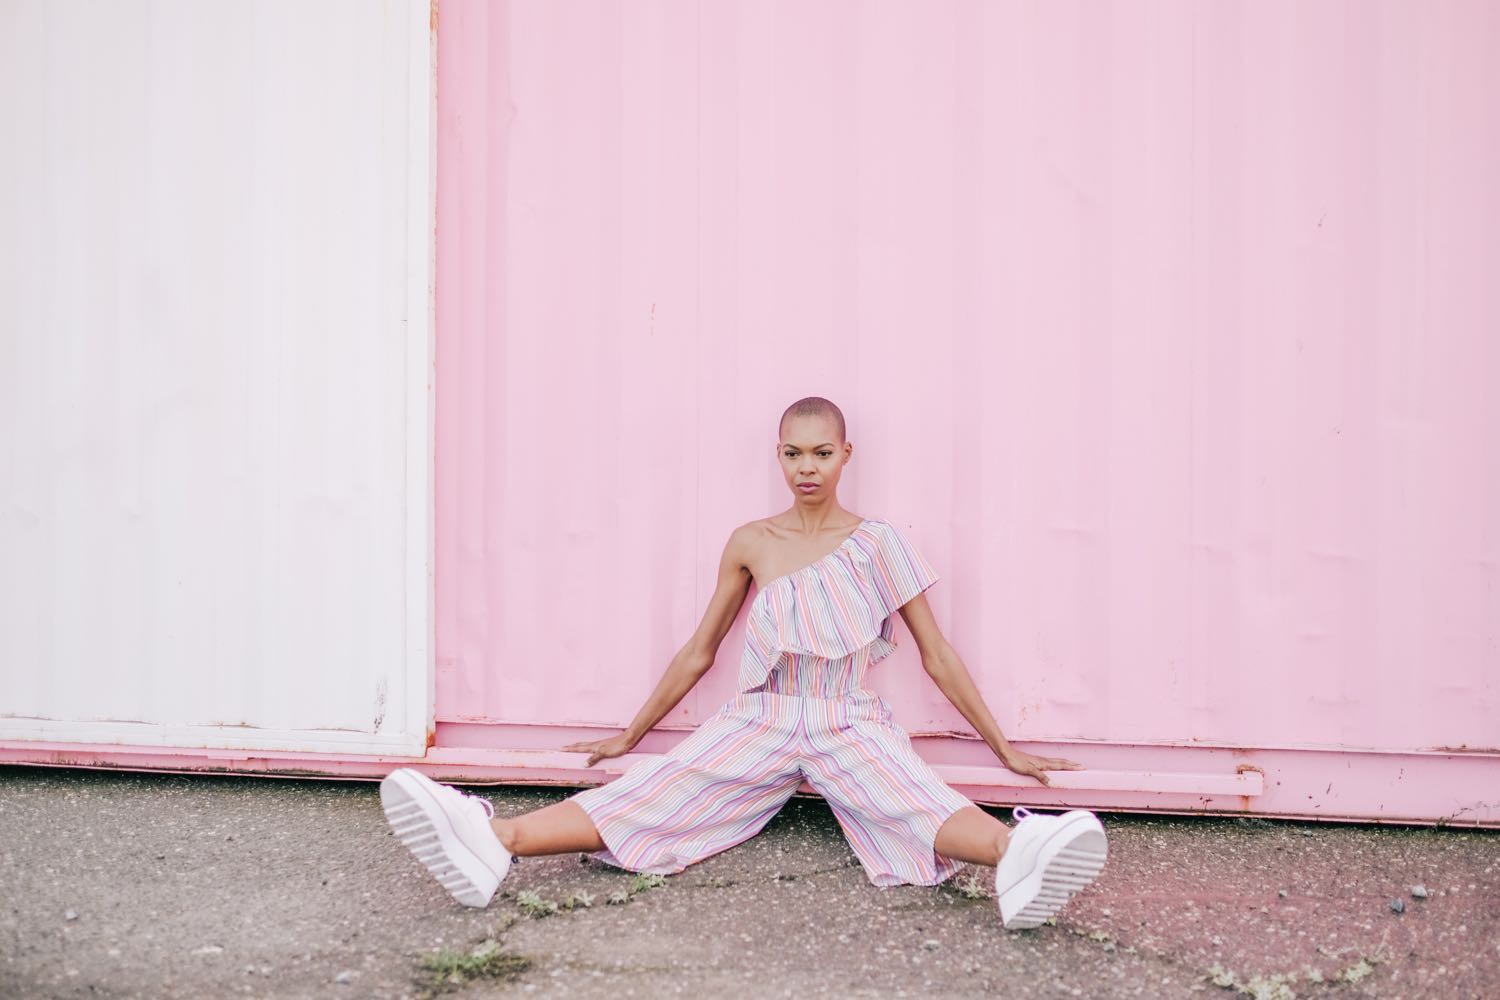
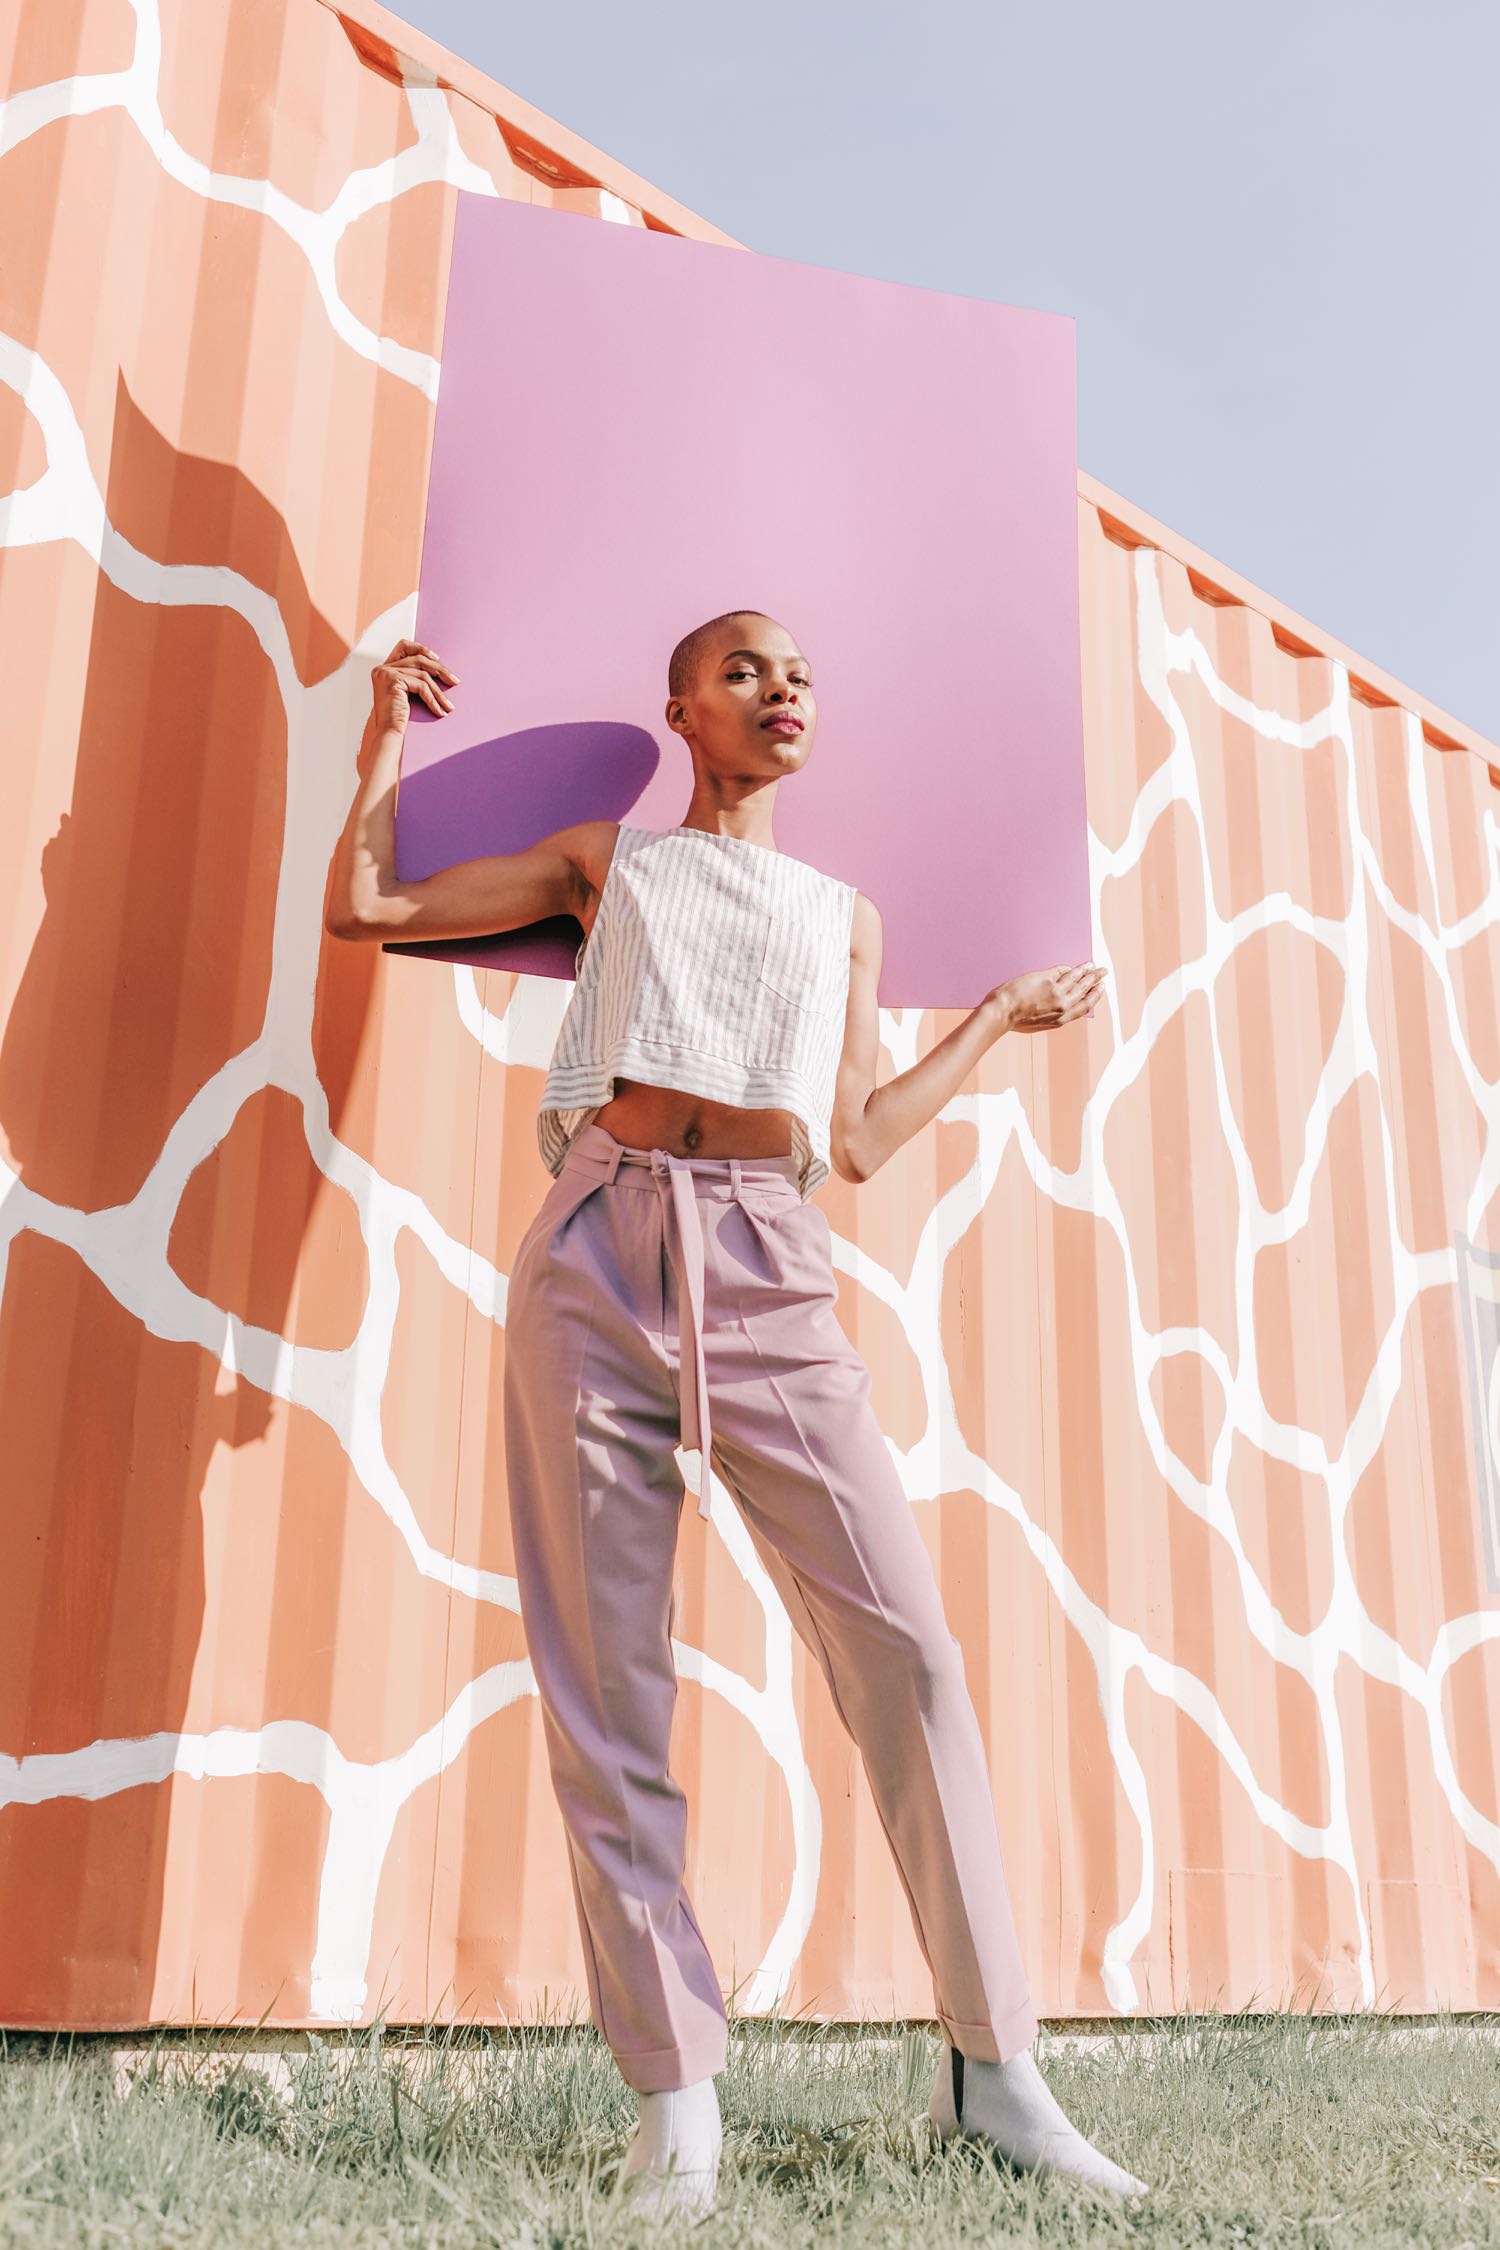
I often talk about how I'm torn between light and dark. I love deep, earthy tones found in caves, streams, forests, and mountains. But lately I've been called to color. Or, maybe it would be more accurate to say that I've become addicted to color. Bright, warm, candy colors. I can't get enough. I wish that every building in the world was a different color. But maybe then it wouldn't be as special. For this shoot, I wanted to shoot somewhere I hadn't shot before. Somewhere that may only be beautiful in the eyes of a photographer. Well, if you've ever been to Treasure Island in San Francisco, you may know what I'm talking about. Originally built for the 1939 Golden Gate International Exposition (yes, it's an artificial island), Treasure Island has seen better days. I'm actually quite shocked it hasn't been developed. It's stuck in a 1960s-70s era of former schools, military buildings, and storage containers. Ugly to most people, but I saw so much structural and colorful potential.
I never thought I'd love storage containers as much as I did on this shoot. Of course, I had an amazing team that helped make this happen!
Model: Tiffany O'Neil Forde
Hair & Makeup: April Foster
Styled by me!
These photos were edited with my Pop! Harsh Light Pack presets.
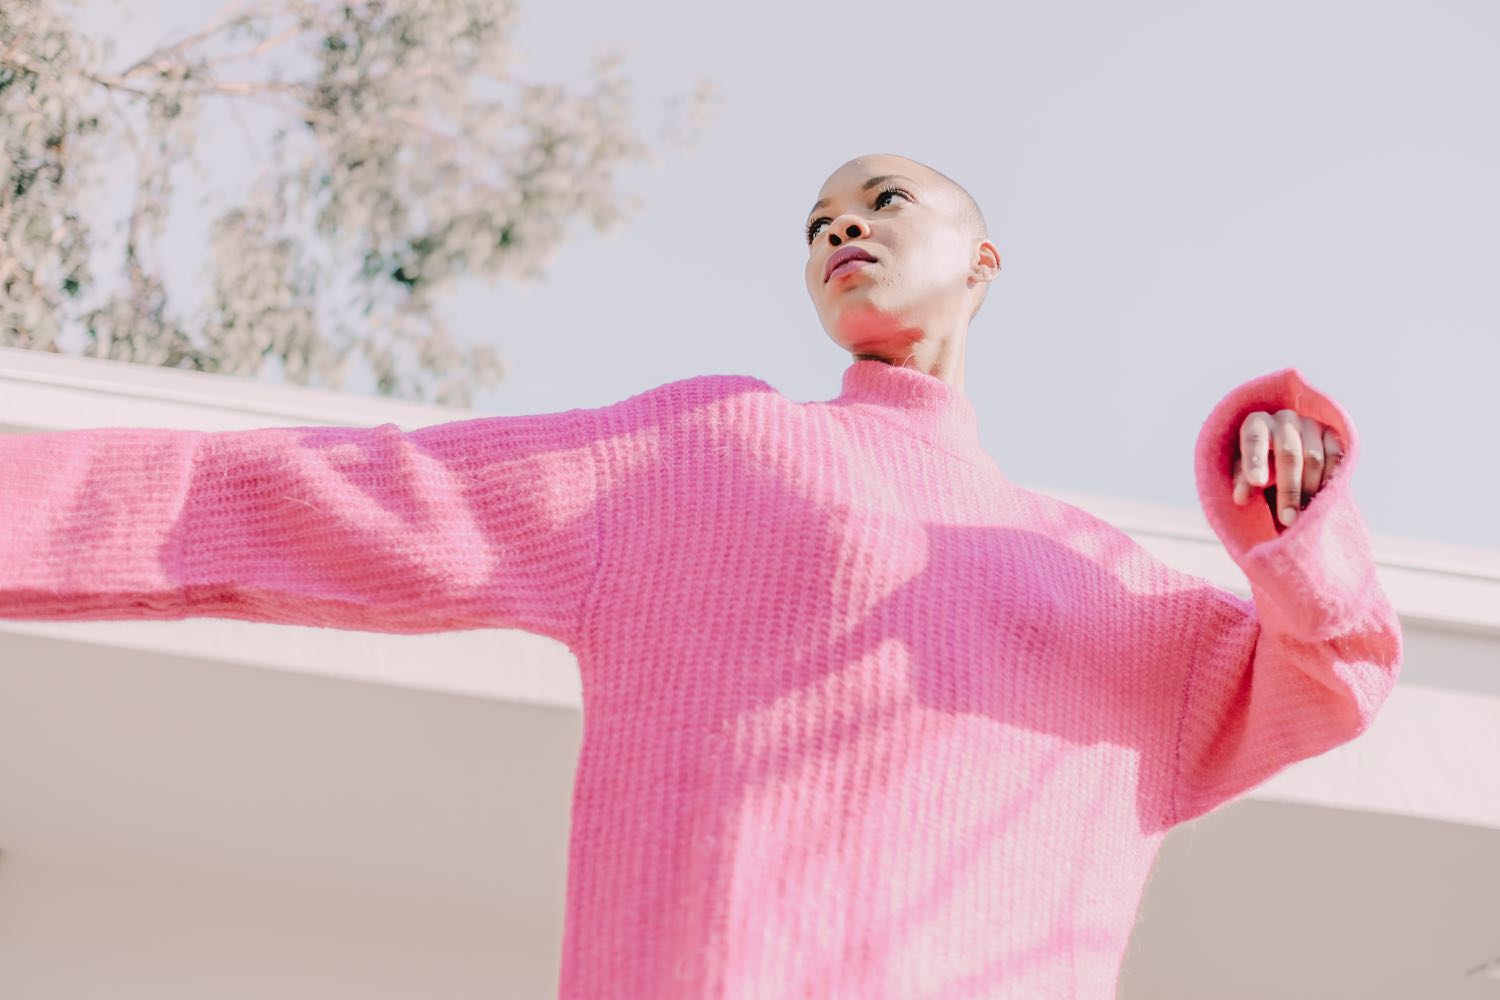
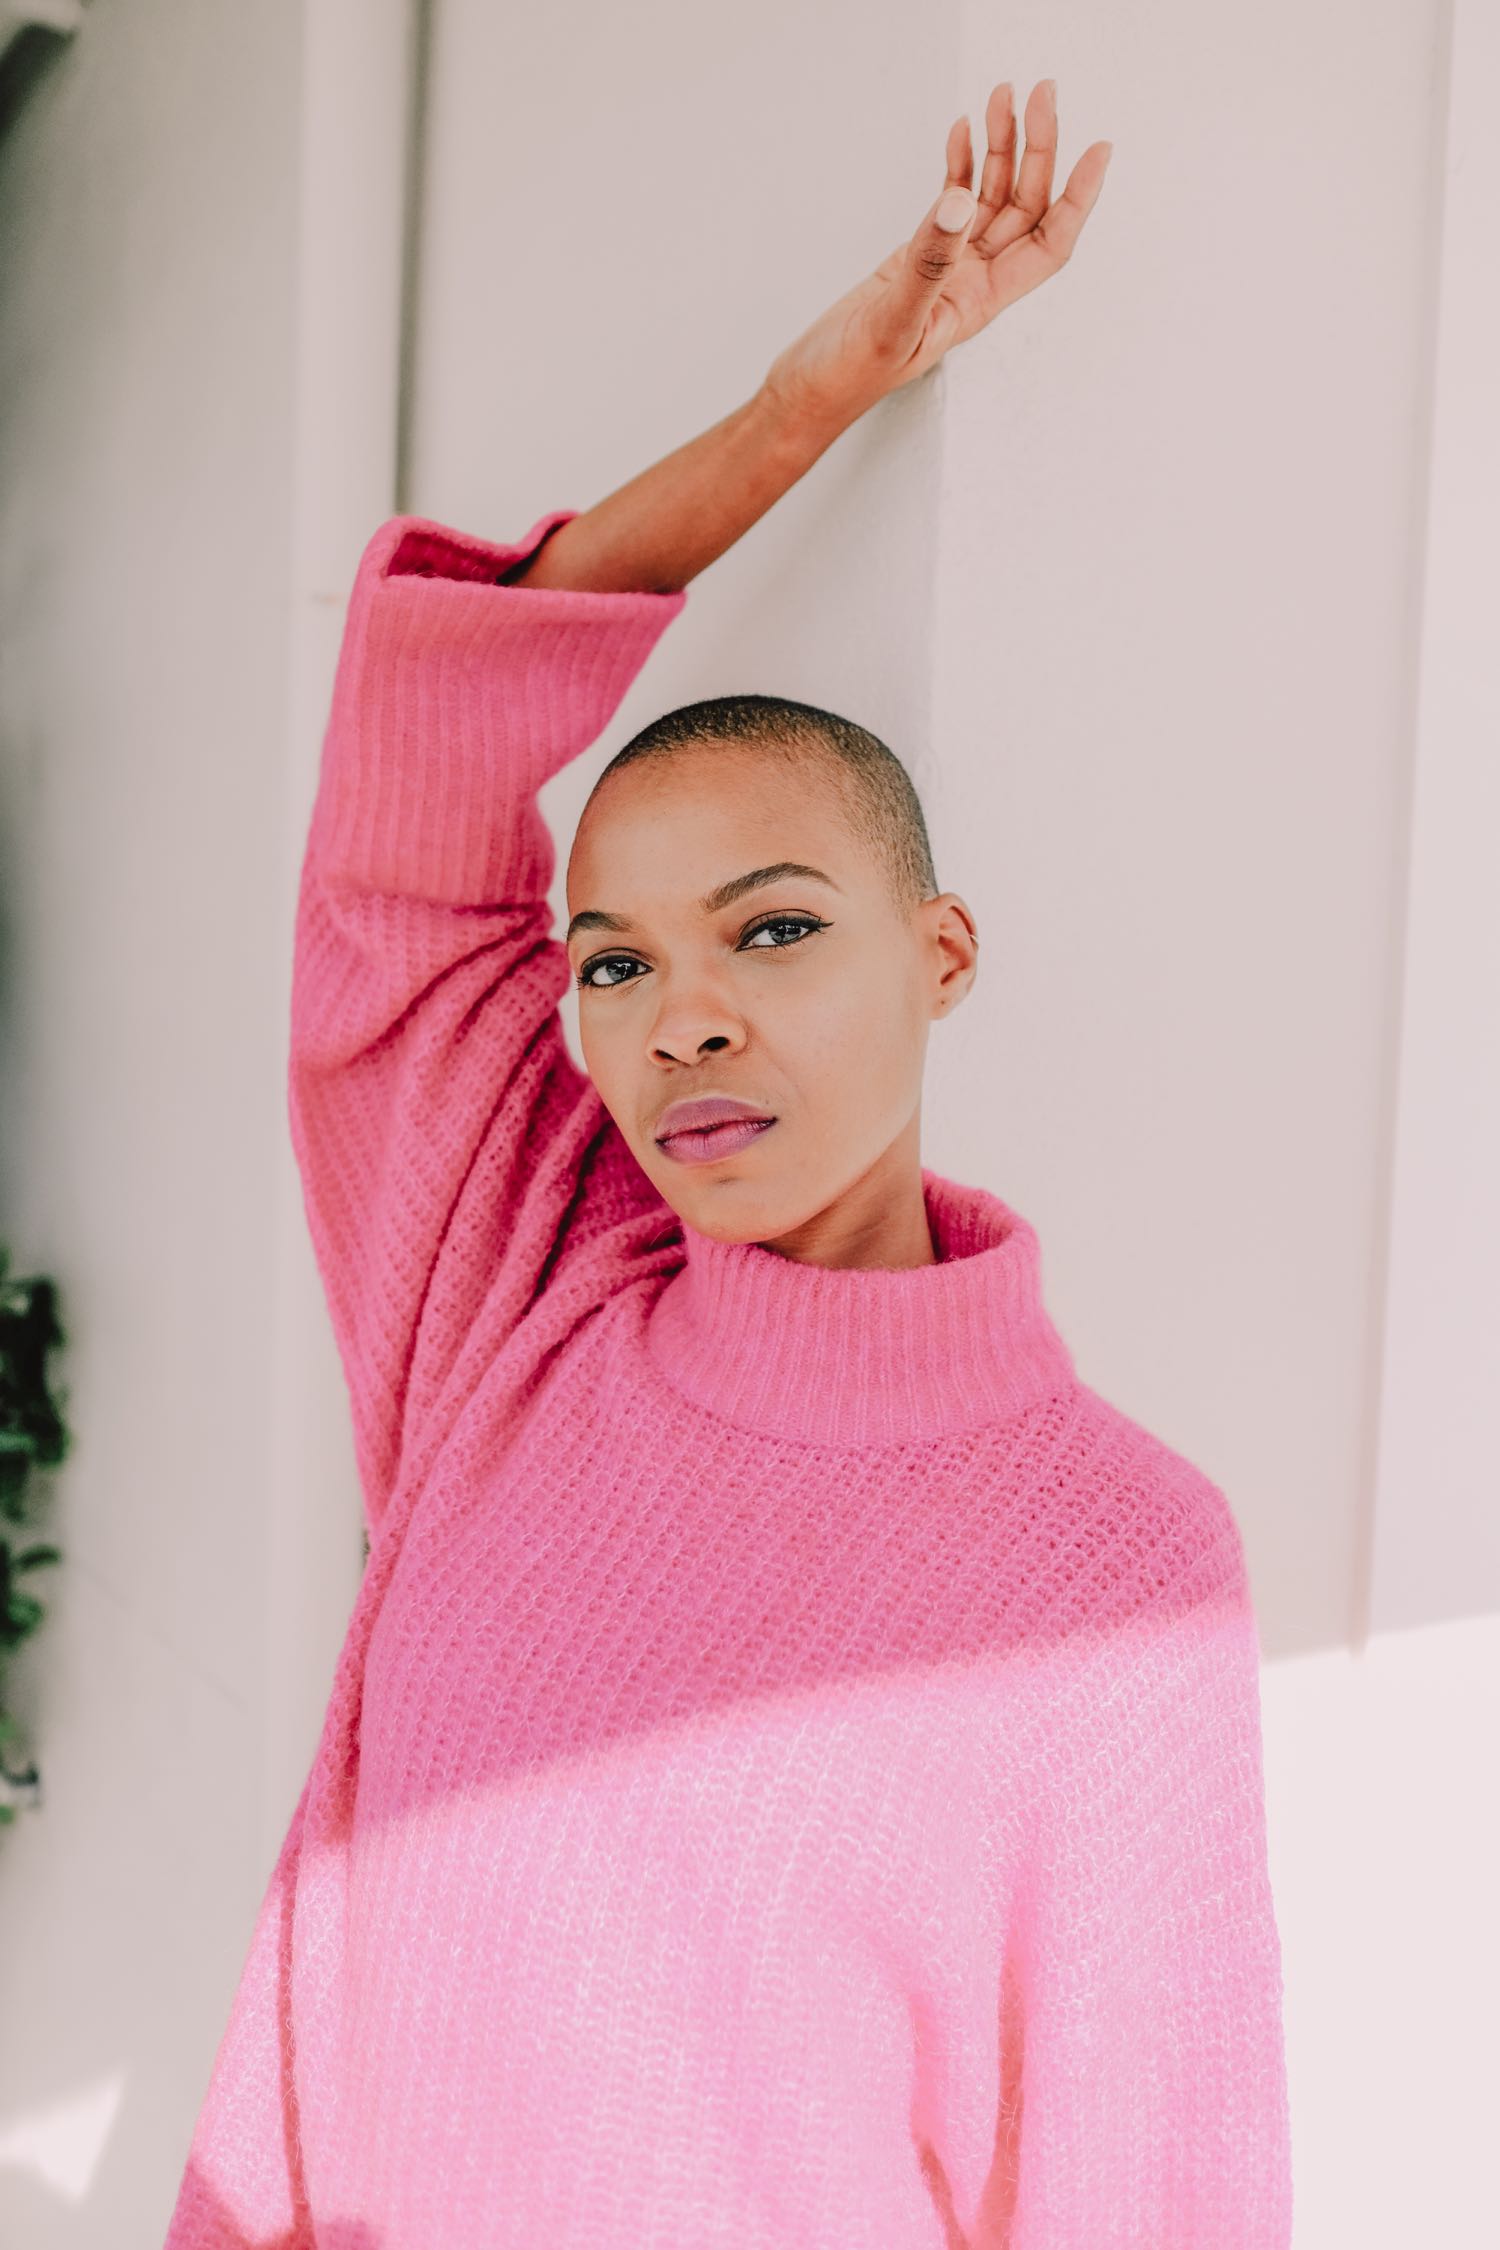
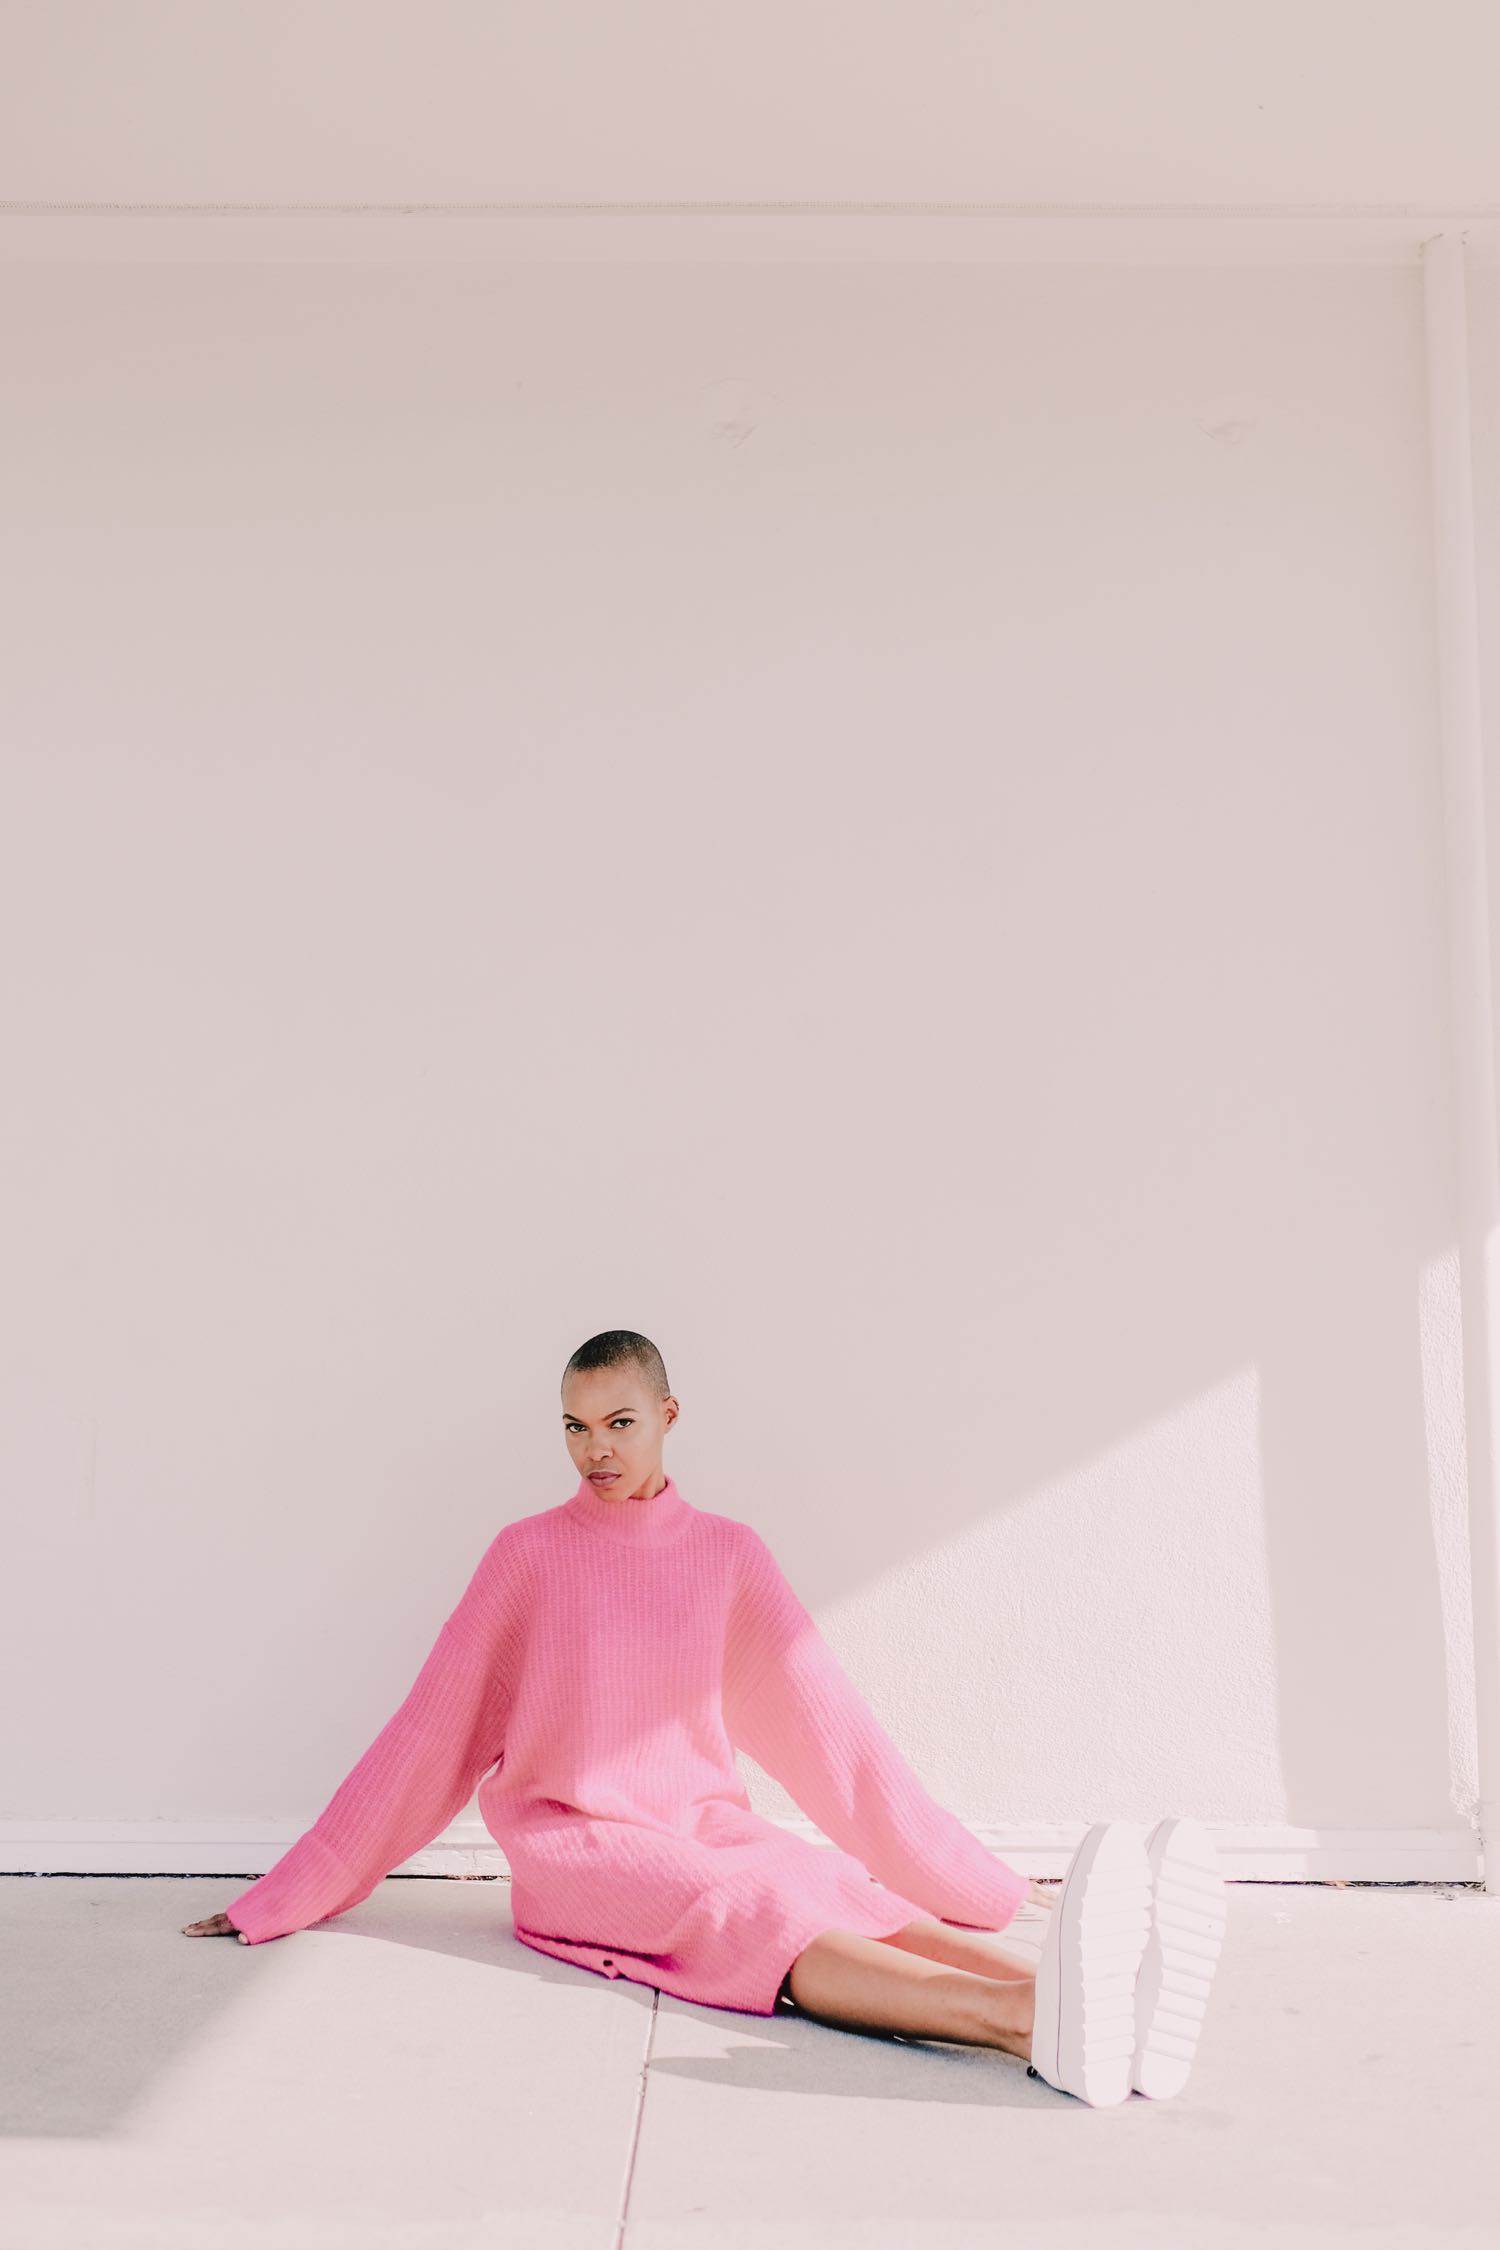
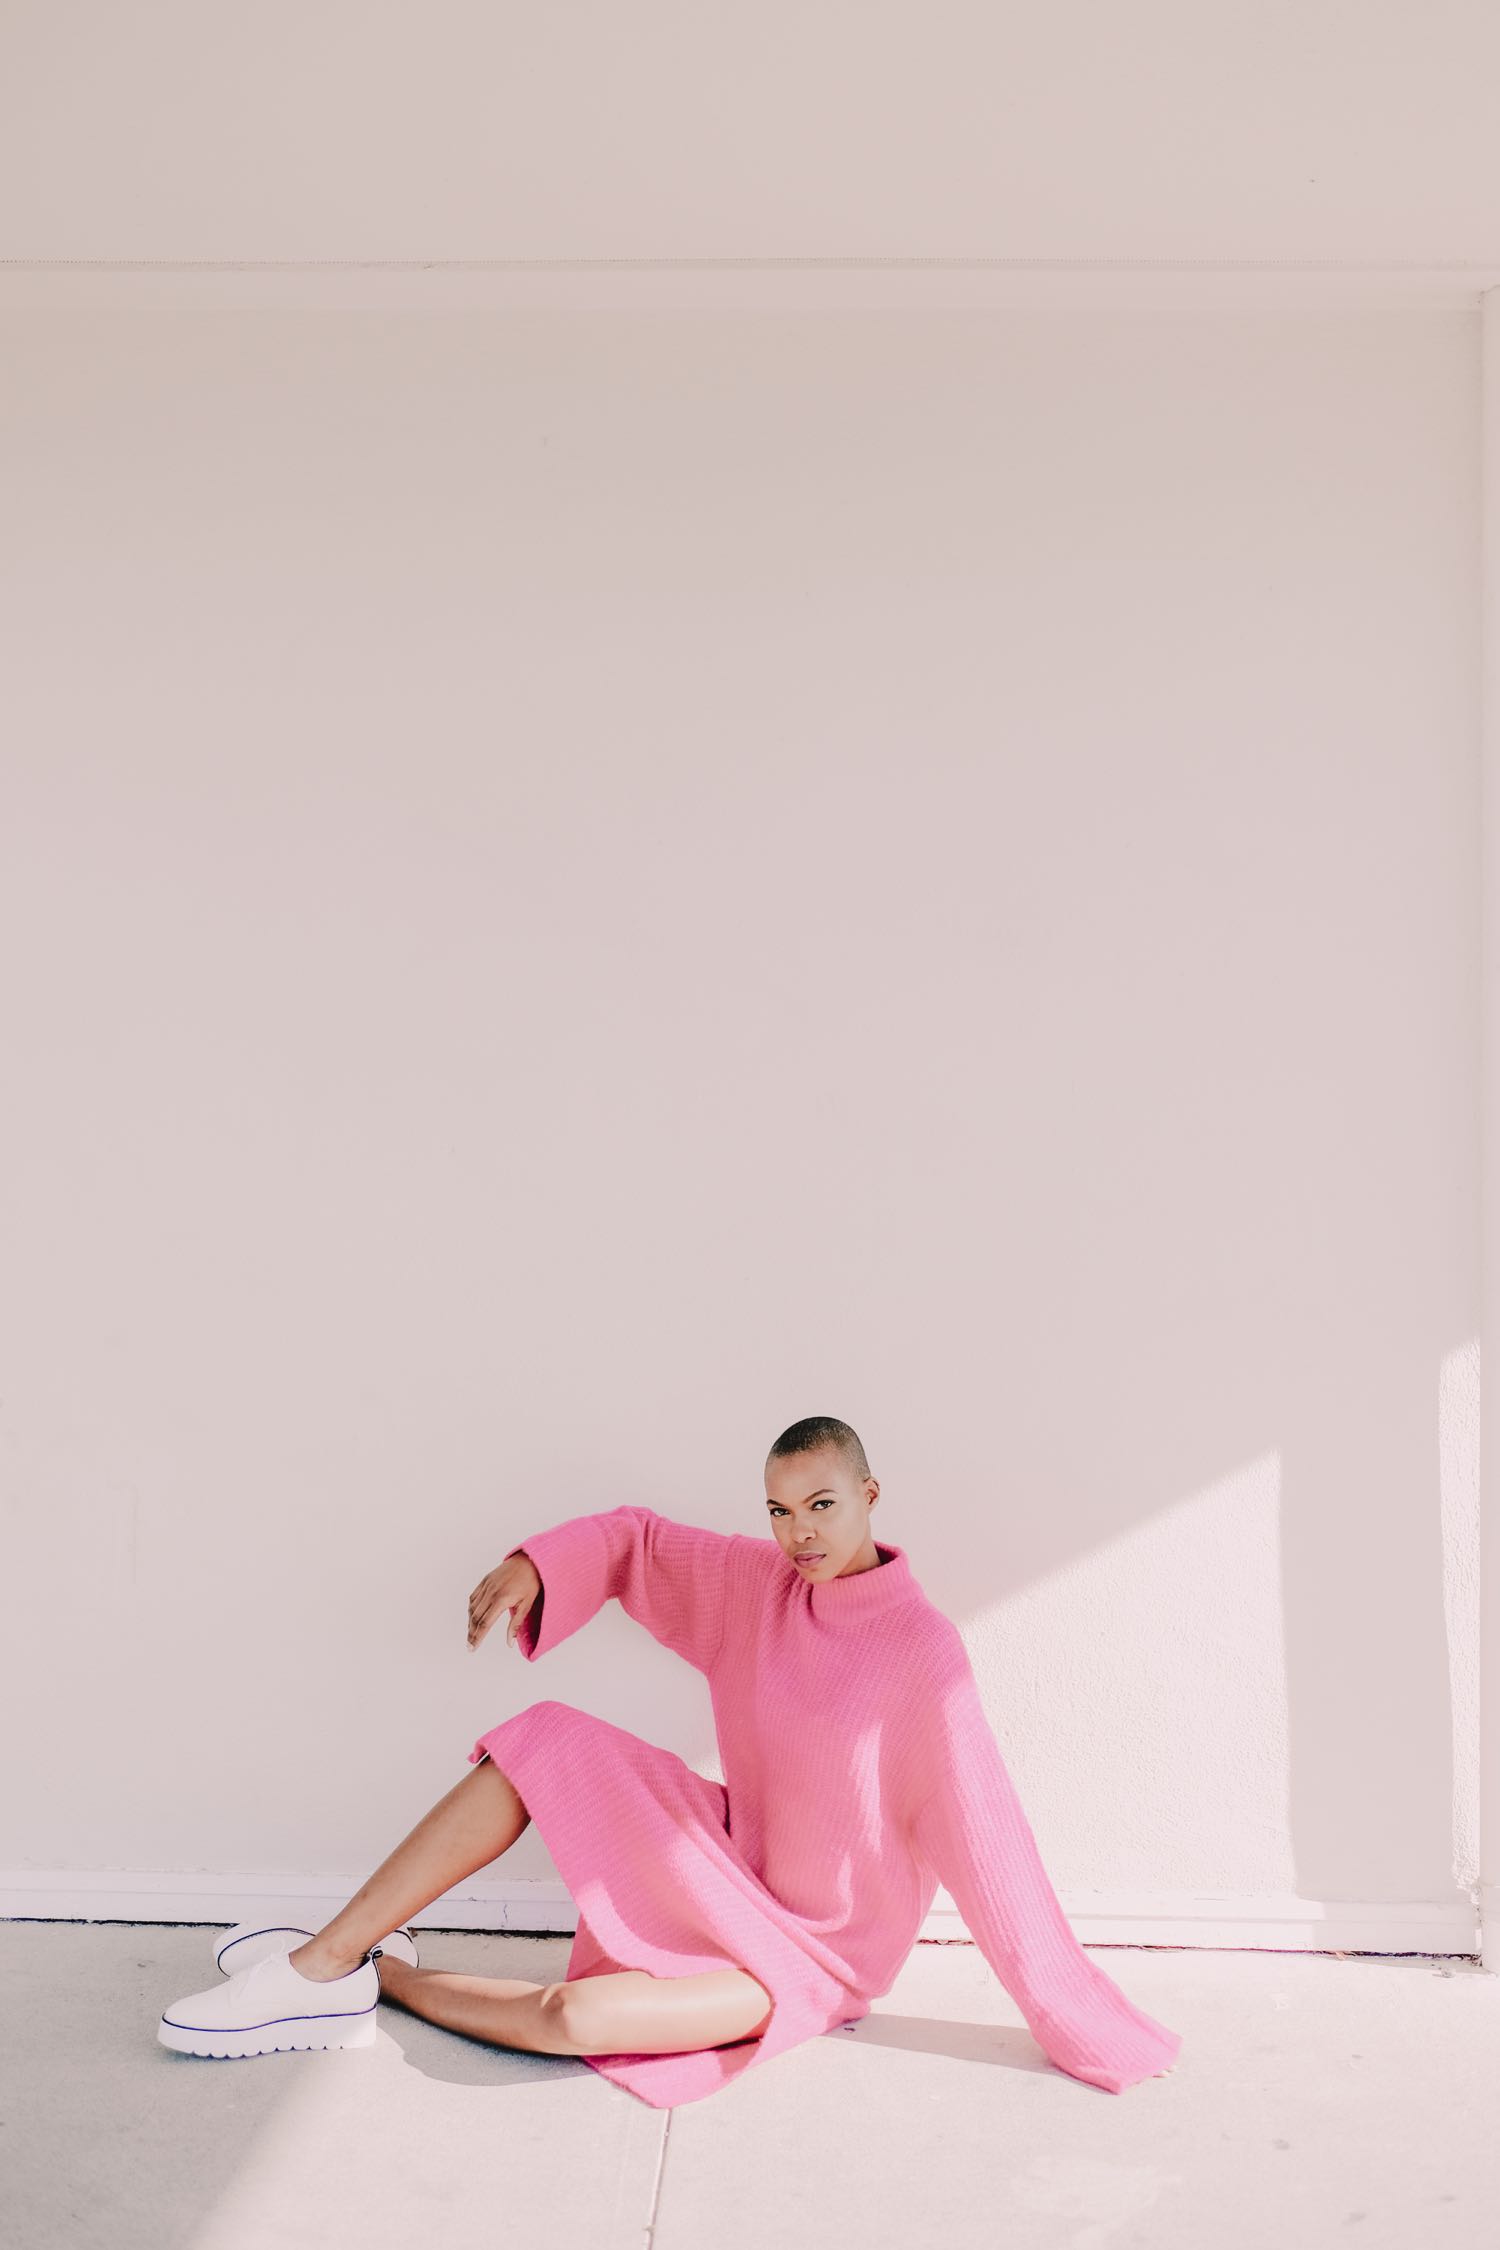
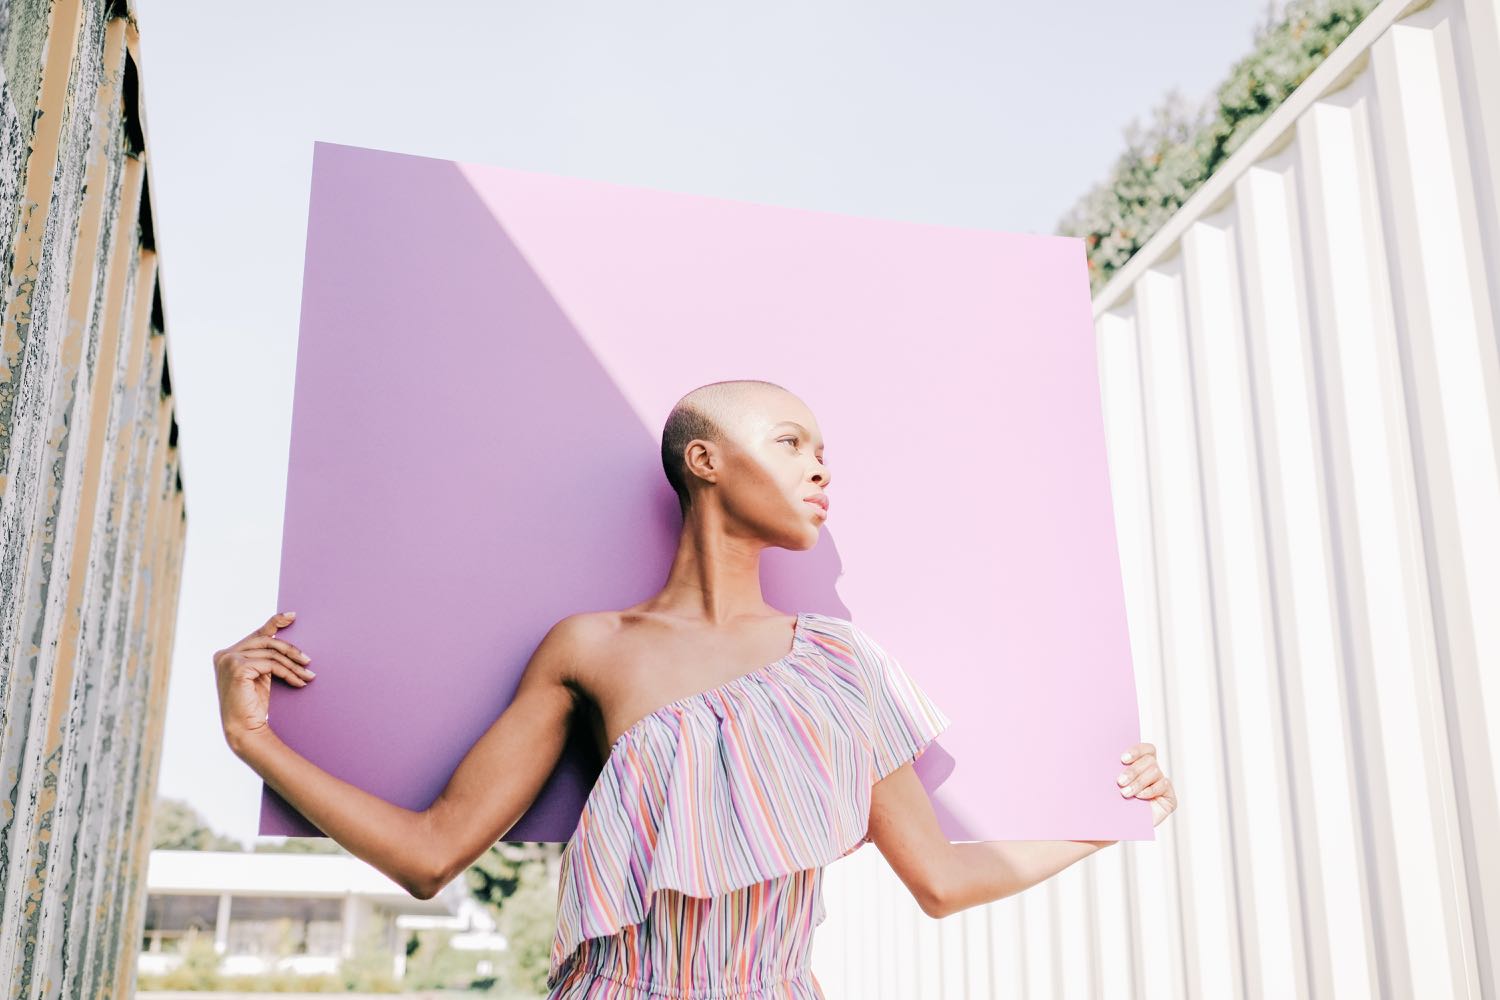
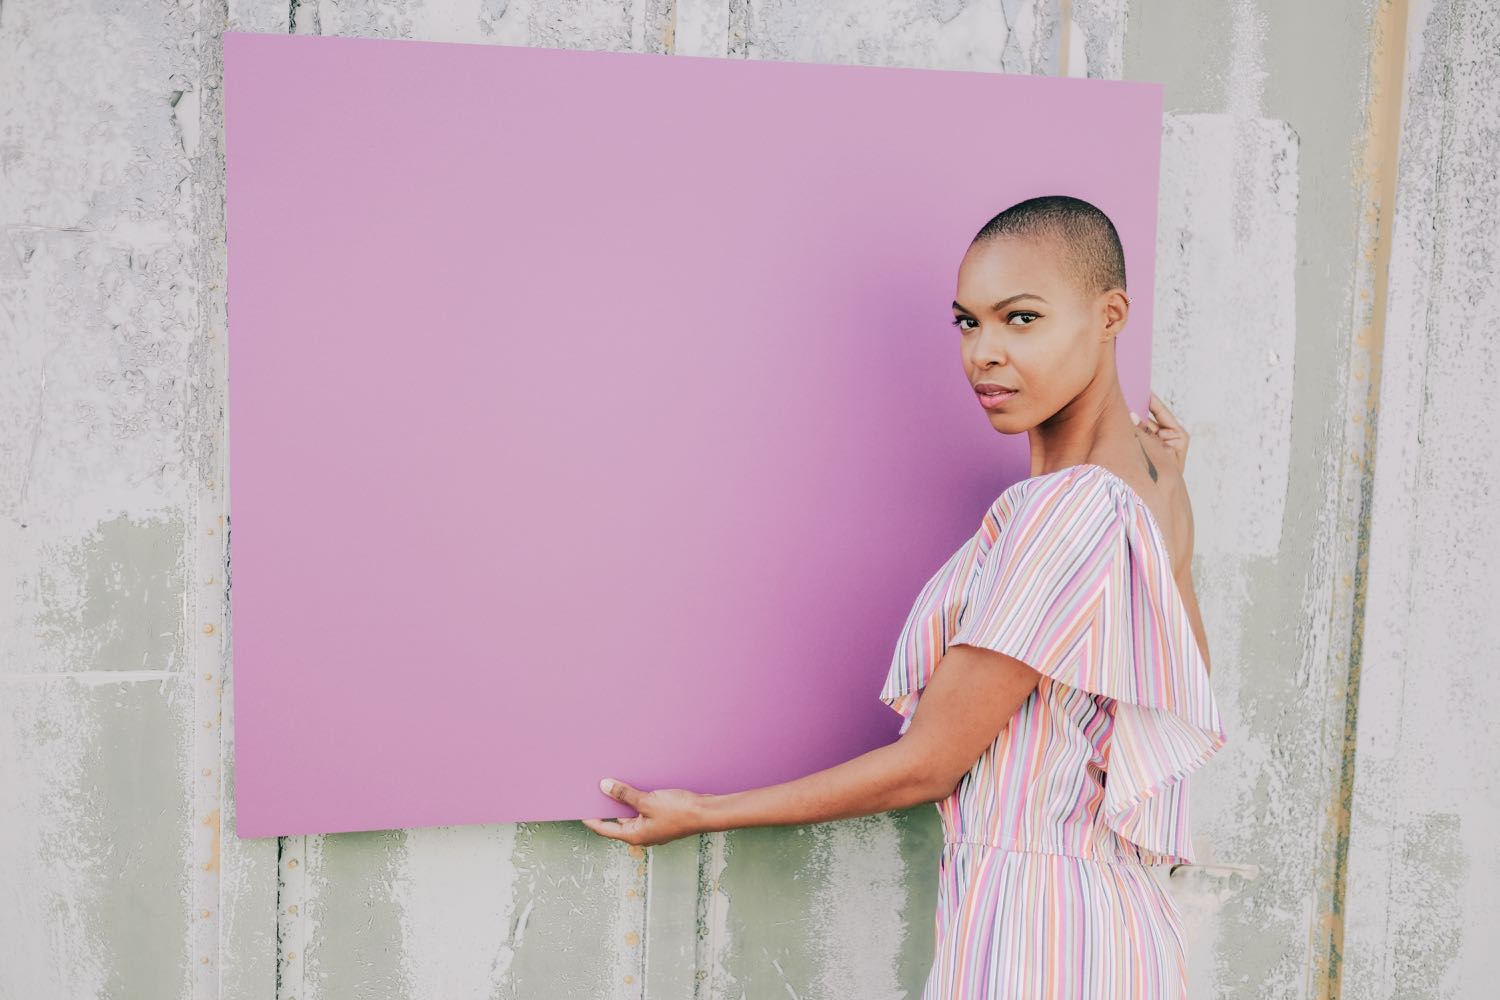
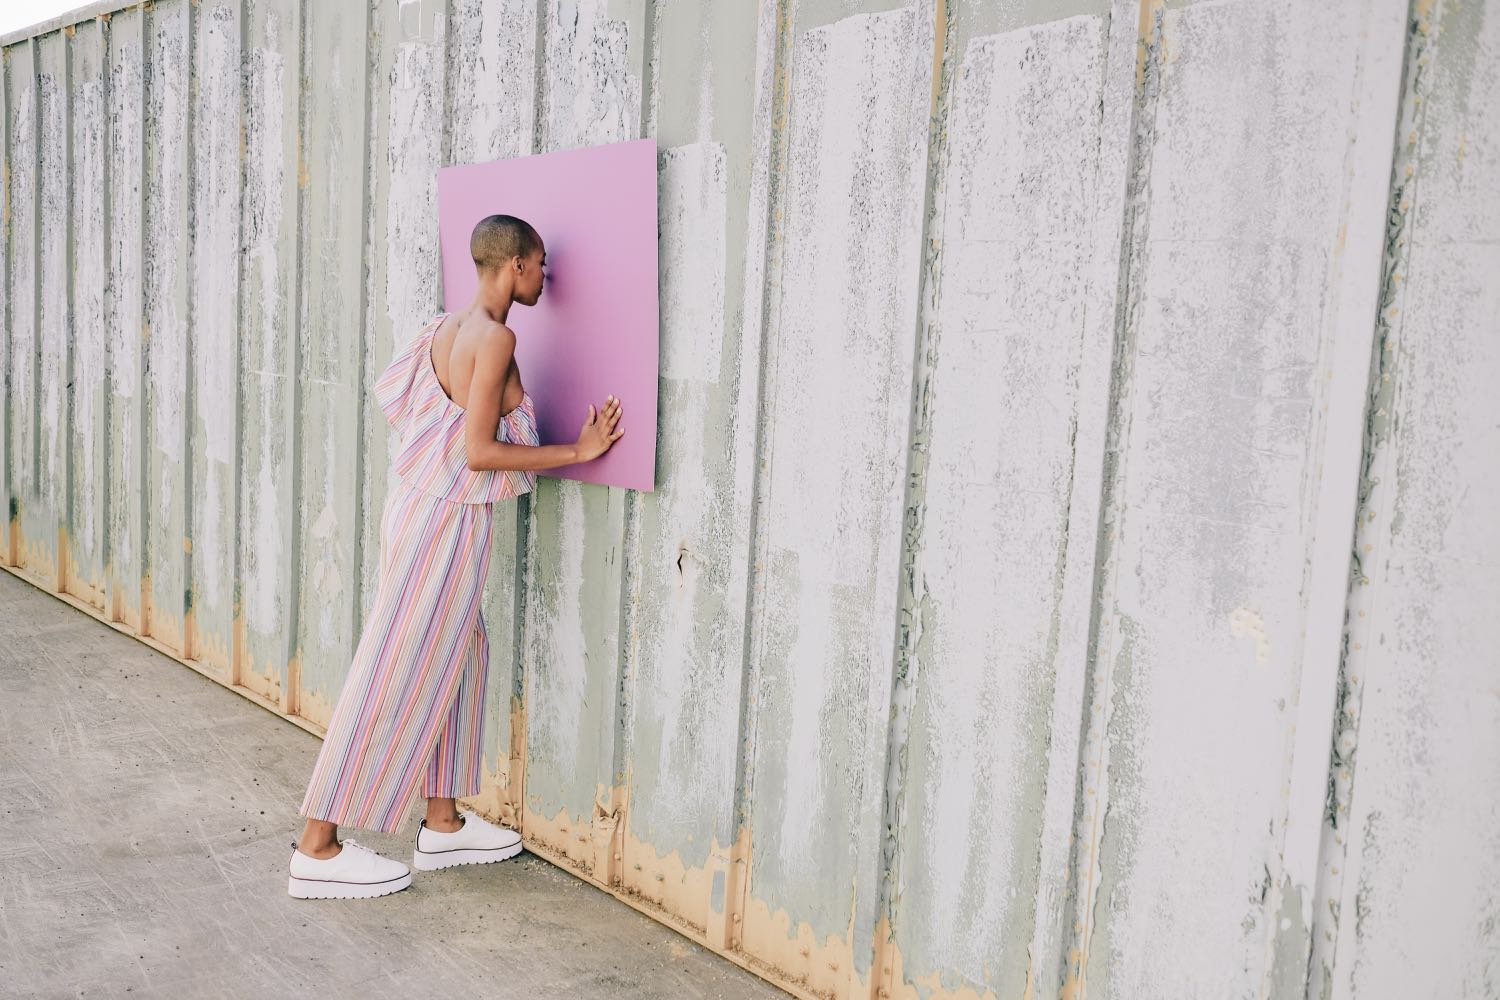
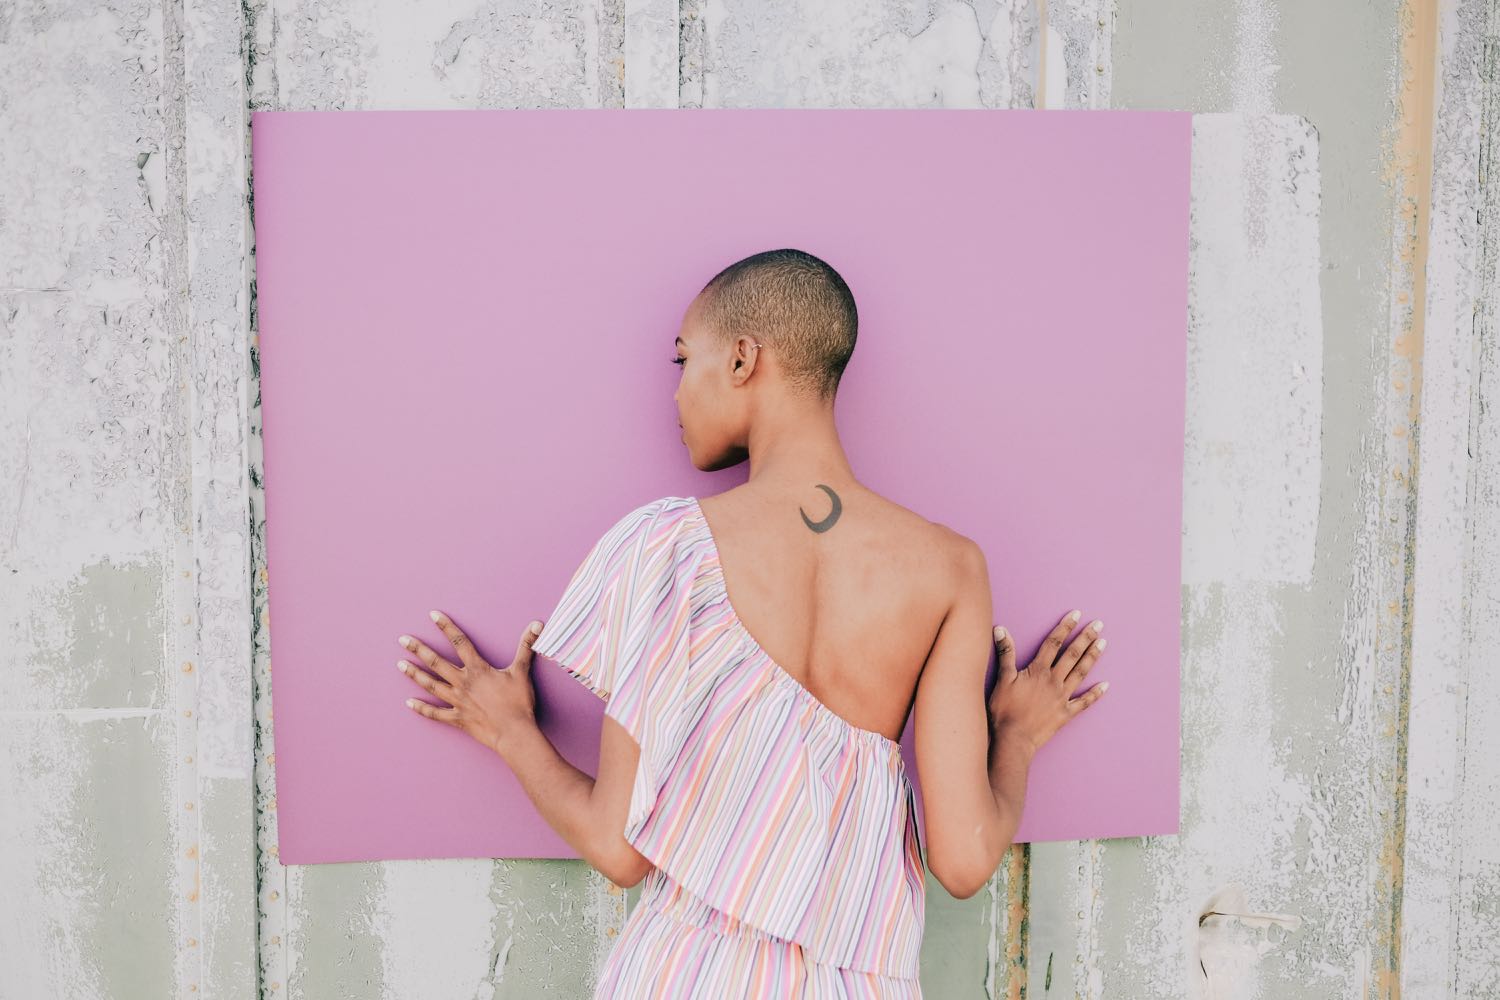
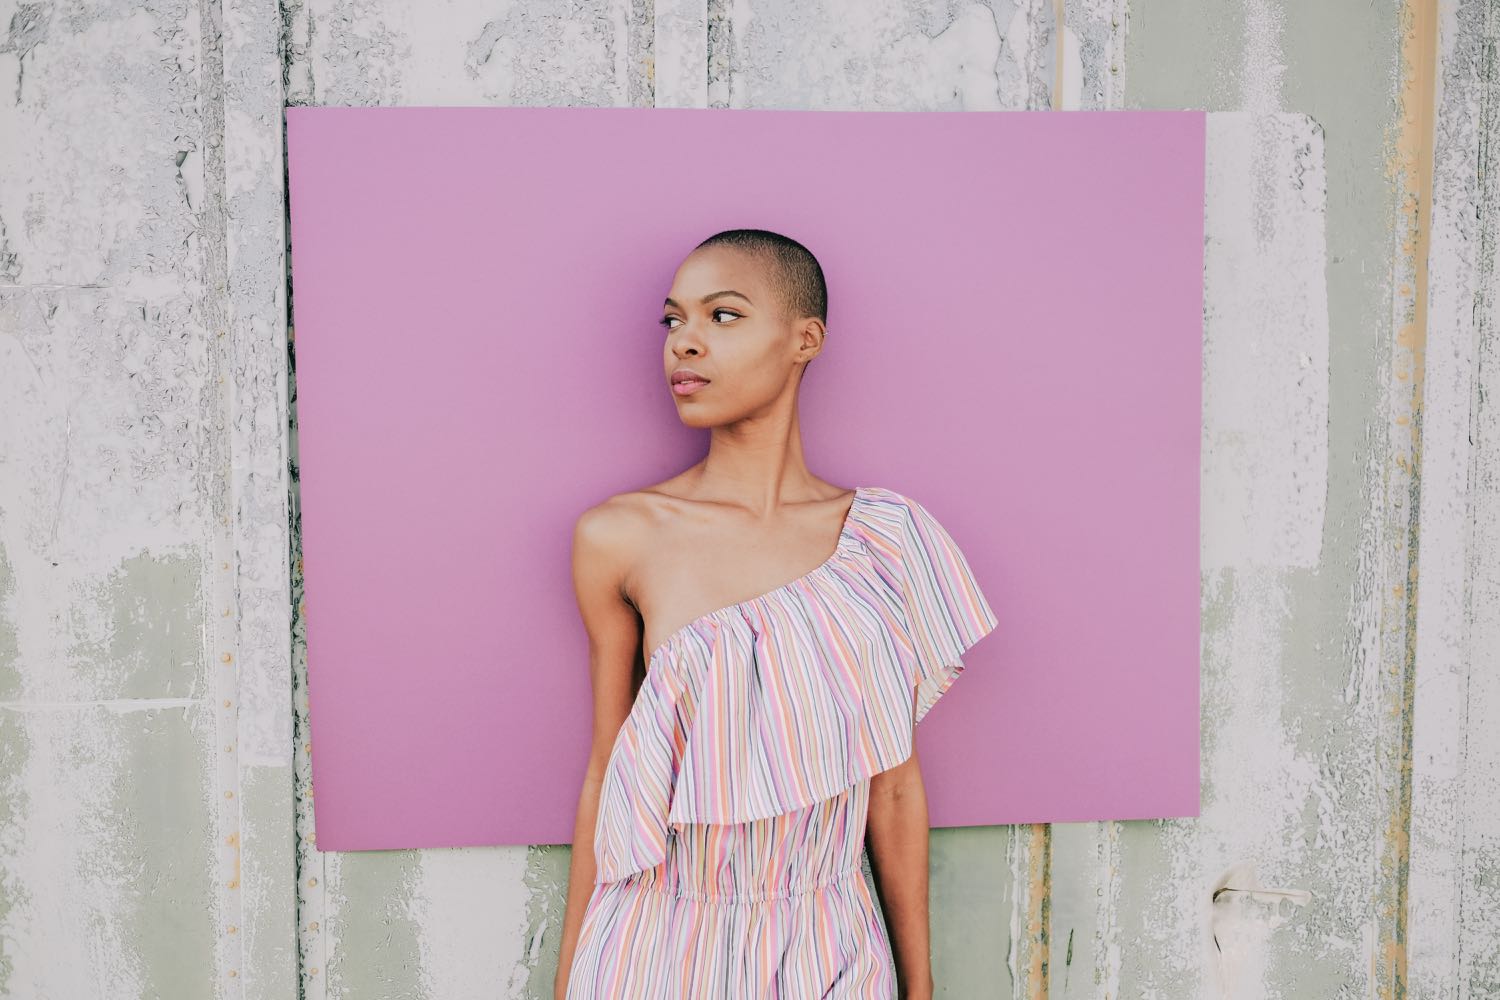

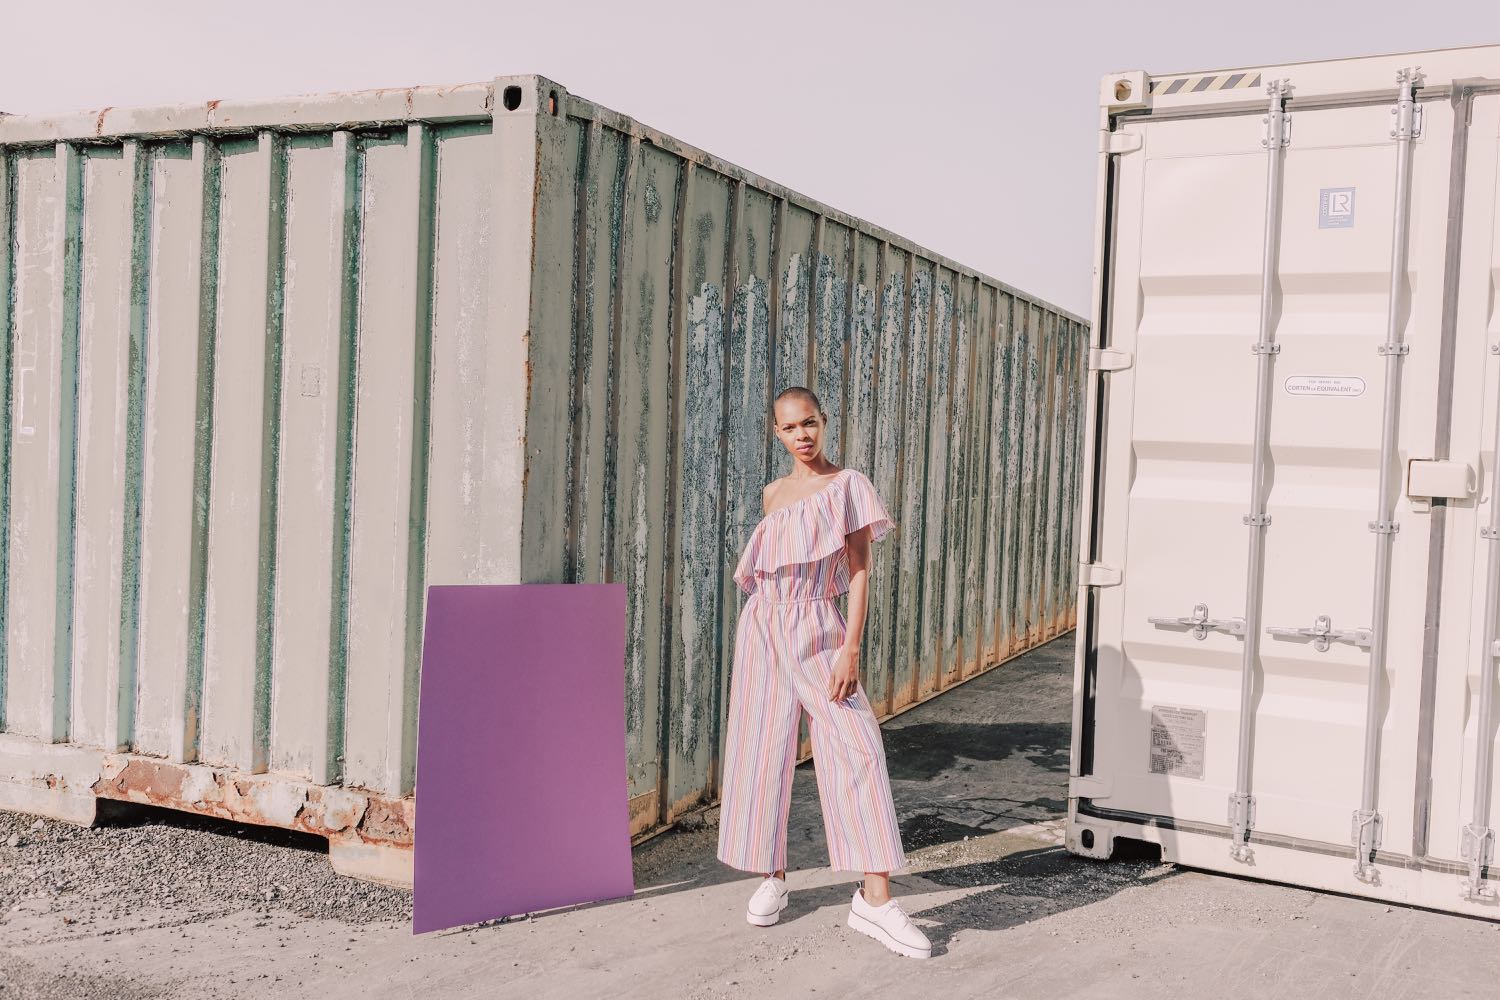
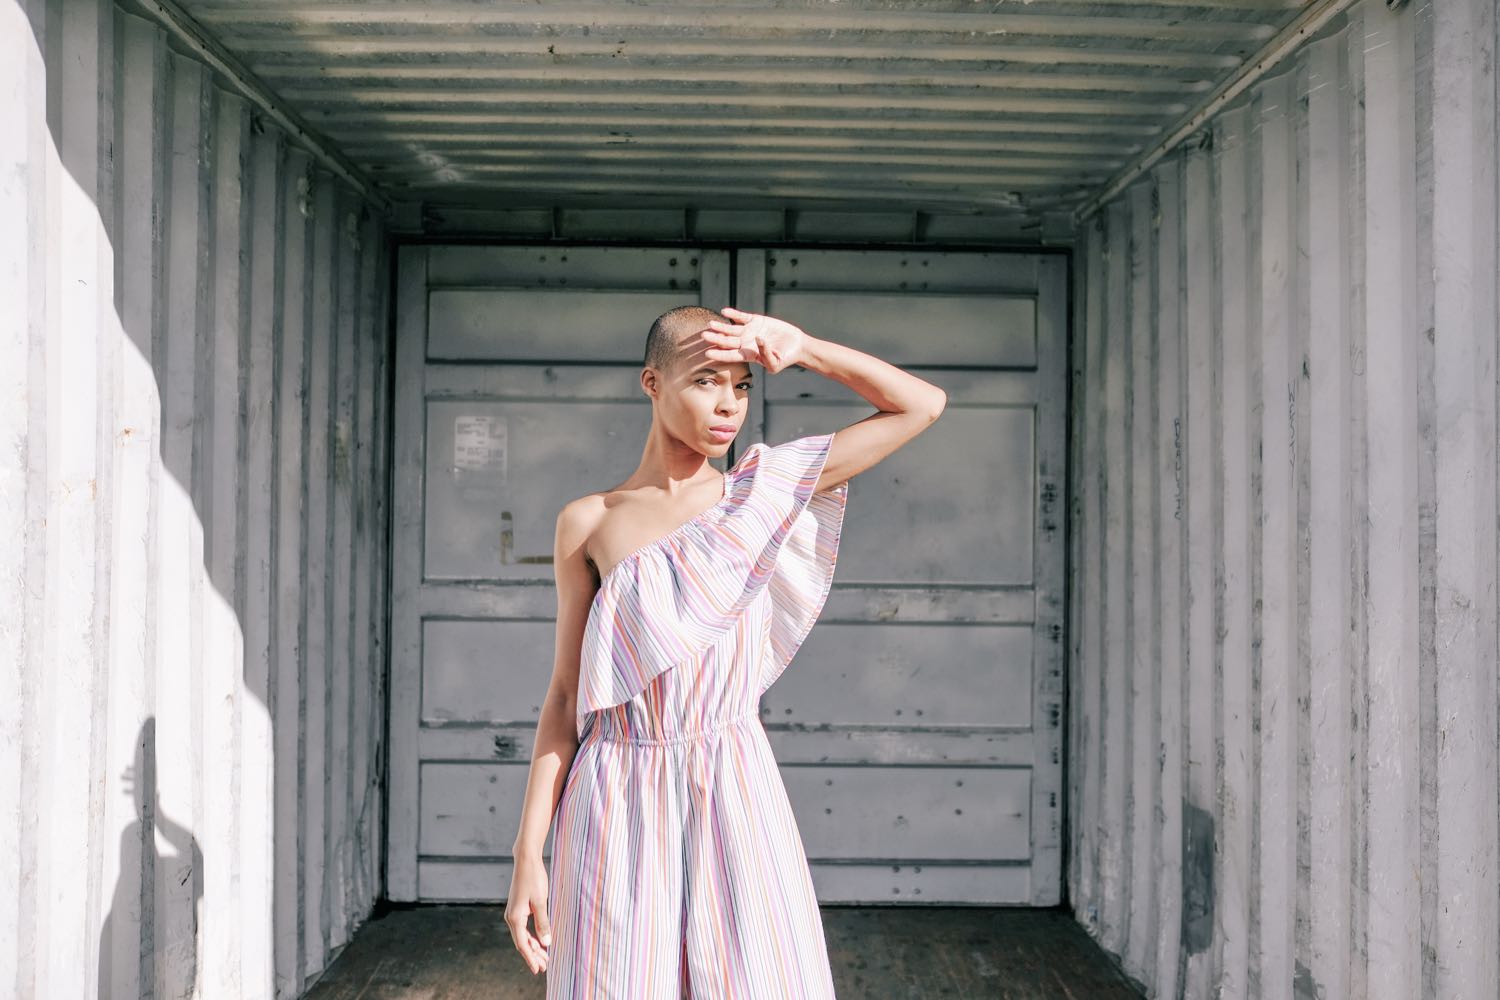
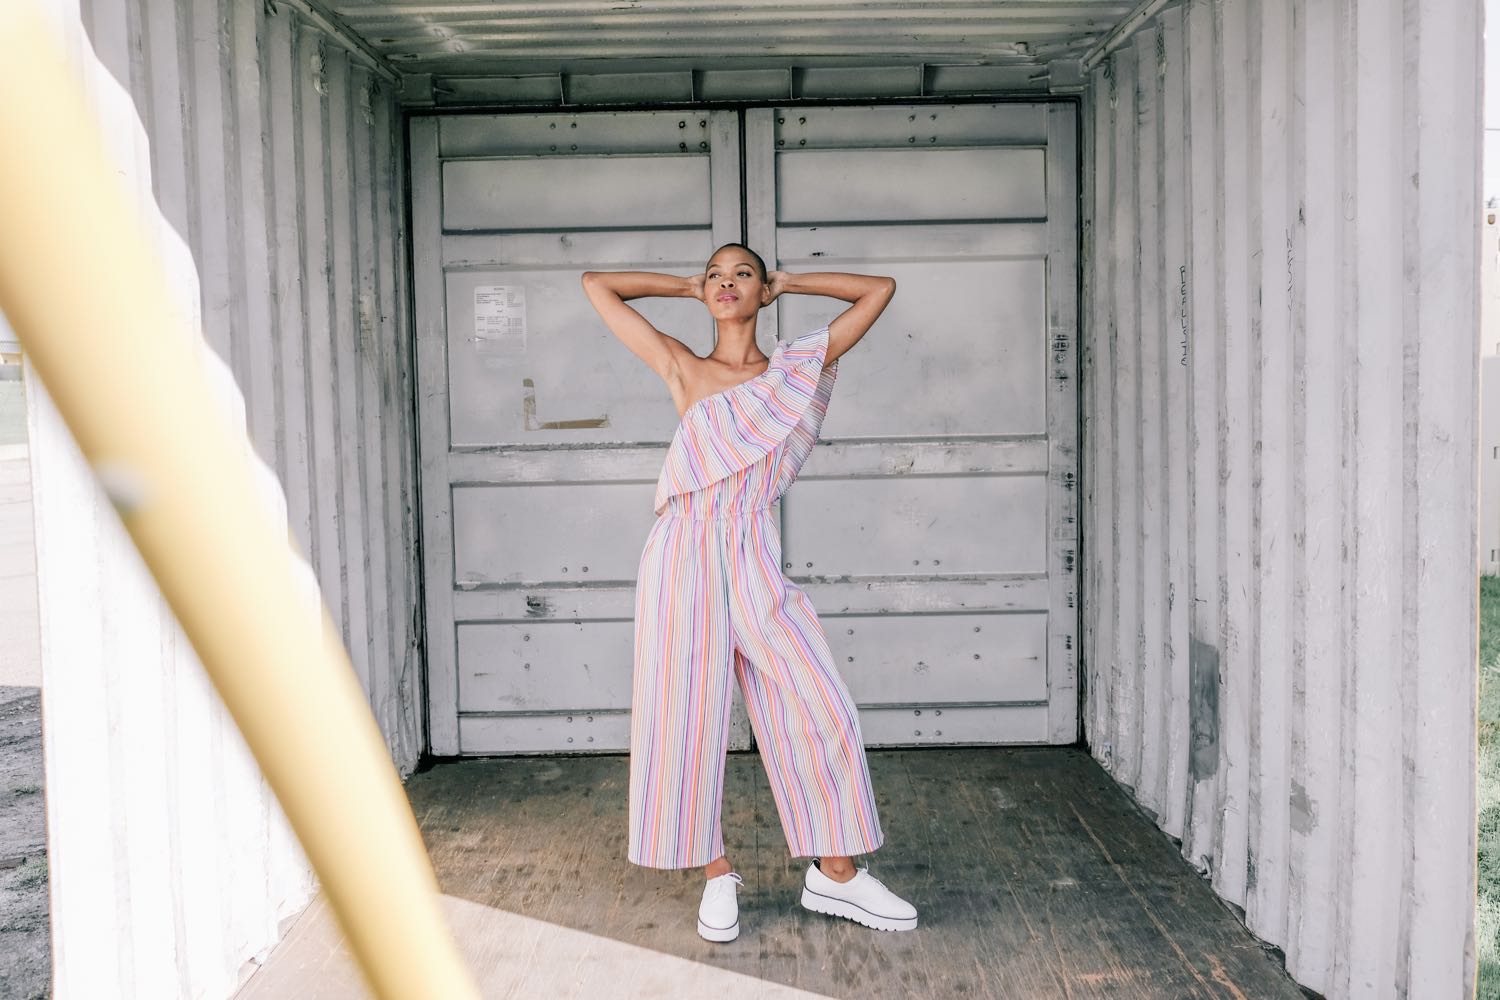
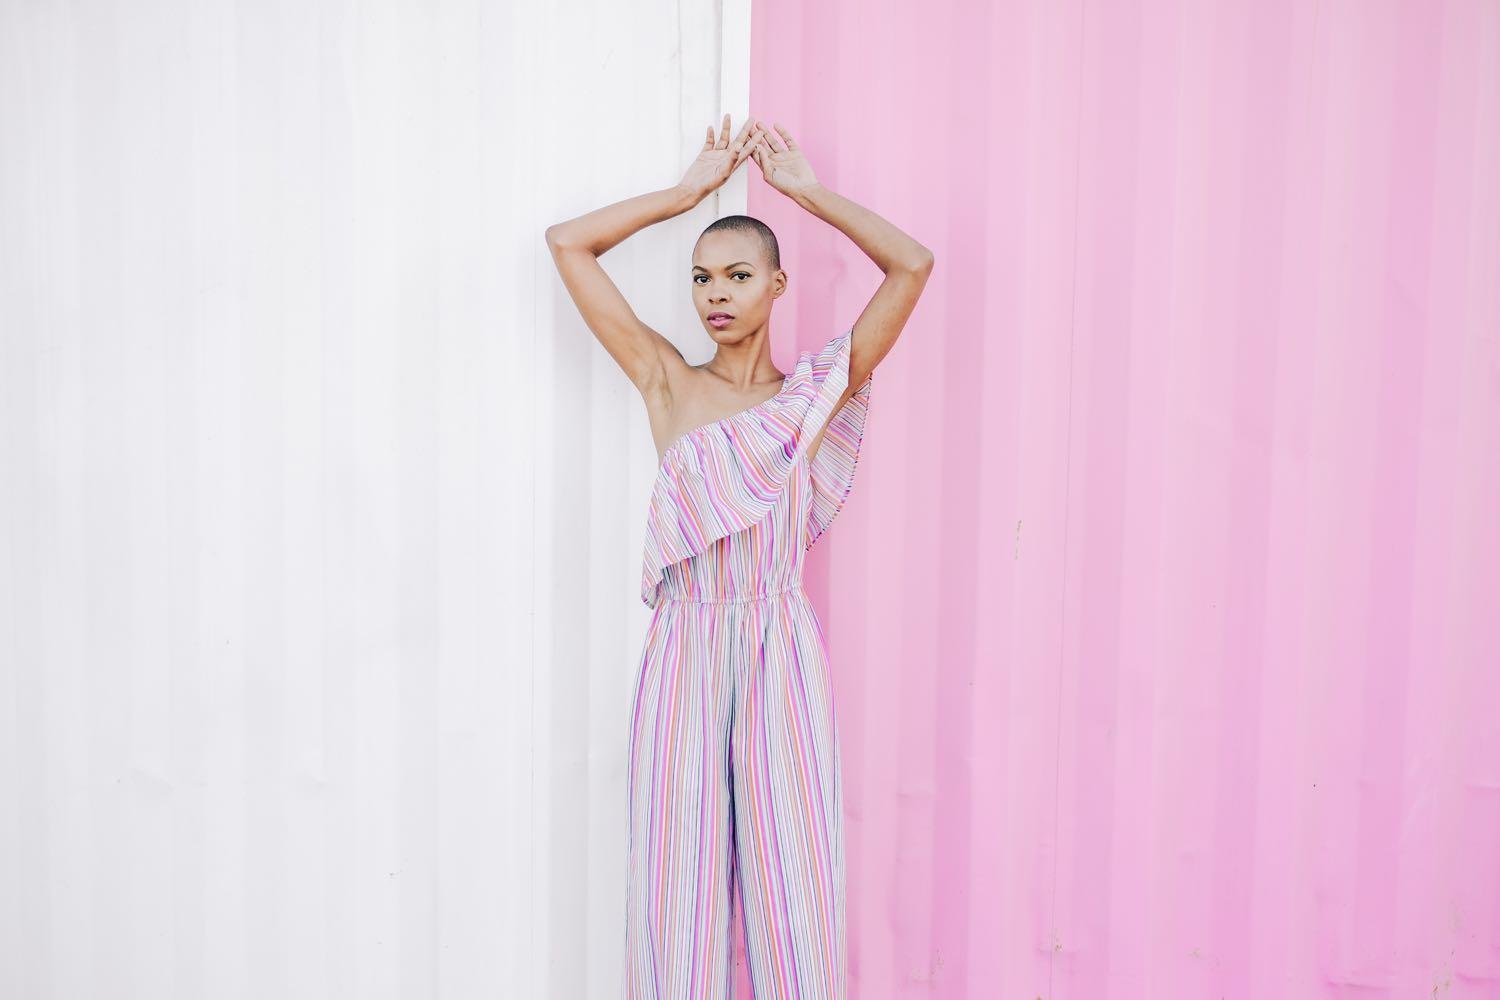
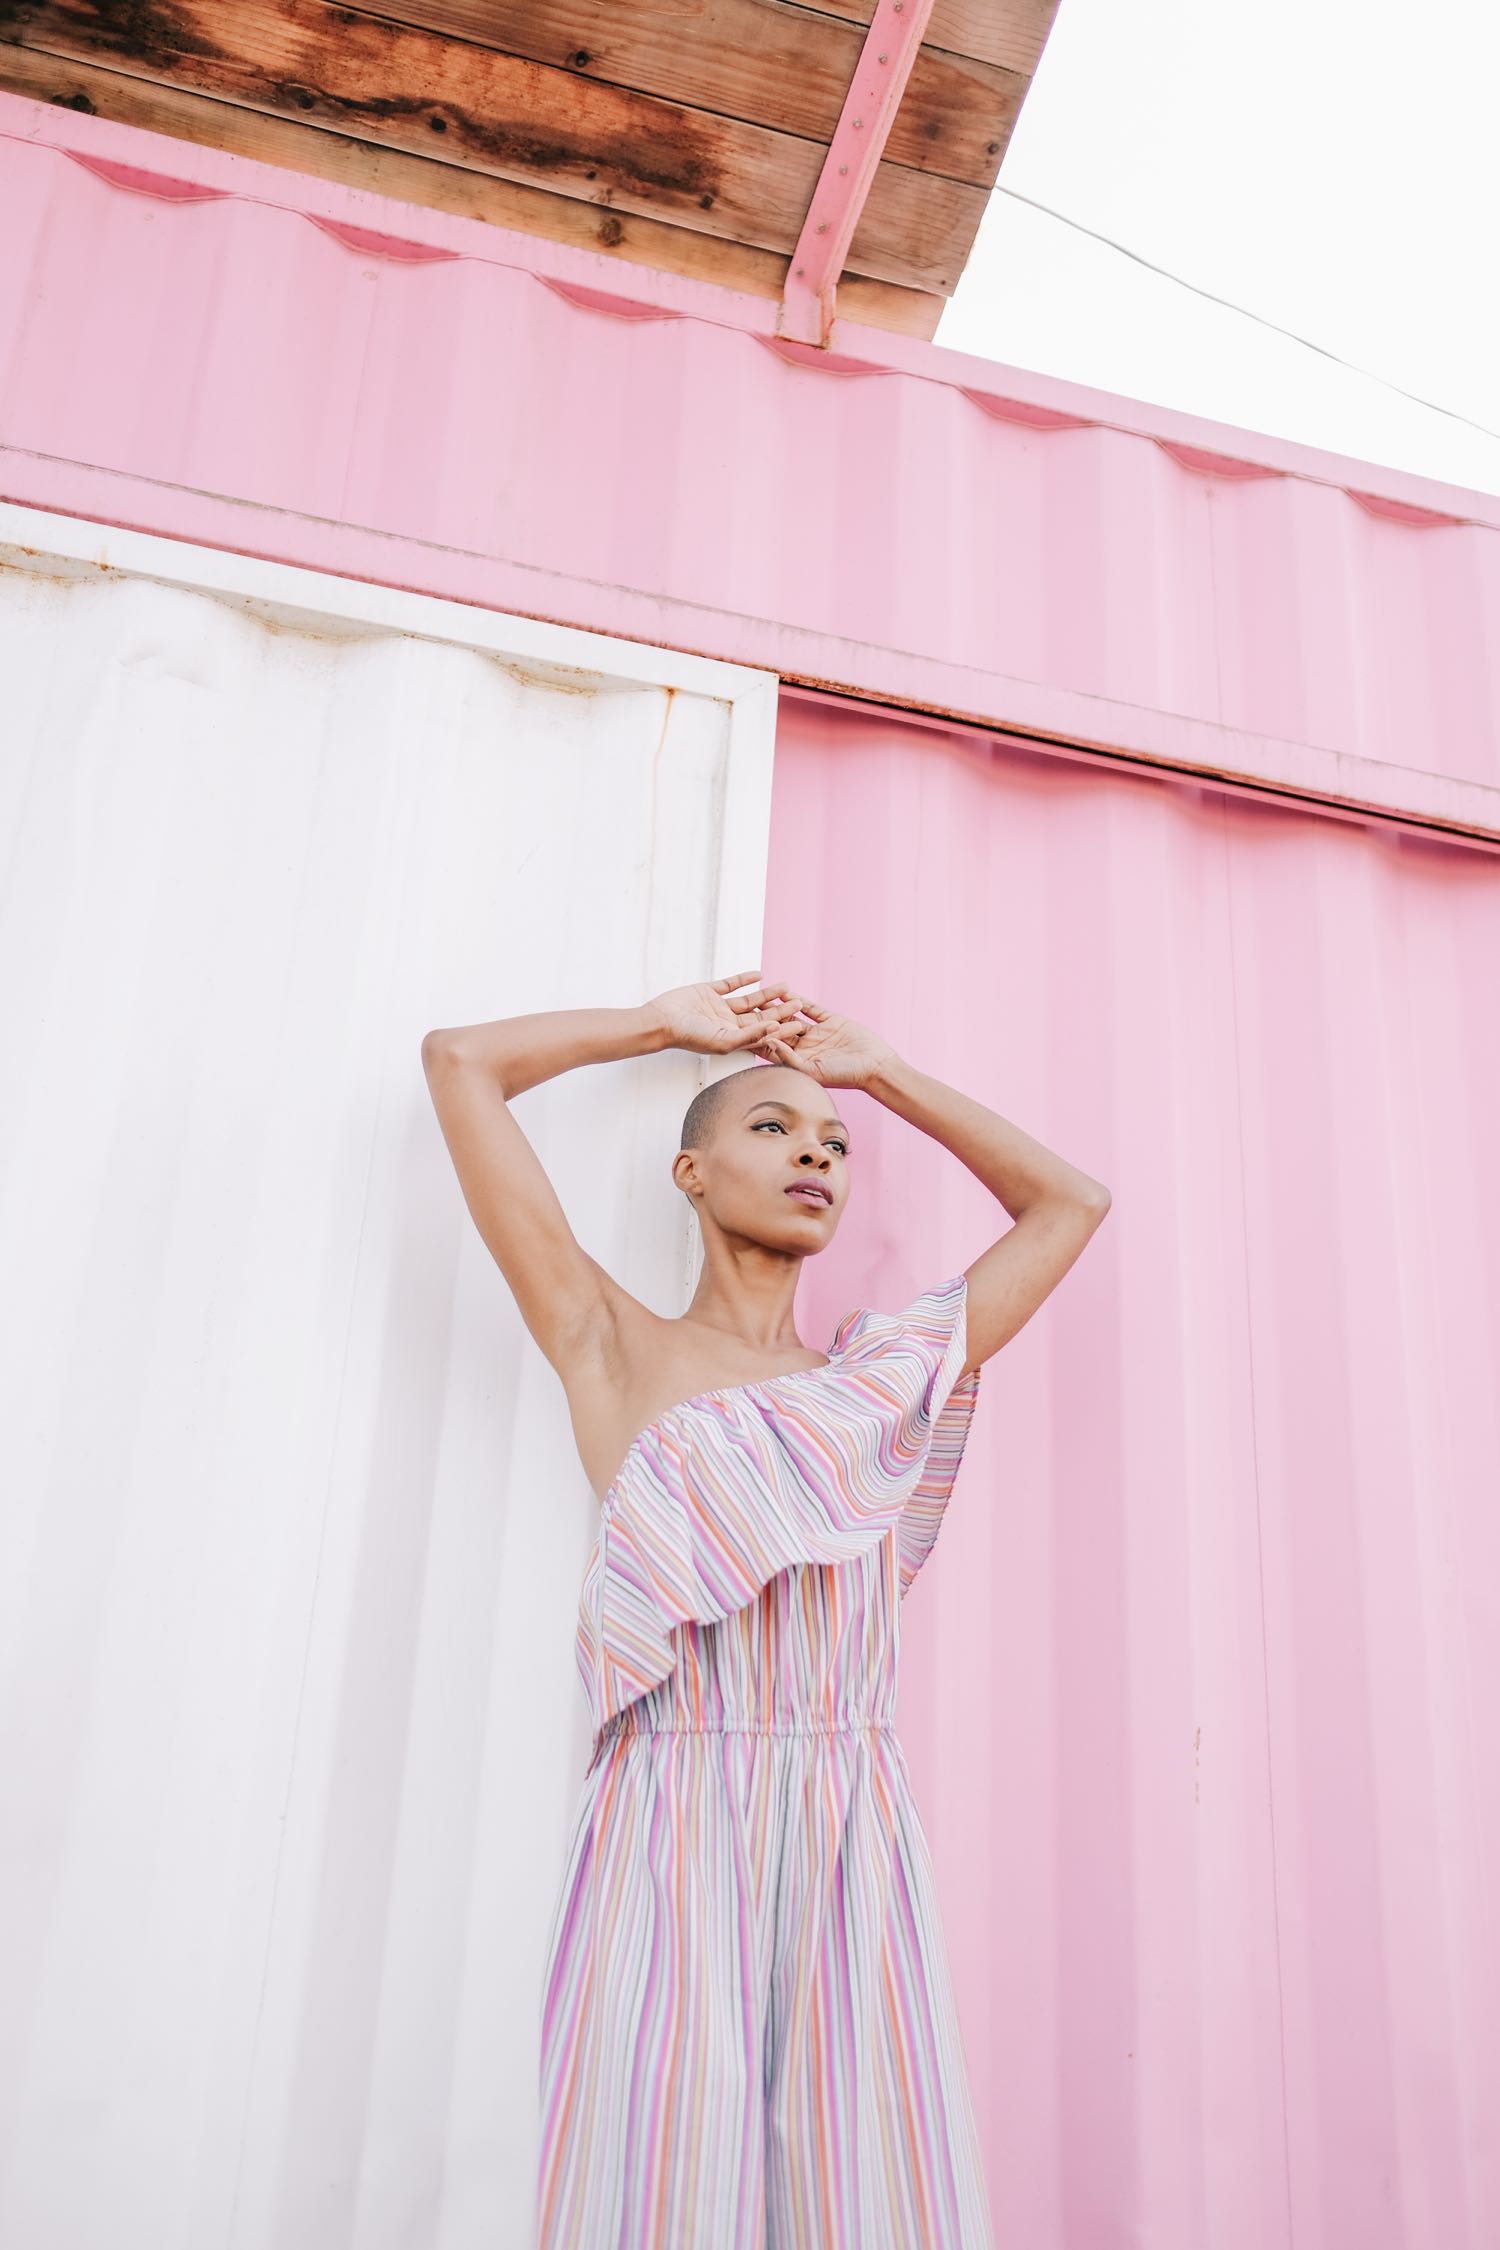
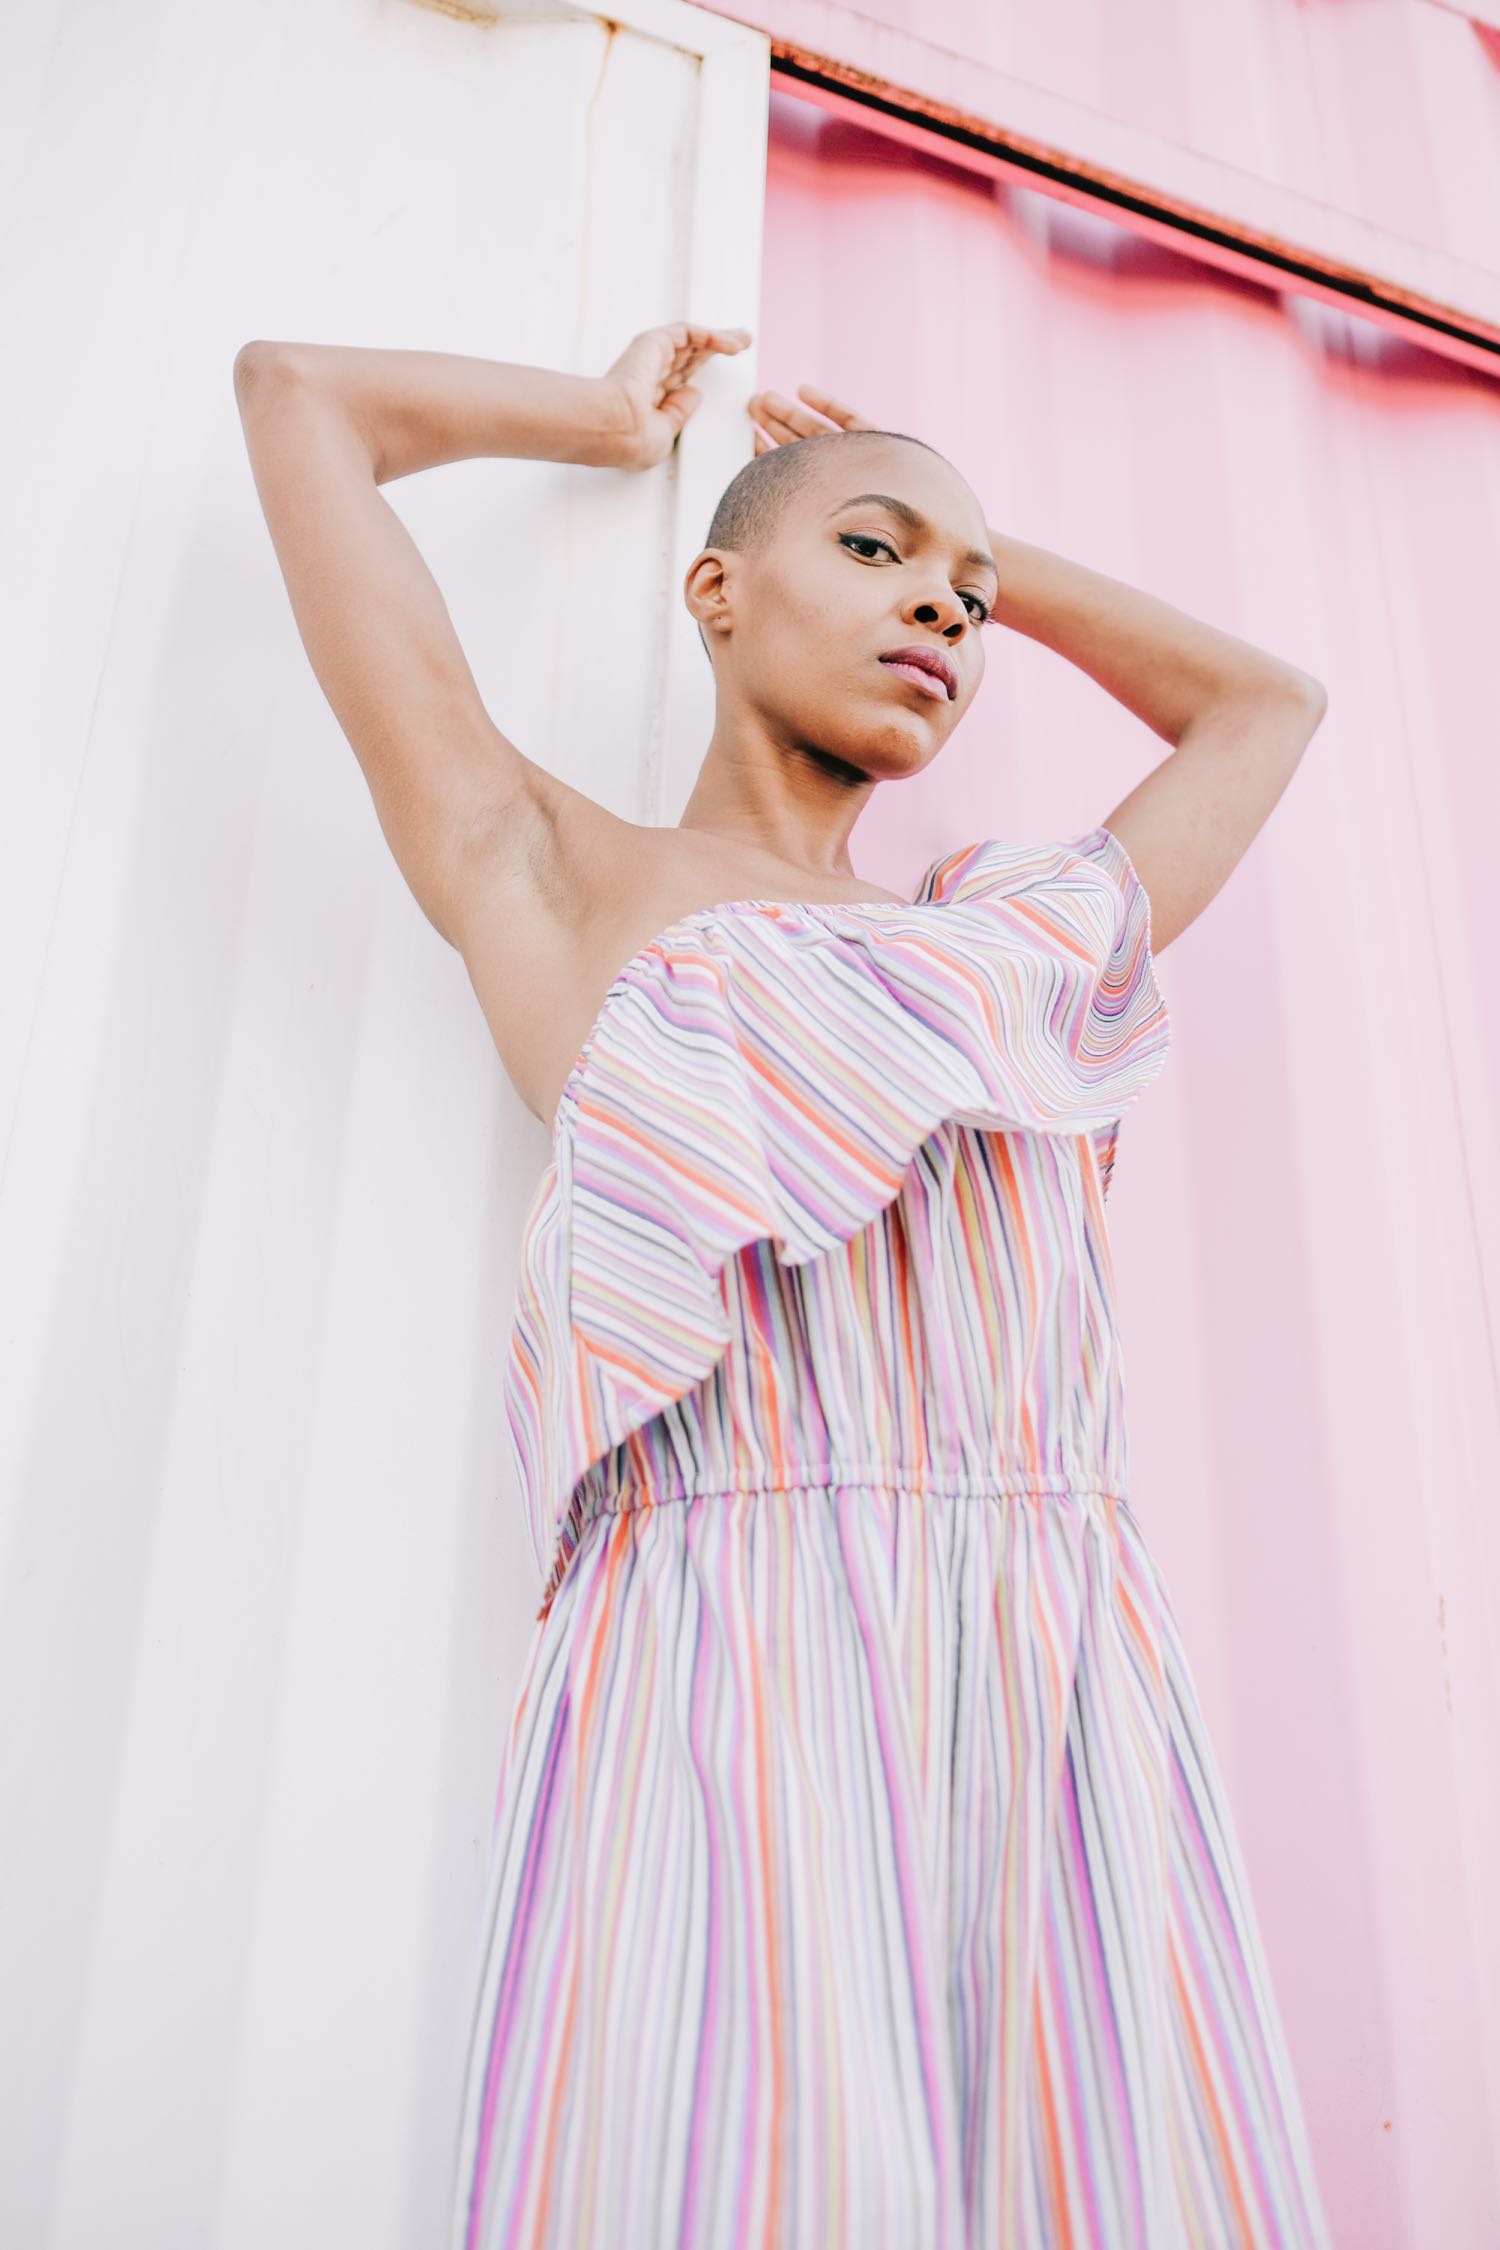
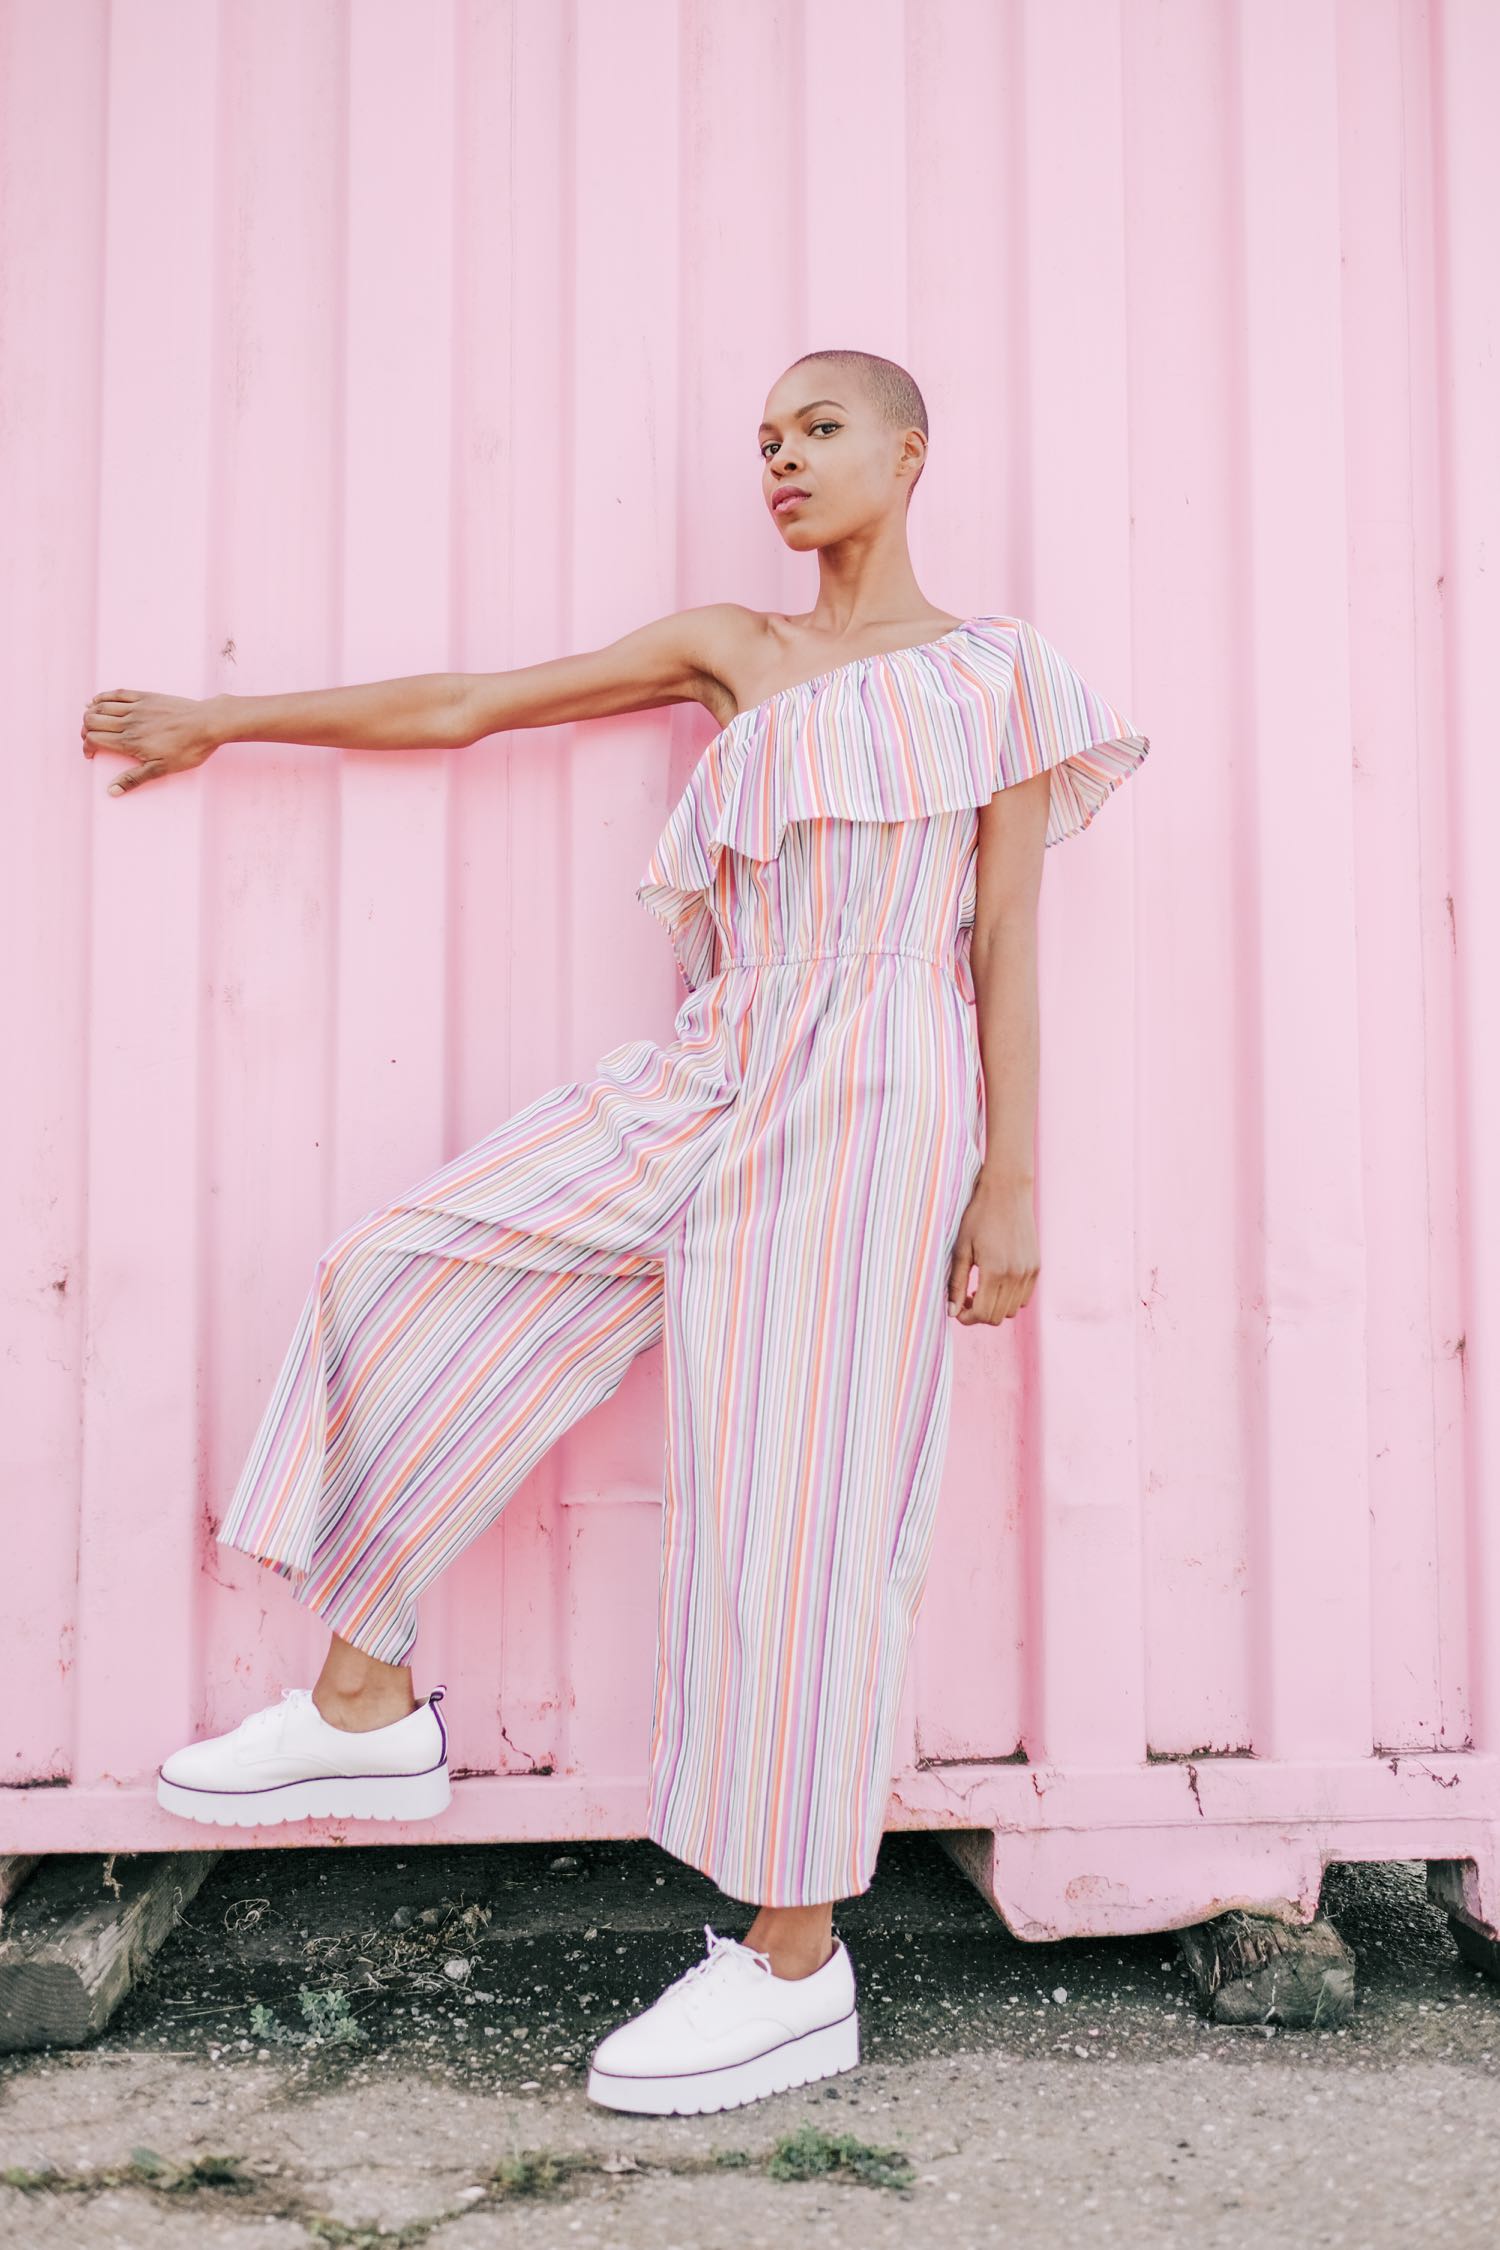

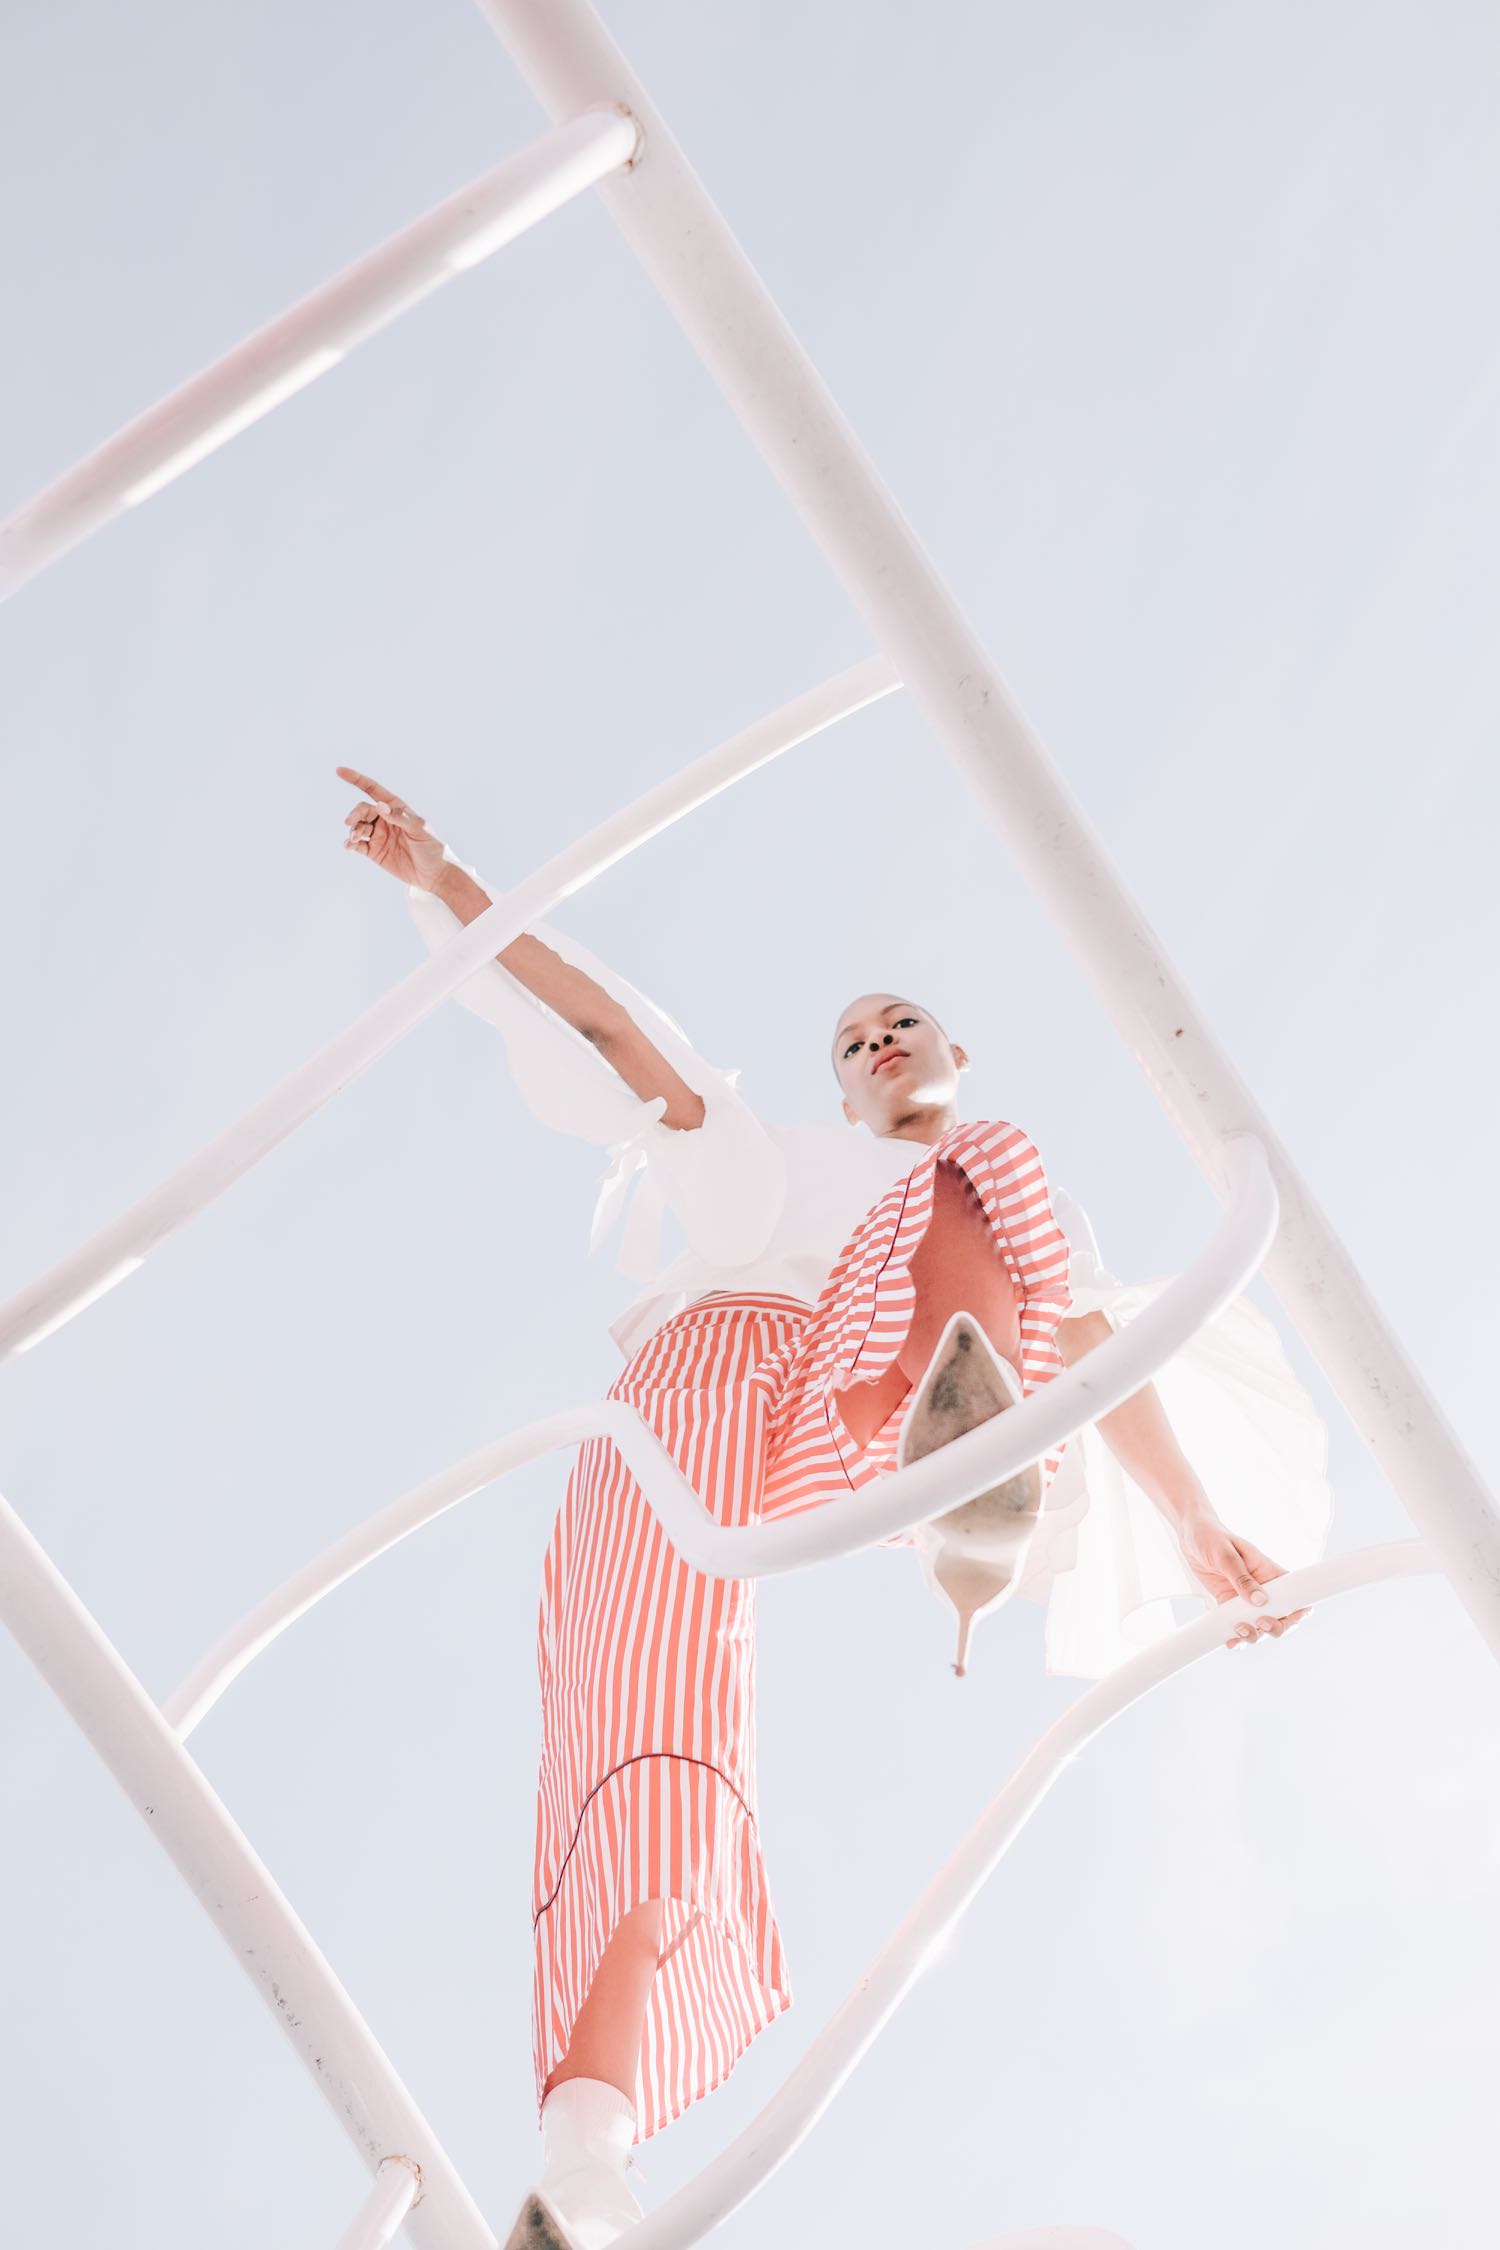


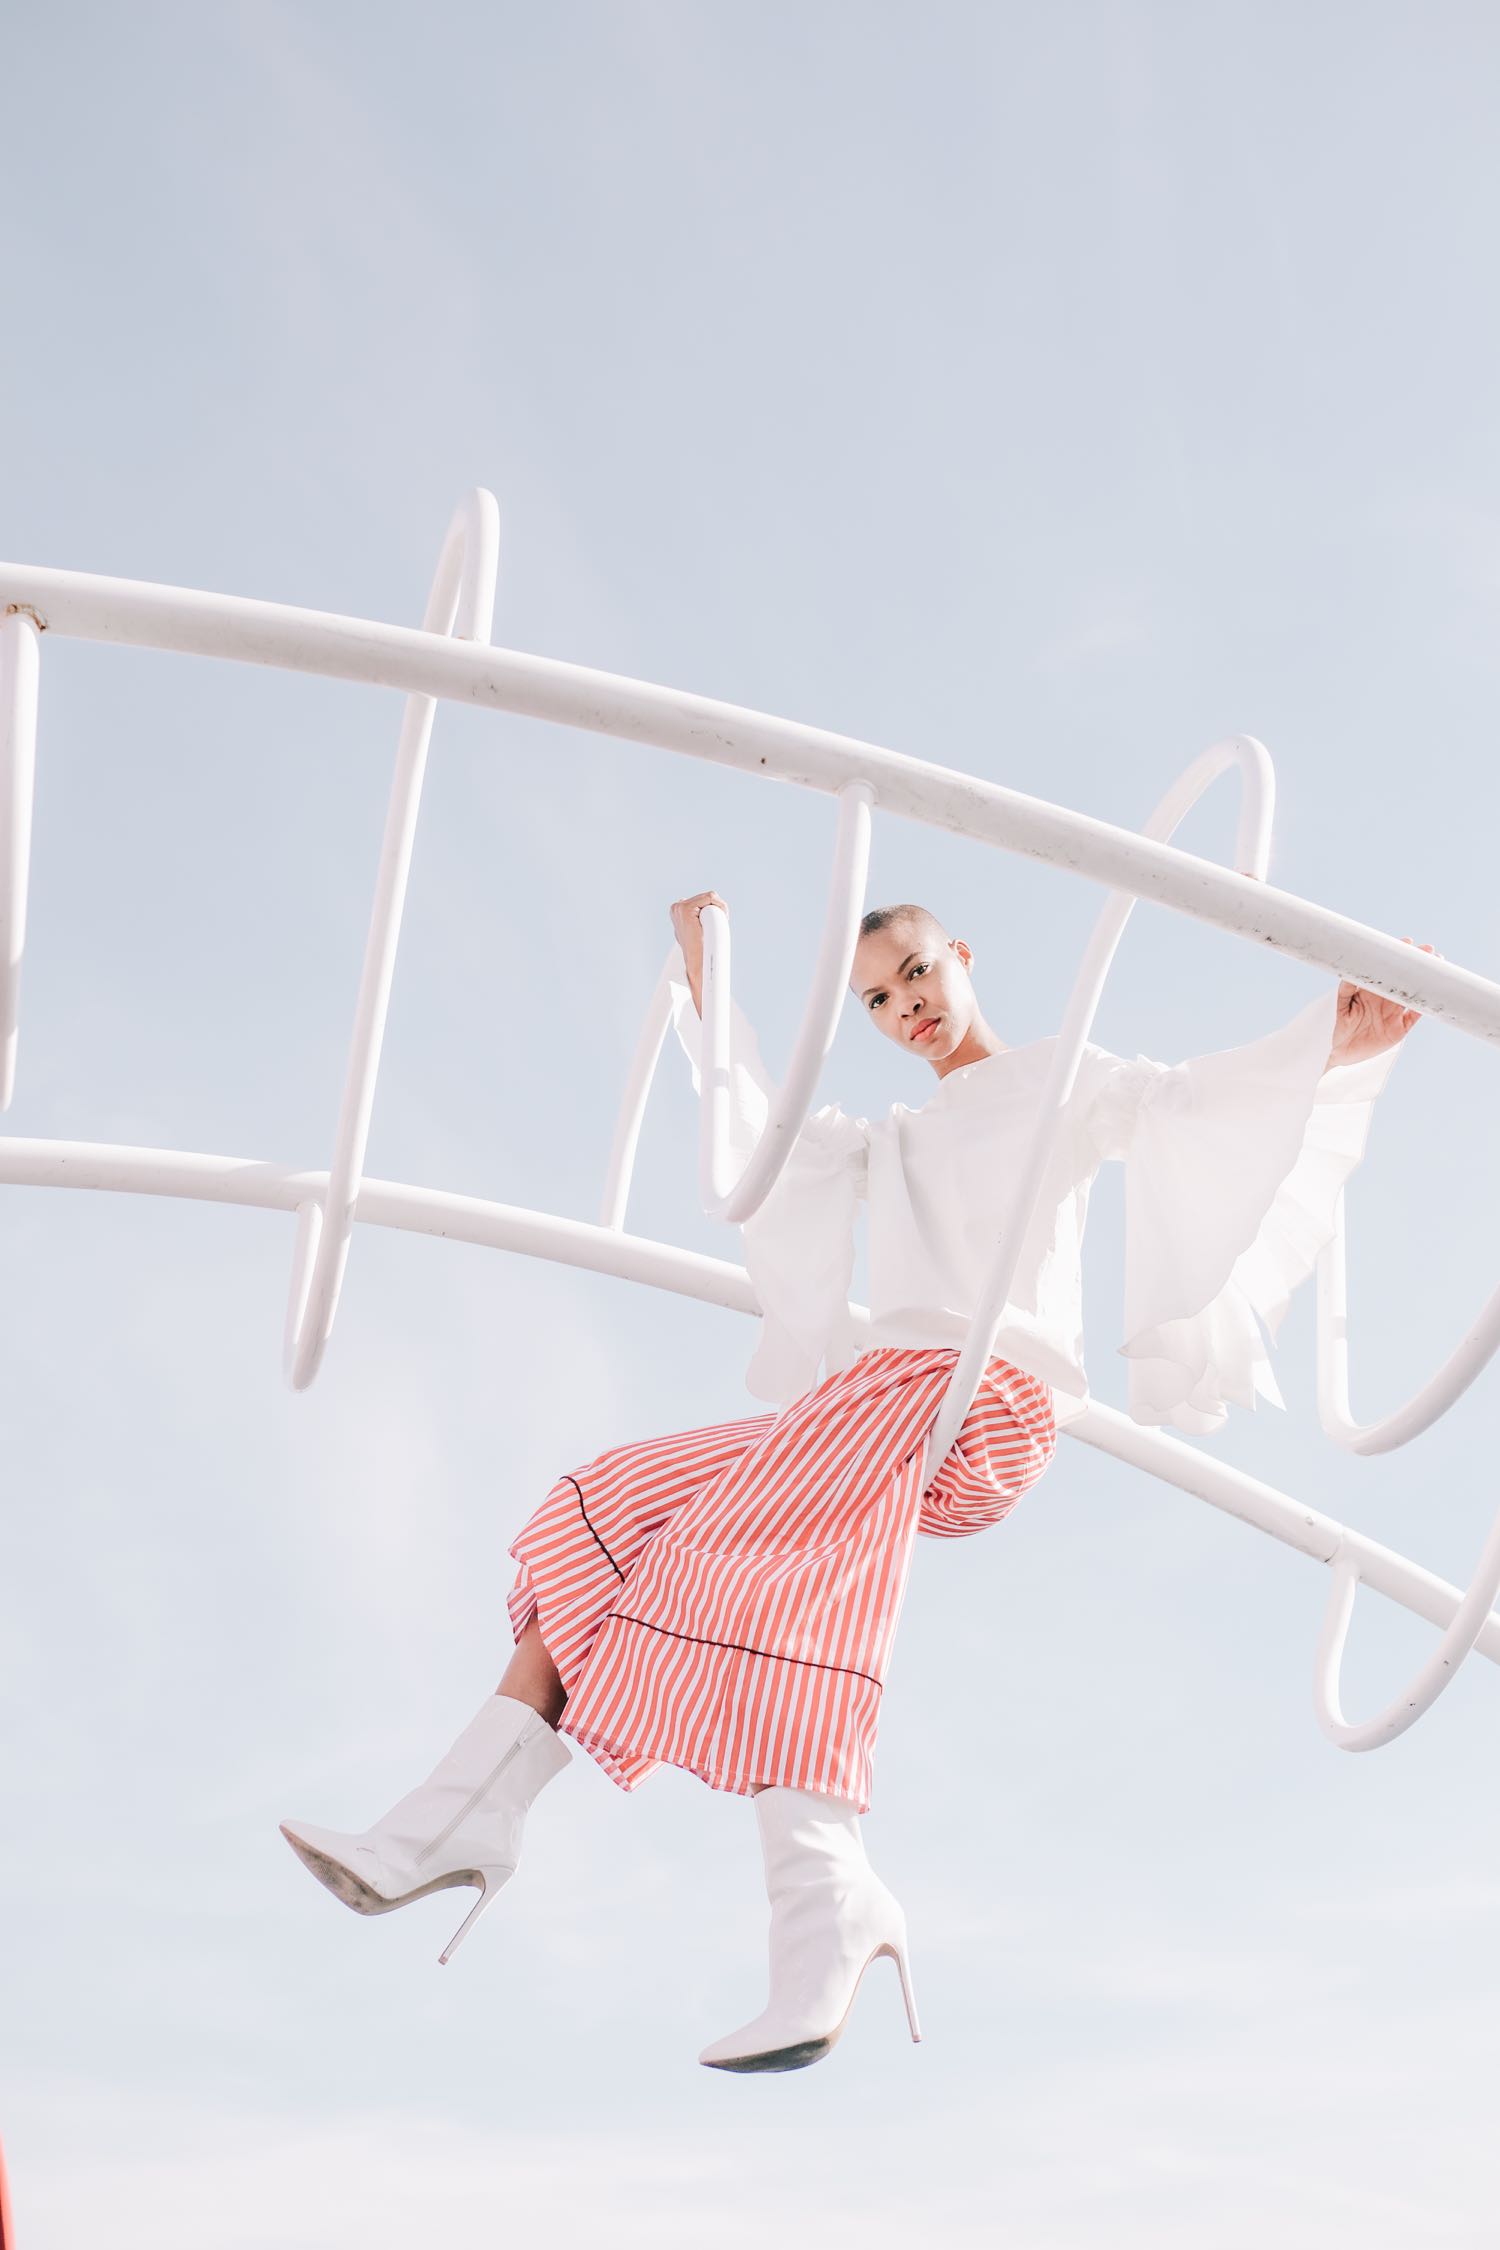
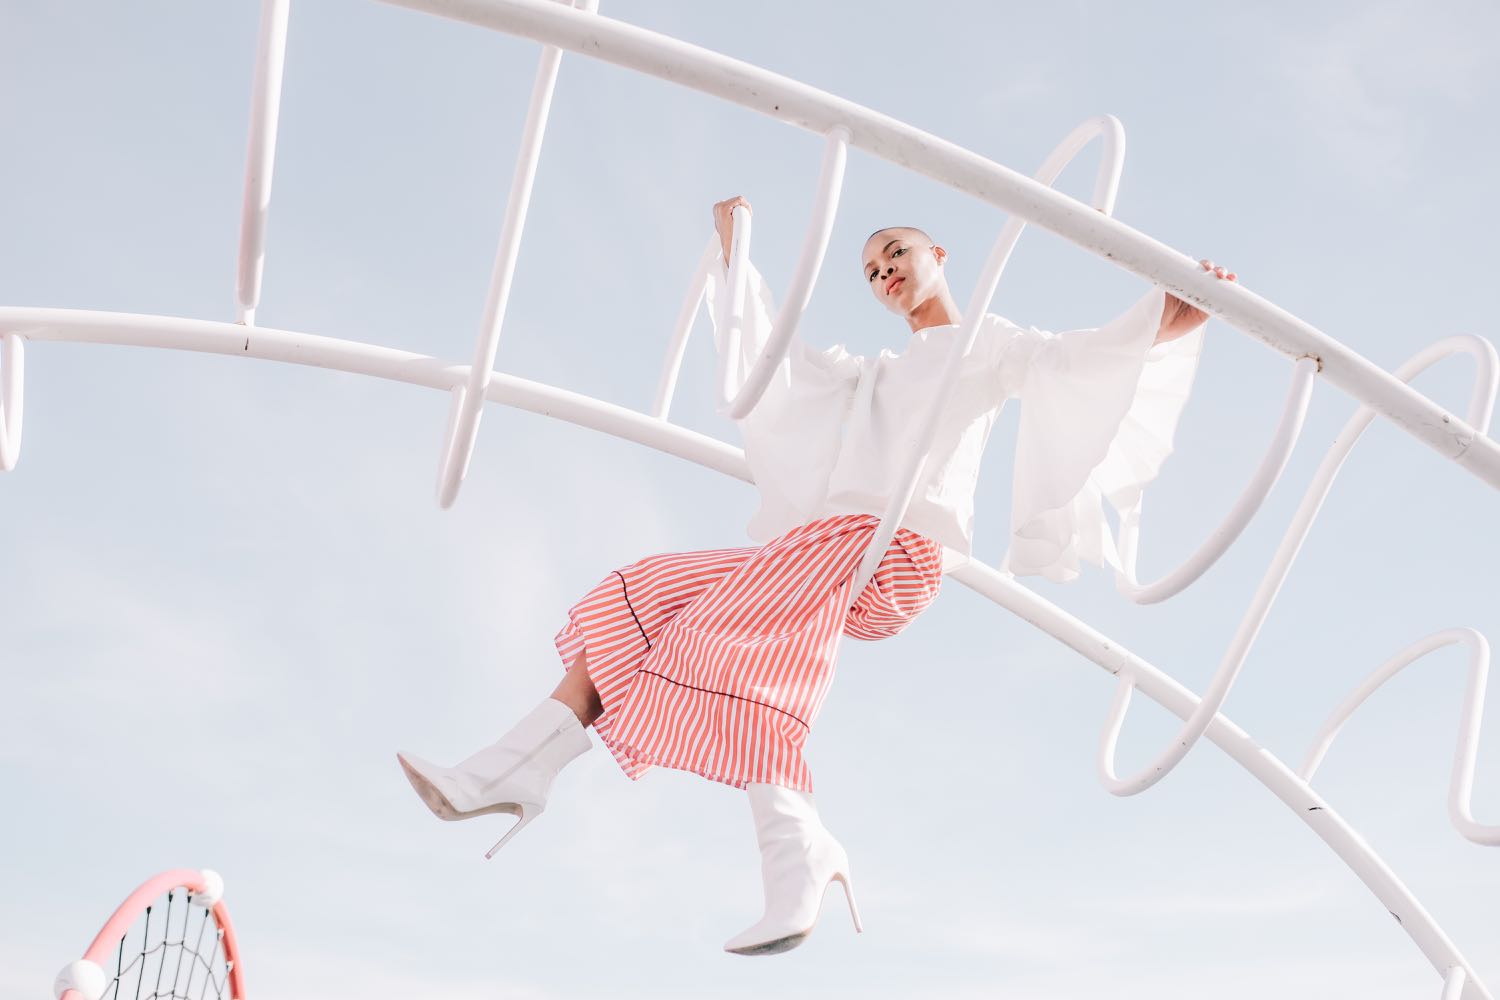
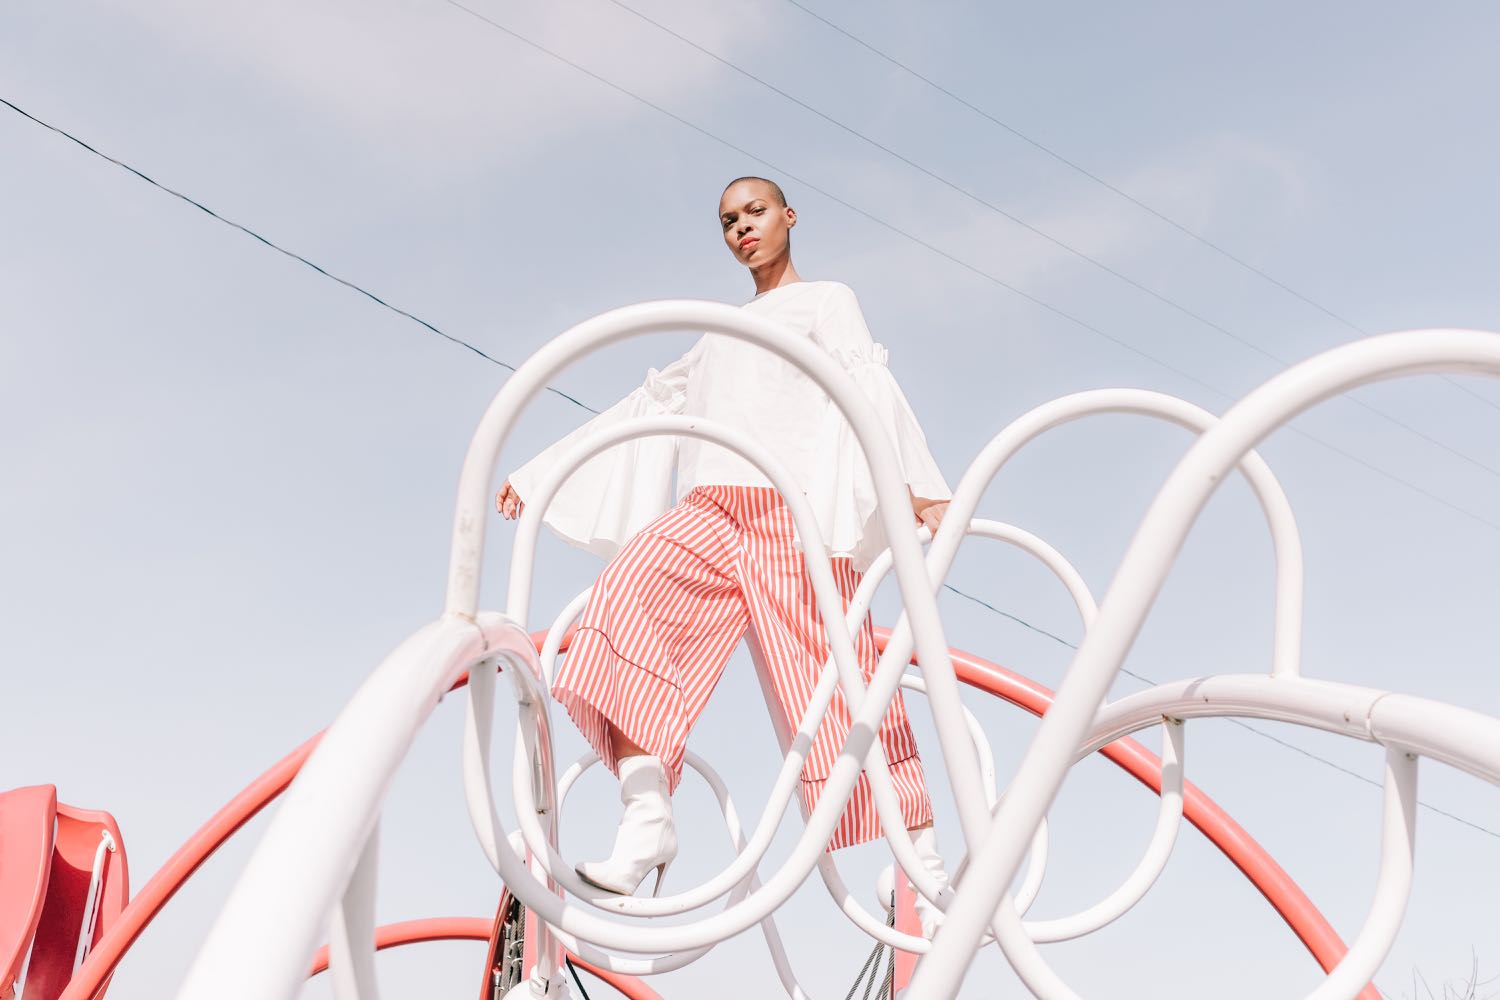
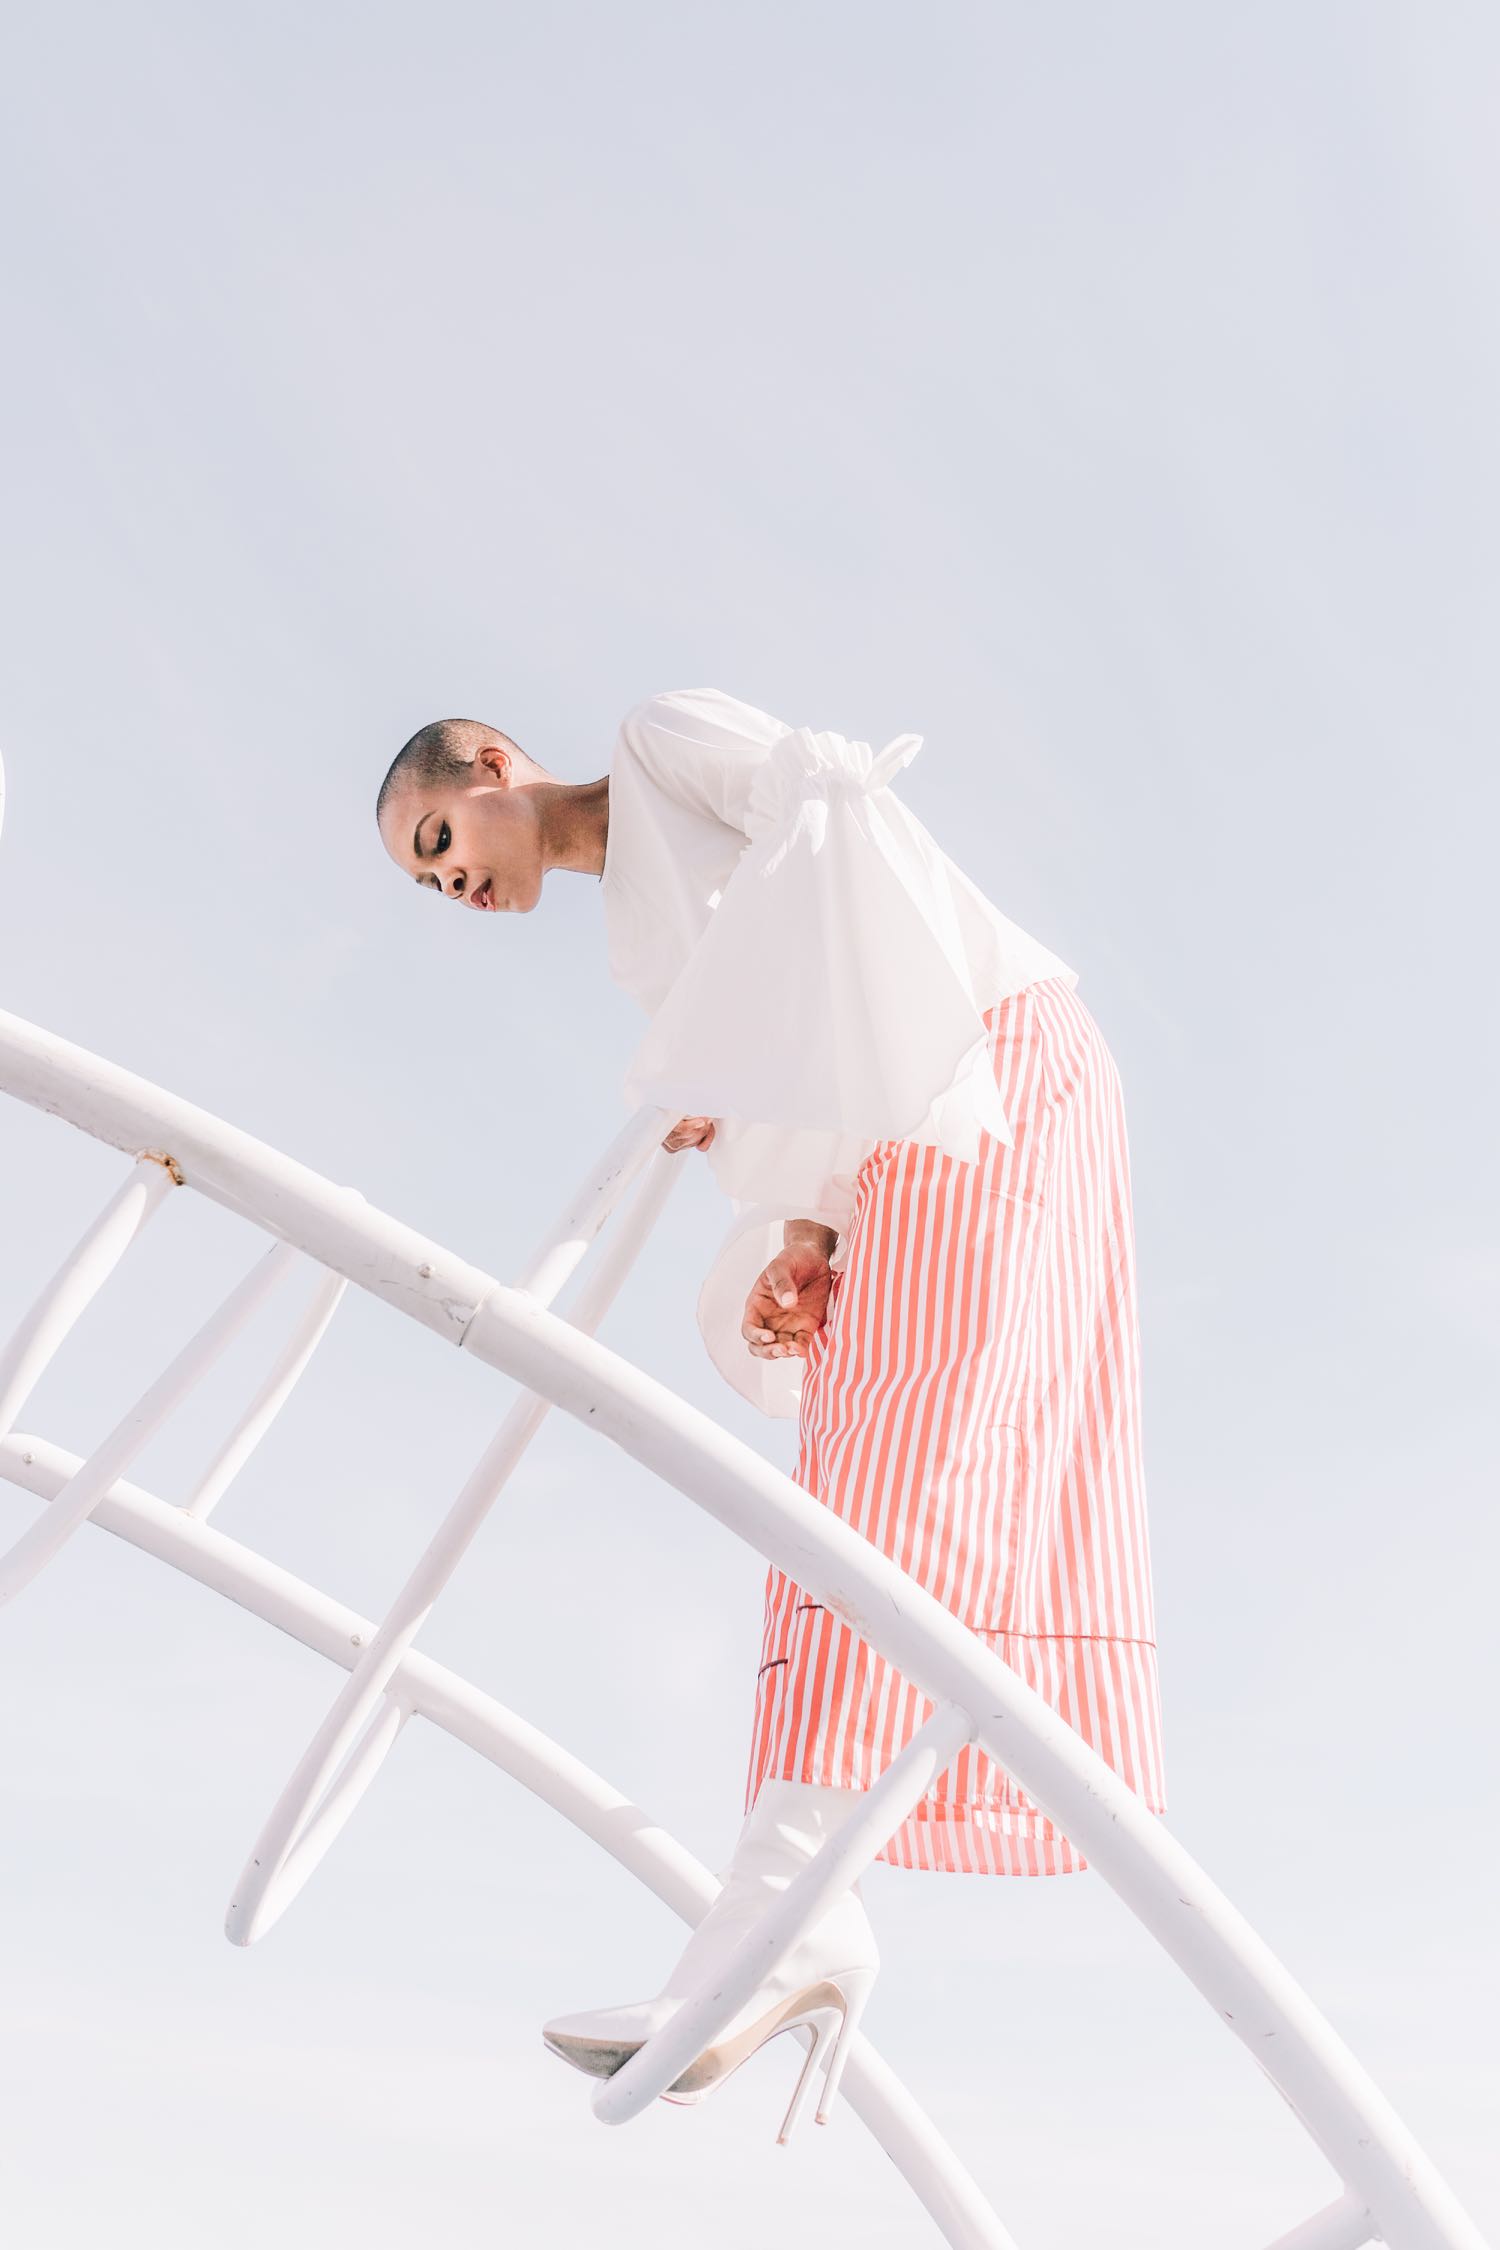
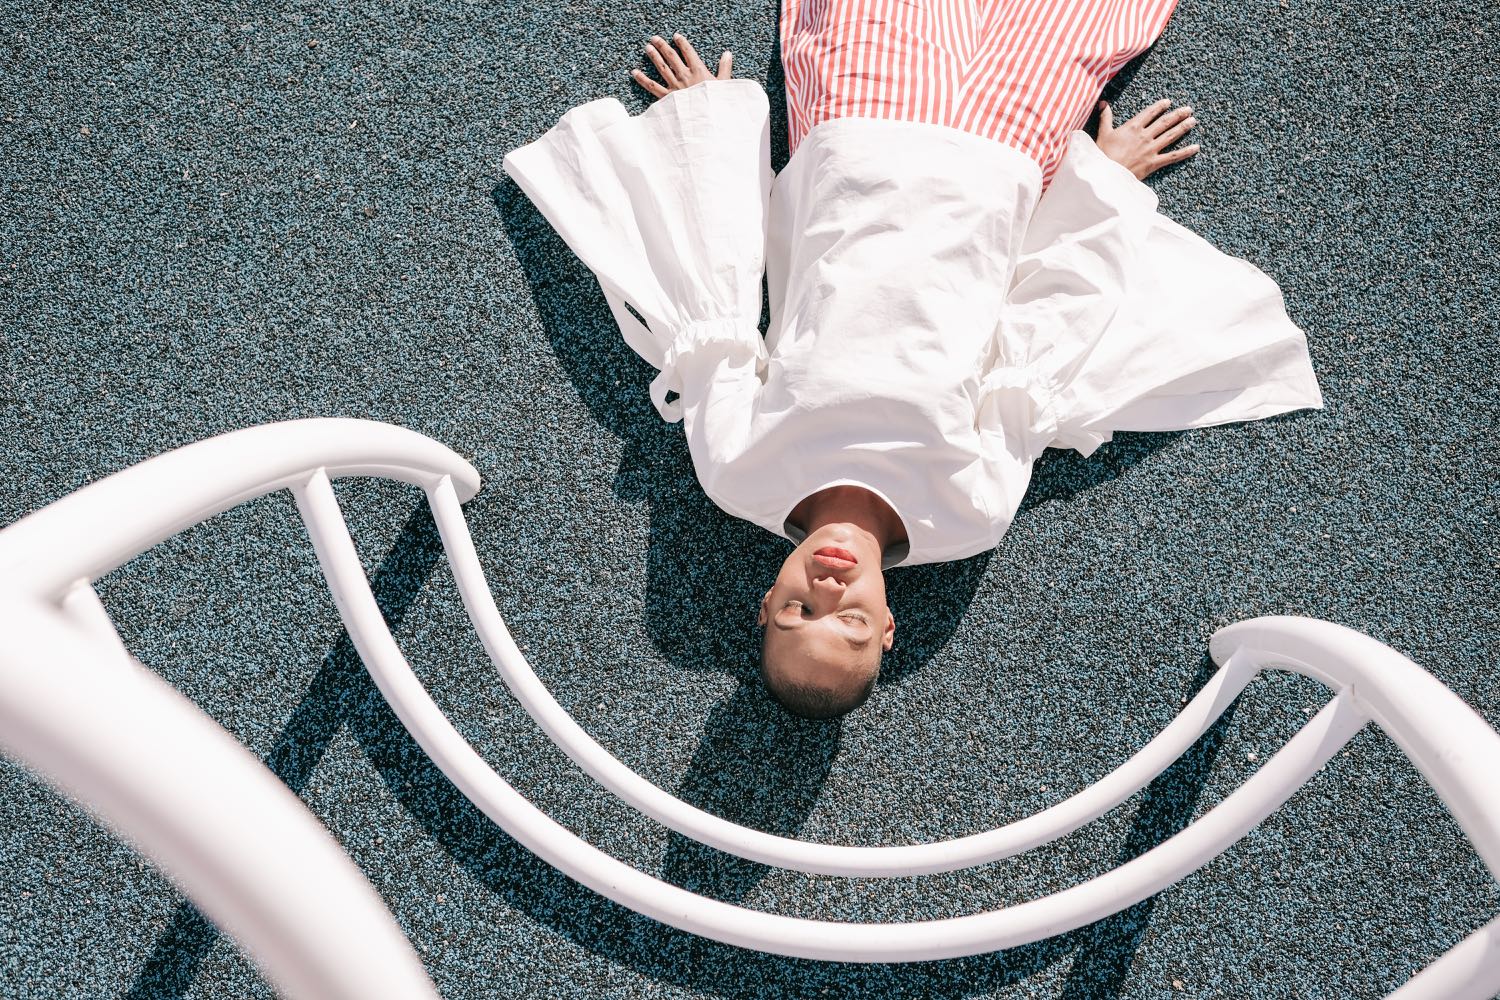
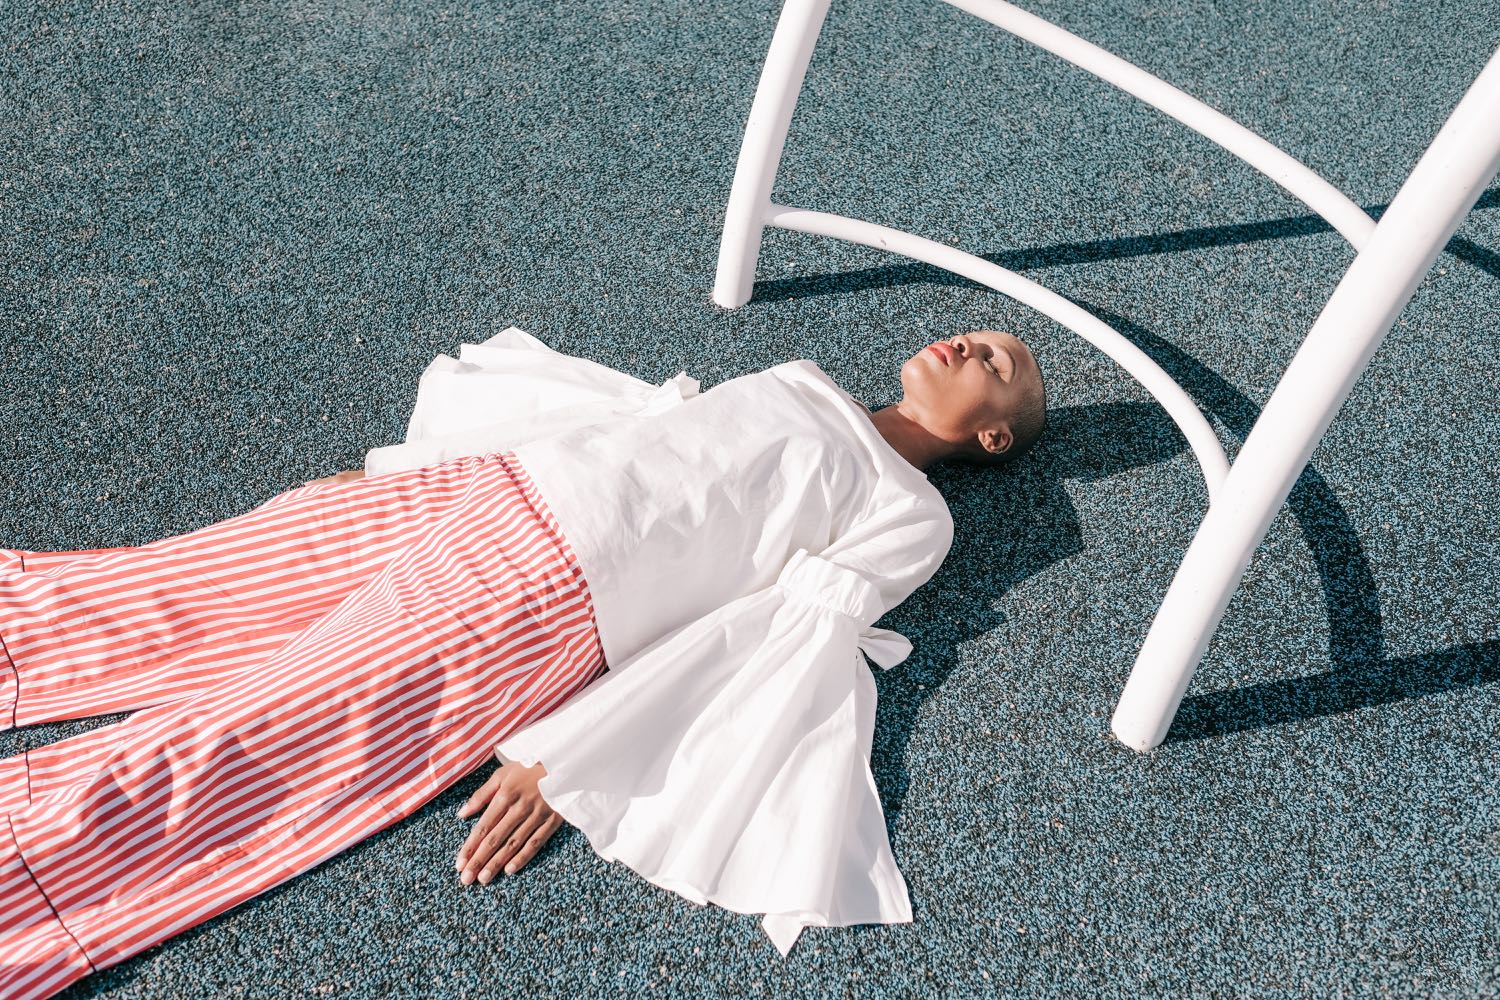
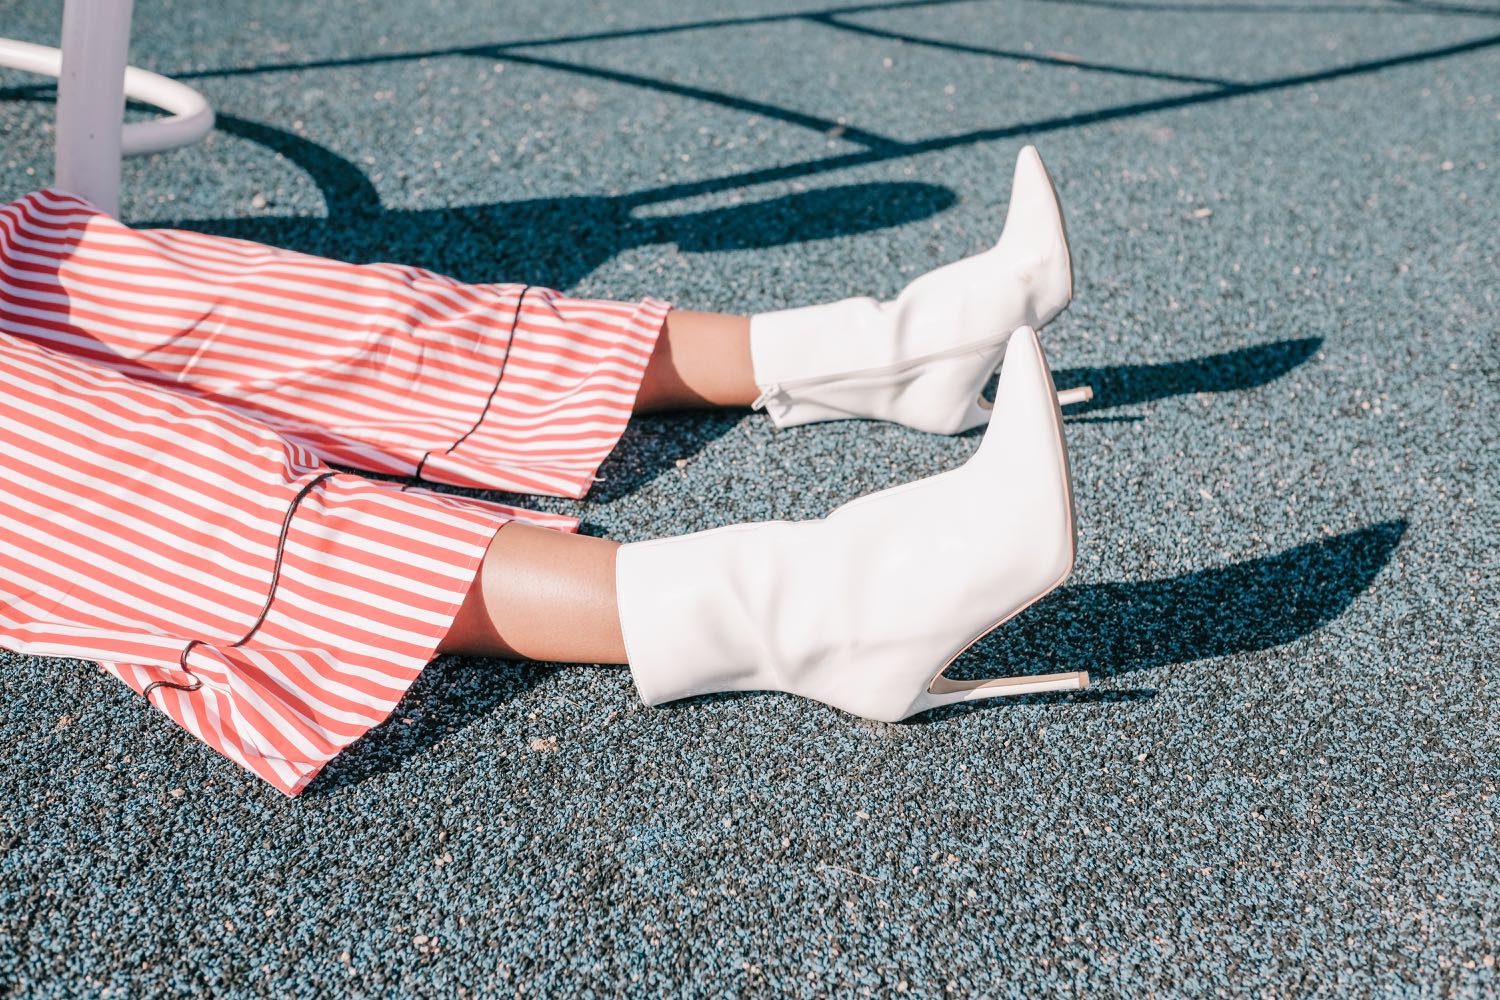
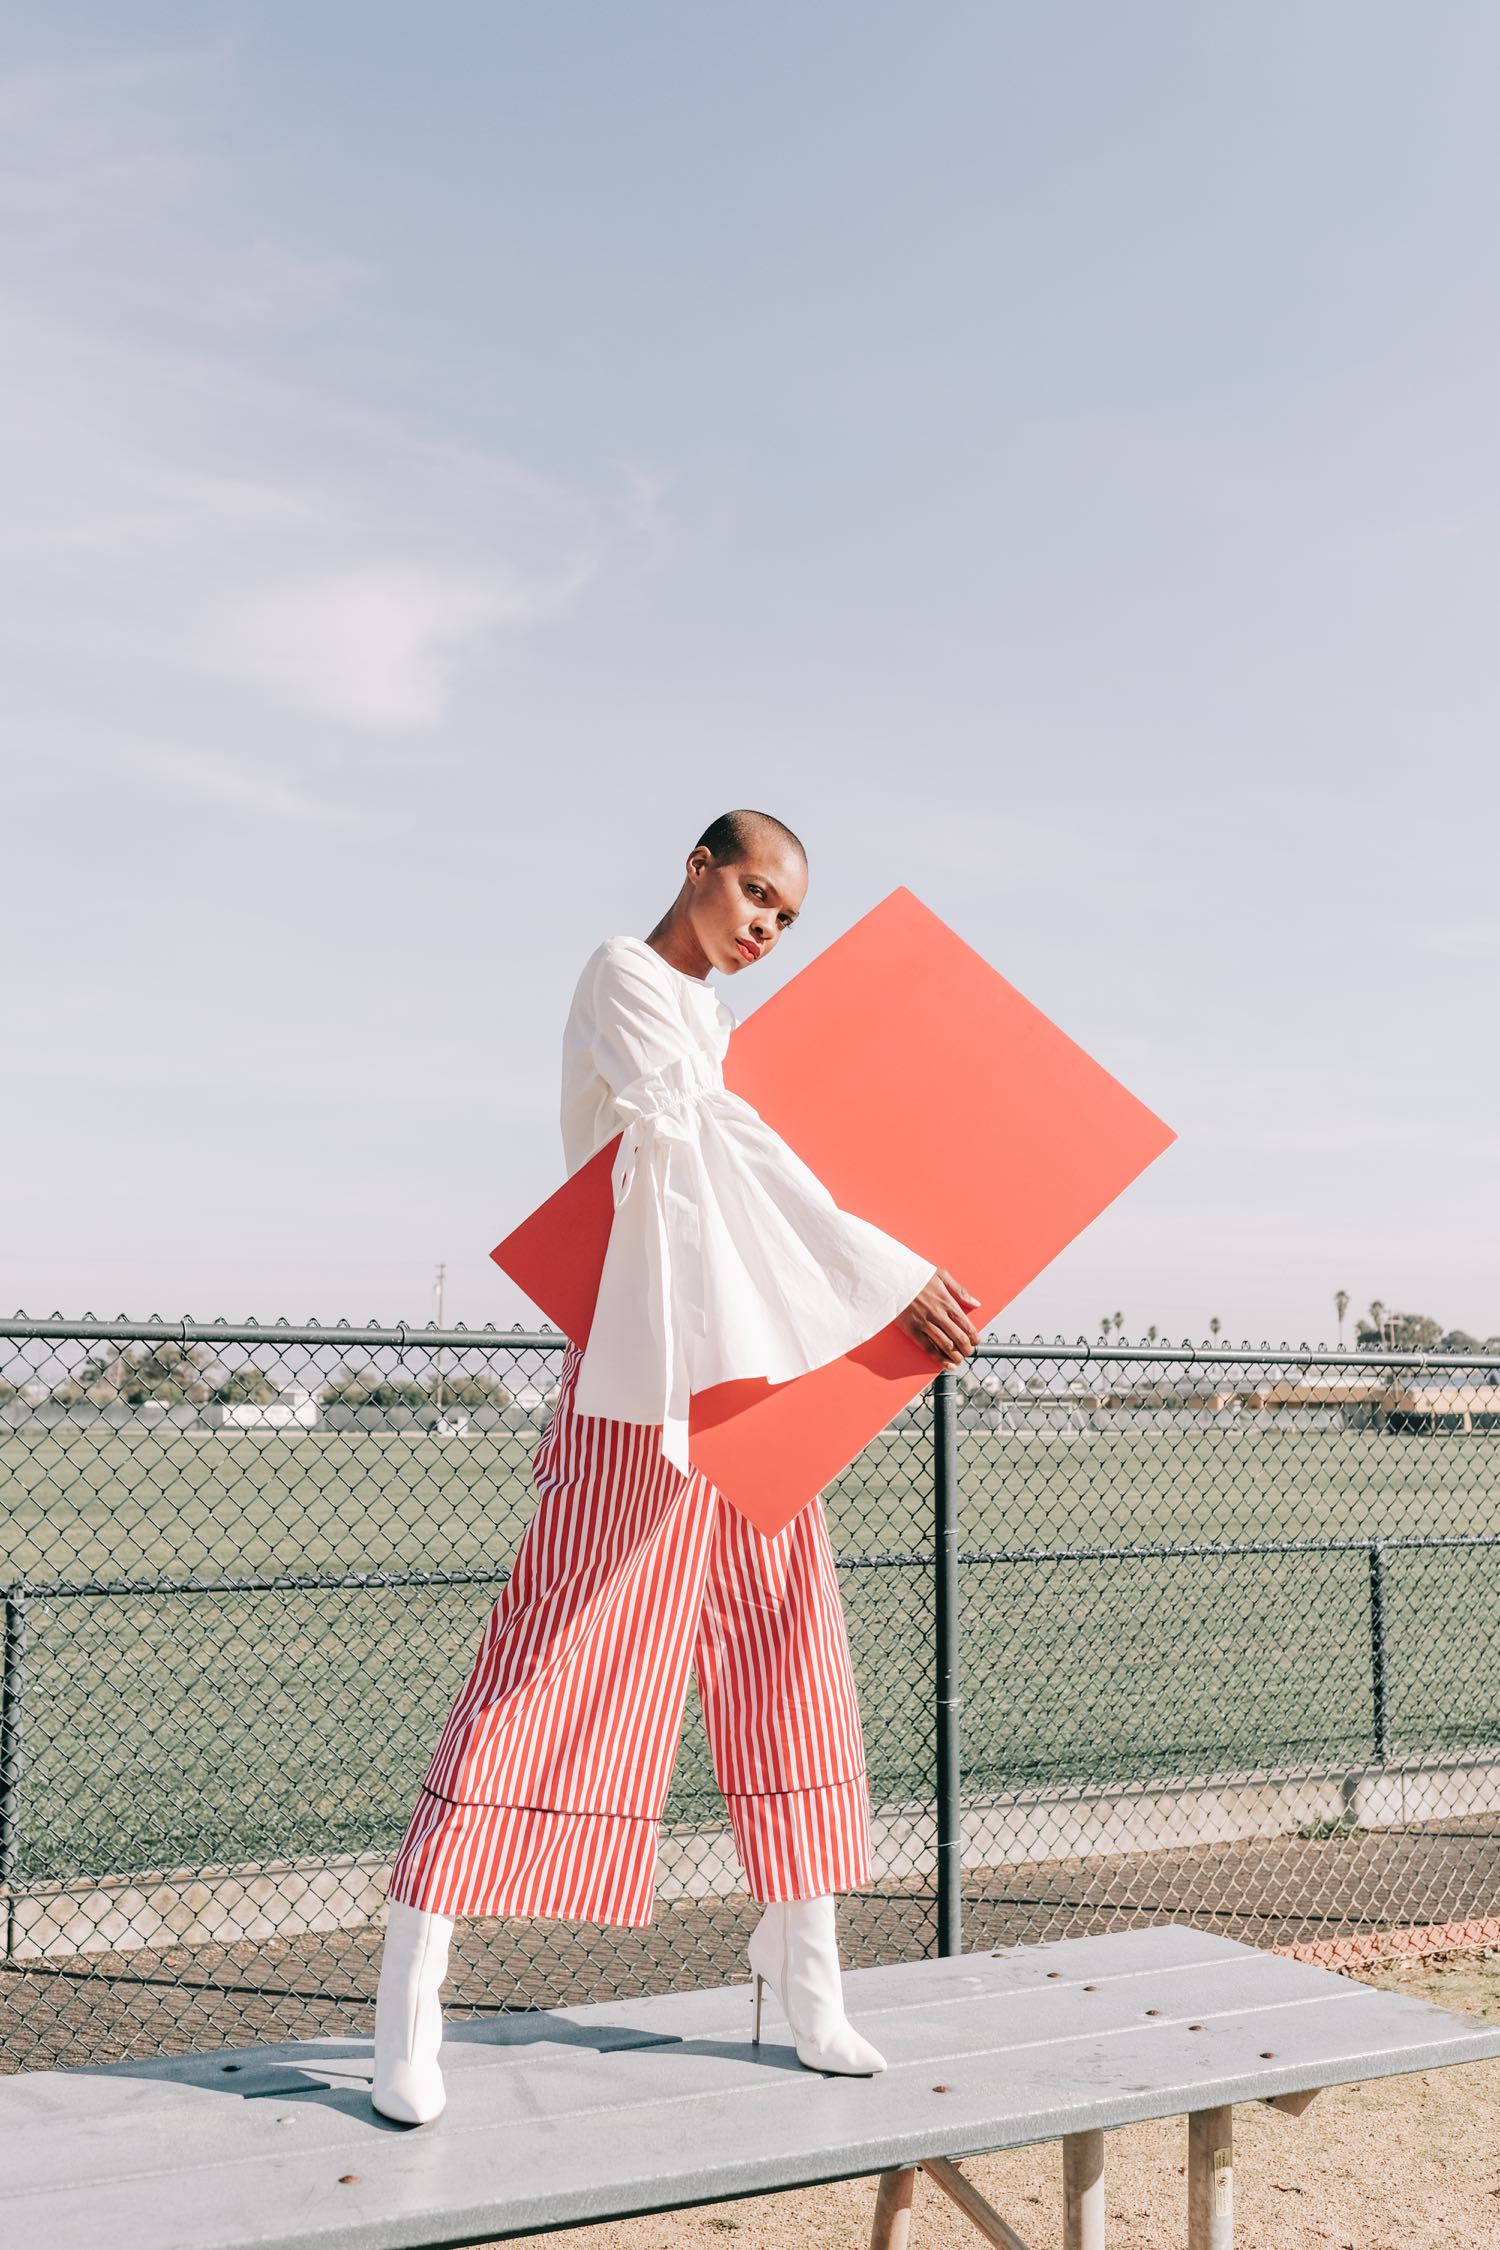
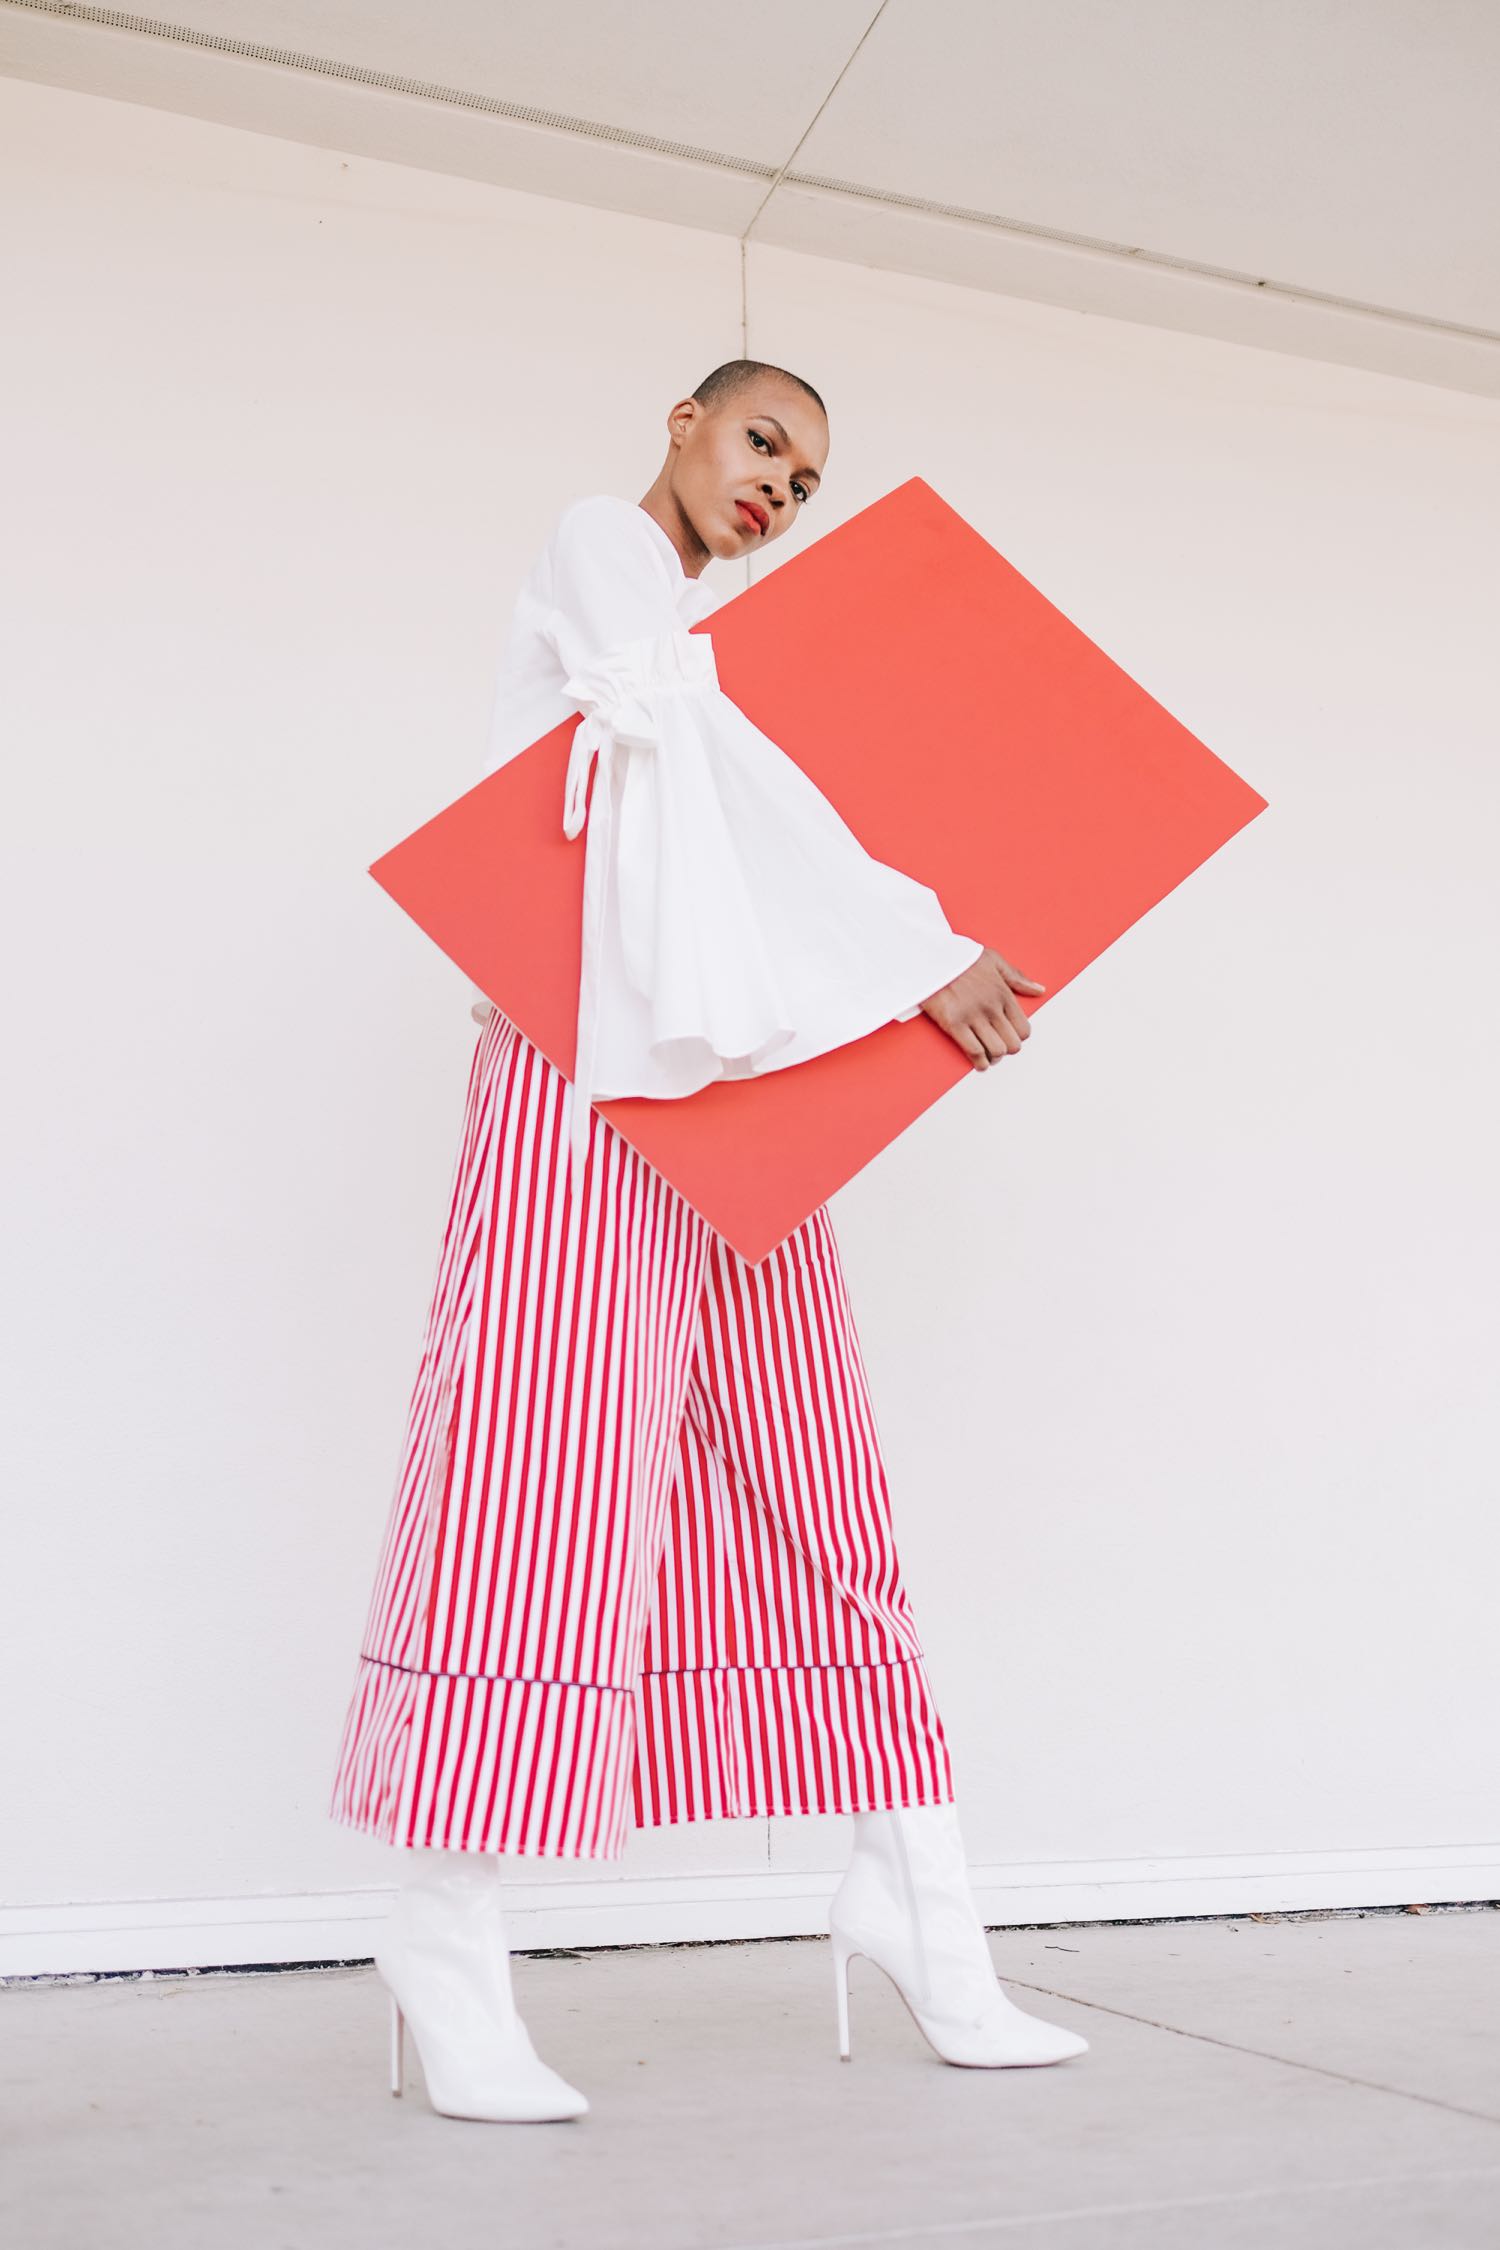
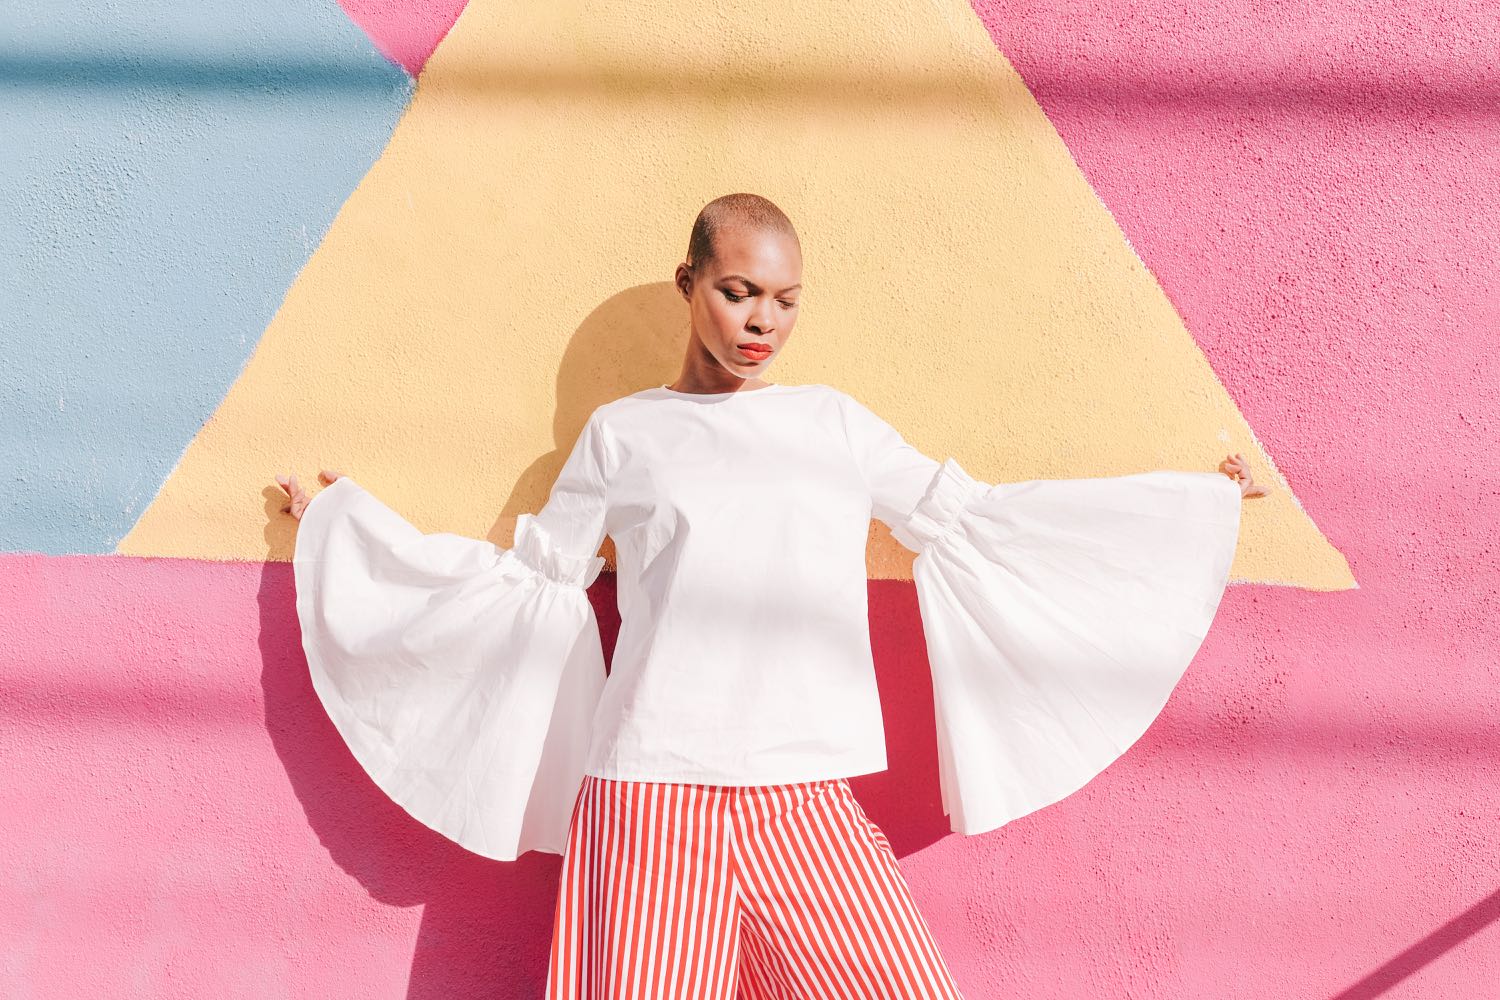
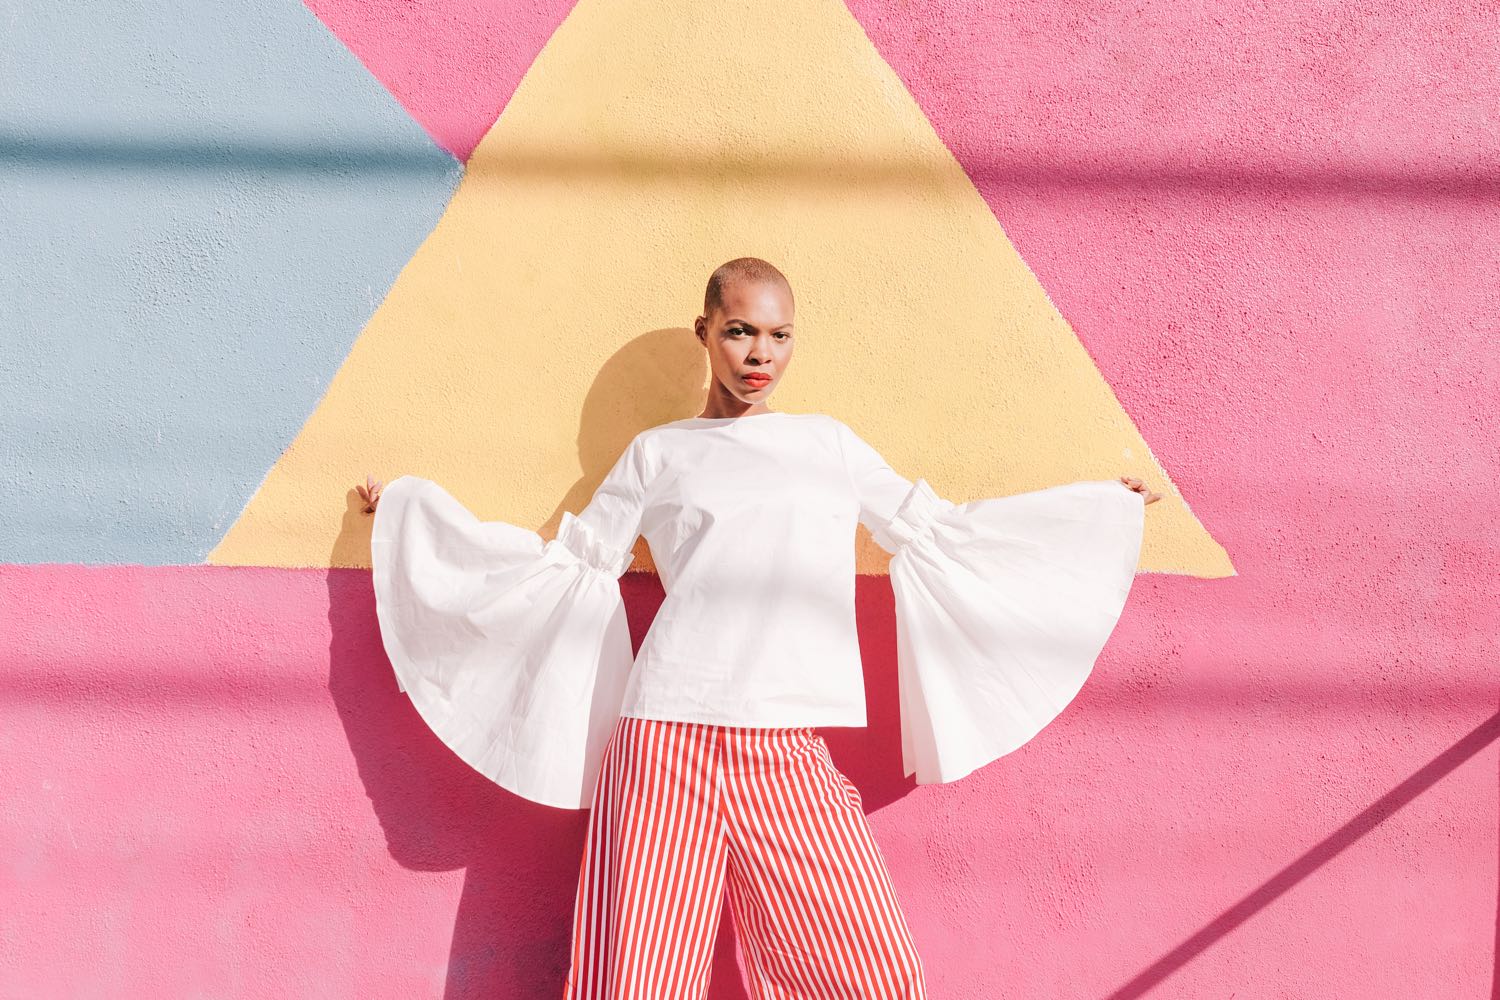
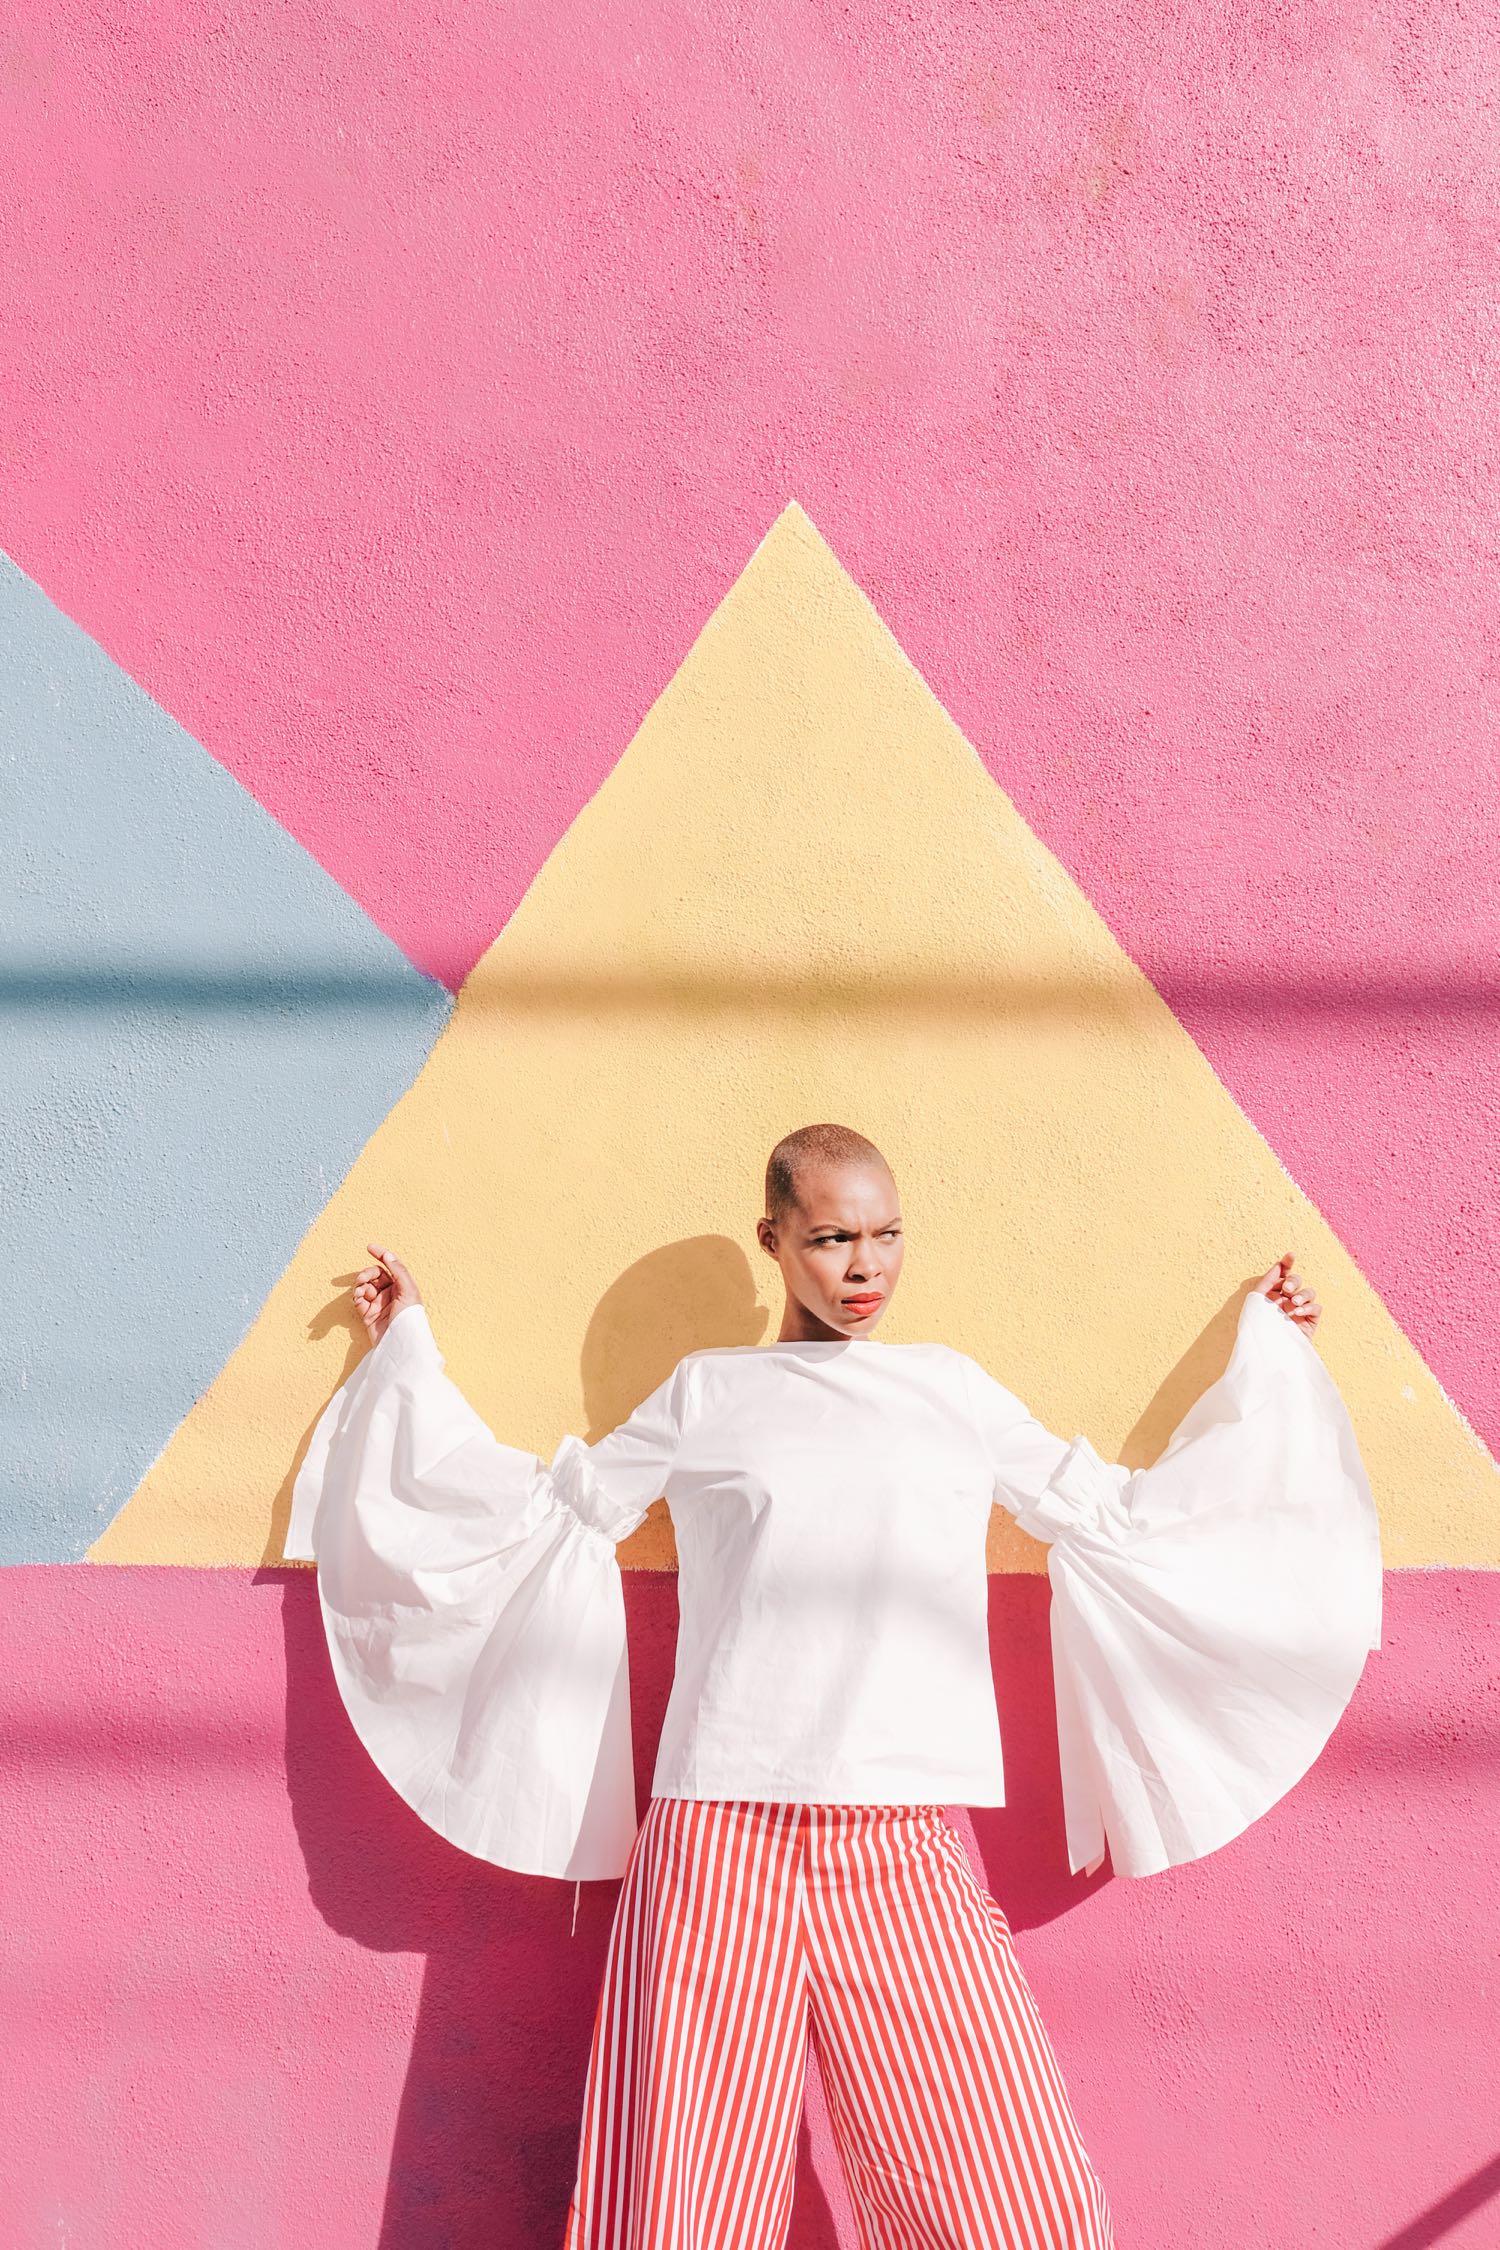
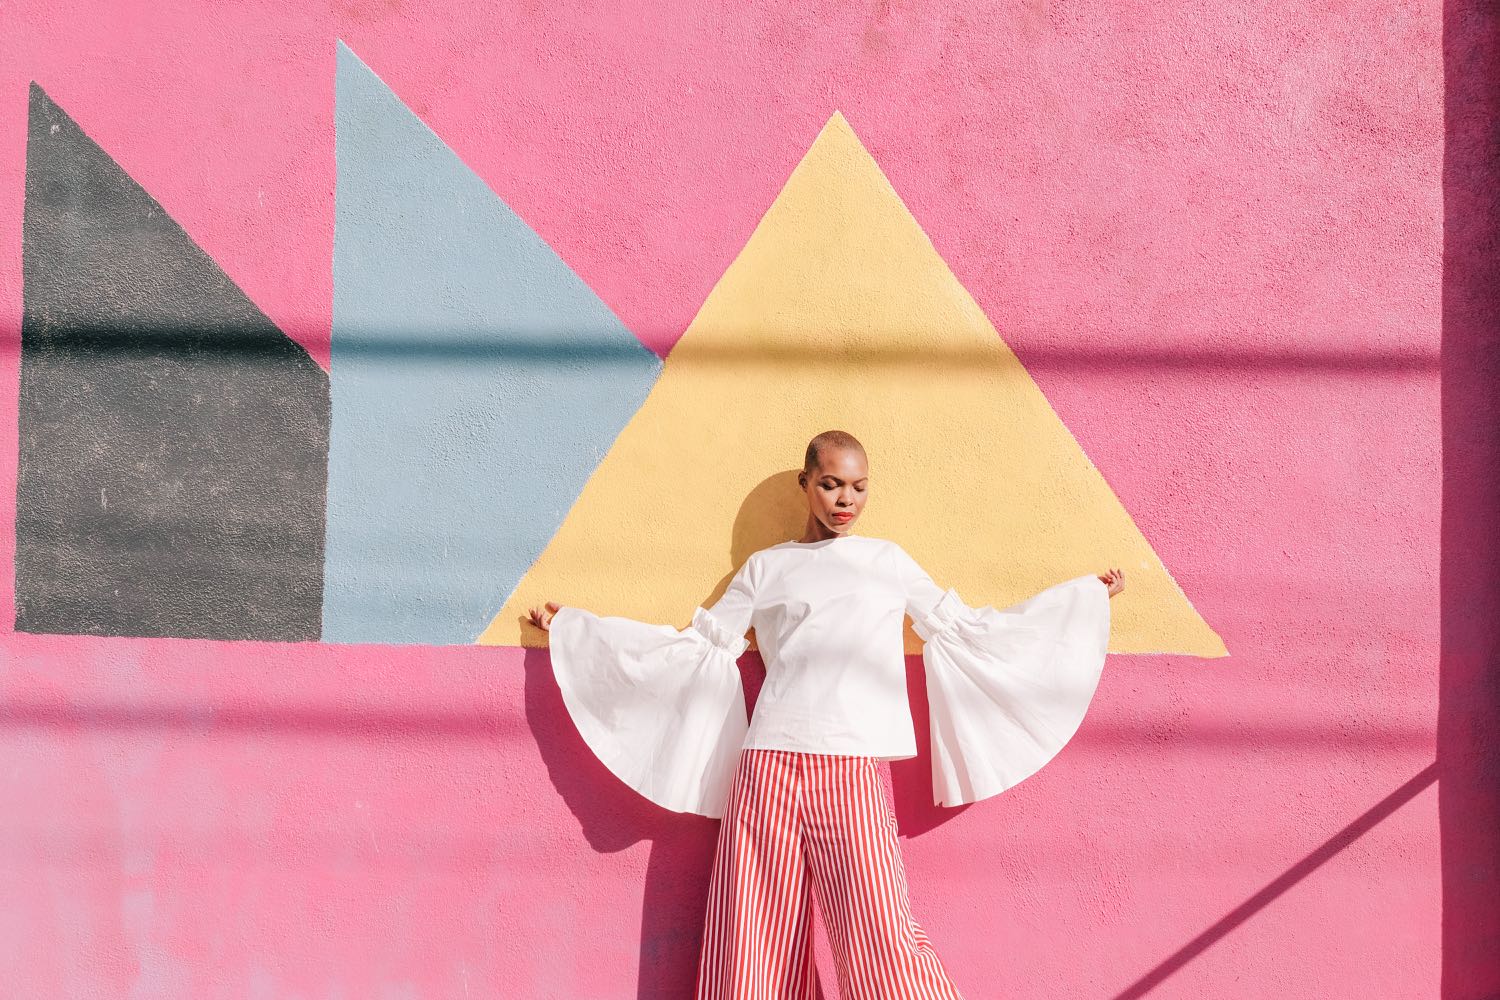
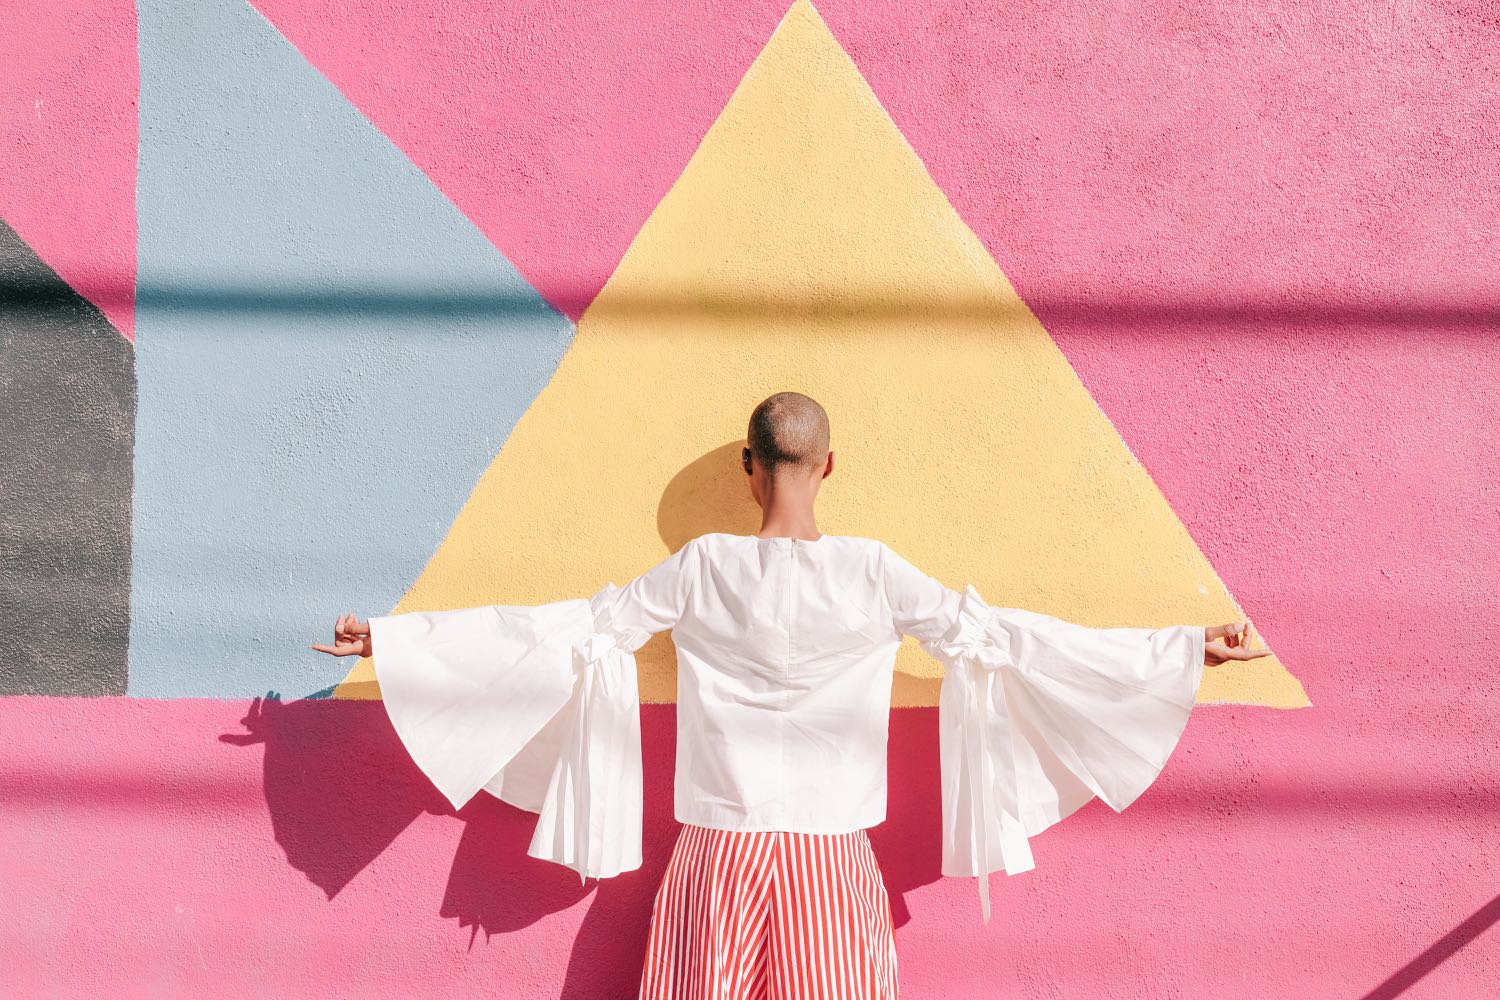
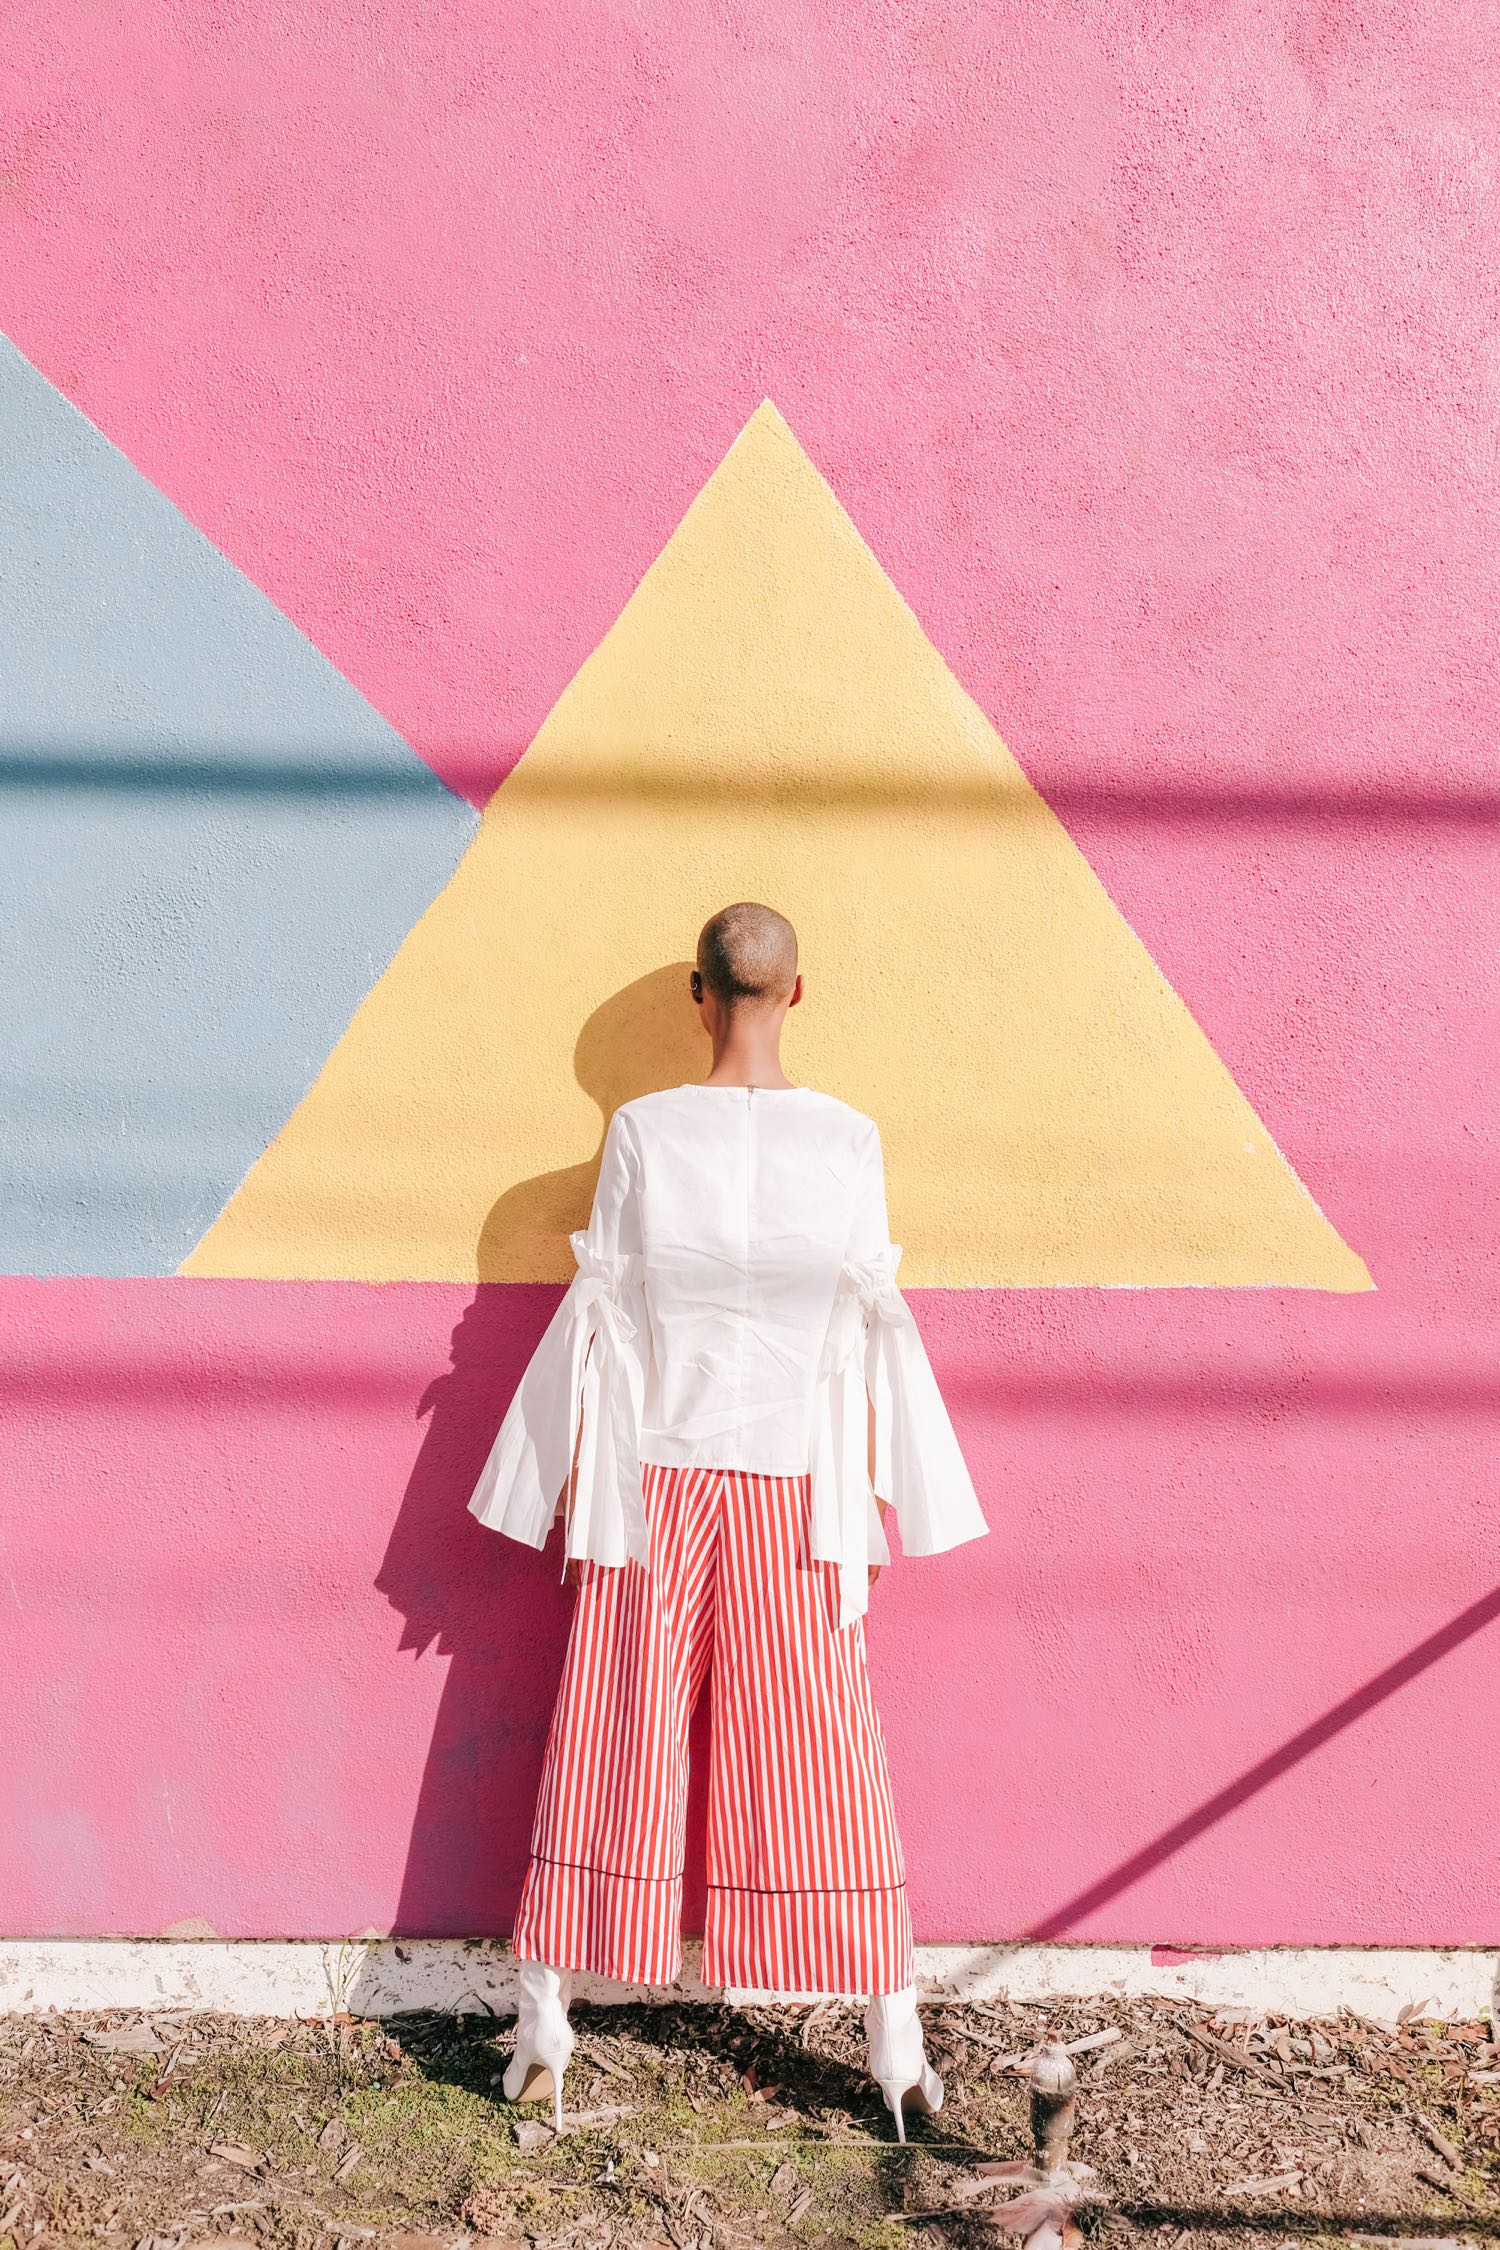
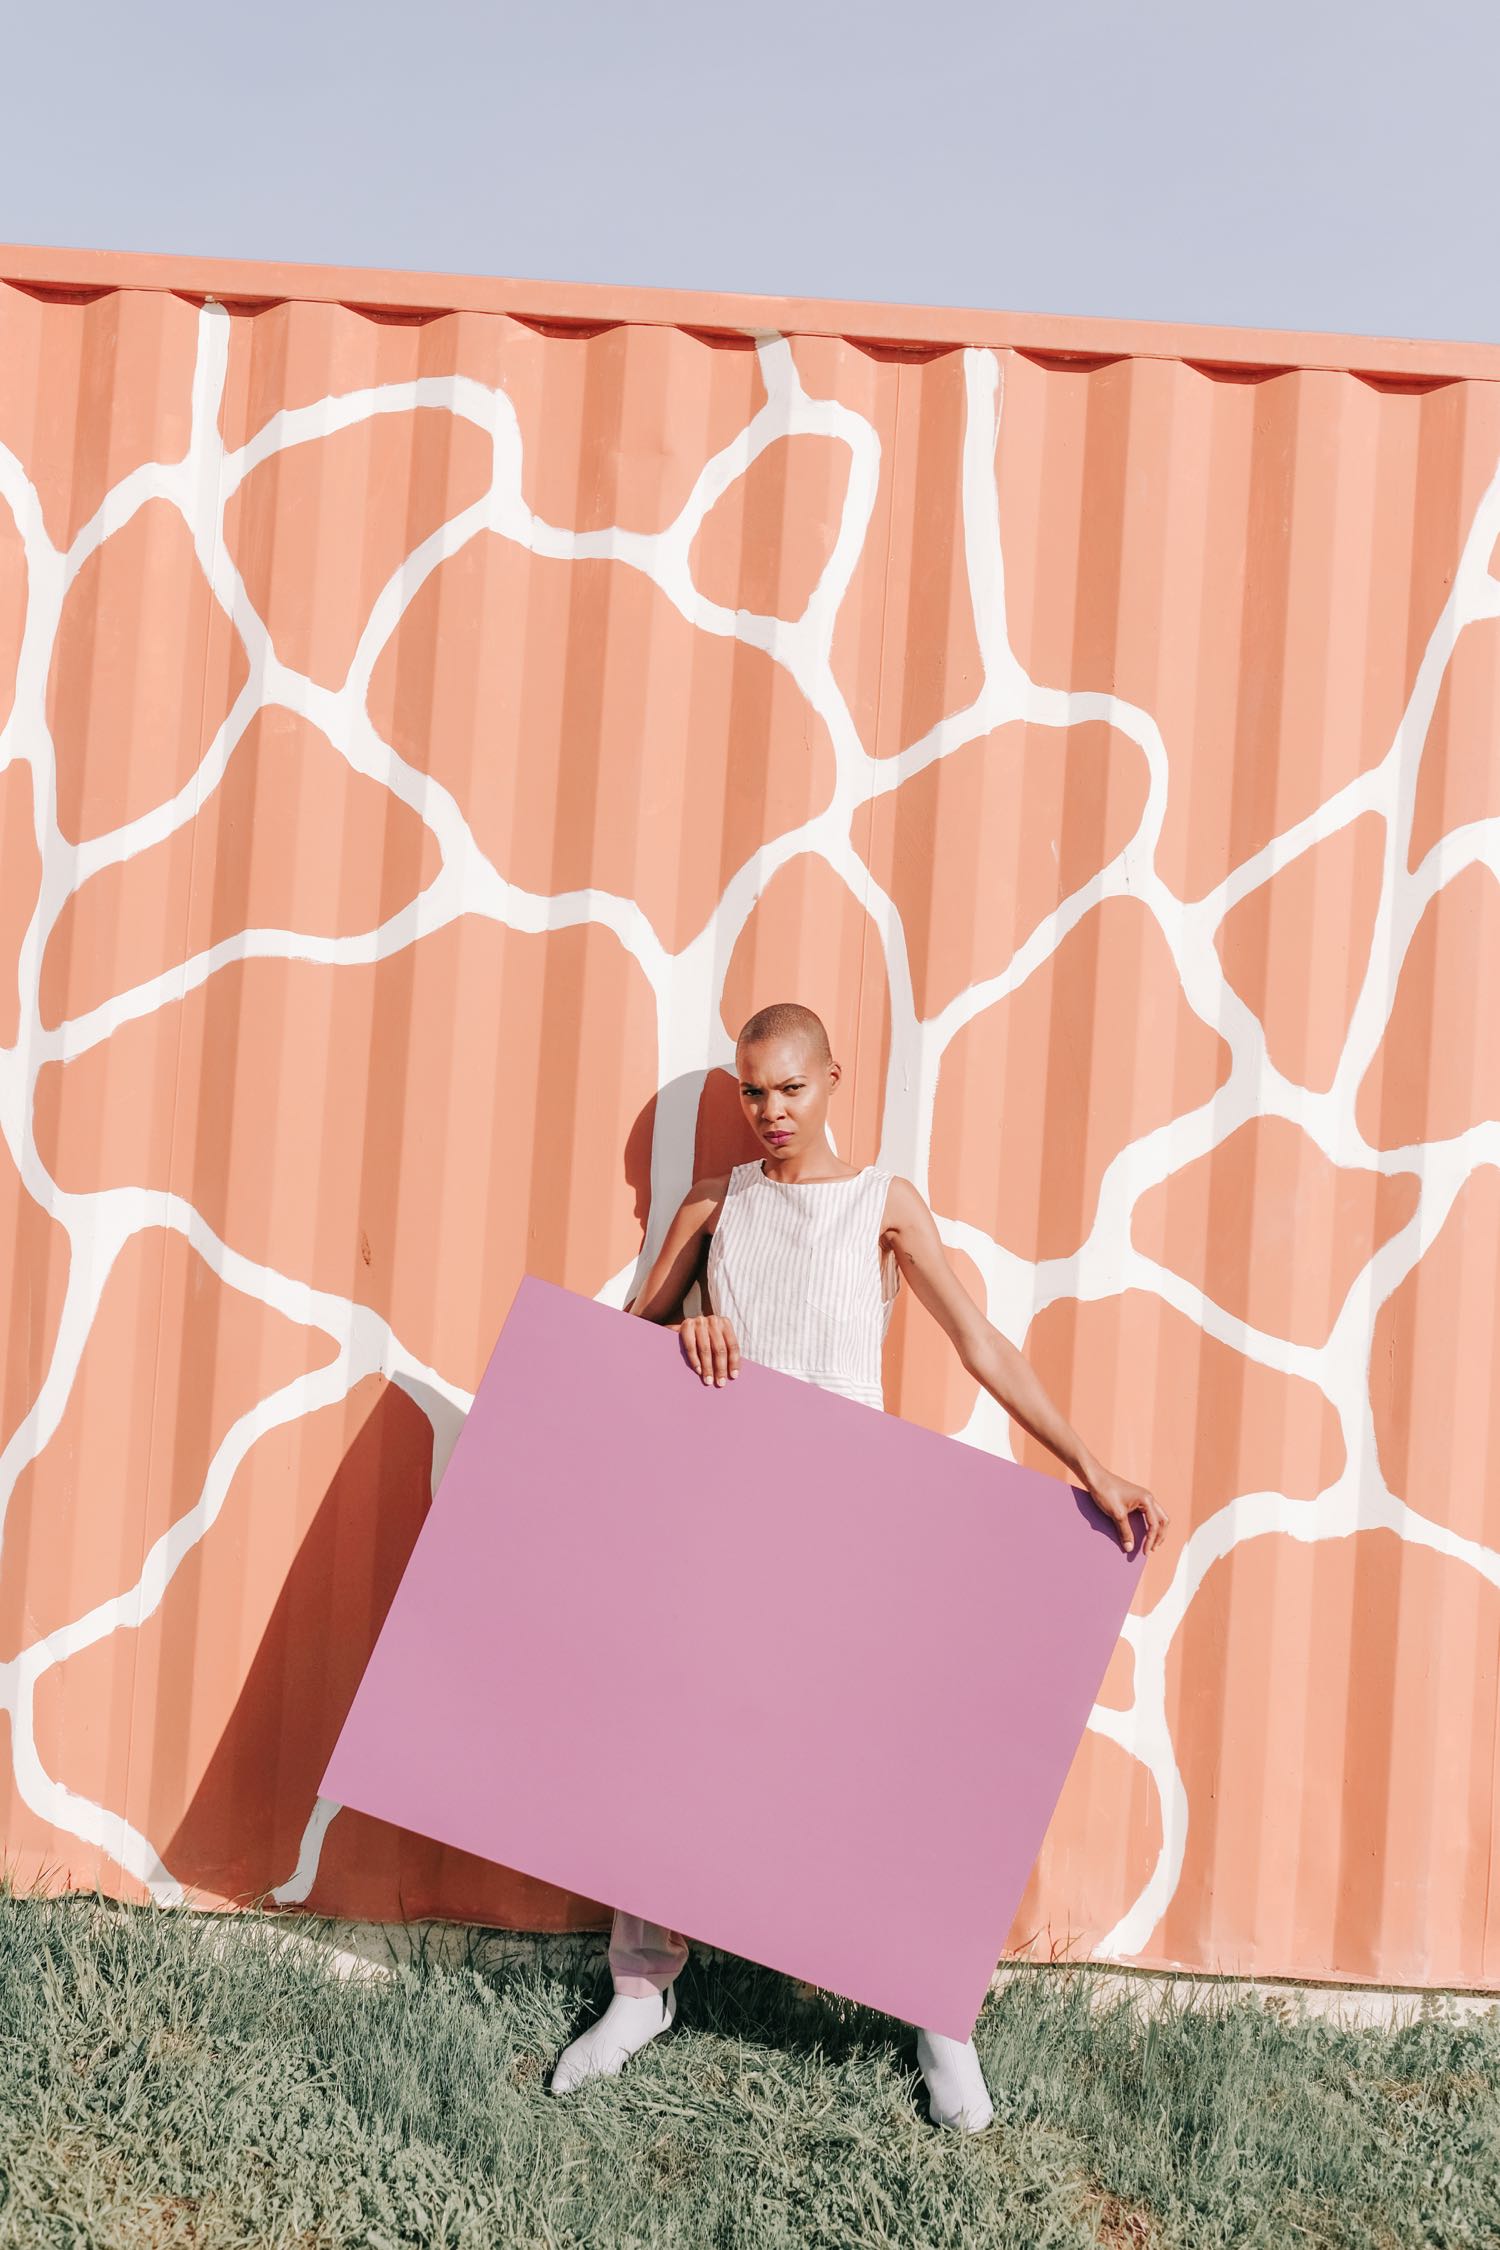
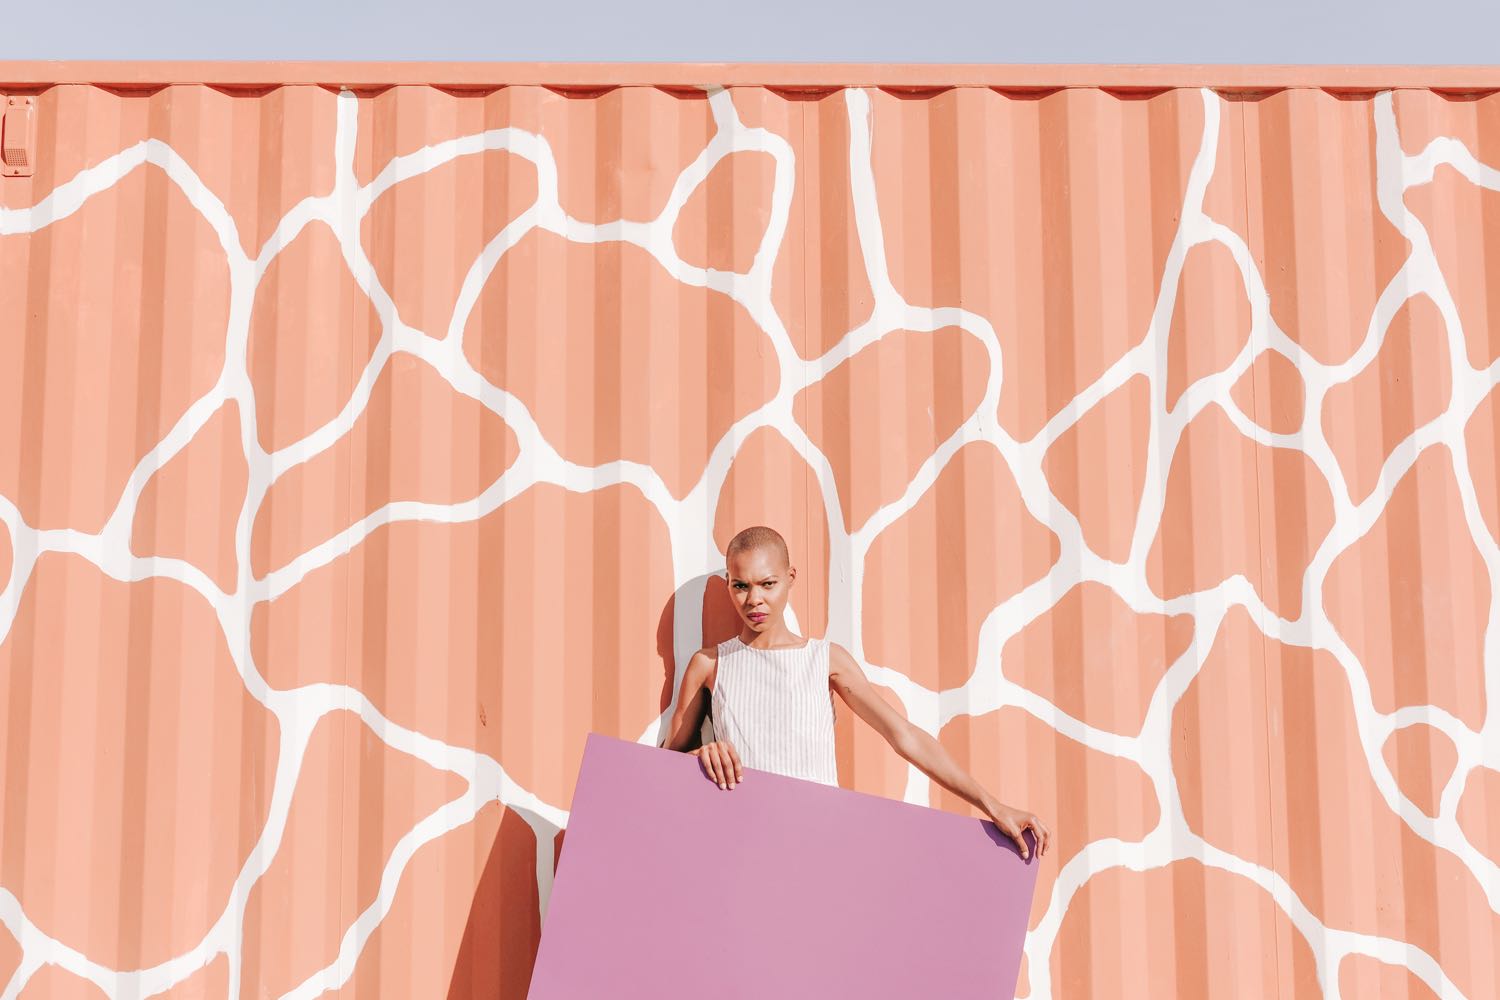
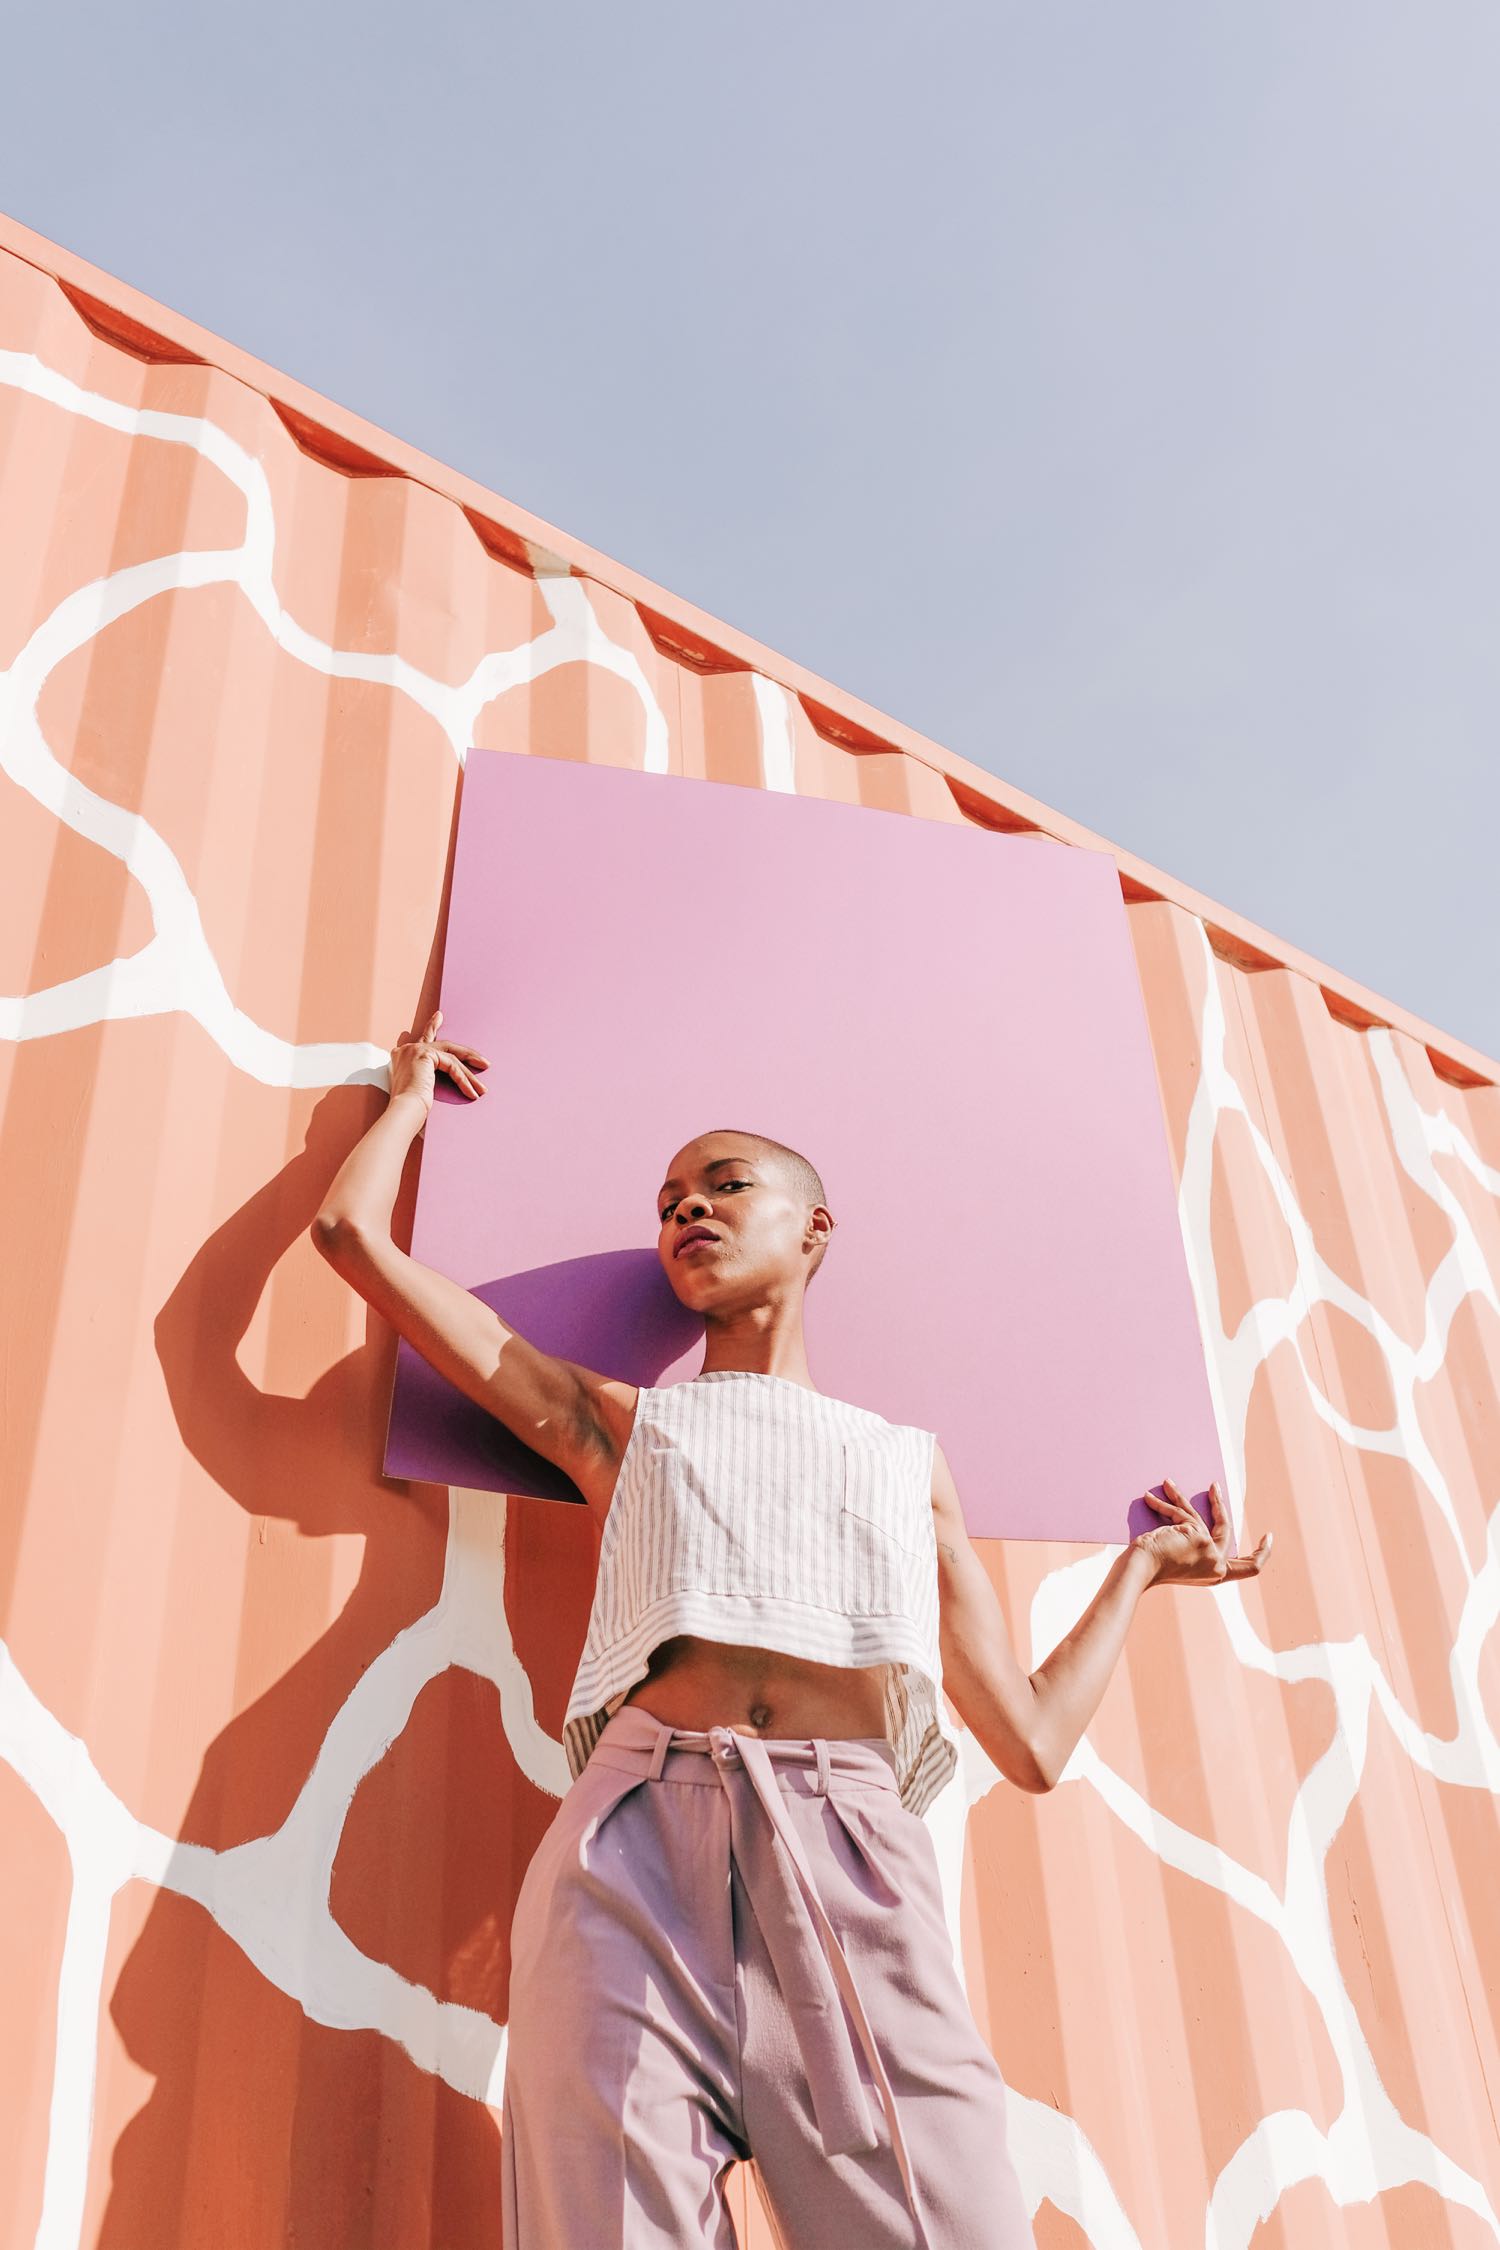
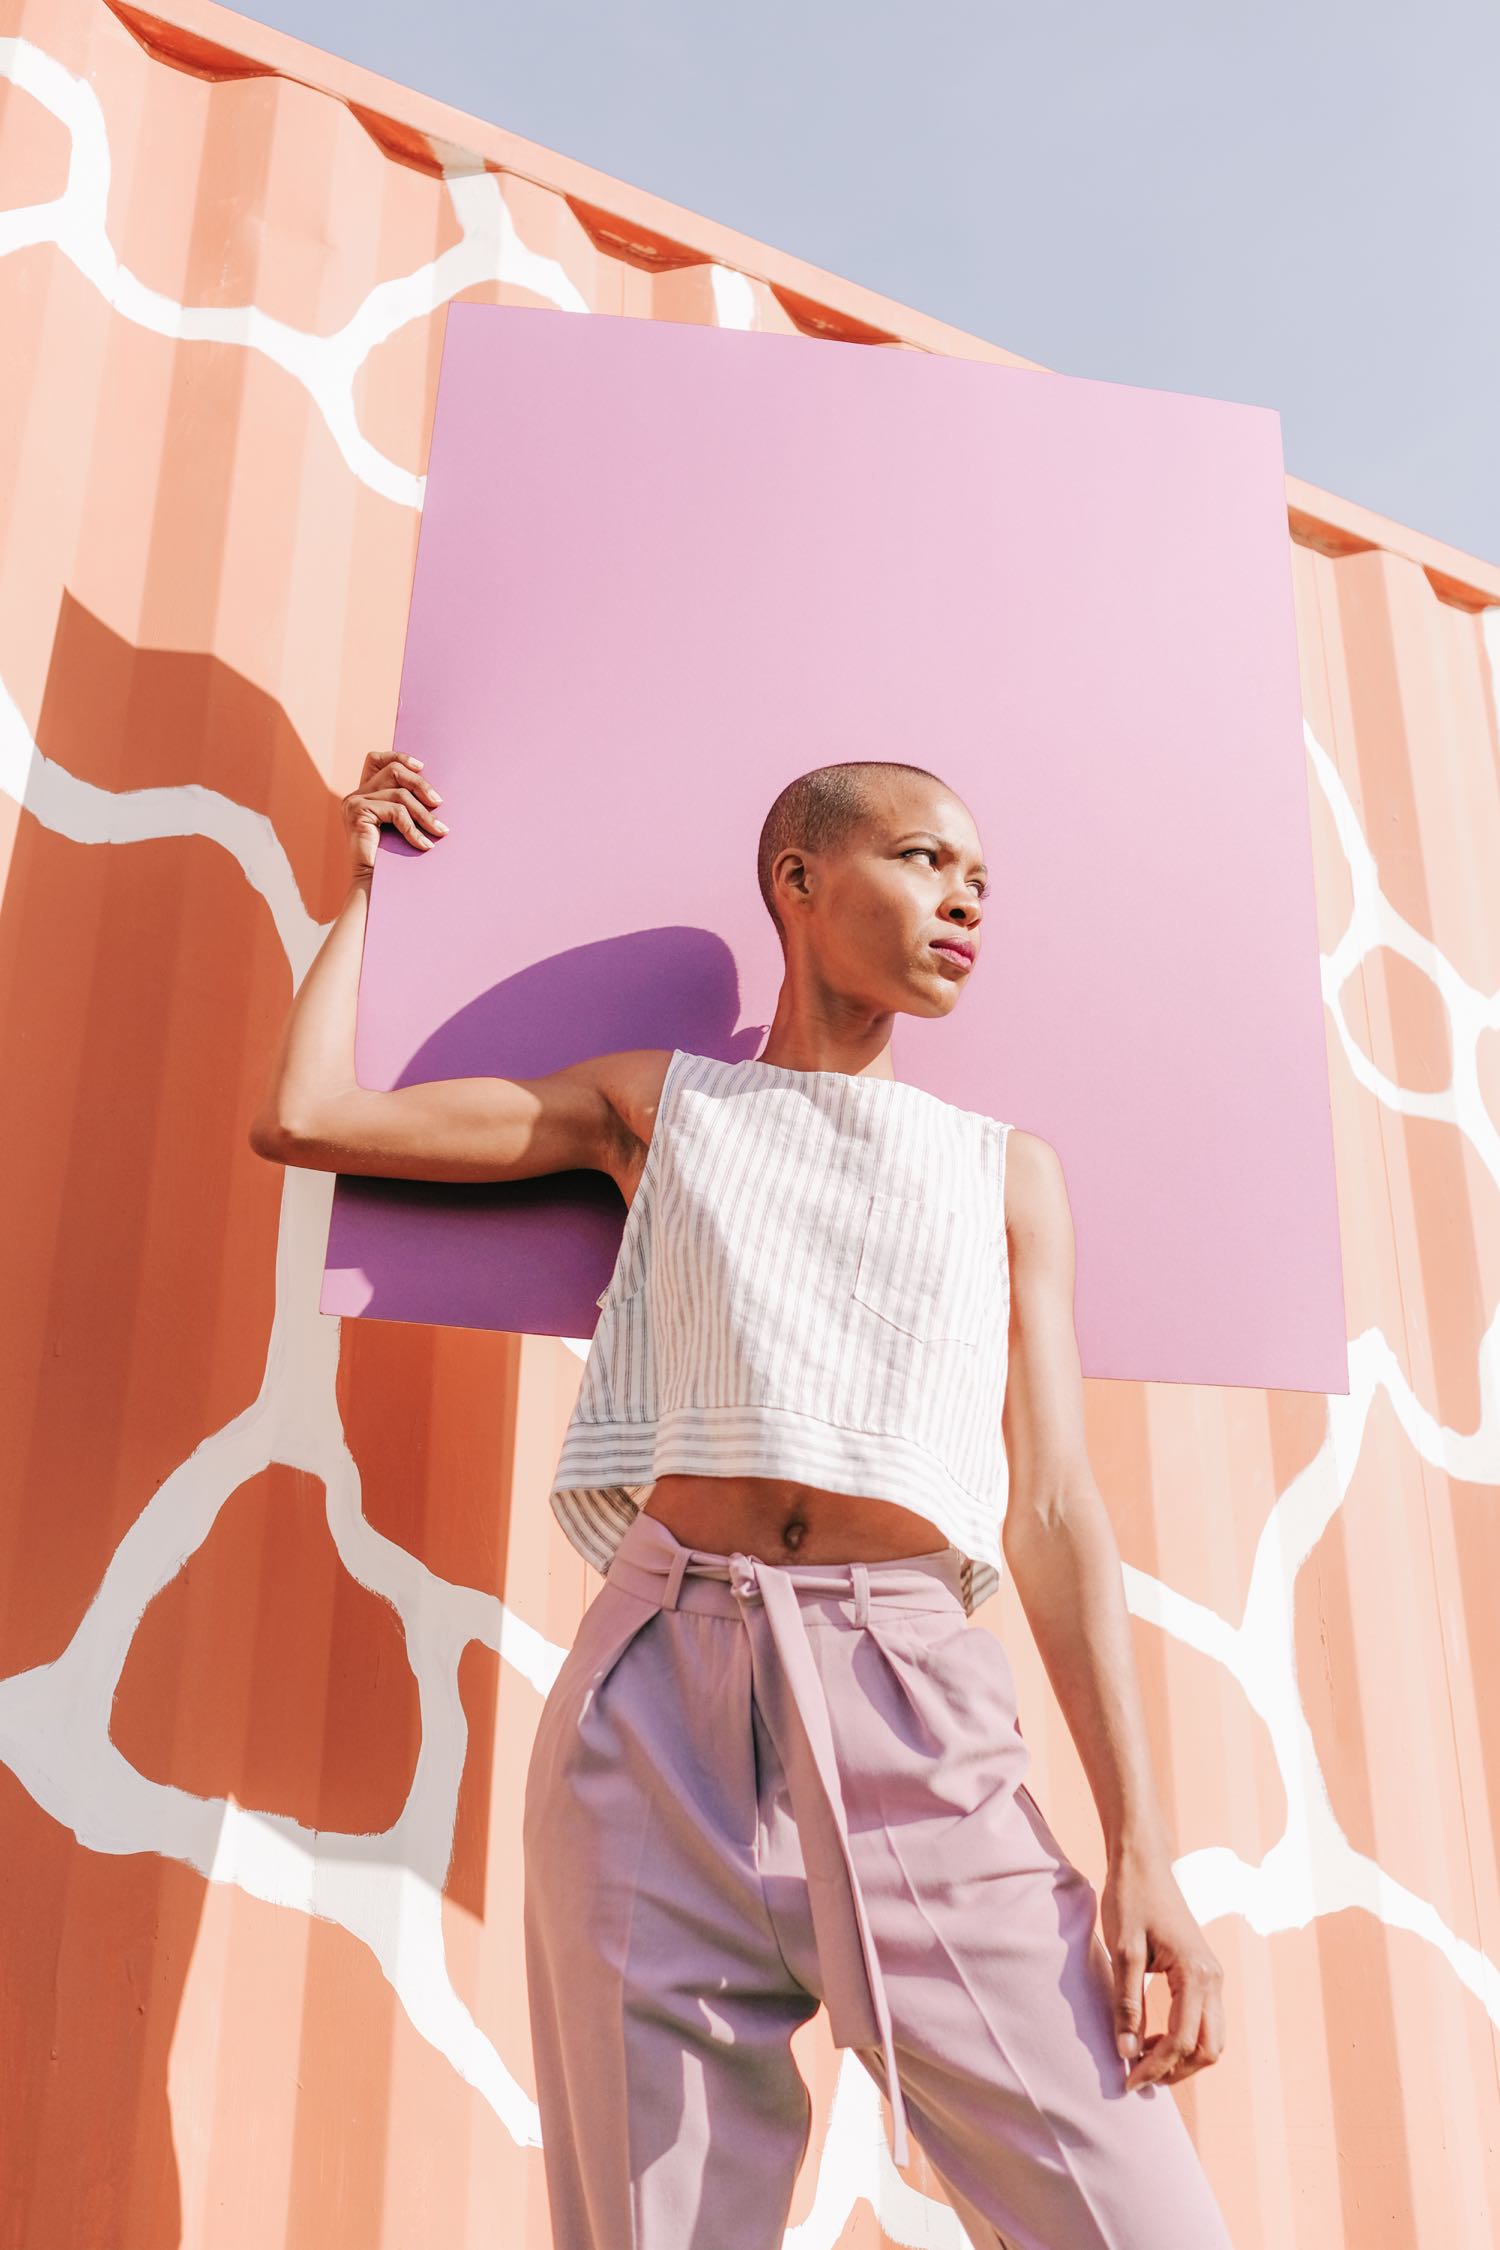

We wanted to make something different. Something people hadn't seen before. I couldn't rely on finding an existing setting that would serve our needs and the colors we were envisioning. A seamless paper backdrop wouldn't have the same effect we were going for.
So I had to build a set. With pretty much zero construction knowledge. I improvised. With lots of help from my family, of course.
See the finished images here!
This project required a huge amount of time, physical labor, and money. Mostly time and physical labor, but materials do cost quite a bit, especially when you mess up and have to buy more. So I'm going to tell you how I did this in hopes that it will save you time, labor, and money!

Disclaimer: I don't claim that this is a 100% stable, fall-proof set-up. On a windy day, I would always have 1-2 people just be in charge of holding the frame and making sure it doesn't fall down.
What you'll need:
I got most of this at Home Depot! (Paint was from Ace Hardware.)
For the frame:
-Two 4-foot by 8-foot pieces of wood, thick enough to mount a hinge (1/2"-3/4" should do). We used particle board ($14/each), but plywood would be sturdier and would allow you to make a double-sided set (see my note at the bottom of this post). It's just more expensive.
-One 4-foot by 4-foot piece of wood at least 1/2" thick. This will act as the floor. Since I had 4 colors, we had the guy at Home Depot cut one 4'x8' particleboard in half so that we had two square floors that could be painted on each side (4 different colored floors total).
-Three hinges and enough bolts/nuts for every hole (we used three piano hinges and 3-5 bolts & nuts per hole). Make sure the bolts fit the hole of your hinge and your drill bit, and obviously that the nuts are the right size for the bolts. Also make sure your bolt is longer than the width of your particleboard - otherwise you won't be able to screw on the nut properly.
-A drill + appropriately sized drill bit
-Wrench
-Screwdriver that matches the head of your bolts
-Ladder
-Ideally a furniture dolly or something with wheels that allows you to move the super heavy frame (we didn't have this!)
For the colorful overlays:
-Two 4-foot by 8-foot pieces of eucaboard ($9/each) - or other lightweight board that won't warp or wrinkle - PER COLOR. If you want 4 colors, you'll need 8 boards. Keep reading to discover why I don't recommend painting both sides of eucaboard.
-2 quarts (per color) interior flat paint of your choice - we chose the cheapest quarts available (Clark & Kensington) for $12.99/quart.
-Paint roller
-Paint tray
-Paint brush
-4 industrial clamps like these
Psst! You may also be interested in learning how I shoot creative still lifes at home!
Step 1: Drill holes into your frame boards.

Take one 4'x8' particleboard and hold the hinge to the edge of the board. Use a pencil to mark the holes on the hinge. Be sure to hold the hinge steadily so it doesn't move while you're drawing the marks. You'll then take your drill and drill into the pencil marks, going all the way through the board.
Step 2: Attach the hinges.
One by one, place each hinge over the holes you just drilled and insert the bolts through holes. Again, make sure your bolts are long enough so that you'll be able to screw on the nut on the back. For example, if your particleboard is 3/4" thick, you'll probably want 1" long bolts. Add a nut to each bolt so that the hinge is firmly attached to the first piece of particleboard. Use a wrench and a screwdriver to tighten them.

Once three hinges are attached to the first board, lay it down and stand the other board up next to it on the long edge (see the left side of the illustration below). You could also measure out the distance between the three hinges before you put them on the first board, and transfer those distances to the second board, but I don't have patience for measuring things, so we opted for this method. It also is more reliable than measurements, because you can see that the boards are together in the right configuration. Once you've drilled the holes in the right places on the second board, stand the boards up (this will require quite a bit of strength - a lot of weight is hovering 8 feet in the air!) – as seen in the right side of the illustration below. Now you'll repeat the bolt insertion process on the second board. Make sure the boards are flush at the center, preferably at a 90º angle depending on the hinge you're using. Again, tighten the nuts & bolts with a screwdriver and wrench. Unless you're 8 feet tall, you'll need a ladder to attach the top hinge.
You should now have a standing frame that supports itself when it's open at a 90º angle. It can be folded for storage. Ideally, you have a moving dolly to transport it because it's HEAVY. (We didn't have a dolly.)
Step 3: Paint your eucaboards and your floor(s).
Now it's time for the fun part – if you like painting. I thought I liked painting, but by the end of this, I was ready to not see a roller for a while! Because eucaboard is pretty dark, I had to do two coats of paint on each board. Use interior flat paint – you want the colors to be matte, not shiny. Don't worry too much about tiny marks or smudges because they likely won't appear on camera; plus, they're easy to clone out. But you want to make sure that there are no glaringly bare spots or shadowy areas. You're aiming for a smooth, monochromatic surface. See my note at under "what not to do" about painting both sides of eucaboard.
Paint your floors, too. You should have one 4'x4' piece of wood for every 2 colors. It should be at least 1/2" thick so it can be stepped on without bending or warping. I painted one color on each side of my 4'x4' particleboards, and I did two coats on all of them. Be sure to let each side dry fully and have a clean sheet to lay the painted side on if you're painting both sides. These WILL get dirty while shooting, so begin to accept that.
Step 4: Put it all together.
Once the paint has dried, it's time to finally make this dreamy colorful corner come together!
Stand your frame up (if you haven't done that already), and assign someone to be on a ladder, and someone to be on the ground. One person will lift the colorful eucaboard over the surface of the frame, while the person on the ladder clamps them to the top. Repeat this process with both panels. Be mindful of keeping the panels flush in the center, so you don't see the hinges or any gapping.
Slide in the floor, and you should have a complete set! (This moment was so exciting for me.)

WHAT NOT TO DO:
Based on my mistakes, don't do these things:
1. Don't try to make your frame double-sided – unless you're construction-savvy. My original plan did not include colorful overlays; rather I was planning to make two double-sided frames and paint each side to have 4 colors total. We used piano hinges for this purpose (they can bend both ways), and because we didn't know what we were doing at first, we screwed the hinges into the thin edge of the particle board, and the instant we tried to make it turn the other way, the hinges ripped out. Moral of the story is: if you're going to do this, find someone who knows what they're doing and stay away from particleboard. Plywood would be a more viable, but more expensive, solution.
2. Be careful if you're tying eucaboard to the top of your car. We tied our eucaboards onto a Land Rover with a roof rack using two ratchet straps, and just driving slowly on a residential road, one of the boards caught wind, bent in half, and blew away. We felt like those idiots you always see on the freeway losing things off the back of their car! So ideally, clamp them together so they act as a more solid, heavier unit, and use LOTS of ropes/straps.
3. Painting on the rough side of eucaboard will use twice the amount of paint. It's cheaper to get 8 panels of eucaboard and only paint the smooth side than it is to try to paint both the smooth and rough side and use twice the amount of paint on the rough side. The texture just soaks it up! Alternatively, find a different type of board with the same texture on both sides and you can do this double sided.

So – there you have it. A low-budget, colorful photo set! I had so much fun with this project and hope to do a whole series out of this set. Check out the finished images from this project here!
For lighting, you could put this inside and experiment with studio lights, or you could go all natural like I did and use the natural light of your backyard! Try to find a spot that will be in shade for the duration of the shoot, ideally with a bright object, like the wall of a house, bouncing even light onto your subject. At one point, our clamps were reflecting splashes of light onto the boards, so we covered them with a napkin and a rubber band. :D Be mindful of subtle shadows being cast by the walls of the frame.
If you try it yourself, use the hashtag #colorfulcorners on Instagram and send the results to me! I'd love to see how it turns out.
Be sure to check out my other resources for photographers here! And subscribe to my YouTube channel for more behind the scenes content.
Here's the full behind the scenes video:
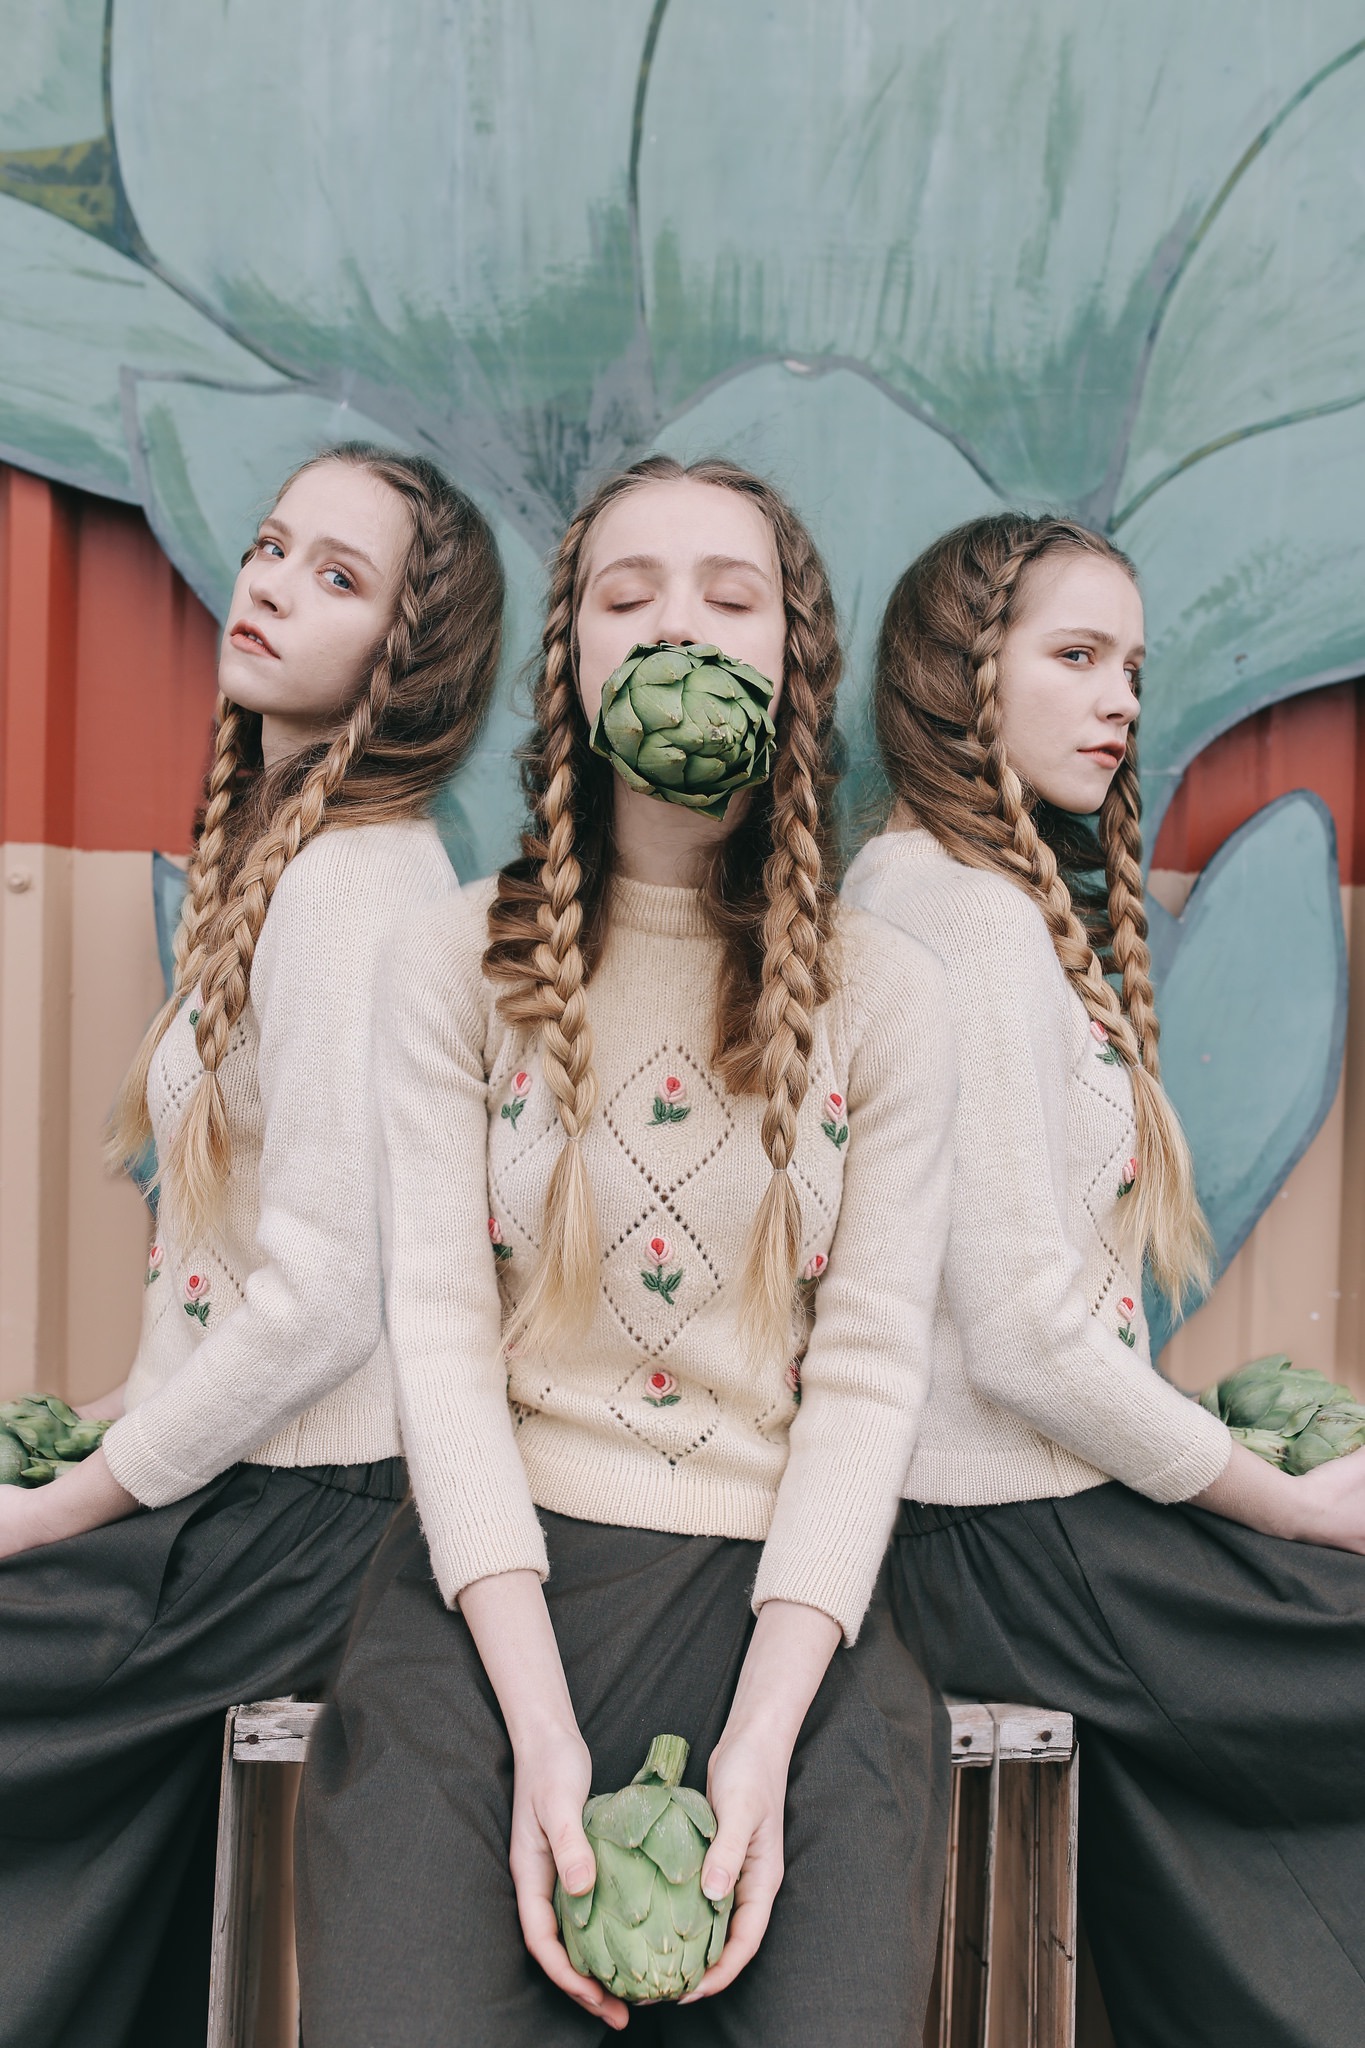
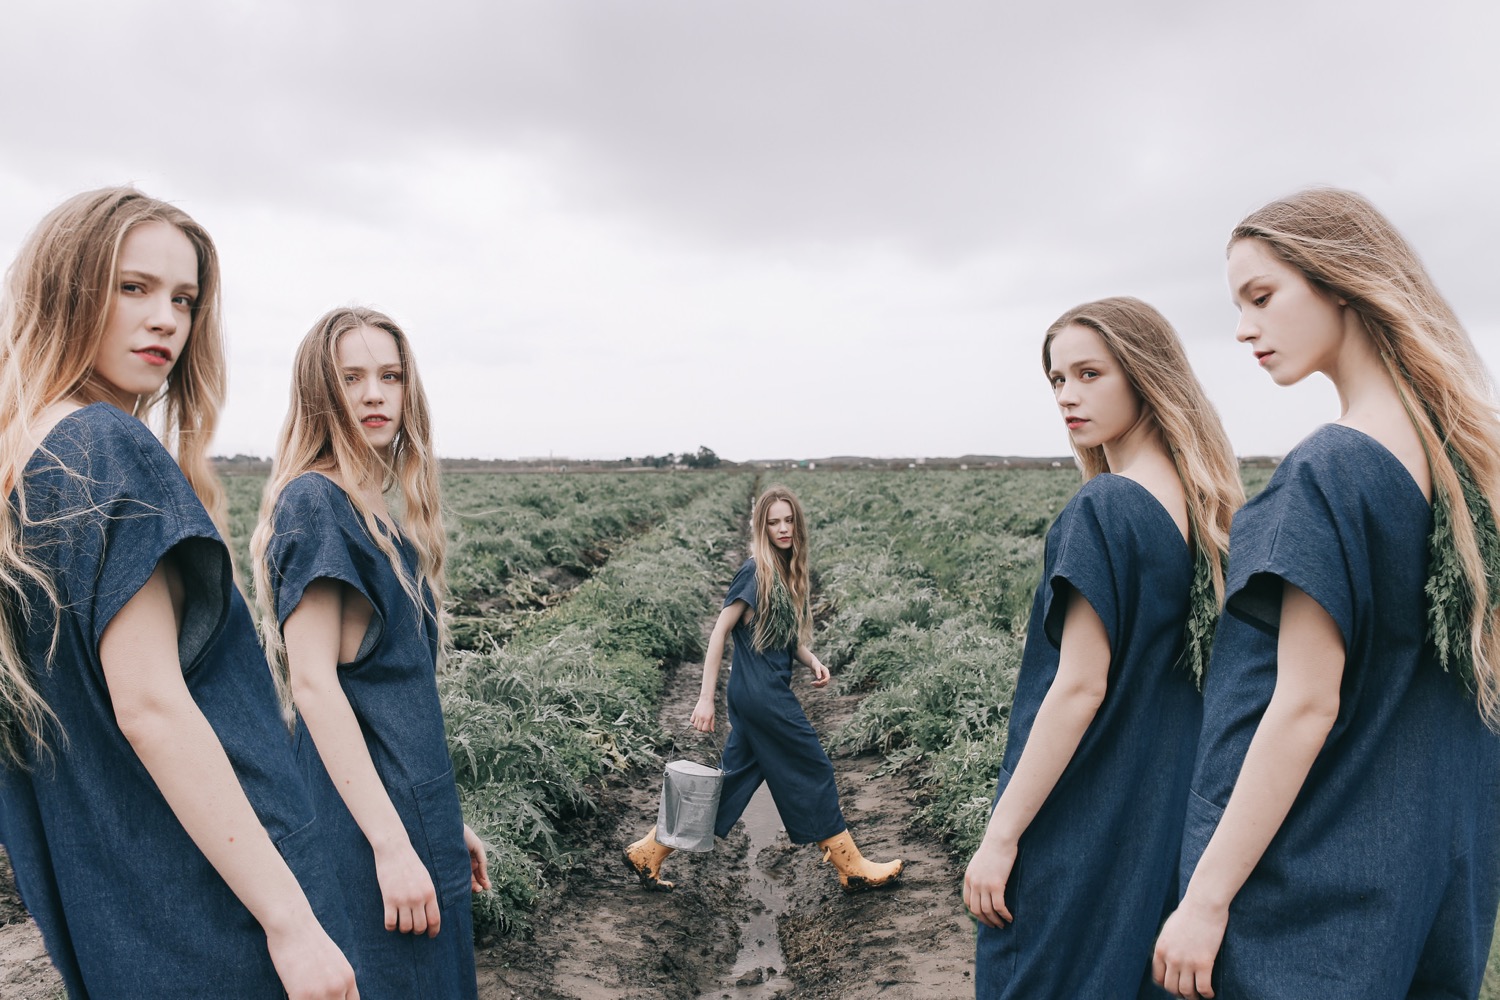
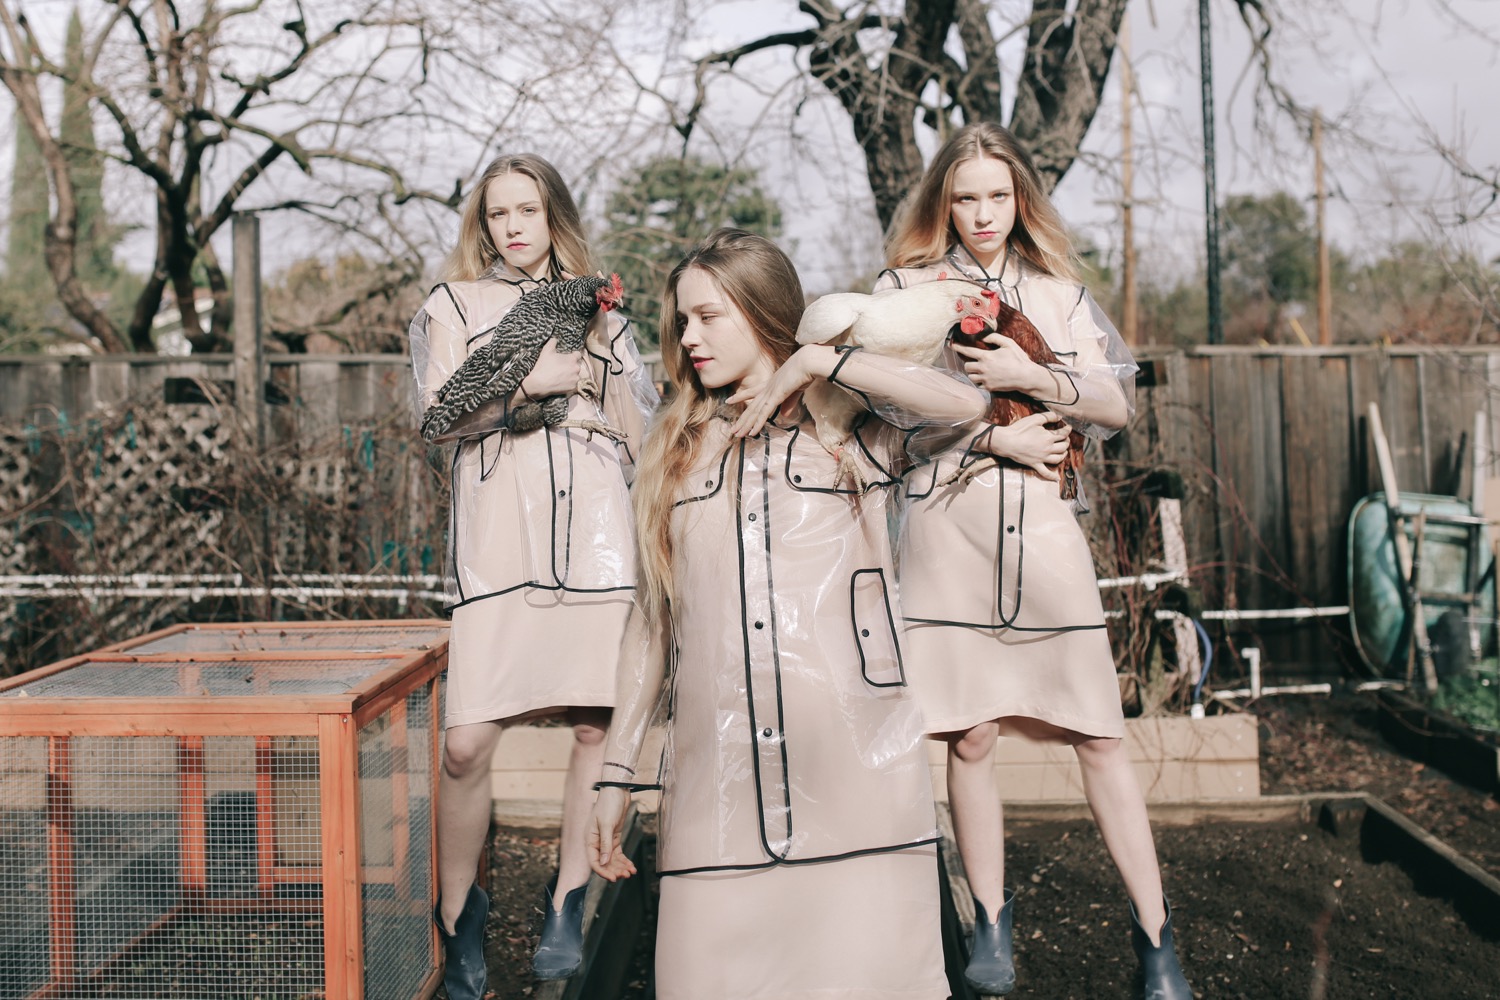
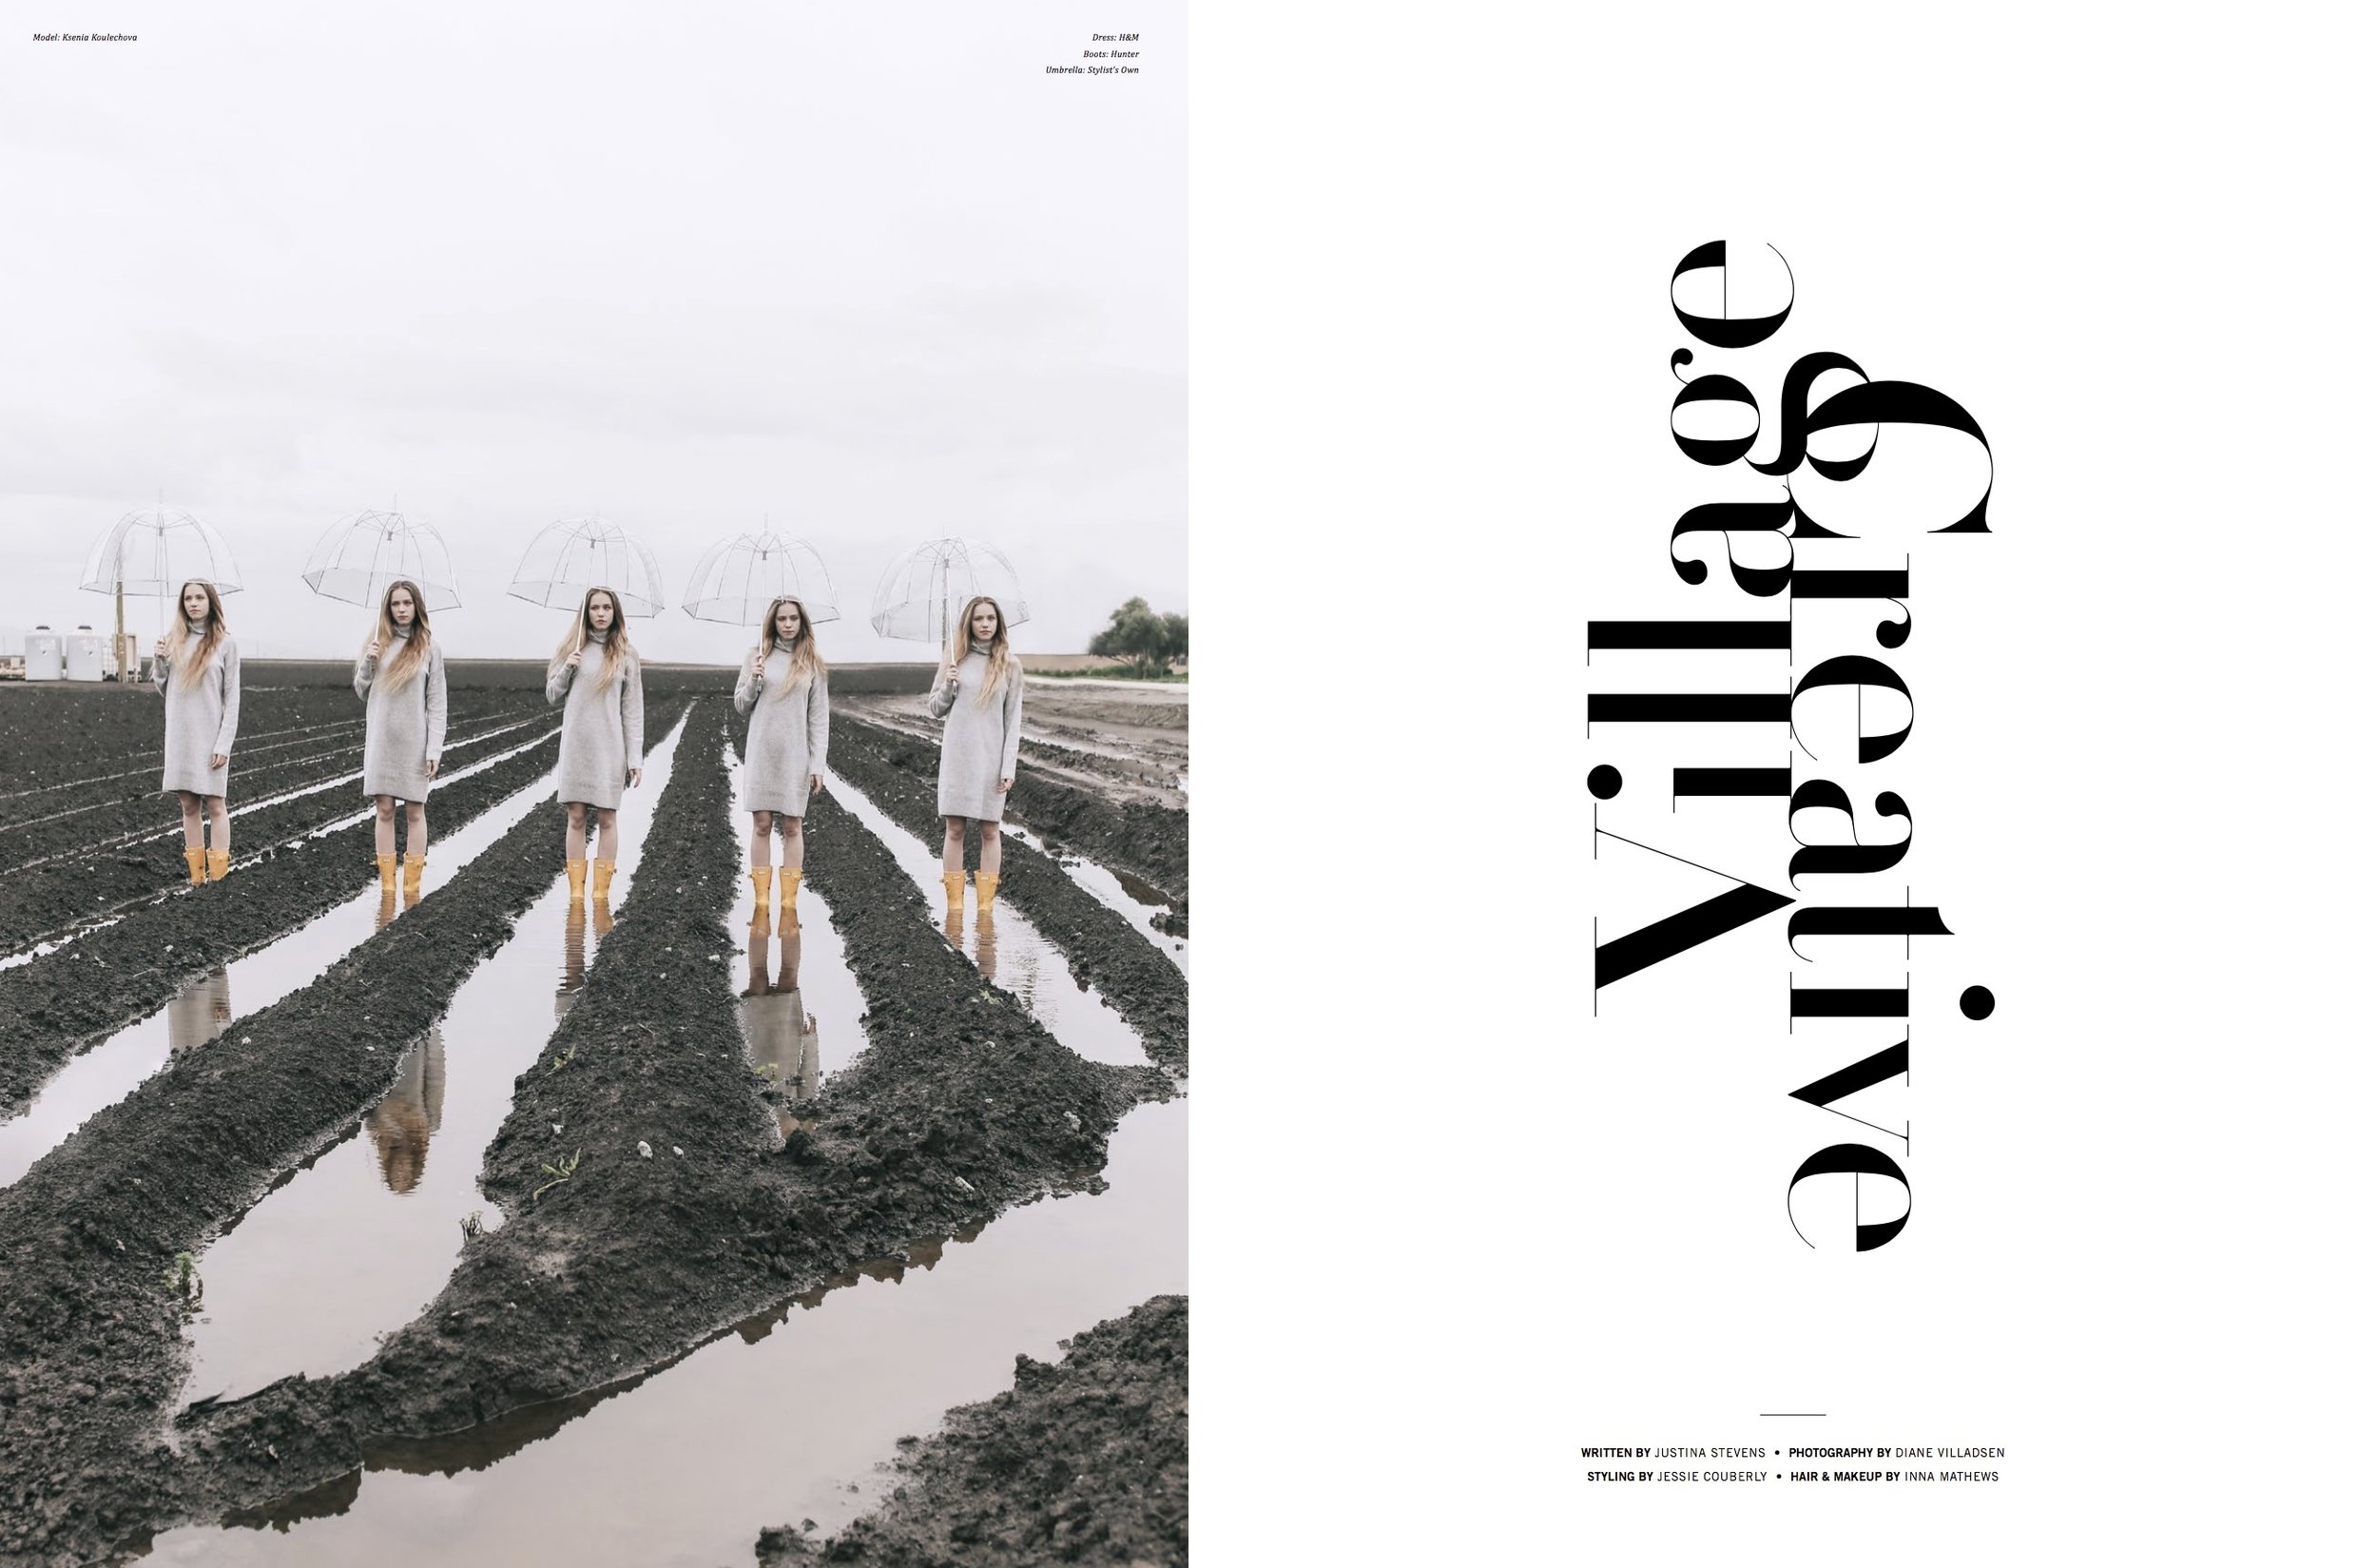
As you may have noticed, I love symmetry. I love odd numbers that allow one central focal piece to be surrounded on either side by duplicates of itself. I love the repetition that identical objects create as they cascade into the depth of the photo. Quintuplets are hard to find. (If you know any, send them my way!) So, for this shoot, I had to get a bit creative. What you see below is one model, Ksenia Koulechova, composited into 3-5 clones of herself.
Watch the behind-the-scenes video to see how I shot and composited these images.
Hair & Makeup by Inna Mathews
Styling by Jessie Couberly
Featuring an amazing jumpsuit by local designer Only Child
Published in Darling Magazine, Issue No. 21 (scroll to the bottom to see the tearsheets!)
Special thanks to my neighbor Jeff Bierach for allowing us to put his chickens in the spotlight. :)





Darling Magazine Tearsheets:


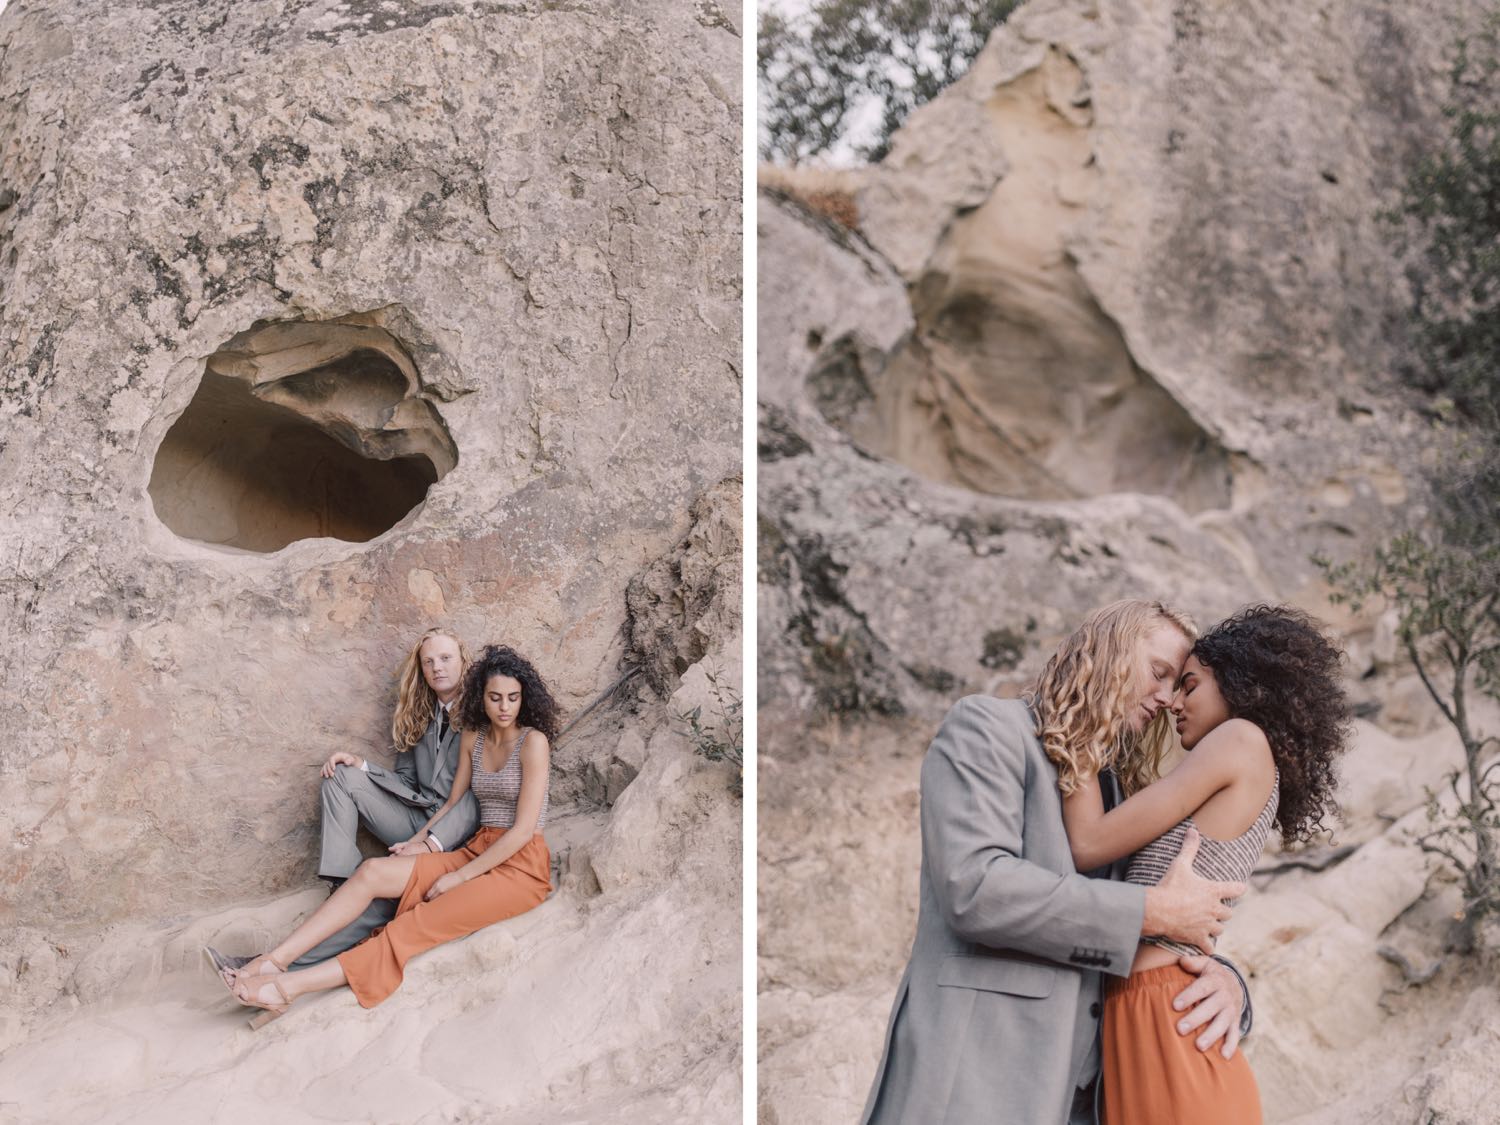
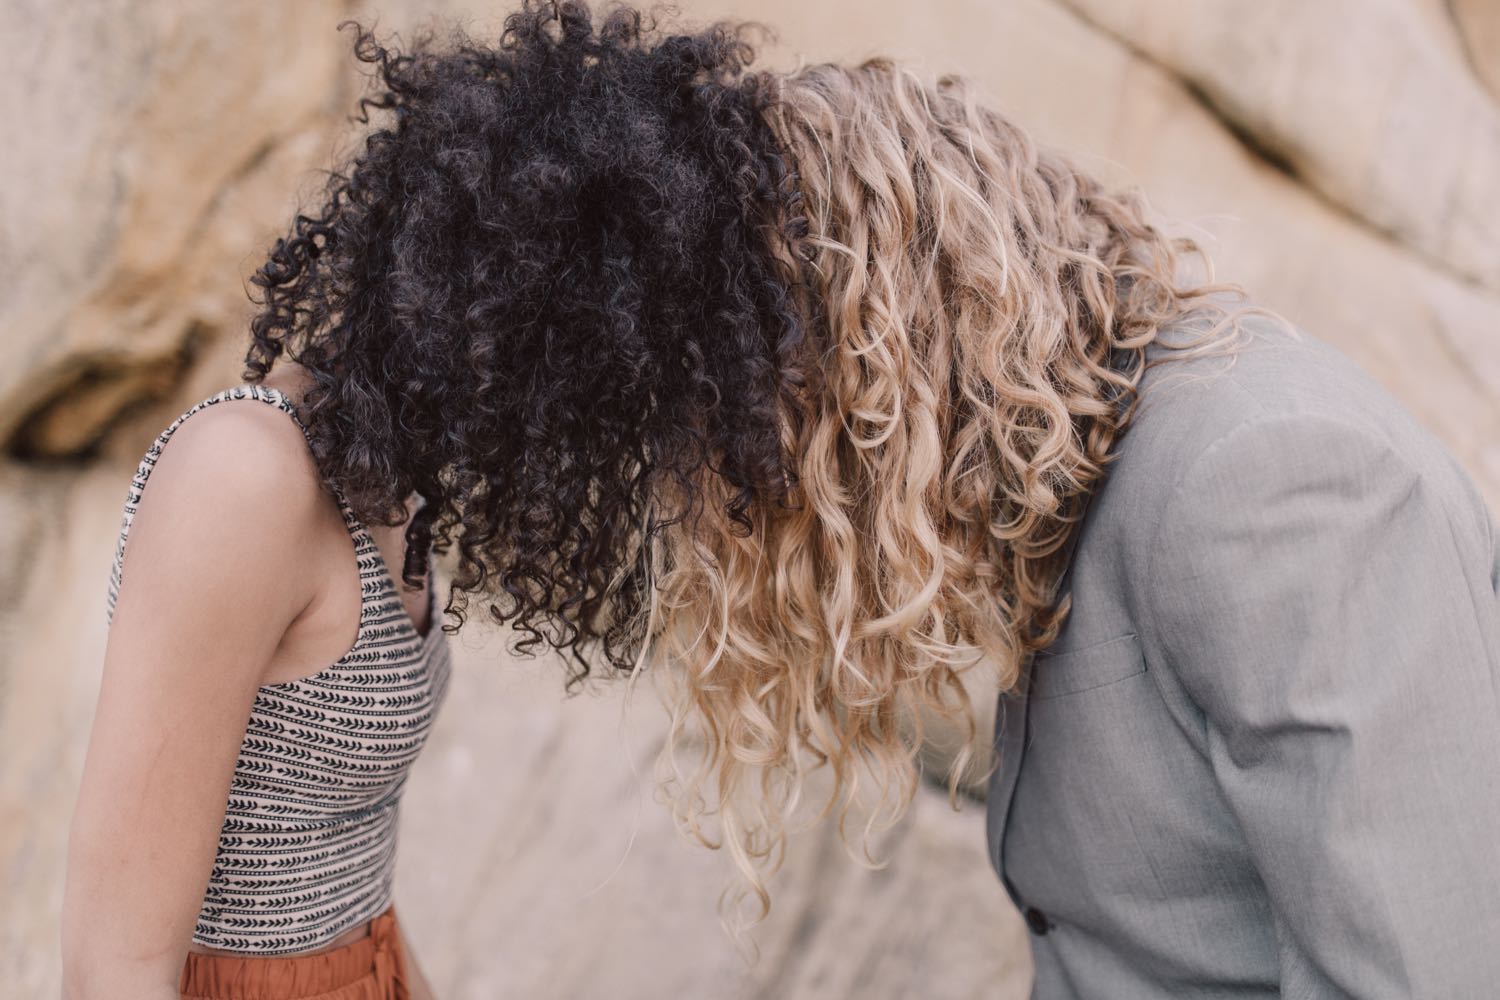
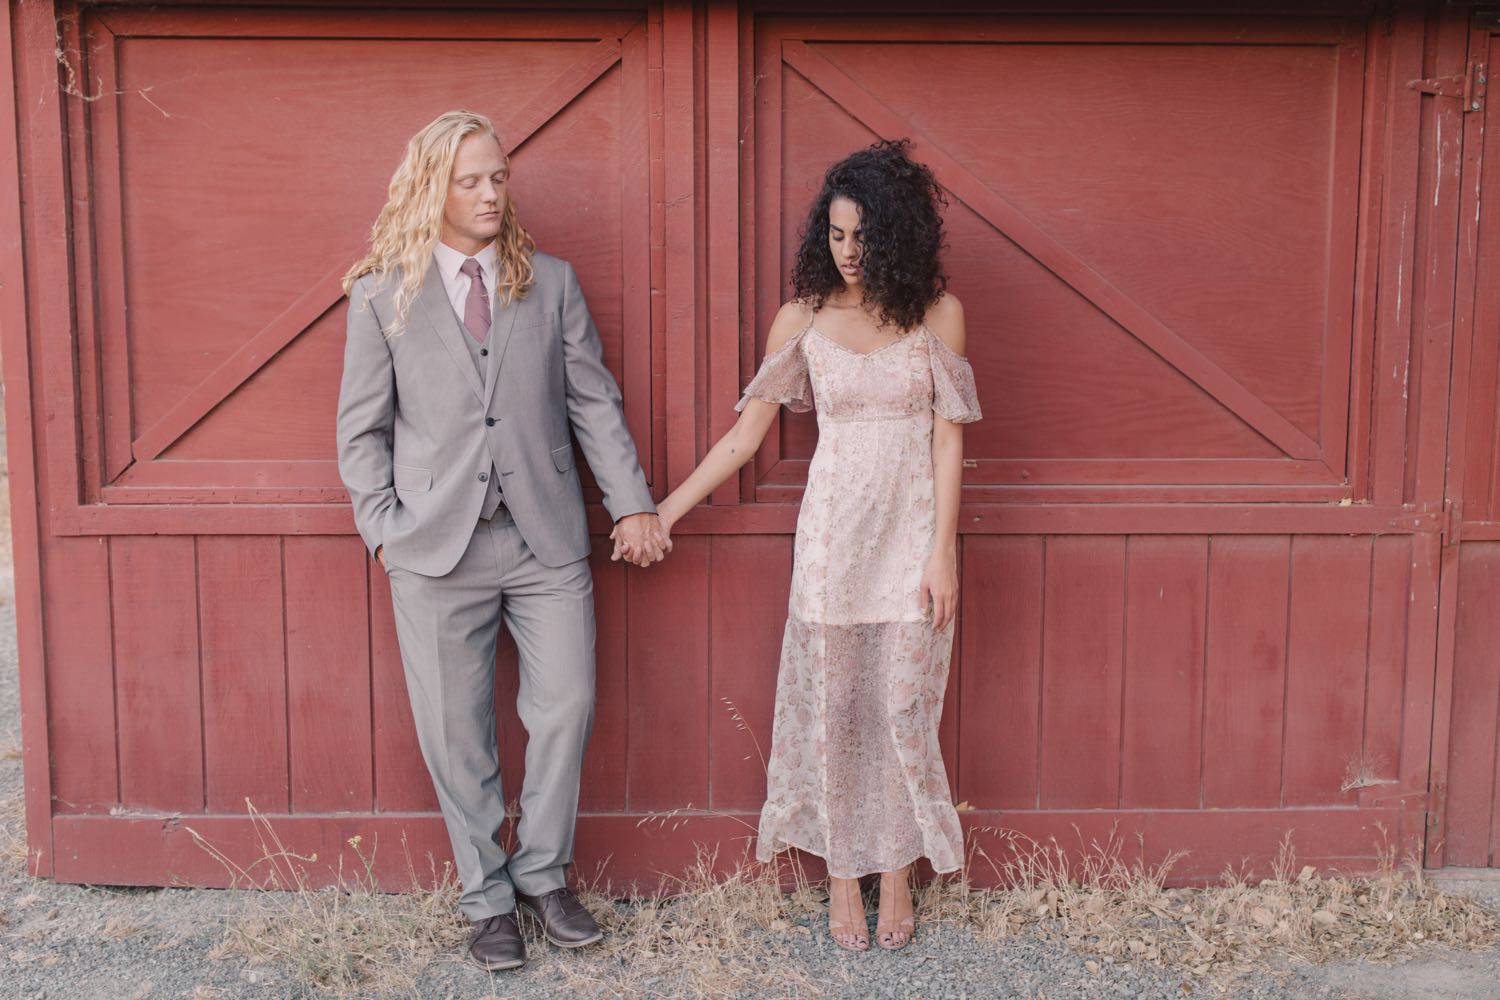
These two flew in from Idaho, and we planned a super last-minute shoot together. I'm so glad we did! I have to say: I'm obsessed with their hair - the textures and colors together were a photographer's dream! We caught the last hour of daylight together with some dreamy soft light. Find them on Instagram at @danicaashhull and @damondance16.






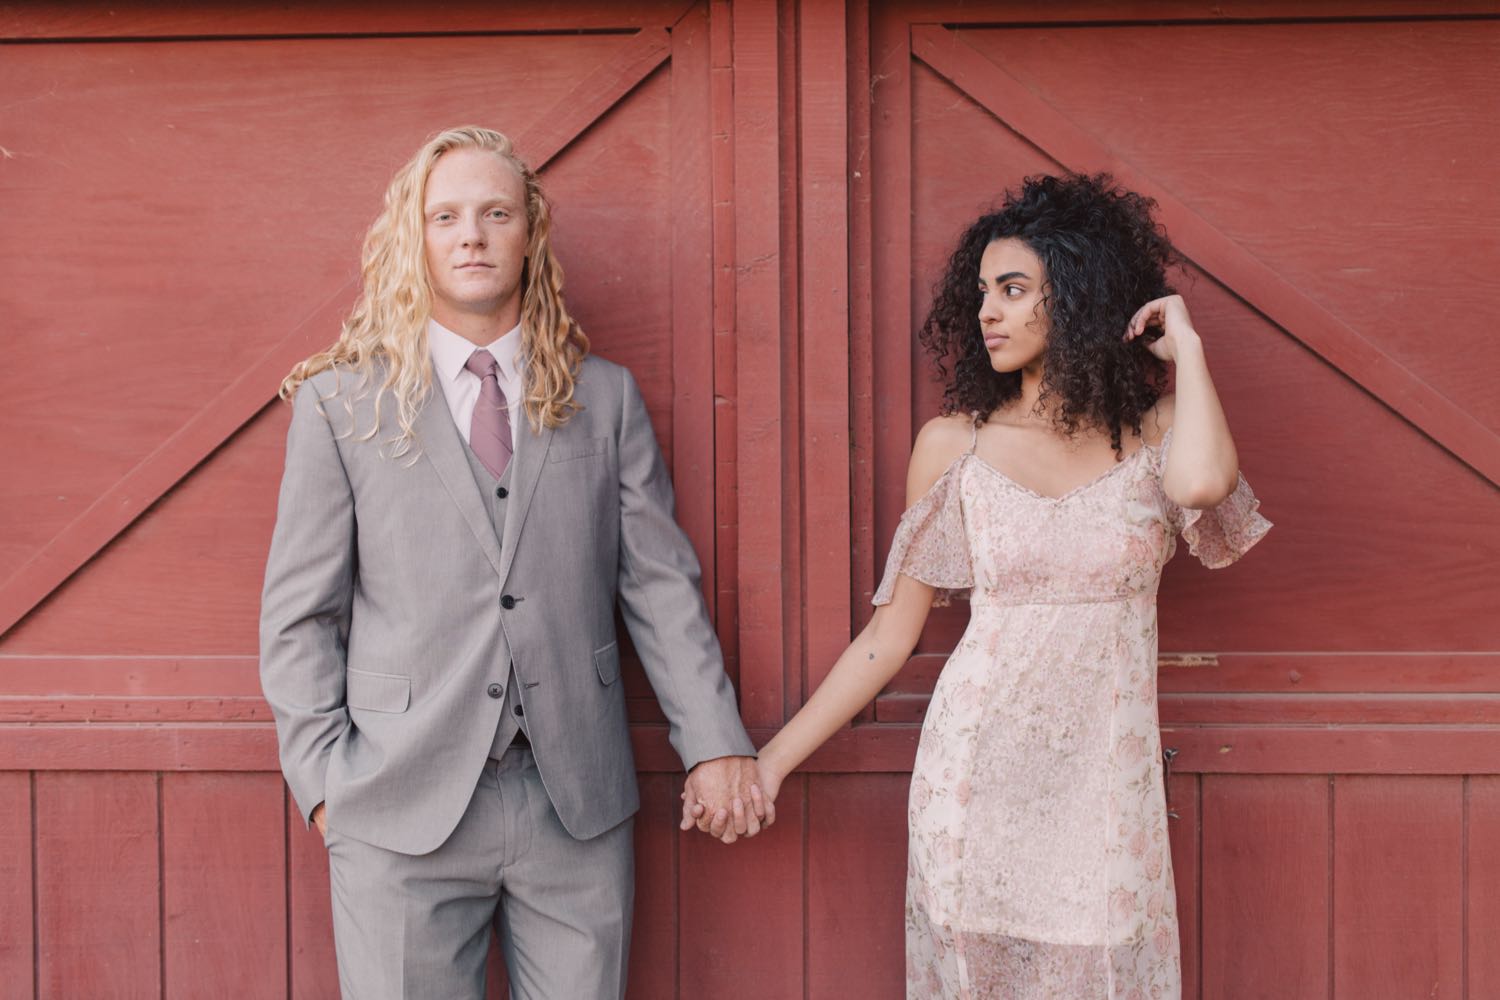

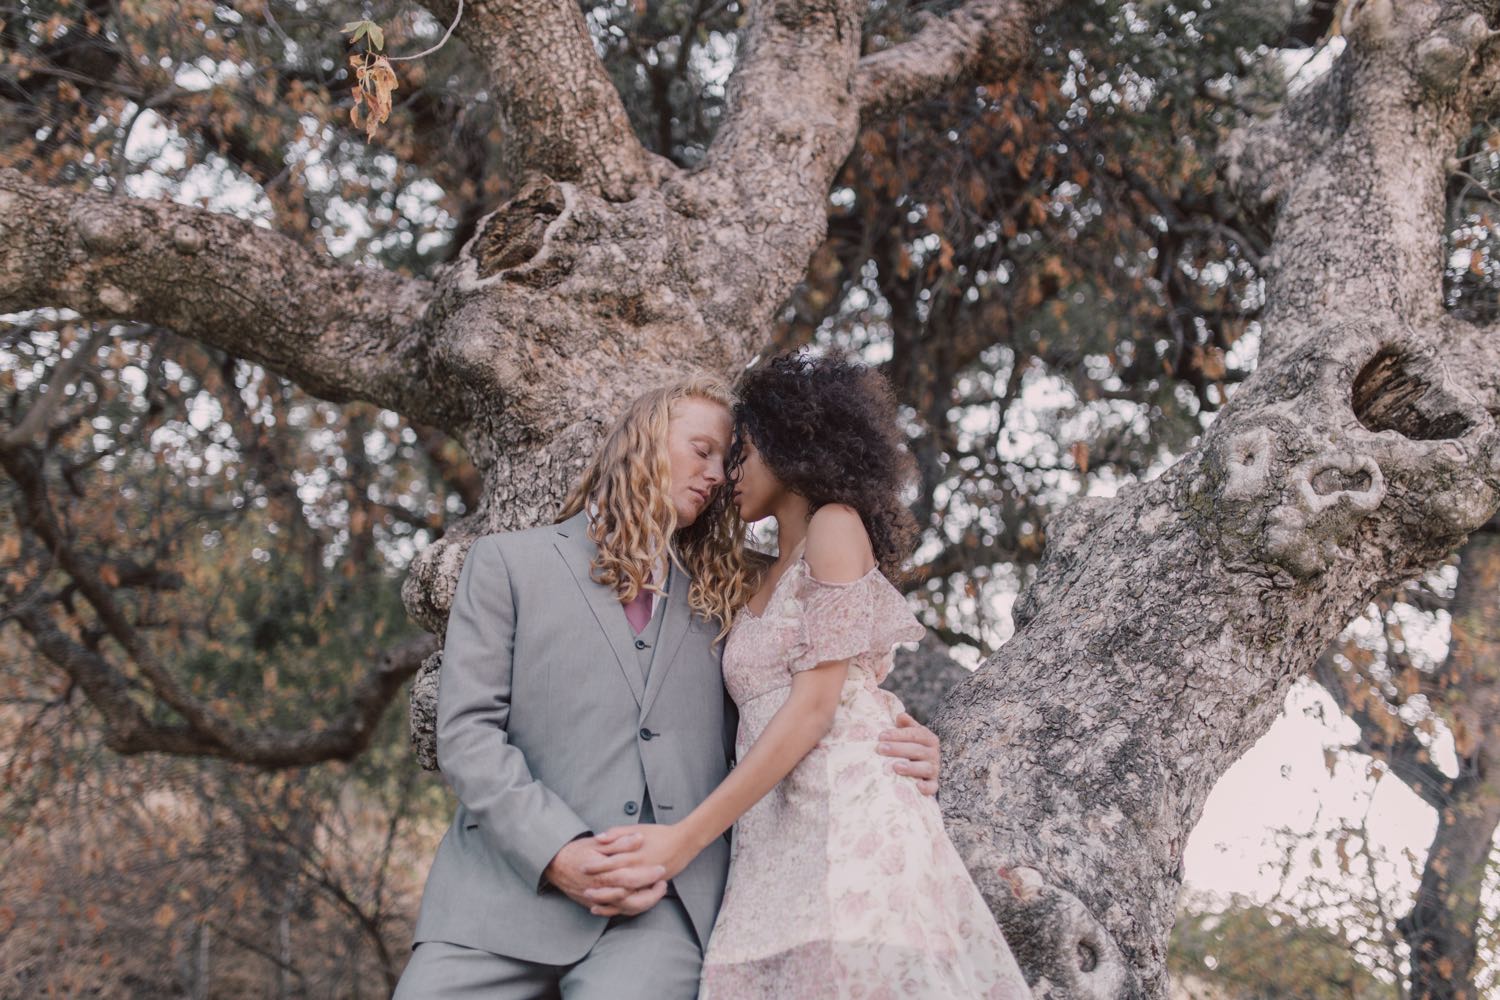


Enjoy these 5 selects of images that have inspired me - and hopefully will inspire you!
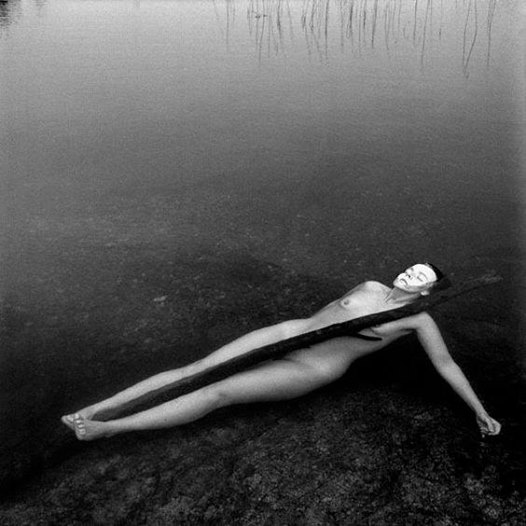
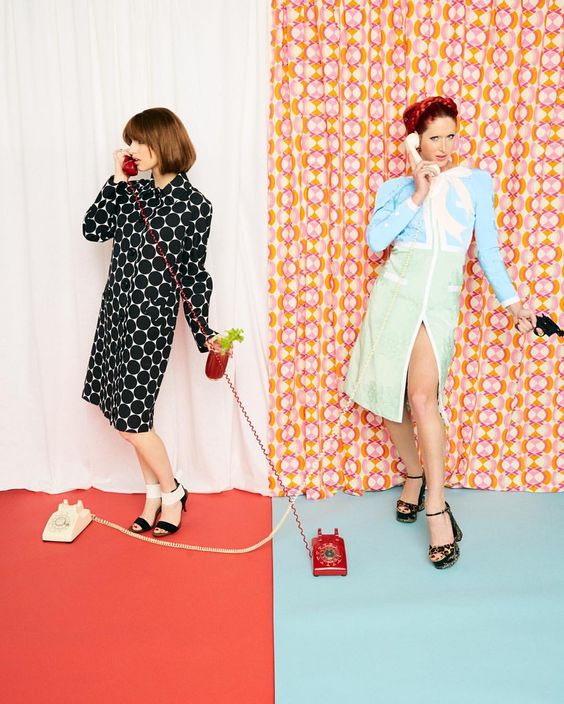
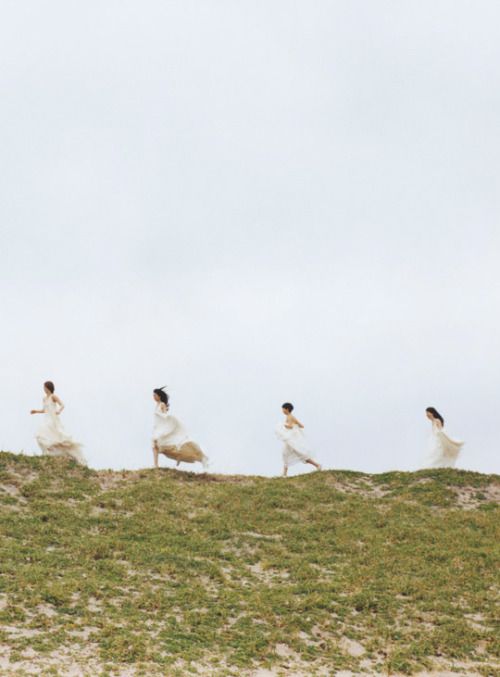
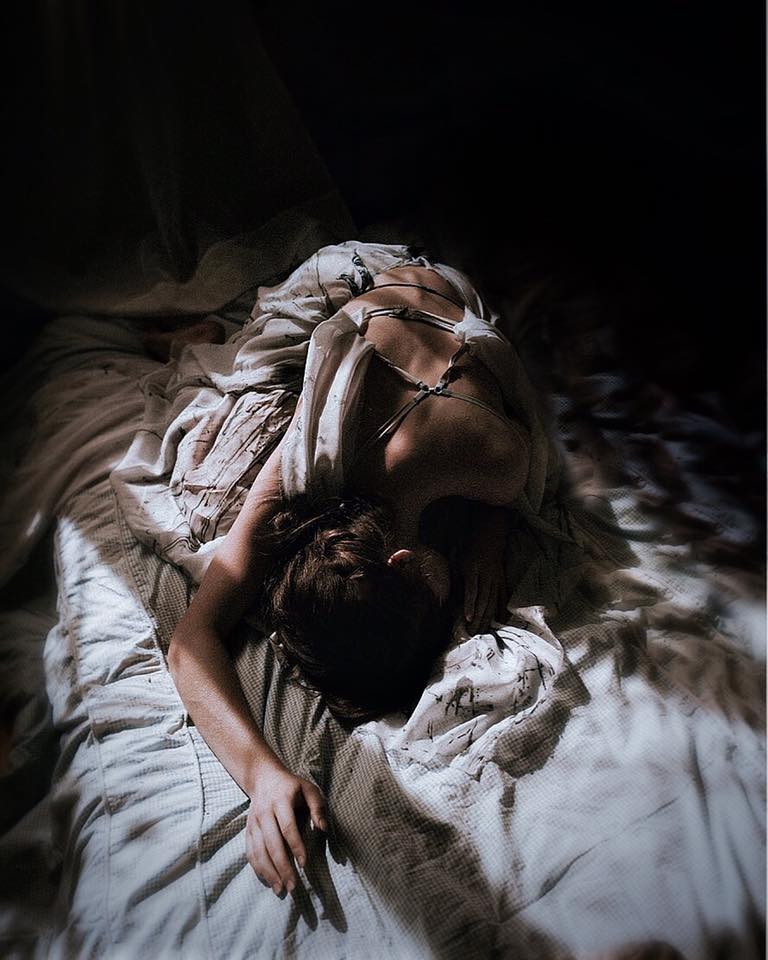
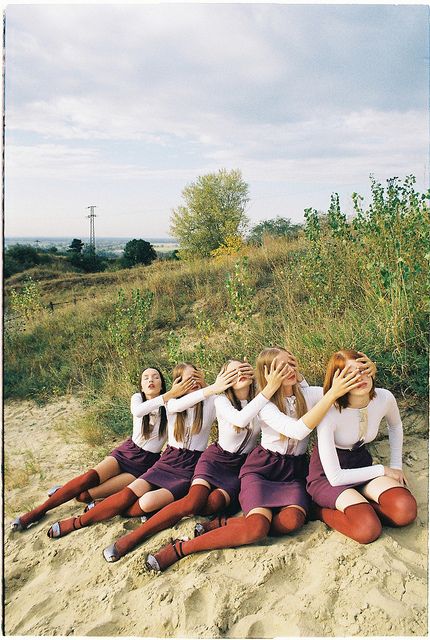
What photos have inspired you recently? Link them in the comments!
P.S. In case you're interested, I have an ebook in which I share my process for finding inspiration and materializing it for a shoot. Check it out!